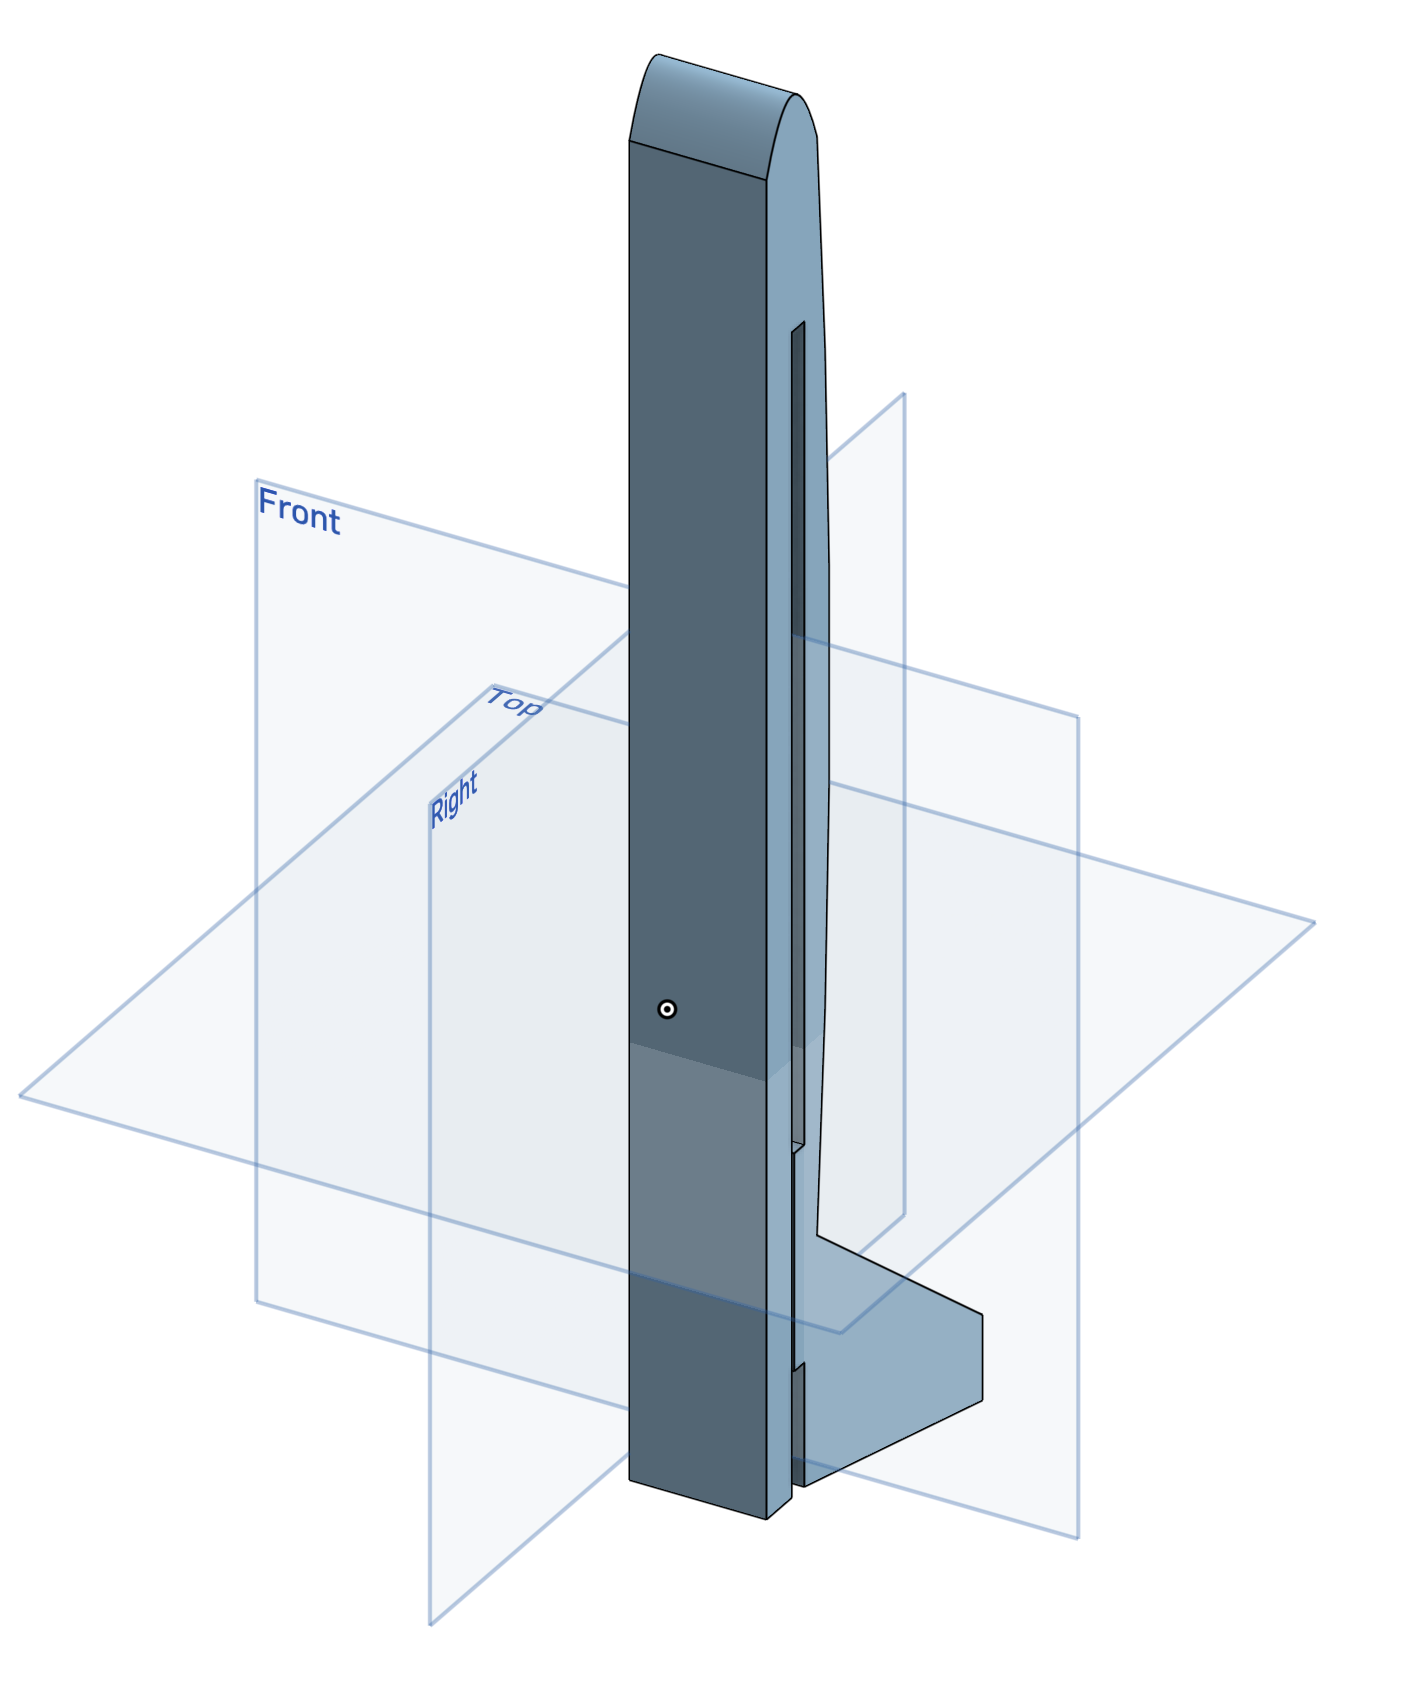
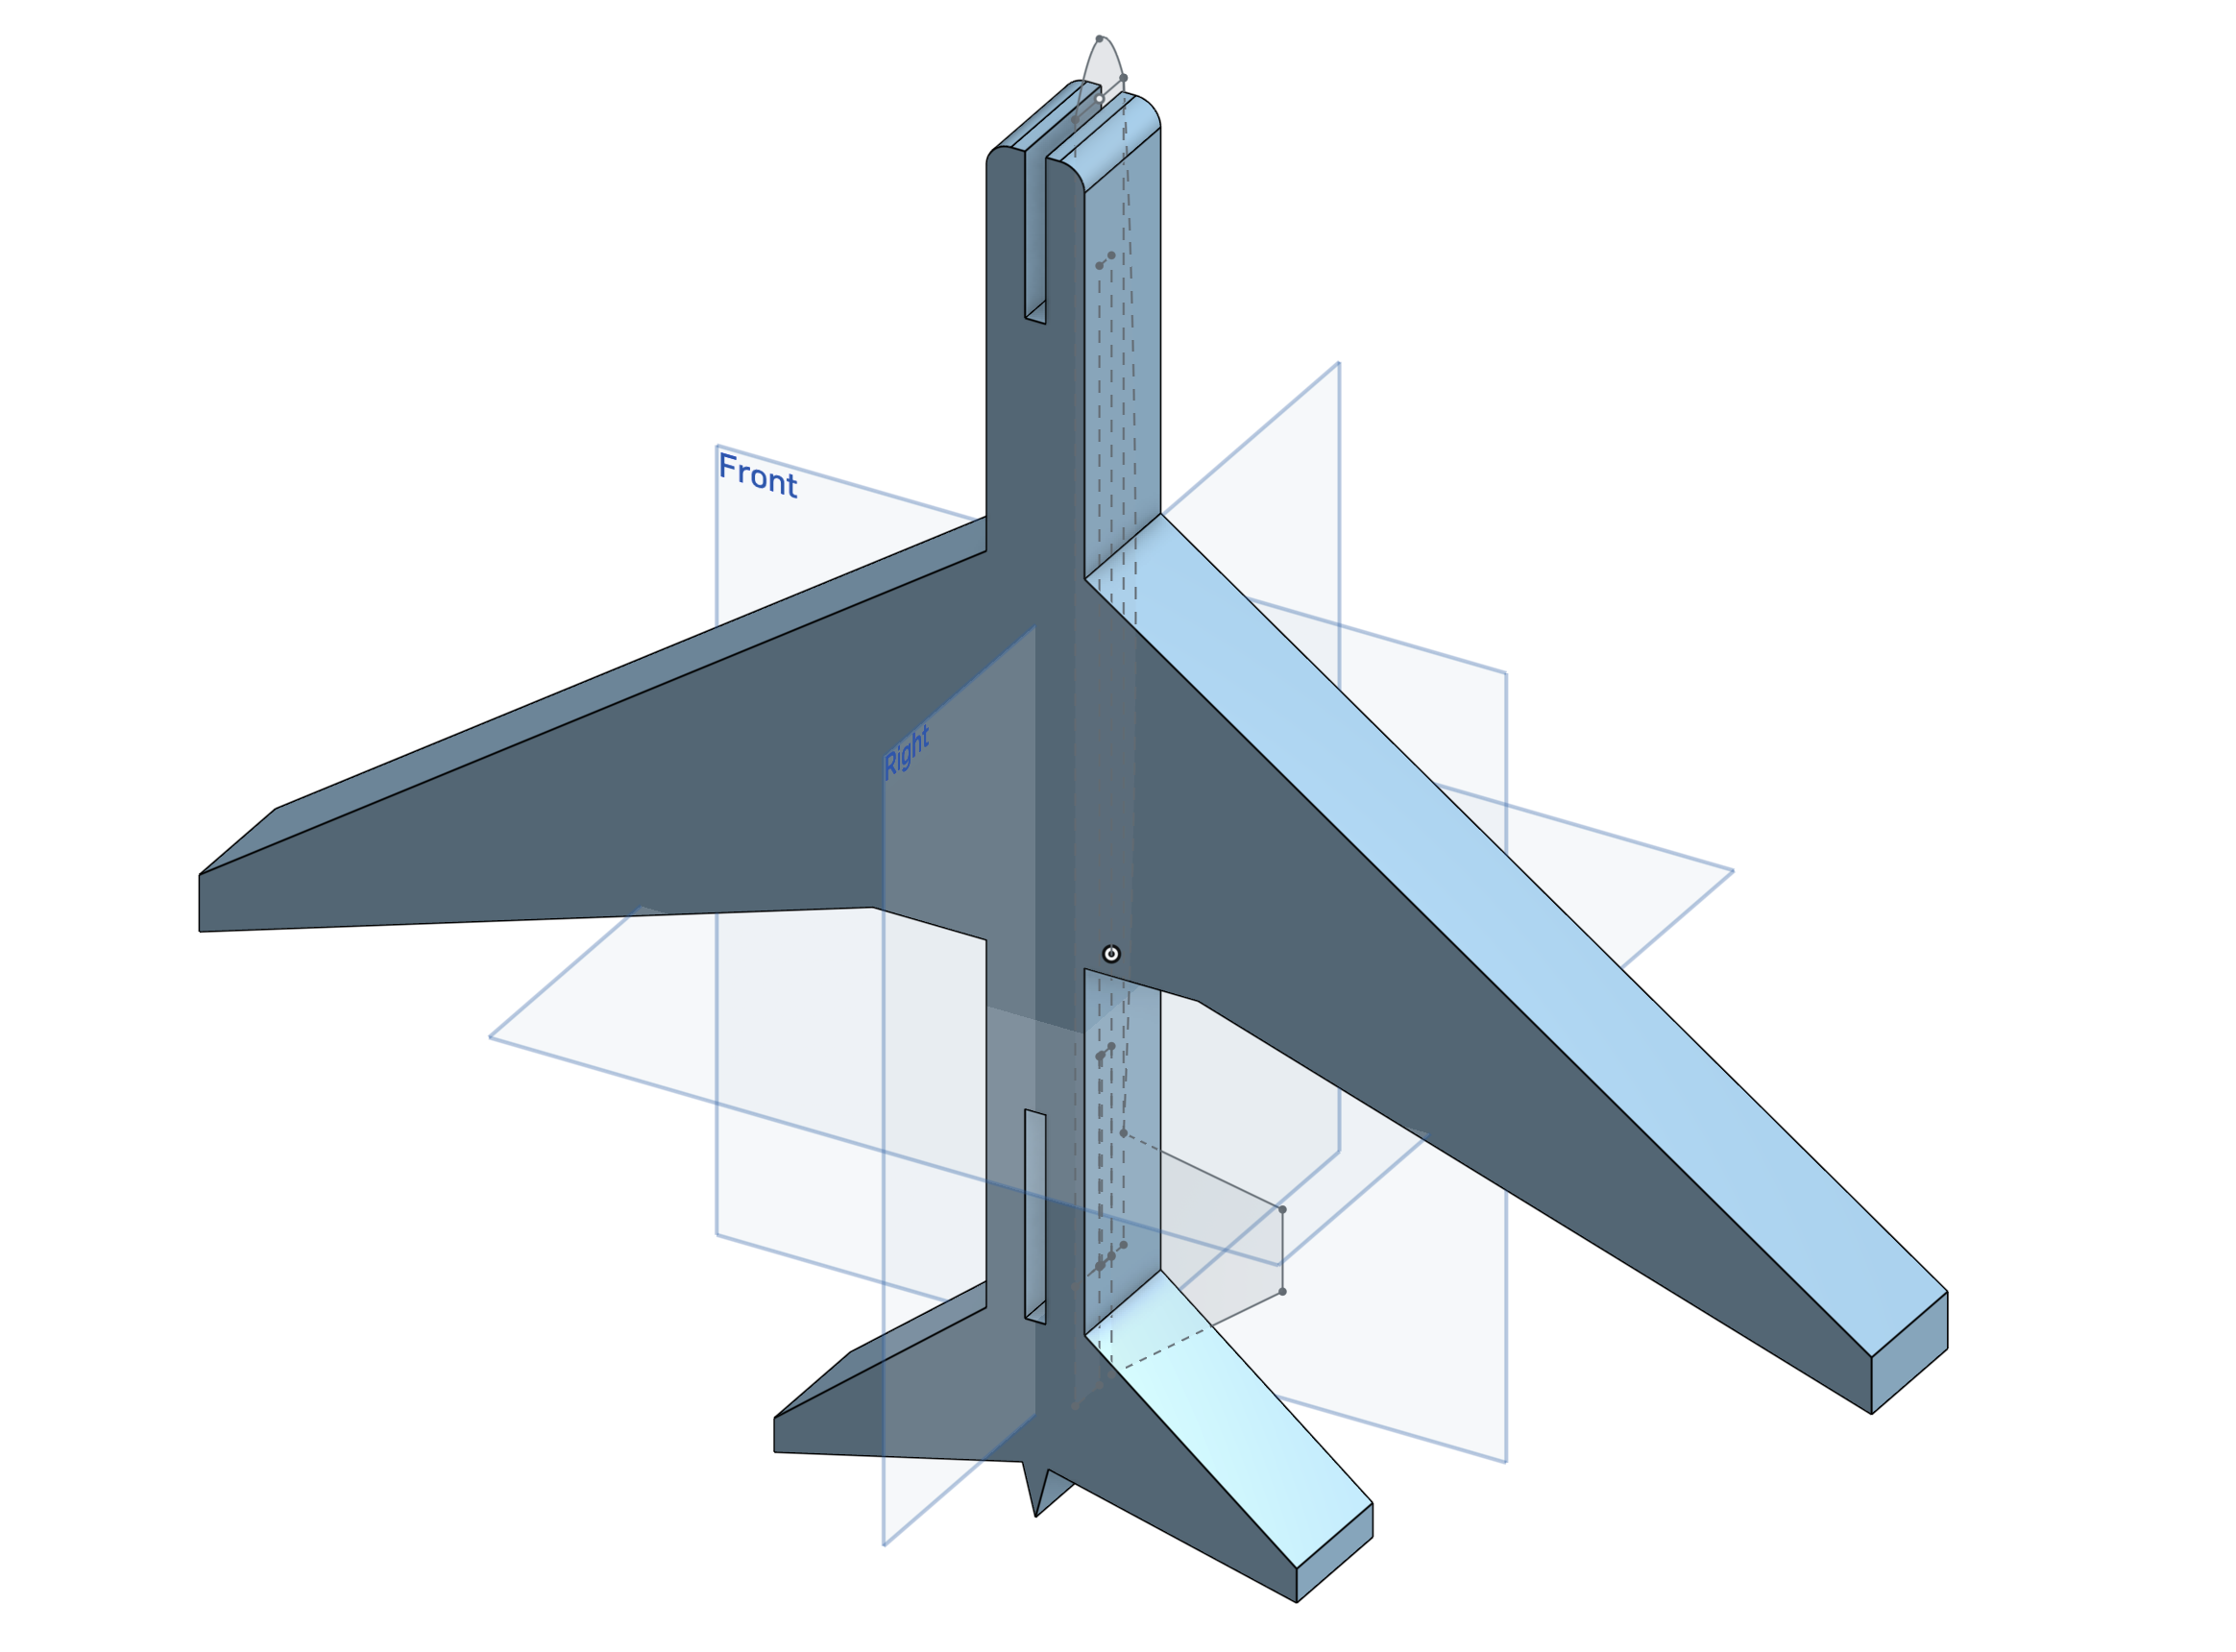
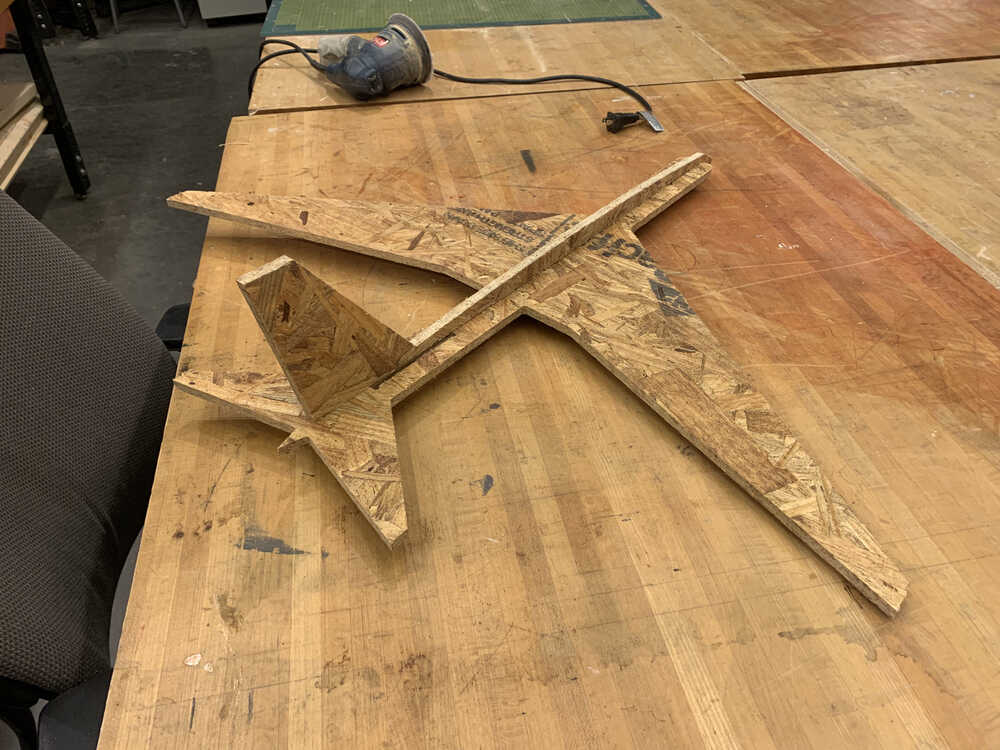
As my final project is to build a plane (or, in the final version, a plane-like object), and since there is nothing in my design that would require a big cutout on the meter scale, I decided to cutout another simple plane model. I used a similar design as for my first week, but appropriated the scale to match that of the wood material we are using. The basic design is shown below. There are two main parts which snap together via a snap fit, much like in the laser-cut version.
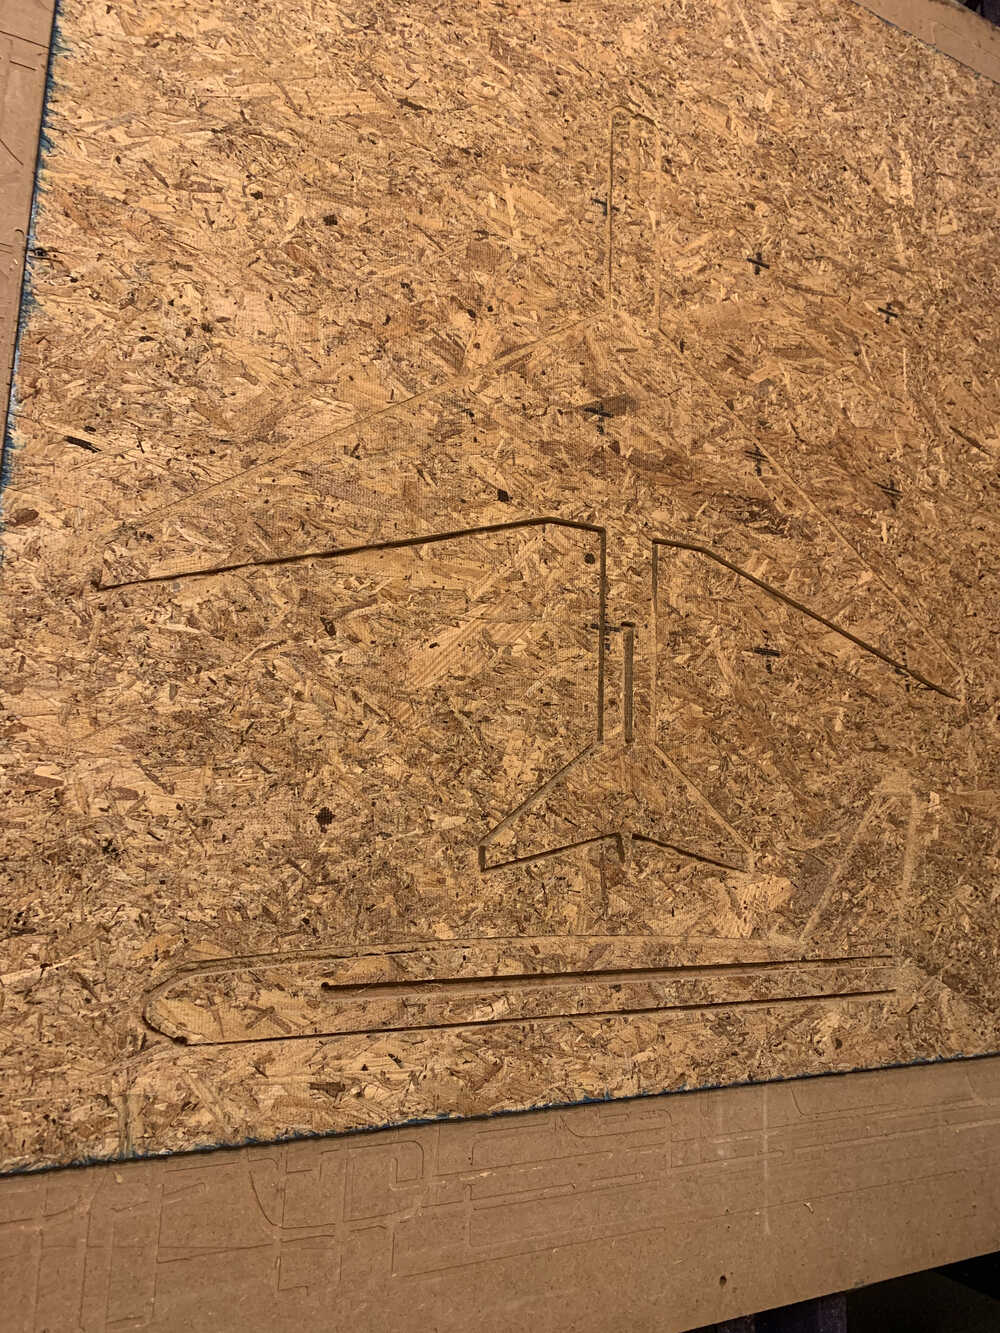
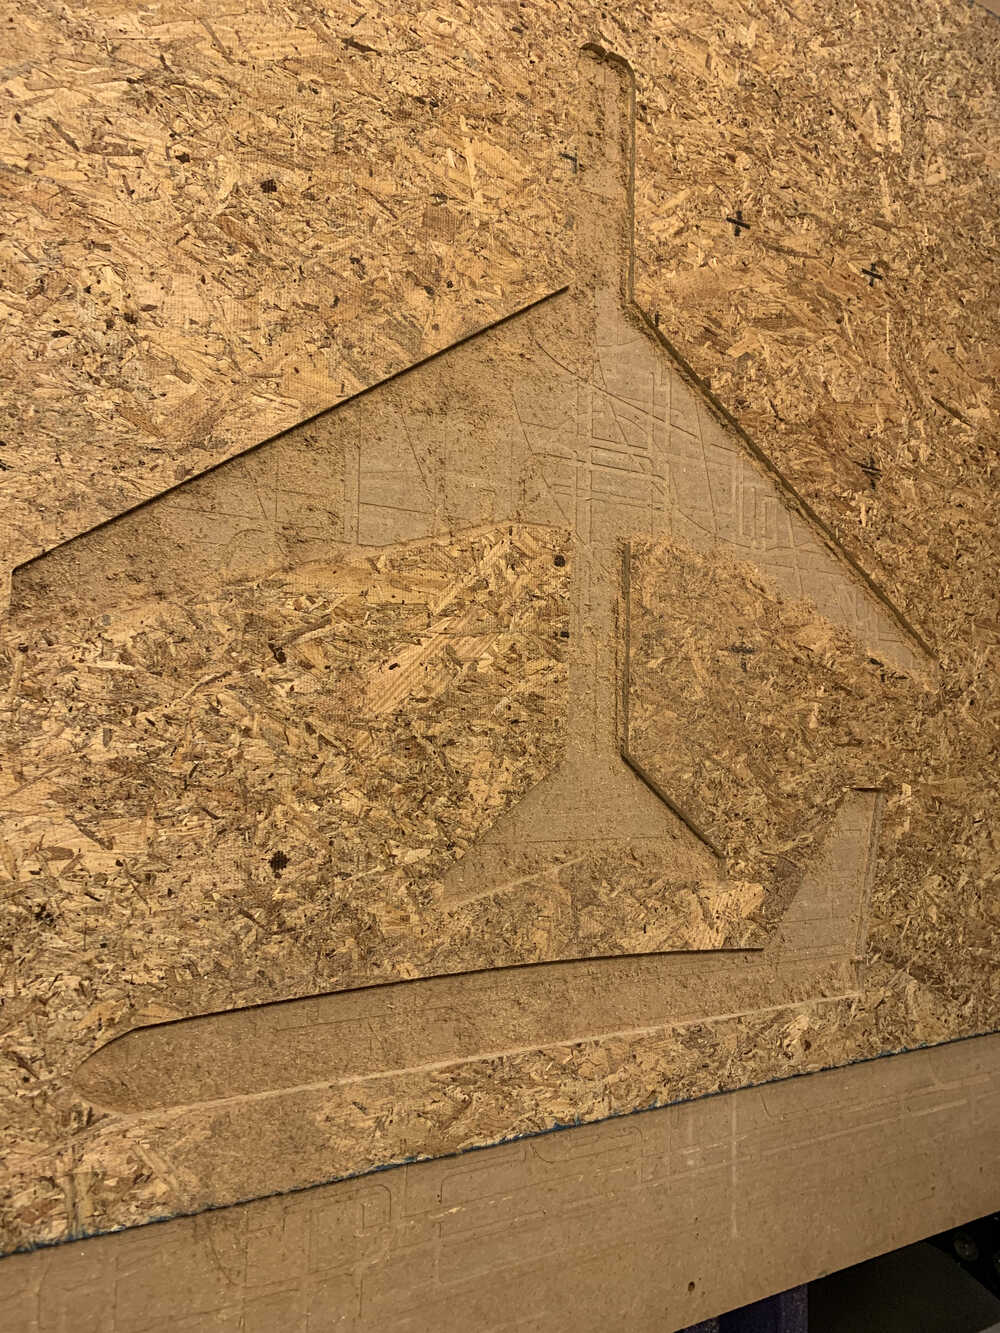
As we can see the design was again done in OnShape and the traces were done in VCarve Pro to be cut on the ShopBot. However, as it turns out for this particular material and endmill, the small gap between the snap fit and the body (first image above) is too finely detailed for the size of the endmill. Therefore, we had to make that gap significantly larger which reduced the effect of the snap fit. We can see that below in the final cutout of the parts.
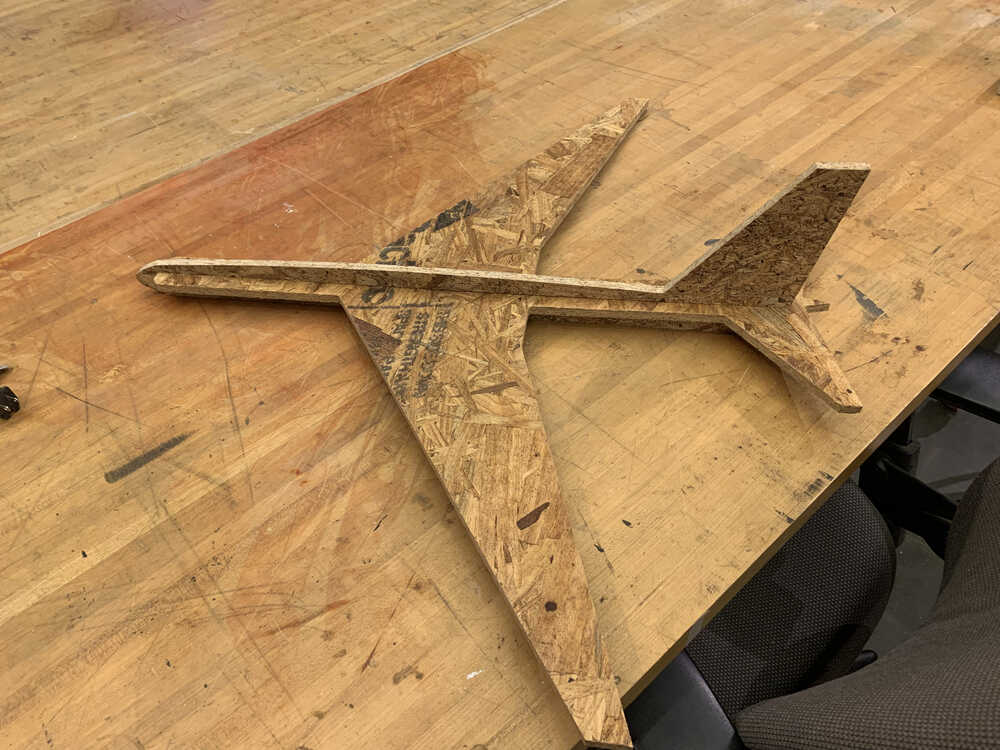
Putting it together did not really require much work, as the parts were fairly simple. The low quality of the wood material made it prone to causing splinter-induced pain, which made the simple design additionally fortuitous as it minimized the extent to which I had to work with the material.
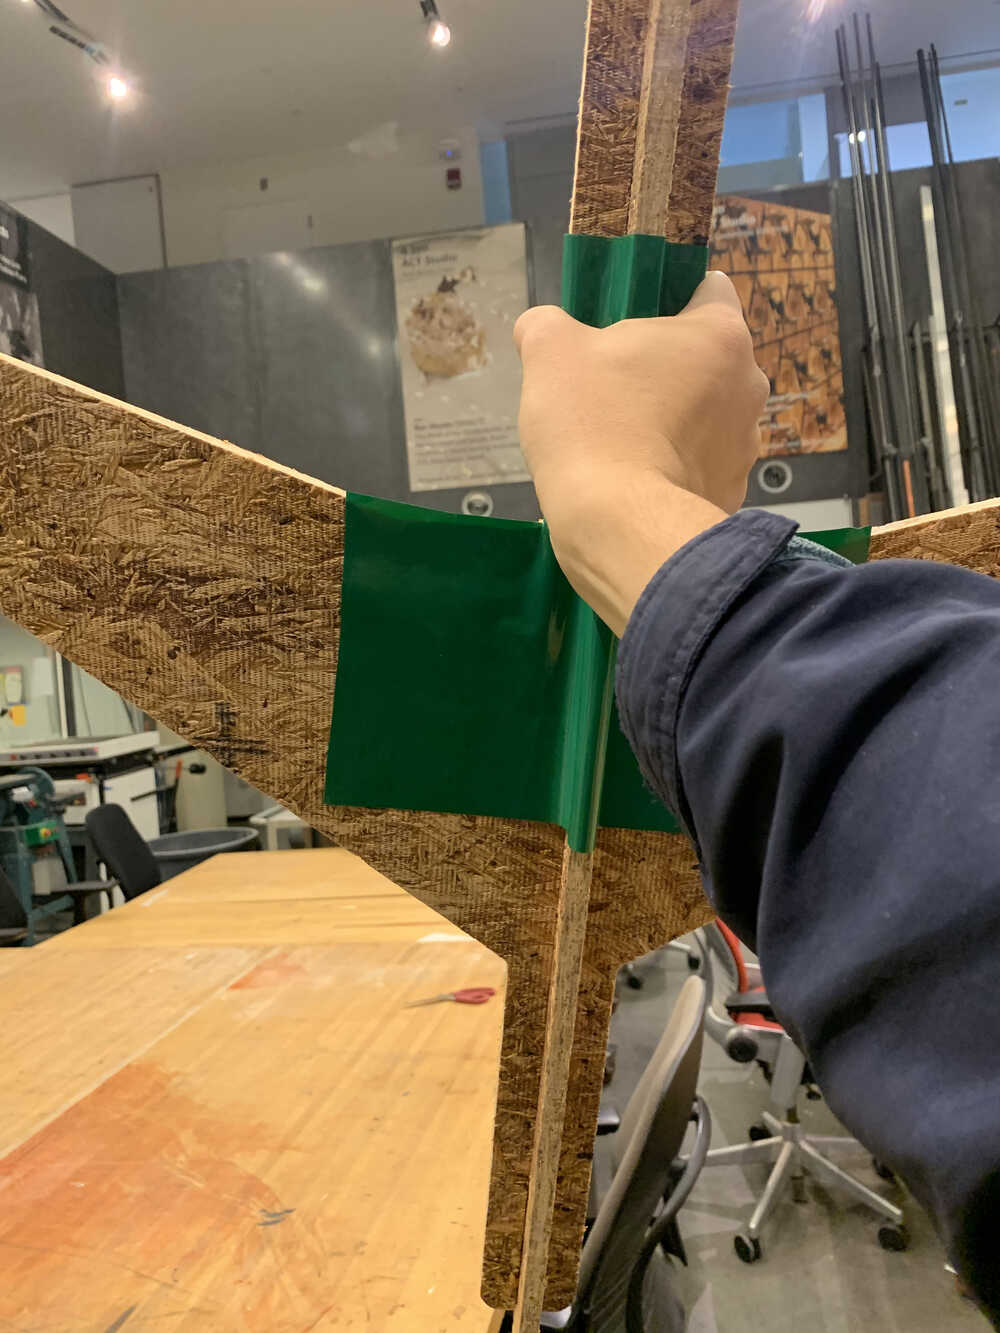
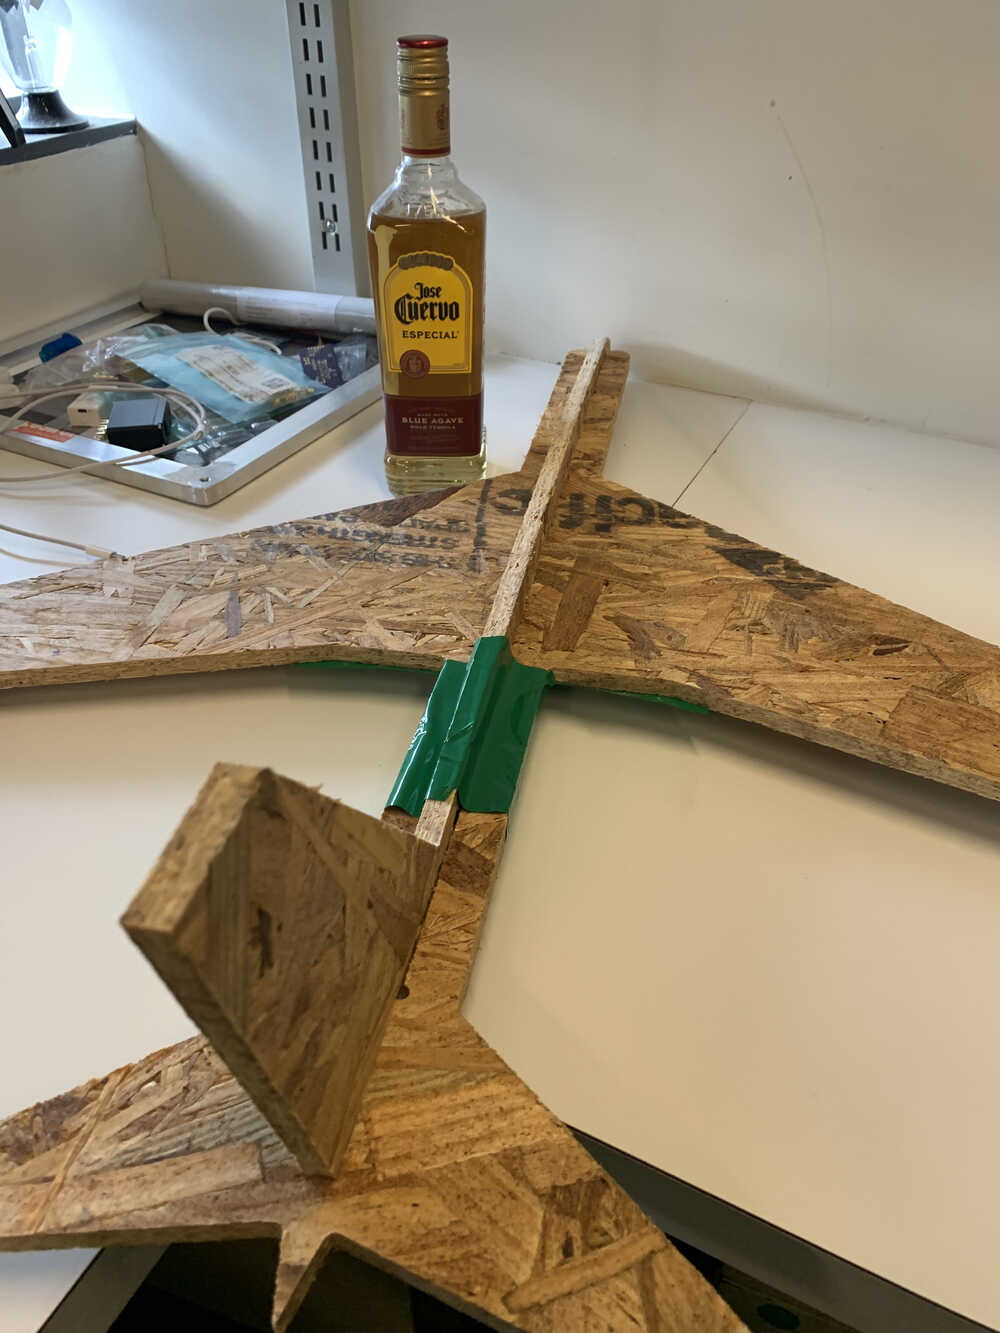
To make handling of the material a bit nicer I added some vinyl to the back to serve as a makeshift handhold. Here is the final version:

Epilogue: So this was a nice addition to the airplane theme of the site. Although I won't be using this week's work in any substantive way towards the goals of my final project, it was still nice to get experience working with big materials. Though I was not nearly as ambitious as some previous people, I still gained some good experience.