Week 8 + 9,
Ideation Phase: Before starting on input sensors, I wanted to flesh out my final project
before designing my circuit. When I'd finally decided on what I wanted to do, I decided my input sensor of choice this week would be a touch or capacitance sensor. Since I want the touch sensor to be tied to the behavior of a motor
in my final project, I also wanted to make sure to include that in this week's circuit. Initially, I failed to include a voltage regulator in my design so after milling and soldering my board only for it to fail at the bootloader stage, I re-made
my schematic and pcb layout and ended up with these:
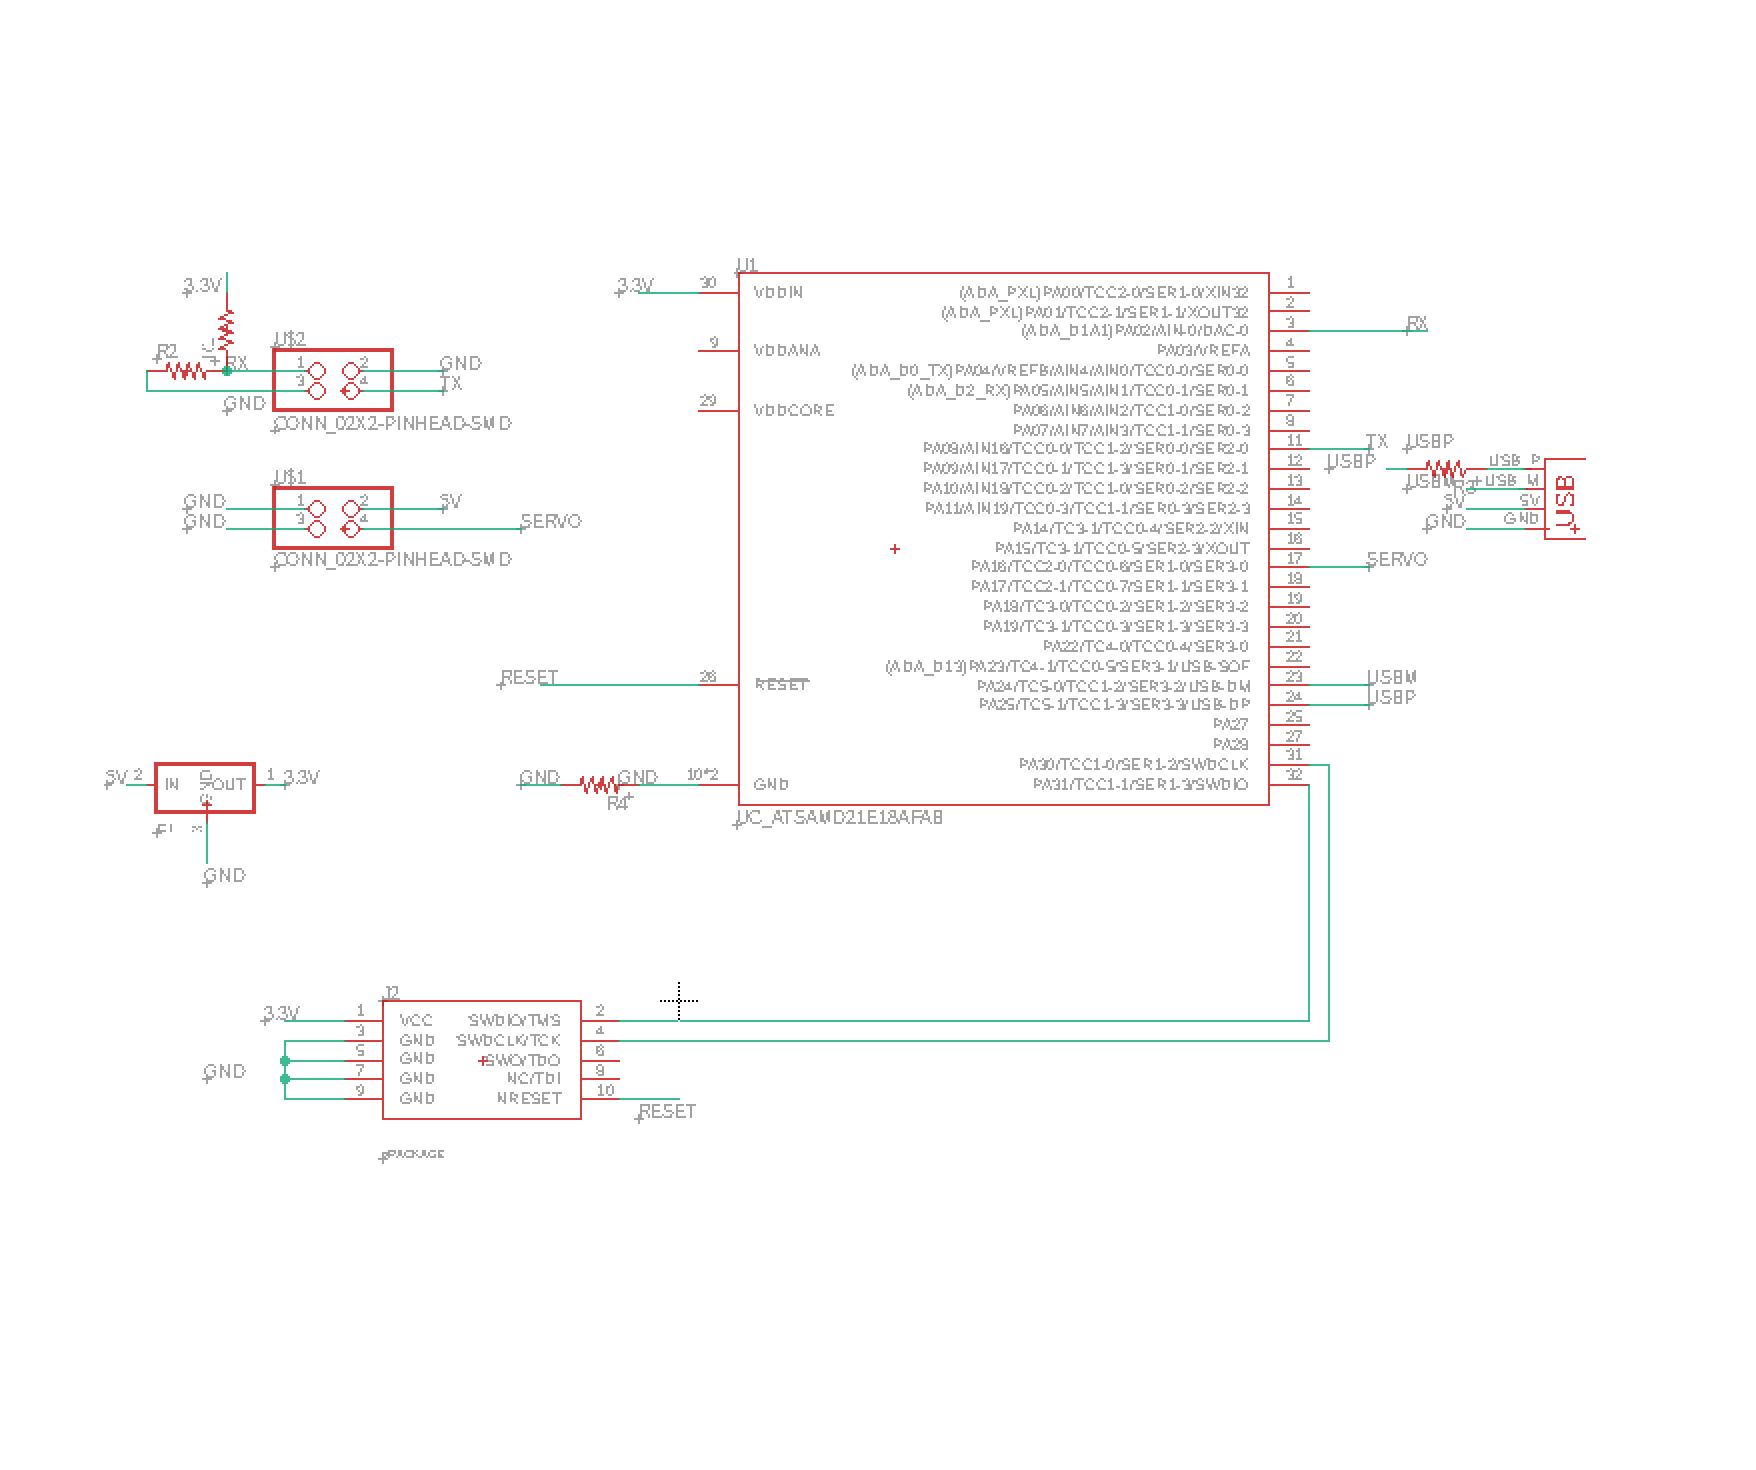
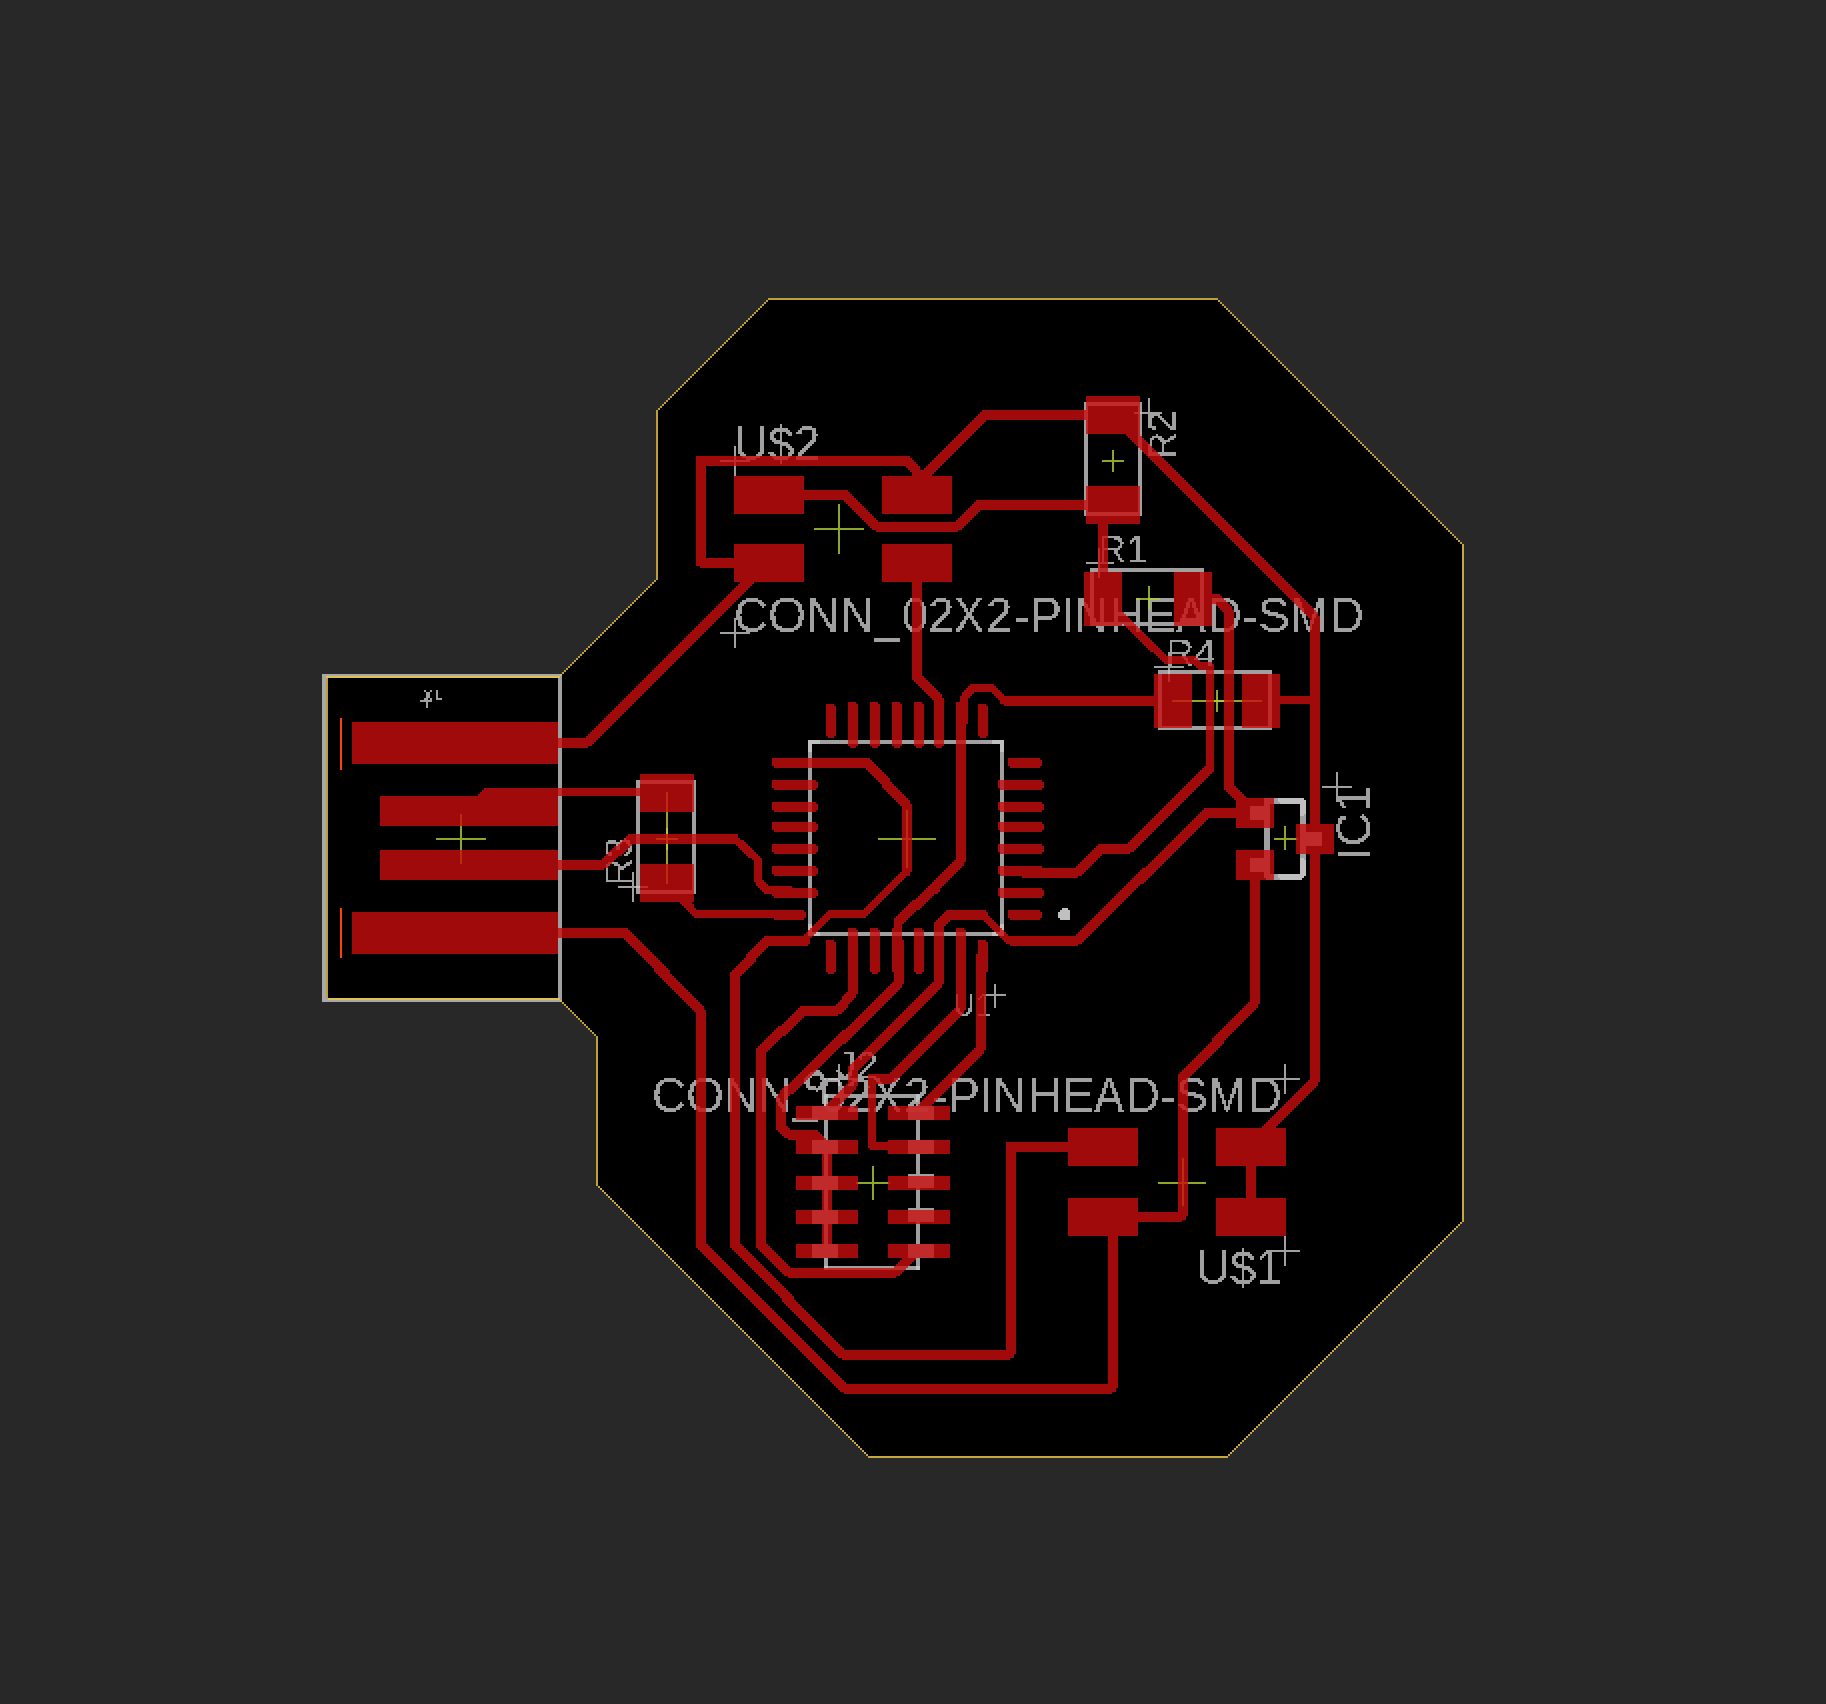
I ended up having to use 2 zero ohm resistors which is a bit inefficient but is a nice way to be able to make jumps on your board.
Execution Phase : Milling the board was such a... journey that resulted in two failed boards before finally being successful. My first two boards had
super thin traces that were way too deep and ended up flaking off. This was because of the settings I used on the Othermill. To correct this, I spoke to Anthony and we re-adjusted the input height of the copper plate as it was thicker in
actuality than the number on Othermill. I also realized I needed to use "1/32 PCB Conservative" when selecting the milling tool as the the "1/32 Flat End Mill" resulted in a milling job that was way too fast and ended up causing rips in
the finer copper traces. After all was said and done, I was left with this board:

From there, I needed to start attaching the aforementioned input and output devices. First, I decided to try the input device on its own and collect readings from it. I used
this page as reference
for both the code and the touch sensor. With this I was able to realize that a light press on the the touch sensor, I got a reading of around 300-400 vs. no press which resulted in a reading of single digits. A more forceful press would
result in a reading of 700-900.
Once I had the input sensor down, the servo motor was quite simple. I used the Arduino Servo library (against Anthony's wishes. Sorry Anthony! I simply wanted to be done with this week) to test writing to the servo. It's quite simple
so once I had tested that, I decided to join the two components and write to the servo only when the touch sensor sensed...a touch.
- Alex