week 5: make something BIG!
ideation.
This week's assignment was to make something big. Even though I am such a big fan of cardboard, we were provided 2 sheets of 4x2 OSB boards. Wood meant a mill, and a mill meant CNC-ing. A cool opportunity to get a taste of that Mech-E world.
Per usual, I wanted to make something I could use.
When I am at home, I usually work on the couch rather than sitting at a desk. It's great because it's more comfortable, but sometimes I miss a good solid surface. So, I decided to make a couch desk.
the design.
A couch desk, what is that? When I say a couch desk, I mean:
- [1] a desk that is at couch height,
- [2] a desk that is aesthetically shaped, such that it is an aesthetic addition to a living room
- [3] a desk that can double as a remote holder or bookshelf in times that it is not being used.
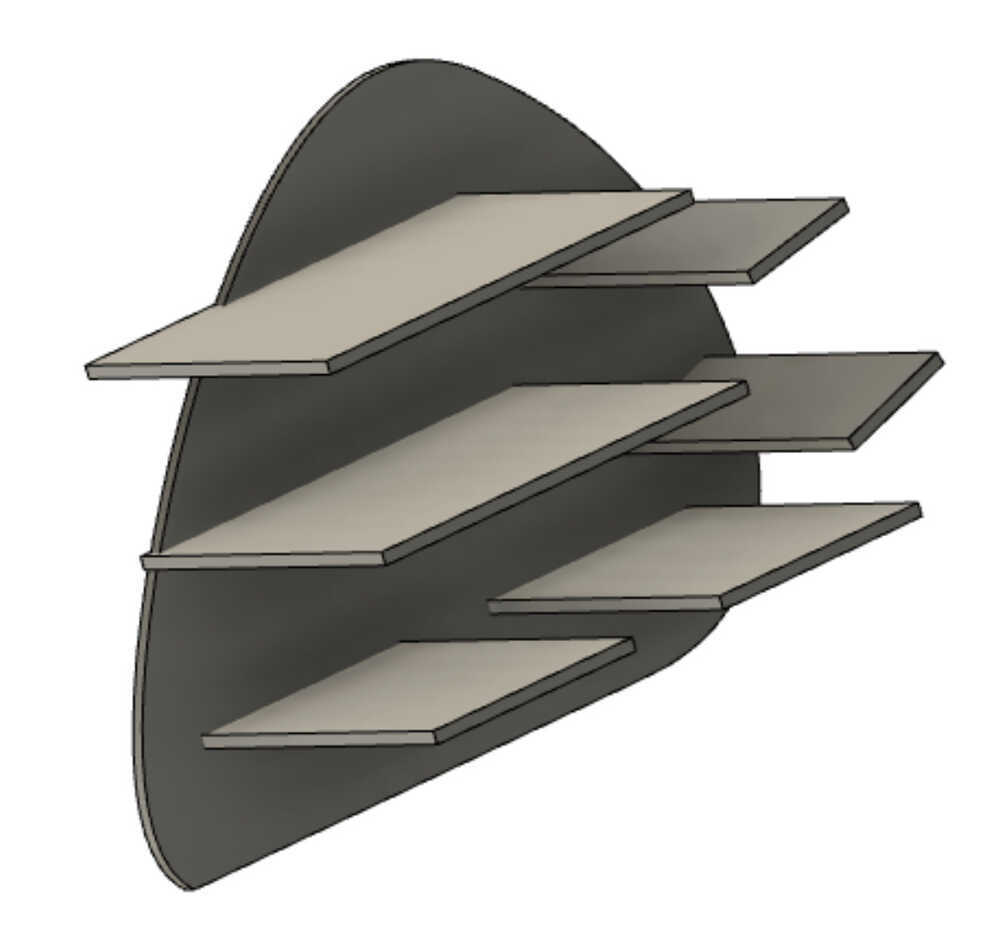
I sketched my initial ideas for a design. I built it like a bookshelf with a desk on top of it. The bottom level and beams higher up would support side panels, above which would be 2 removable tables. The tables would be removable so the desk would have more utility as a storage unit. I also made the side panels a round-ish shape, making sure the bottom was flat to prevent tilting. The roundness of the side panels is an abnormal shape, which ups aesthetic, prevents sharp corners, and keeps the desk from taking up too much space (i.e the desk would be too bulky if its side panels were circles for example). 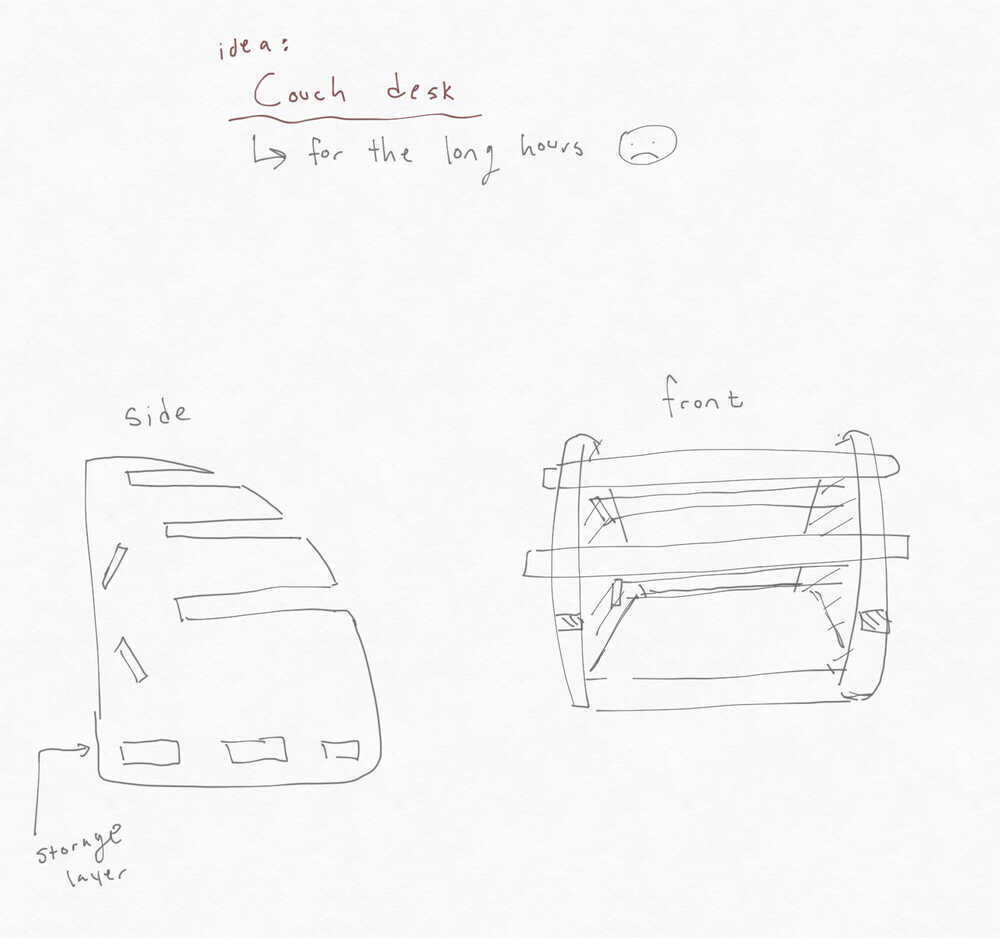
CAD/CAM
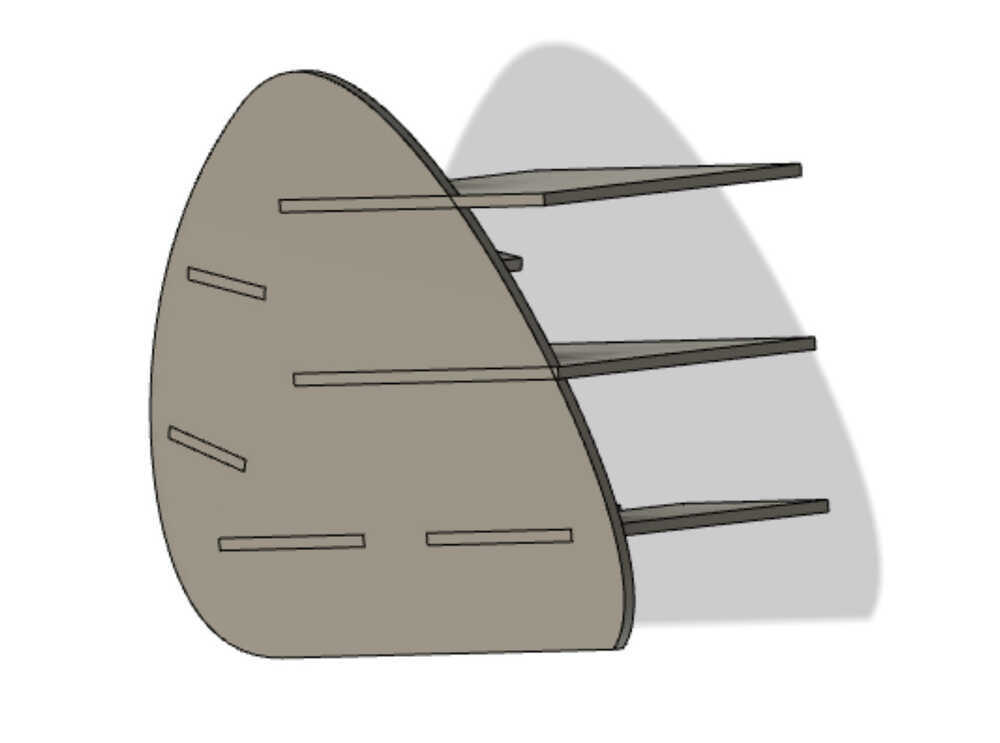
I moved on to create my design in Fusion. As always, I learned some tips on the design process as I made this design:
[1] be wary of large mirror commands, small errors become cascading errors that make them harder to debug
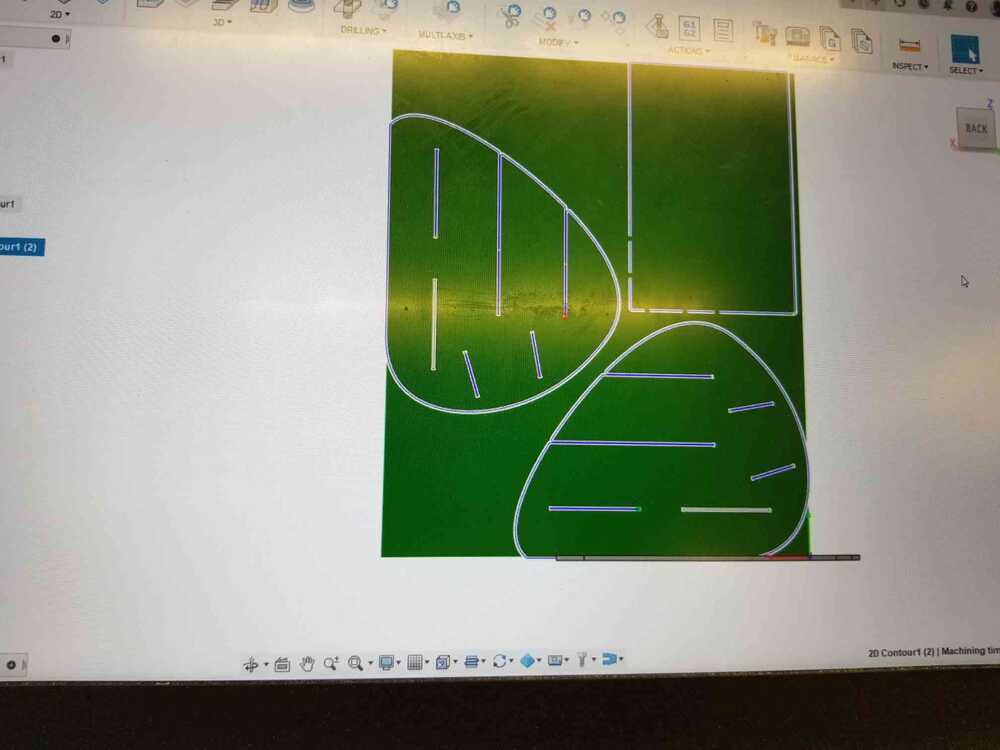
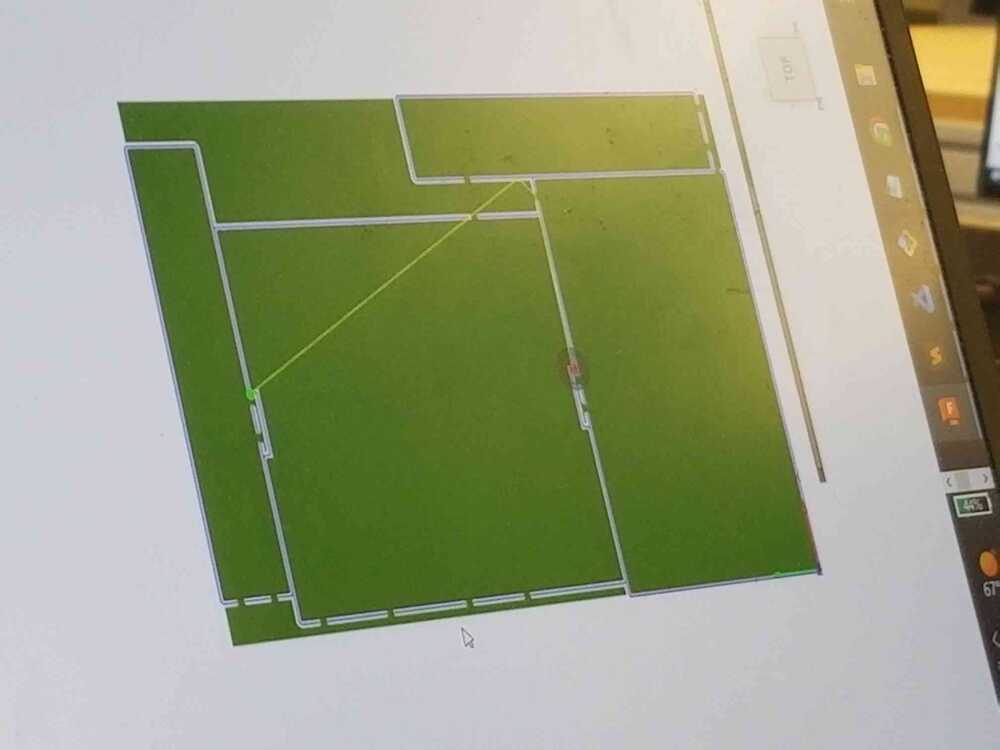
As shown in the images above, I designed half of the desk, hoping to mirror the desk to obtain the full model.
However, when I actually completed the mirror, I got artifacts like this. These came from changes I made in the original half after the mirror to help with press fitting. Additionally, the TA Anthony explained to use that touching joints should take on a dog bone shape where 2 piece intersect. This would help with getting pieces to slide together and would allow for some wiggle room for bending + shaking that comes with construction. I misunderstood him the first time and thought I had to add circles to the edges of all of my rectangular press fit holes to make the dog bone shape-- this is something that can be added automatically when you get to the CAM step. Some artifacts from my manual dog bones appears at of the front of the bottom shelf shown in the picture above. When I learned that the dog bones would be added automatically, I tried to go back and remove them. However, having added them after the mirror and having neglected to continually check the effect of changes made post-mirror on the miirror, it was extremely difficult to get the design to compile without error. I ended up just changing the diameter of the dogbone circles to a size too small for the drill bit to actuall mill. The mill would just ignore these tiny slits.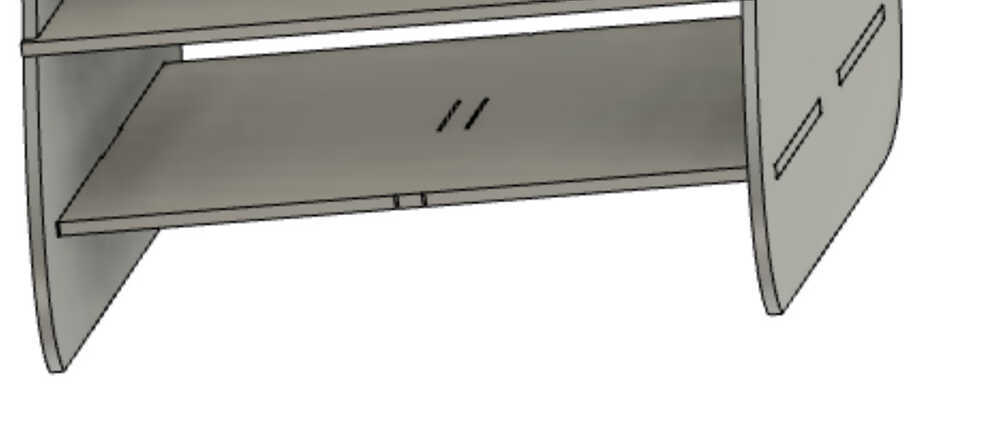
[2] Name your sketches for debugging purposes
Just do it. Don't spend 10 min looking for the sketch you need every time you need it.[3] In addition to user parameters, use constraints, and test that they work by changing user parameters as you go
The removable tables were not proportionally scalable with the height of the side panels which made it a pain when I had to resize things to fit on my allocated wood slabs. My design had parametric parameters, so the sizes of all the slabs changed with scaling, but the positions were not constrained so everything had to be dragged around.
CAM stands for computer aided manufacturing. We use this process to get our CAD ready to be milled. I created 2 Arrange planes and added all the pieces of my desk to them, ensuring that their z-axis direction pointed out and up. Dogbones and tabs were added do the design to ensure nothing came lose during the job. The round-ish side panels were particularly hard to place and forced me to go back a couple times to adjust the desk size and dimensions.
mill + assemble
With the CAM file, I moved to milling. To make sure the wood slab would not shoot off the bed during milling, I took a pressurized nail gun and shot nails into the wood all around, taking special care to place extra nails in spots that were skinny and prone to becoming projectiles.
The large mill was much like the Othermill in that I had calibrate the tool position and height using a little 1 in metal box that, when in contact with the drill head, would tell the program how far the drill would have to go down to for the drill head to be 1 in above the bed.
I started the process and listened to the drill to hear if anything went wrong. I actually got to hear something go wrong later in the day during someone else's print, where something did fly off the bed and the emergency stop had to be pressed. The drill made a high screaming sound, which prompted the emergency stop.
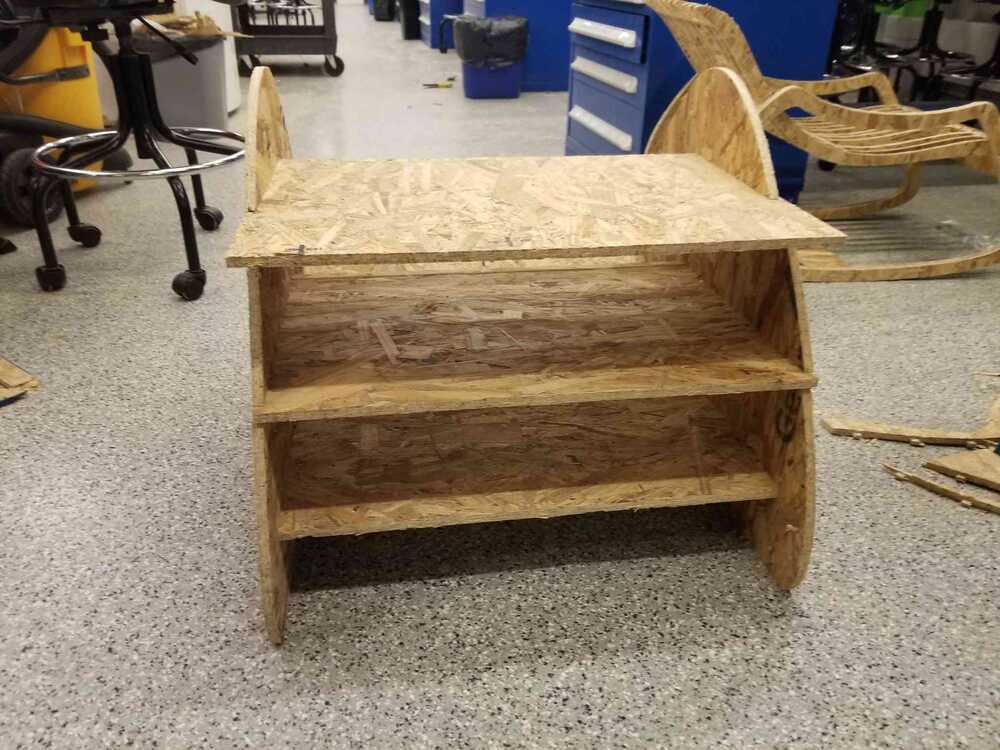
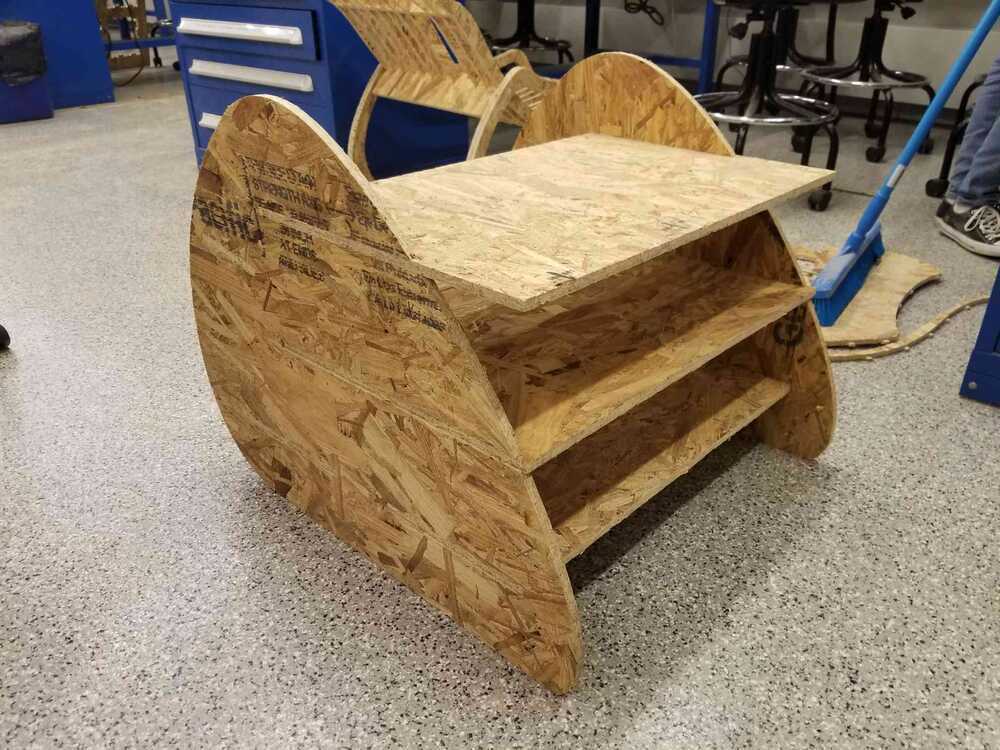
I got my pieces cut and moved to press the pieces together.
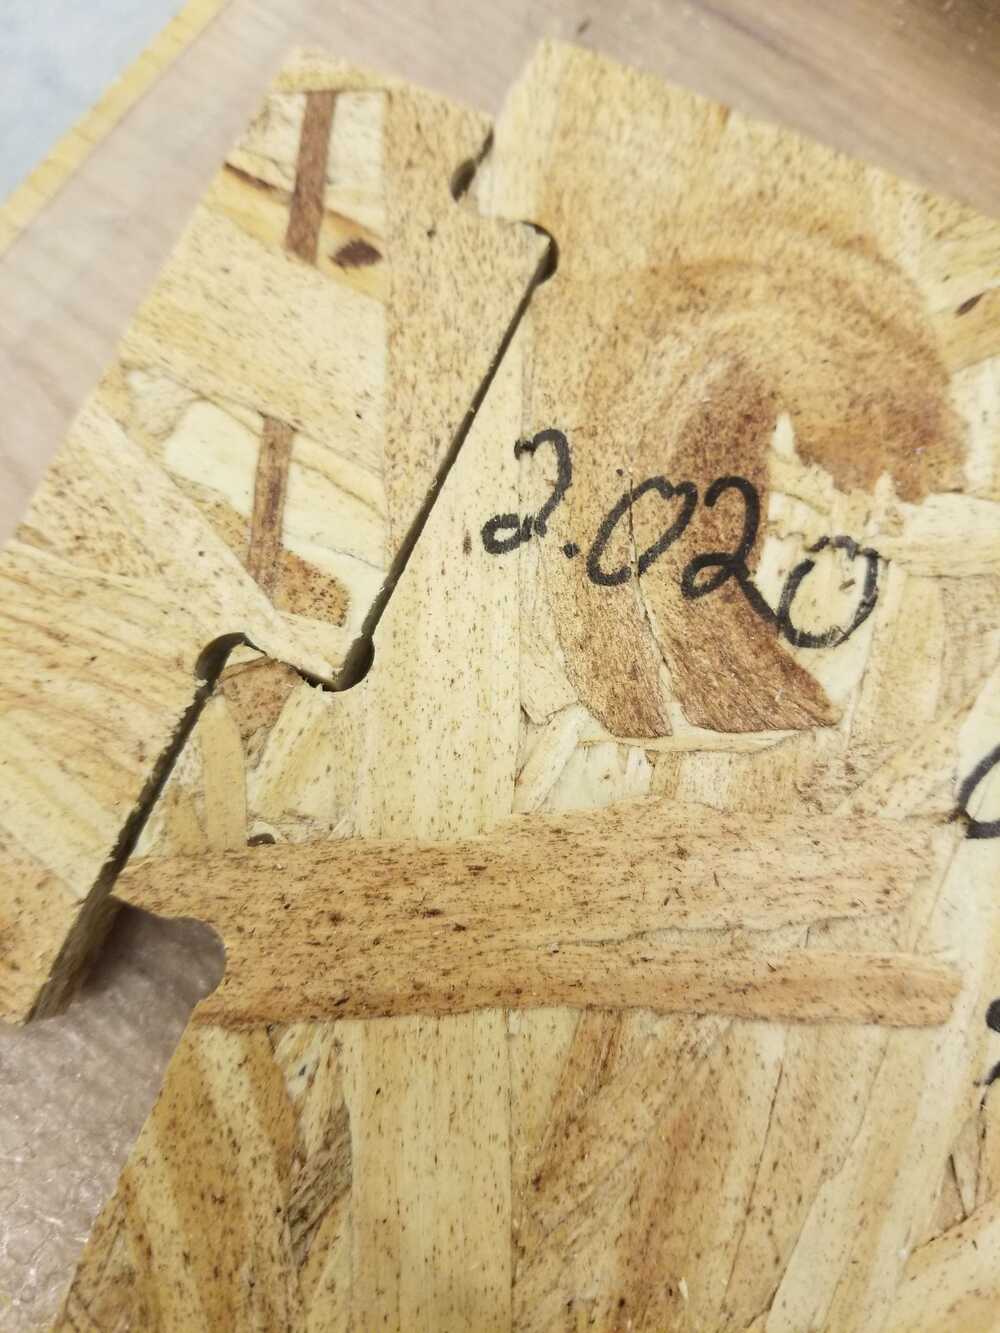
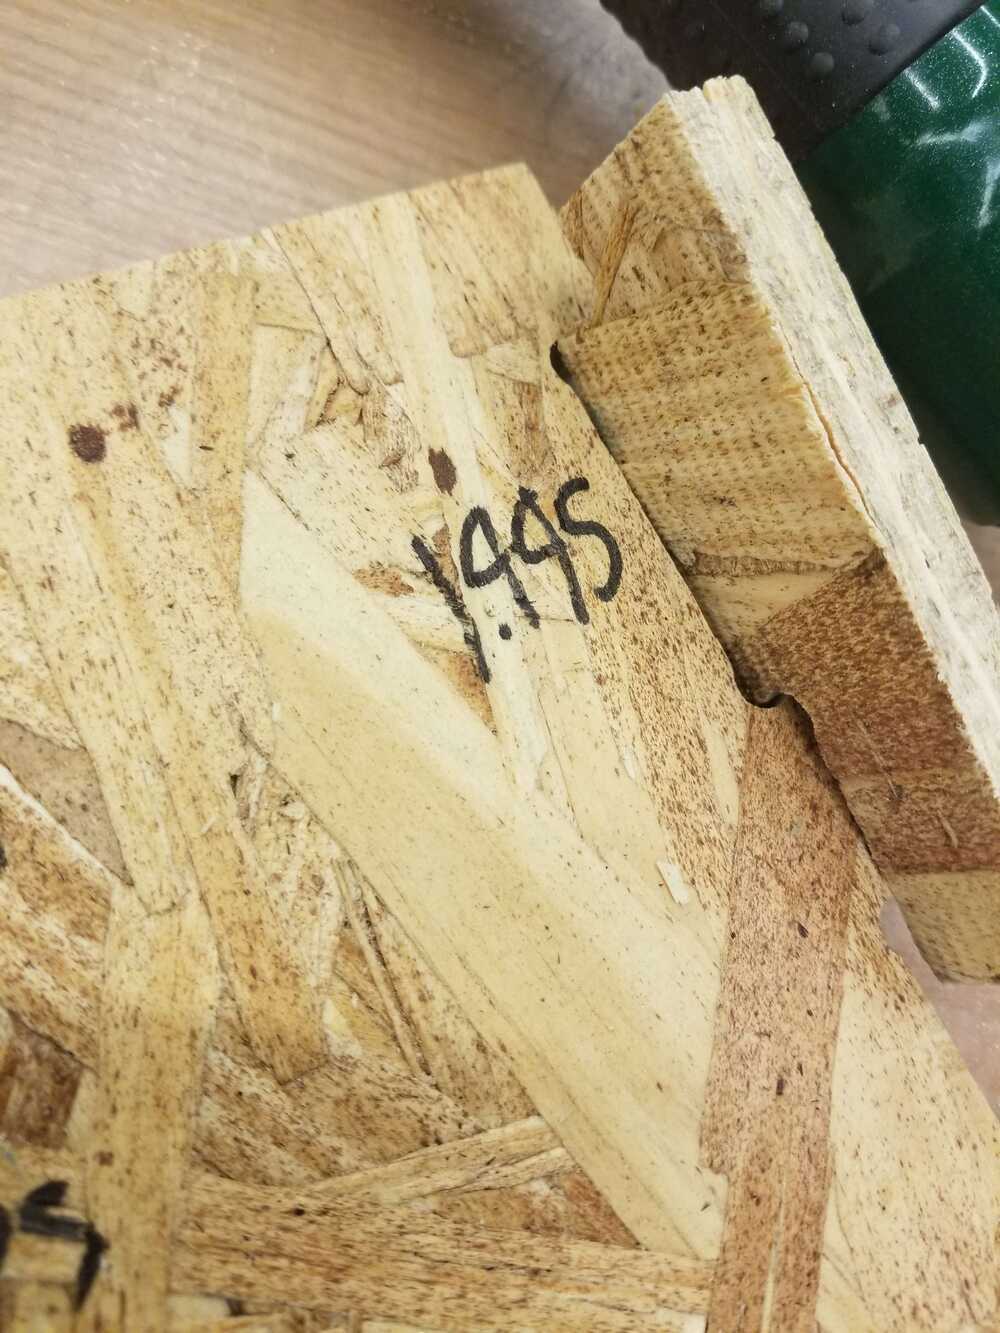
During this week's group assignment, we examined the fits of different press fits for the material we were working with -- ABS. ABS is basically a bunch of wood chips glued together and can crumble when cut too small. Additionally, pieces of ABS that slid against each other too often would essentially sand each other over time. I was not too excited to hear this. I wanted to put the desk in my living room, but it'd just become a splinter-generator. With time, I may come back and sand the ABS and seal it with some kind of acrylic.
In the images above we tested a press fit joint that was slightly bigger than the insert (.02 in) and one that was slightly smaller (.005 in). The bigger slit allowed the insert to slide around and rotate while fitting the insert into the small slit required a mallet. I chose the in-between option and made the sliding fits in my design slighly loose while the press fits meant for stability were 1:1 fits.
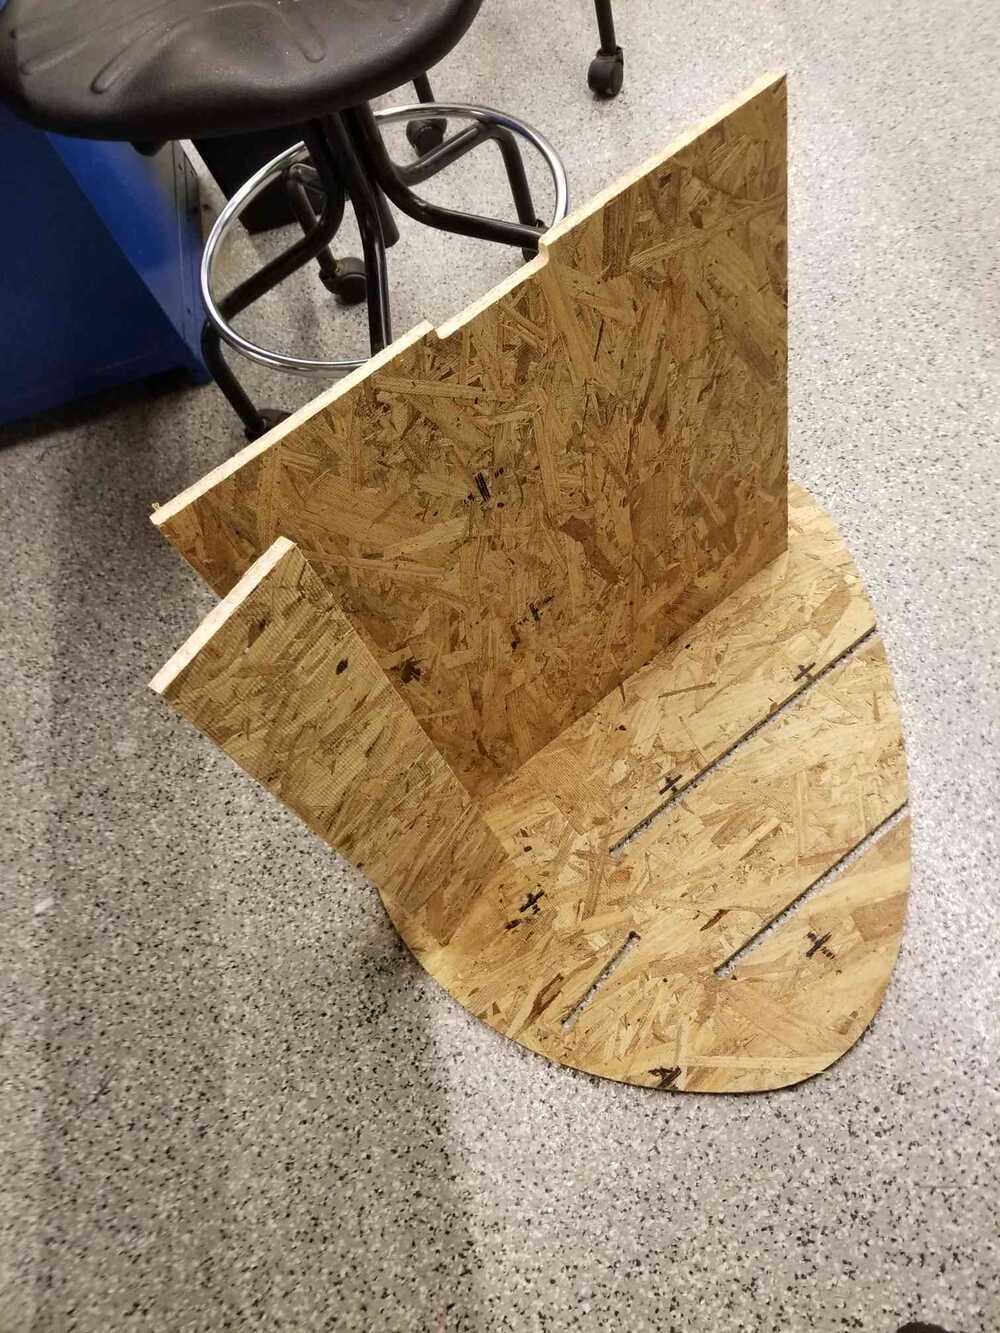
I took a mallet to the support beams and the bottom layer and 2 smaller support beams and then slid the last 2 tables into their slits to complete the design. It came out quite sturdy!