Week 10: Networking and Communications
Group Assignment
Group assignment answers can be found here: Group Assignments
Individual Assignment
For this week's assignment, we had to design, build, and connect wired or wireless nodes with a network. I decided to use the ESP32, since I thought I could use the week to work toward my final project as well. With the ESP32-WROOM, I would be able to give my lamp wifi and/or bluetooth capabilities. I also found out that the ESP32 itself was a microcontroller, so I could just have that one board and not use my other breakout board if I wanted to.
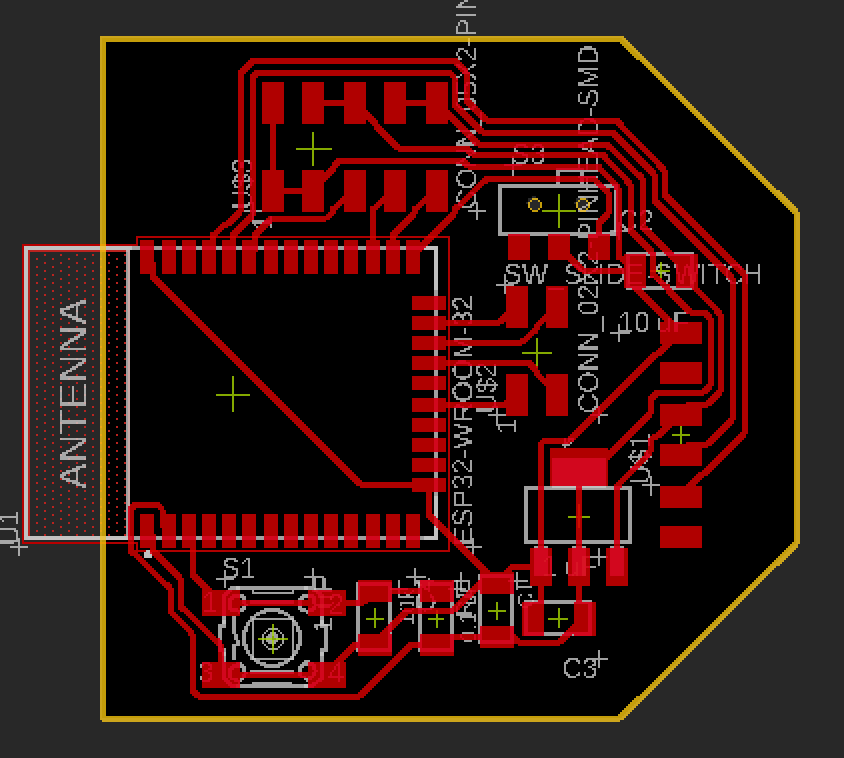
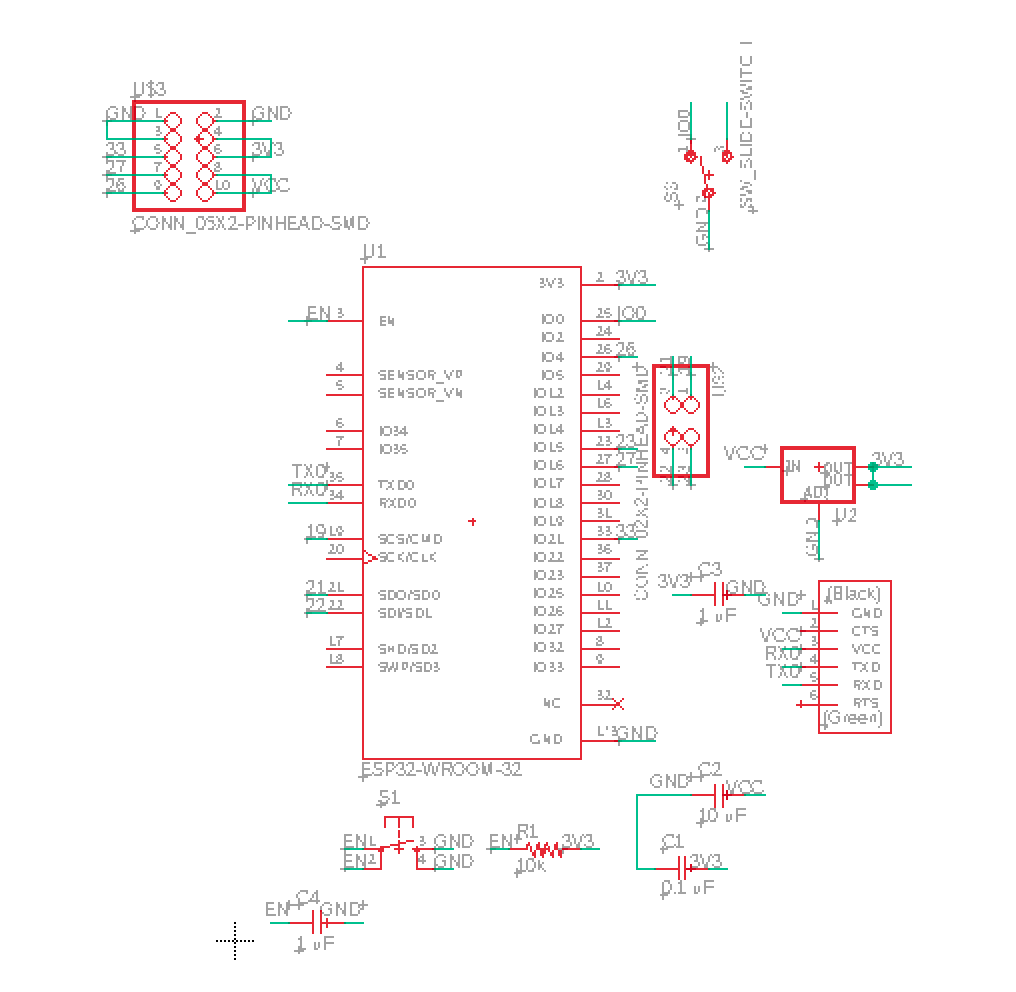
I started by using the example board that was on the HTMAA website. In addition to what was already on the example board, I also routed some additional pins to headers so I could use them for input and output, and I also included a couple additional ground, 3.3V and 5V pins. This way, I can use the board as a microcontroller breakout board as well. I followed the ESP32 pinout guide link posted to the issues page to know which GPIO pins were okay to use. I also included an additional capacitor connected to the reset pin, which another EDS student had realized was required for the button to work.
The first time I sent the board to be milled, I noticed that the machine was about to start milling in an area that had already been milled away for another board. I was confused initially becauase I had measured and offset the board appropriately, but then I realized it was because the previous person using the Othermill had not lined up the bottom left corner of the board with the machine platform. So, I took the board off, place a new board on, and began milling again. This time nothing went wrong, and the milling was quite clean!
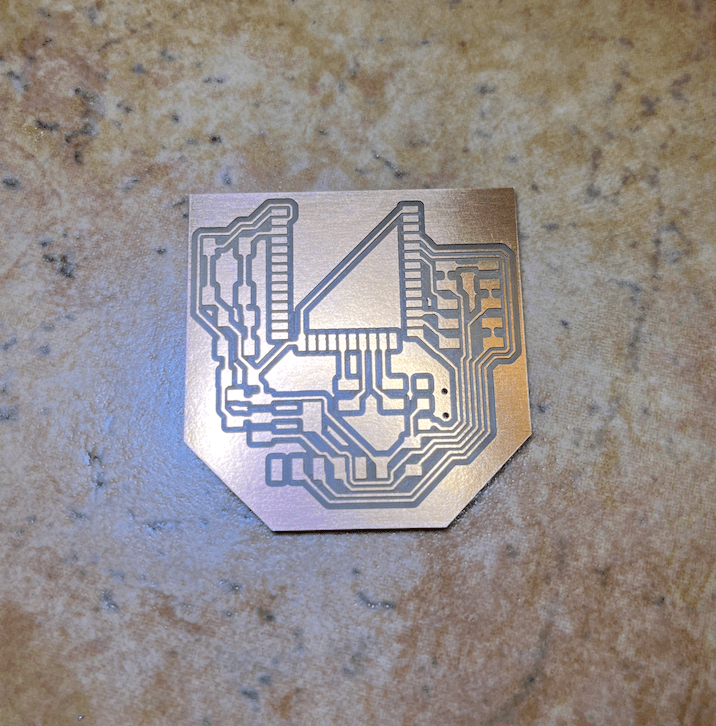
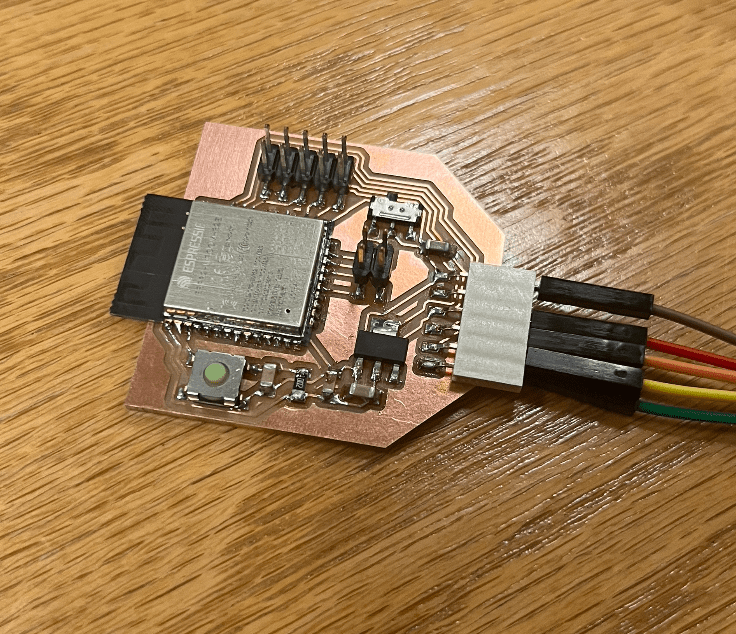
I double checked the traces to make sure nothing was accidentally shorting, and then I stuffed the board. Overall was not too difficult.

Once the board was stuffed, I connected the board to my computer with an FTD1 cable.
I ran into a few issues. When my code wasn't uploading, the first thing I noticed was the board was getting kind of warm. I don't know if it was actually an issue, but when I was soldering, I had soldered two of the pins together on the ESP32. I thought it was fine since I wasn't using the pins, but then I realized that the ESP32 used some of the pins for its own purposes so I decided it was probably the best to disconnect the two pins. Then, I ran into a problem that involved something about the python instances. It couldn't find some path for python. I googled the problem and put in some code into my terminal that changed all mentions of "python" to "python3" on my laptop. Not sure exactly what was wrong, but it worked. The next problem I ran into was that it wasn't recognizing the port that was used. I found something on the tutorial website saying that I needed to download some software that would allow me to have a COM port. I downloaded the software and it didn't give me a COM port in the ports available, but it did give me another usbserial port that worked and recognized the ESP32. The last thing I had to do was put the device into the mode where it was ready to receive code by flipping the switch to the right (I apparently wired it backwards on mine so I would need to flip the switch to the right instead of to the left like in the example) and press the button. Finally, the uploads were working. I was honestly kind of proud, since this was the first time I got the board to work and start uploading code entirely on my own (though not a lot of debugging was required in this case). Anyways, I first uploaded an example Wifi-Scan code from the Arduino board examples, and it successfully scanned and found the Wifi sources available nearby.
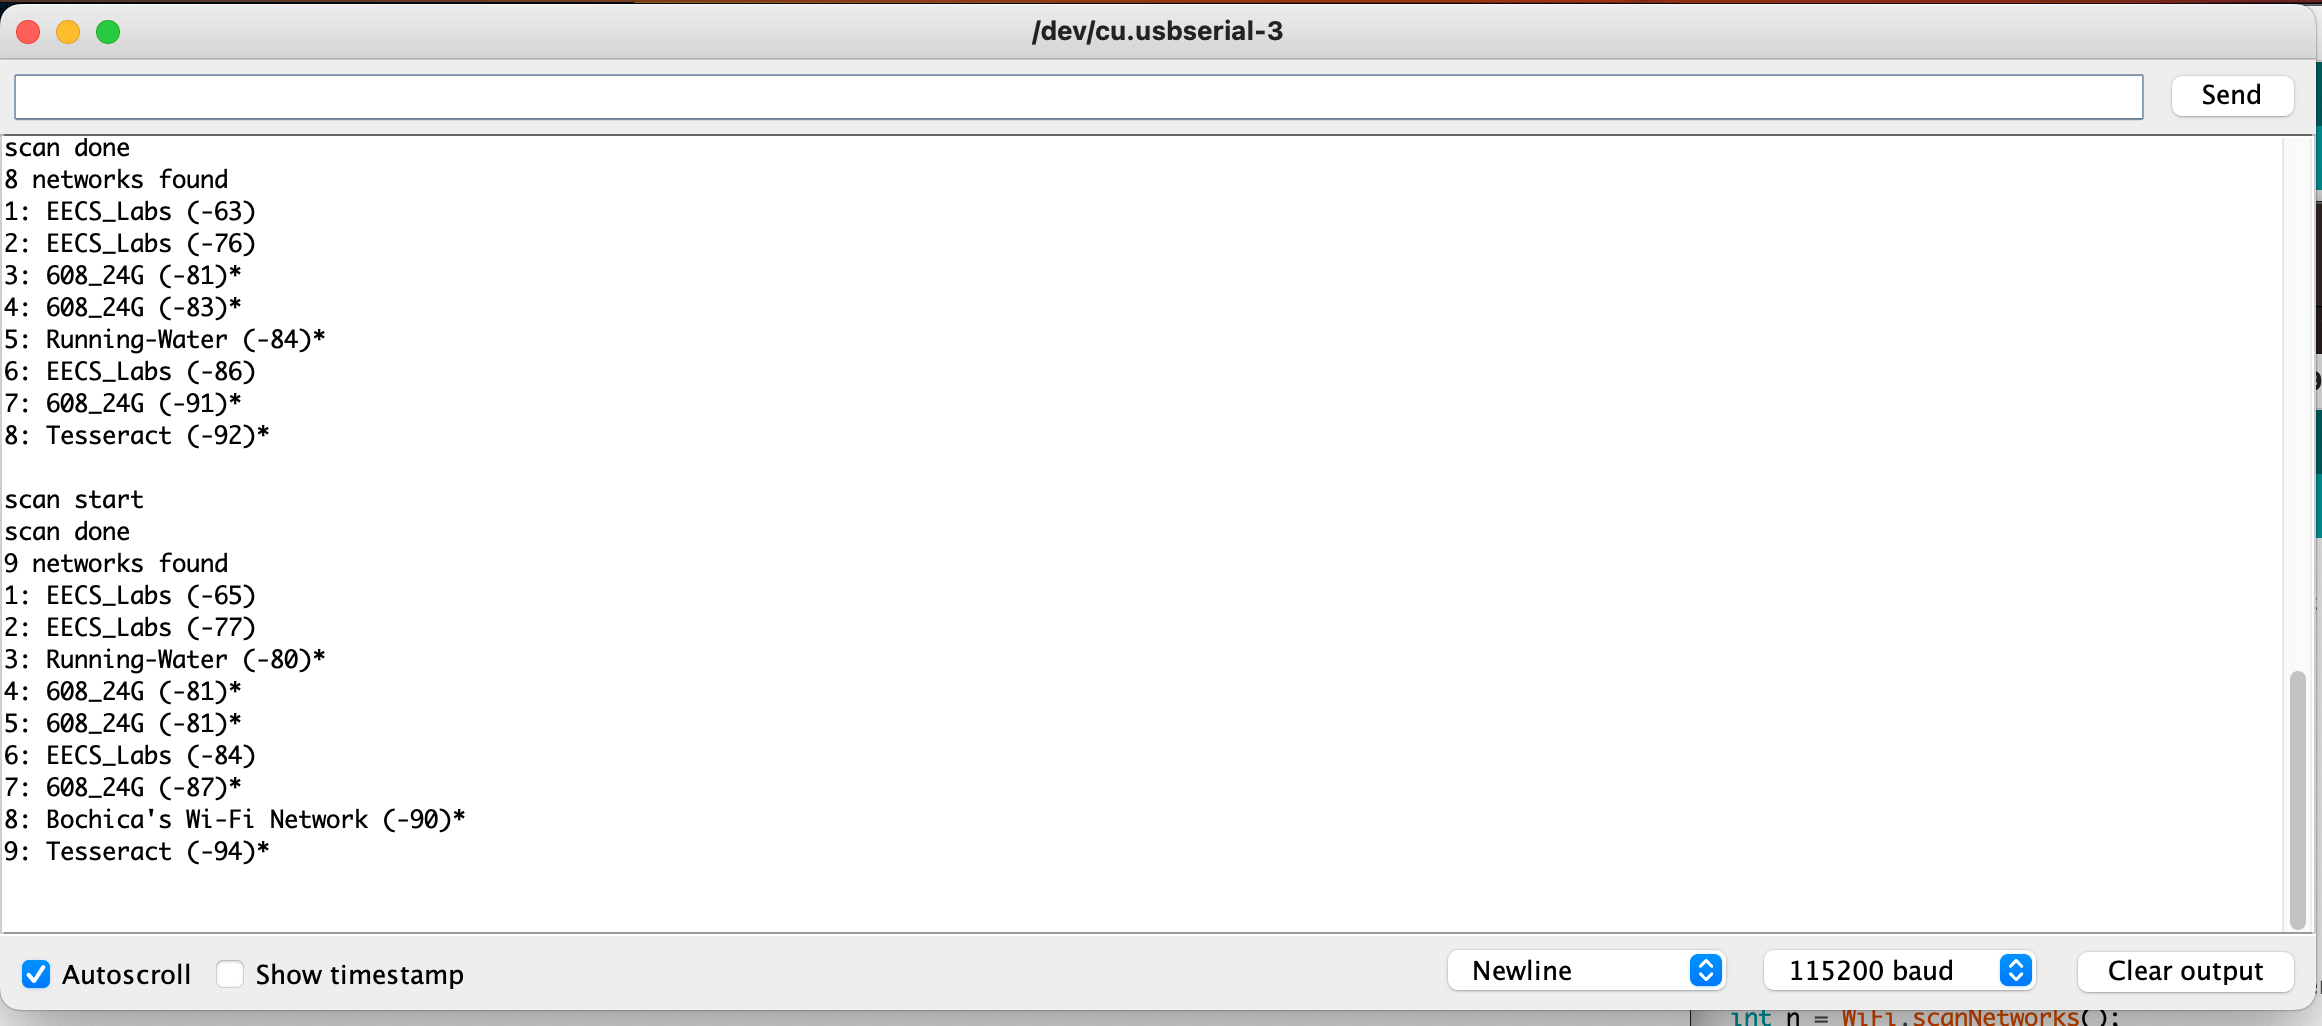
Then, I tried to upload some more example code that I found that would create a web server that could control an LED attached to my board. I will finish up with the user interface part in week 11's page, but I managed to successfully connect my board to the EECS_Lab wifi.

Lesson Learned: Even if pins are not connected to anything, probably better to make sure they’re not connected with themselves, also make sure to double check everything with a mill (including board positioning) before starting a job.
Useful Links:
- ESP32 Pinout Reference: https://randomnerdtutorials.com/esp32-pinout-reference-gpios/
- ESP32 I2C Communication: https://randomnerdtutorials.com/esp32-i2c-communication-arduino-ide/
- ESP32-WROOM Data Sheet: https://www.espressif.com/sites/default/files/documentation/esp32-wroom-32_datasheet_en.pdf
- Getting Started with ESP32: https://randomnerdtutorials.com/getting-started-with-esp32/#esp32-programming-environments
- ESP32 Web Server Example: https://www.youtube.com/watch?v=pL3dhGtmcMY
- w3schools HTML Compiler: https://www.w3schools.com/html/tryit.asp?filename=tryhtml_intro
- ESP32-WROOM Board Reference: http://academy.cba.mit.edu/classes/networking_communications/ESP32/hello.ESP32-WROOM.png