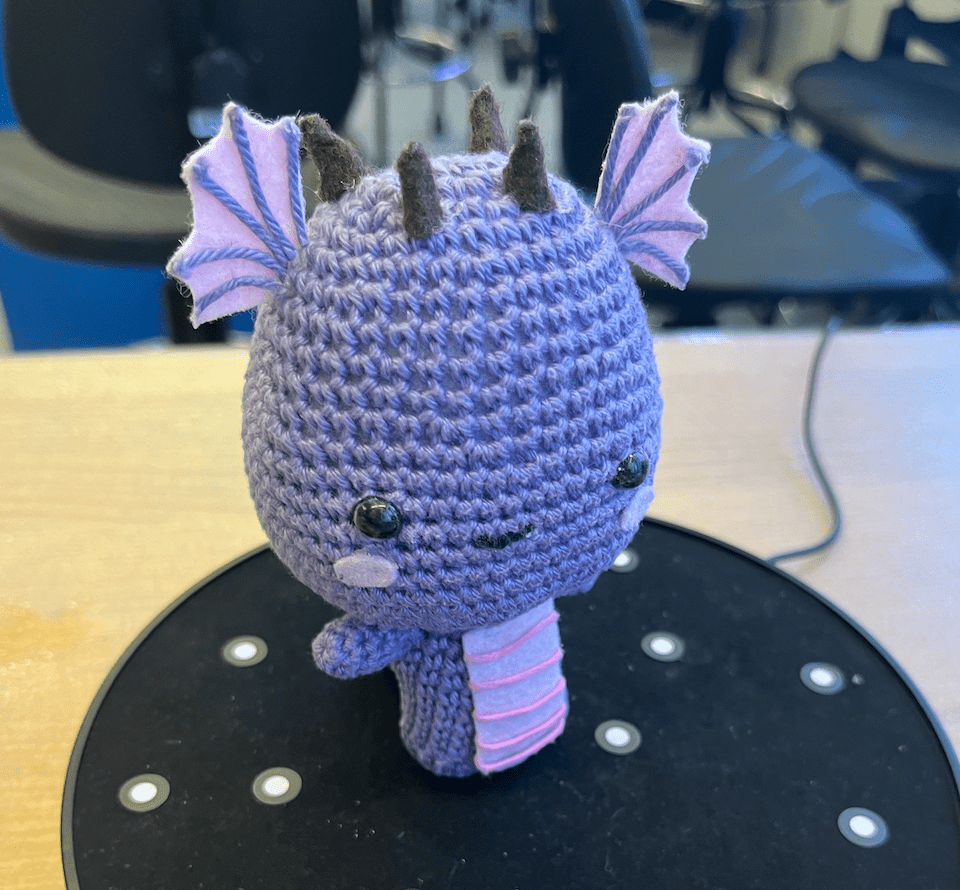
For the 3D scanning assignment, I decided to scan a purple dragon plush that I had crocheted. I wasn't sure if I'd be able to successfully scan it because I was worried it would topple over too easily and that the features wouldn't come out well. I still decided to just give it a try and see though.
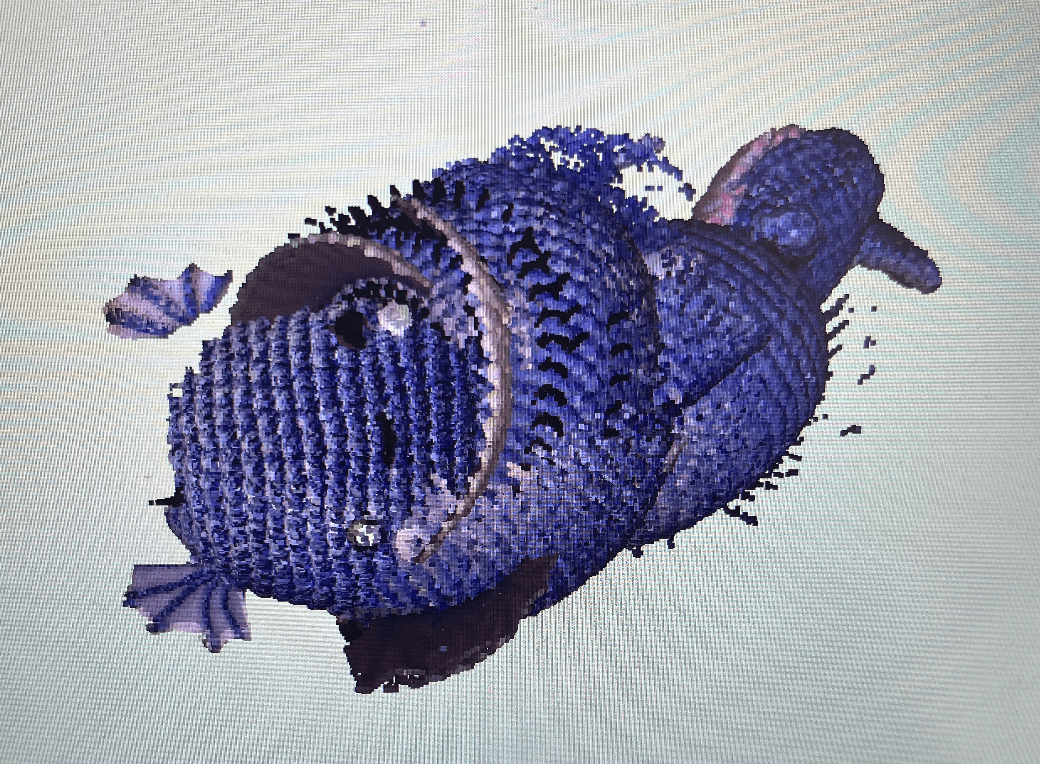
The scanning took much longer than I expected. I tried multiple methods - I started by keeping the dragon stationary and manually scanning but the scanner kept losing its target. I then realized that the platform moved slowly enough that the dragon would stay upright while on the turning platform. I did this, with the camera stationary and the dragon turning, but I realized that it wasn't catching the bottom of the dragon or the top of the dragon. So I picked up the camera slowly and tried to angle it so that it would first scan all around the bottom and then all around the top. This resulted in many failed scans (example shown below) because the camera lost the target, but eventually I managed to mostly succeed. Another problem I ran into was that the eyes initially came out as holes in the head because they were too reflective. I was able to fix this by putting talcum powder to take away the reflectiveness.
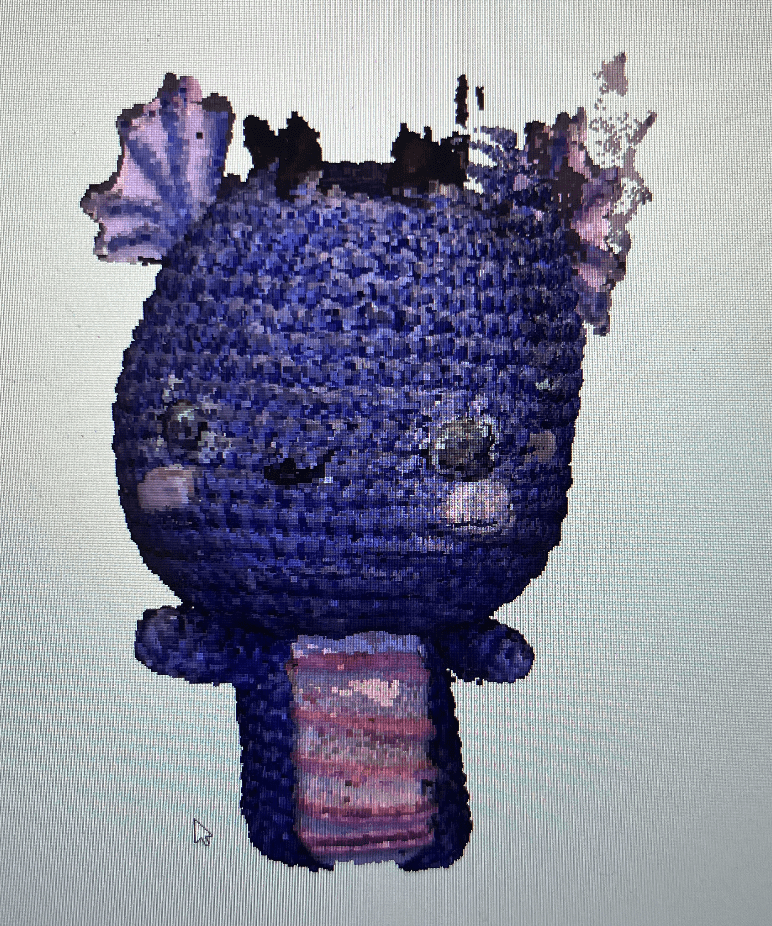
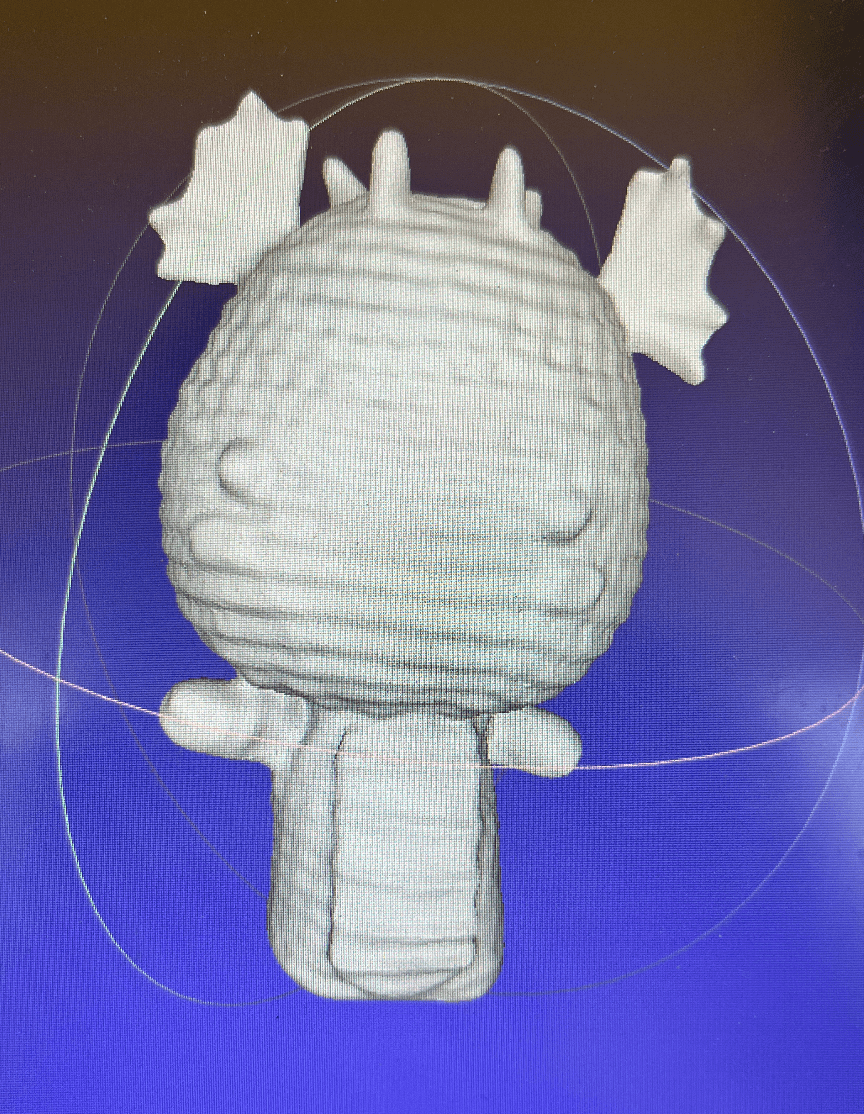
But then I succeeded! Minus a few things where they weren't supposed to be.
After fusing and processing the scan data, it came out much better than I expected. I had a complete dragon, with two extra pieces floating on the outside of the head.
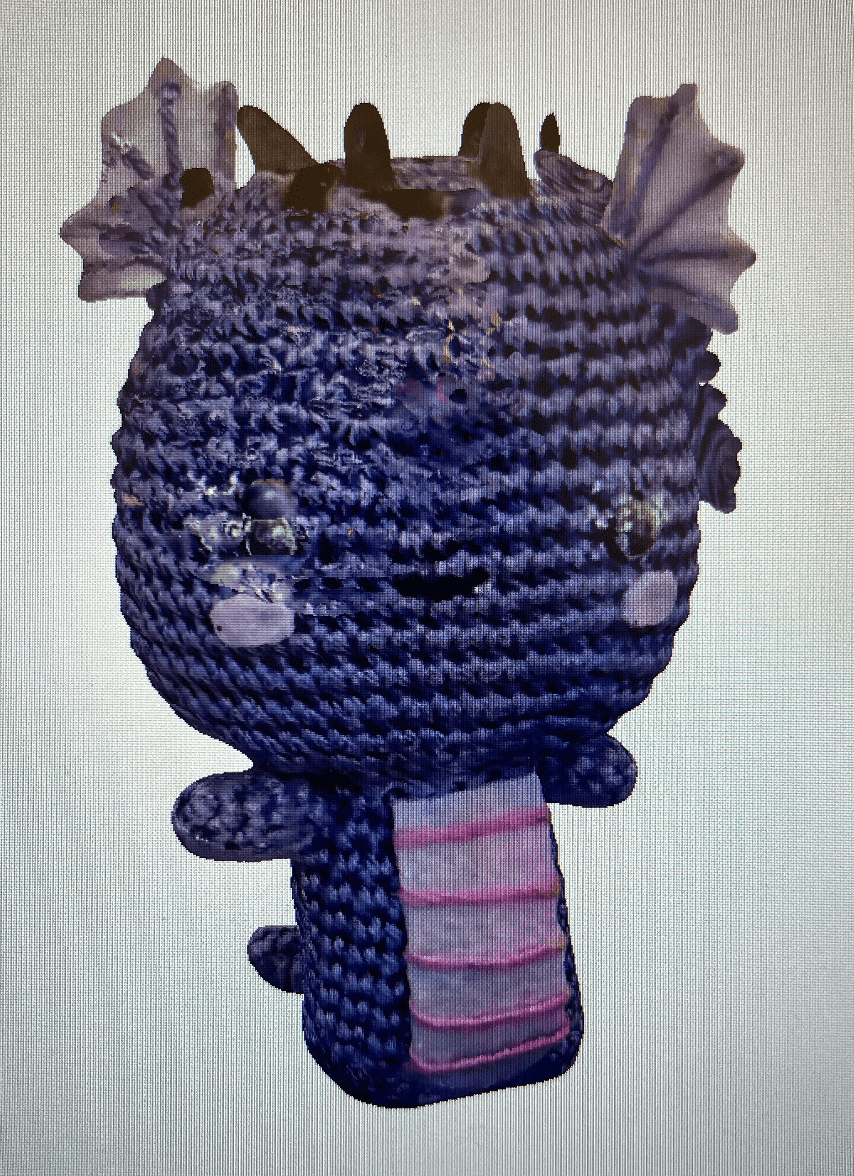
I imported the mesh into MeshLab and was able to delete the extra floating pieces, resulting in a satisfactory mesh of the dragon.
I haven't printed the scan yet, but hope to next week and am curious to see how it will turn out!
3D Printing: Baguette-Shaped Container
For the 3D printing assignment, I decided to try to print a baguette-shaped container with the hinge on the side (the part that can't be made subtractively). My first idea was to create the baguette with two different pieces - half of an ellipse on top, and a rectangular prism (to start) on the bottom. I made the sketch for this, and went from there. I revolved the ellipse on top to create the top half of the baguette, projected that onto the bottom half prism to create an ellipse shaped prism, and then used a fillet on the bottom to round the edges.
However, one problem that I ran into was that if the fillet radius was too big, it would result in a weird gap within the bottom piece. I could make the fillet radius smaller to avoid this, but then the bottom of the baguette container wouldn't be as round.
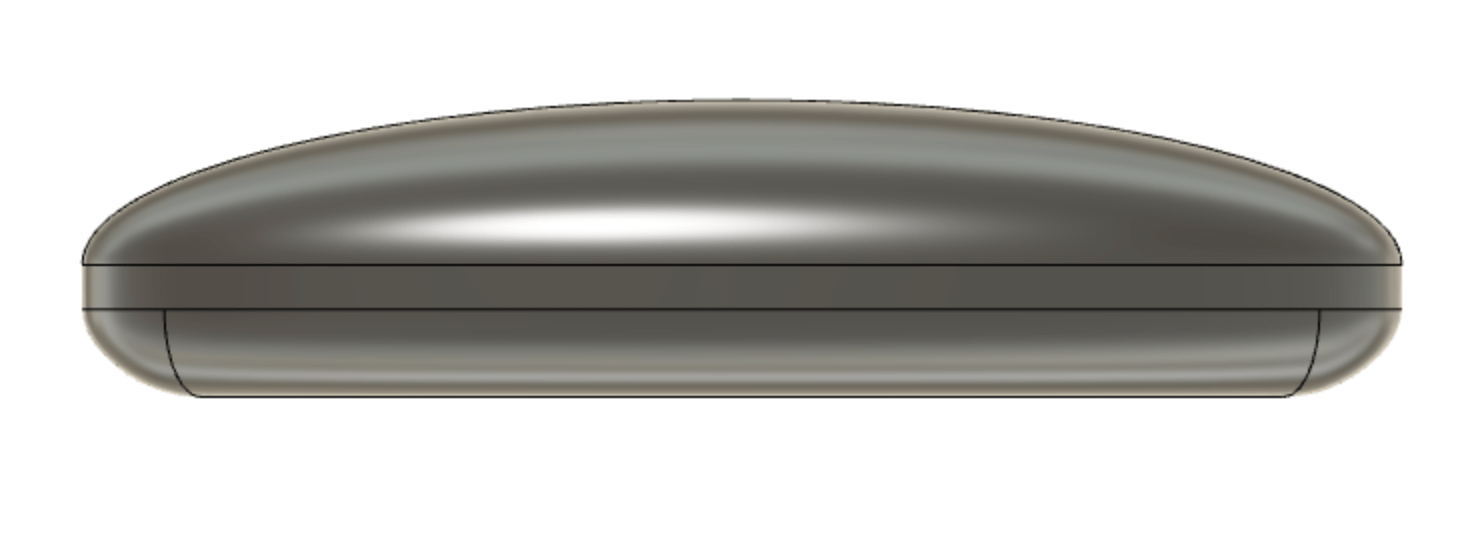
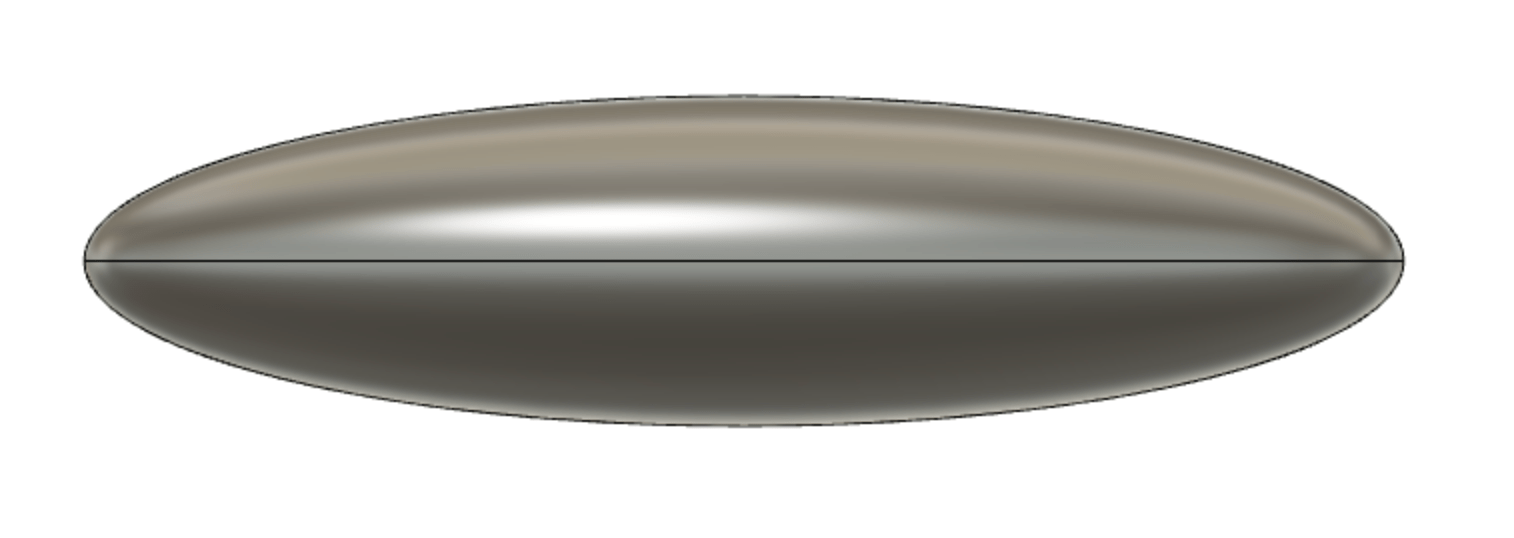
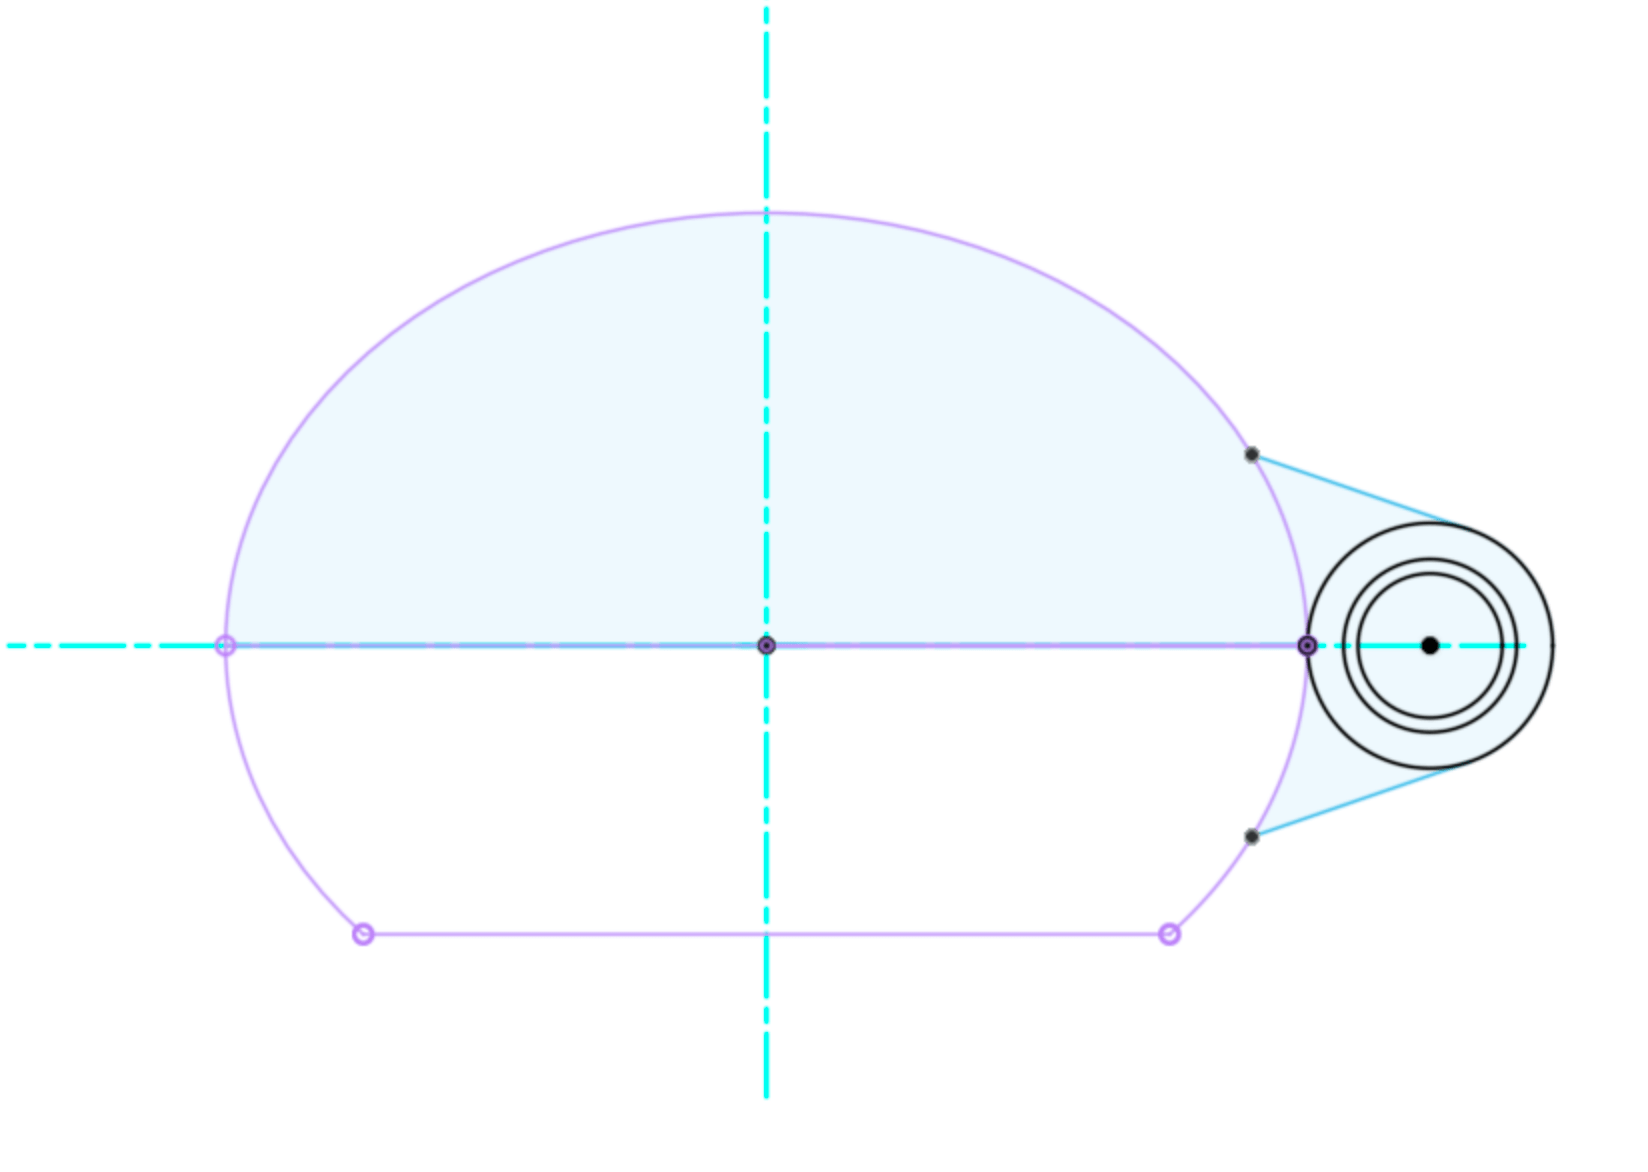
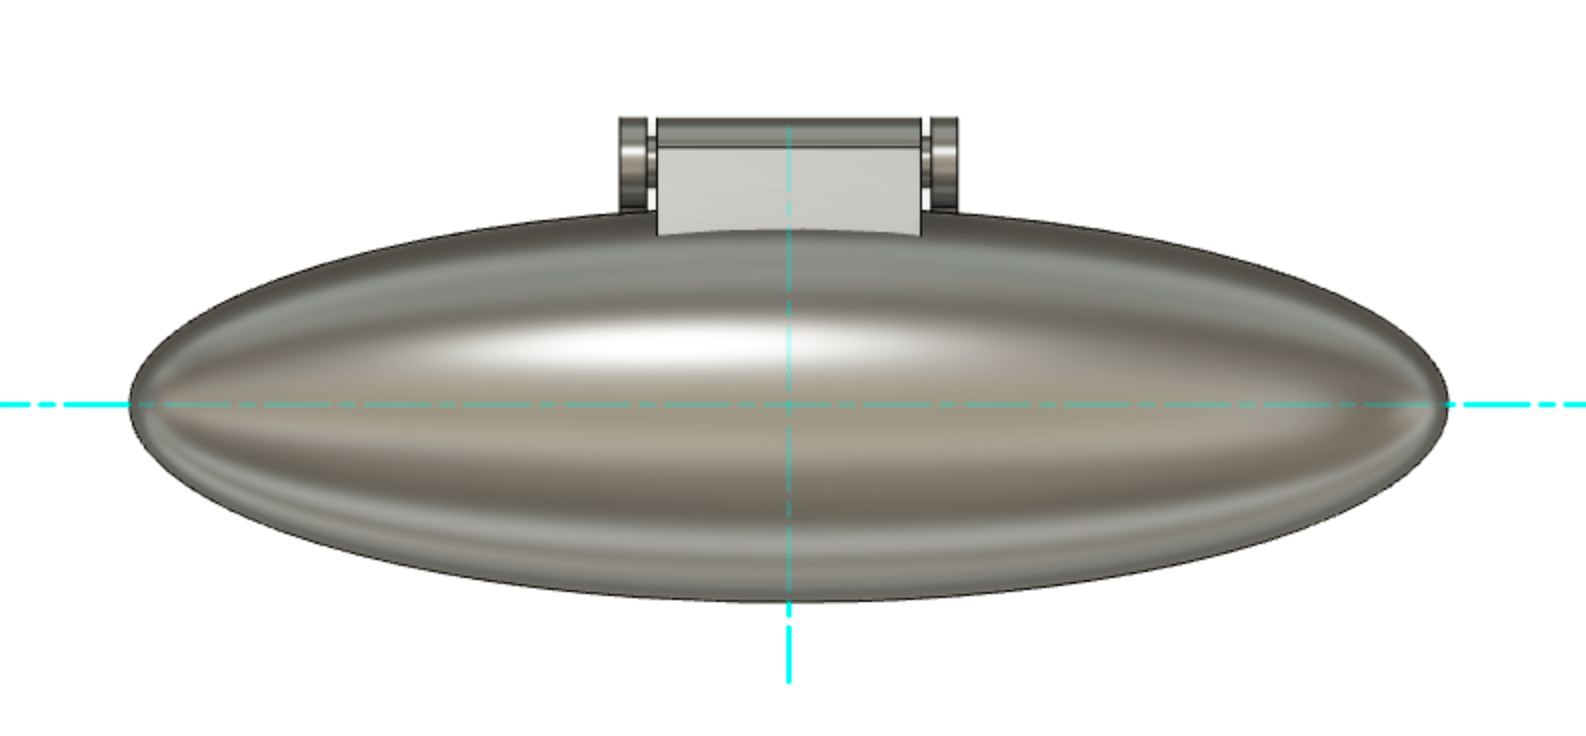
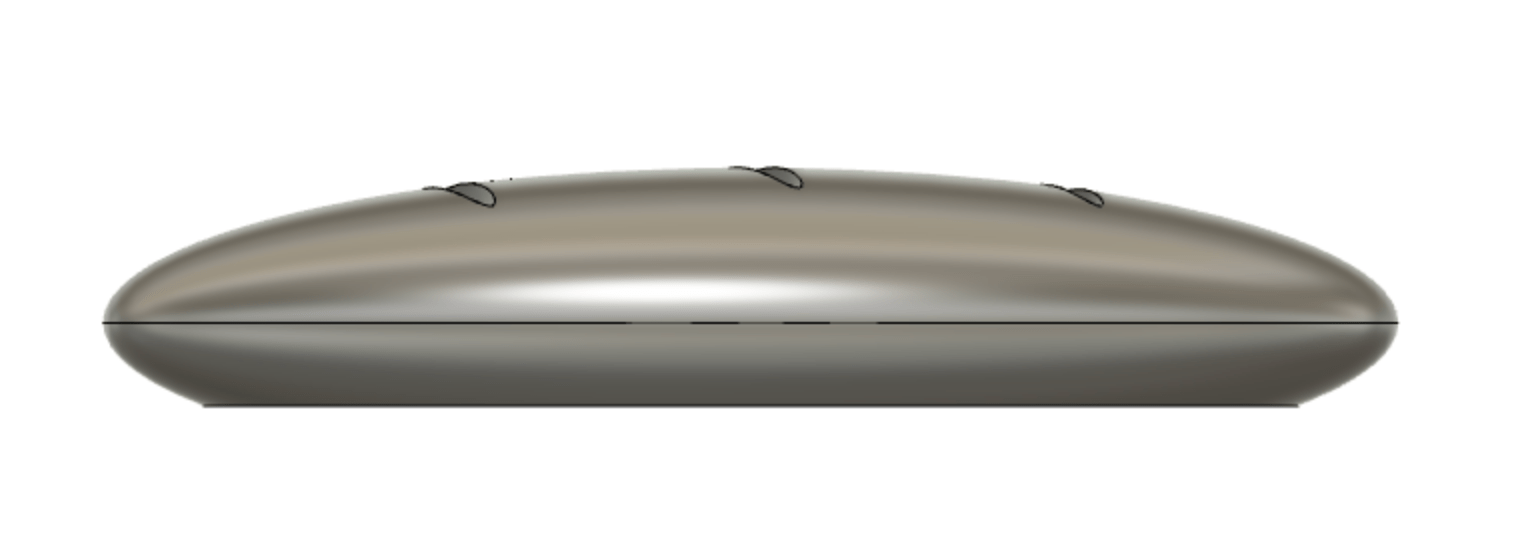
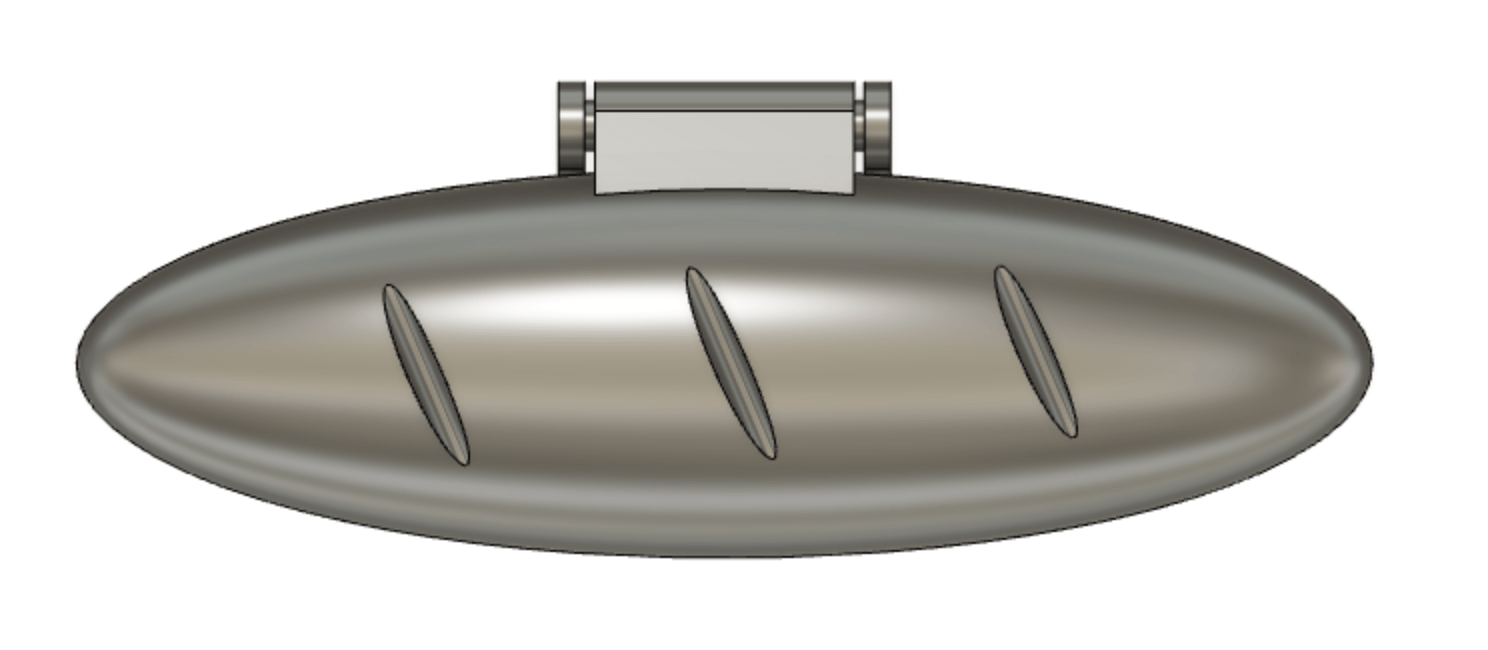
After going to office hours, where I got some tips from Alfonso about other ways to make a baguette container, I restarted. This time, I started with revolving the half-ellipse for the entire baguette, and creating a solid from it. I then used the non-uniform scale function to flatten the baguette a bit so it would be less round around the body. I created different midplanes and axes to help, and offset one of them to cut off a portion of the bottom of the baguette so it would be flat. Following a tutorial on creating hinges for a box, I constructed the hinges directly onto the baguette solid (starting with the sketch as seen below), taking into account the clearance as determined from the group assignment.
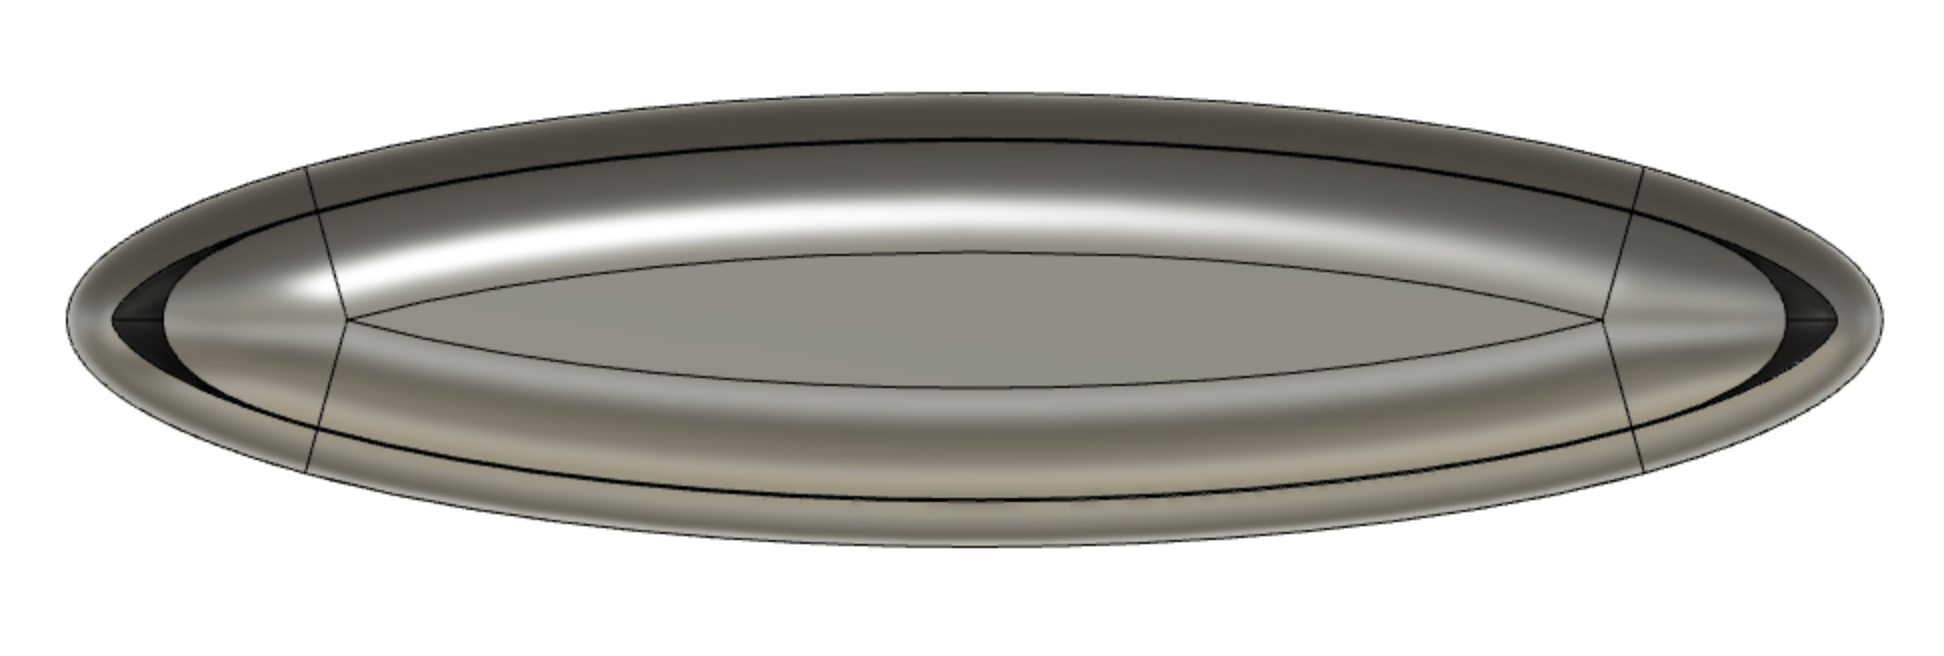
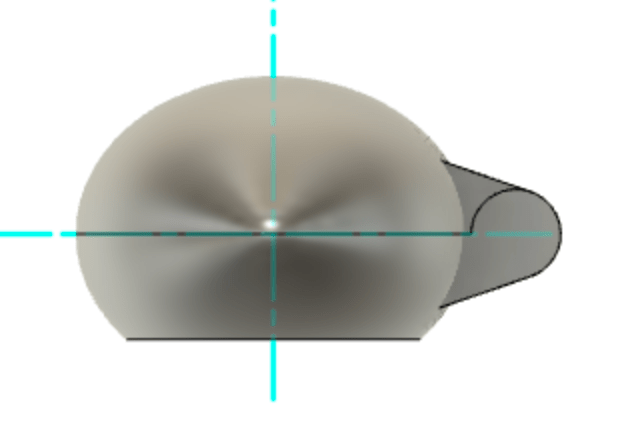
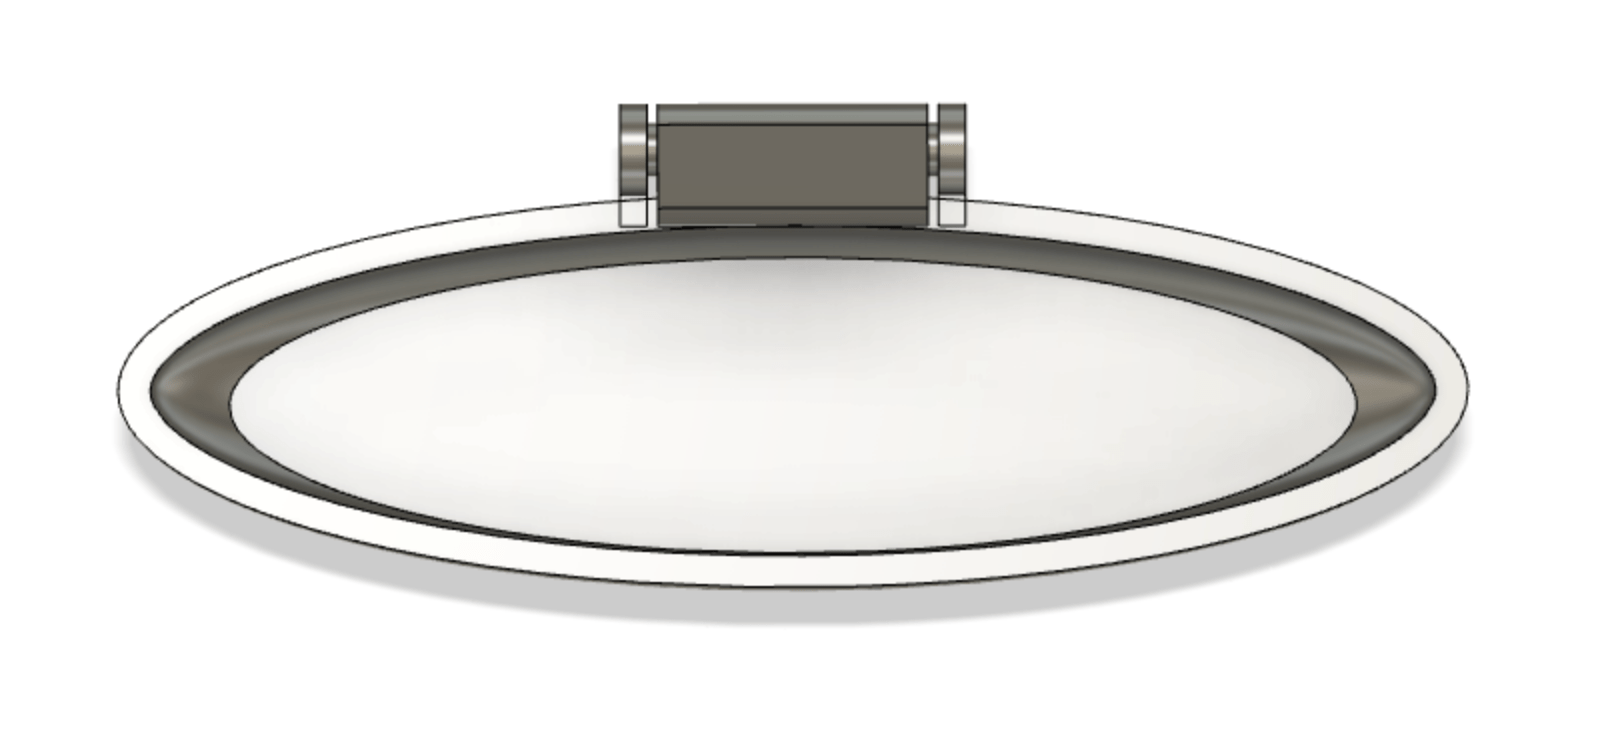
Then, I sliced the baguette in half horizontally to create the top and bottom container pieces. At this point, I tried to create a shell from the solid, but it kept failing. I ended up moving the shell process to much earlier in the timeline, such that once I sliced off the bottom of the baguette, I would create a shell from the baguette solid (it worked when it happened earlier). At this point, my baguette container was complete except for the cuts on top.
To create the cuts, I drew a line that would be used as the path for the cut, and I constructed a plane along the path. I then drew a spline on that plane that would make the actual cut. I swept the spline along the straight line path to create a solid that I then used to cut the baguette on top. I did this for a total of three cuts. I had to adjust the middle cut upwards so it wouldn't leave a hole in the top of the baguette. The one thing about these cuts was that while the rest of the baguette was mostly all parametrized, the cuts would have to be done manually again if I changed the size of the baguette. Ideally, the cuts would be parametrized as well, but I also wasn't quite sure how to do that with the splines, and I didn't quite have the time to figure it out.
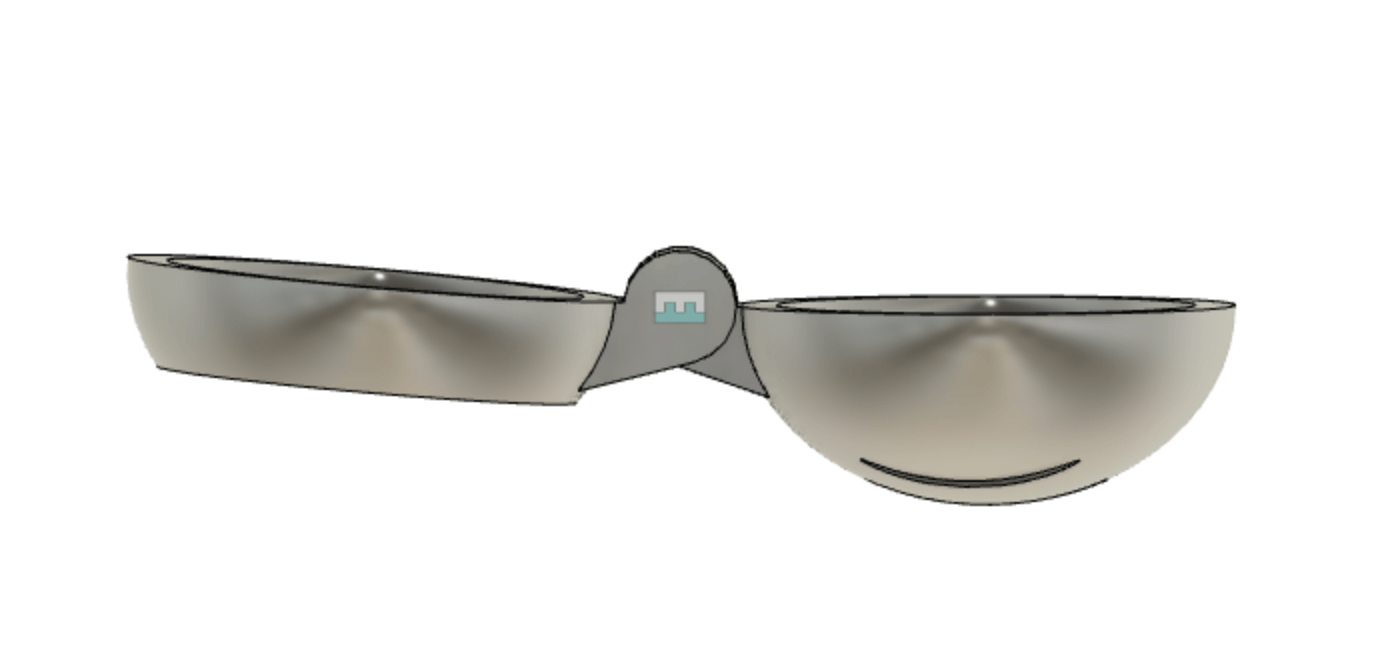
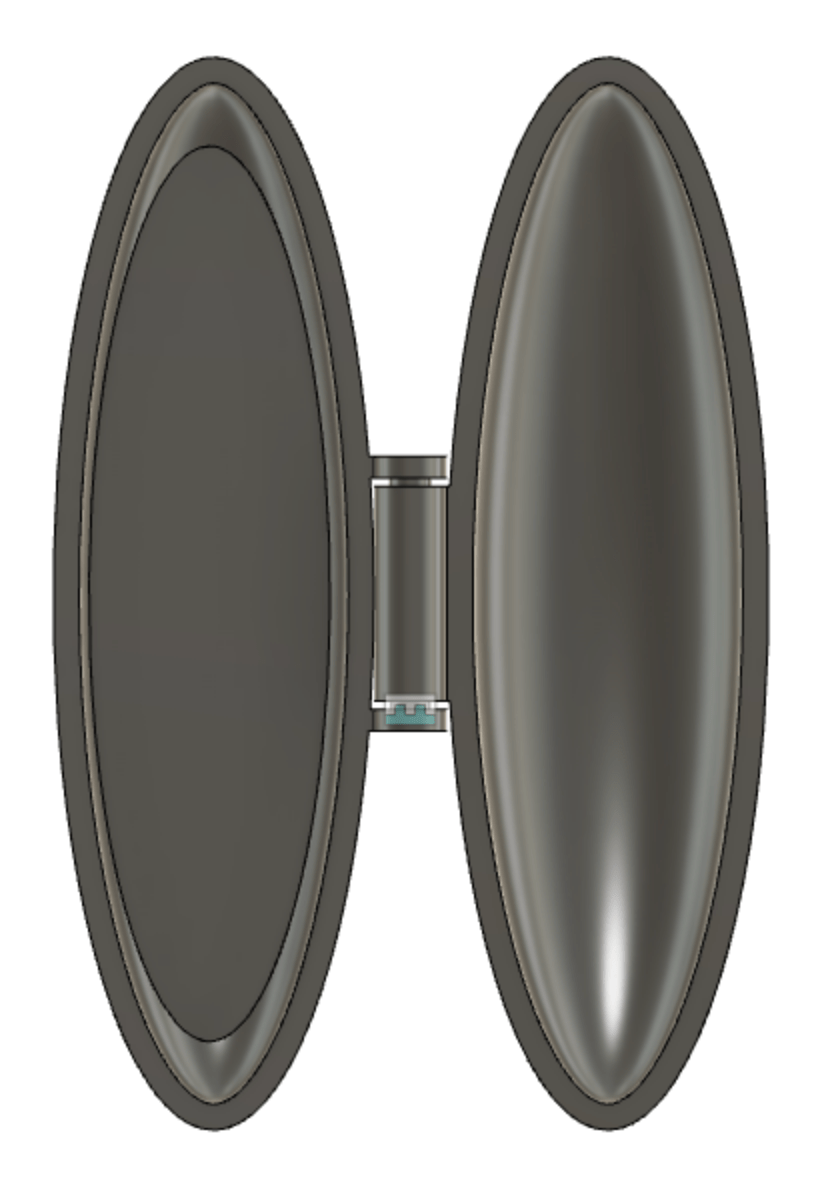
The next step was to assemble the parts. I joined the hinges with their respective baguette half, and then made components out of the top and the bottom. I created a joint with the hinges, and assembled the two parts. It was actually so cool to be able to open and close the baguette container and control the hinges as a joint.
The final orientation that I left the container as was in a slightly open postion, so that when printing, the top and bottom halves wouldn't fuse together.
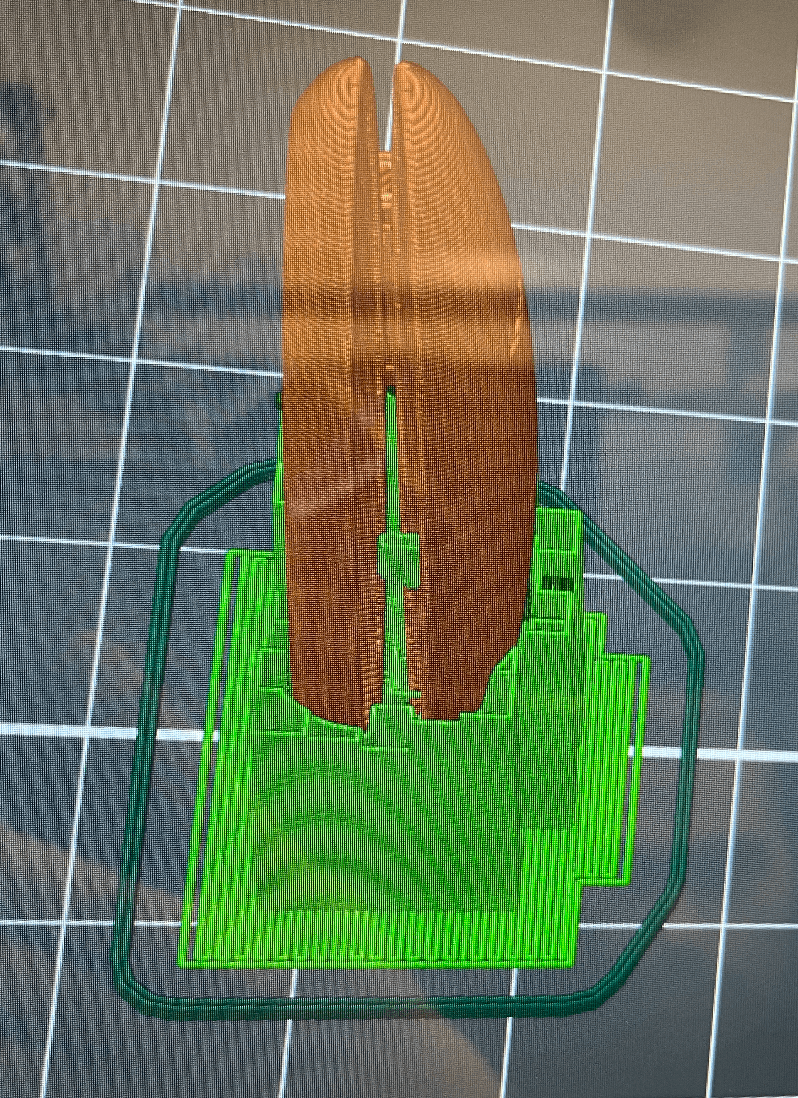
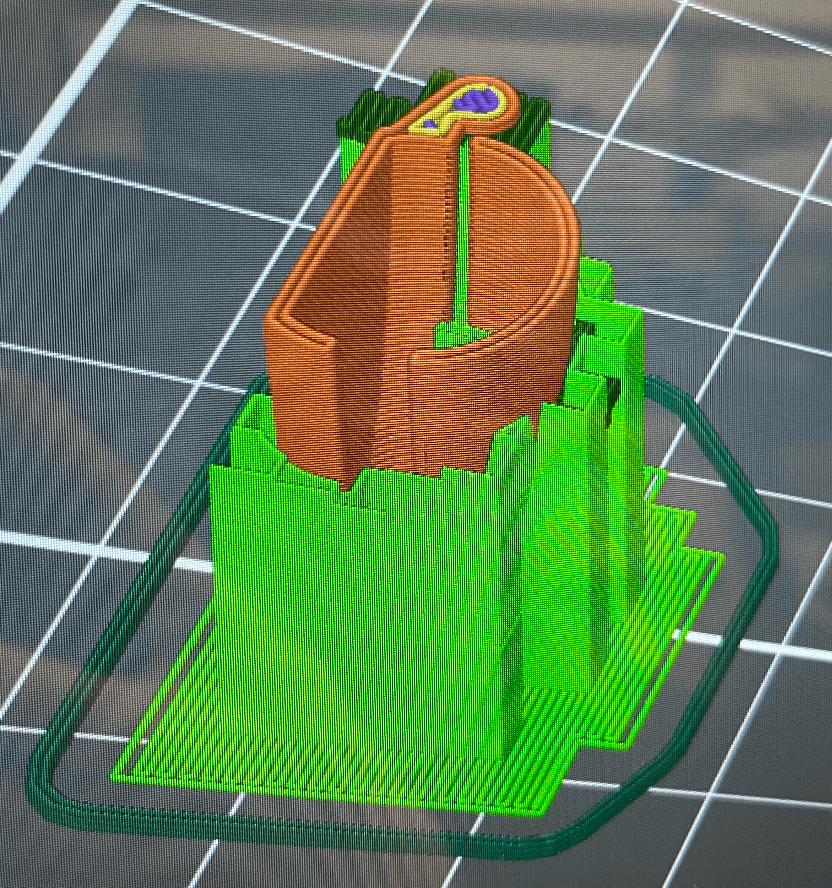
I exported the mesh, then imported into PrusaSlicer to slice it up before printing. Taking others' advice, I postioned the baguette upright to minimize the possibility of the hinge fusing together. The part that I was the least sure about was the hinge, because I wasn't sure if it was too small or not to print properly, and if the clearance was enough that it wouldn't fuse together. I added support on the bottom of the baguette and the bottom of the hinge.
Then, I sent the part to print!
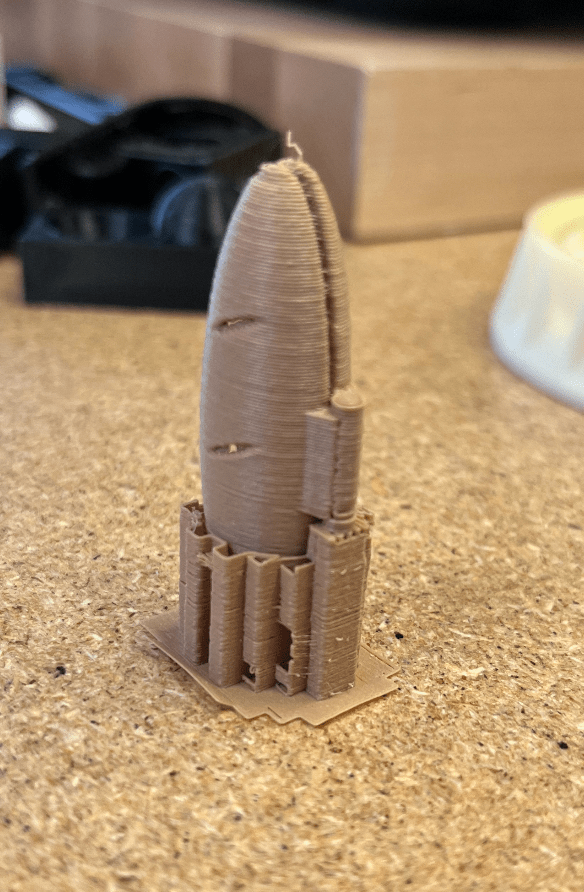
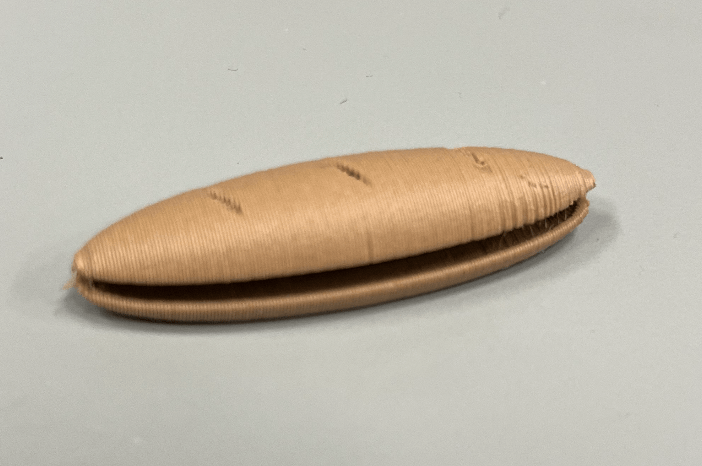
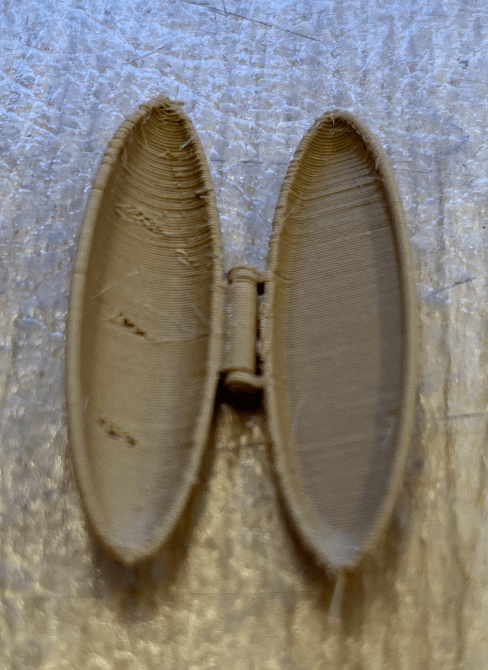
The baguette came out quite cute. I also got lucky that the tan filament just happened to be in the Prusa when I started printing. Fun fact when I asked Anthony if he knew where my part was, he referred to it as the clam - which, if you look at the open part and the bottom (and don't see the top with the cuts), it does look quite like a razor clam.
After I took the support off, I noticed that the cuts on top weren't fully filled in, which likely was because it was too thin for the printer to print. Didn't look too bad though! However, the hinge did seem a bit stuck, so I was unsure whether the hinge would actually work or not.
I gave the baguette a little push and forced the gap closed. I then tried to open the container back up, and it worked! I was so happy (and quite surprised to be honest) that the hinge actually worked. The hinge also wasn't too loose or too tight.
I managed to complete some version of my baguette-shaped container with a hinge that couldn't be made subtractively, but there are definitely some things I'd want to change. I want to make a bigger version, first of all, and also include a latch in front so the container will hold closed. I would also figure out how to make the cuts such that the won't leave holes in the top of the lid. I would also make the container such that the bottom has a bit more height in comparison to the lid so that it can stand flat on its bottom instead of falling sideways when open. These will be modifications made later though. For now, I am quite satisfied with my mini baguette-shaped container that actually opens and closes.
Lessons learned: fillets can be quite funky, creating planes and axes are very useful, I need to be careful about when I do functions like shells, I can create a plane along a path and then also extrude something along a path.