Week 5: Computer-Controlled Machining
Group Assignment
Group assignment answers can be found here: Group Assignments
Bench Design
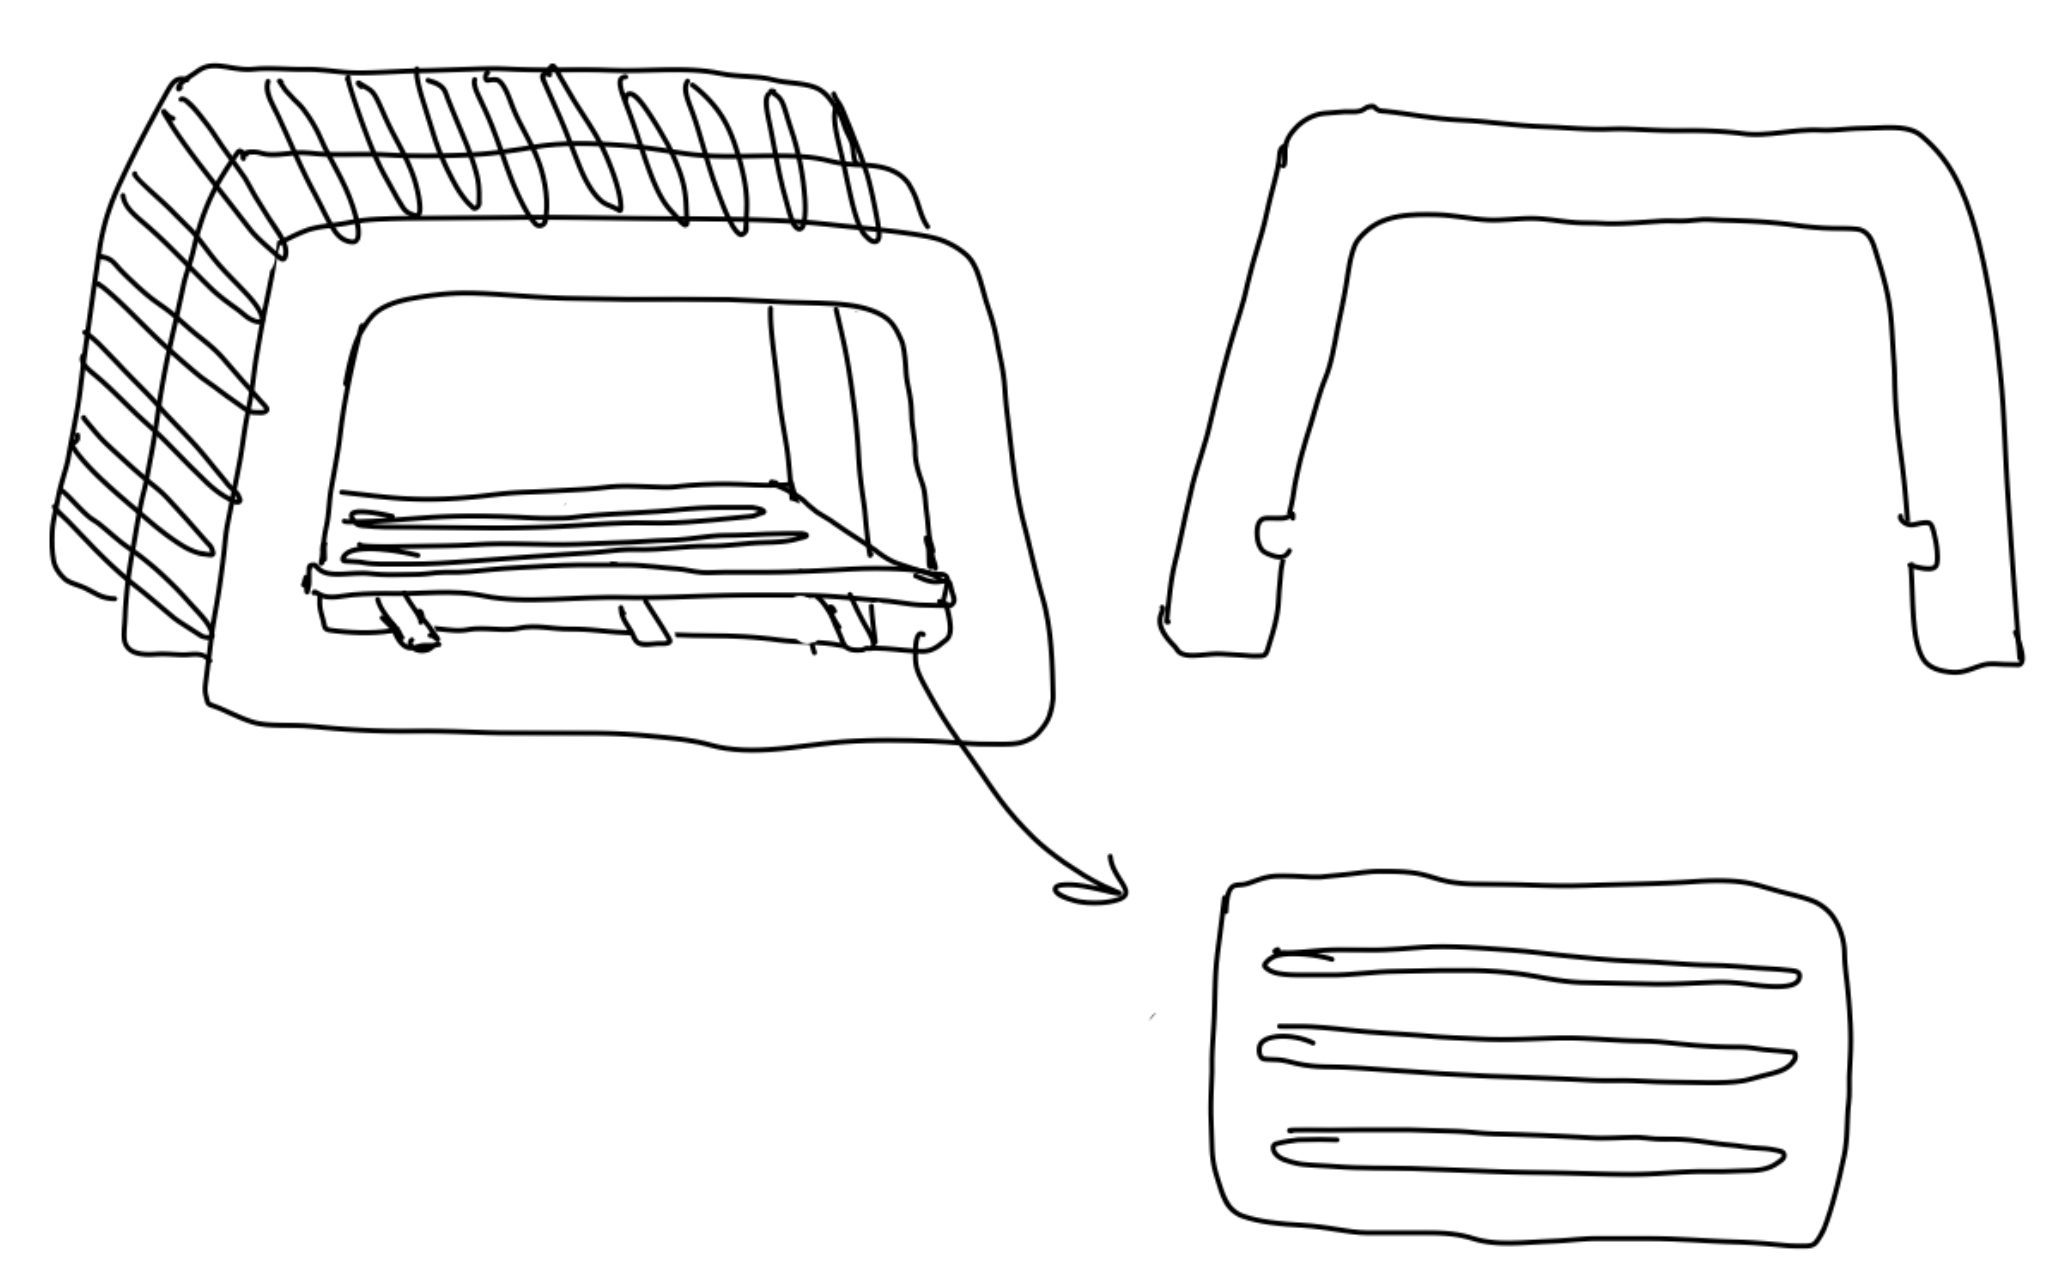
For this week's assignment, we had to make something big. I debated between making something kind of cool but useless, or something that might be less cool but useful. I did a bunch of thinking, looked through past projects, and eventually decided to make a bench that would both serve as a bench (so I could sit some where in my room other than at my desk, on the ground, or on my bed) and that could also be used for storage underneath - specifically for worn but not quite dirty clothes, so they could be somewhat hidden under the bench instead of piled on top of my fridge out in broad daylight. I also wanted the bottom to be able to slide out, so I could pull the pile of clothes out instead of needing to reach entirely under the bench. So, I sketched out my idea for the bench. It would be composed of three main frame pieces with slats on the sides and top, and a platform underneath that could be pulled out.
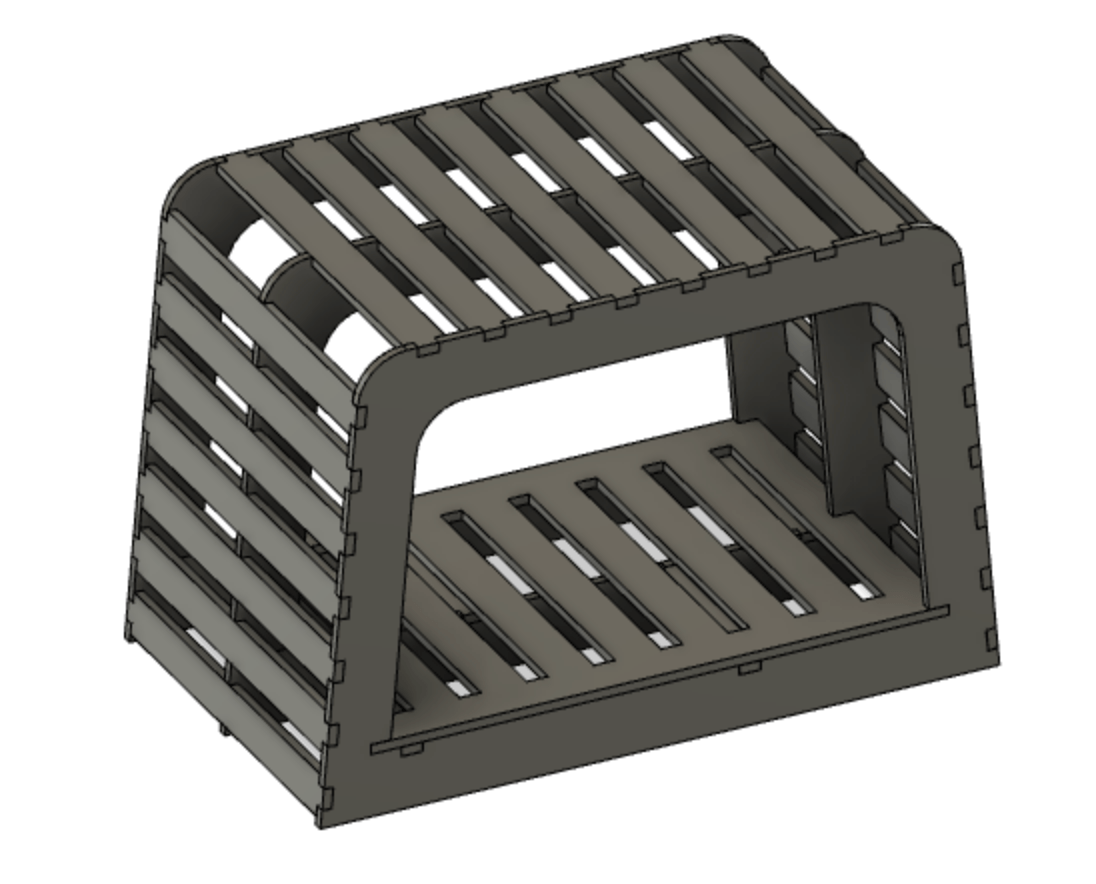
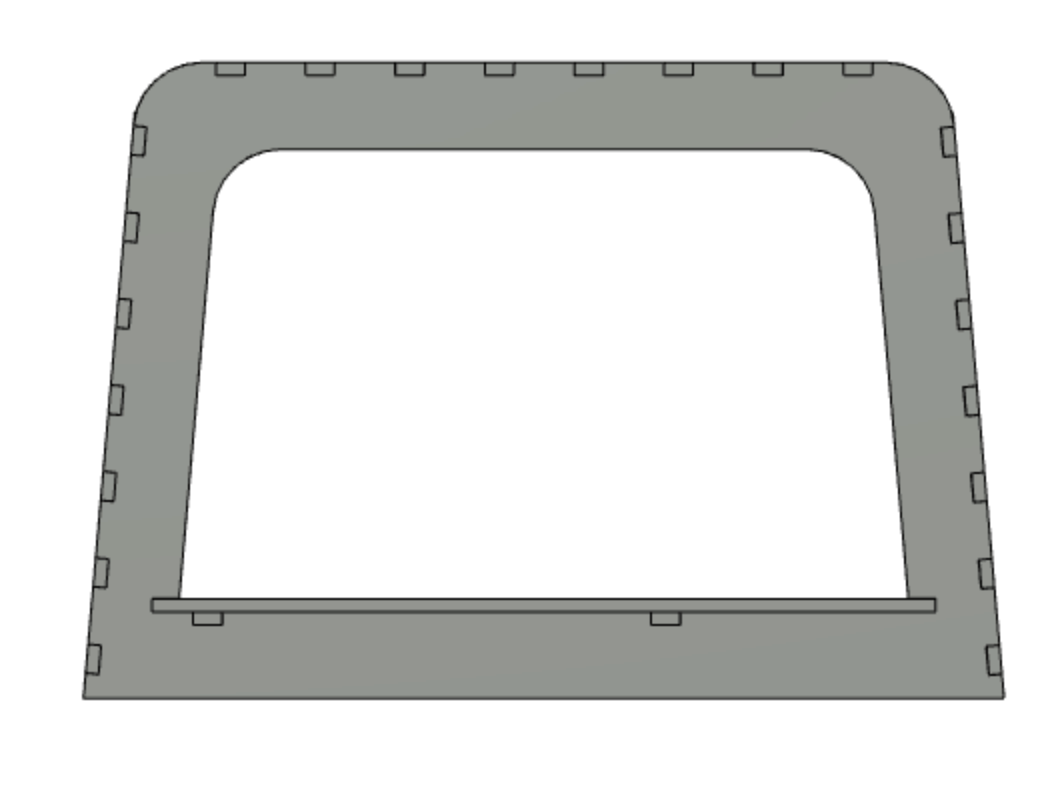
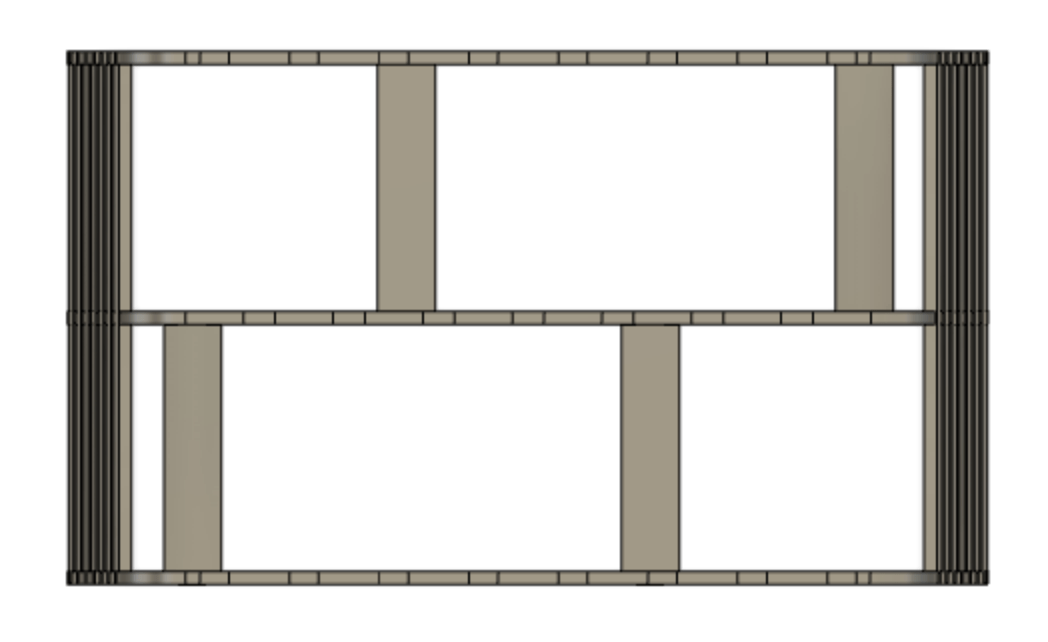
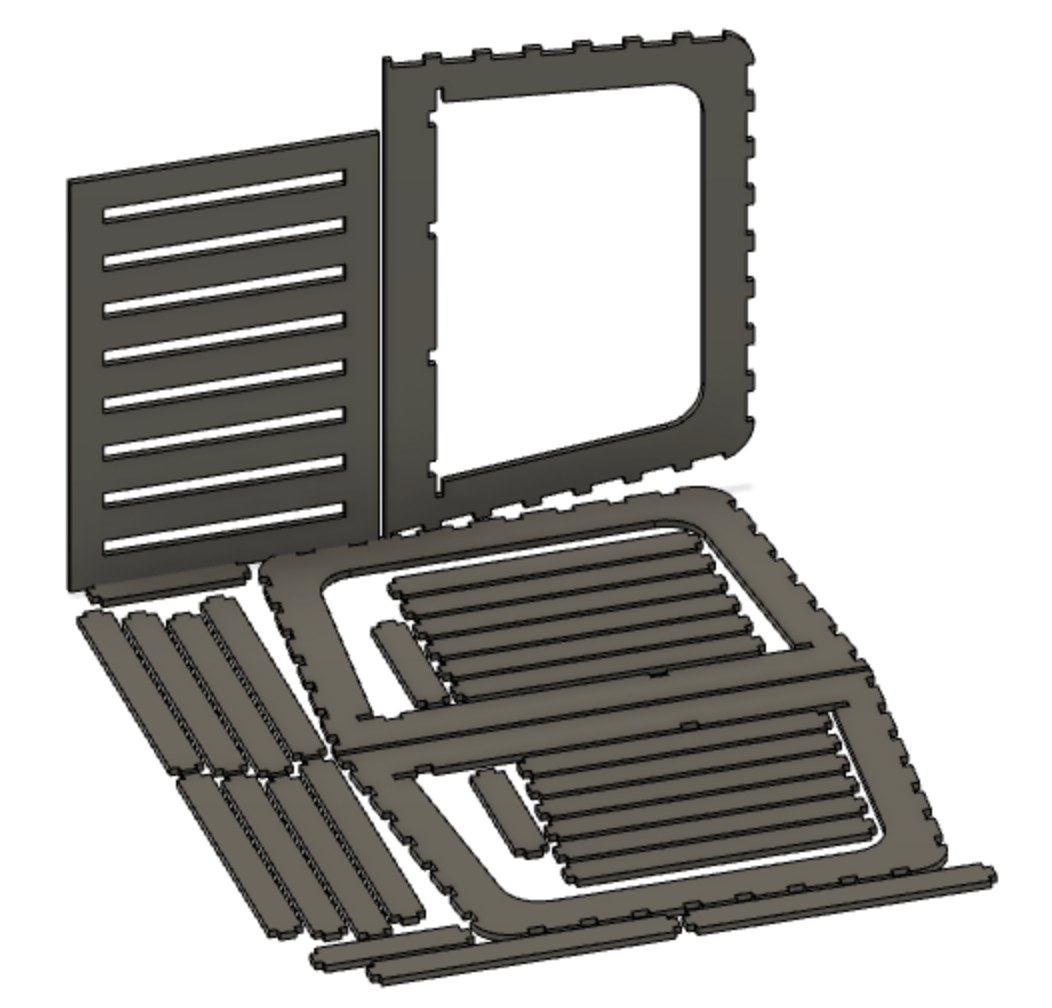
I proceeded to design this in Fusion. I first sketched and made the main frame pieces. I then started to make the bottom supports. The idea was to have some sort of rails for the sliding platform to go along, so it would slide somewhat more smooth in and out from under the bench. I also wanted to use the supports as a way to hold the center frame piece more in place, since the slats wouldn't control its position at all. I ended up deciding to stagger smaller slats on the two sides of the middle frame piece, two on each side, as seen below. I made sure to offset the slots by the experimentally-determined clearance (so it wouldn't be too hard to fit the pieces together, but they would still be snug), which was about 0.005" total (or 0.0025" on each side of the slot). The slots were created by using the slat surface to cut into the frame, then offsetting the two side faces of the slot, and finally using a rectangular pattern of the faces to create an identical slot further along. I also used a rectangular pattern to replicate the slats. I created the slats on the sides and top of the bench in a similar manner. The only problem was that I wasn't able to cover the corners (I would have needed a curved piece of wood), and I decided it would be fine aesthetically with small gaps on the corners so I left them as they were. Finally, I created the platform and cut slots into them as well so it would look better and match the rest of the bench more. The slats were about 2" wide, and were about 1" apart.
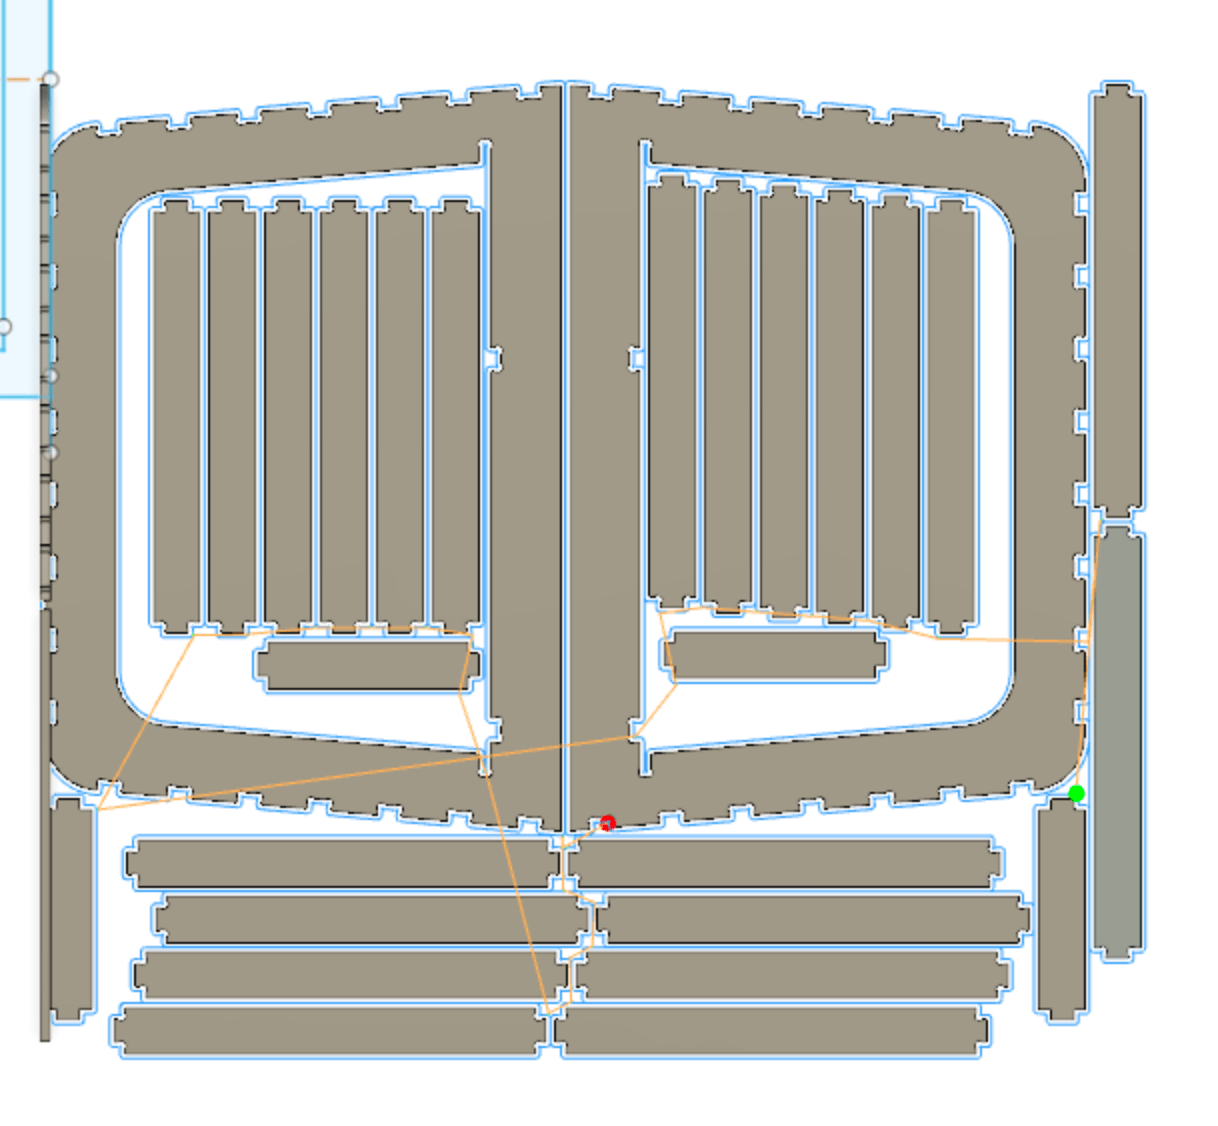
After the CAD was done, I moved into the manufacture view to do the CAM. I was relieved to find out that all my parts fit on two sheets of 48"x48" OSB, and I wouldn't need to do any scaling down.
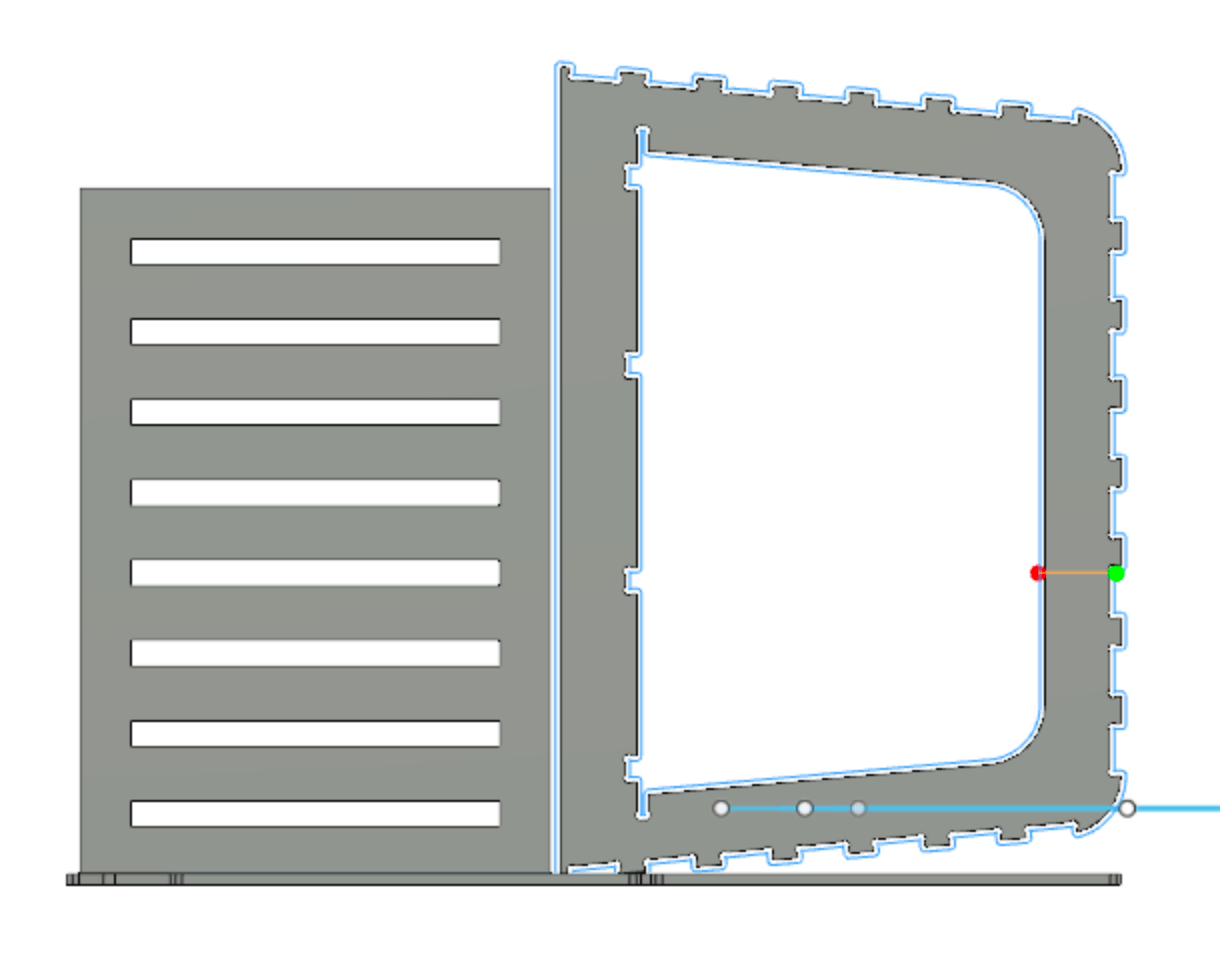
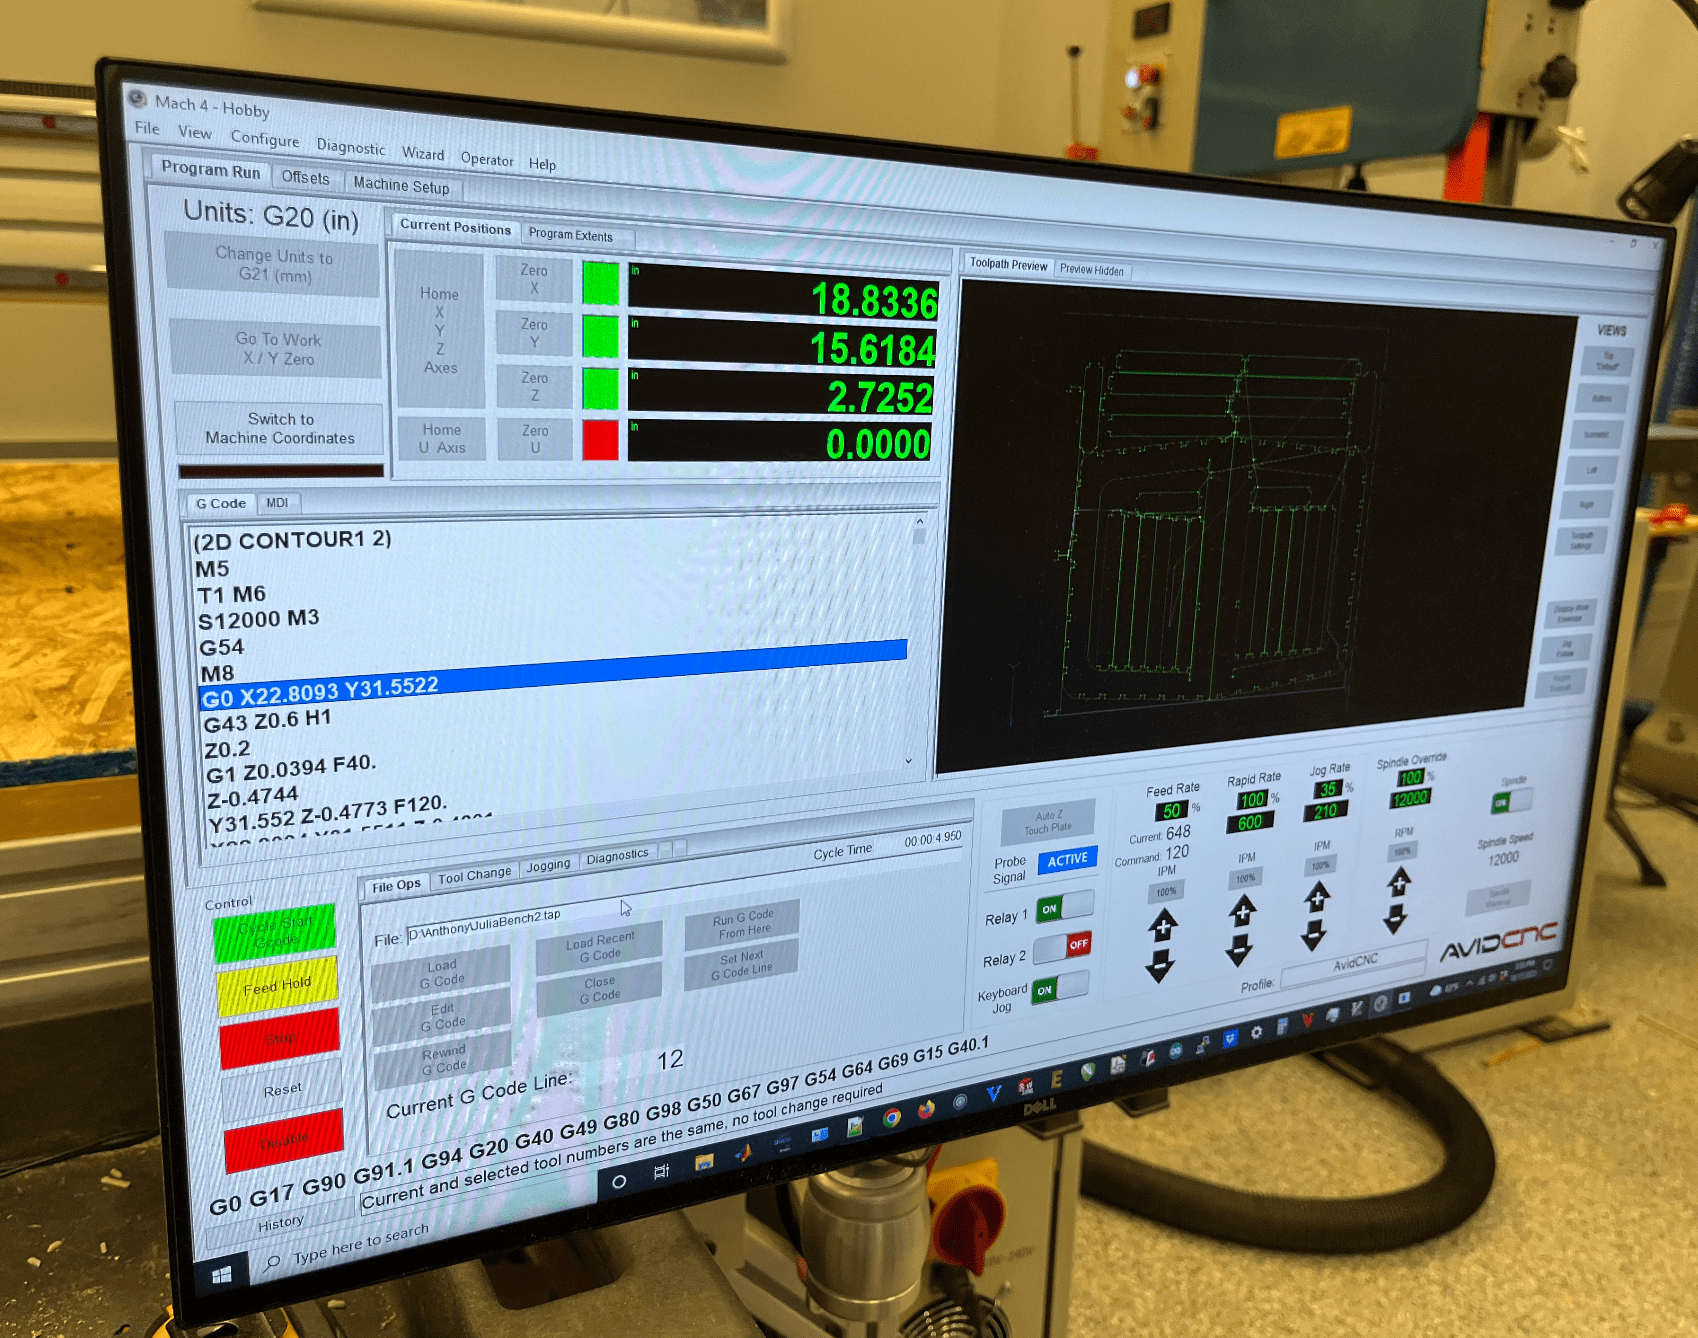
With help from Anthony, I had the correct settings inputed, had my parts placed against the board in Fusion, set the axes (centered at bottom left top corner of the board, with x pointing right, y pointing up, z pointing toward me), and selected the contours - taking care to select the bottom edge of the contours and not the top. This was mostly fine, but the one funky thing was that for the middle frame piece, the software wouldn't chain the whole contour, and I needed to go around the entire piece and select each edge individually. This led to some problems when looking at the toolpath, because the tool would go on the wrong side of the path sometimes. However, after some toggling (clicking on the arrows to switch the side of the contour that the tool was cutting on), it seemed like the toolpath was all good to go. I added in the dogbones for all of the slots with Anthony's help, and also some tabs (both automatically and manually), redid the toolpath, and then the CAM was ready for machining. We ran the simulation to make sure everything looked okay, and then determined where additional screws might need to be added to prevent wood from flying all over the place (basically anywere that would not still be connected by wood from other parts or by tabs, unless it was small enough that it would basically just be sawdust after being cut). I also learned here that the blue line was what the machine would cut, the green line was where the machine would start cutting, and yellow lines were where the machine would be traveling well above the board and not cutting. Finally, I also checked the gcode to make sure the number of tools was correct, as well as the tool diameter (0.375"), and the min Z value (that define tool stickout, usually set to be a bit more so that the tool goes into the bed a bit but provides a clean cut into the board).
Bench Machining
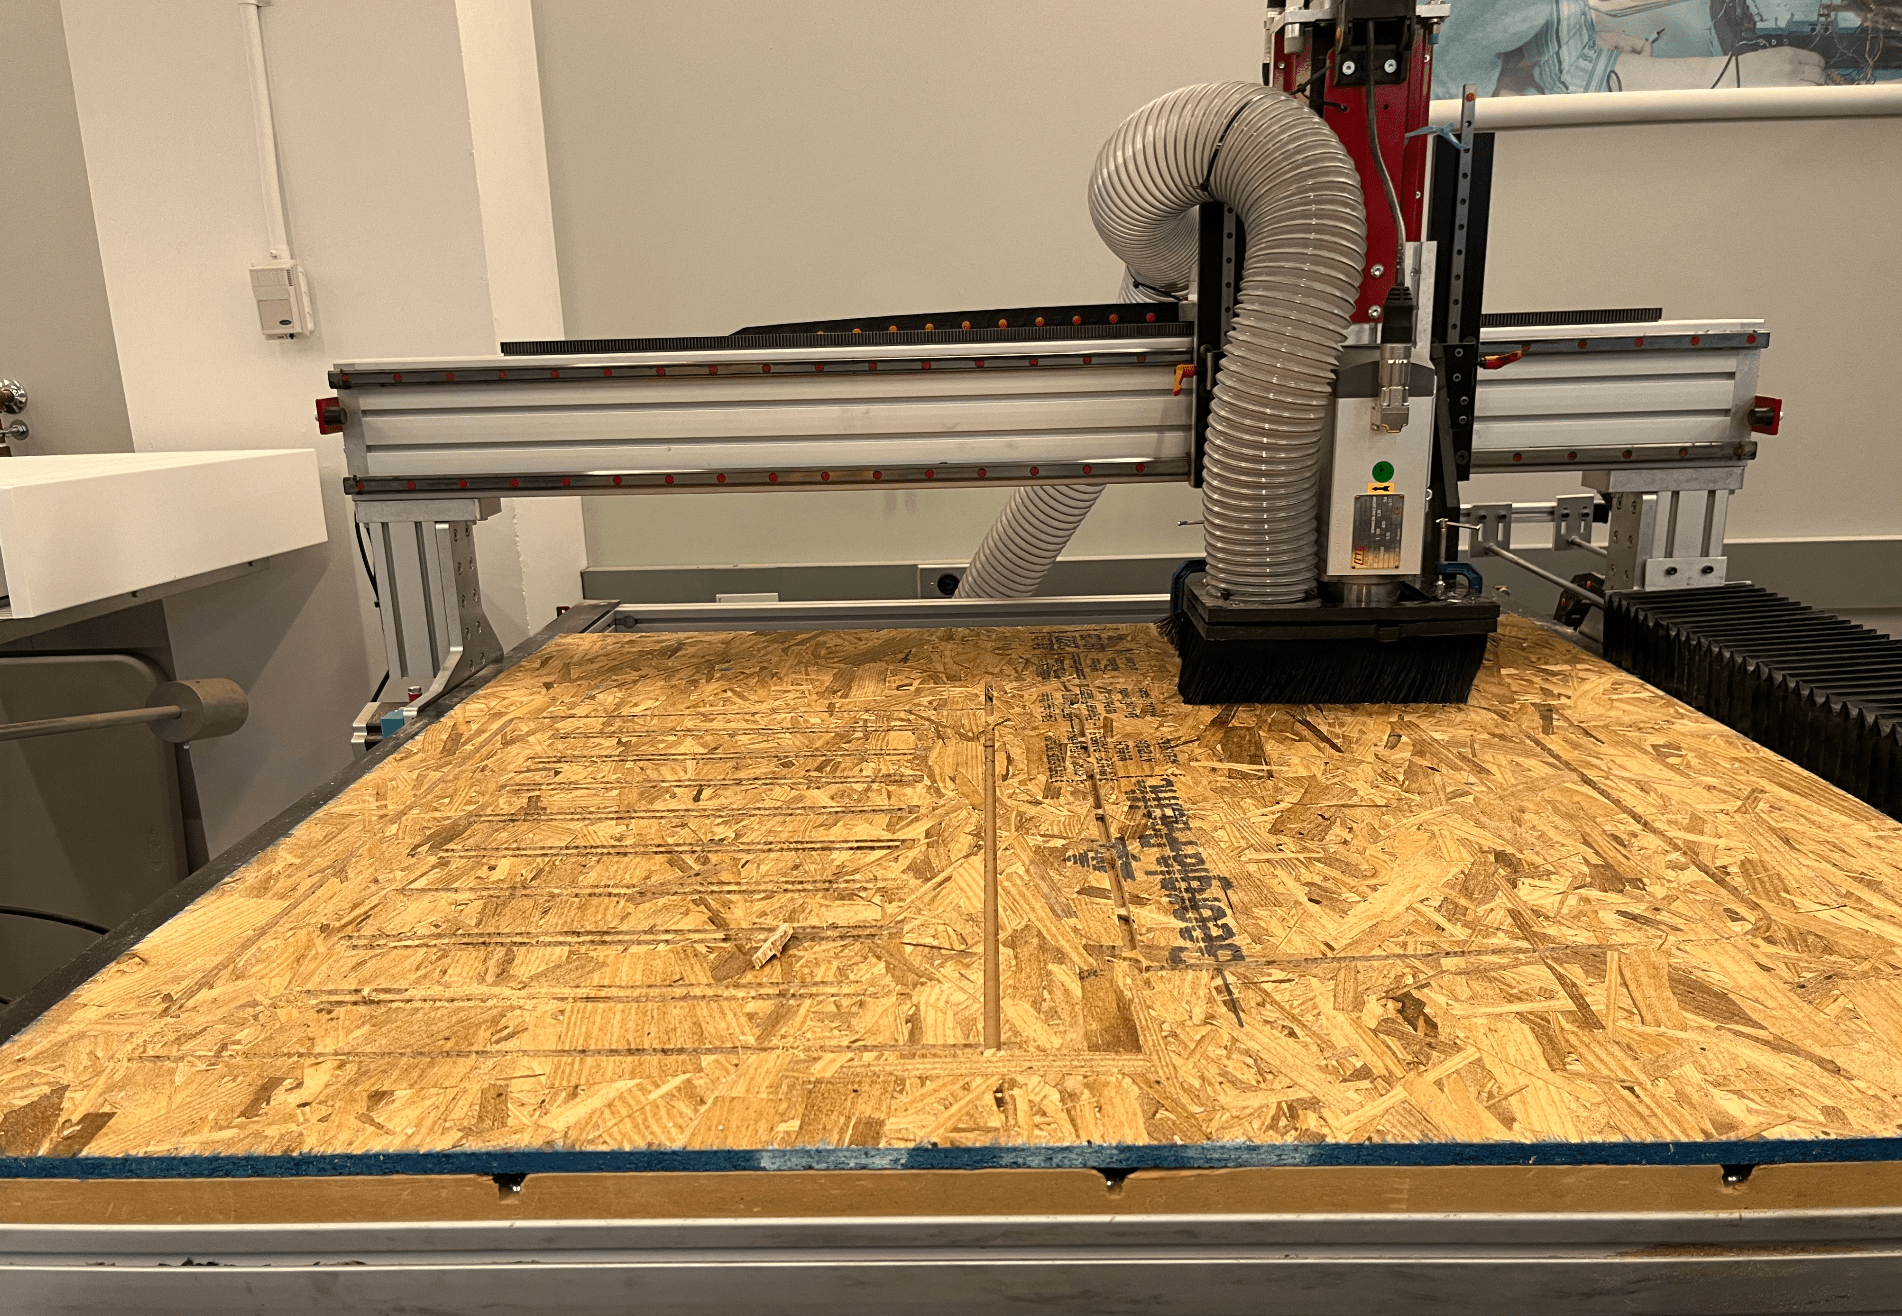
I set up the board on the machining platform (the board was flat enough that either side was fine, though the general rule is to put it down as a smiley face if it's curved), nailing it down with the plastic nails starting at the center-line and going every 6-8". Then, I homed the machine by placing the square at the bottom left corner and putting the magnet on the tool, letting the Z axis probe, turning the toolbit edge to go along the Y axis to calibrate Y, and then do the same for X. Then, I moved the tool so that it would approximately center the job on the board (offset the X and Y according to the size of the job and then set them as new zeros). Finally, we also added the additional nails into the board as necessary to prevent wood from flying. Then, the machine was ready to start! We checked to make sure the spindle and relay 1 could be turned on, set the feed rate to 50% to start to check and make sure there was nothing wrong, and we started the job, moving the feed rate up to 100% once we confirmed nothing was wrong.
The first sheet of my parts finished cutting.
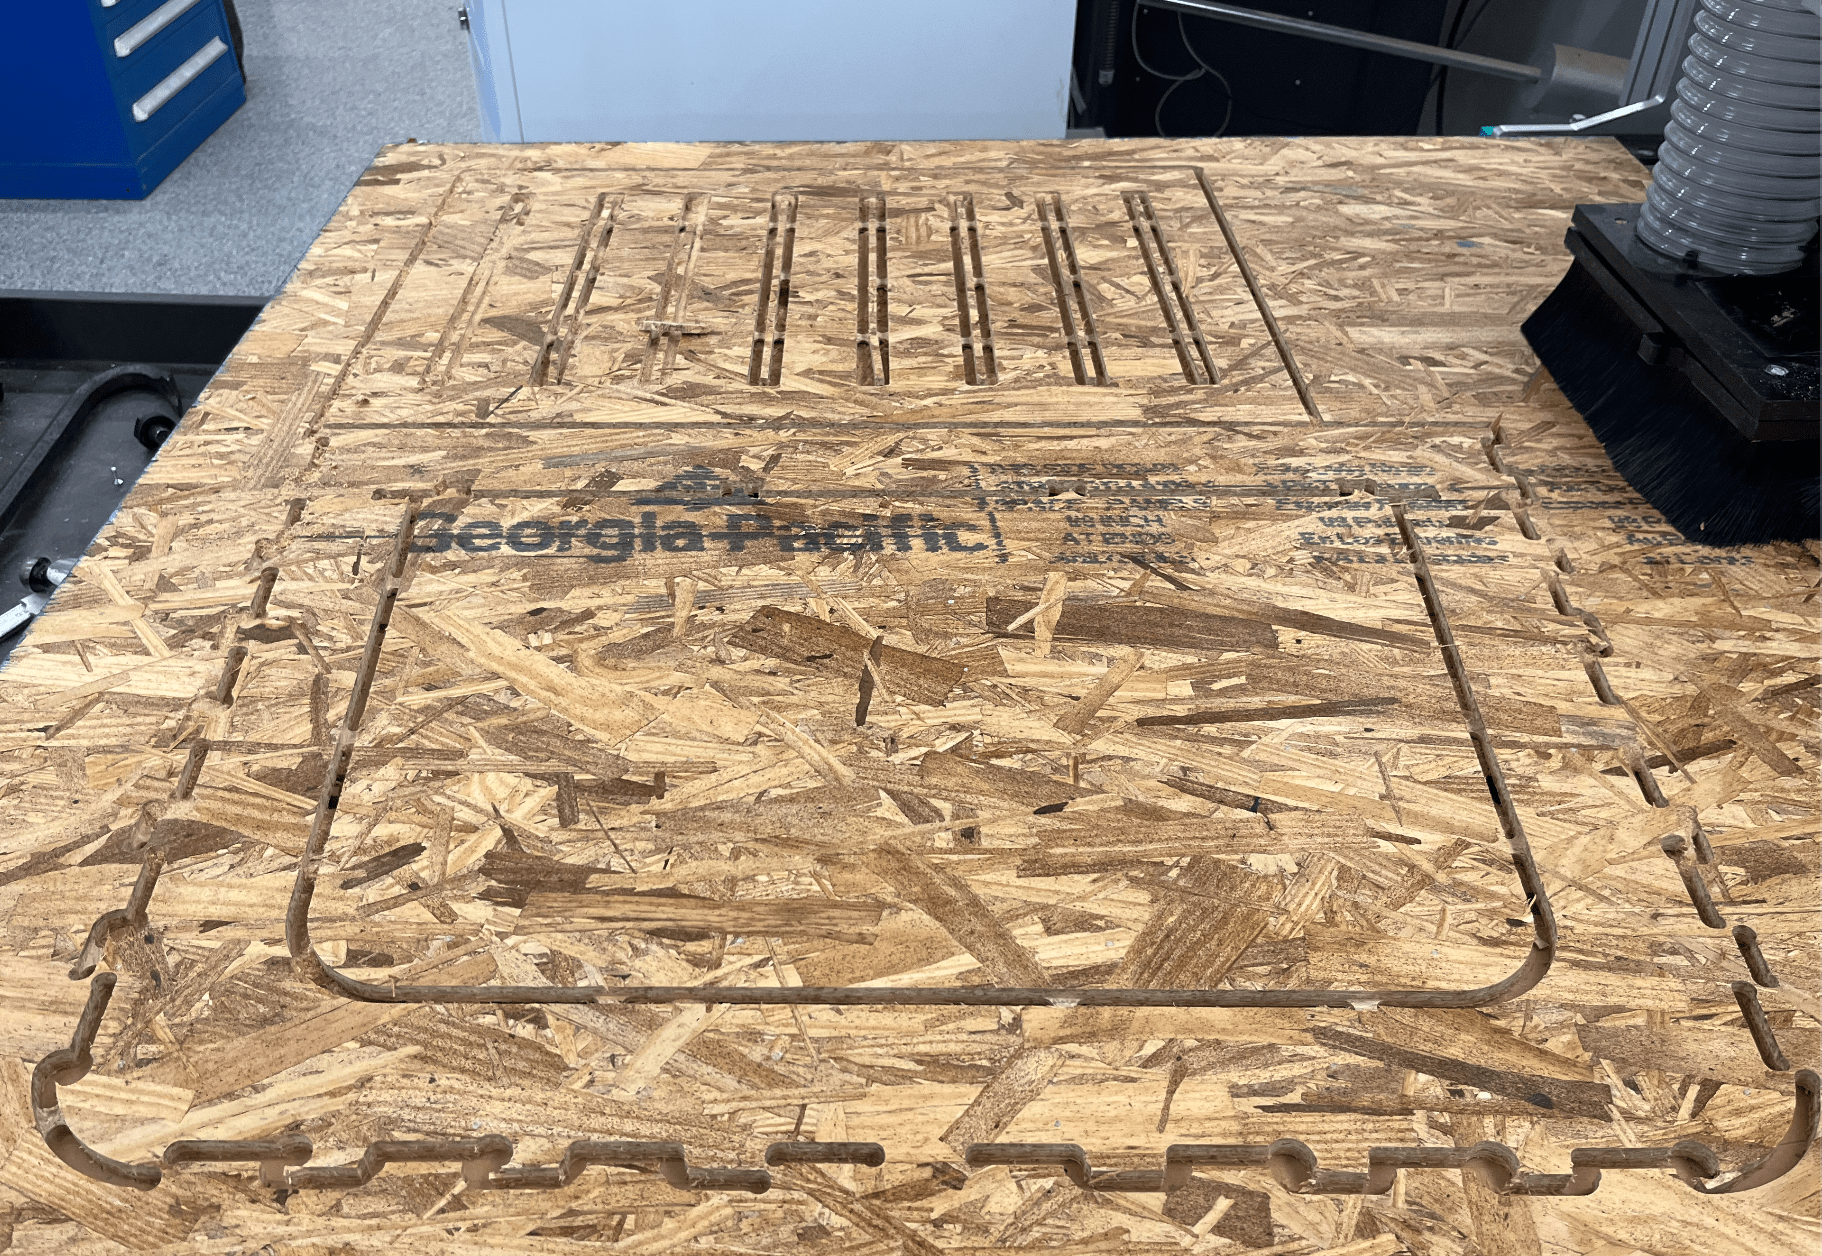
However, upon closer examination, we realized something had gone wrong with the cutting of the middle frame piece. We looked back at the CAM, and discovered that the toolpath had not been what we had last seen, and there were additional places where the toolpath had gone on the wrong side of the contour. We ended up correcting these, and then reprinting the middle frame piece.
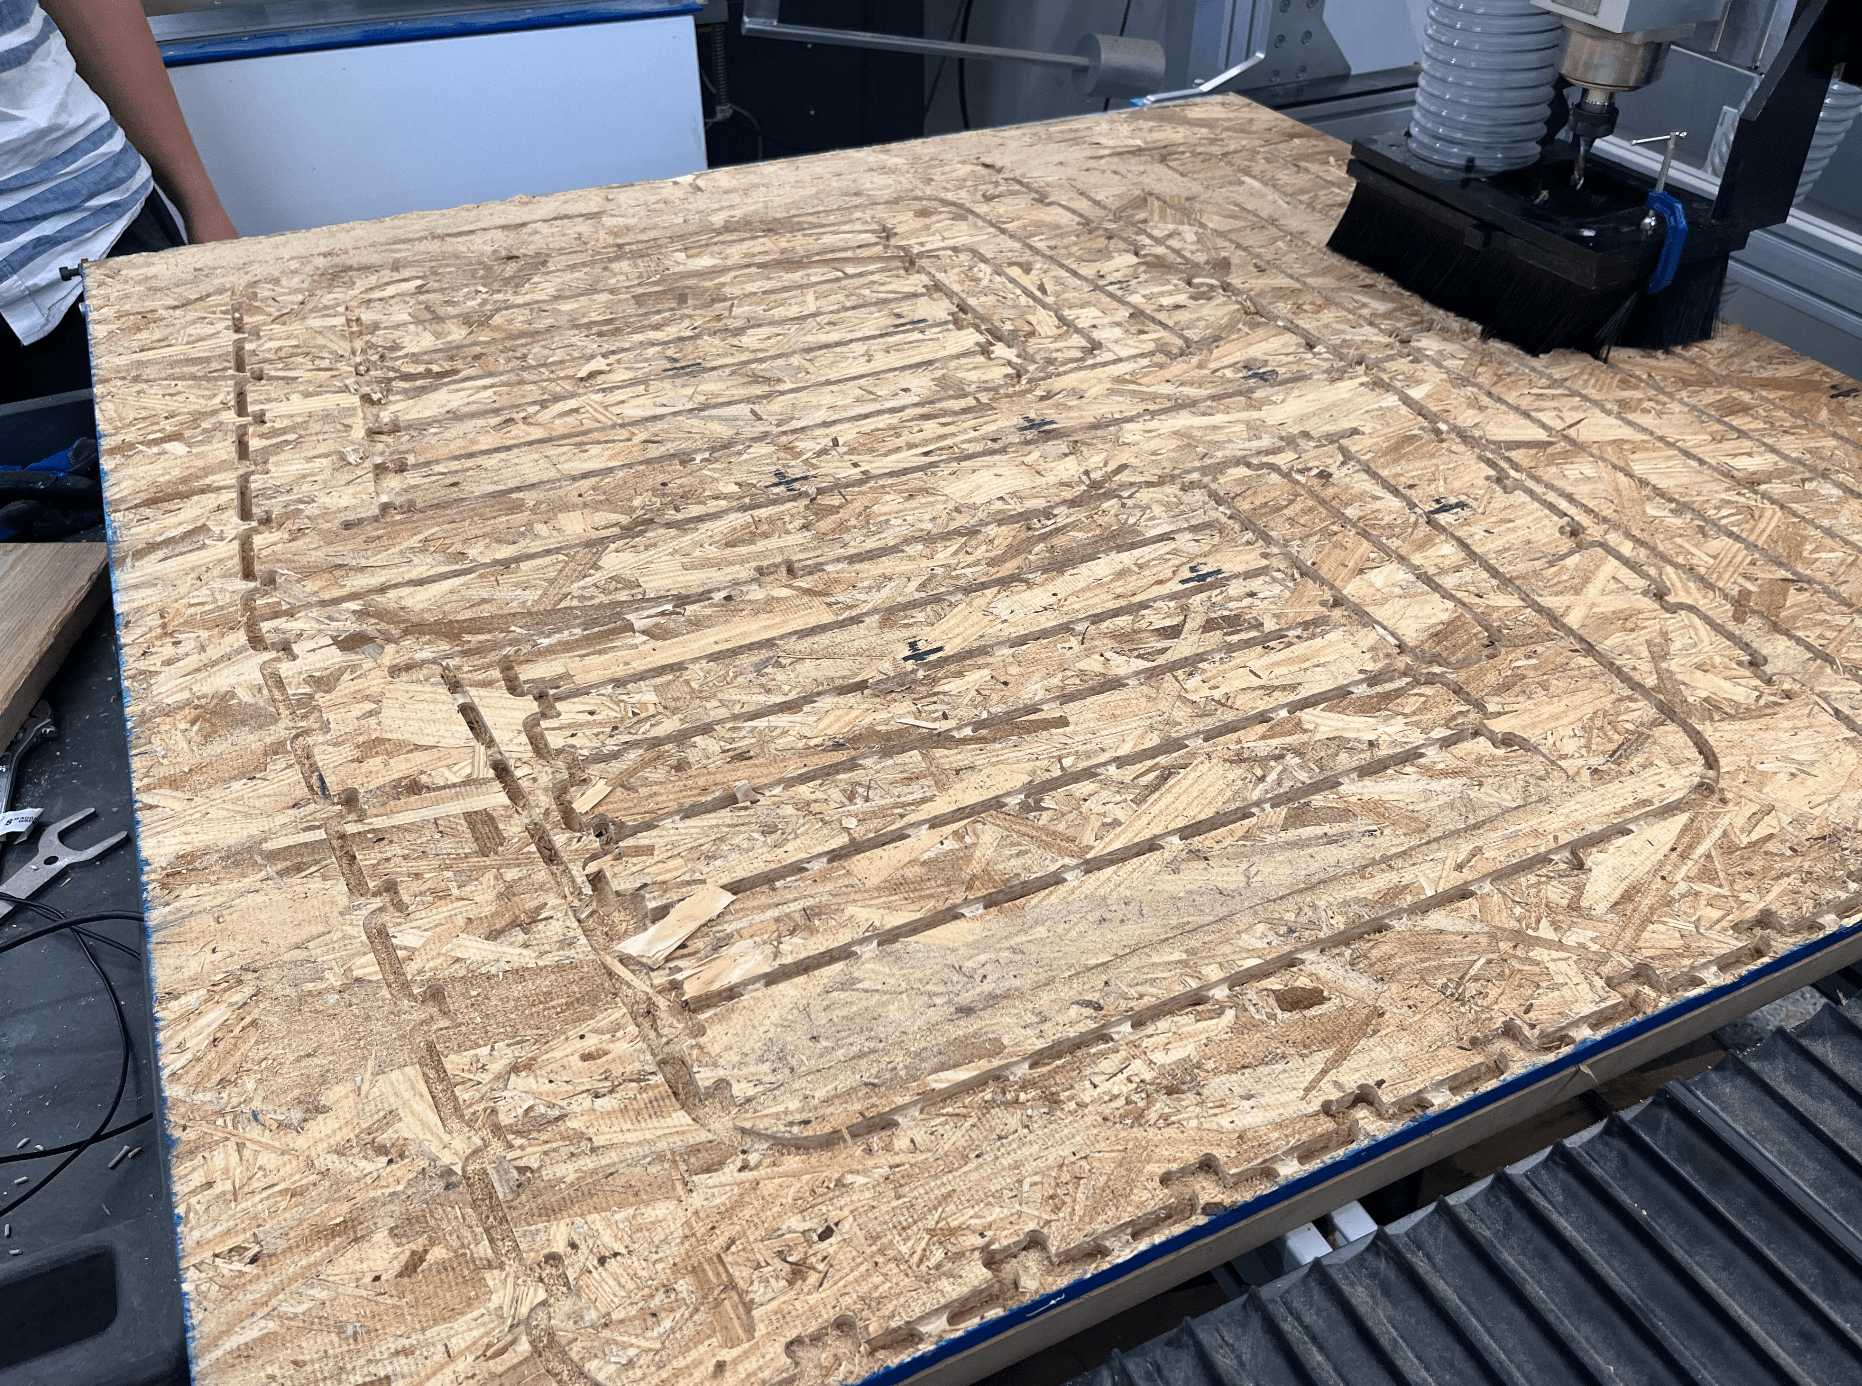
We also successfully machined my second board.
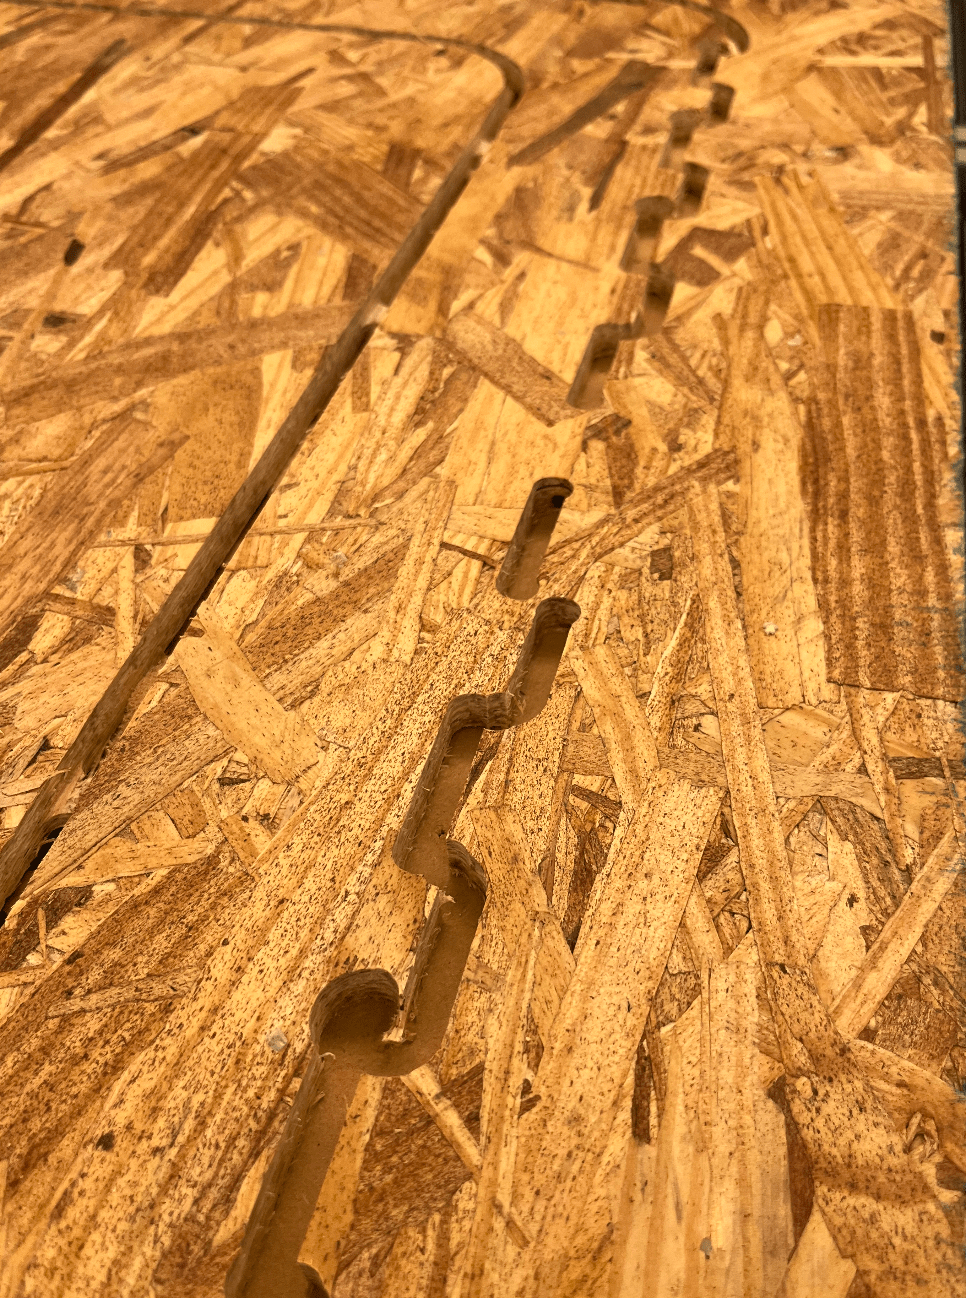
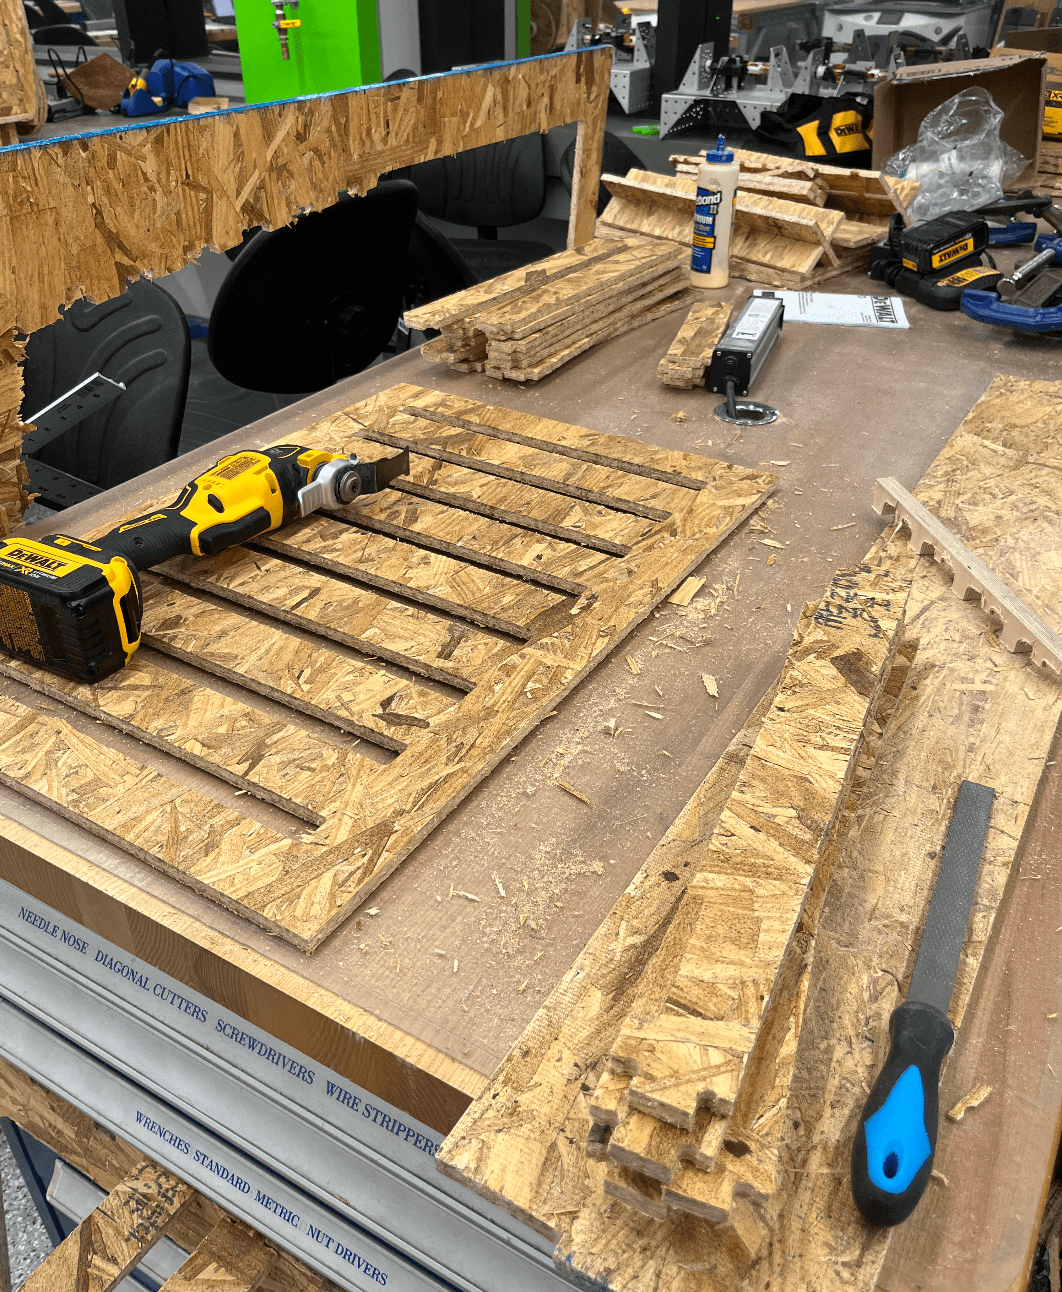
I used the crowbar to pop some pieces off, and also sheared some off that I was worried I would break with the crowbar. I used the oscillating tool to cut the tabs off parts, and also used the bandsaw to cut tabs off. I also sanded the sides of the slots on the frames to remove extra wood, since I realized the tabs would be a bit tight.
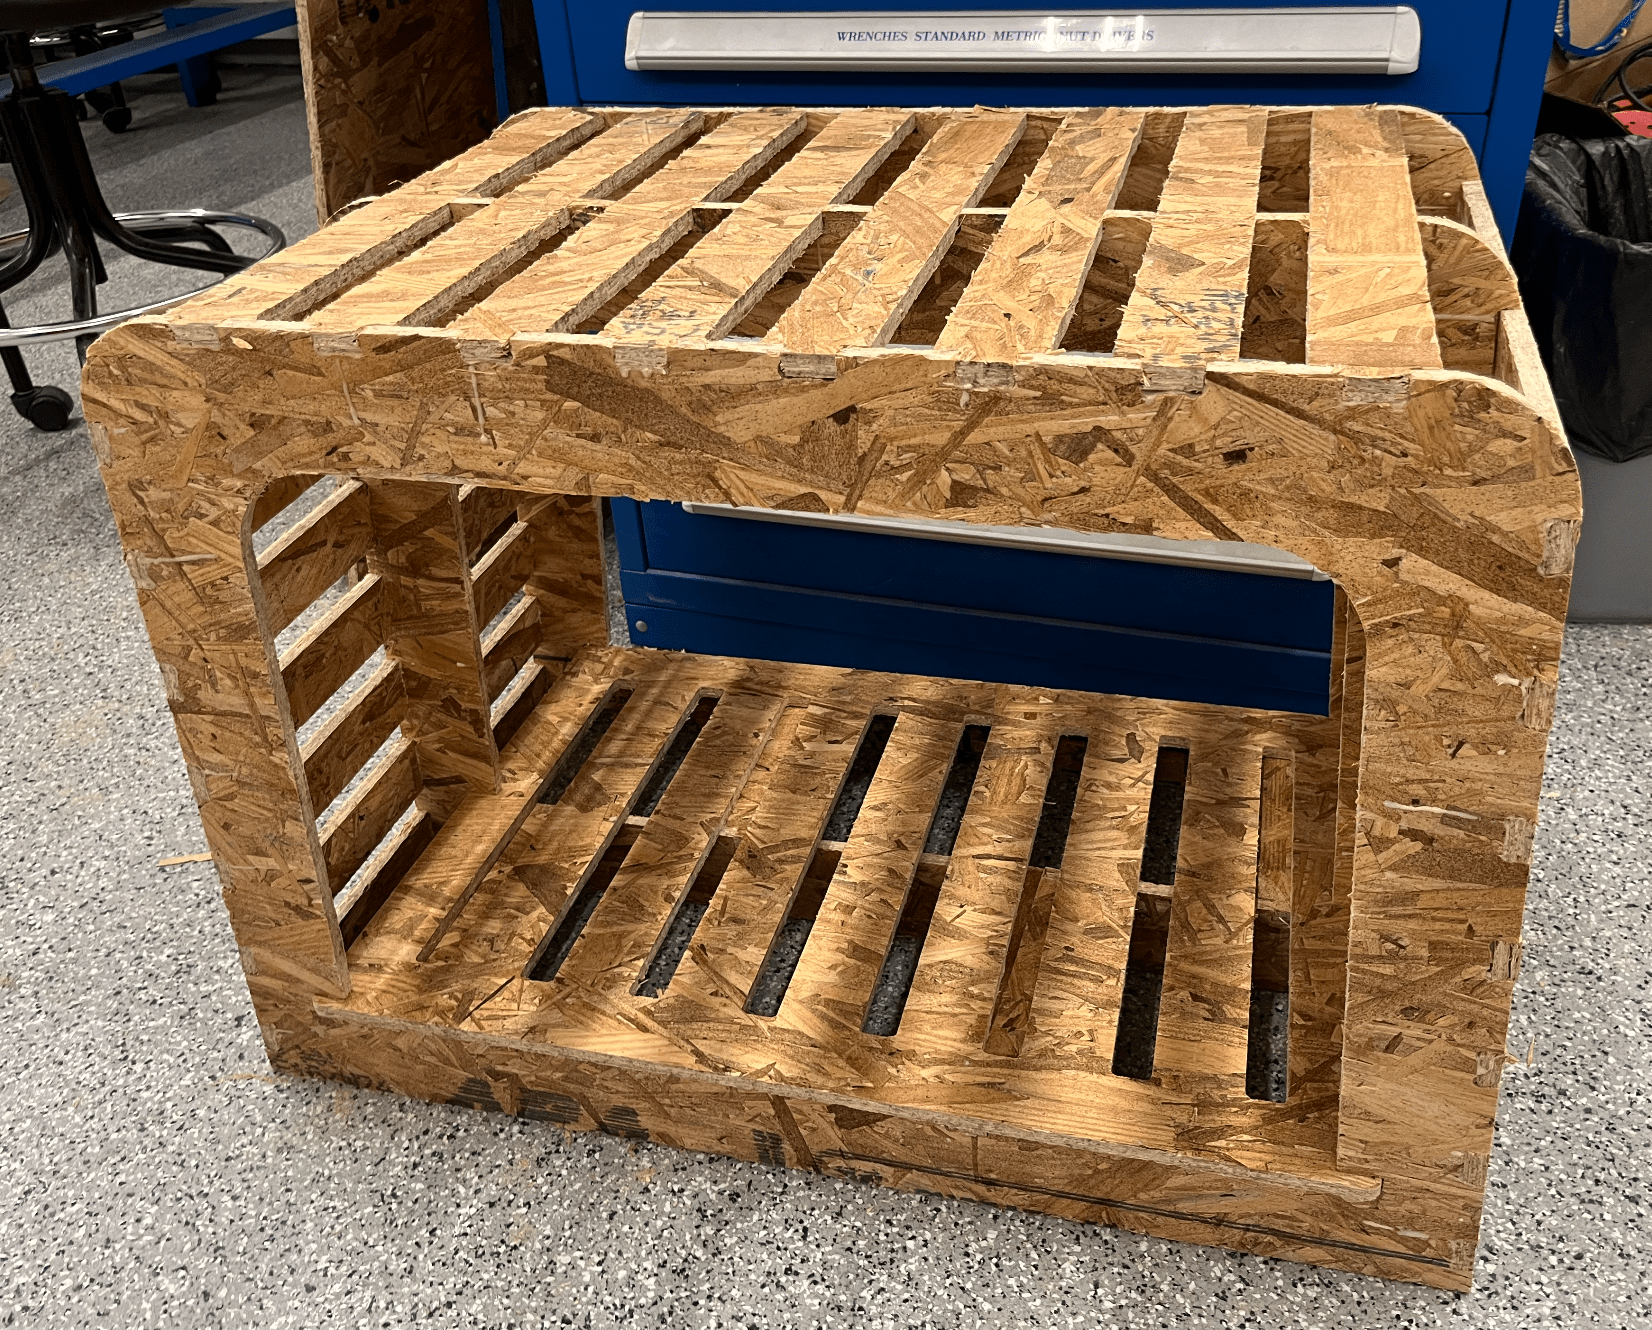
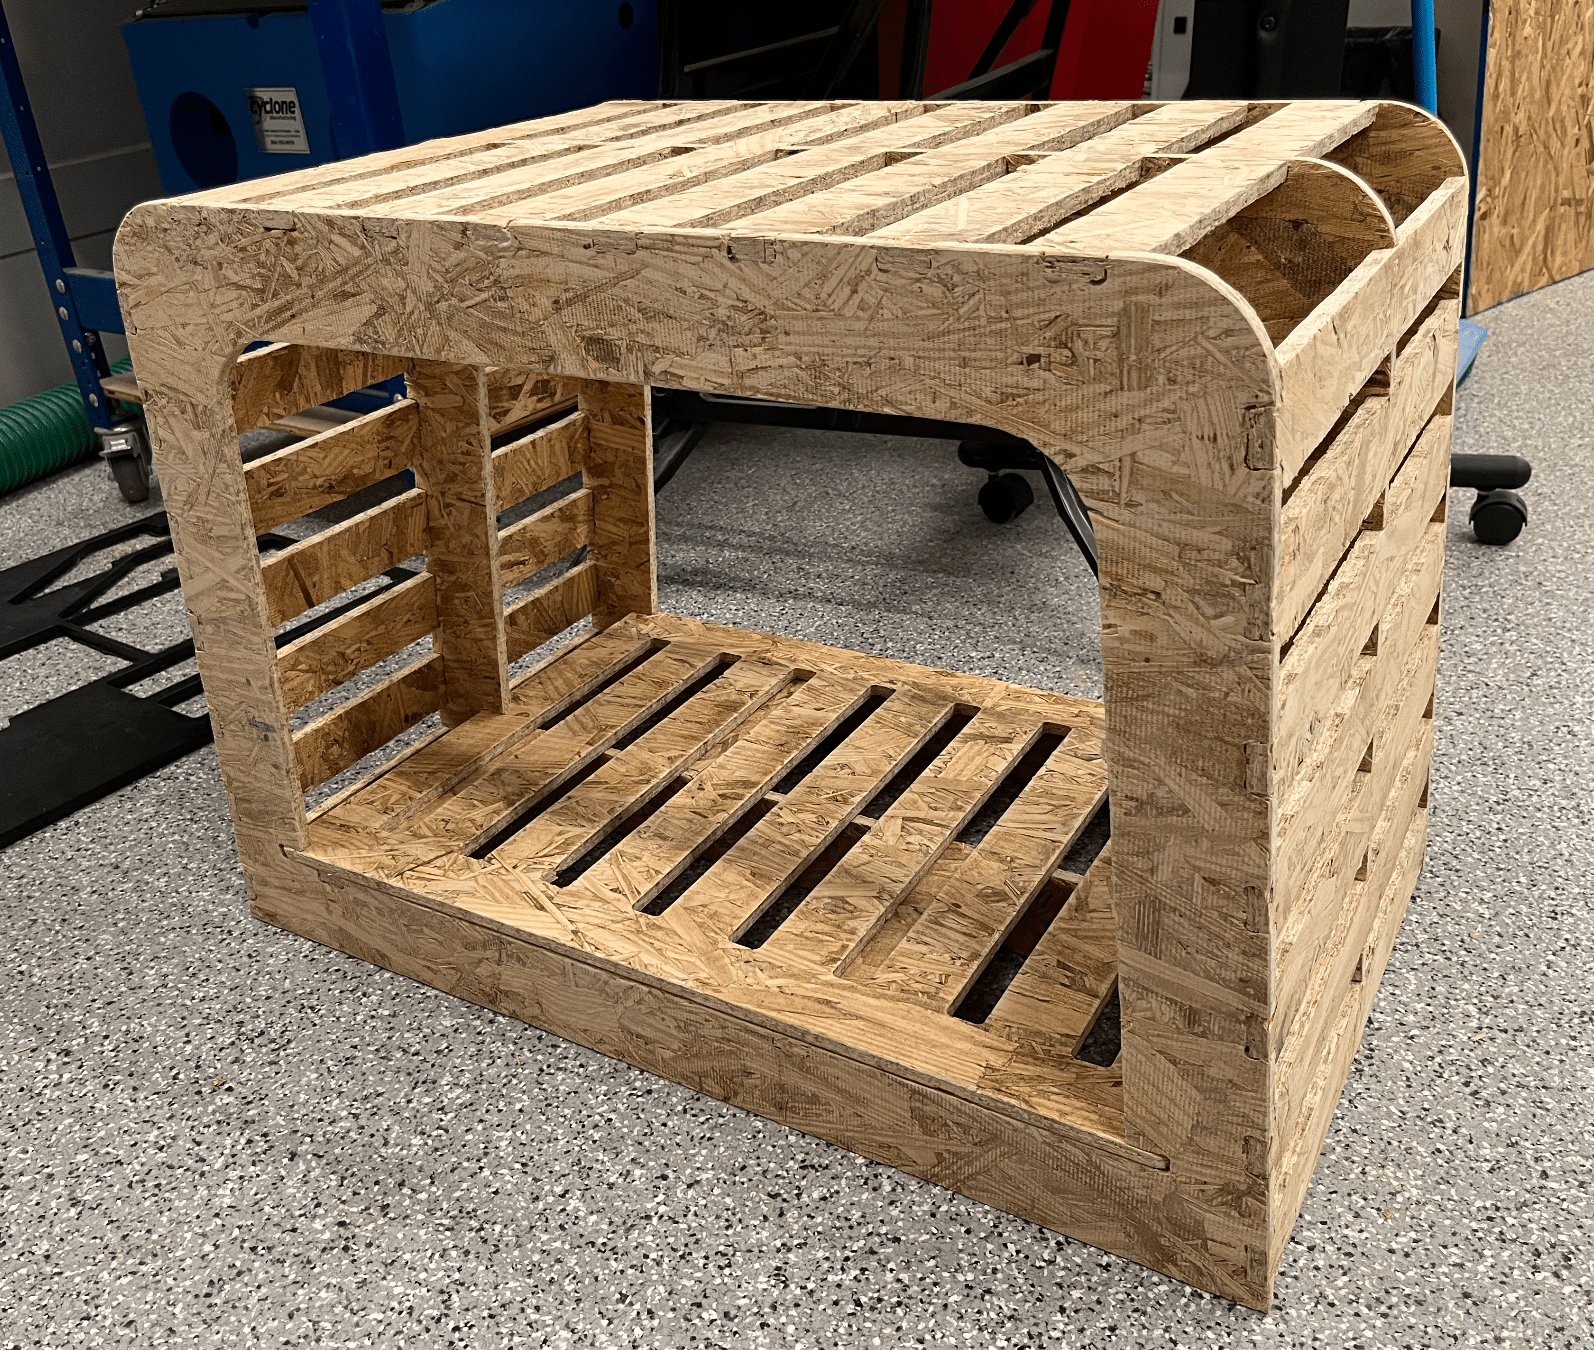
I managed to successfully piece the whole bench together, though I did need to use the hammer to get some slats into the slots. It was a little difficult at first, because there was nothing holding the three frames together before I put the four bottom support slats in - I couldn't put the external slats in first, because there was no reference as to where the middle frame piece would go. The picture below shows everything glued together, except for the bottom platform piece that was meant to slide in and out!
After the glue dried, I sanded the bench down so that I wouldn't get splinters each time I sat on it, and my clothes that went underneath would also get minimal splinters. Thankfully, we had mechanical sanders that I could use; I sanded the entire outer surface of the bench the bottom platform, and some of the side edges that could be exposed to whoever was sitting on the bench. The platform could be successfully slid in and out, though it was a little difficult sometimes to move it - I had already included extra clearance to give it more wiggle room.
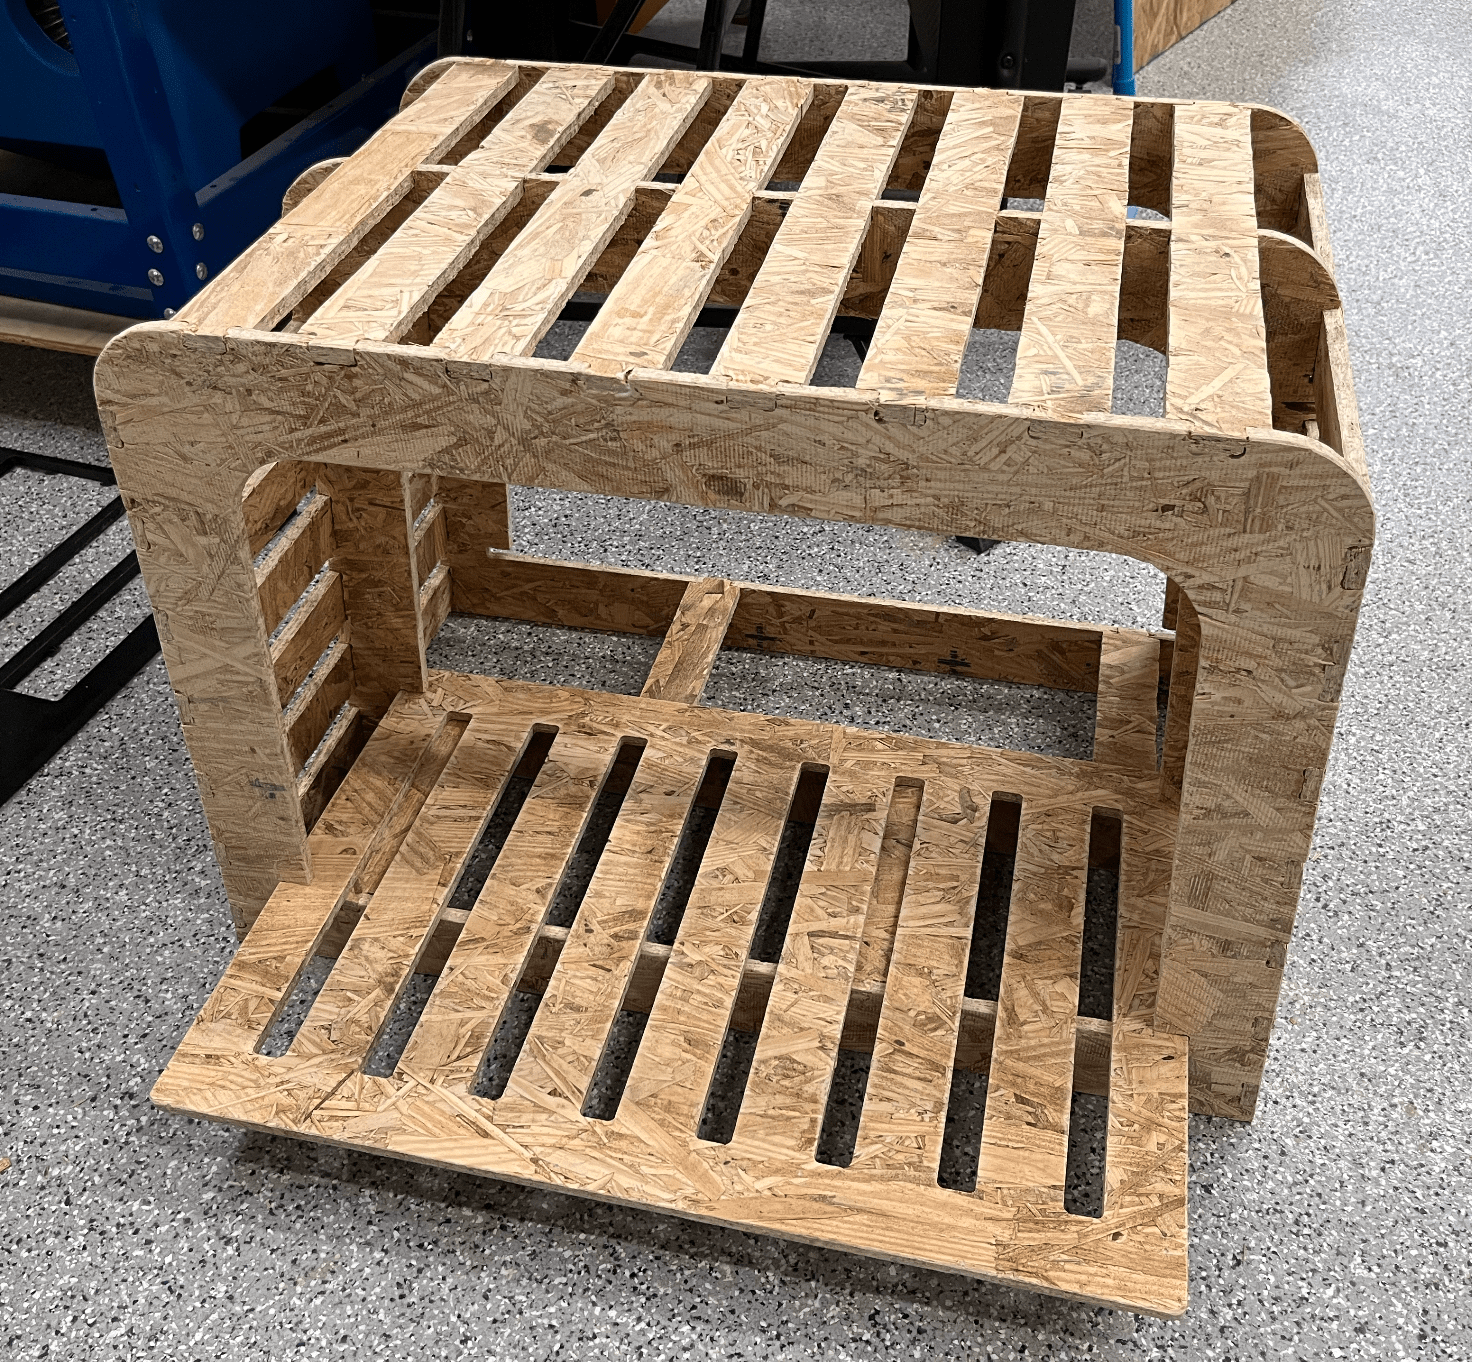
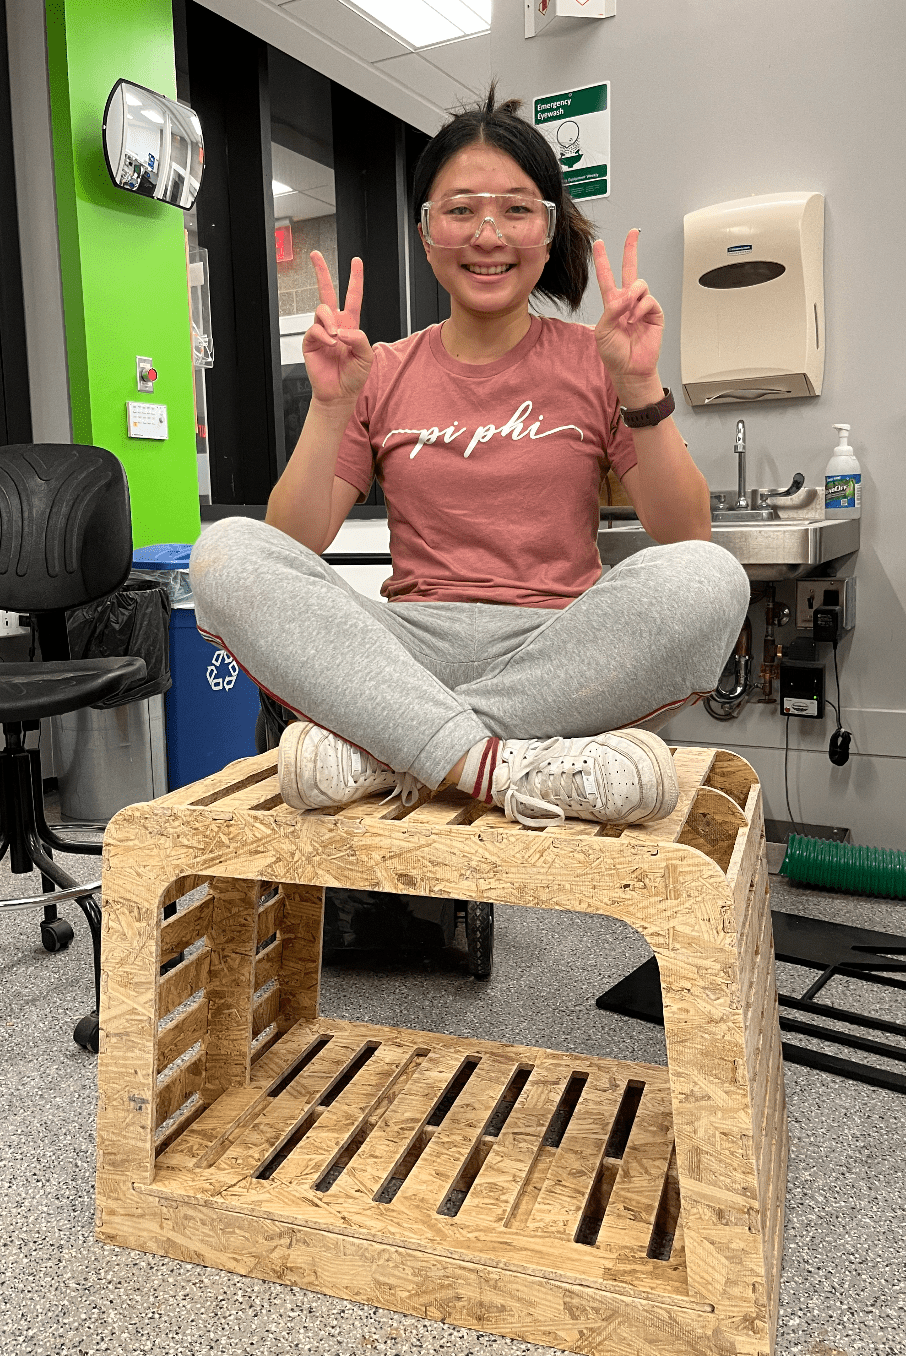
Once it was all ready, I put it to the test! It held me quite comfortably as I sat criss-crossed on the bench and felt quite sturdy too. When I sat sideways along the length of the bench, however, I could feel the slats bending a bit under me. They definitely couldn't hold a standing person. I was quite happy that it turned out successful enough to at least hold me! I did want to note that the bench turned out much bigger than I expected - I had done my measurements and intentionally made the bench a bit taller so that it could hold more underneath, but I guess I overshot just a bit so the largeness still surprised me. The good news though is that that means it can hold more clothes underneath (yay fewer times to do laundry).
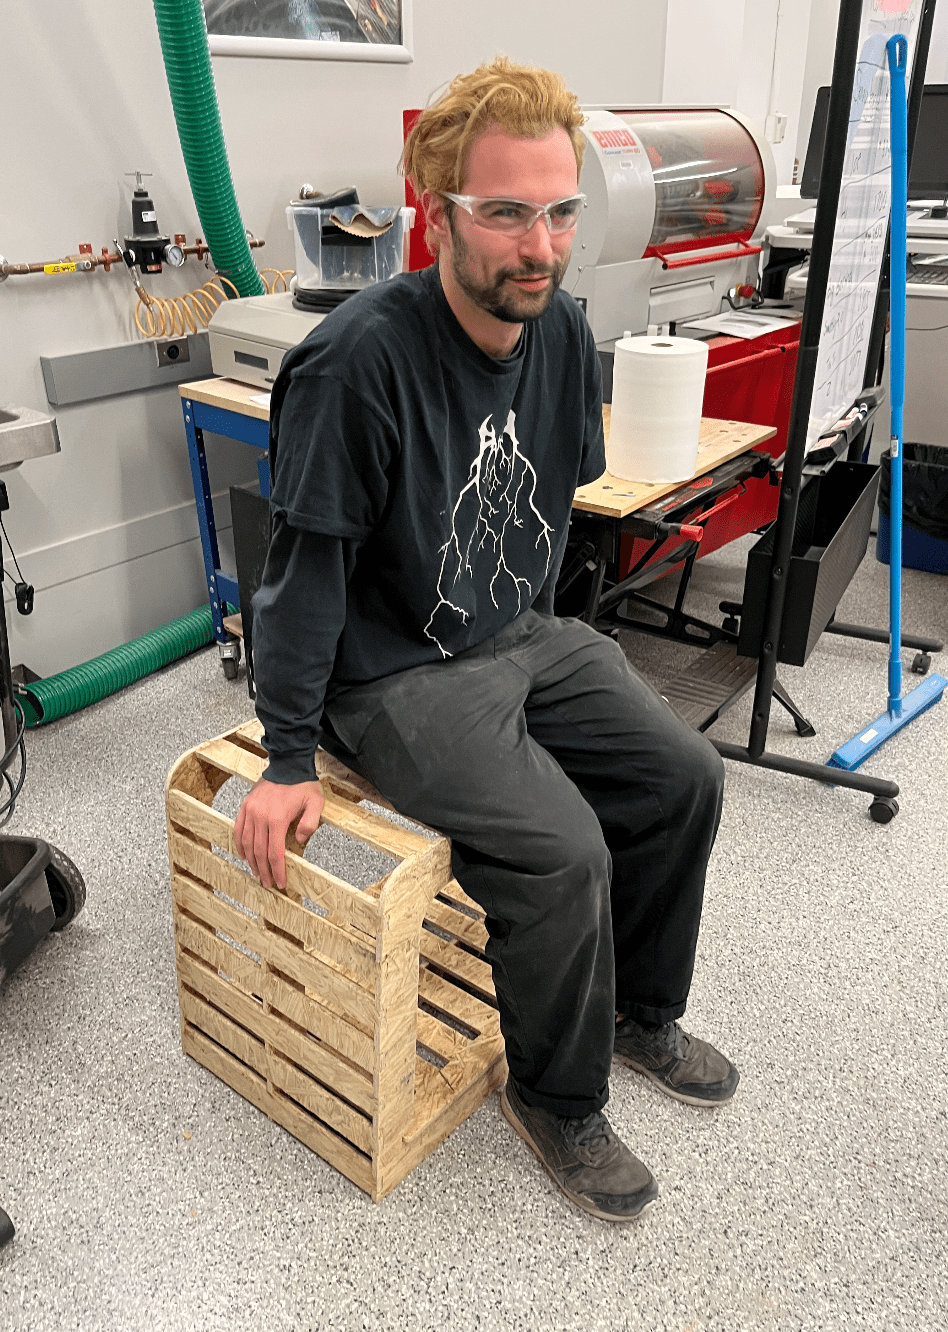
As a plus, it was also able to hold Alec! As you can see, he's sitting quite comfortably on the bench and definitely not scared that it'll collapse under him. Either way, it held!
Lessons Learned: things on CAD don't always turn out as they should physically, things will sometimes turn out bigger than expected, OCB can be surprisingly sturdy when used in the right way.