This week's assignment was to program our board to do something. I had never programmed anything in Arduino before, so I had to take some time to first figure out exactly what Arduino was about, and how to use it and code on the platform.
Once I thought I somewhat knew what I was doing, I started with the programming. I decided to start with just the simple task of programming the board so the LED can be turned on or off by pressing the button. I figured that if I had time, I could do something more complicated, but I'd start with the basics because I'd never done it before.
The first time I finished my code and tried to upload it onto the board, the board didn't work like it was supposed to. We had debugged to make sure the code was running and everything through the Serial Monitor, but couldn't figure out why it still wasn't working. Though I did learn at this point that I needed to add a debouncer so that the microcontroller wouldn't register a bunch of button presses from the button bouncing at once. I did this very simply by adding a 1 second delay after each button press so the microcontroller wouldn't register anything during that time. Then, with Anthony's help later, I found out that it was because I had set up the pins by referencing the physical pin numbers, but in fact we needed to use the internal numbers to reference them. Once that was fixed, we thought the code was good. But after uploading the code, we saw the LED just flash on and off continuously. When the button was pressed, however, the LED would stop in whatever state it was in, whether on or off.
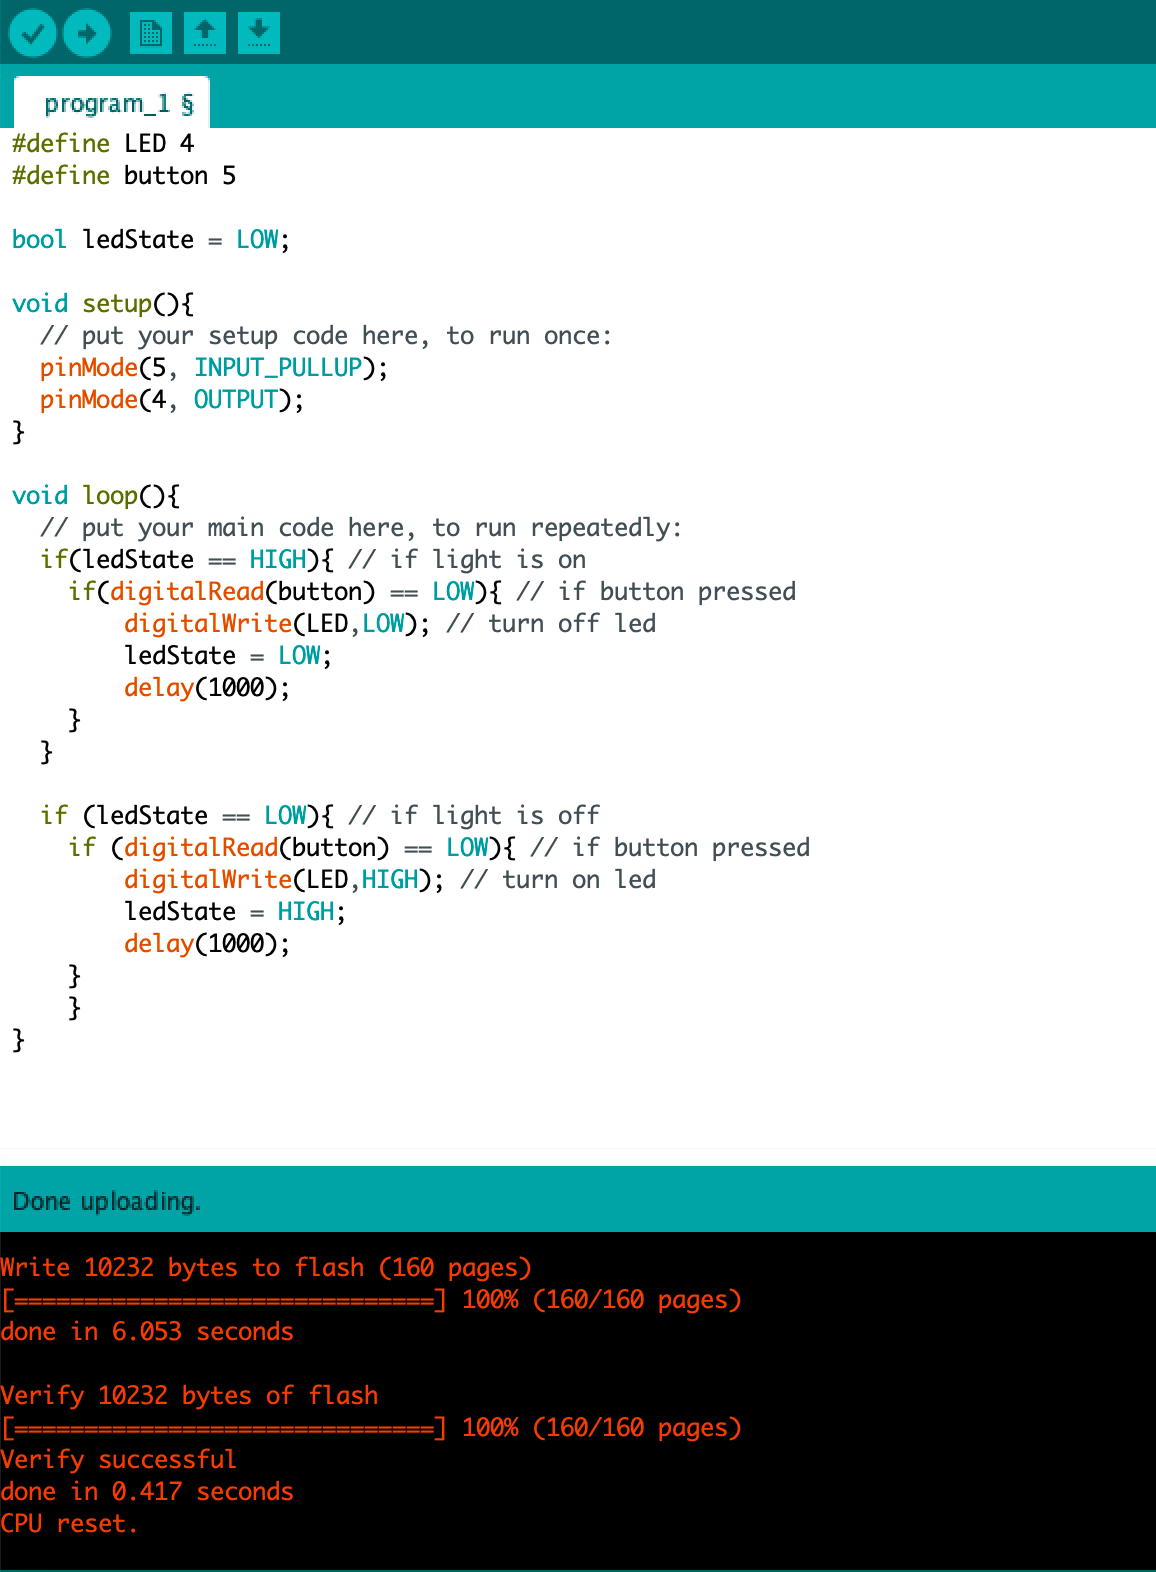
After looking at the code, we realized it was because I had set it so that the board would only run the code when the button state was "HIGH", thinking that "HIGH" meant the button was being pressed, however in fact it was the opposite and "LOW" meant the button was being pressed because at an open state, the voltage would have nowhere to go and therefore the reading at the pin would be high. With that fix, I uploaded the code again, and then tried pressing the button.
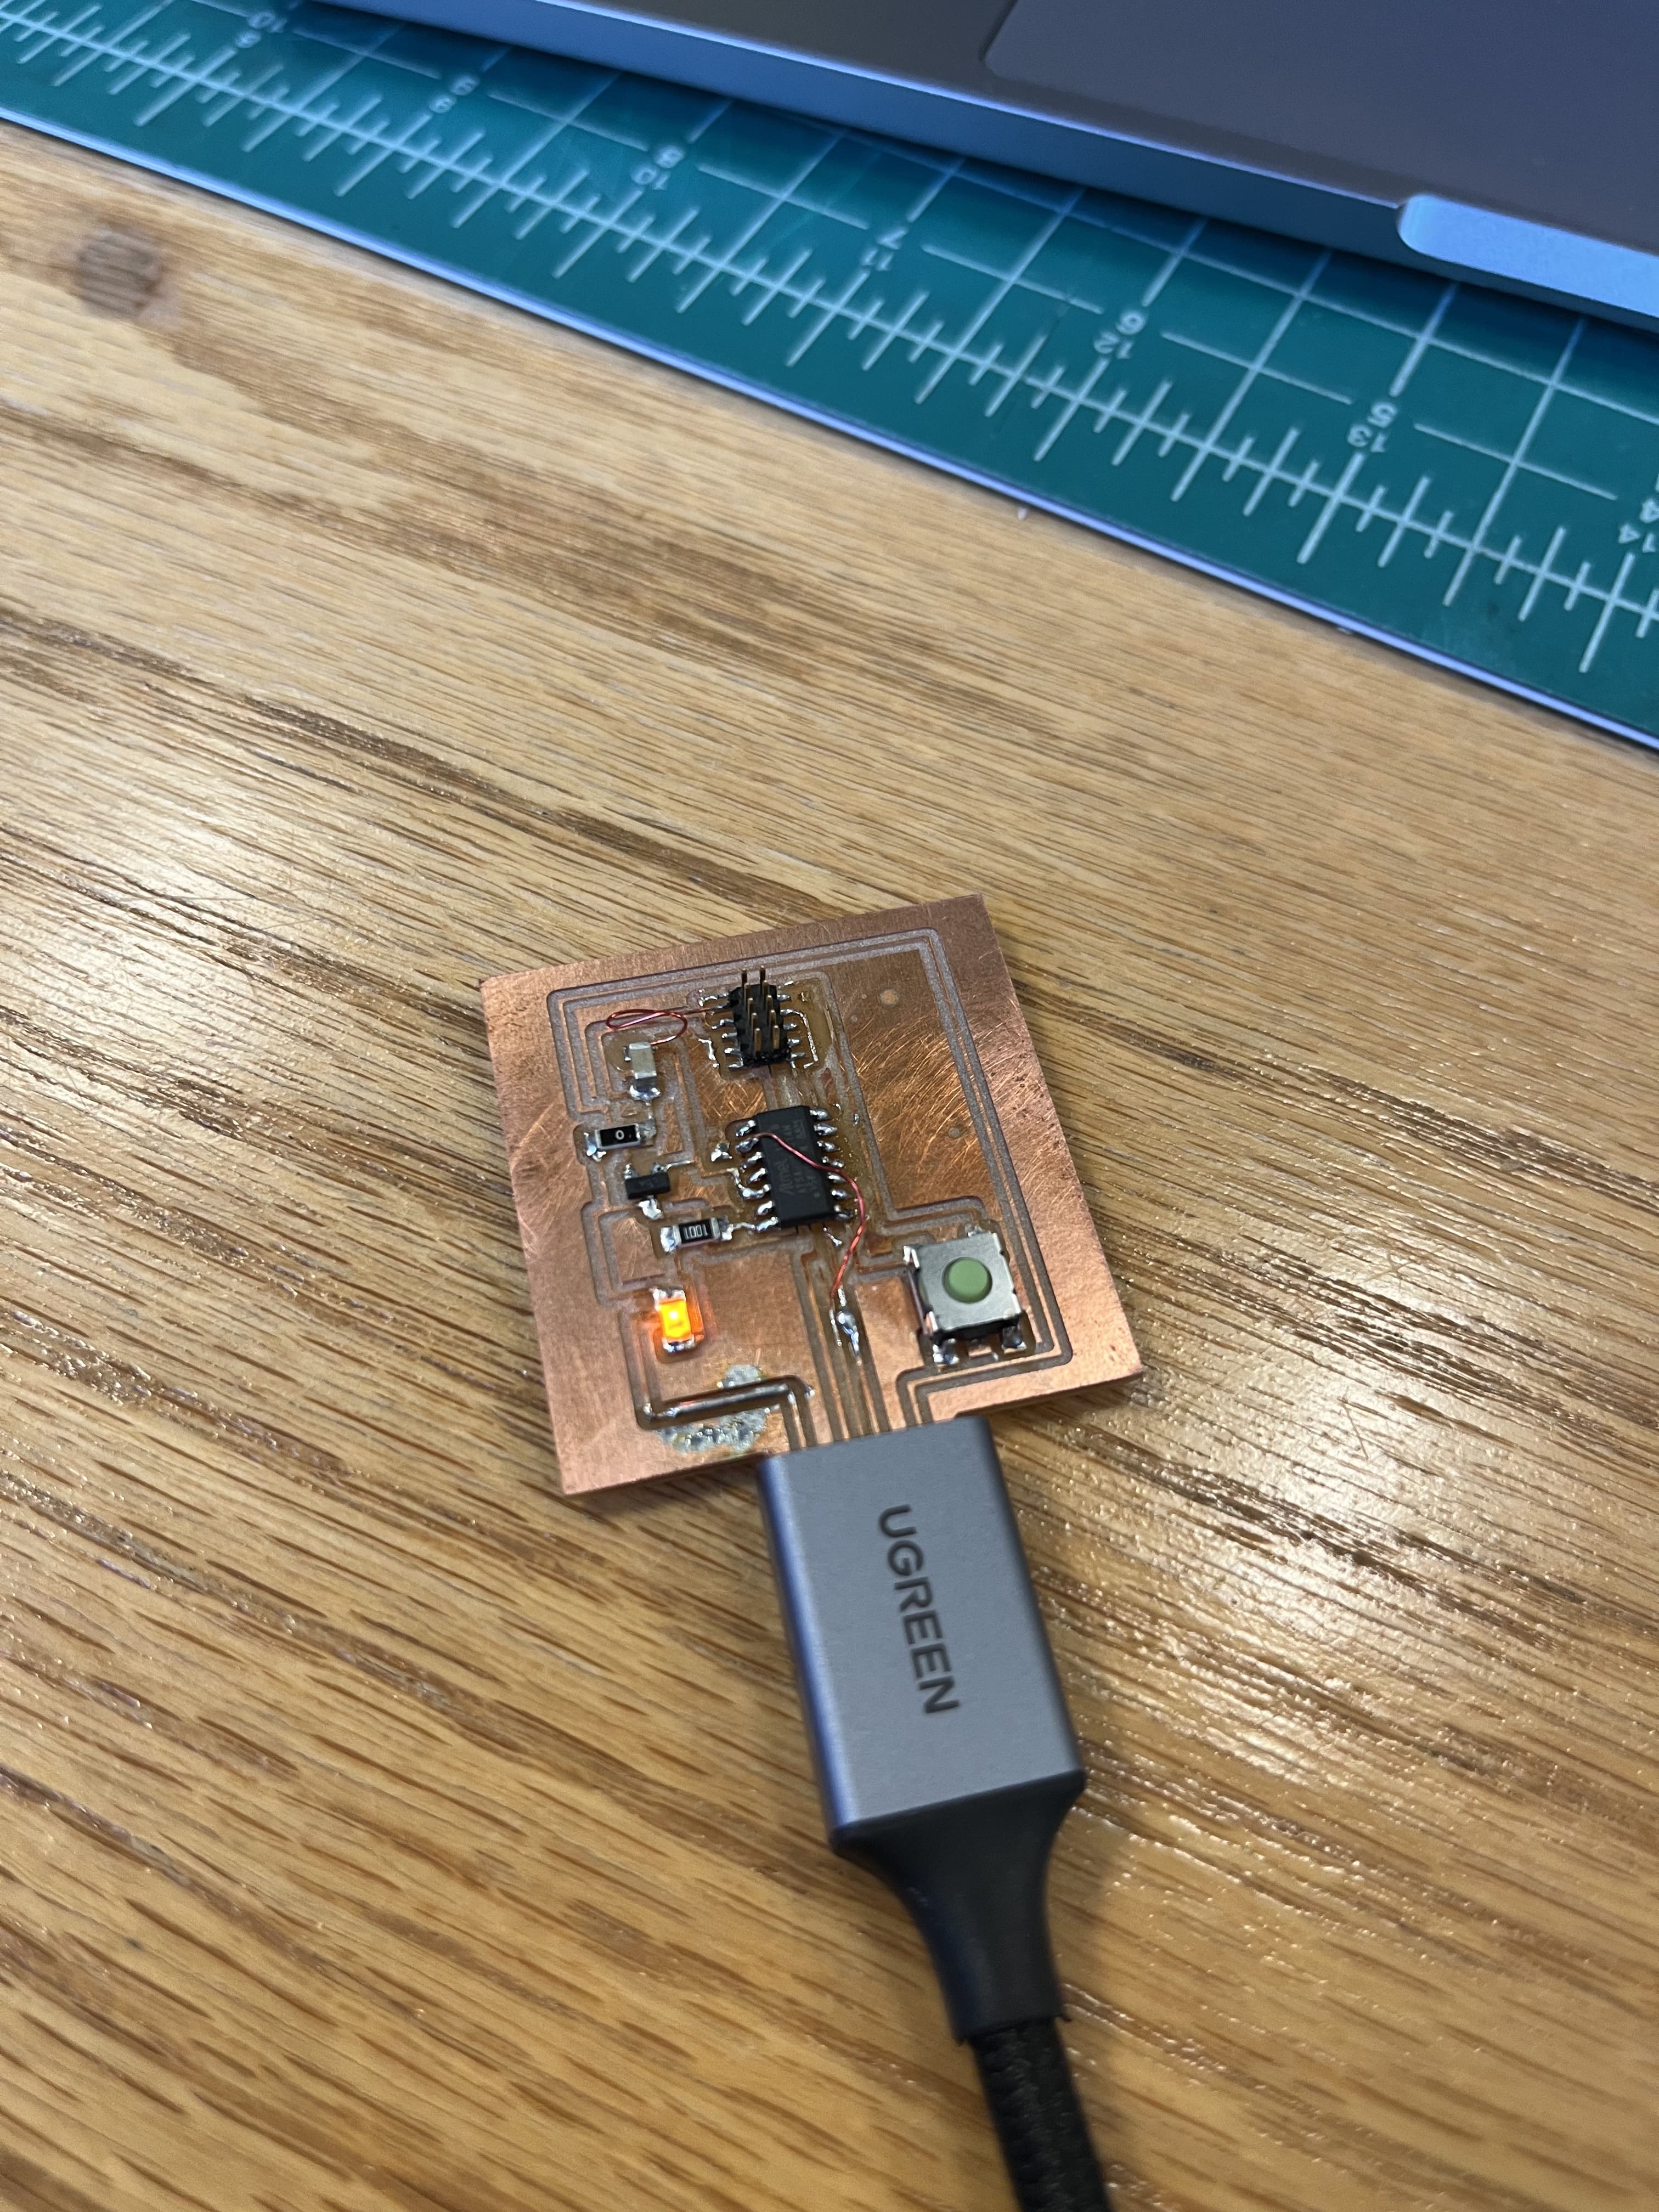
After so many failed button presses this time, it finally worked! I ended up not having time to do something more complicated, but at least I managed to turn on my first LED with my PCB and Arduino.
If I were to do this again though, there are definitely things I would change about the code and the way I did things, especially for something more complicated - one thing specifically is that there are better ways to debounce out there that I will be using, rather than introducing a delay where the microcontroller can't send any other commands.
Lessons learned: variables need to be declared at the very top of the code, setup pin reference numbers are the internal references and not the external pins, debouncing is quite necessary, variables that record state can be used to detect current state and changed in state.