Week 13 - Wildcard Week
This week was up in the air. The general task was to produce something with a digital fabrication process that was not covered in an earlier assignment. I decided to learn the wire EDM process as I've had parts EDM'd due to it's capability of machining to incredibly fine tolerances. Unfortunately, the machine time is quite extensive so we didn't each get to make our own part, but I learned a lot about the machine, saw it in action, learned the workflow, and observed end parts thanks to Dave.
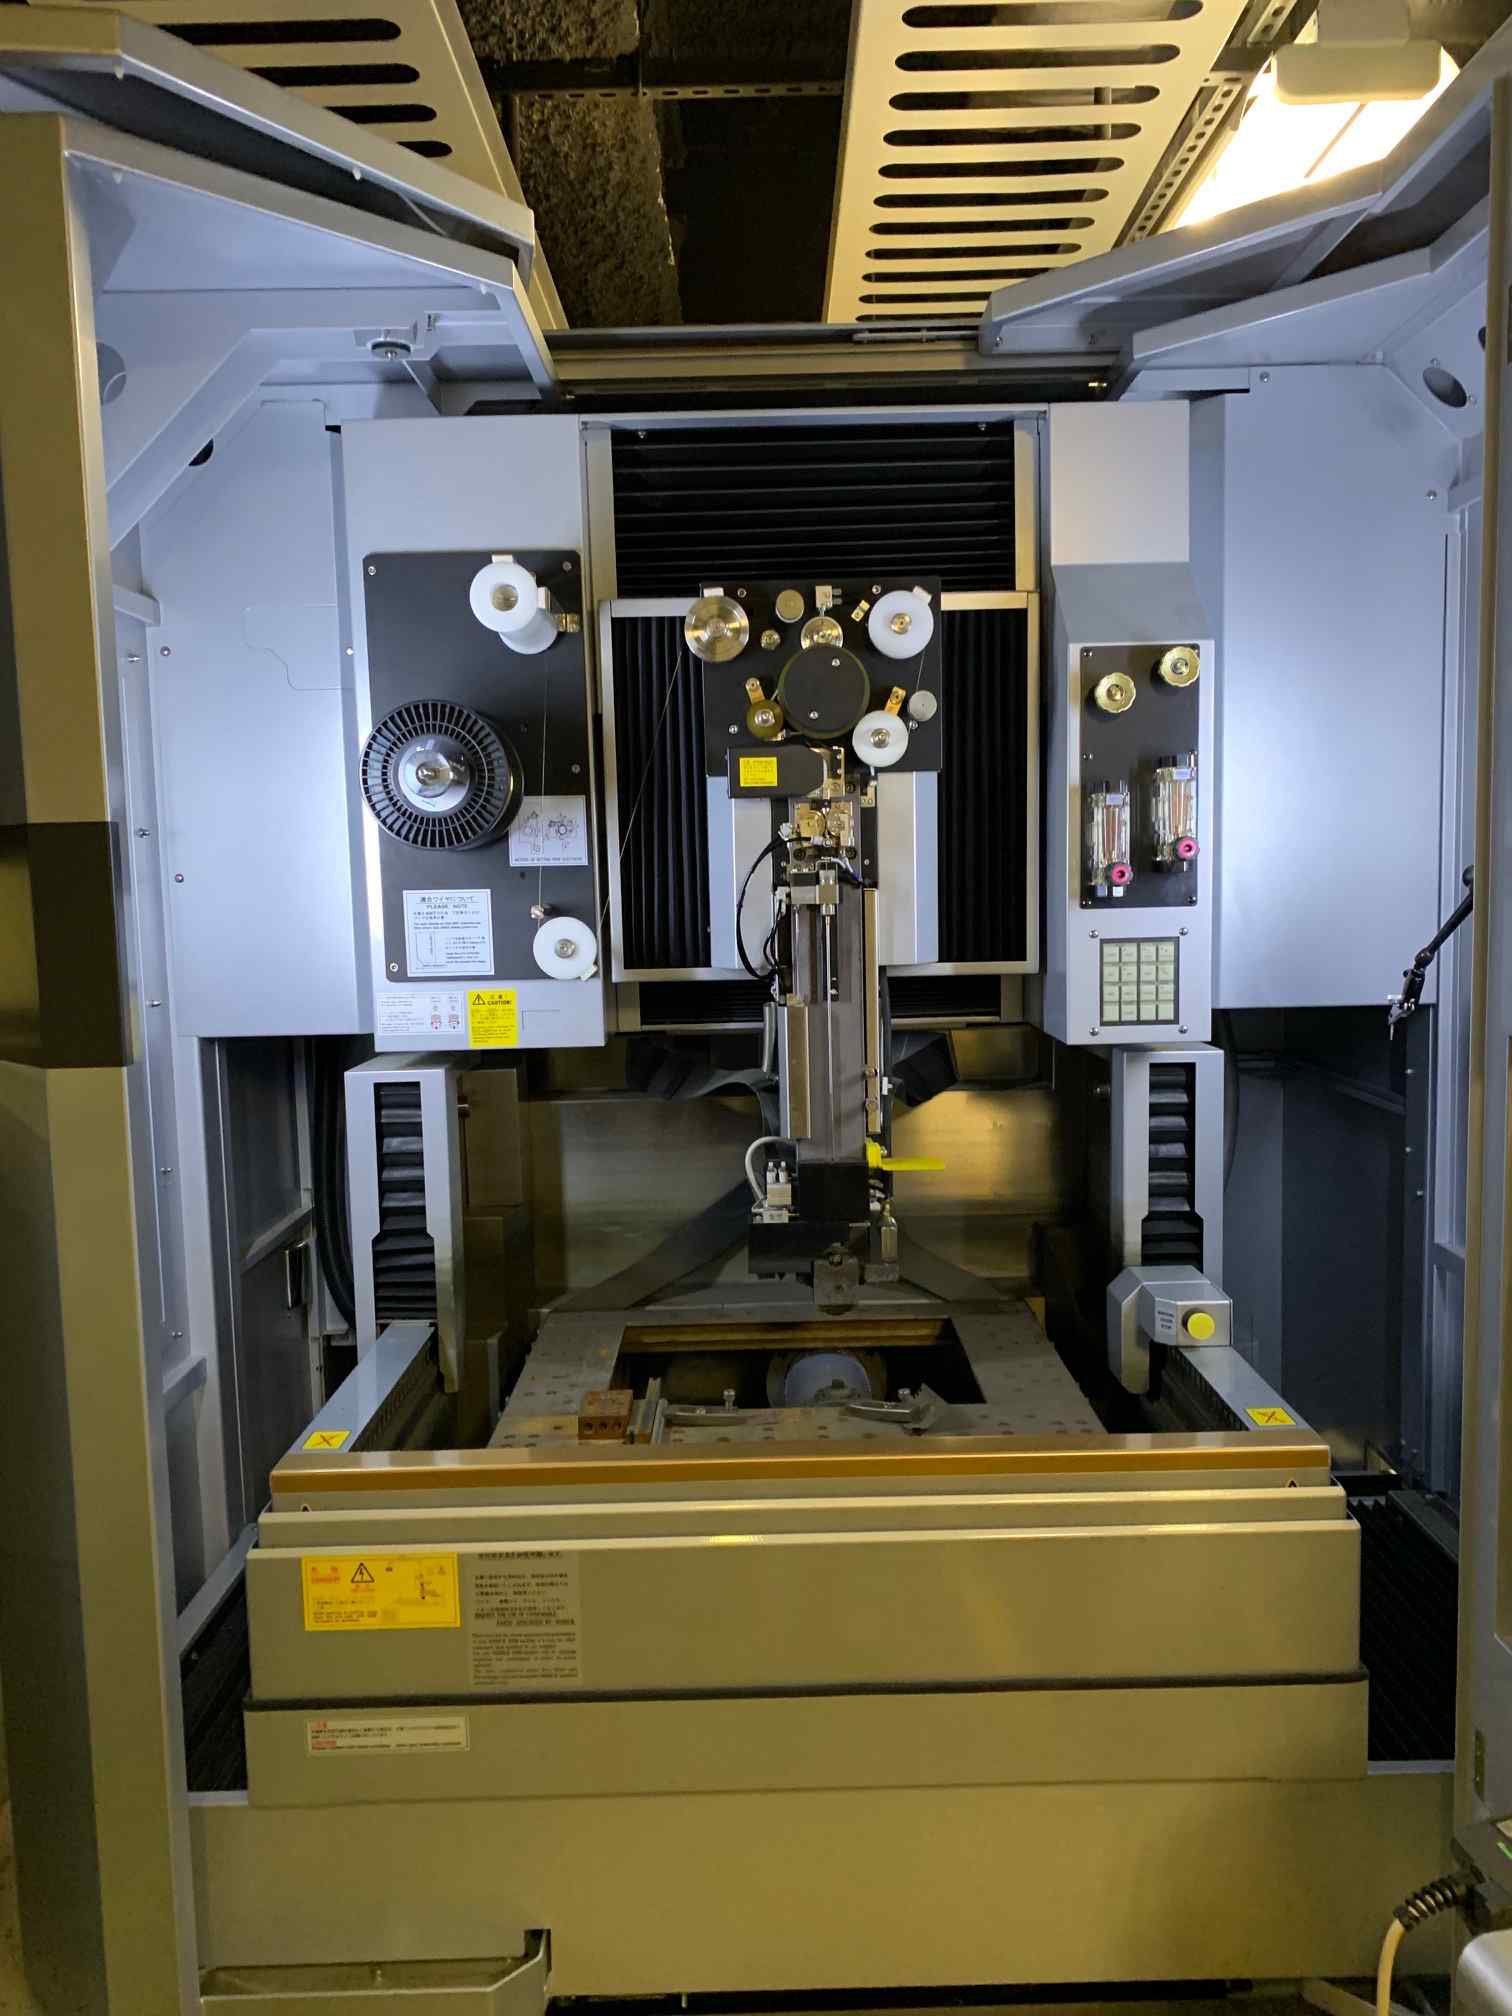
The wire EDM machine that the CBA lab is composed of a very fine (150 micron) brass wire (possibly coated in gold) that is back tensioned though a series of pulleys and fed towards the workpiece area. A relatively low AC voltage (60 V) is applied the wire and because the workpiece must be electrically conductive and is grounded, the small distance between the wire and the workpiece causes an arc to form between the wire and the piece. The result is that very fine particles are discharged off the workpiece and evacuated with a fast moving water jet. The whole process happens under water. Below is a picture of the front of the machine with the tensioned pulley system.
And here is a video of the wire being fed downward and grabbed at the outlet.
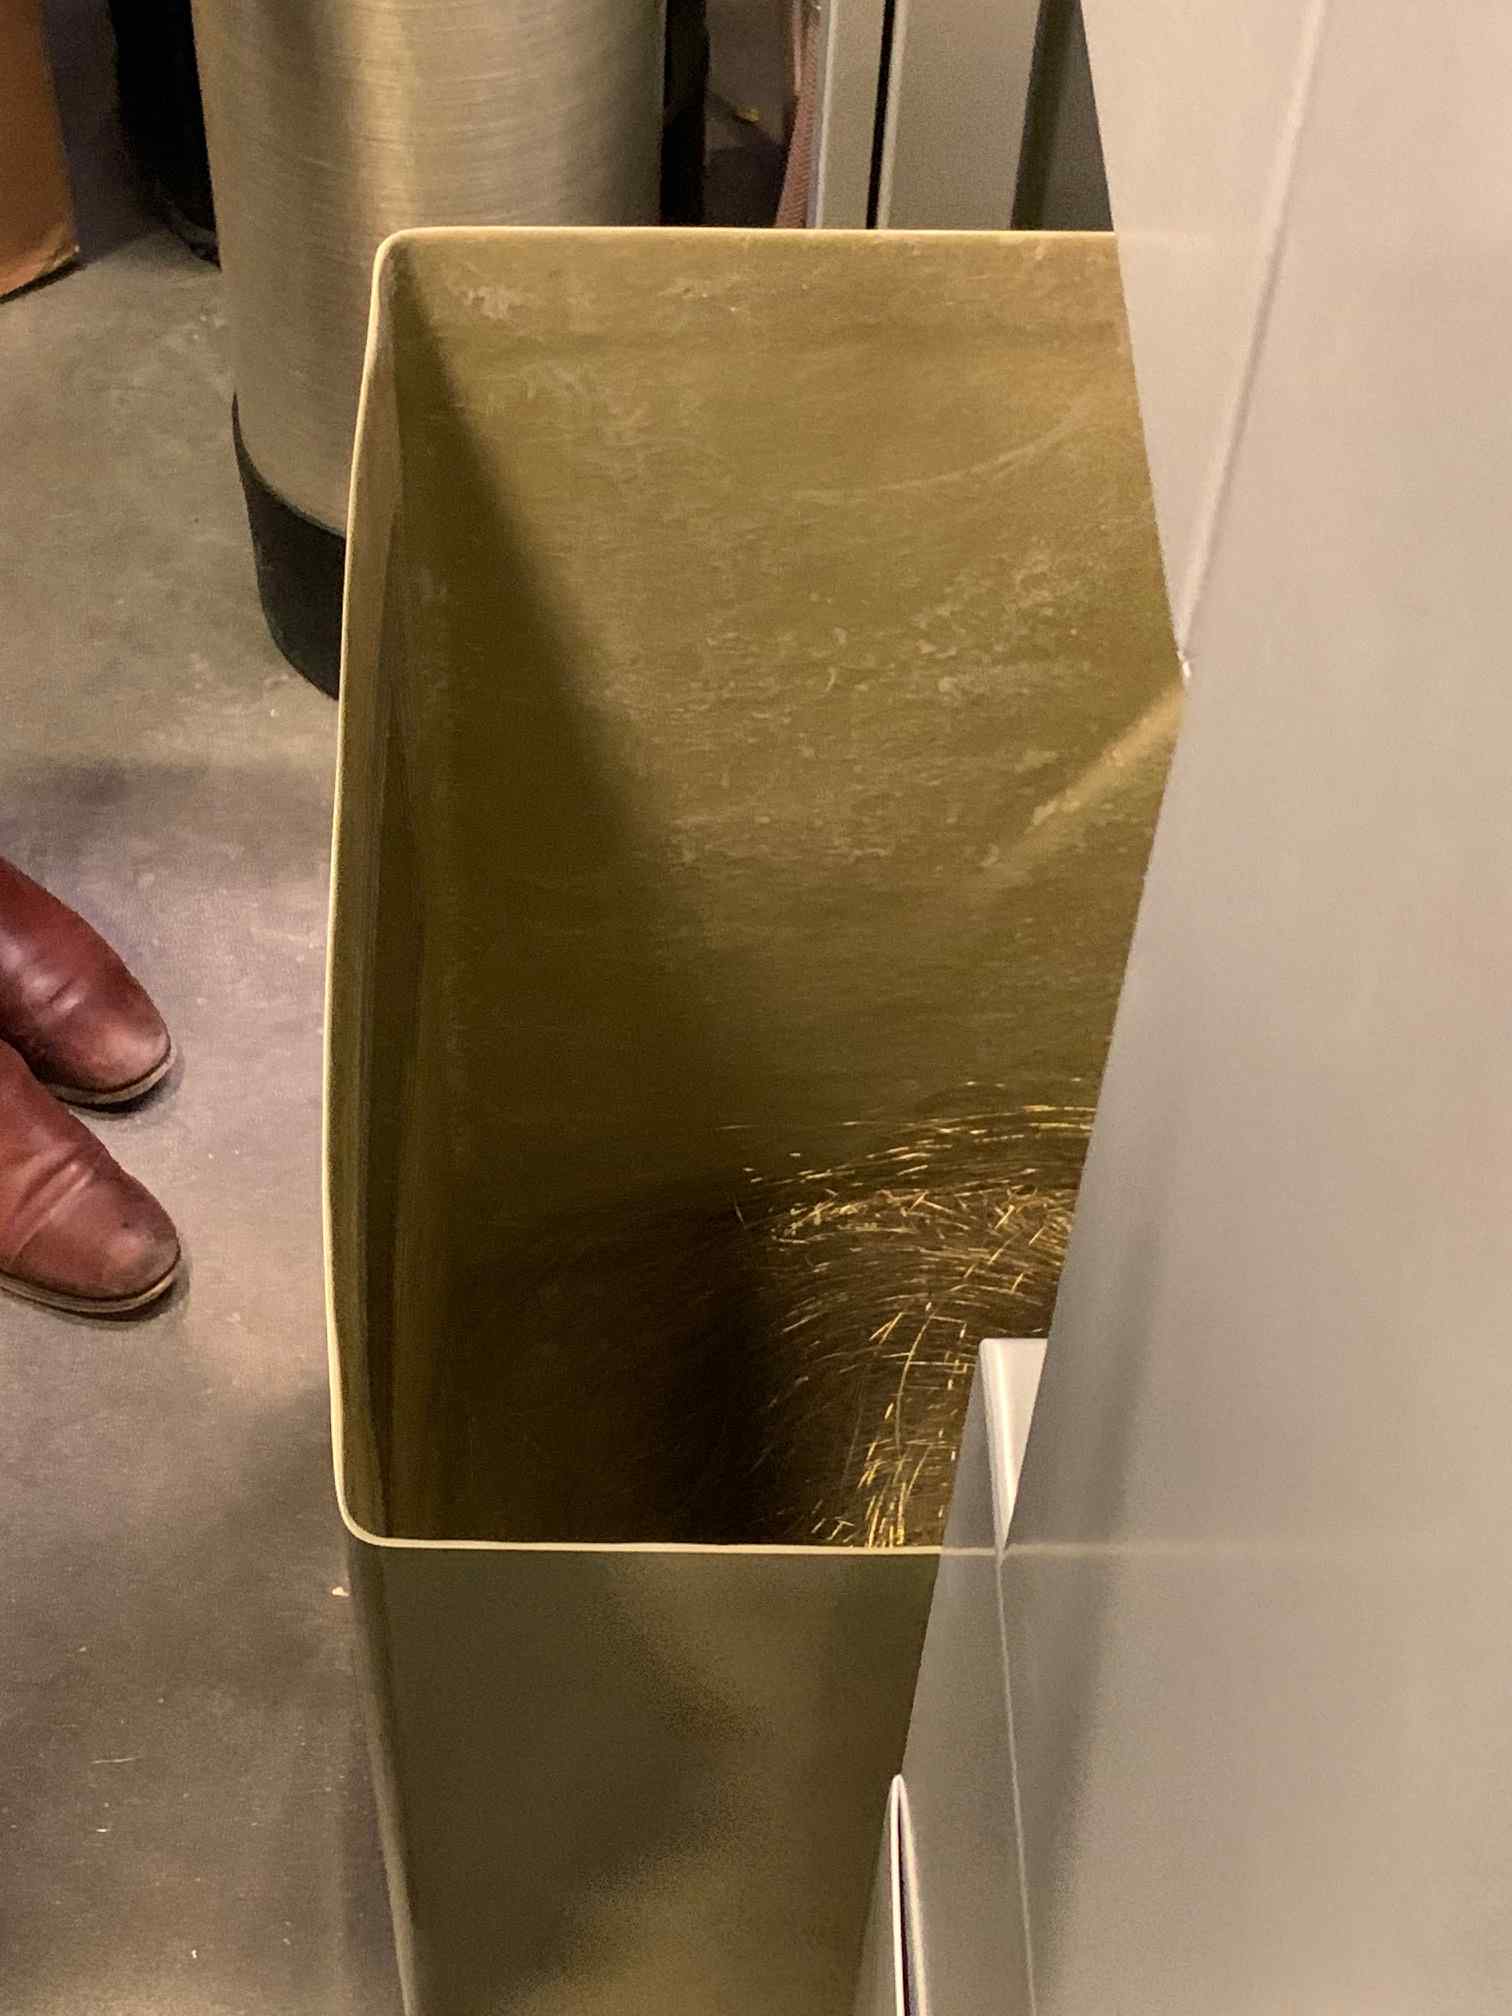
The wire EDM process is a quite a wasteful process and all of the used wire is fed out the back of the machine into a bucket like shown below.Apparently this fills up fairly fast and care must be taken not to let it overflow or else a giant knot will form (this happened just before the training).
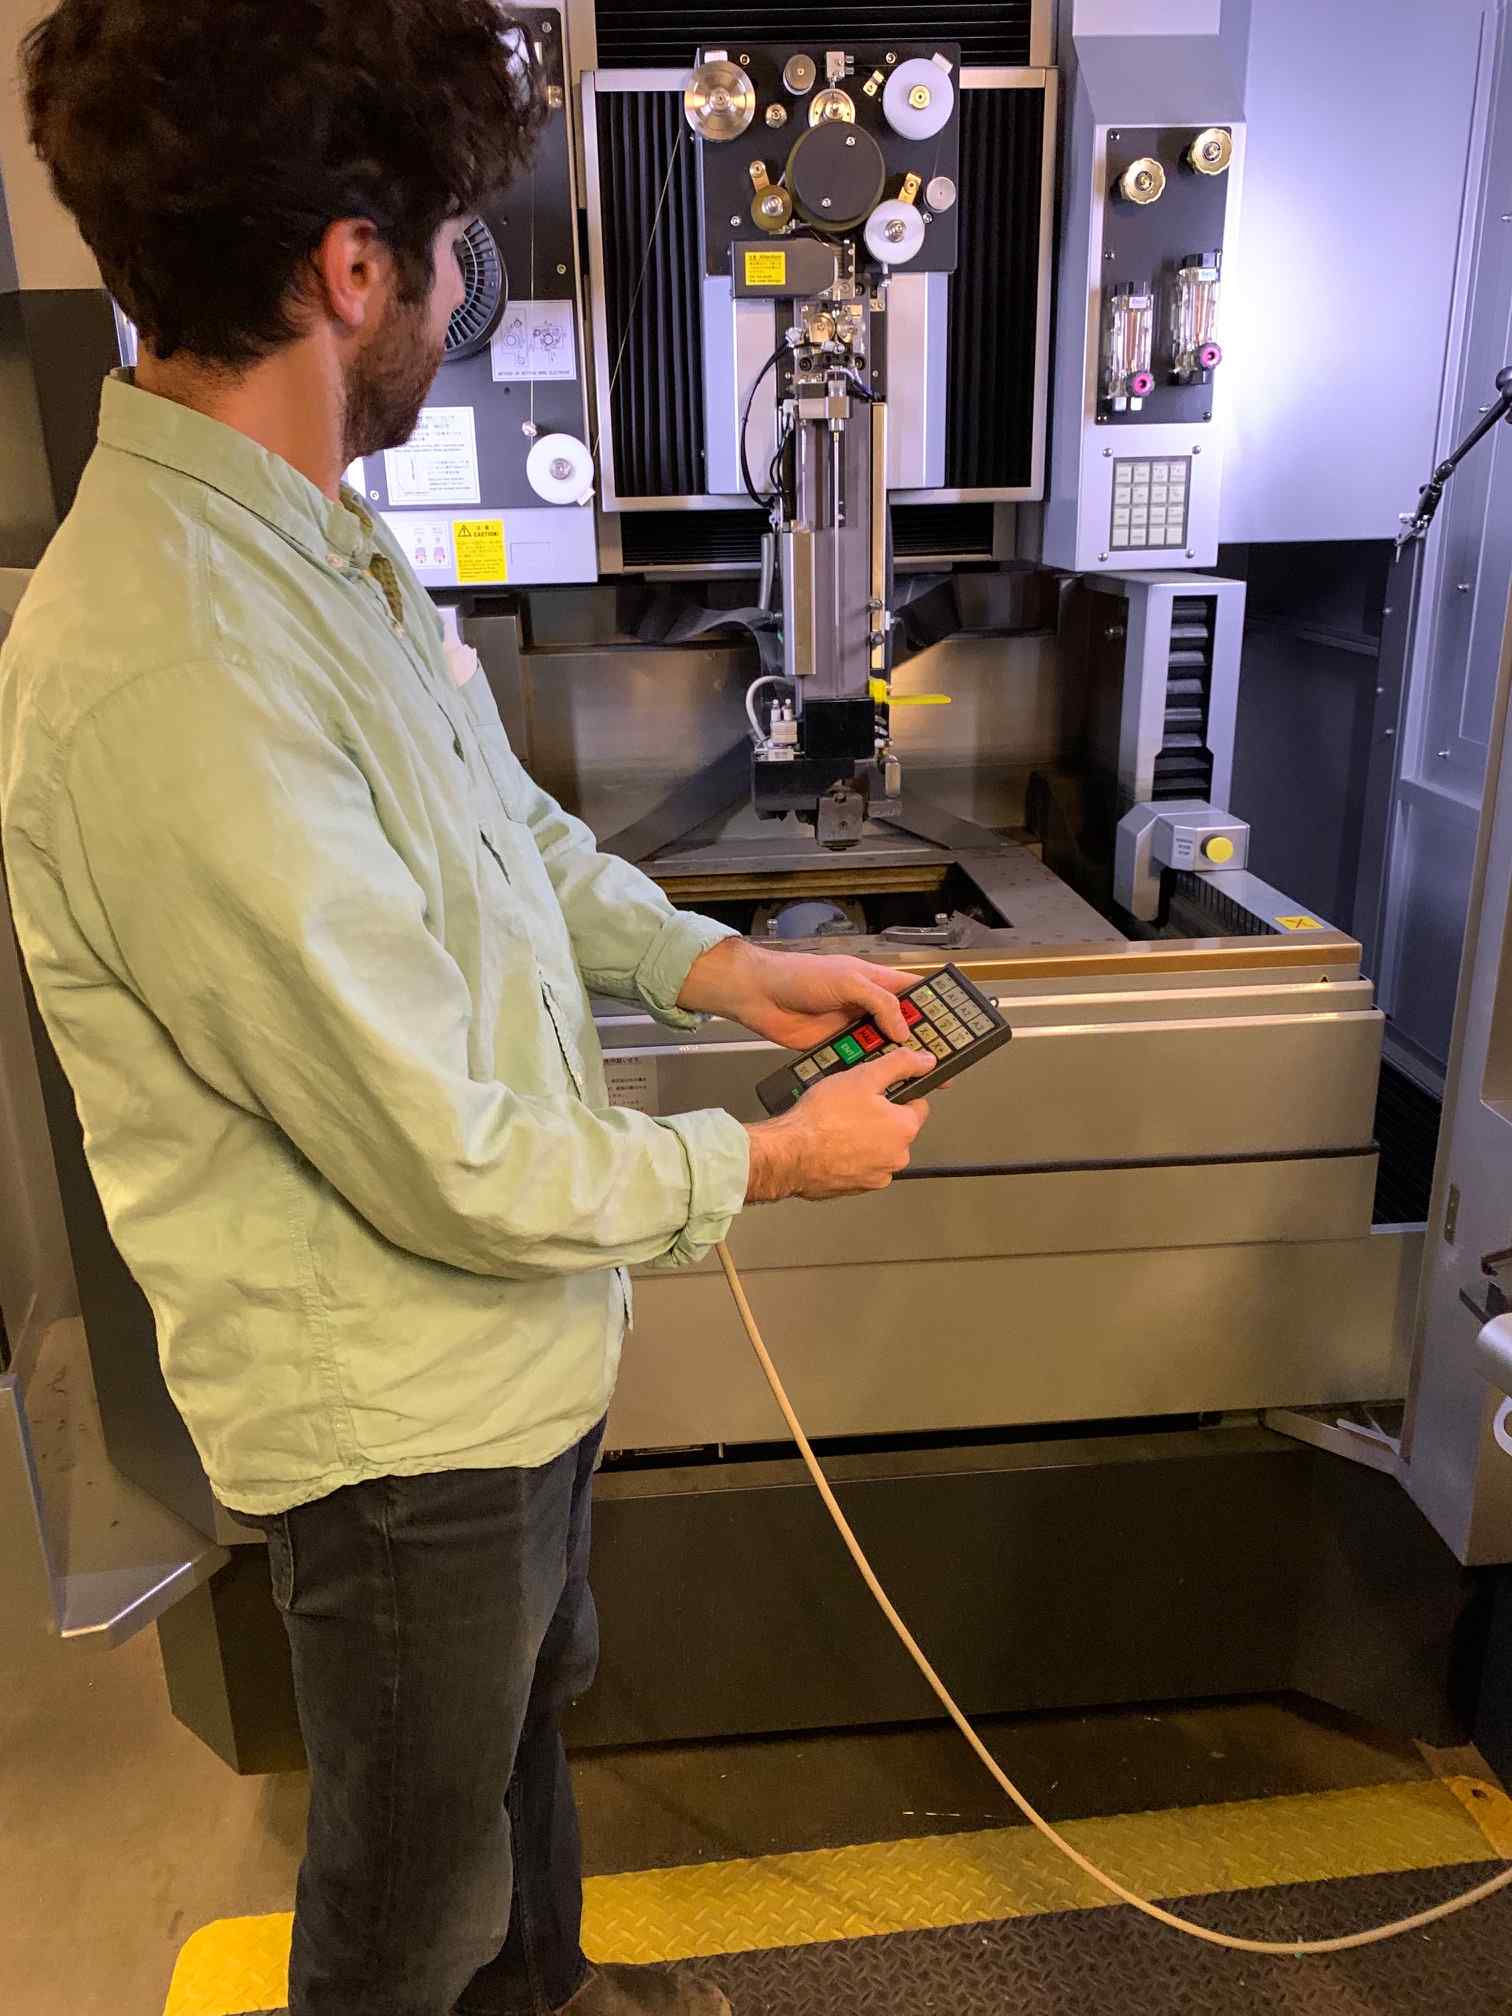
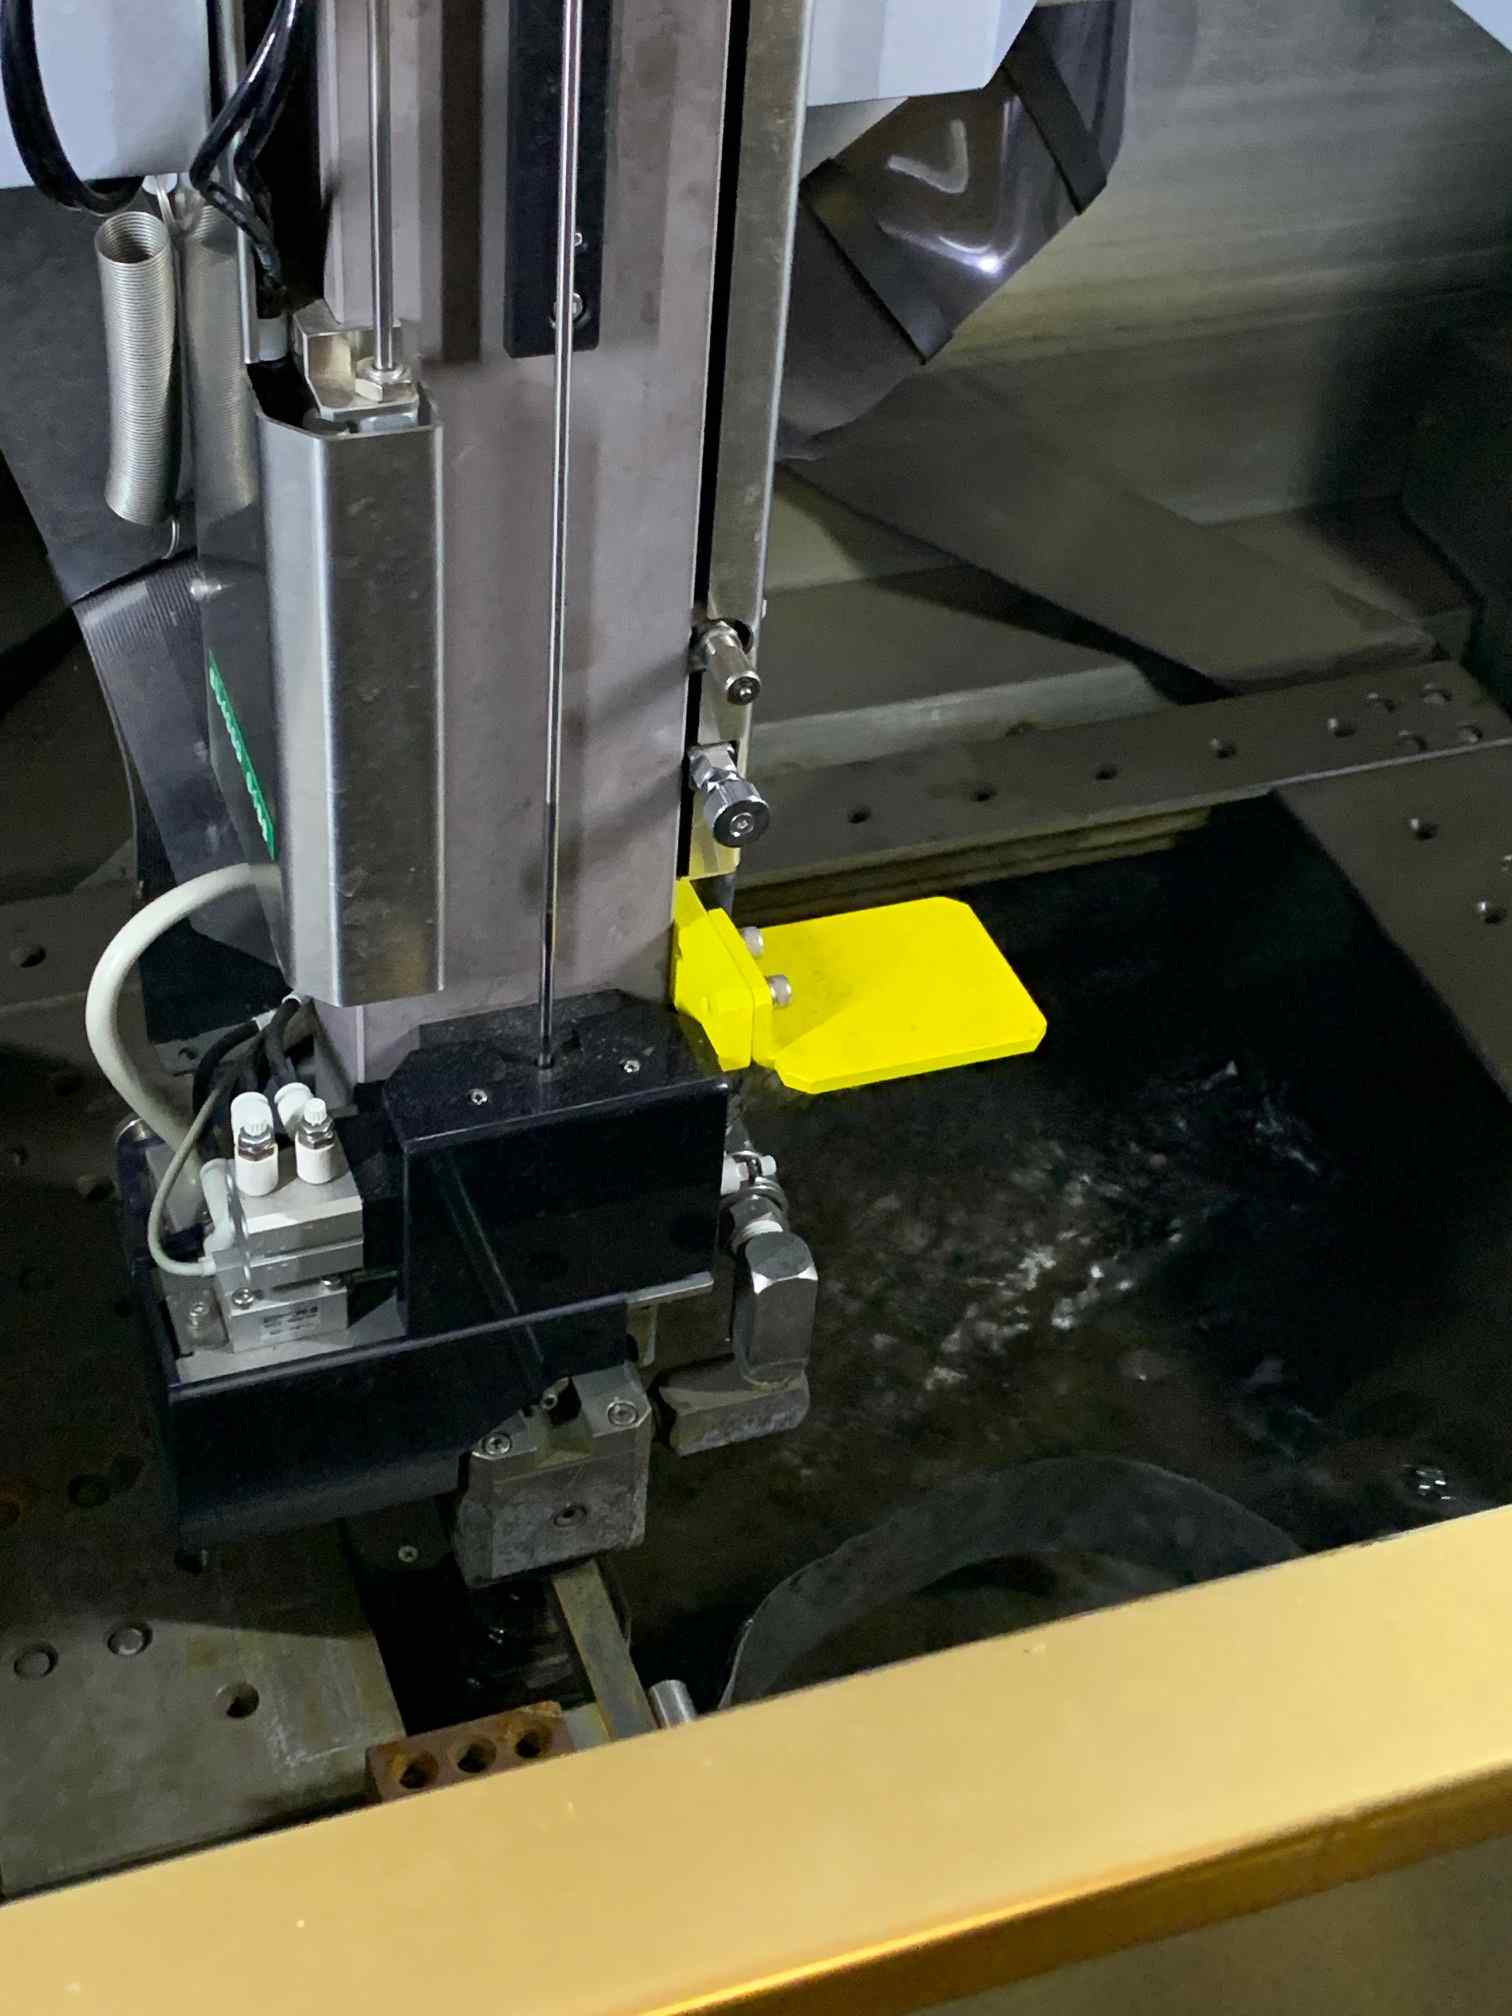
Dave then went through the process of zeroing and locating the wire to the workpiece. The process is a 2D cutting process, unless you have special capabilities unlocked that are apparently forhibitted for defense purposes. You move the machine around (the workpiece is fixed) using a controller like below.
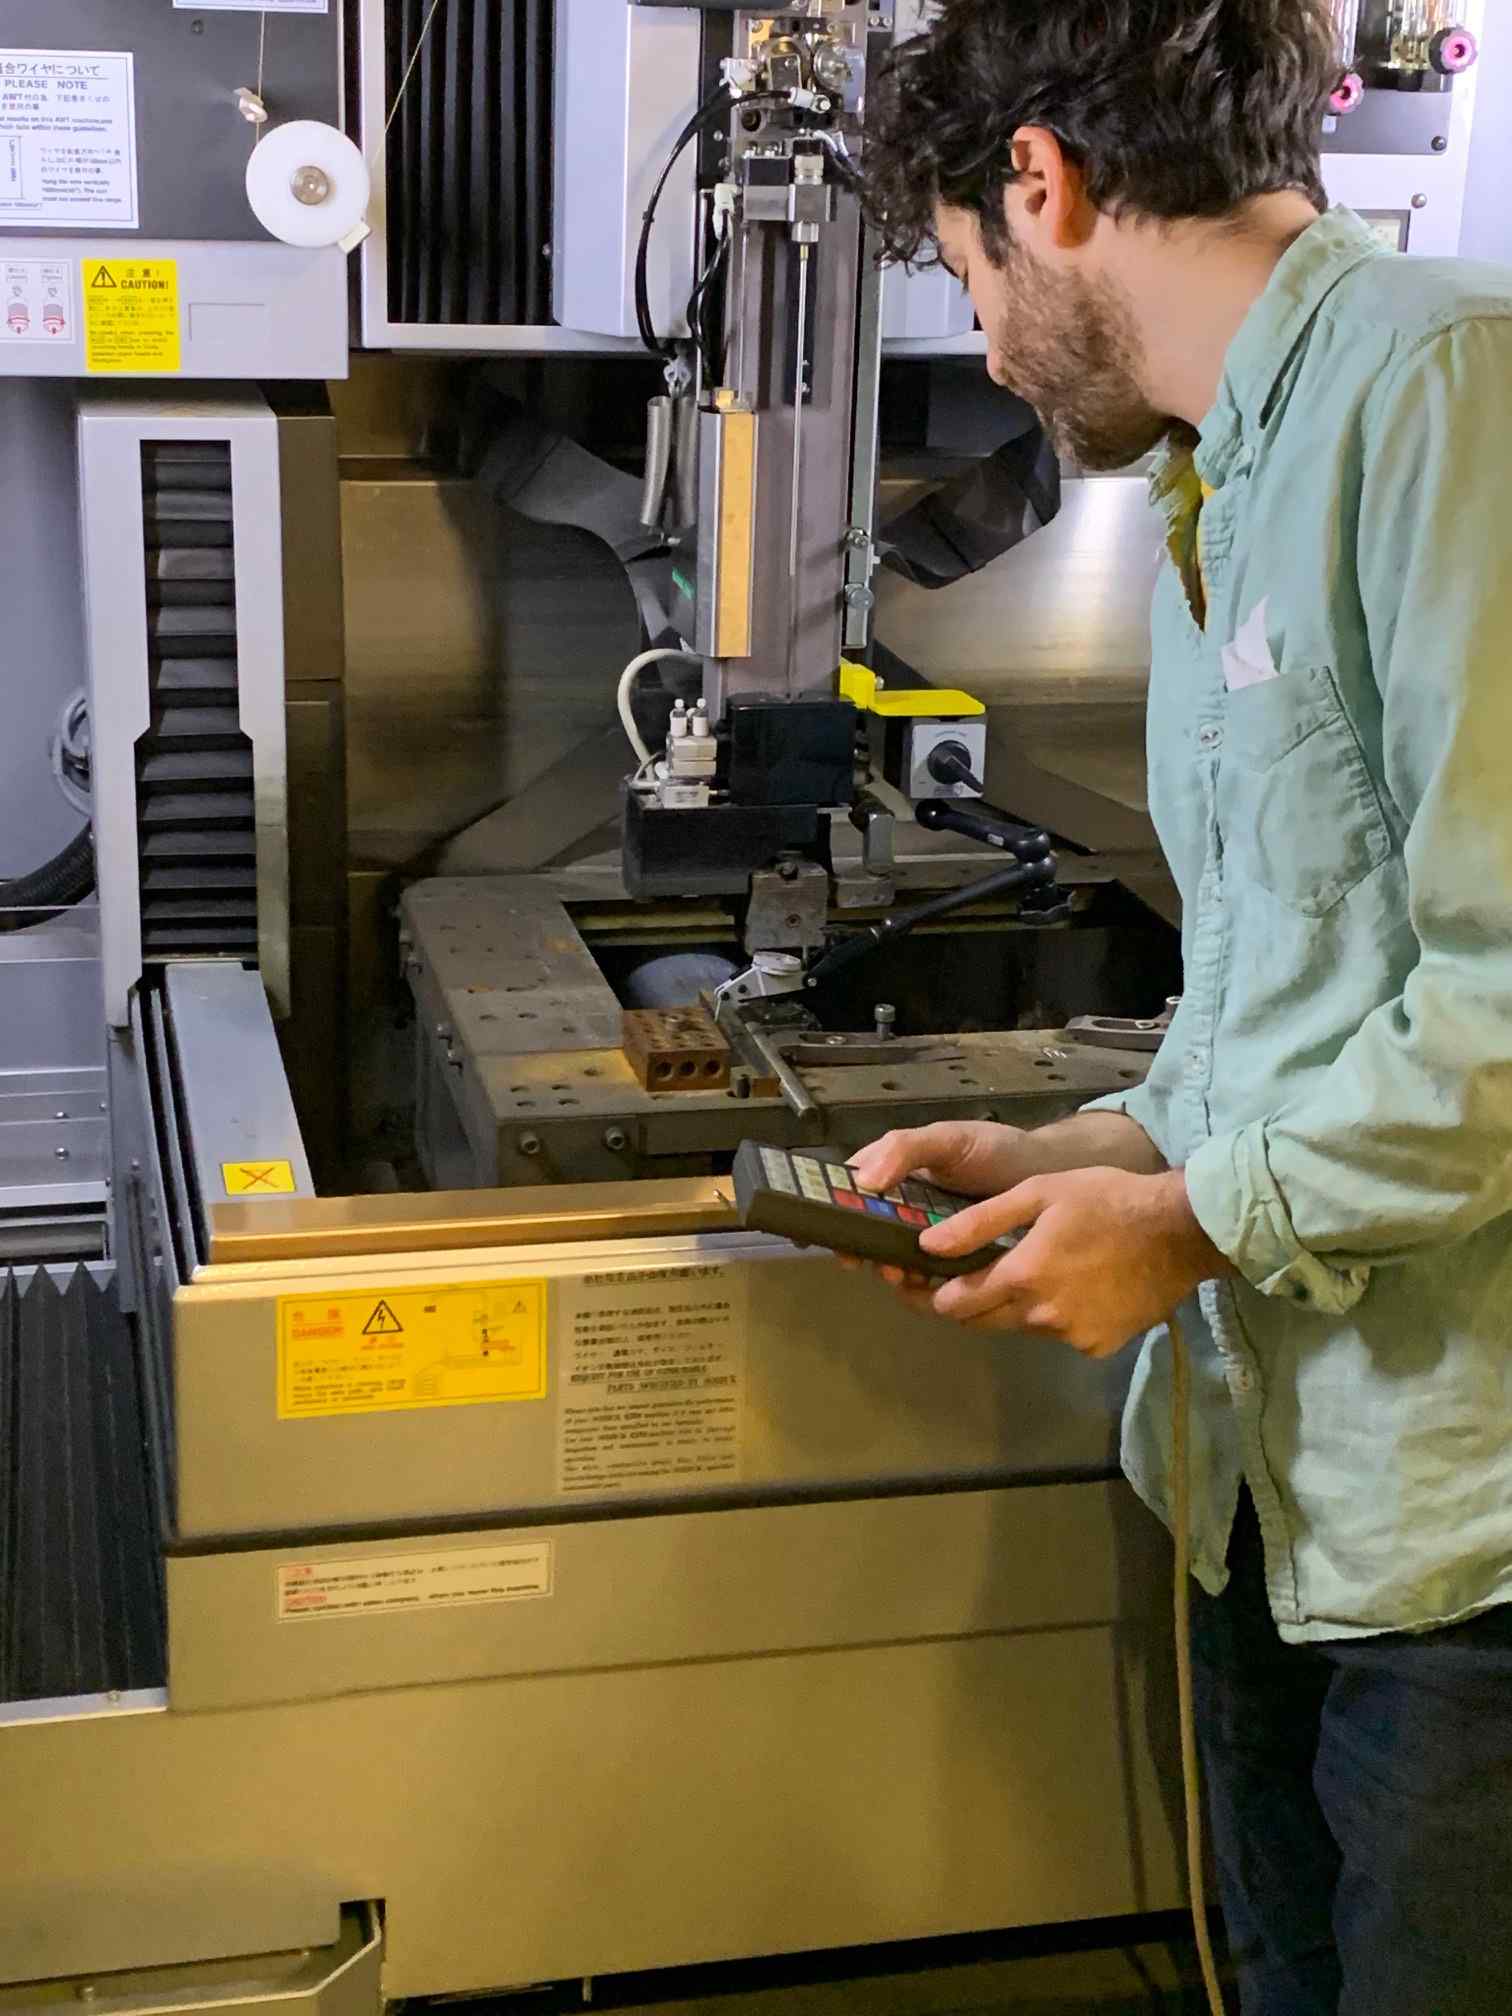
The wire is moved carefully toward the workpiece until the an indicator is shown on the panel below that a short was detected. The wire is then zeroed to the part.
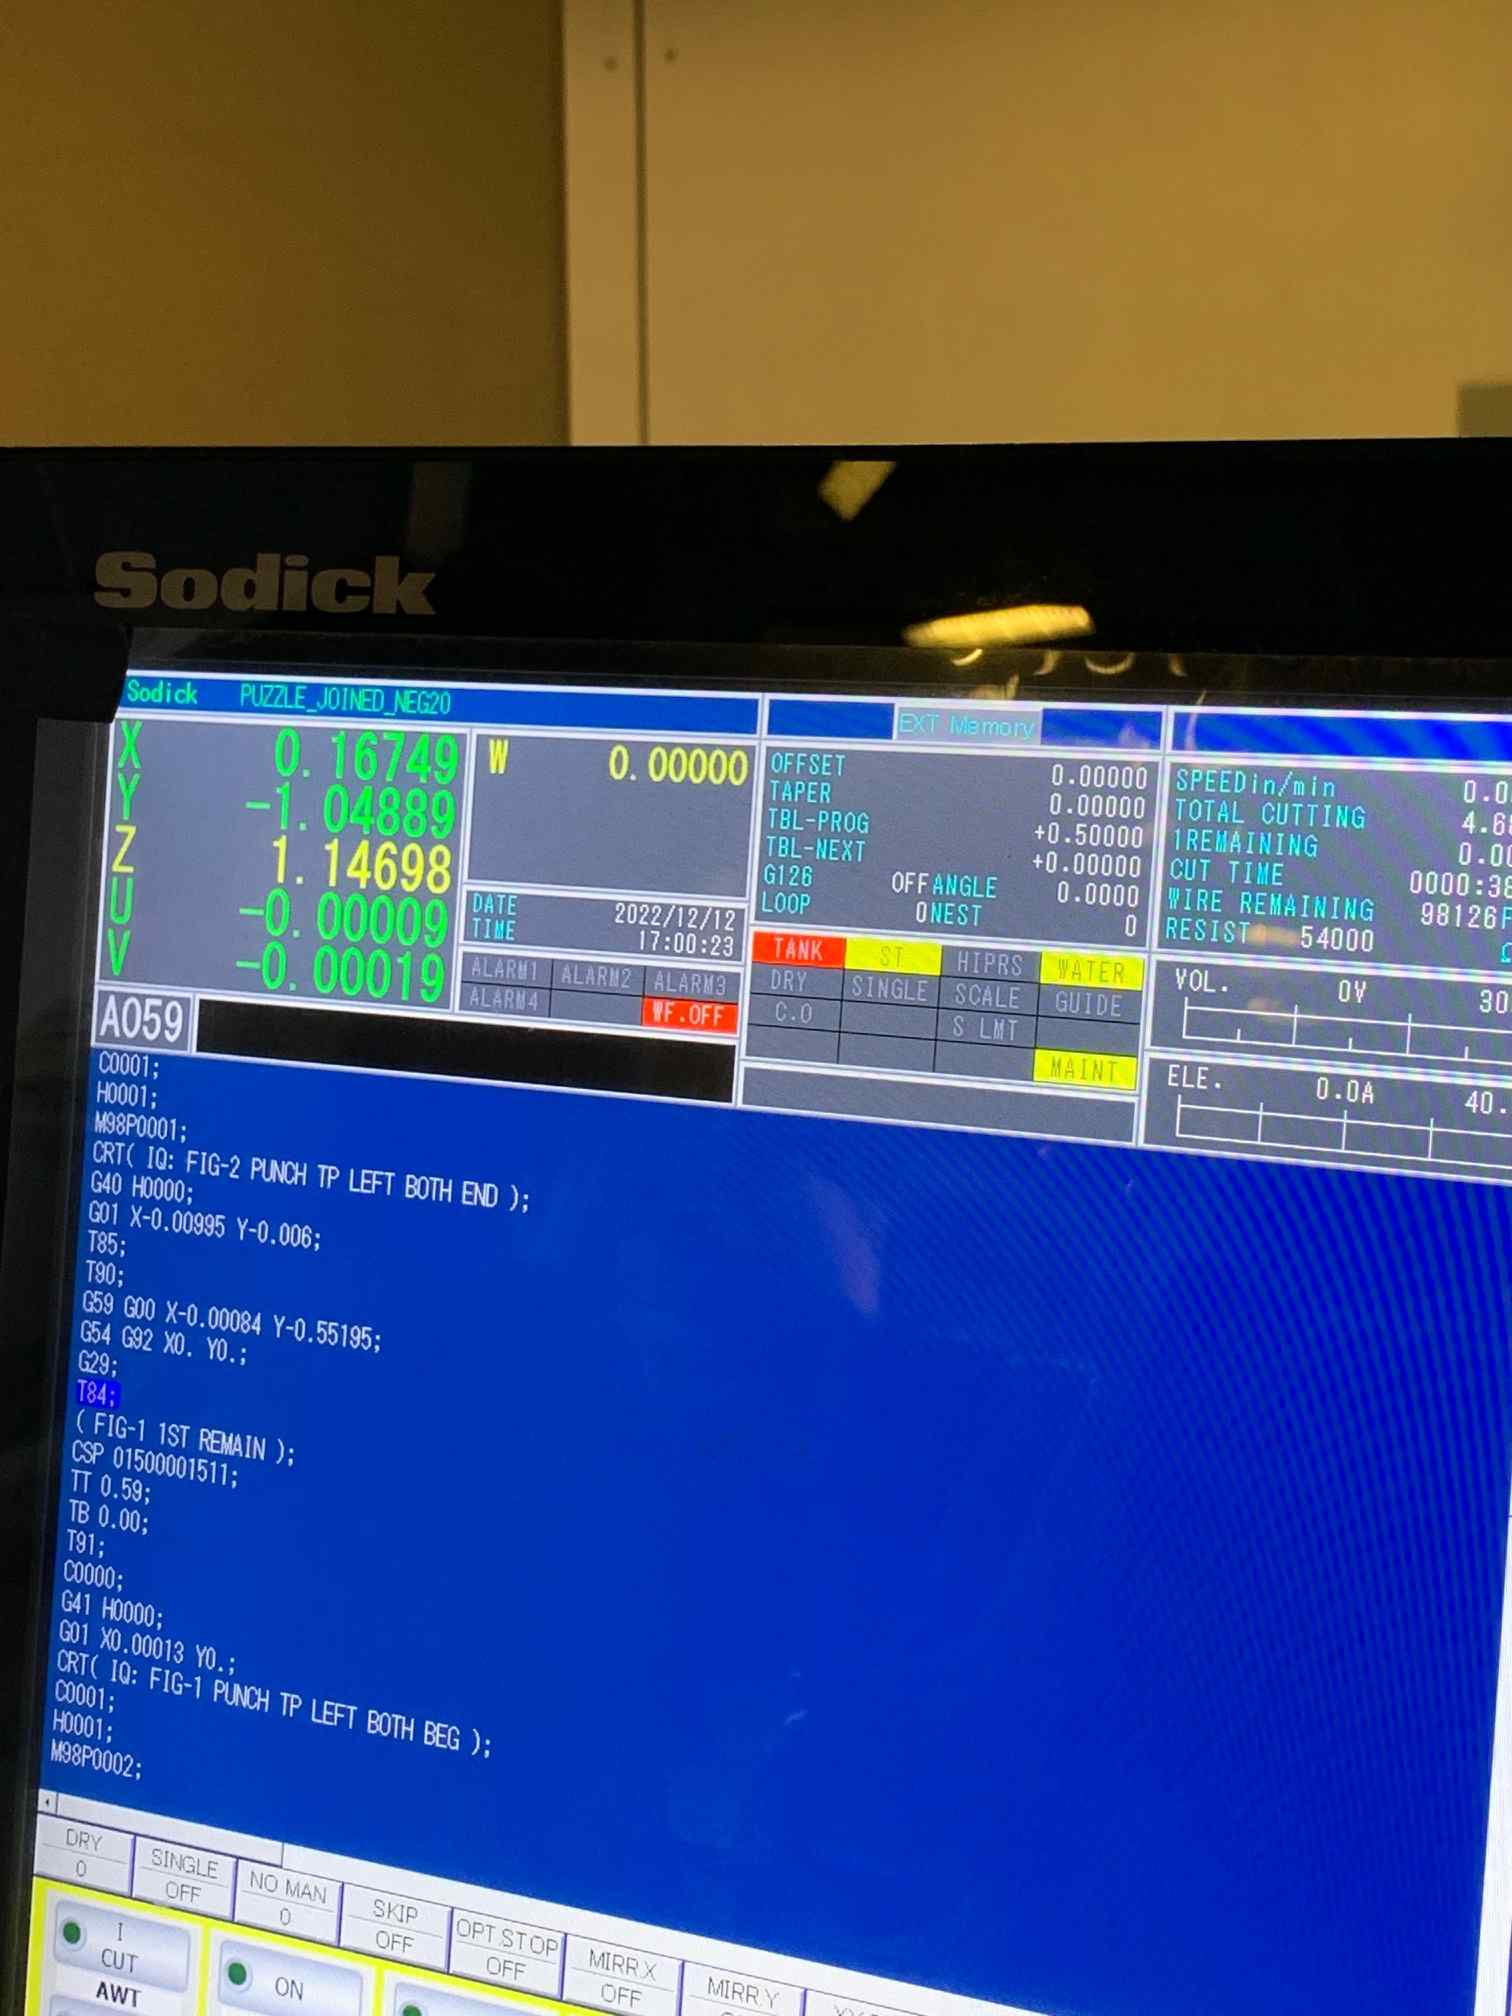
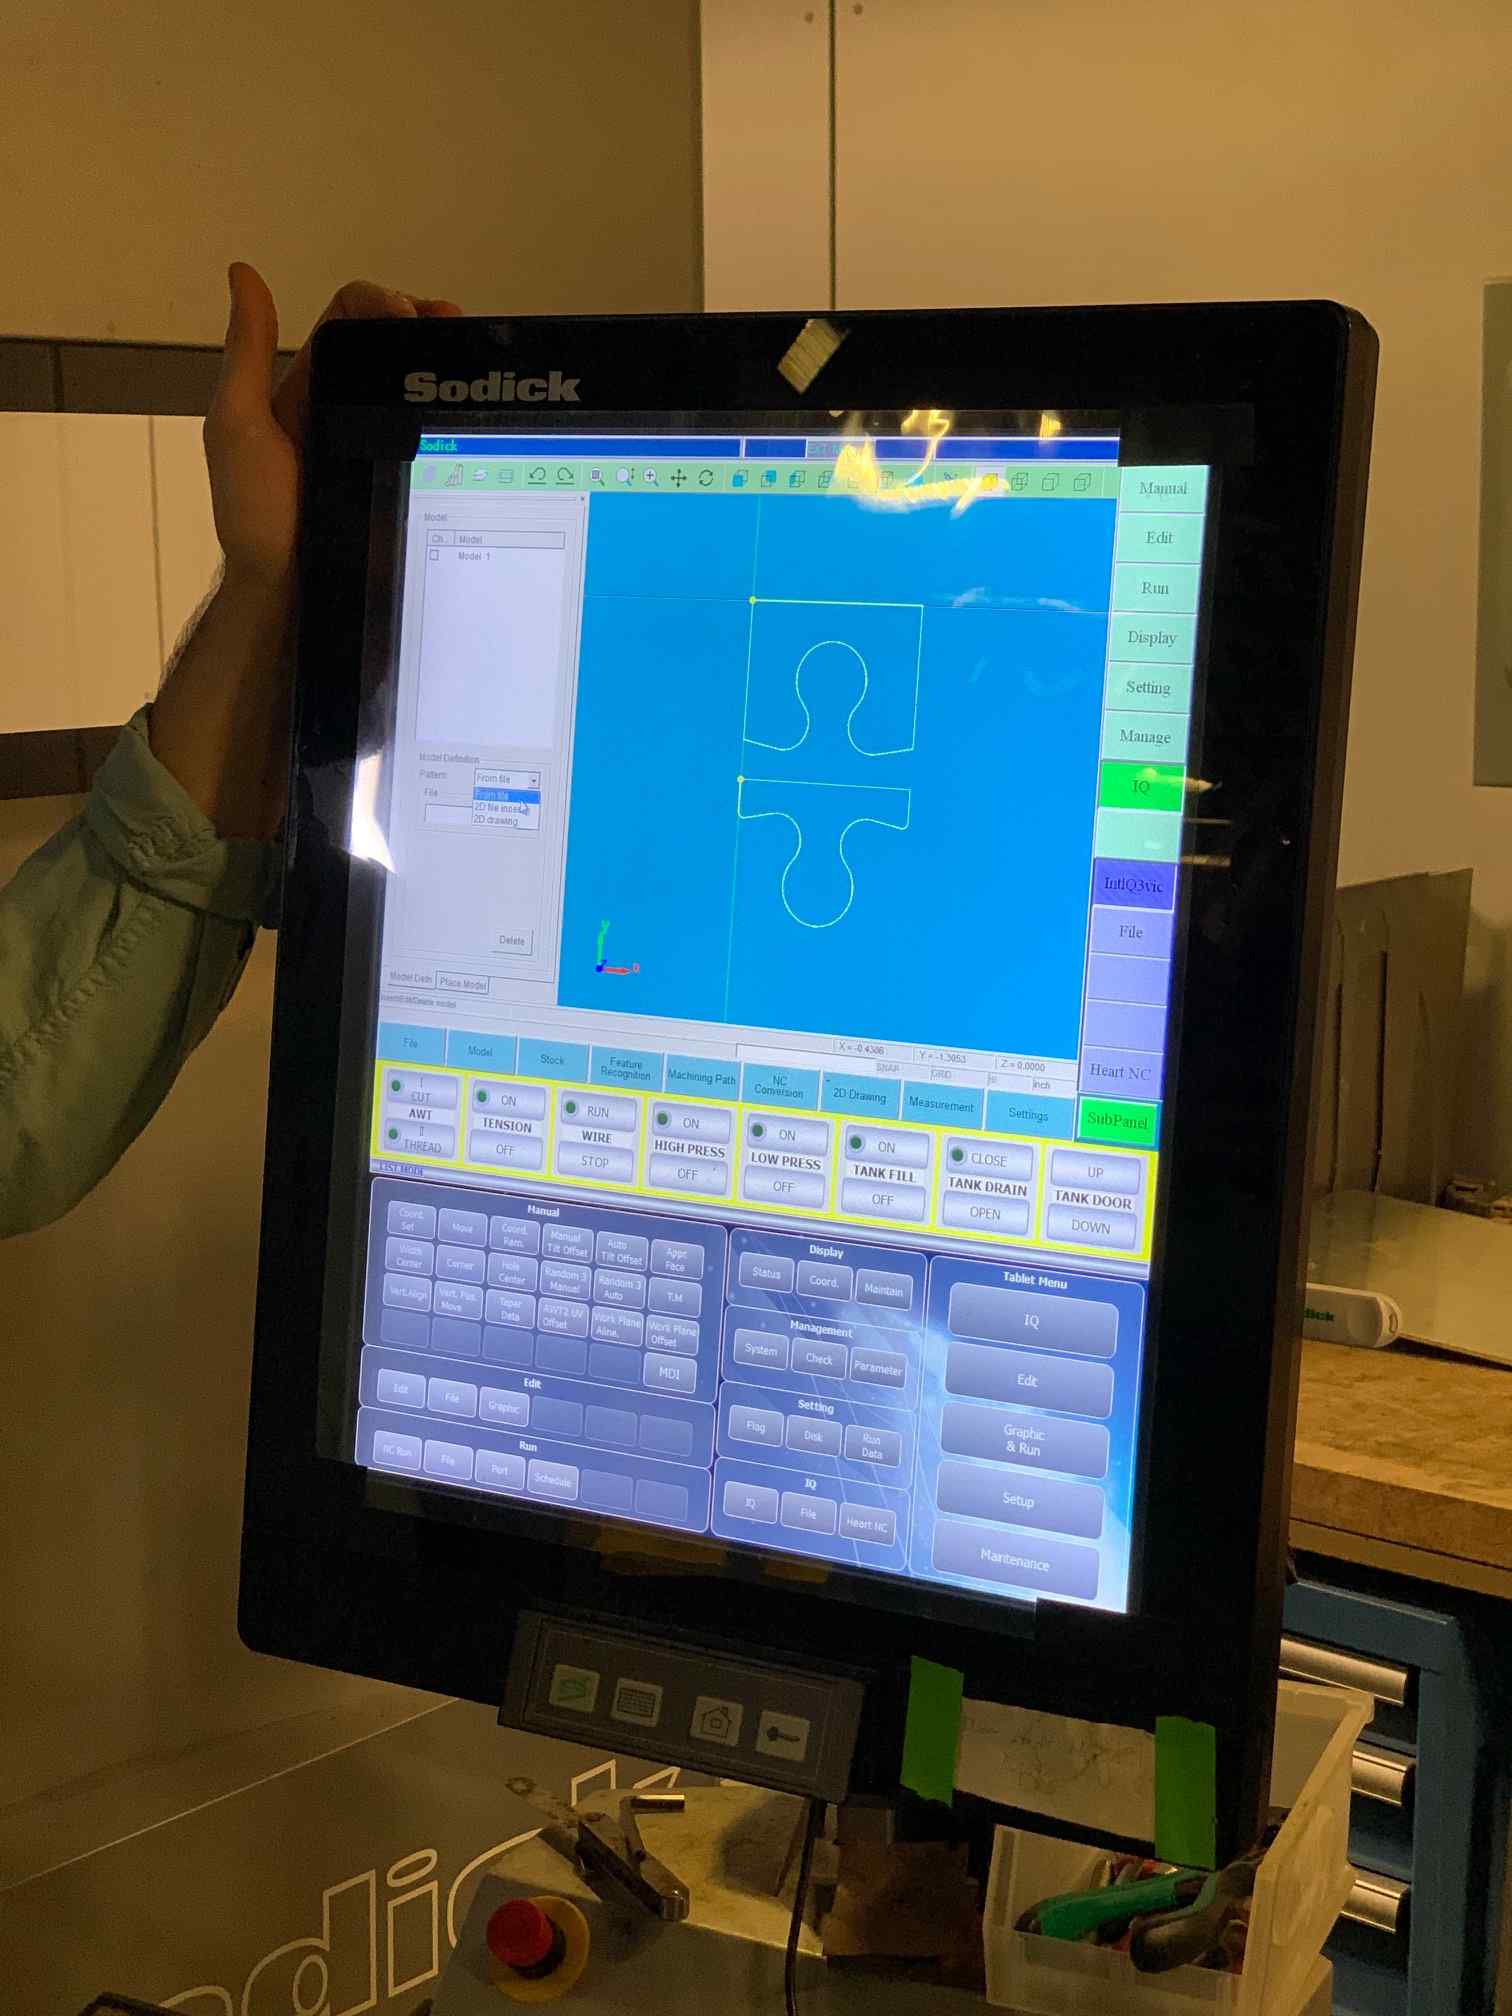
The display panel is also where you load your DXF files to. Once they're on their, you can edit lines and changes shapes with their very minimal drawing editor. Below shows the two parts of the puzzle piece that were made. The two parts are made individually as the thickness of the wire is to large to make it in one go. You need to specify entry points where the wire will begin to cut into the part and follow a continuous path.
After the workpiece is zerod and the drawing is loaded and ready to cut, a metal curtain raises and the work area is filled with deionized water to begin the cutting process.
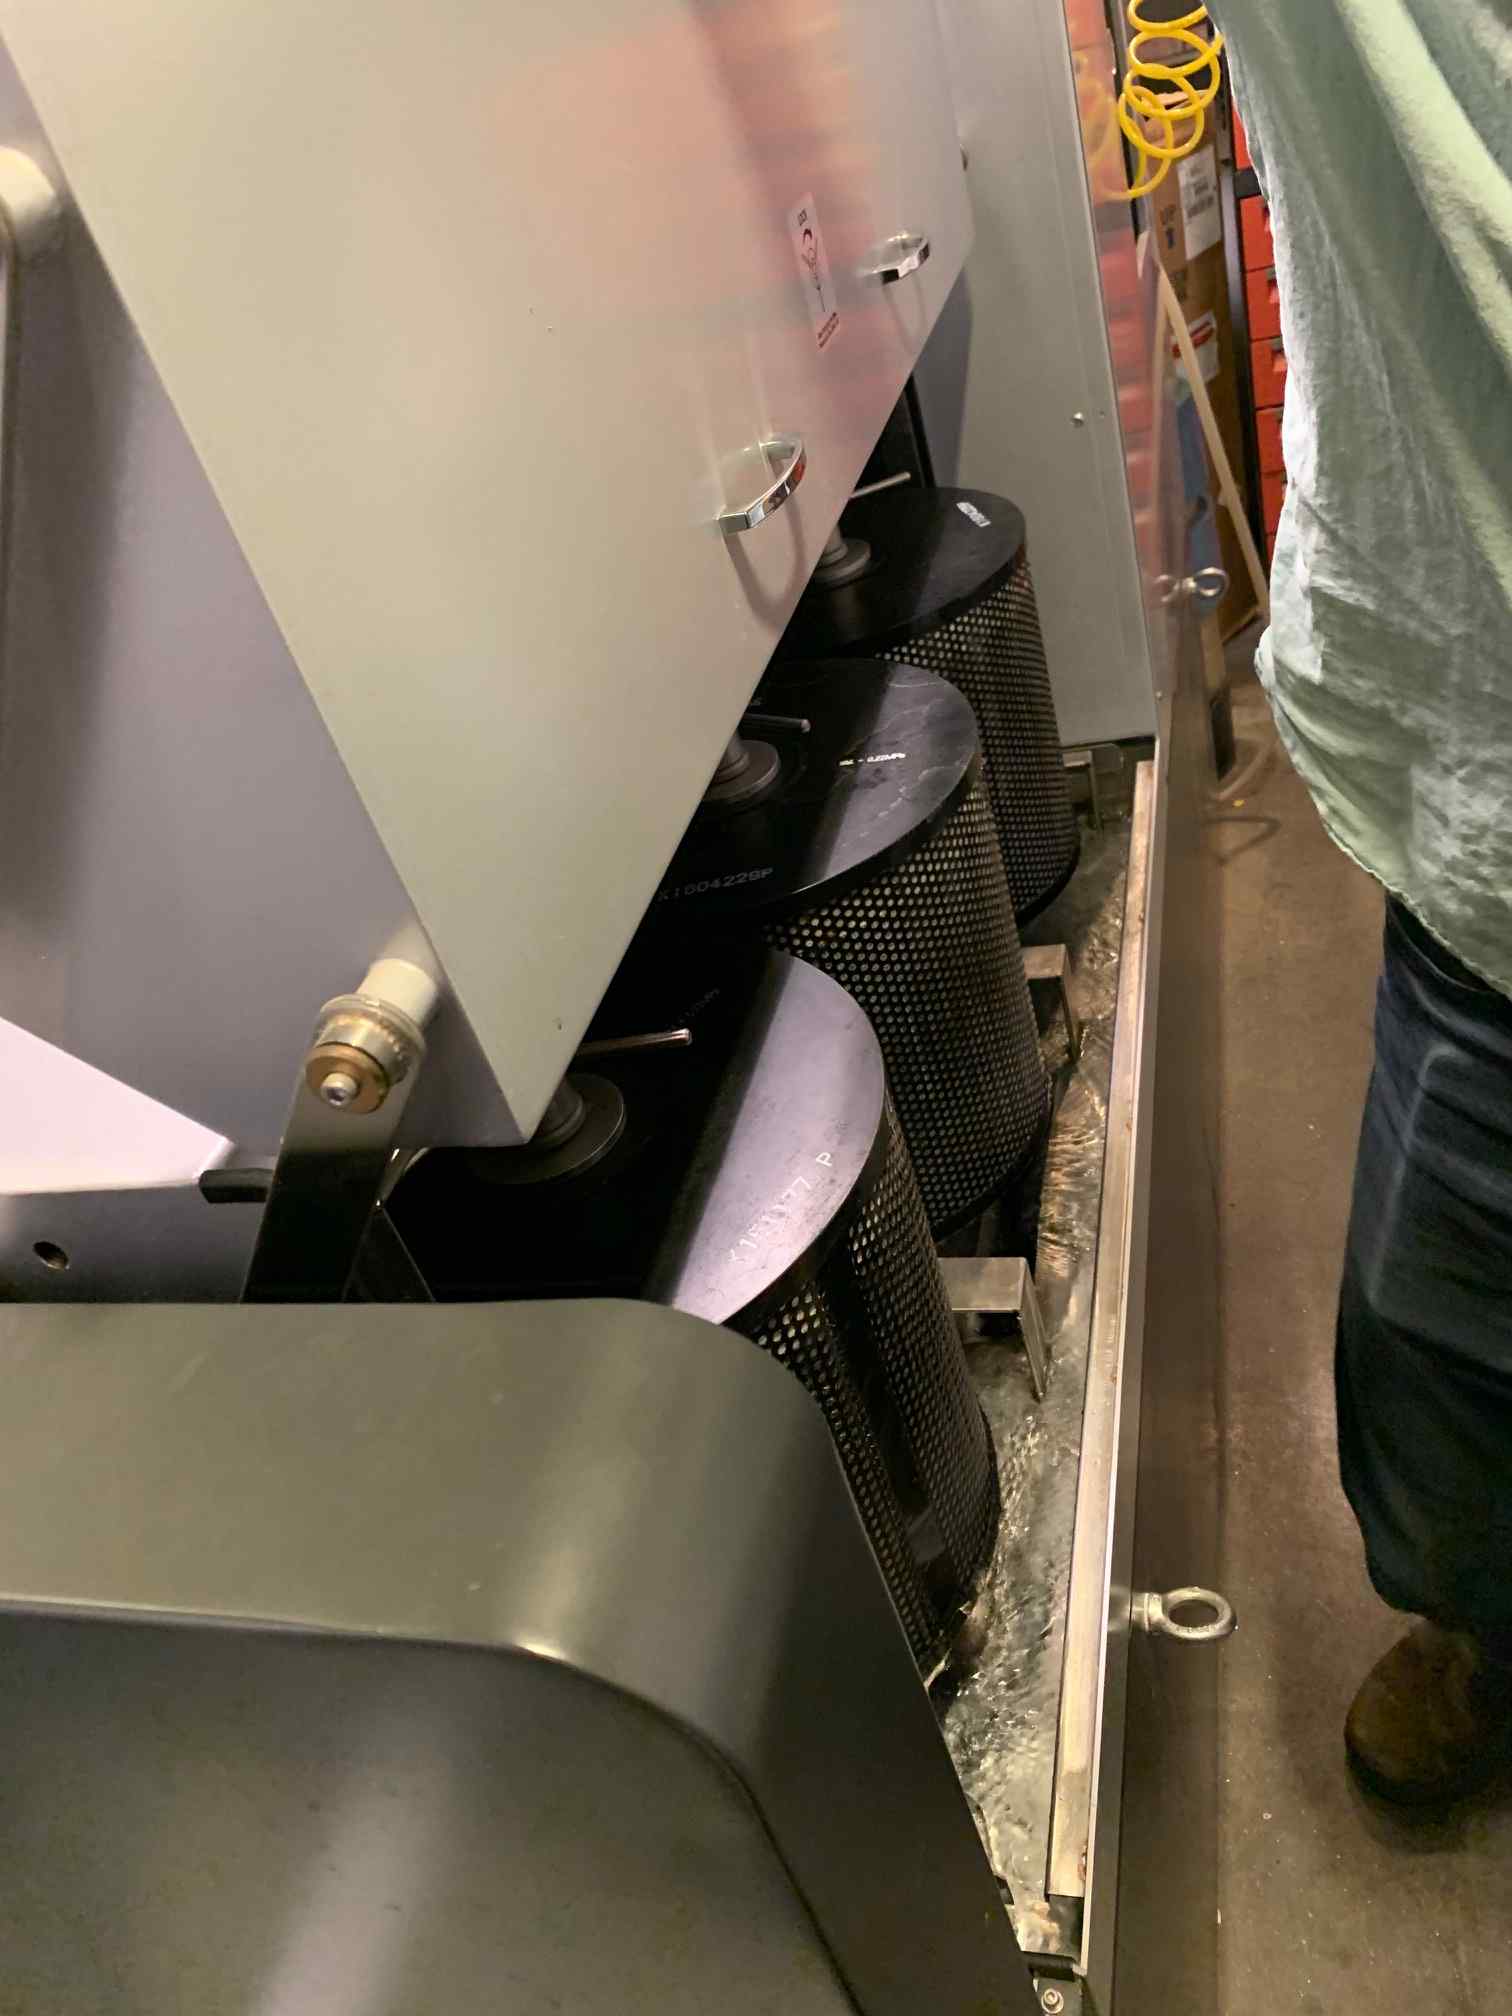
Deionized water is necessary as we need a dielectric that is non-conductive. The water also acts to remove the material that was cut away. The water is passed through a filter to remove debris and the filters also deionize the water again before recylcing it back to the work area. The filters are shown below.
After the cutting process is complete, the results is to pieces with an incredible surface finish and very tight tolerances so that they can be seamlessly inserted into one another...