02 | Computer Controlled Cutting
Vinyl Cutting
Our first task was to make something with Vinyl. I’ve some experience with Stillouete (😱– their software is incredibly dreadful) and Cricut Vinyl machines which are for hobbyists so I was curious as to the differences with a professional machine.
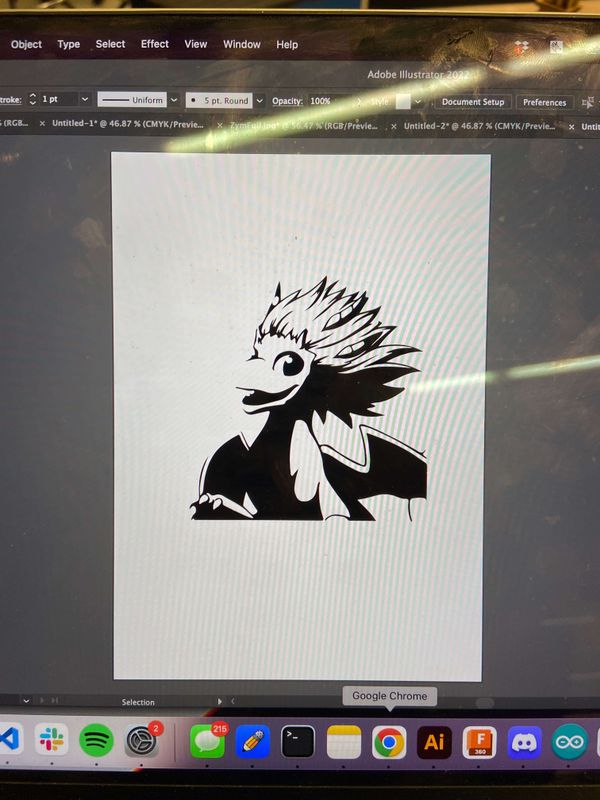
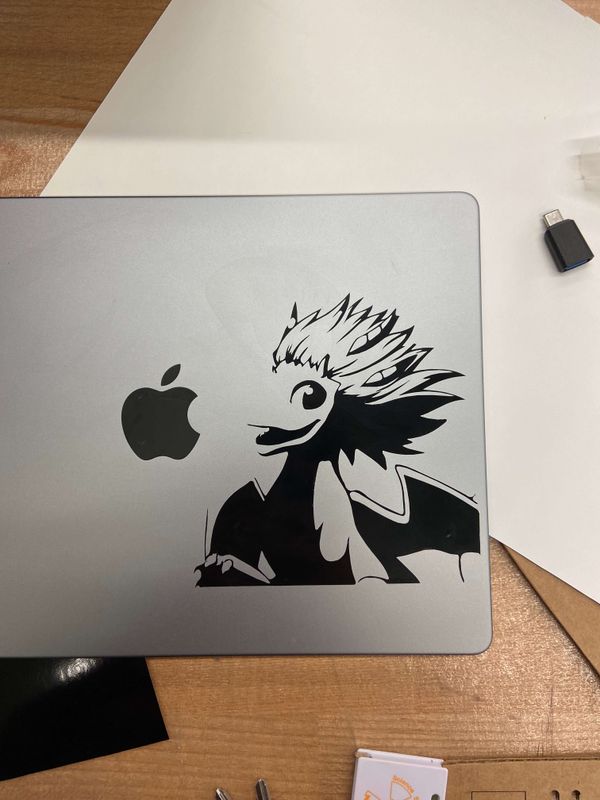
Previously I had a Vinyl sticker of Bait (a creature from The Dragon Prince) on my laptop, however I designed this really poorly and even people who knew the show couldn’t tell who the character was. I decided to replace it with another Dragon Prince character – Zym.

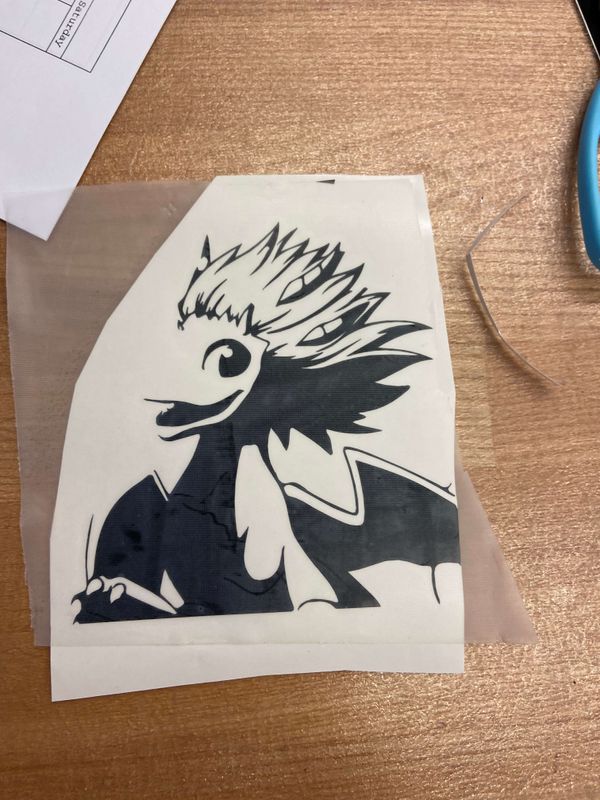
This photo is in colour so firstly I imported it into Adobe Illustrator and image traced it. The result wasn’t perfect so I played around with the threshold value until the right areas where in black for the vinyl cutter
Next up was a giant game of USBs, USB adaptors, email, and finally WeTransfer to get the file onto the EDS computer. There I imported it into MOTs and began cutting. Once the cut was complete I had some Vinyl which looked suspiciously like Zym
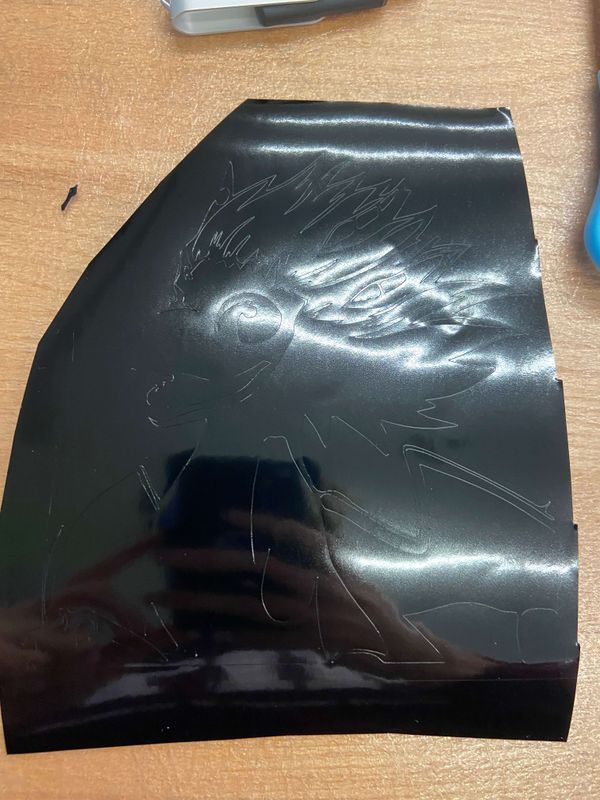
With a handy dandy tweezers I spent the next half an hour weeding out vinyl, recutting when I messed up (😢) and finally getting all the unneeded vinyl off. Since it was going onto my laptop I then put transfer paper over the sticker.
Finally, I removed my old Bait sticker and put the new Zym sticker on
Laser cutting
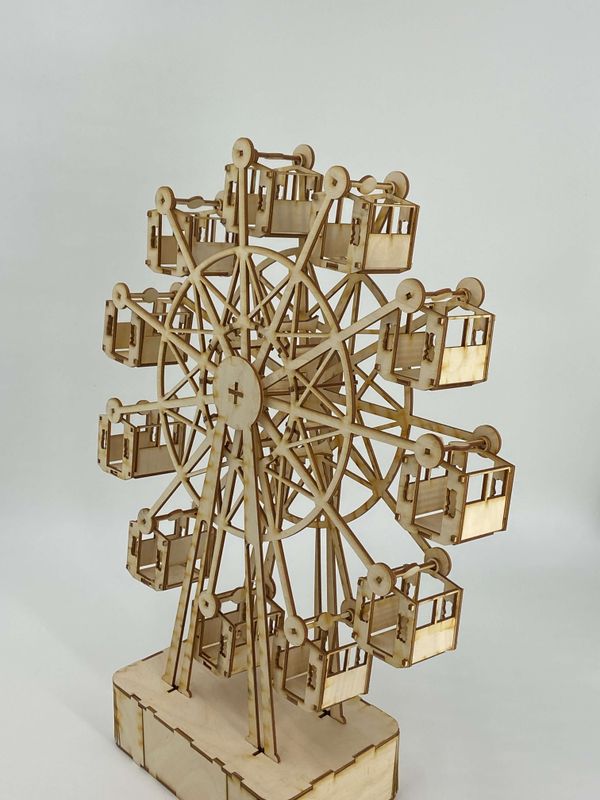
The main project of Week 2 was to design a parametric construction kit – mine was of a Ferris Wheel. Literally everything went wrong so here’s the story of that.
Cadding with Fusion360
For this project I wanted to:
- Use a variety of joints
- Make living hinges
- Have all measurements be parametric
- Assemble everything in Fusion to check joint lengths and if there would be collisions
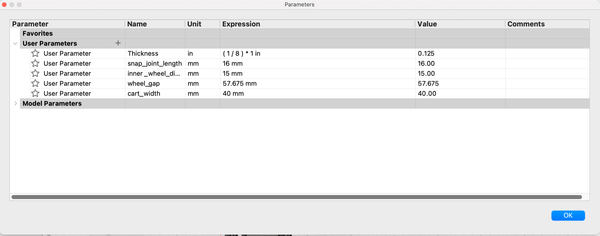
Fusion has a cool parameters feature where you can specify User parameters that can be used across the model
I saw a cool Fusion360 render of a past HTMAA student’s living hinges and wanted to try do something similiar. First mistake.
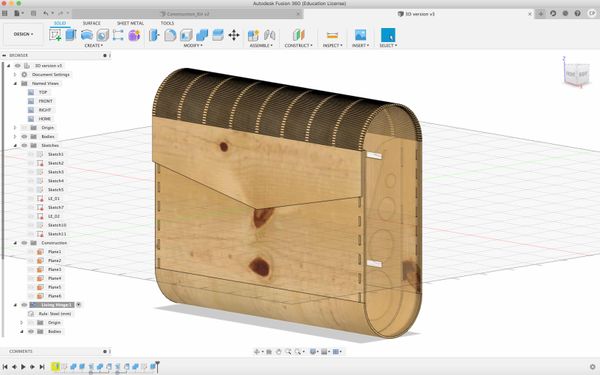
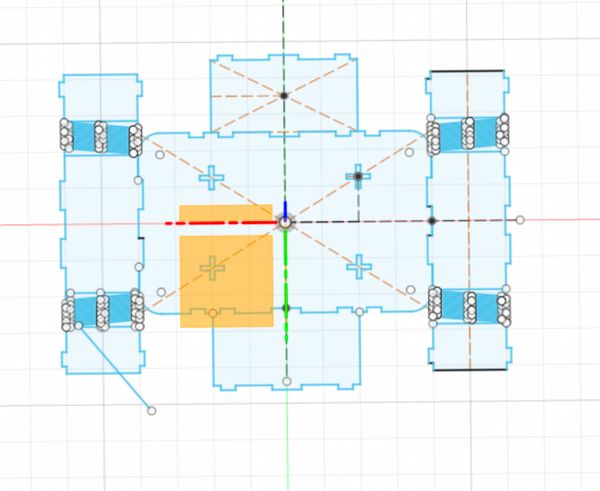
I started a new sketch and drew the different sides of my base box. The top piece and small side pieces were relatively easy, I defined the width of my snap joints as a user parameter so I was able to use this to be confident everything was going to come together. For the long sides I needed them to bend so I drew in some living hinges. Since living hinges require bending in Fusion but folding out when exporting to DXF, Sheet Metal was the ideal material to use. Unfortunately, sheet metal is weird. When I tried calculating the lengths of pieces so they’d bend flush against each other I couldn’t get them to fit. Eventually I had to accept that there’s such thing as the Fusion Constant, it’s equal to 0.299 mm the exact size of the gap that wouldn’t go away.
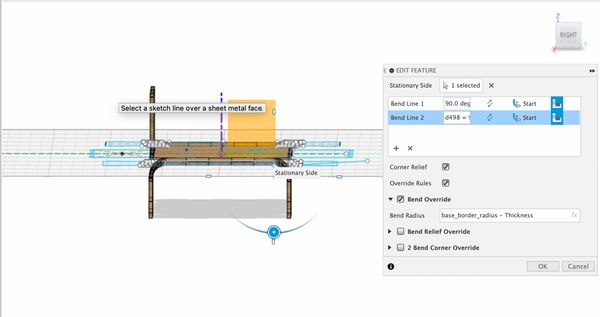
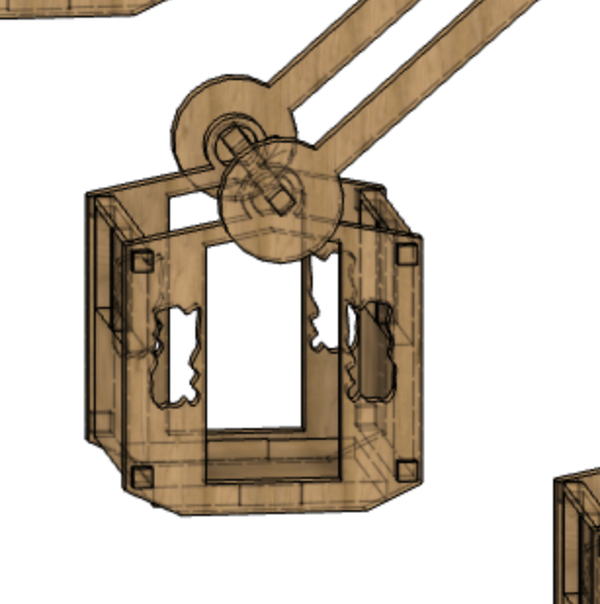
Once all the pieces were sketched I extruded one copy of each piece and then aligned these to the base. To align the piece with living hinges I first bent it with Fusion’s bend tool. This involved selecting the two ends of my living hinges and providing the bend radius (which I had previous calculated for drawing my sketch)
I didn’t extrude every piece since it was easier to mirror the aligned pieces rather than redo the align process.
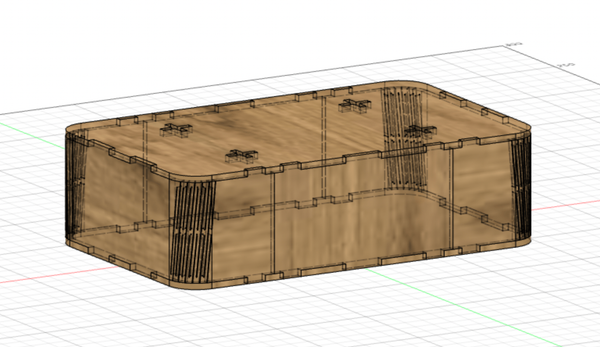
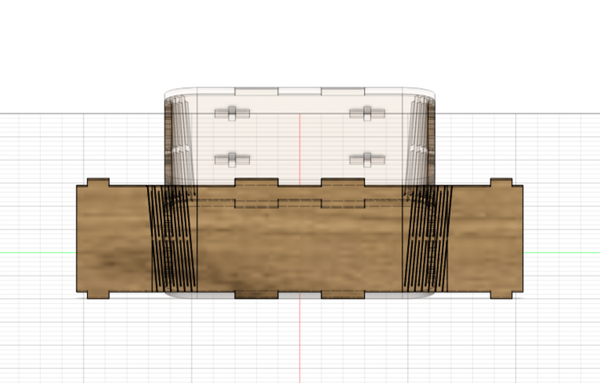
In the end it looked quite realistic and having the ability to unfold it came in very handy while laser cutting.
After the base was made I sketched out the other parts, assembling each together (with the align command) to make sure everything fitted. At the beginning everything was parameterized however as I added more sketches which interacted with previous sketches the constraints started interfering with each other. I think I should have converted more of my bodies to components and I made the mistake of having all the sides of the base be in the same sketch.
Firstly I made the supporting beams. They use snap joints which fit under the top of the base.
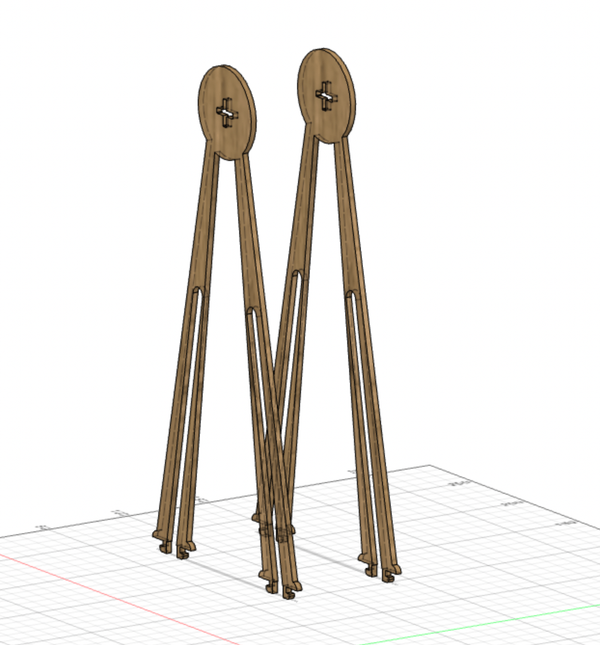
Afterwards I made two parts with press-fit joints which act the supporting beam for the two supports
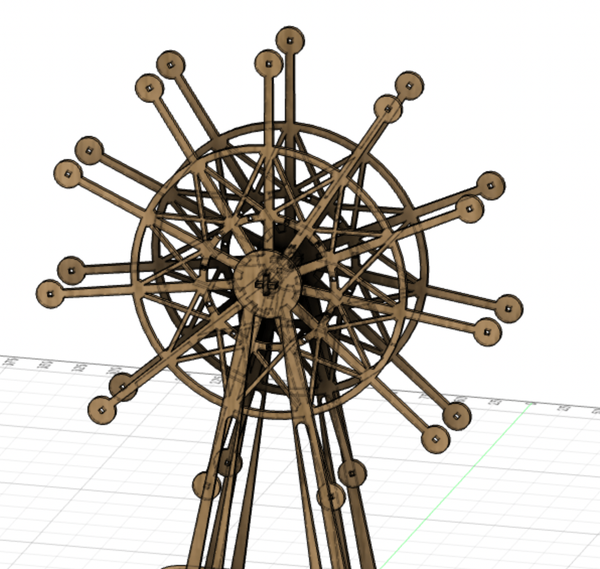
Next up was the actual wheel. This component was completeley parameterized and the stokes were circular pattern so the amount of carts and their height off the ground etc can be easily changed.
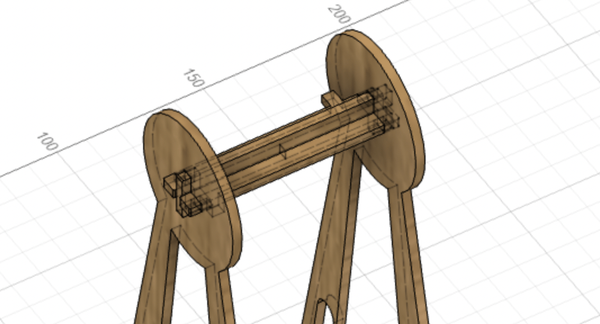
Since the two wheels have to move together they needed to be joined, so a made with press-fit joints support bars
Finally I made the cart and attached them to the wheel with another support
Laser cutting the parts
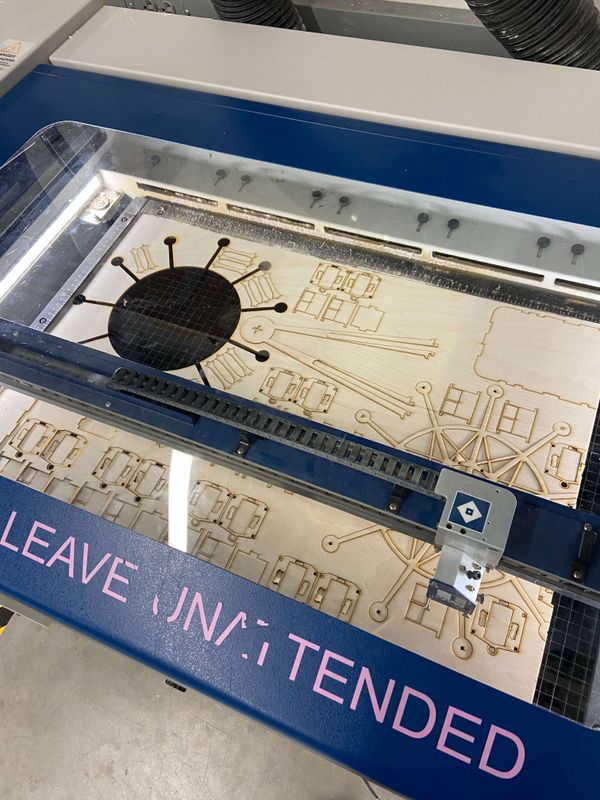
To actually laser cut the parts I needed to account for kerf. Thankfully there is a Fusion360 plugin, DXF For Laser, which can create .dxf files from your bodies faces and offsets the dimensions to account for kerf.
I exported all my bodies as .dxf files, made some test cuts, and then cut all of them out.
Unfortunally, I didn’t measure one of my pieces of wood correctly so the wheel actually went over my wood, which was super sad since it meant I needed to recut the wheel.
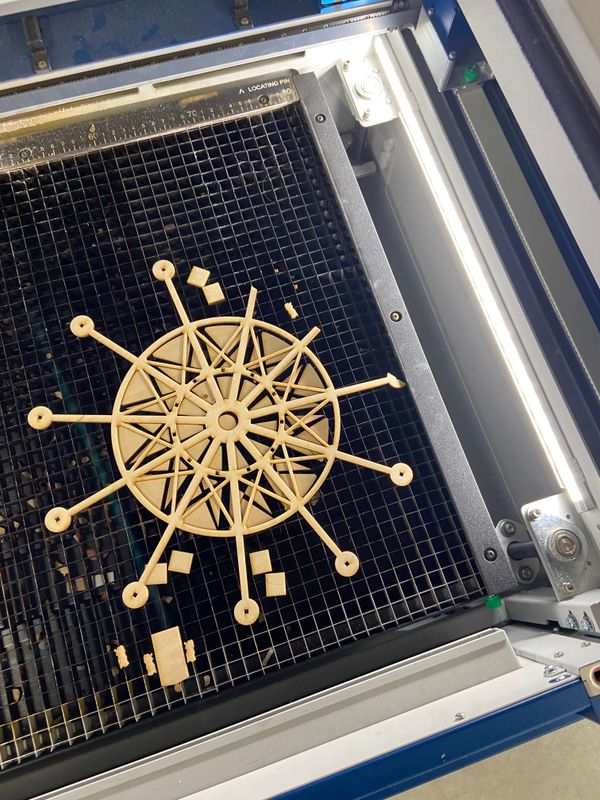
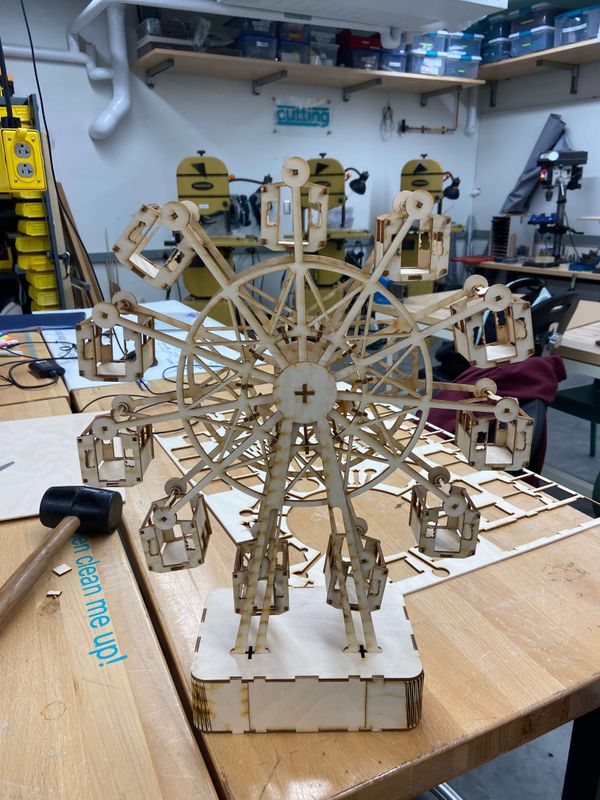
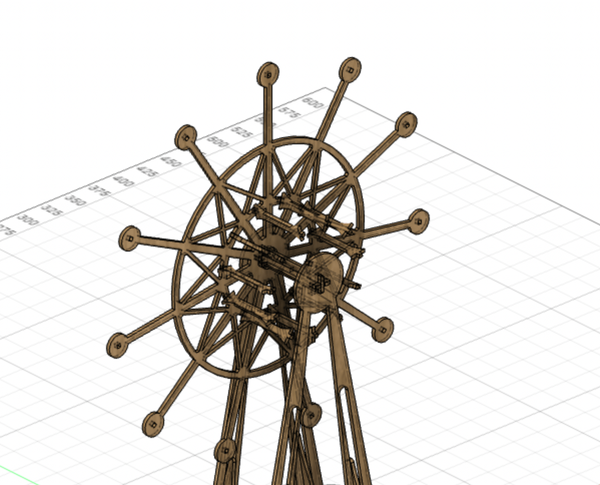
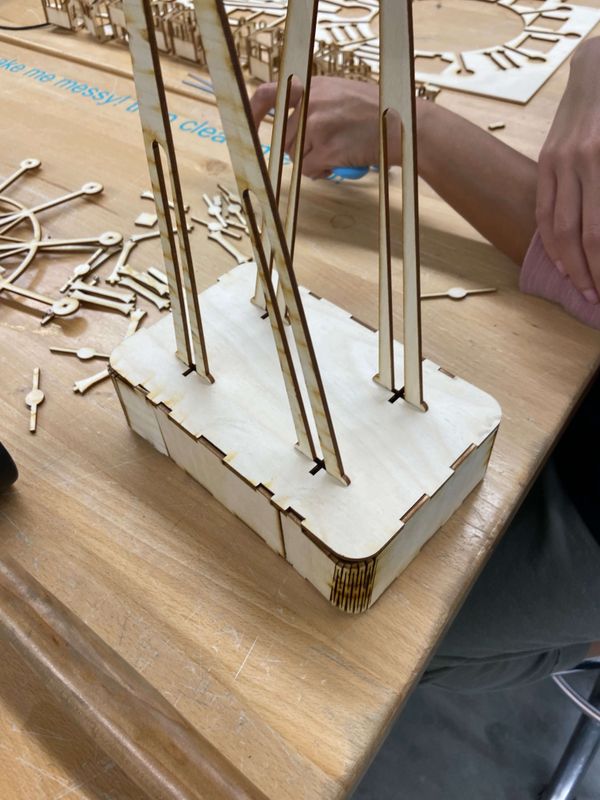
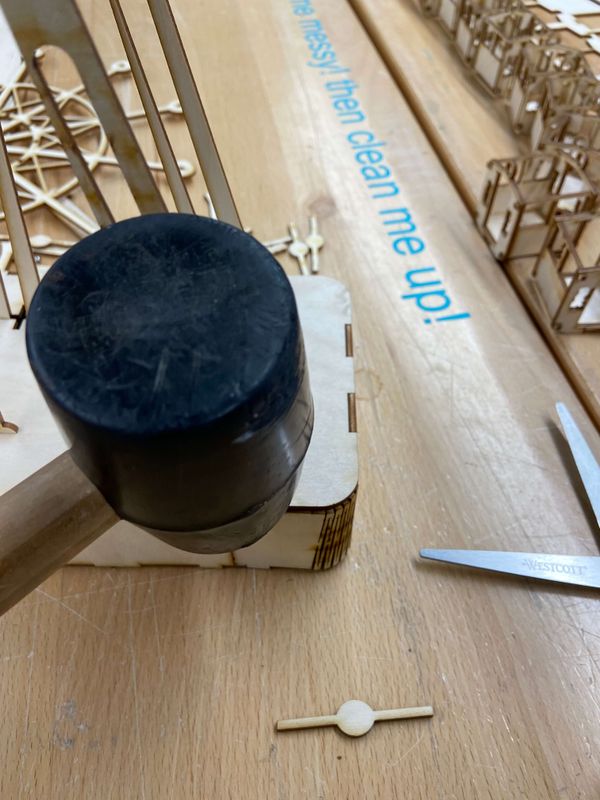
Once cut I got to the fun of actually assembling and testing my living hinges
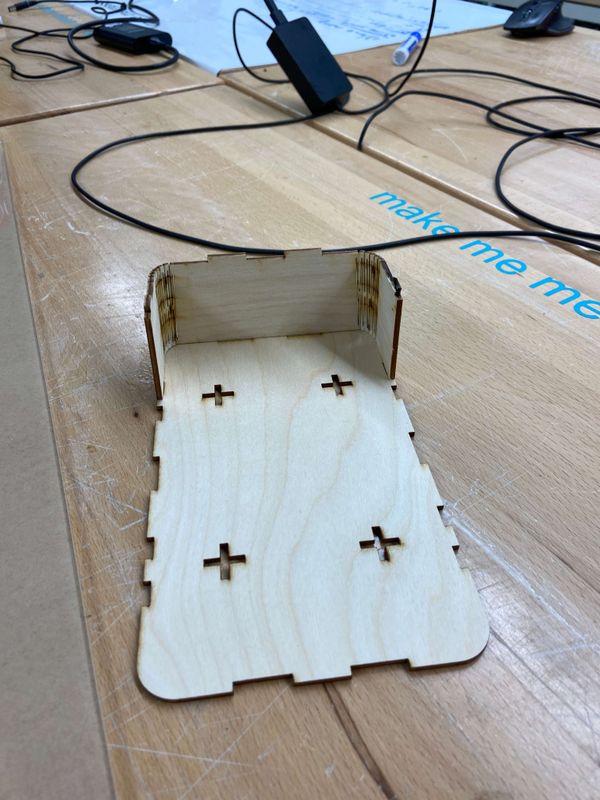
Some of the joints were a bit tricky and needed to be malleted in, Unfortunately it was late so some pieces were broken during this process.
Finally it was all assembled!