Our drawing machine drawing kirby: HTMA 2022 - EECS
This week's challenge was to build a machine with each lab section, so my labmates and I decided to make a drawing machine. I particularly helped with the hardware team, printing and laser cutting parts for the base, and assembling all the components together.
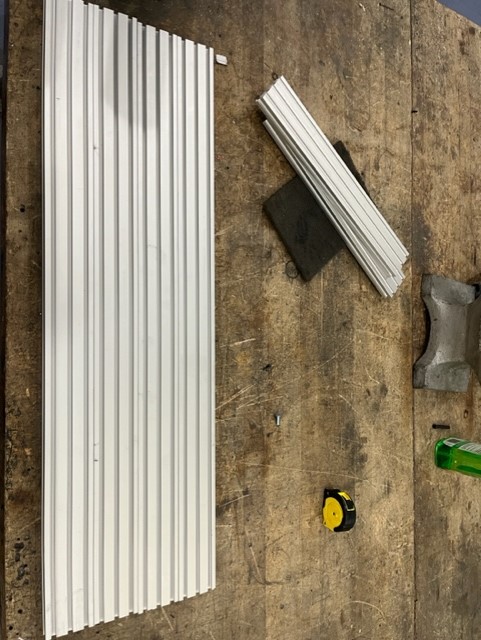
First, Ahmad and I used a horizontal bandsaw to cut the 20mm x 60mm aluminum extrusion in the length of ~32.5 inches. The center piece was separately made using the lab's bandsaw.
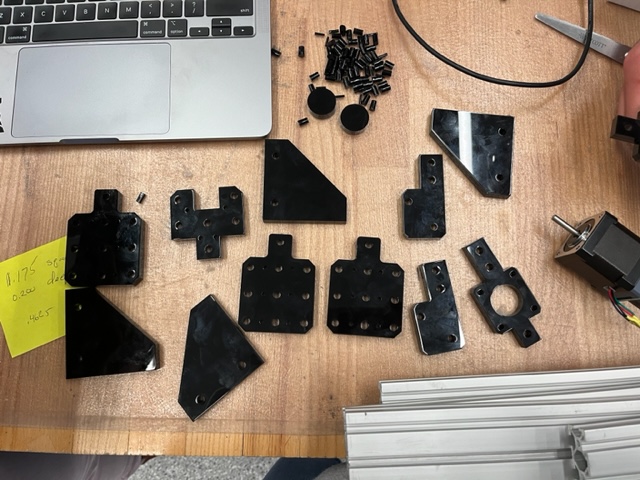
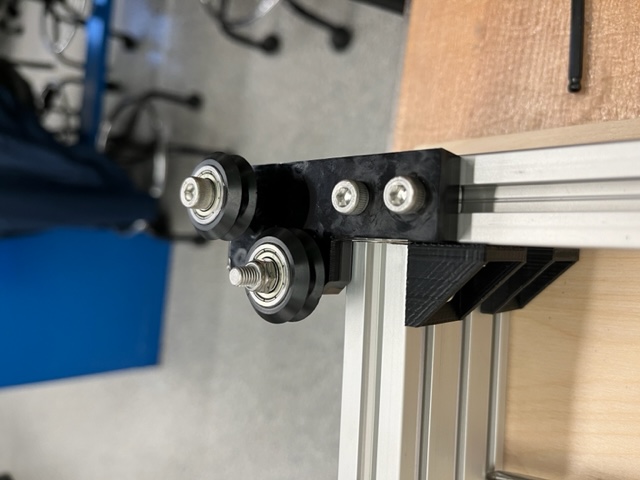
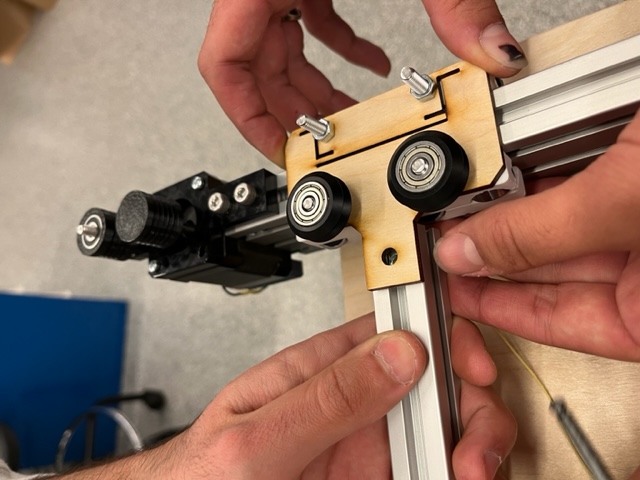
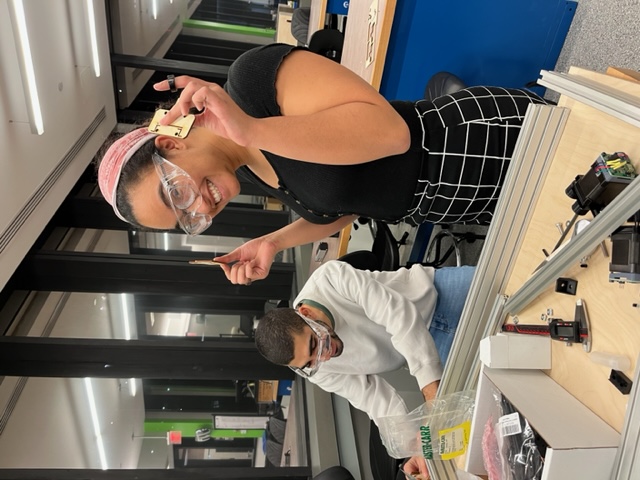
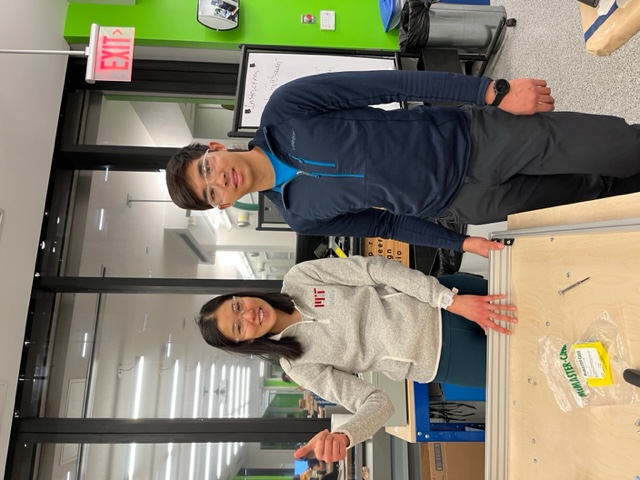
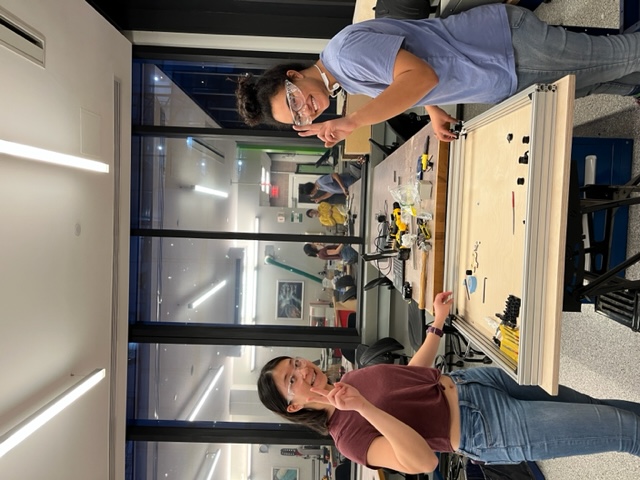
Then, working with Yuval, Mariela, Alex, Julia, Ahmad, Maxwell, Yiming, etc., I assembled different parts of the machine. Generally, we referenced Jake’s coreXY system and used Clank-style axis to enable the machine's XY movements. We 3D printed some parts (capstan motor, capstan pulley, corner bearings, clank style XY axis, and end effector for the Z axis) and laser cut the others (bearing plates, pulley mount, and motor mount) before assembling all using different screws, nuts, and bolts. I recorded a greater detail about the hardware manufacturing and assembly on our section's document, which also has been modified and contributed by other members of the lab and includes further information about software and firmware designs. The completed machine is featured below.
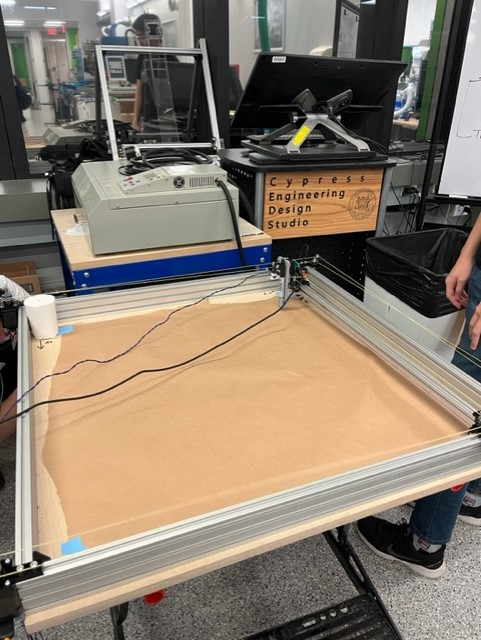
Our exciting building process (unfortunately, not all participants are represented)
I didn't participate in developing the G code for the machine but helped with testing the software. This is the summary of how our machine works:
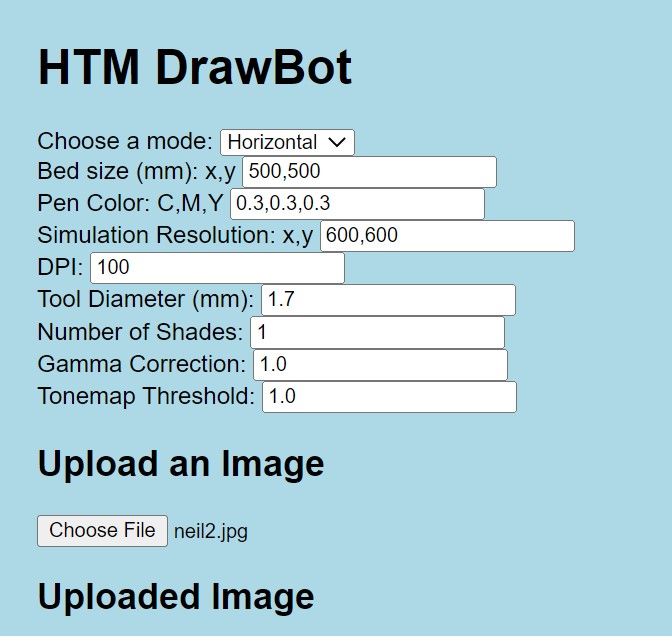
First, our UI interface, which utilizes Jake and Quentin’s modular-things can interface with a user who specifies various parameters (as shown below).
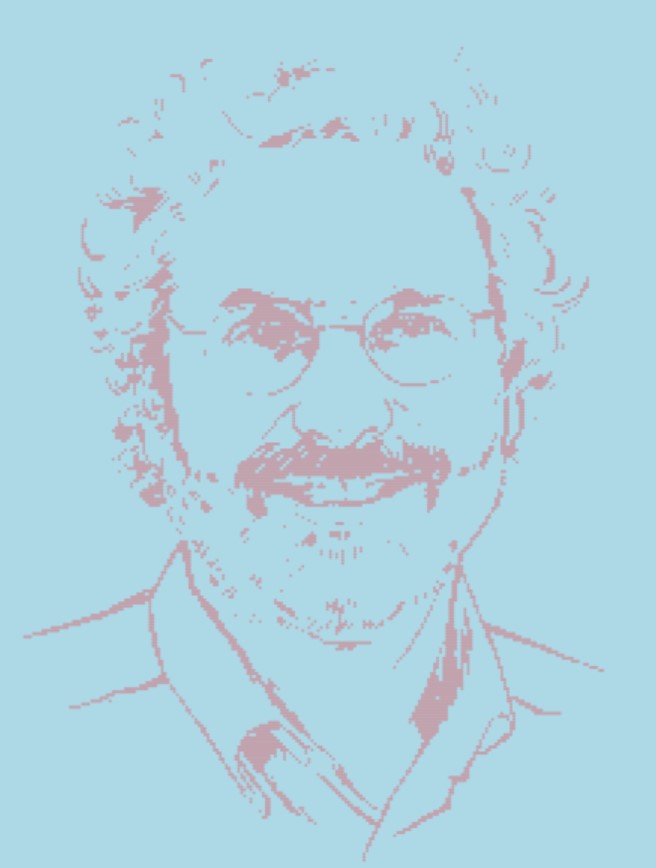
The processed image is then sent to the motors to control the machine using the G code. Here, the uploaded images (inputted by a user) in absolute XY coordinates are then executed by the machine using a different pulley ab coordinate system
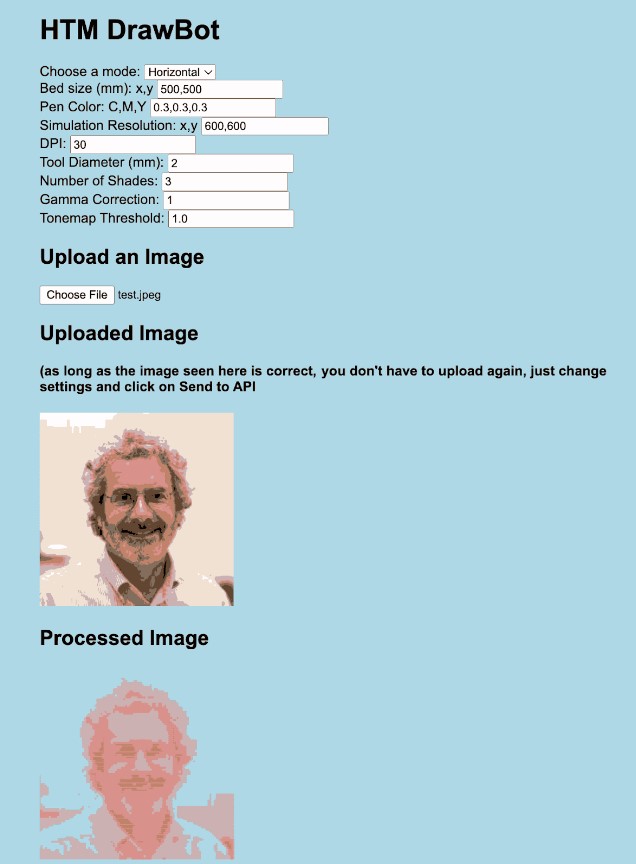
For our final machine run, I tested the software using the modular design. The instructions to use the software are written in our team github. The parameters, reference image (a drawing of Neil found online), and processed image are shown below:

Video recording of the machine drawing Neil
A more detailed description of what we did as a lab is recorded on this website and google doc! Moreover, our GitHub account can be found here for other related codes (use printer_code.js) and images.