*Caution: although it's perfectly rideable, walking is recommended and may be faster.
The car may also not withstand mechanical and thermal damage, including gravel, heat, etc.
This week's assignment was making something big, and I had many design ideas, including a drawer, chair, desk, laptop holder, cat tower, etc.
Then, a car came into my mind! I knew it would be challenging because I wanted to scale it large enough for people to ride on it. After consulting Anthony, even though my project would be time-consuming, I wanted
to challenge myself. Moreover, I couldn't not do the project, especially after Anthony kindly offered me three sheets of 4ft x 4ft oriented strand board (OSB) rather than two :)
I first sketched out my idea on my iPad. I was planning to join 4 or 9 sticks of wood and make a cylinder (a rod for the axial) using a bandsaw and sandpaper. However, Anthony strongly recommended using a 2ft x 2in (inner diameter) PVC pipe as the axial (similarly for the handle).
Therefore, I purchased one PVC pipe from home depot (other PVC pipes were provided by Anthony).

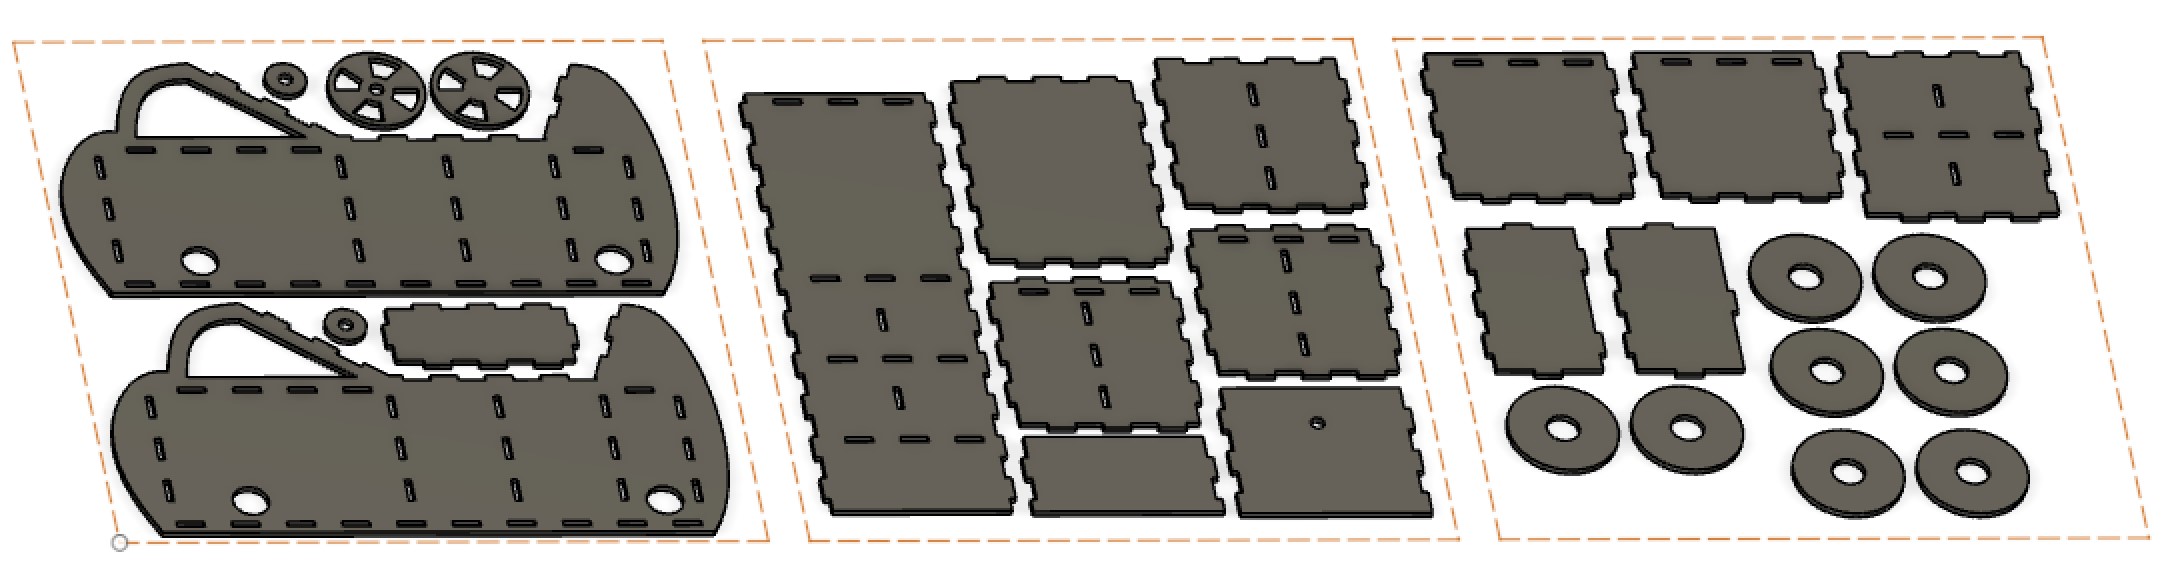
Using my hand-drawn sketch as the reference, I used Fusion 360 to create a CAD model (it took me like 5-6hours...). I reapplied what I learned about parameterization to account for various size constraints, particularly for the milling kerf (0.0025in) and OSD thickness (0.44in). I ensured that there were numerous joints so that the car can be sturdy. For instance, I made 8 wheels so I can glue 2 wheels each for holding the weight of the car and the rider. Moreover, the seat is supported by cross-shaped wood that is put together via joints and glue. During this process of CADing, I thoroughly explored the size constraint, using the distance tool. I also learned about a CAD add-in called Dogbone, which would later help me with the manufacturing process.
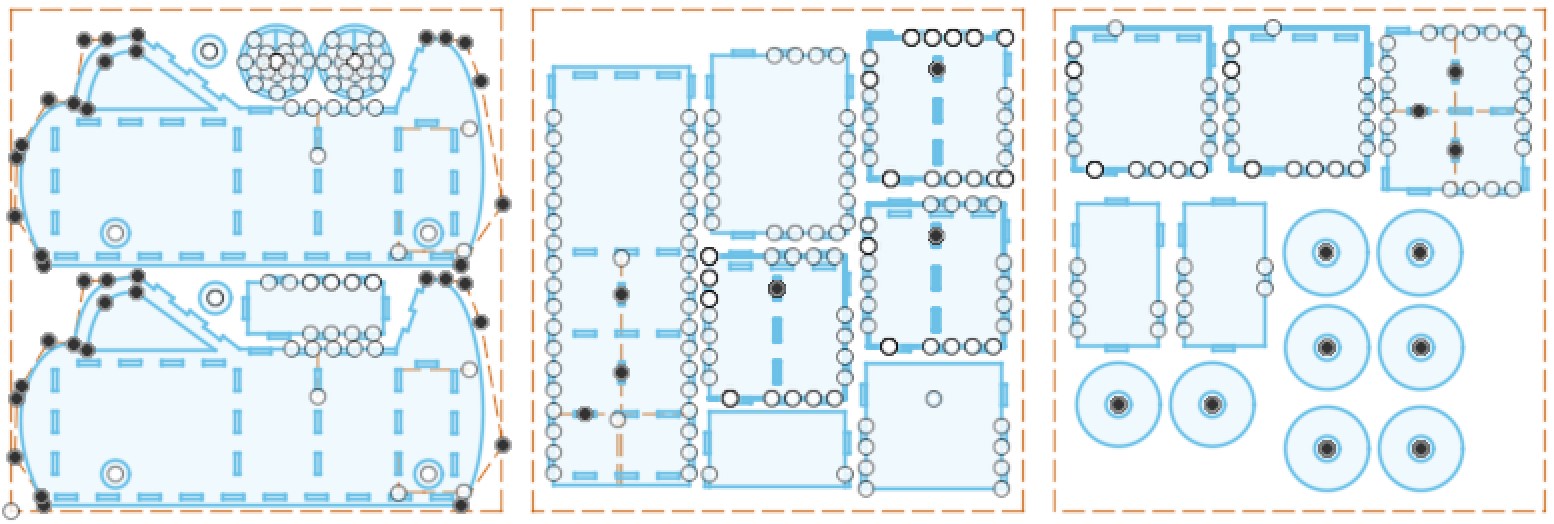
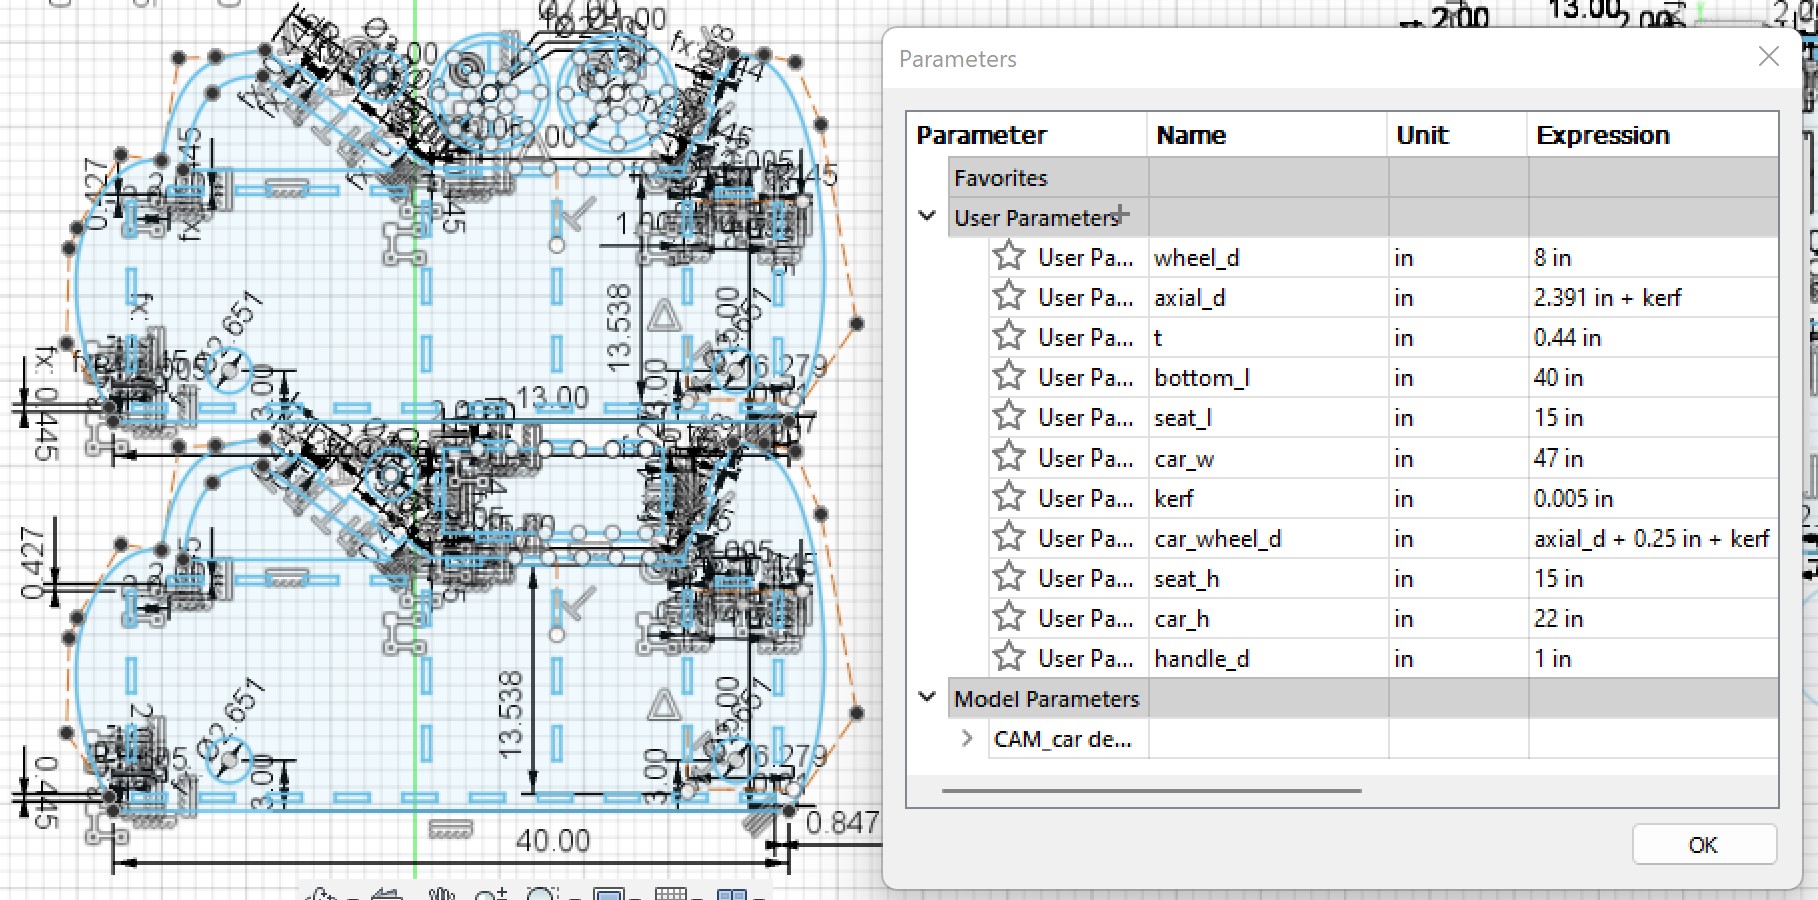
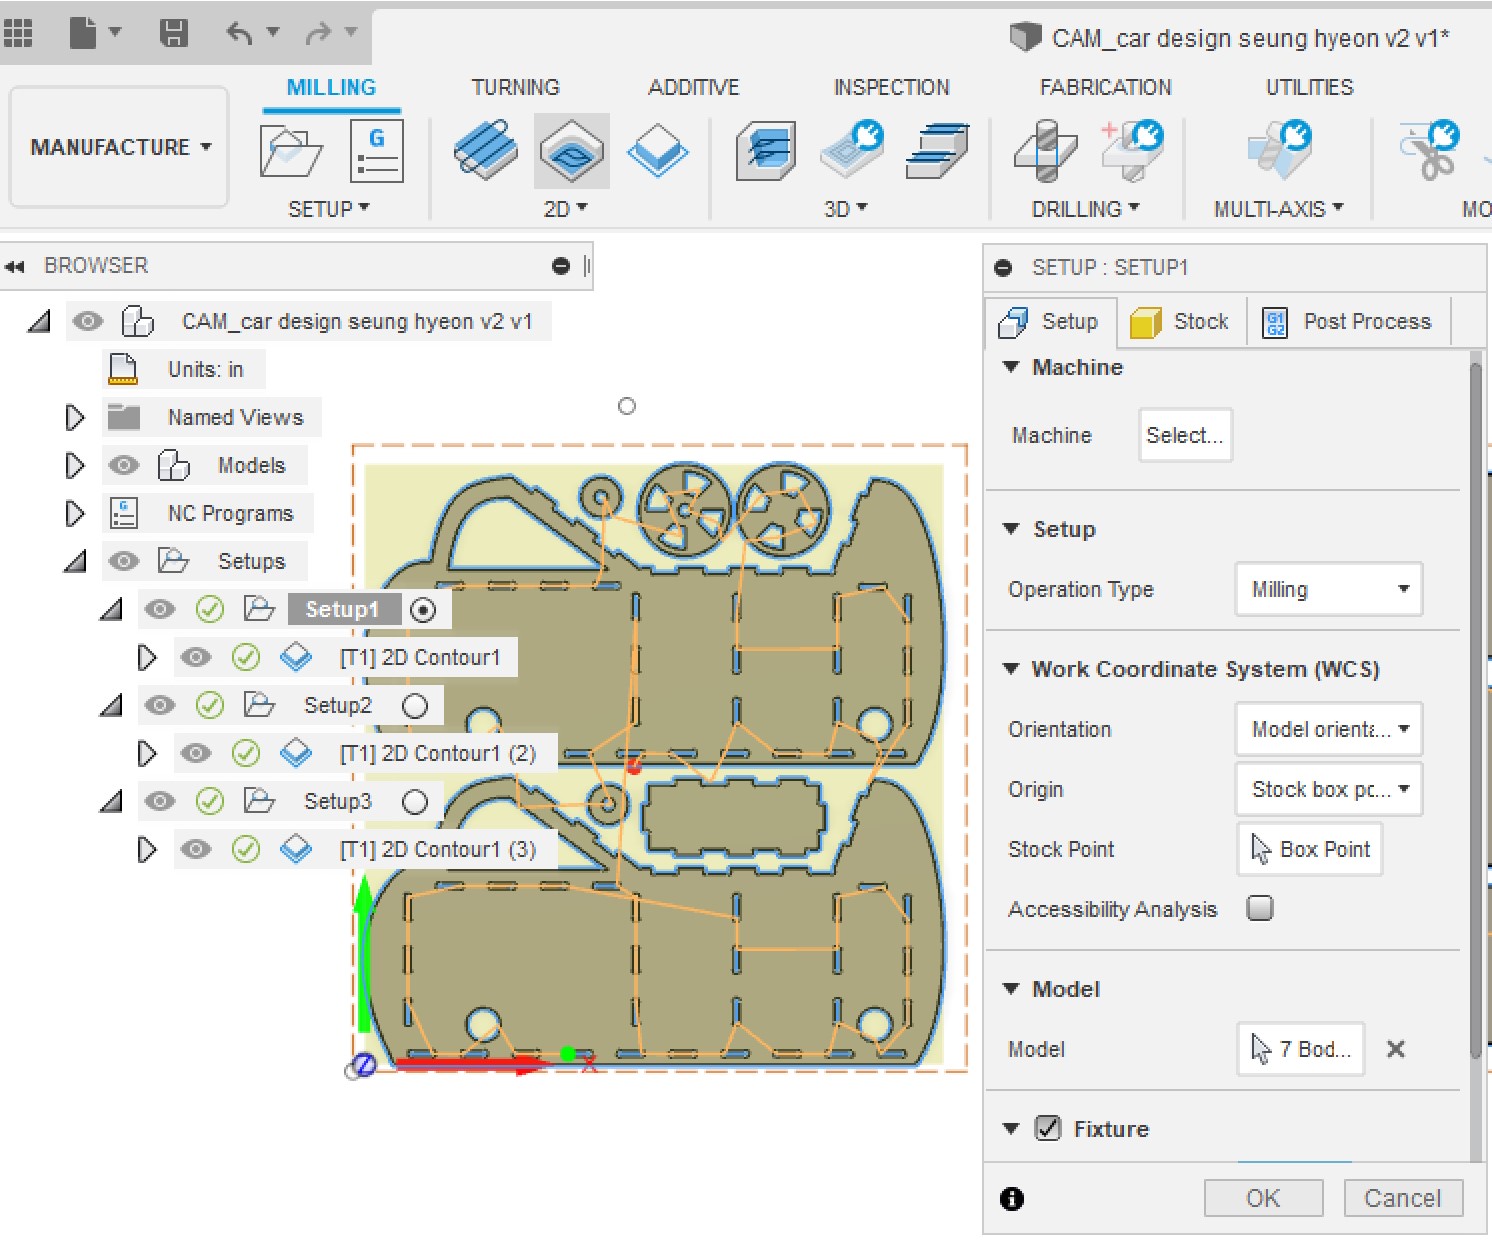
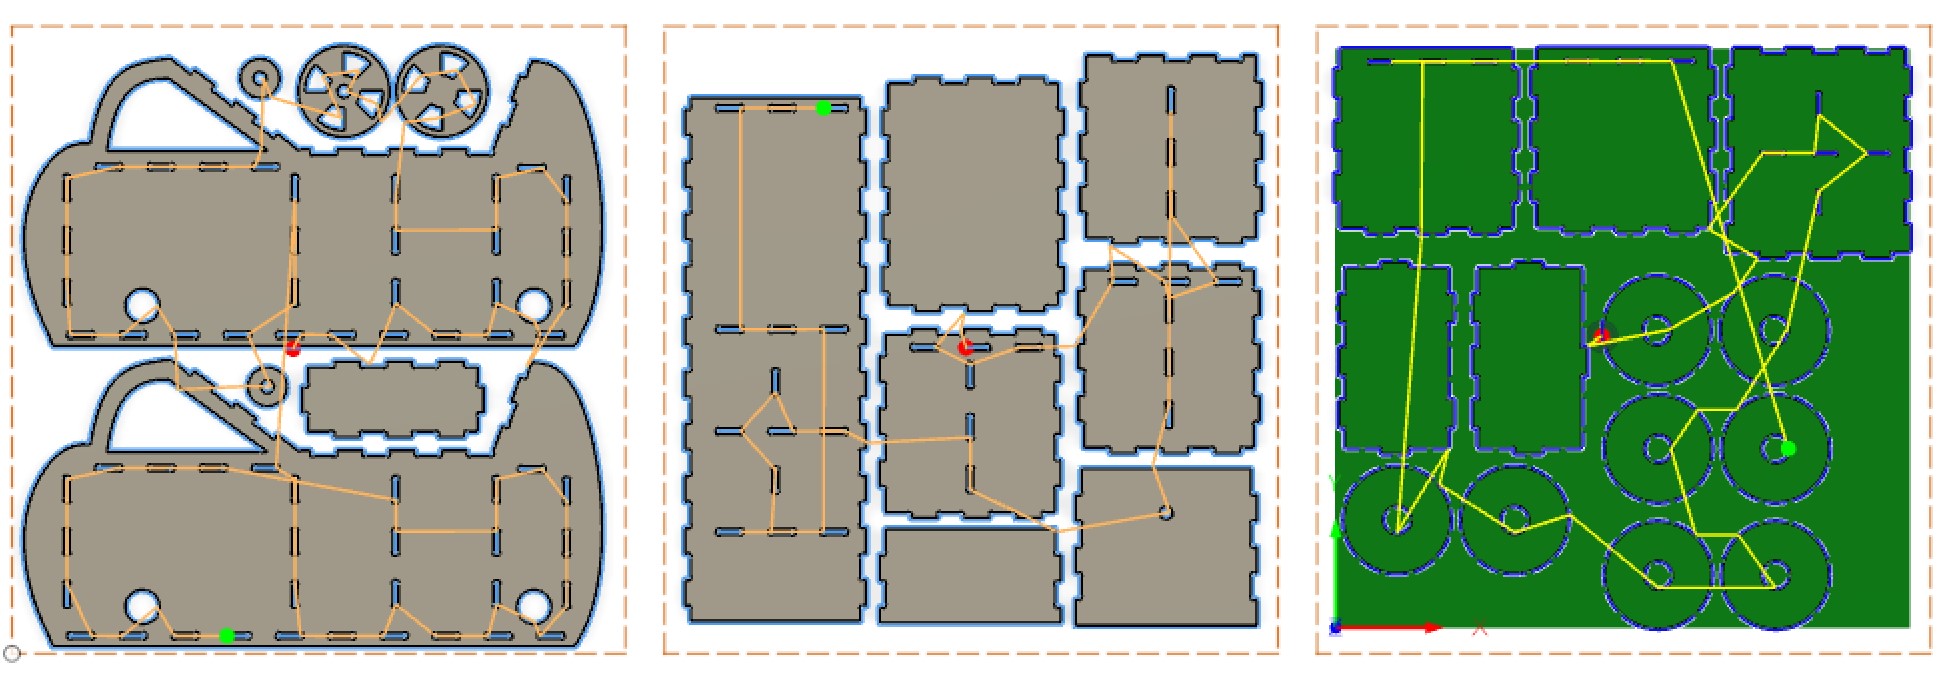
The Dogbone creates a dogbone fillet inside the corners of the model to account for the mill shape and easier construction/ joinery. Post the dogbone operation, I switched to "manufacture" within Fusion. Then, for the first batch of sheets, I set up the manufacturing process: milling tool (inch), flat end mill, 3/8" bit, speed of 12,000 rpm, 120in/min. I then added autogenerated tabs to fix my piece to the overall sheet during manufacturing. The milling path is also shown below in orange!
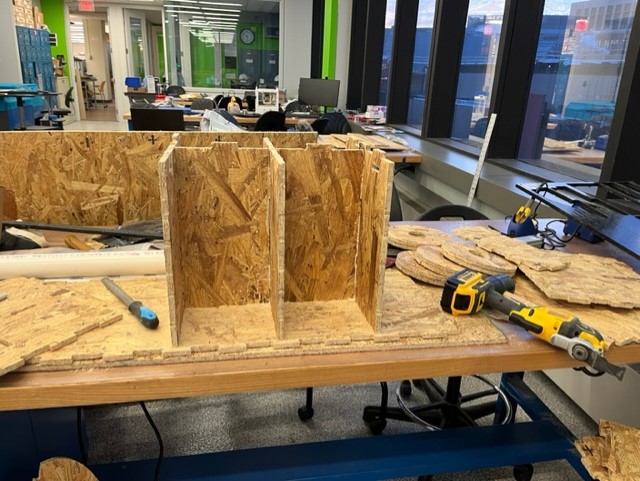
Prior to using the Computer Numerical Control (CNC) machine, I completed my EHS and lab-specific training with Anthony. The machining itself took a lot less than CADing my car, though preparation took a bit. First, I nailed down the board to the machine. The nailing was done starting from the center to reduce the built-up pressure and prevent potential cracking during the milling. When my file was transported into the machine's computer, I further nailed in the areas with fewer tabs and support to prevent undesired breakage. After holding the board down, I identified the XYZ coordinate. Finally, I started the machine! The feed rate (the rate at which the machine cuts the board) started at 50% and then was increased to 100%. The rapid rate (the rate at which when the machine is not cutting the board) was set to 100%, and the job rate (the rate at which when the machine is moving between parts) to 35%.
After the machining was complete, I used a hammer, oscillating saw, and crowbar to remove the board from the machine plane. This process was repeated for all three boards with the help of Anthony.
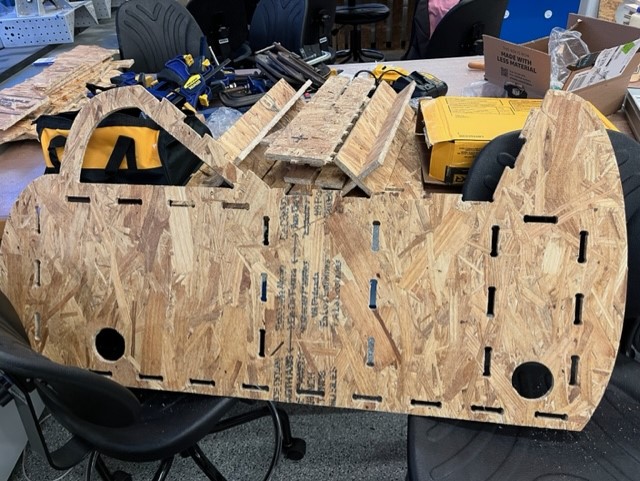
The process of separating my parts and removing debris/shaping/sanding them took me hours. I partially regretted when I was in the lab until almost midnight haha... It took me longer than expected because some of my CAD mathematics were incorrect and thus, the joints weren't perfectly aligned with each other. Therefore, I had to manually cut many joints out. Still, I had an enjoyable time working on the project of my interest, and was challenging beyond what I knew previously. Using a bandsaw, hammer, oscillating saw, sandpaper, sanding machine (kindly borrowed from Guillaume), and glue, I cleaned and joined the wooden parts together. To put together the wheels and the PVC axial (likewise for the handle), I used 5min epoxy (which smelled unpleasant...!).
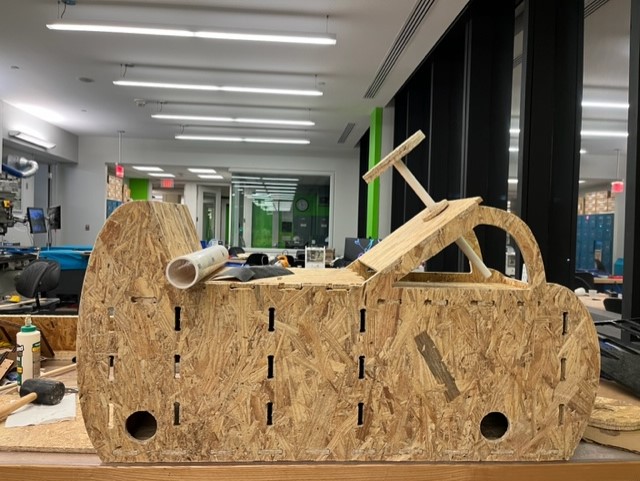
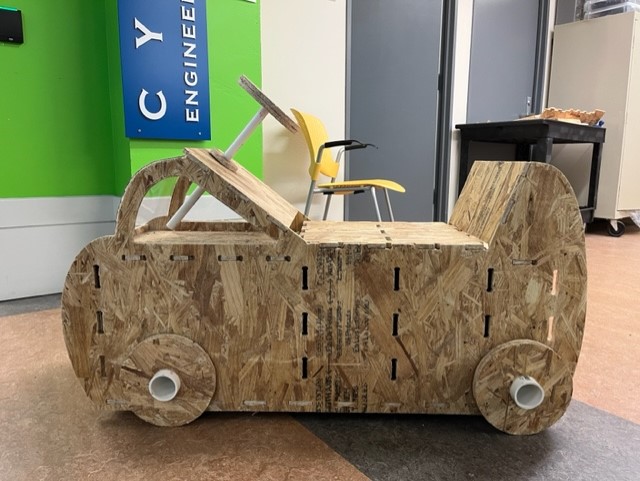
After attaching the wheels, I also wanted to add windows and a windshield using acrylic. The windows were flat and thus, it was easily attached. However, the windshield needed to be bent, which Anthony helped me resolve using a hot air gun. Then, I used a glue gun to attach the pieces altogether.
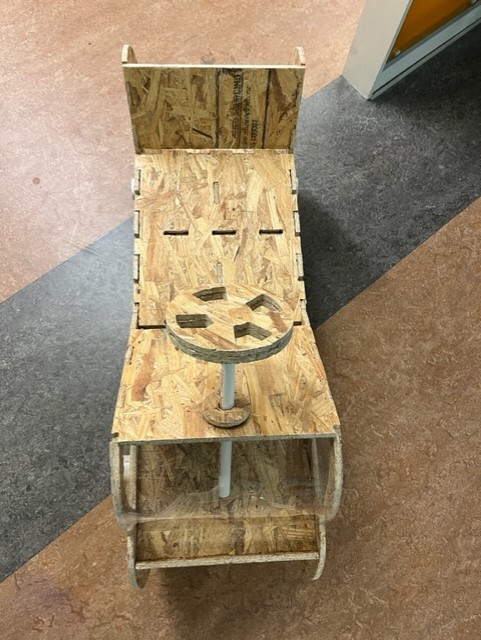
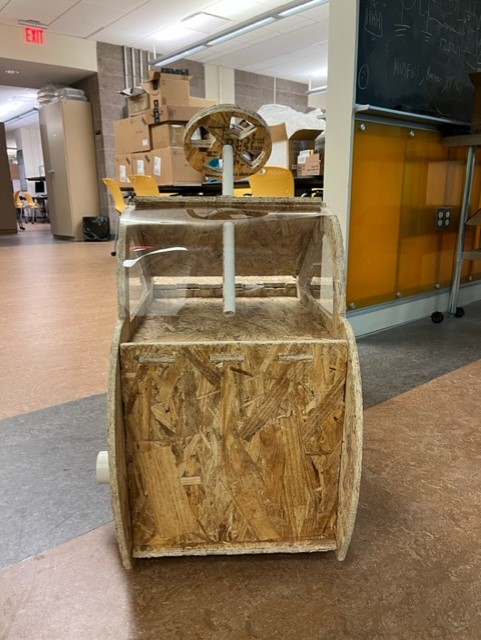
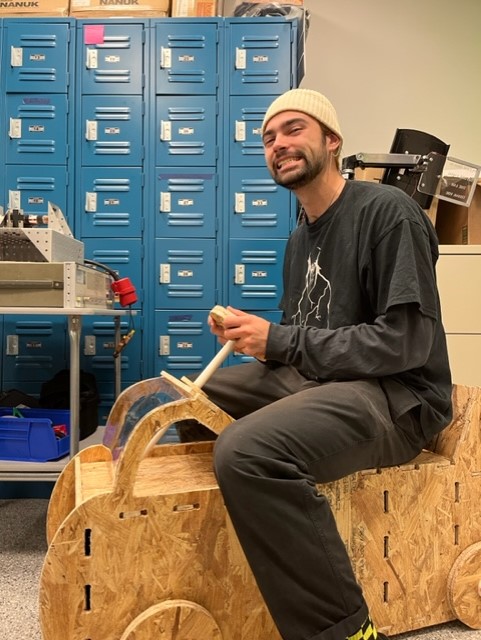
I had the first honor to ride my car :) Nothing was broken and the wheels worked nicely.
Thank you to all the people who helped me and tried riding the car~
Tester 1: Anthony
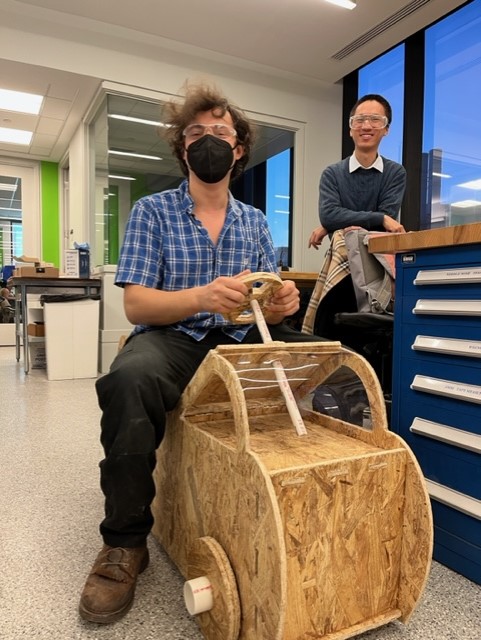
Tester 2: Junhong
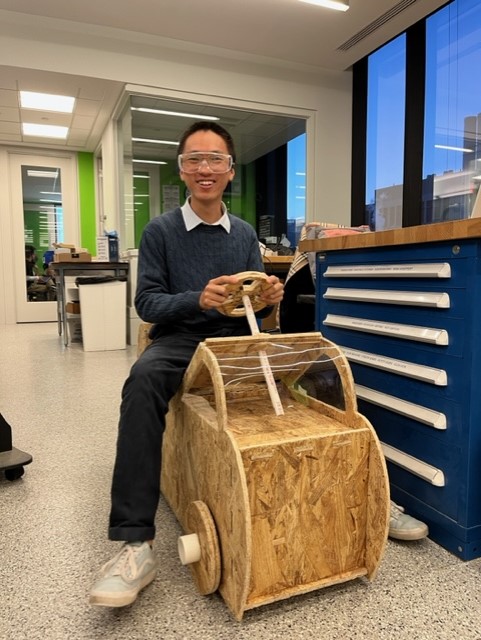
Tester 3: Alec