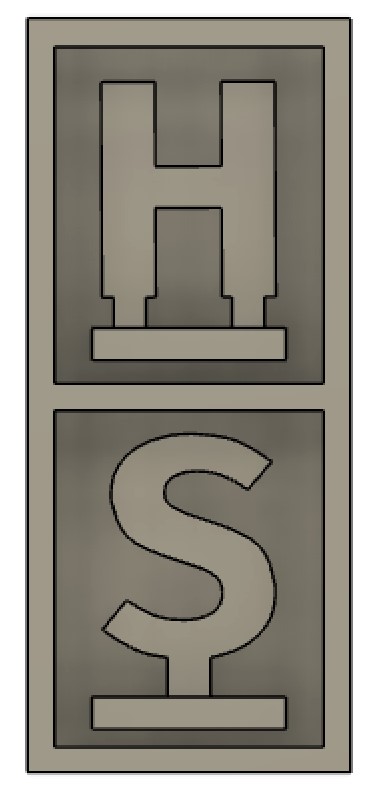
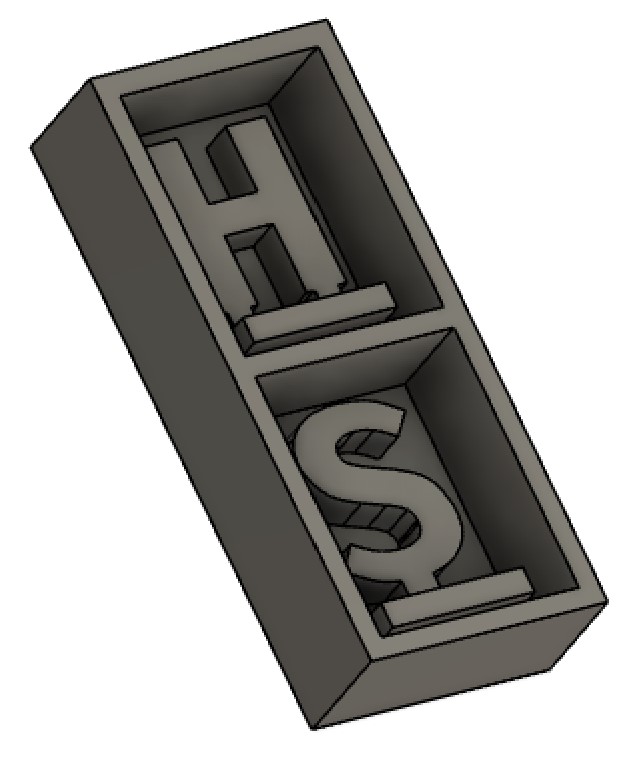
I made my fusion design for the wax mold of the oomoo mold. This week, I wanted to make a car logo using metal (which I won't be able to do until later in the week). I then used their 3D manufacturing tool (adaptive clearing) to set up my milling process. The stand part and the kinked part of the letter needed a more precise milling process, so I added a contour 3D manufacturing in addition to the adaptive clearing. Green and Blue indicates different toolpath and the Red shows an error which was resolved from changing the tool lenght.
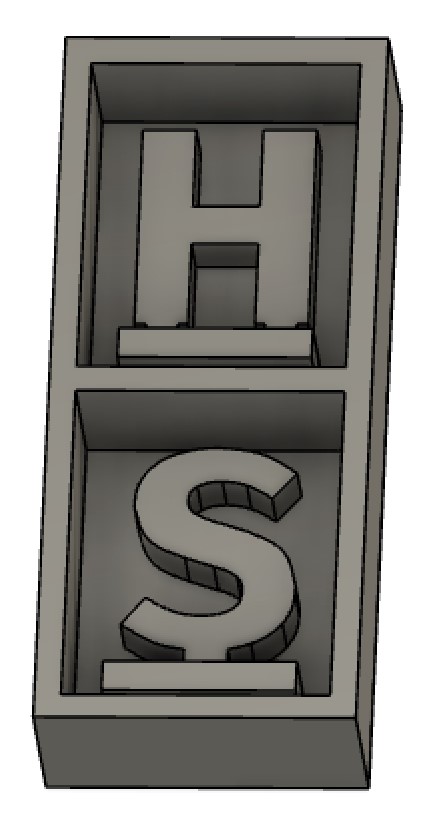
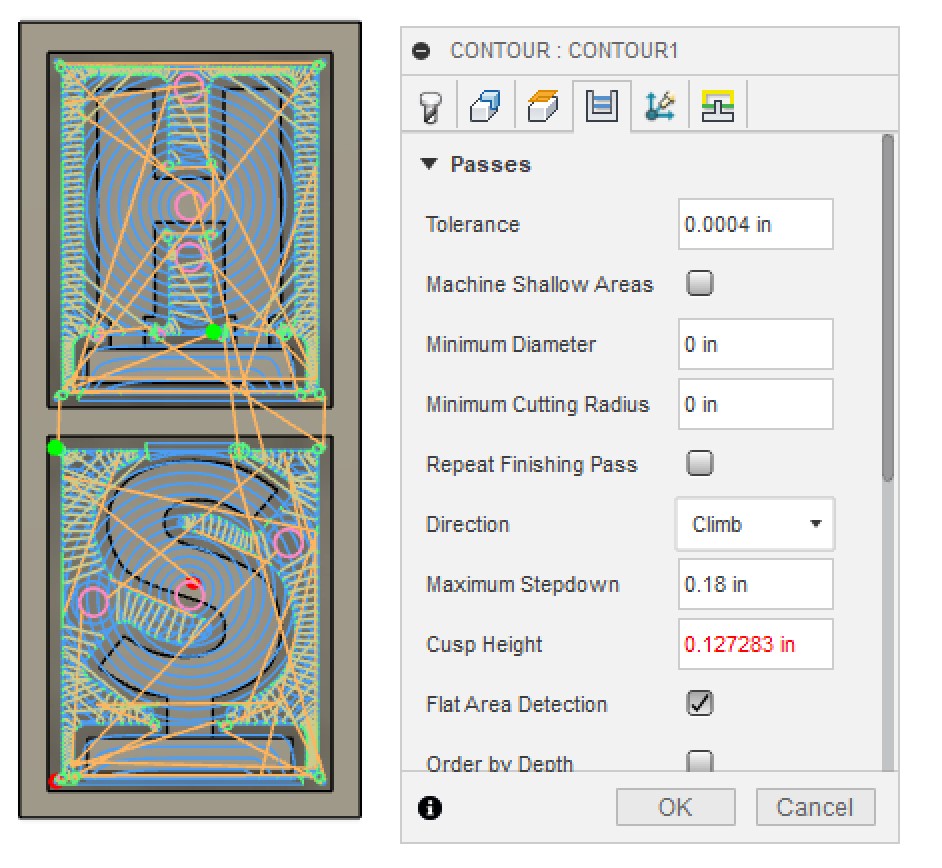
During the milling process, I used a 1/8" and 1/16" flat endmill to carve the wax. The total machining time took about 10 minutes as my structure was simple.
Then, I used oomoo to make my flexible mold from the wax mold. Oomoo is an inert material made up of silicon, and thus, is involatile and doesn't react with other materials.
Using 1:1 mix by volume of part A and part B, I slowly poured the mixed solution into my wax mold. During this process, I ensured that I was pouring a stream of oomoo to prevent bubble formation.
Finally, I gently shook the mold+oomoo to allow trapped bubbles to come up to the surface and be released.
My oomoo mold came out very smoothly!
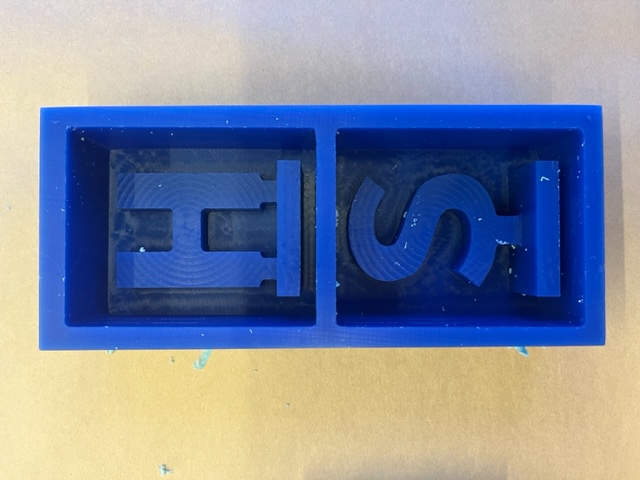
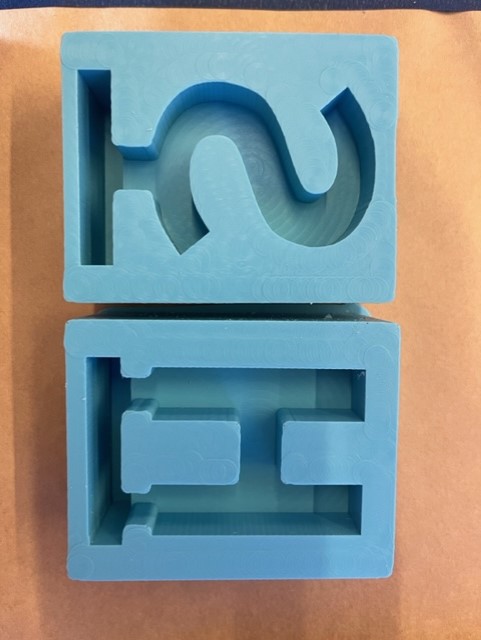
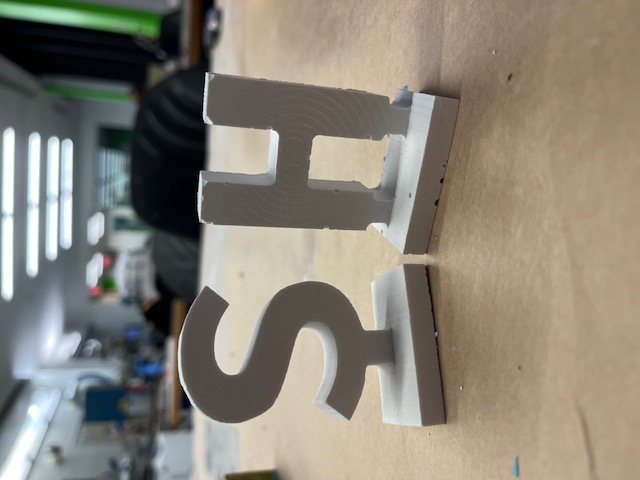
I used both dry stone ("H") and hydro stone ("S") to cast my letters. The dry stone was made with 100 part powder to approximately 20 part water while the hydro stone was made with 100 part powder to 32 part water. The hydro stone was more liquid-like and easy to pour into my mold. I gently shook to again release the bubbles. My first product was smooth, but there were some bubbles, so I decided to recast my molds.
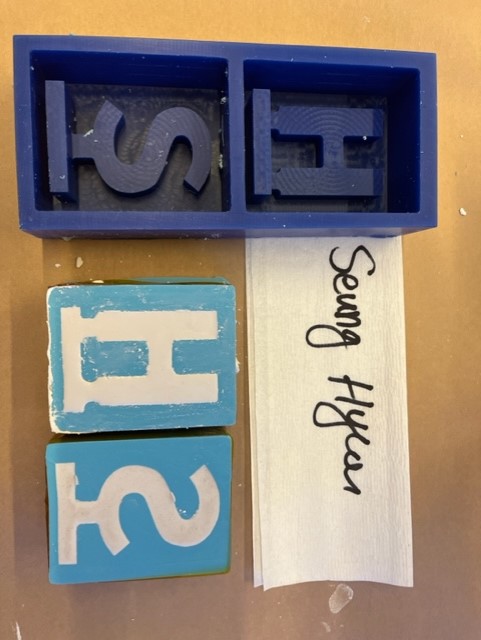
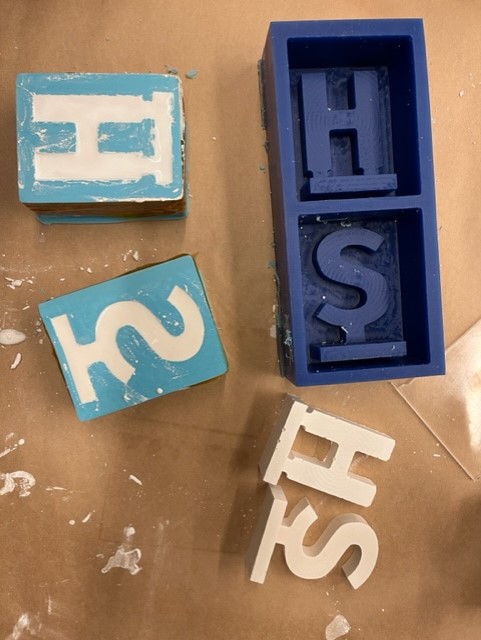
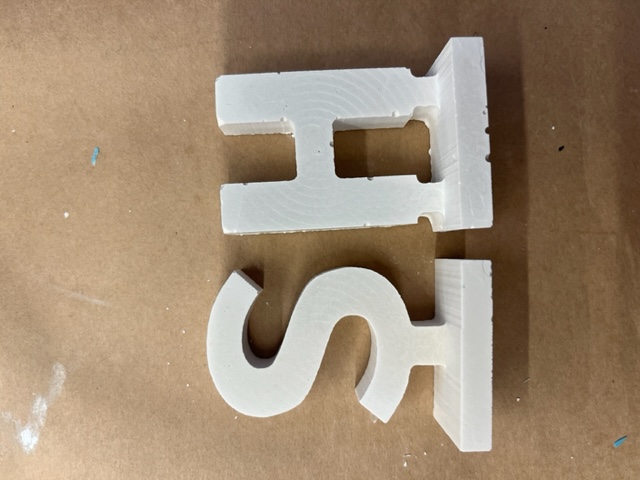
Caption: first two pictures are my first product and the second two pictures are my second product