This week, for the assignment to print something that can't be made subtractively, I decided to create a flower with many layered petals.
Following a tutorial on CADing a rose, I create a chrythanthemum looking flower with modifications and improvisations. The CADing workflow is as follows:
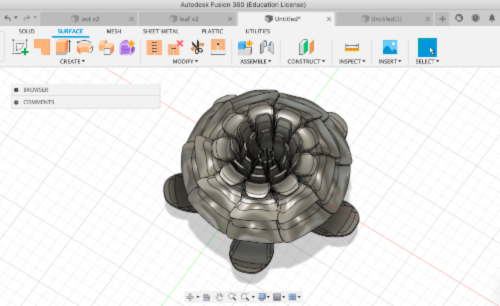
First, create curved line sketches outlining the shape of the petals. Then, under the Mesh module, rotate these lines around the center axis for 60 degrees to create a pie-slice of the overall flower. Edit the petal shapes by rounding the edges and adding in planar curvature for a more organic petal look. Finally, move the pie-slice section by offsetting it in the y-direction slightly and rotating it along the z-axis slightly. This way, when I create a circular pattern of the pie-slice around the z-axis, I can get an offset overlapping flower as follows.
One interesting discovery is that the thicken command did a great job at converting a mesh into an 3D object, to our surprise.
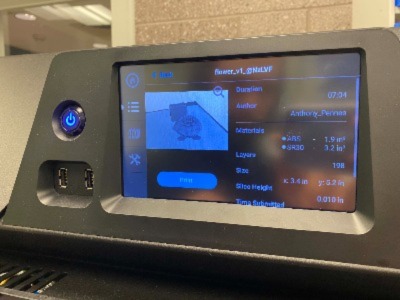
For the printing process, I exported my project in STL format and put it into the software for automatic slicing. I used the machine with dissolvable supports (stratasys F120) as I anticipated heavy use of supports to hold up the delicate petals. The rectangular cylinder on the side is used for the machine to clean its nozzle when switching between printing and support material.
After loading it onto the printer, the projected print time was 7 hours and 20 min.
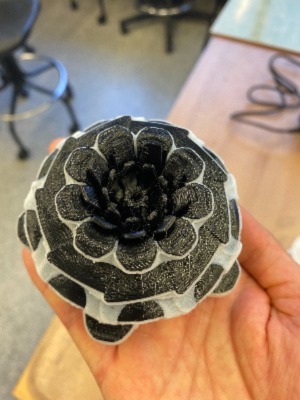
Here is the finished print before dissolving the supports. I kind of like this design.
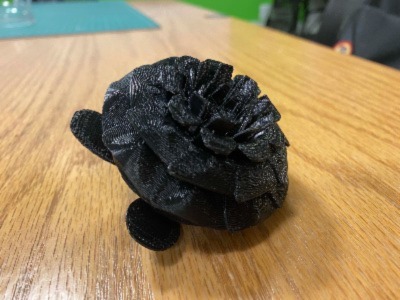
Here is the finished piece!
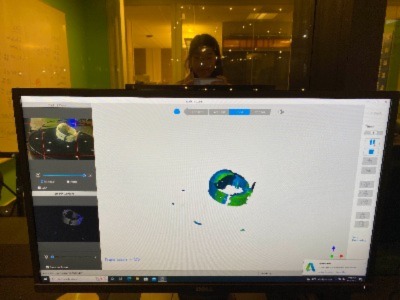
For 3D scanning, I scanned my watch with the Revopoint and placing it on the turn table. As there were parts that reflected, some of it was a bit harder to be picked up. Nevertheless, it did a great job. And I was surprised by the software's ability to autopatch holds for the unscanned regions.
The group assignments for this week can be found here