This website is for the course How to Make Almost Anything (Fall 2022) You can reach me at
Contact me
alexiaasgari
@gsd.harvard.edu
Making a Programmer
Milling
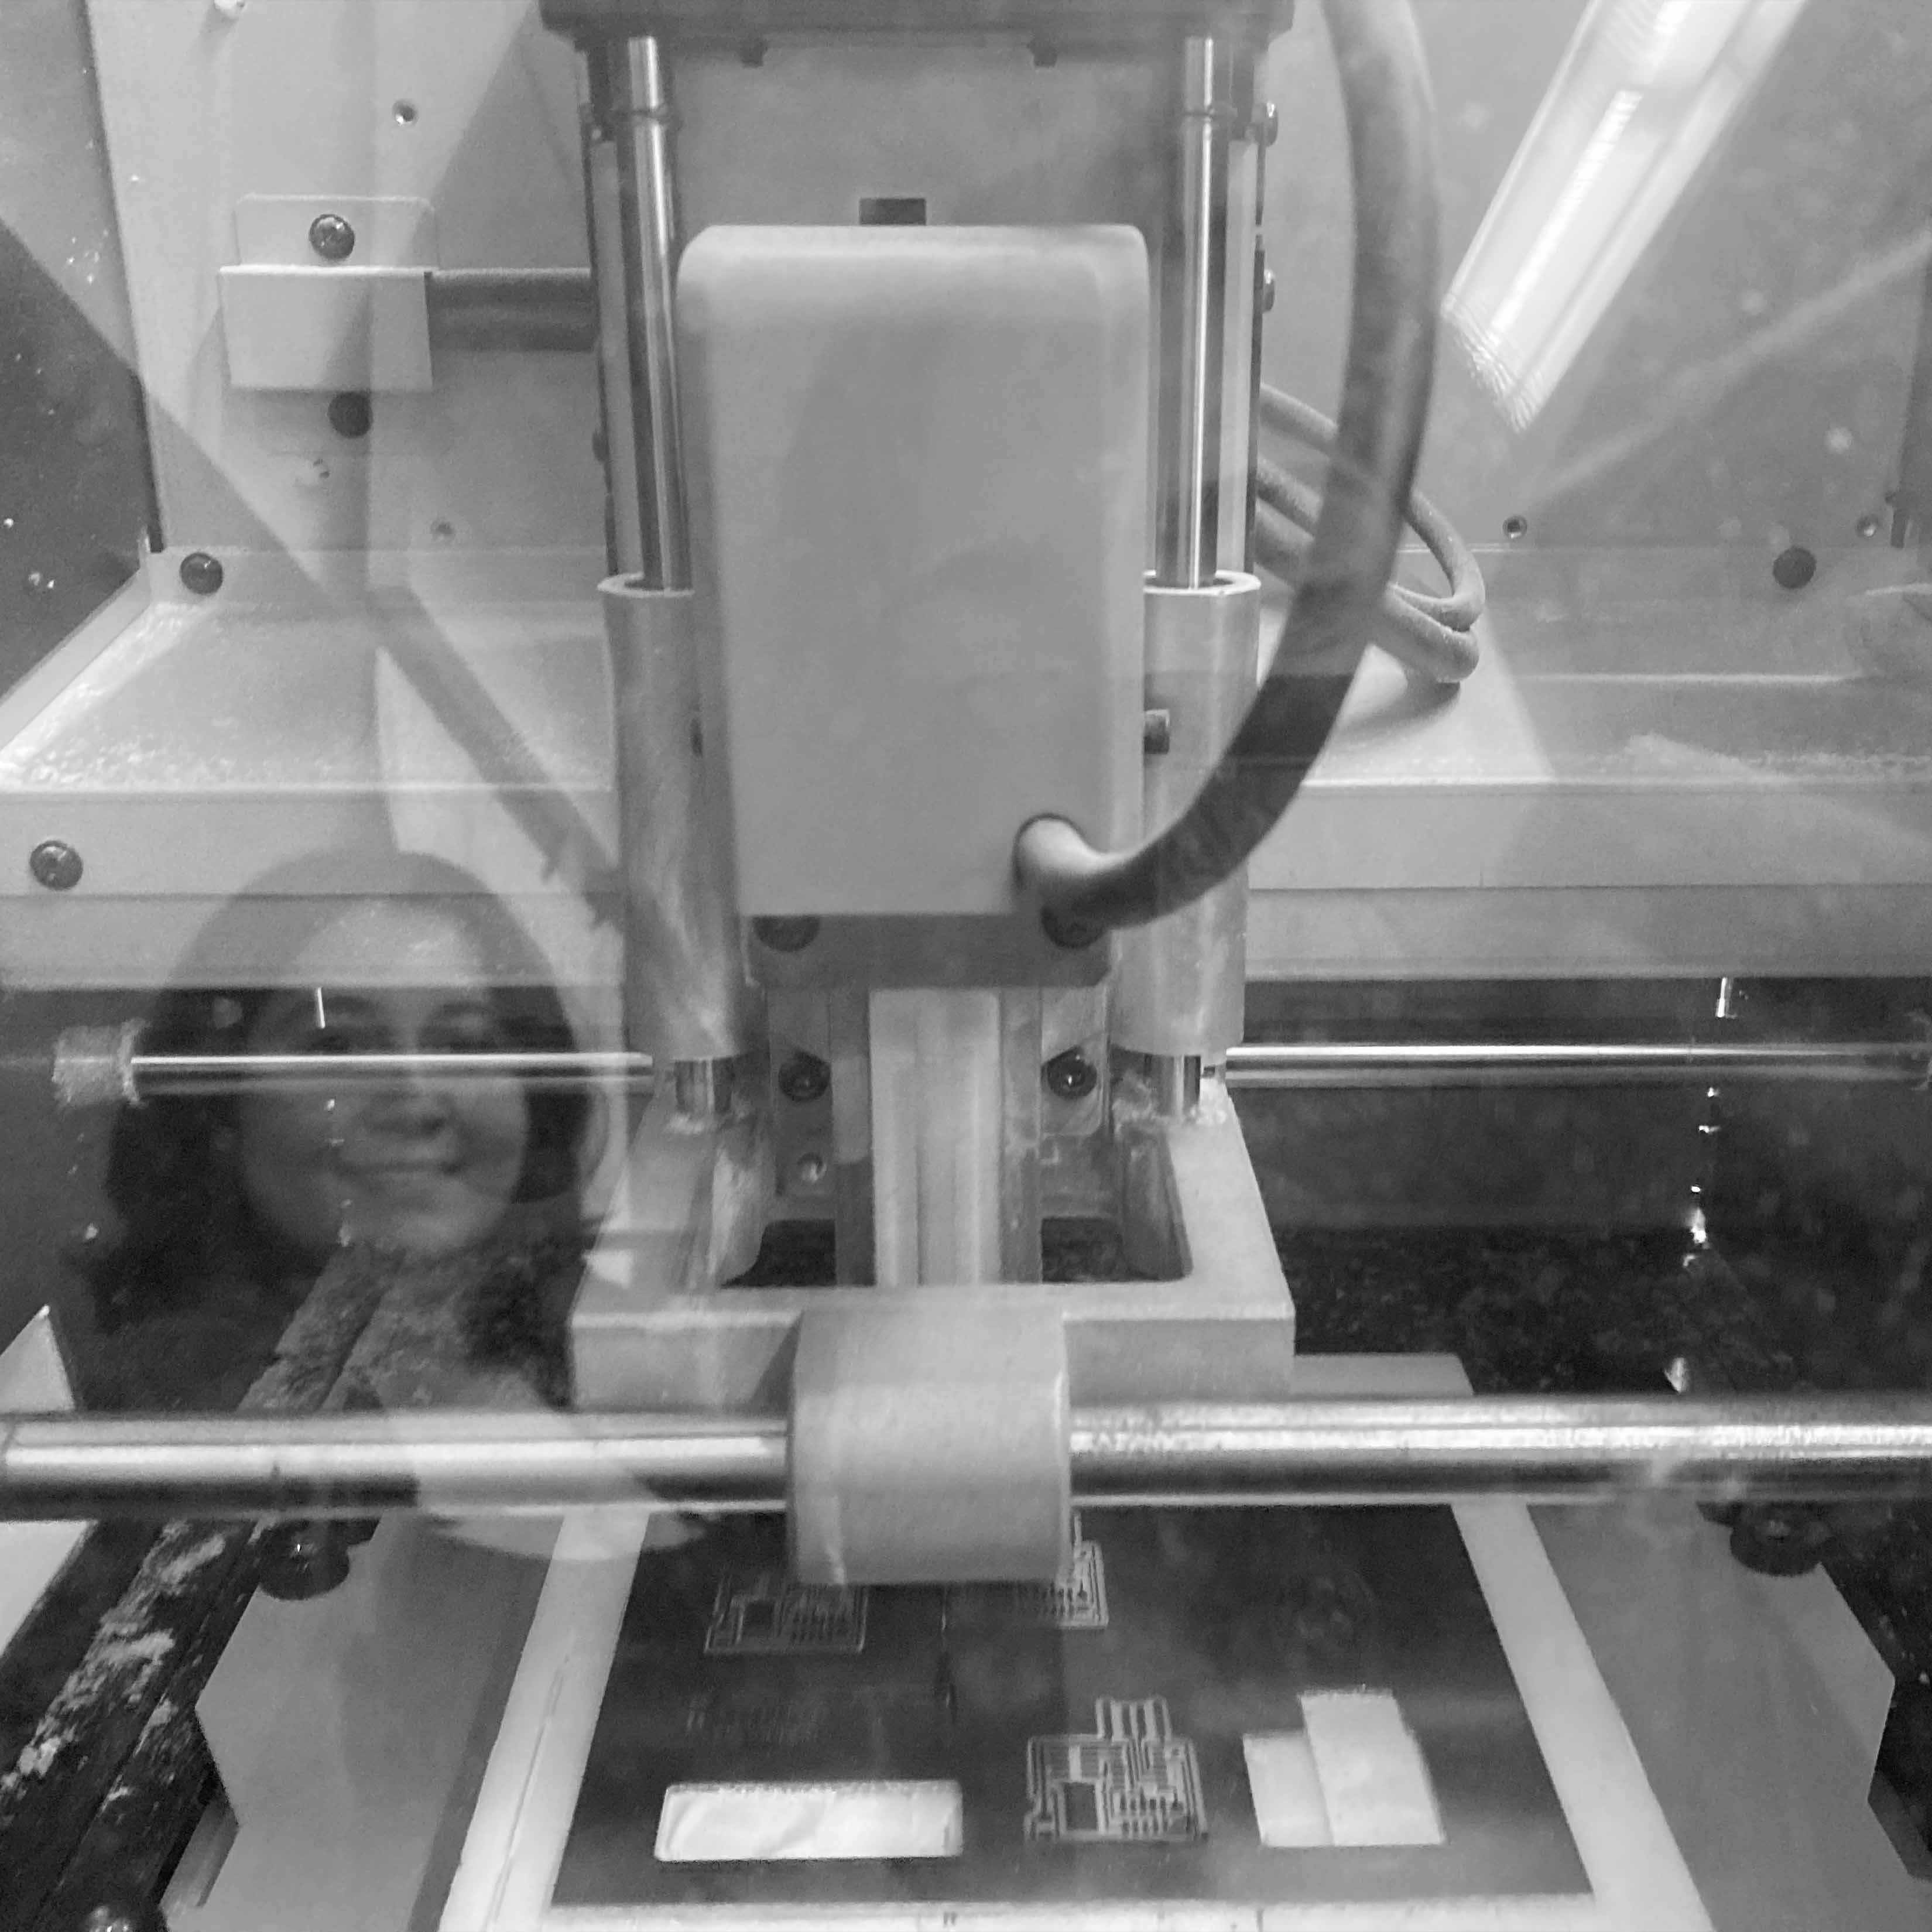
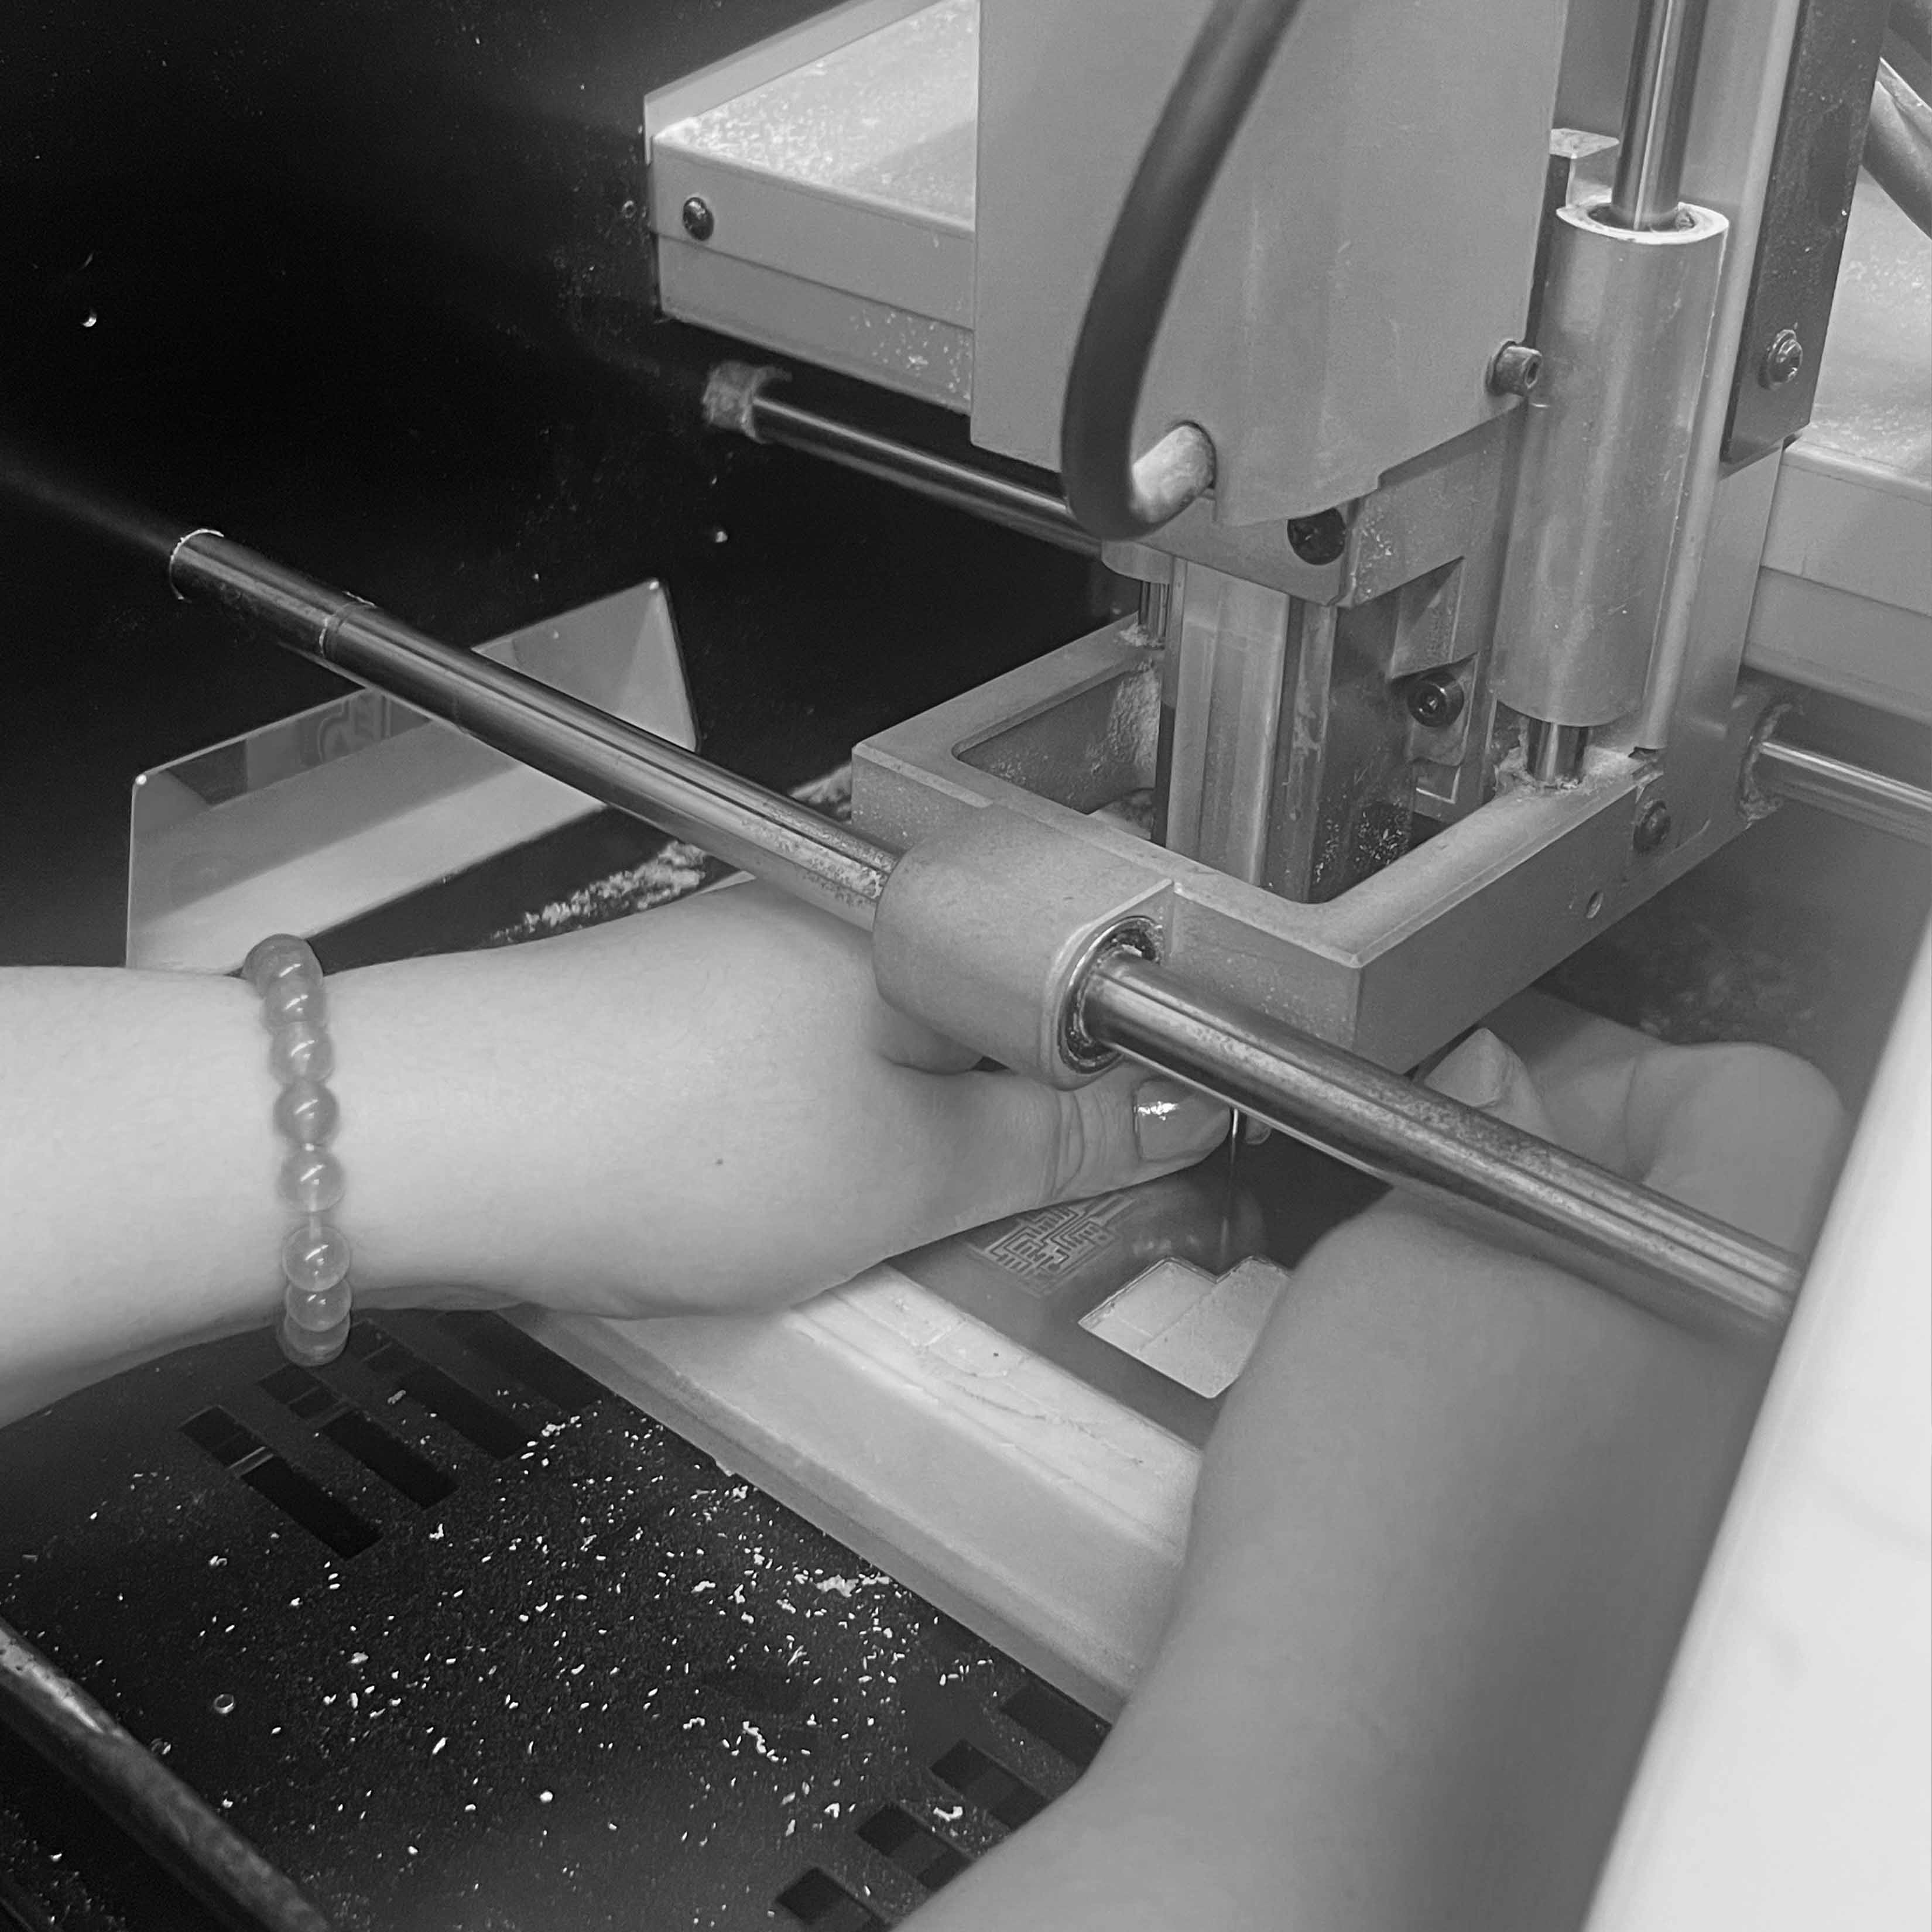
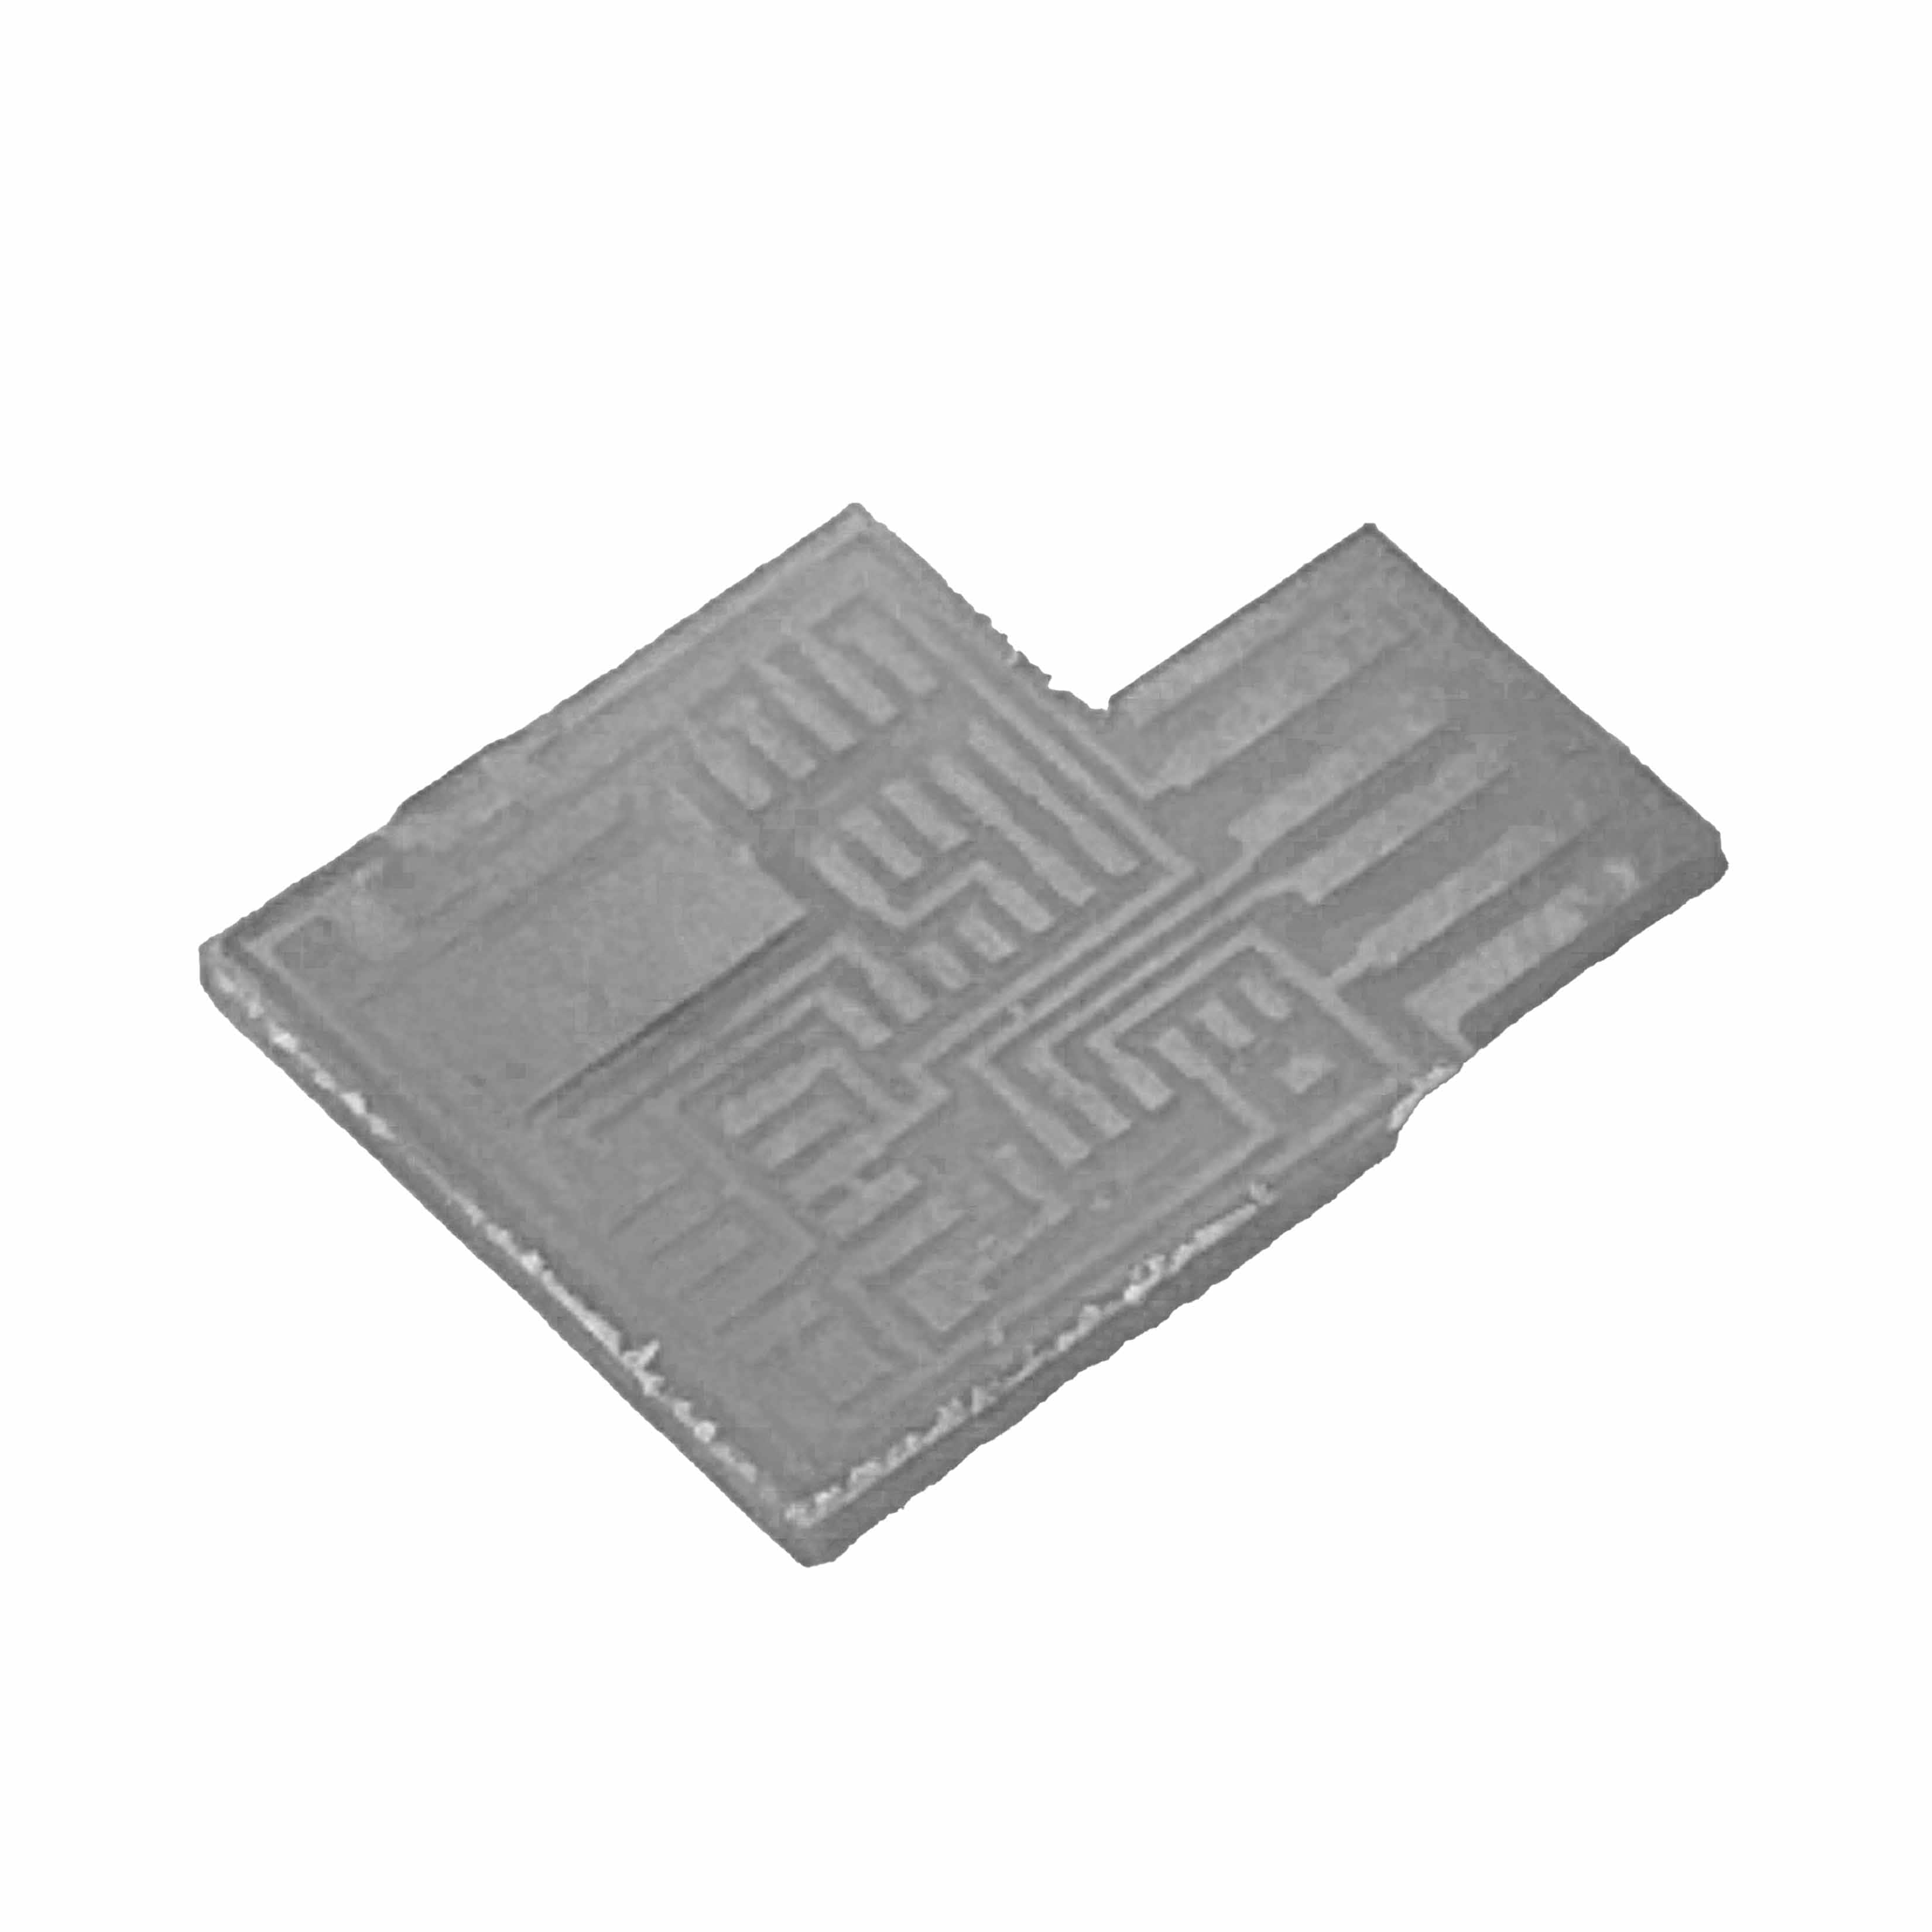
The first step to making my the programmer was CNCing the PCB. After practicing in the group project, I felt confident begining the process. I used a 1/64 bit for the outline and 1/32 bit for the inner etching. A photo shows me changing the bit and standing back as the machine scrapes off the copper plating, allowing for only wanted channels to remain in tact. This step was the easiest in the process.
*screenshots of screen pending (forgot my flash drive in shop*
The online interface allowed me to create a tool path.
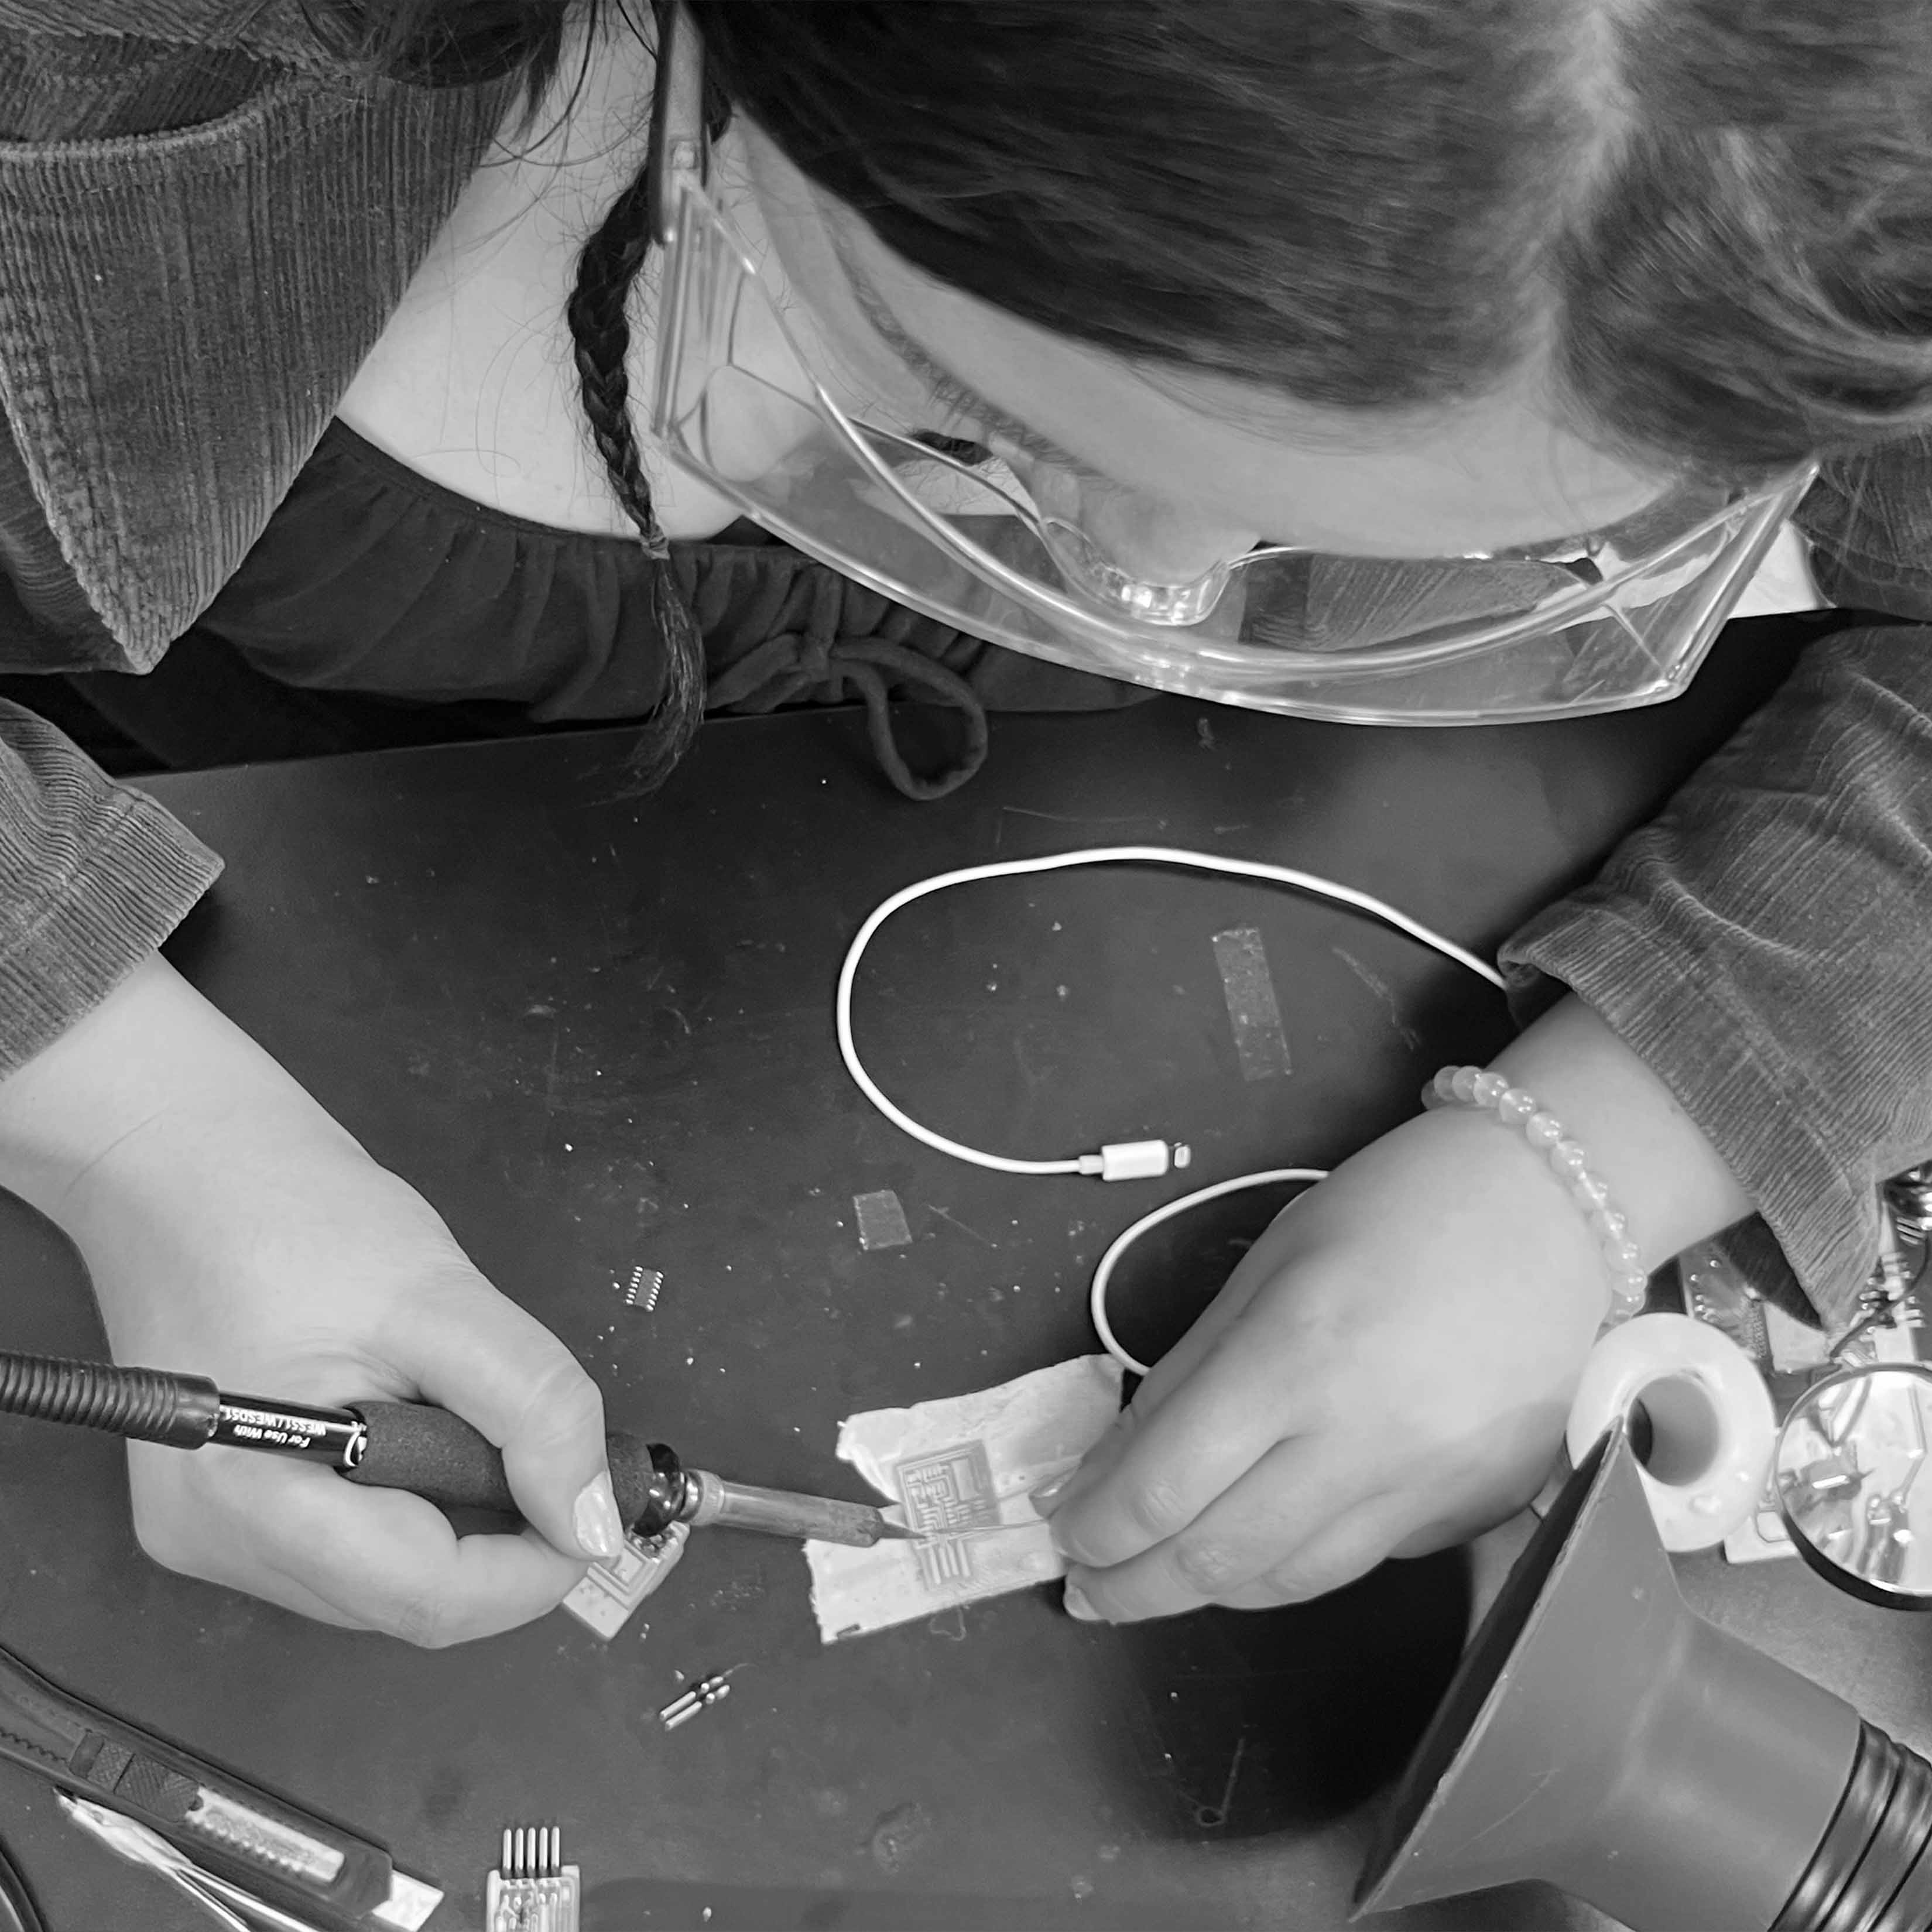
Soldering
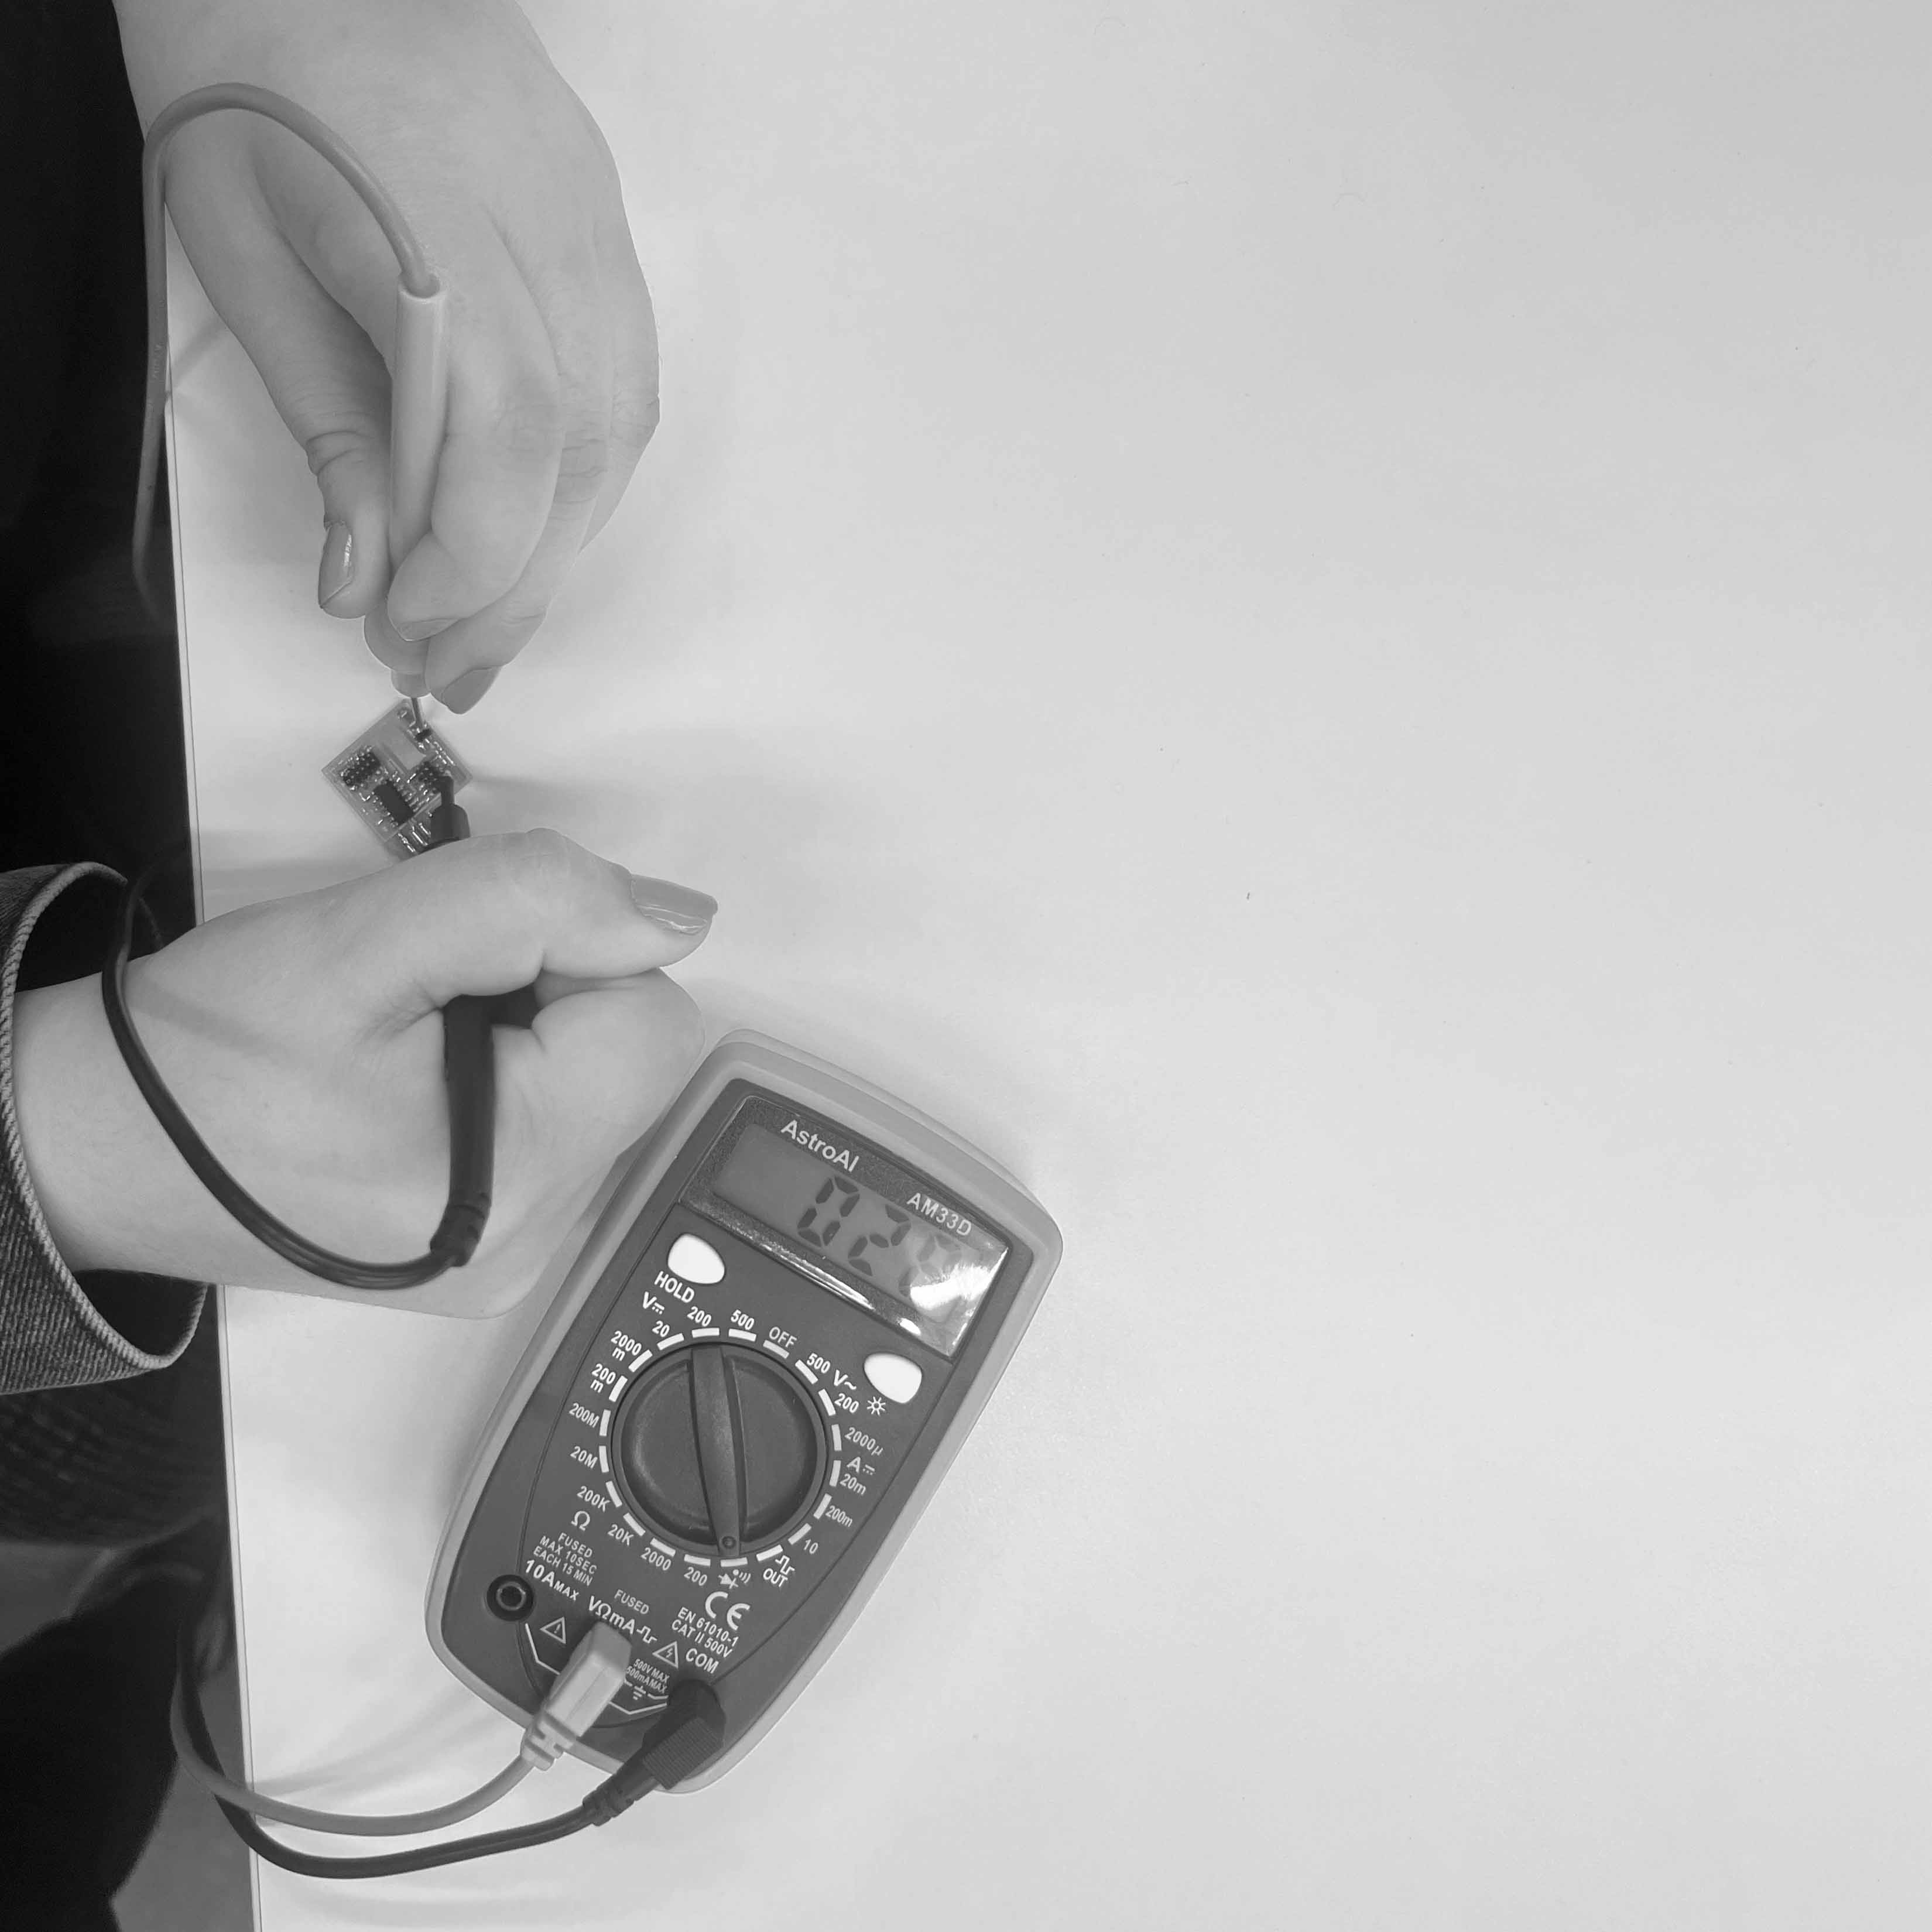
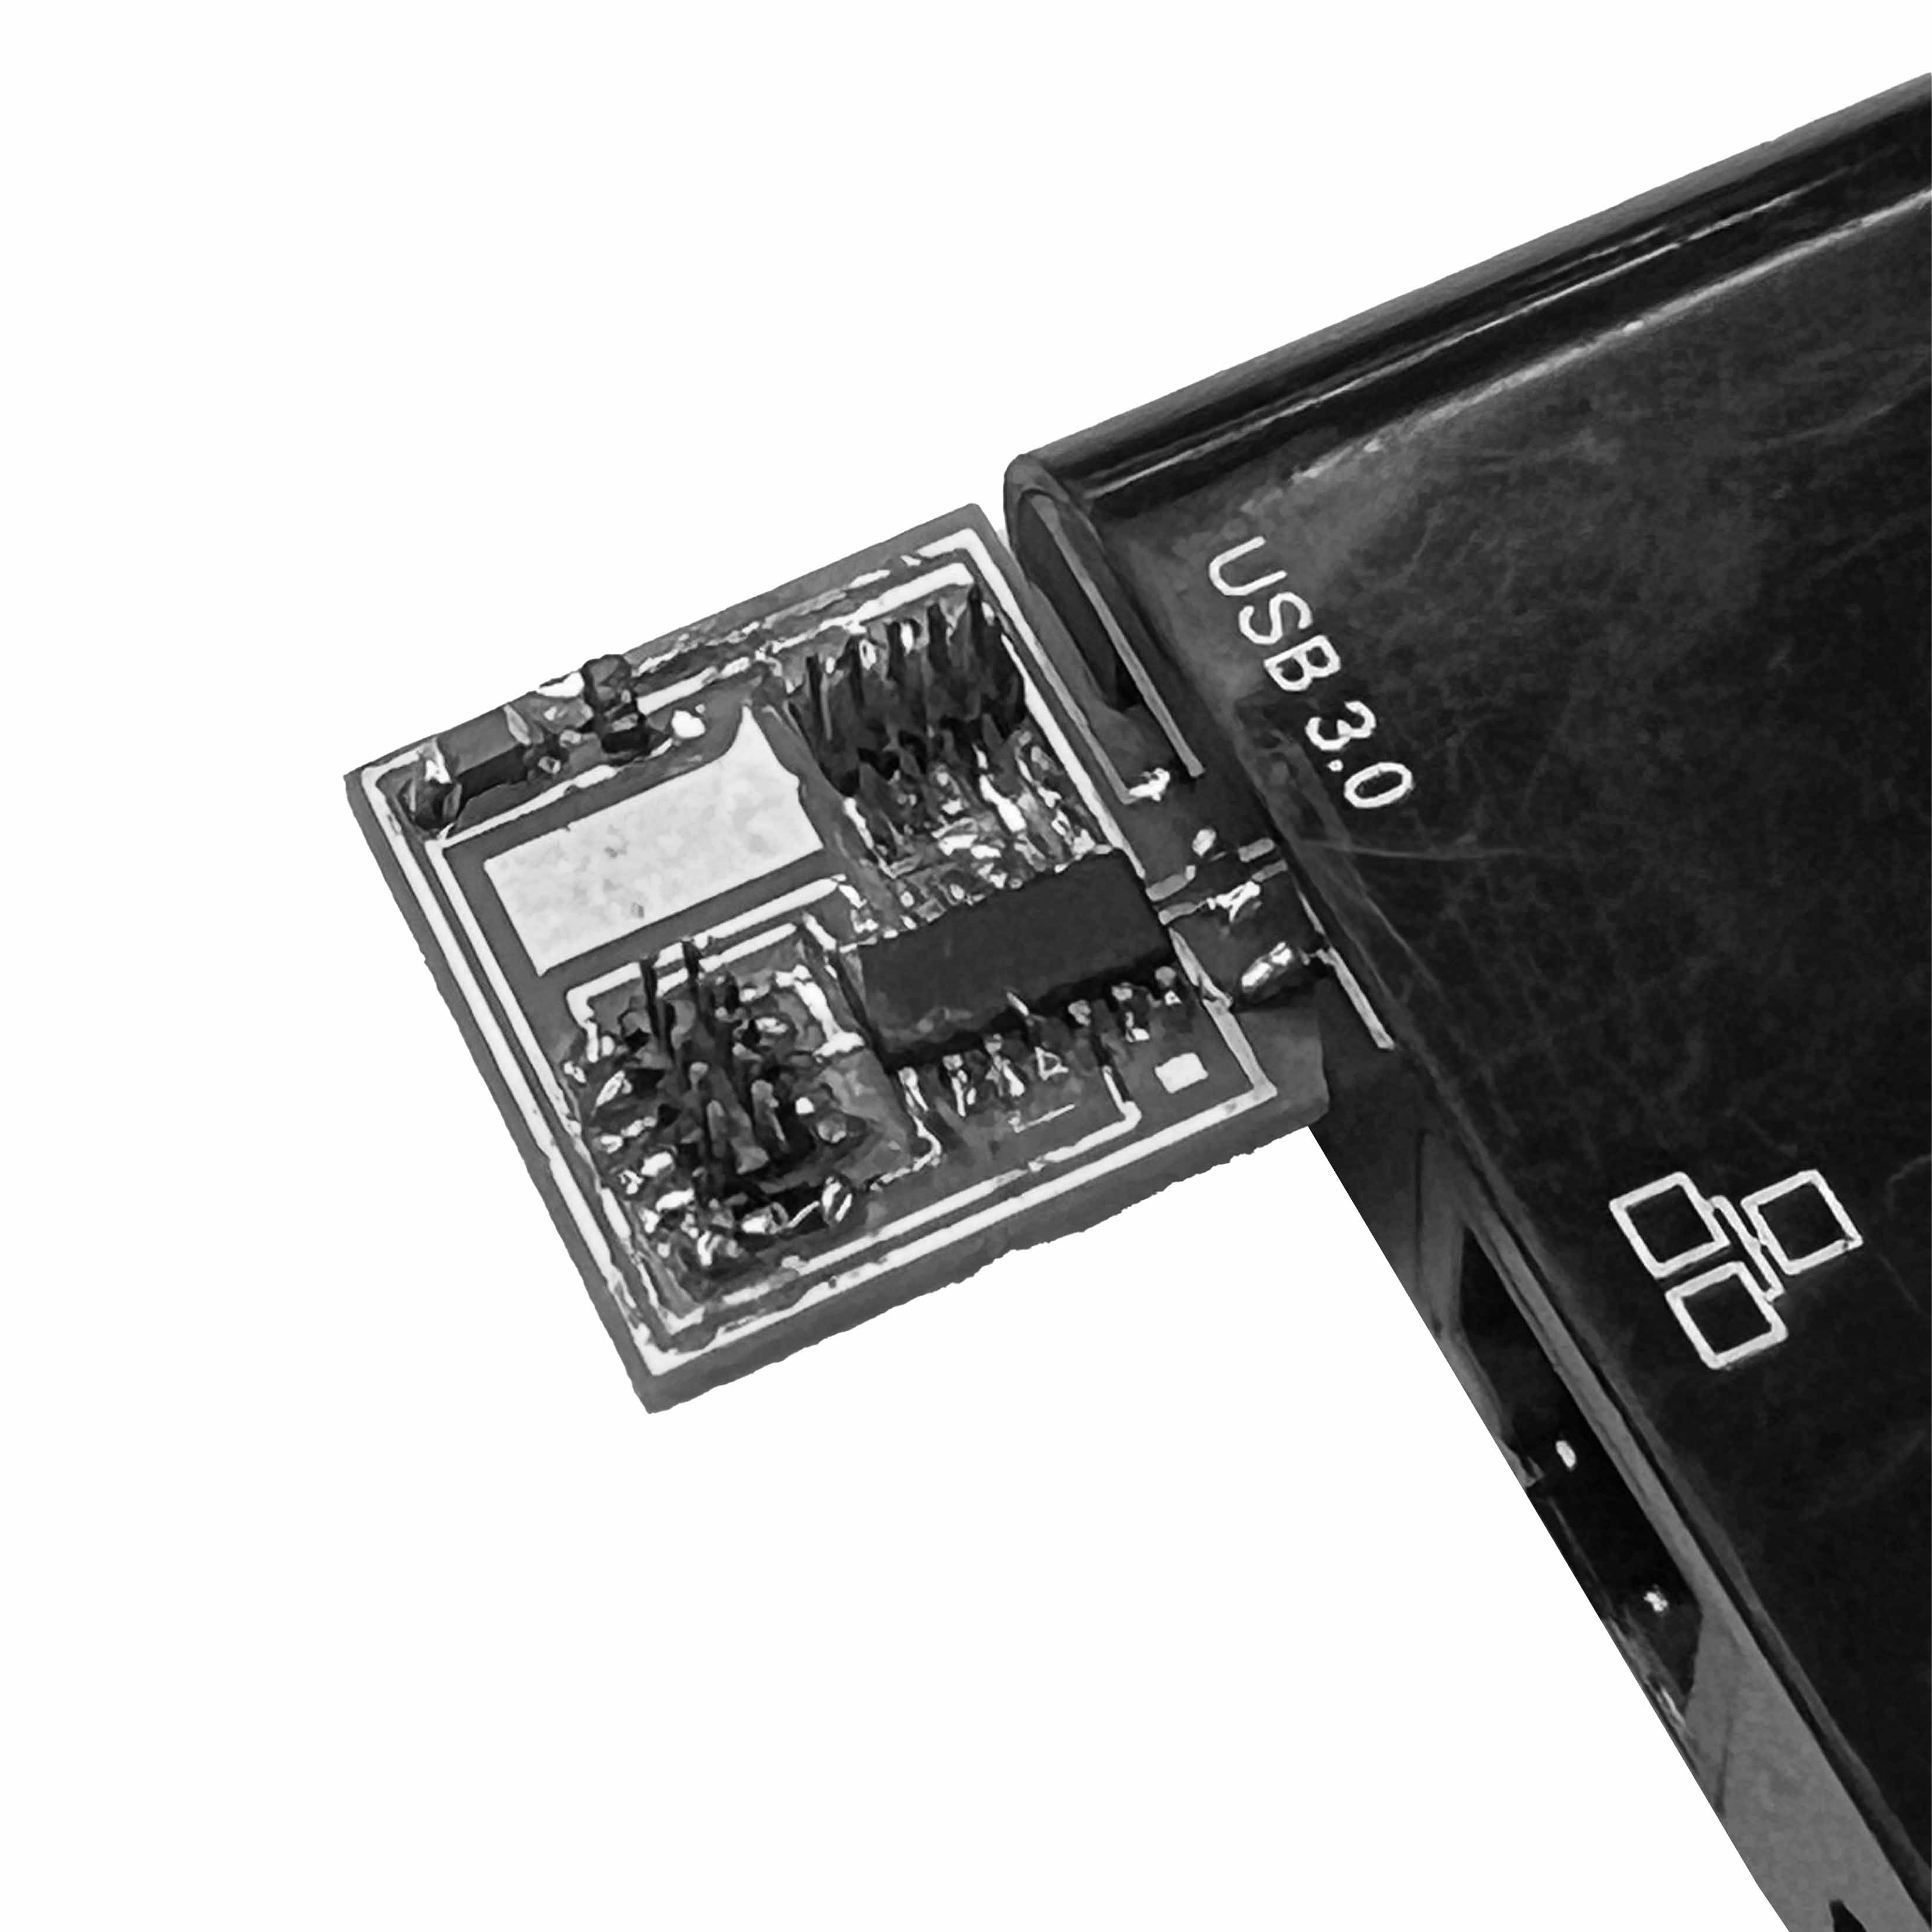
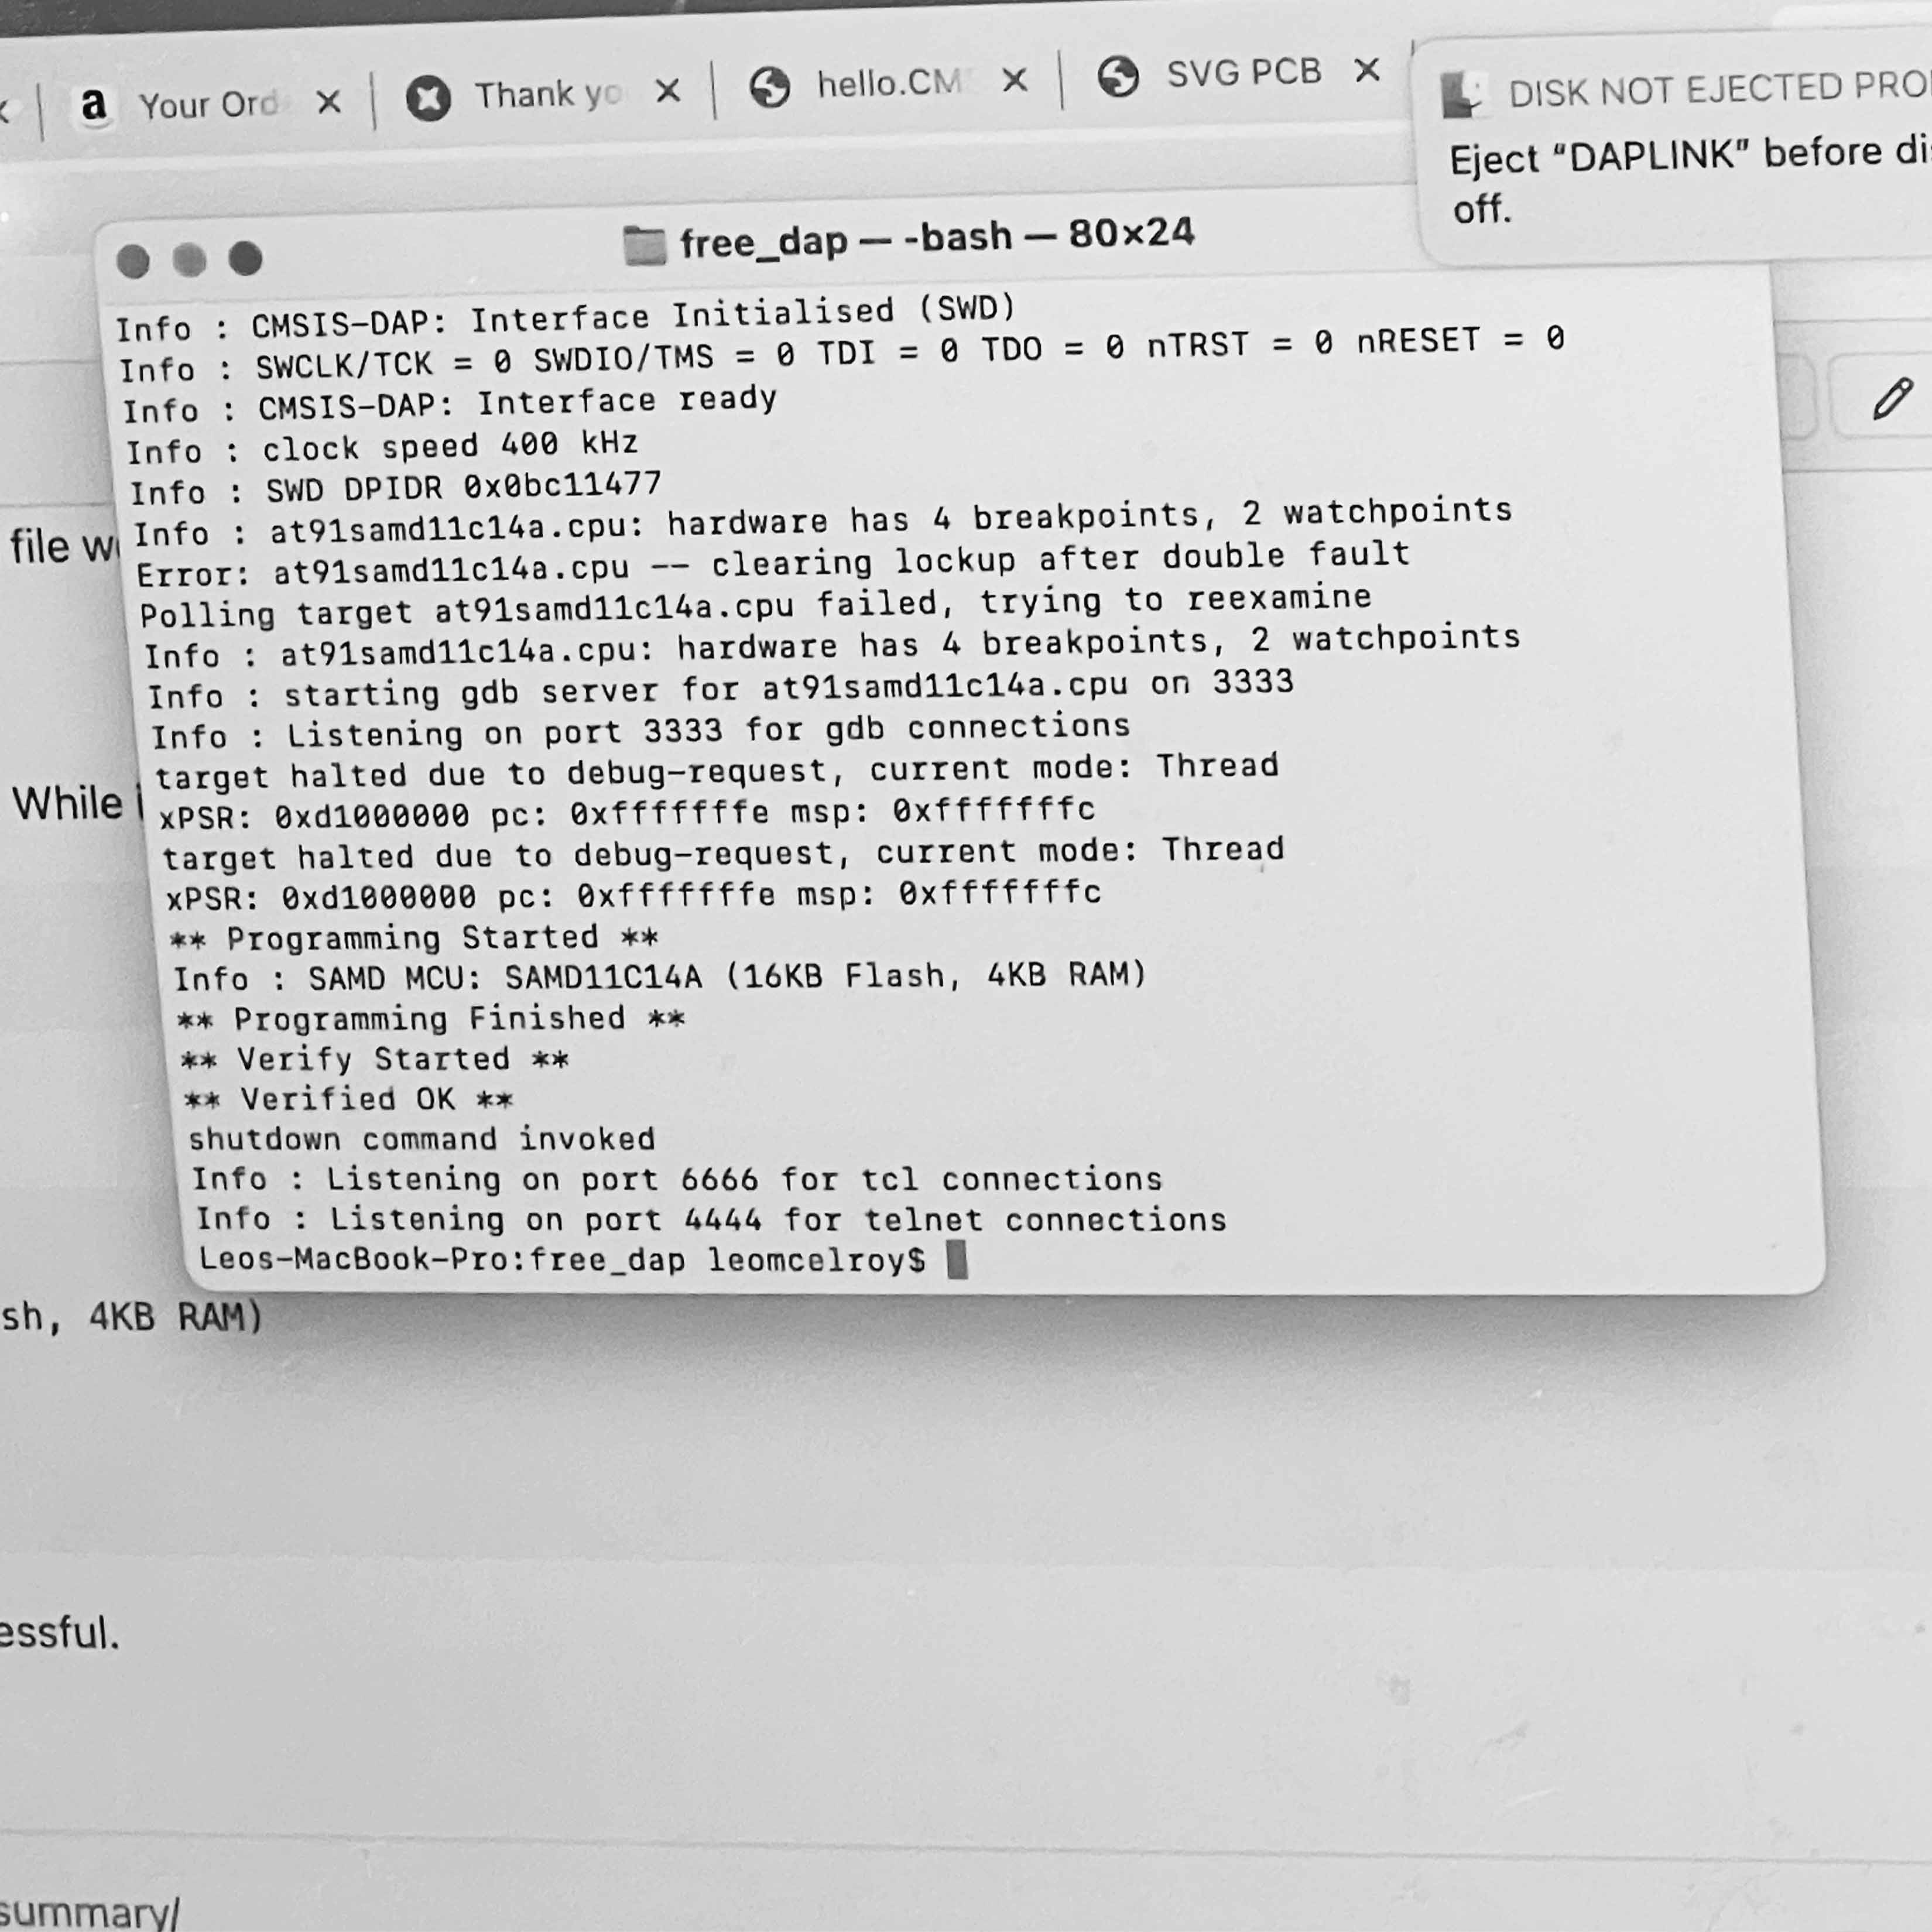
This part was really tricky for me. I tried my hand soldering components to some scrap boards before commiting to my own. I eventually went ahead and began soldering and there were a few shorts I cleaned while printing, and one that I didn't notice until I tried programming. I had to check to voltage to figure out where the short was. Eventually though, my board was able to be programmed and to program another board.
.
.
.
I made a laser cut file for a box to hold our PCBs. Was planning to make them for everyone in the Harvard Lab but our laser cutter was down. Please feel free to reach out to me if you'd like the file.
.
.
.