This website is for the course How to Make Almost Anything (Fall 2022) You can reach me at
Contact me
alexiaasgari
@gsd.harvard.edu
3D Printing and Scanning
This week I was expecting to be my most confident. I have a history of 3D printing and scanning for art and research, but life chose to humble me this week. Everything seemed to go wrong.

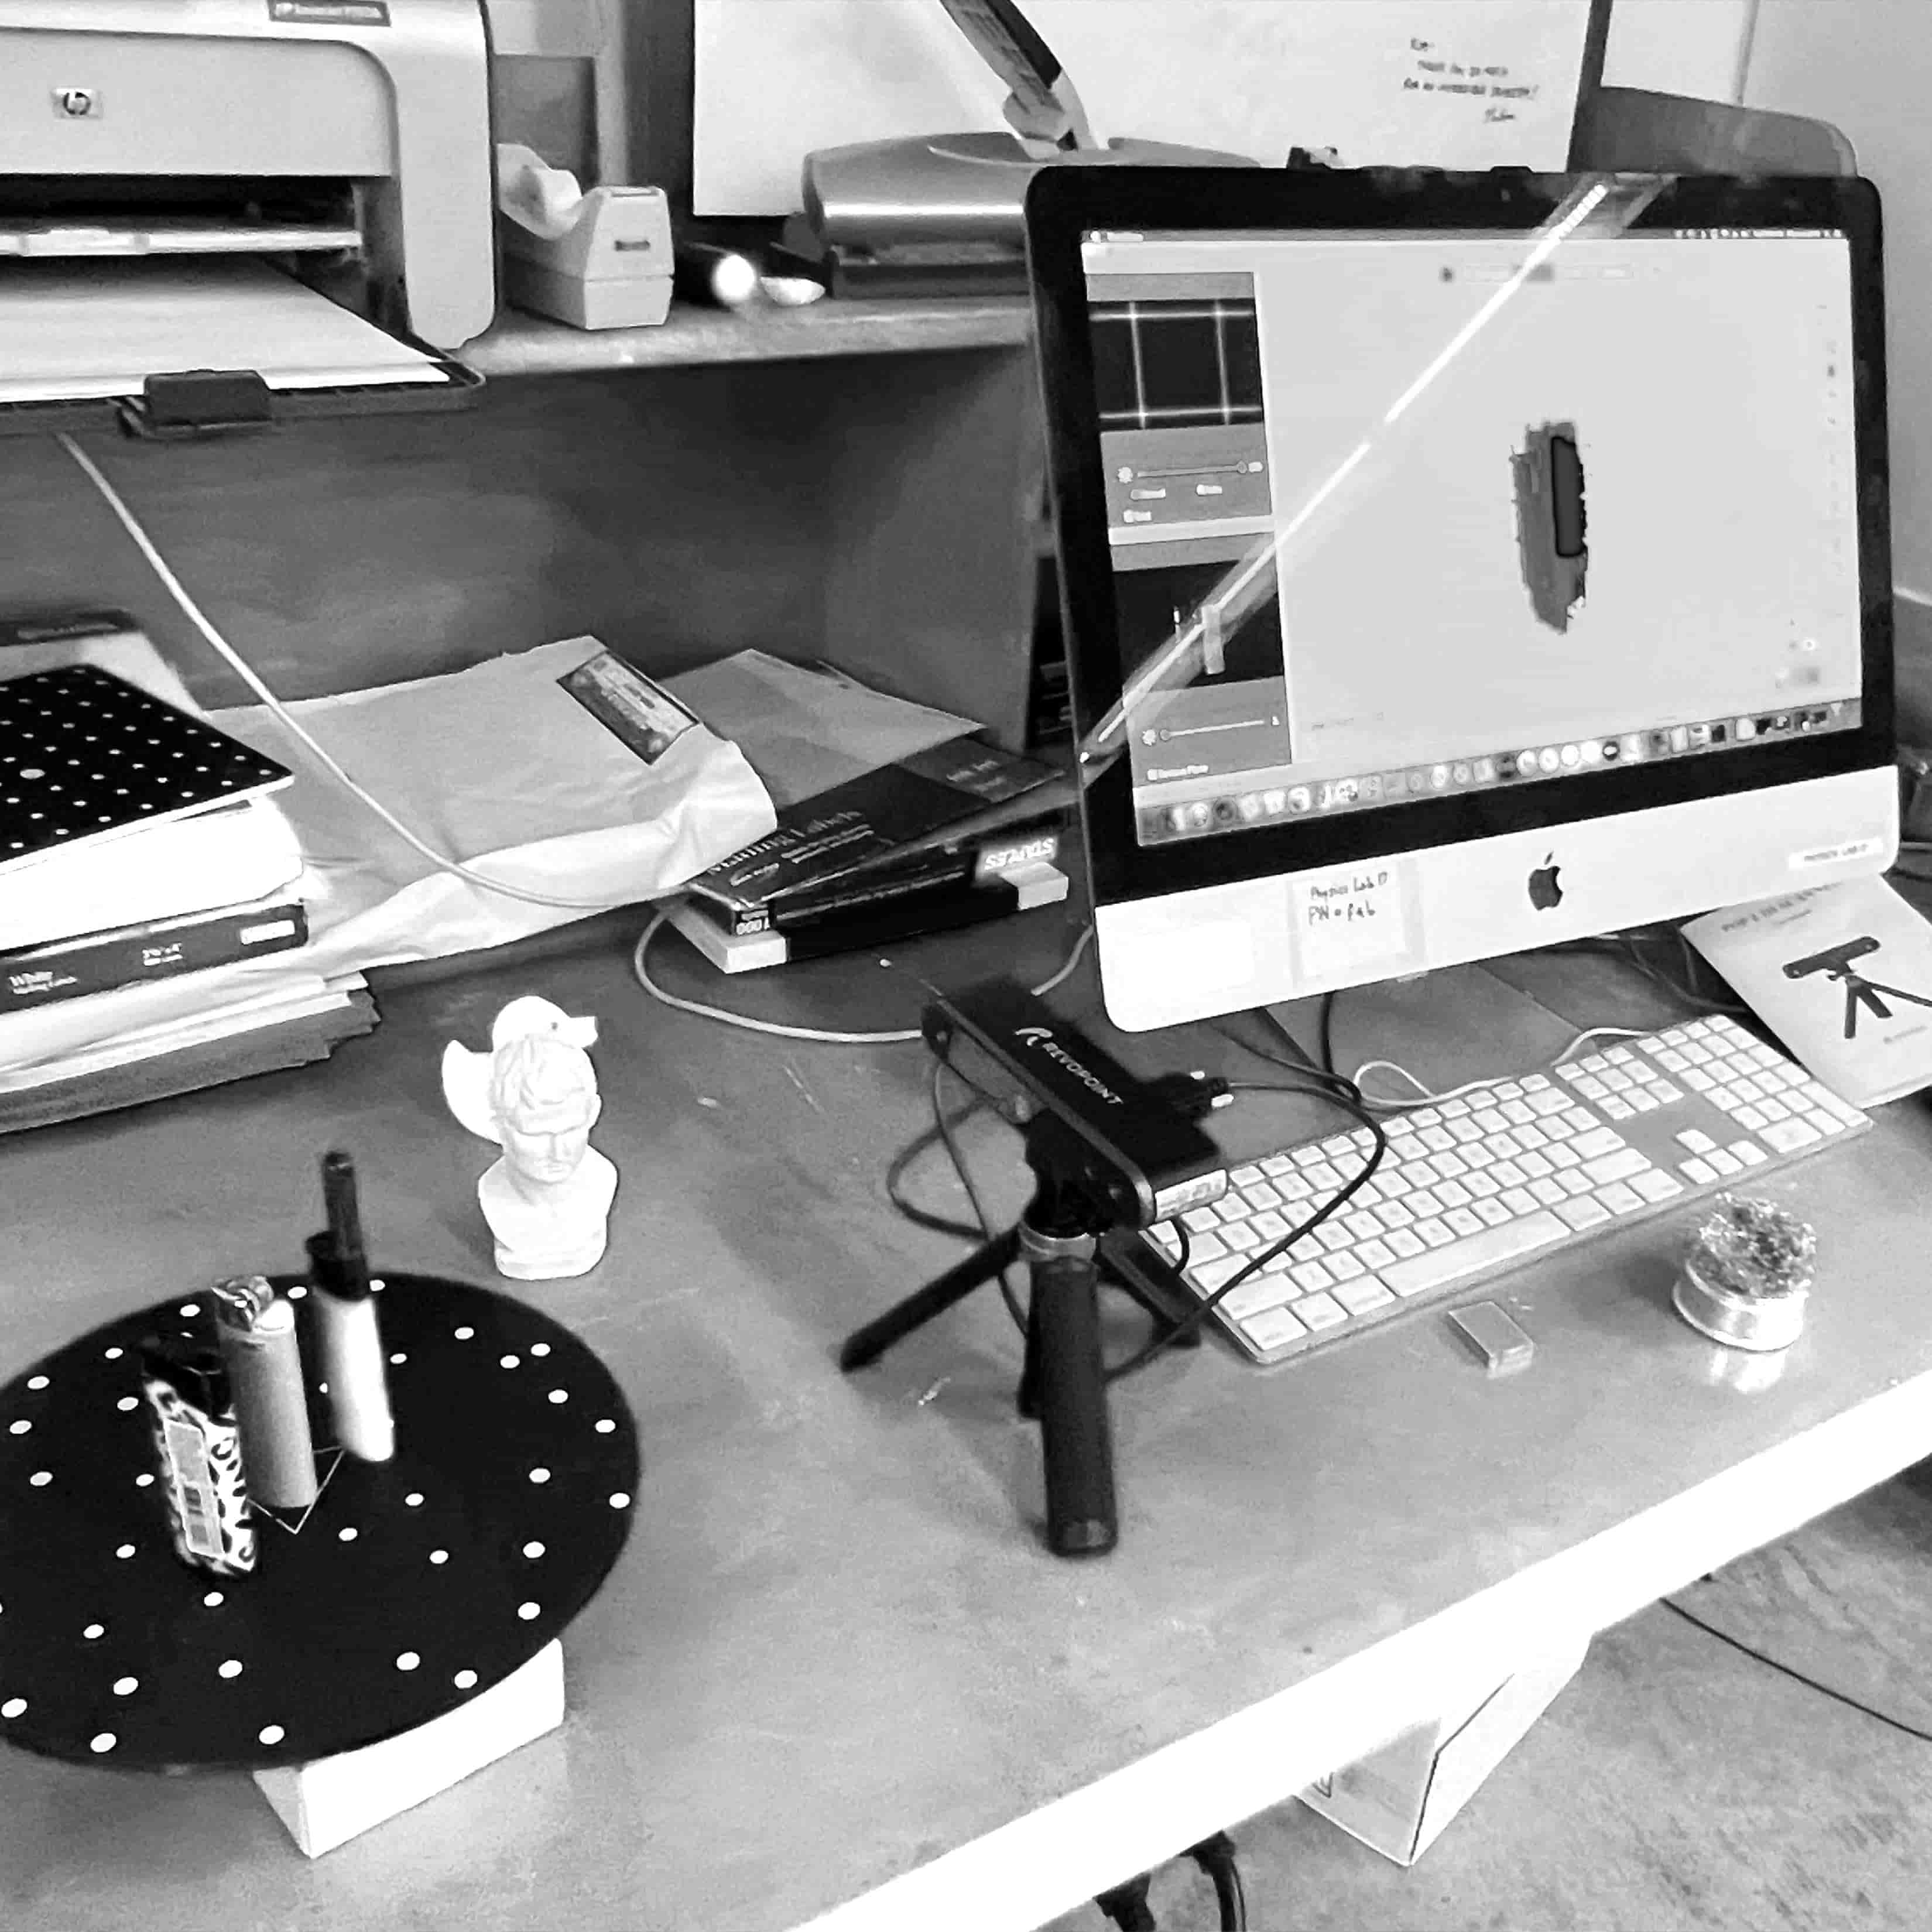
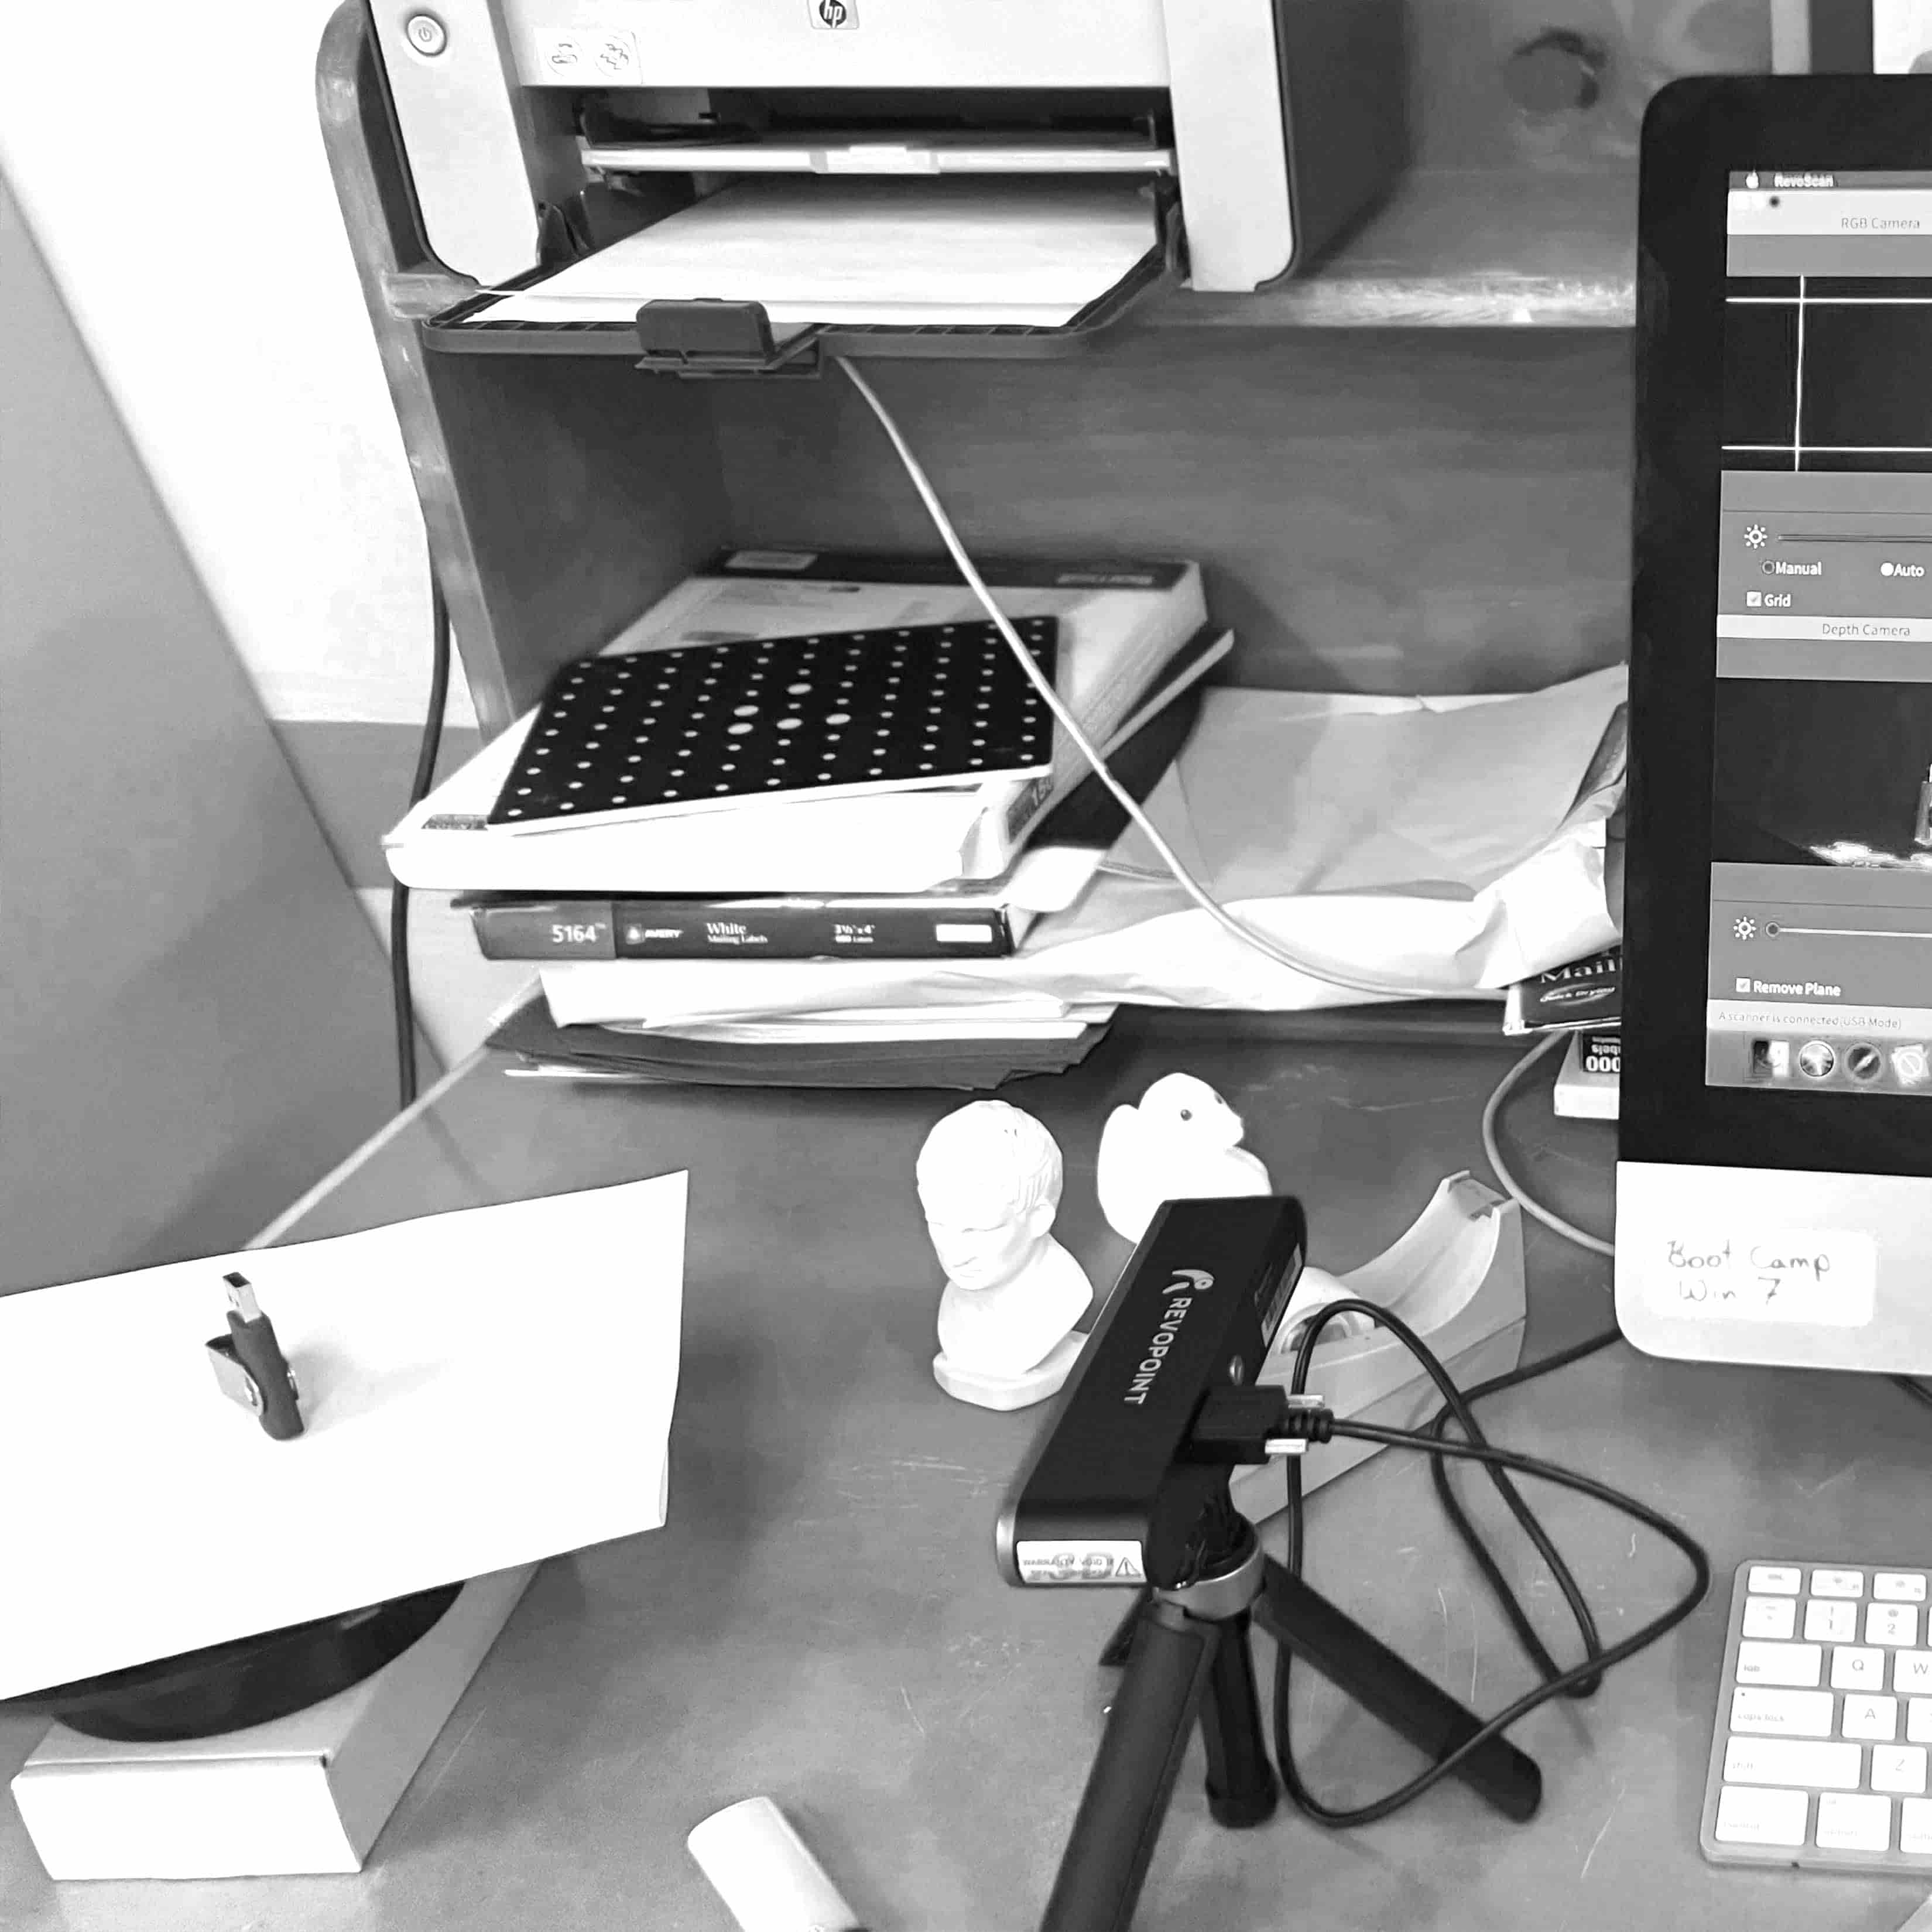
The first set of scans I did where on the RevoPoint. This is a photo of the app interface and my settings.
Failed 3 lighter scanning
Failed USB scanning (size and reflectivity might have messed it up
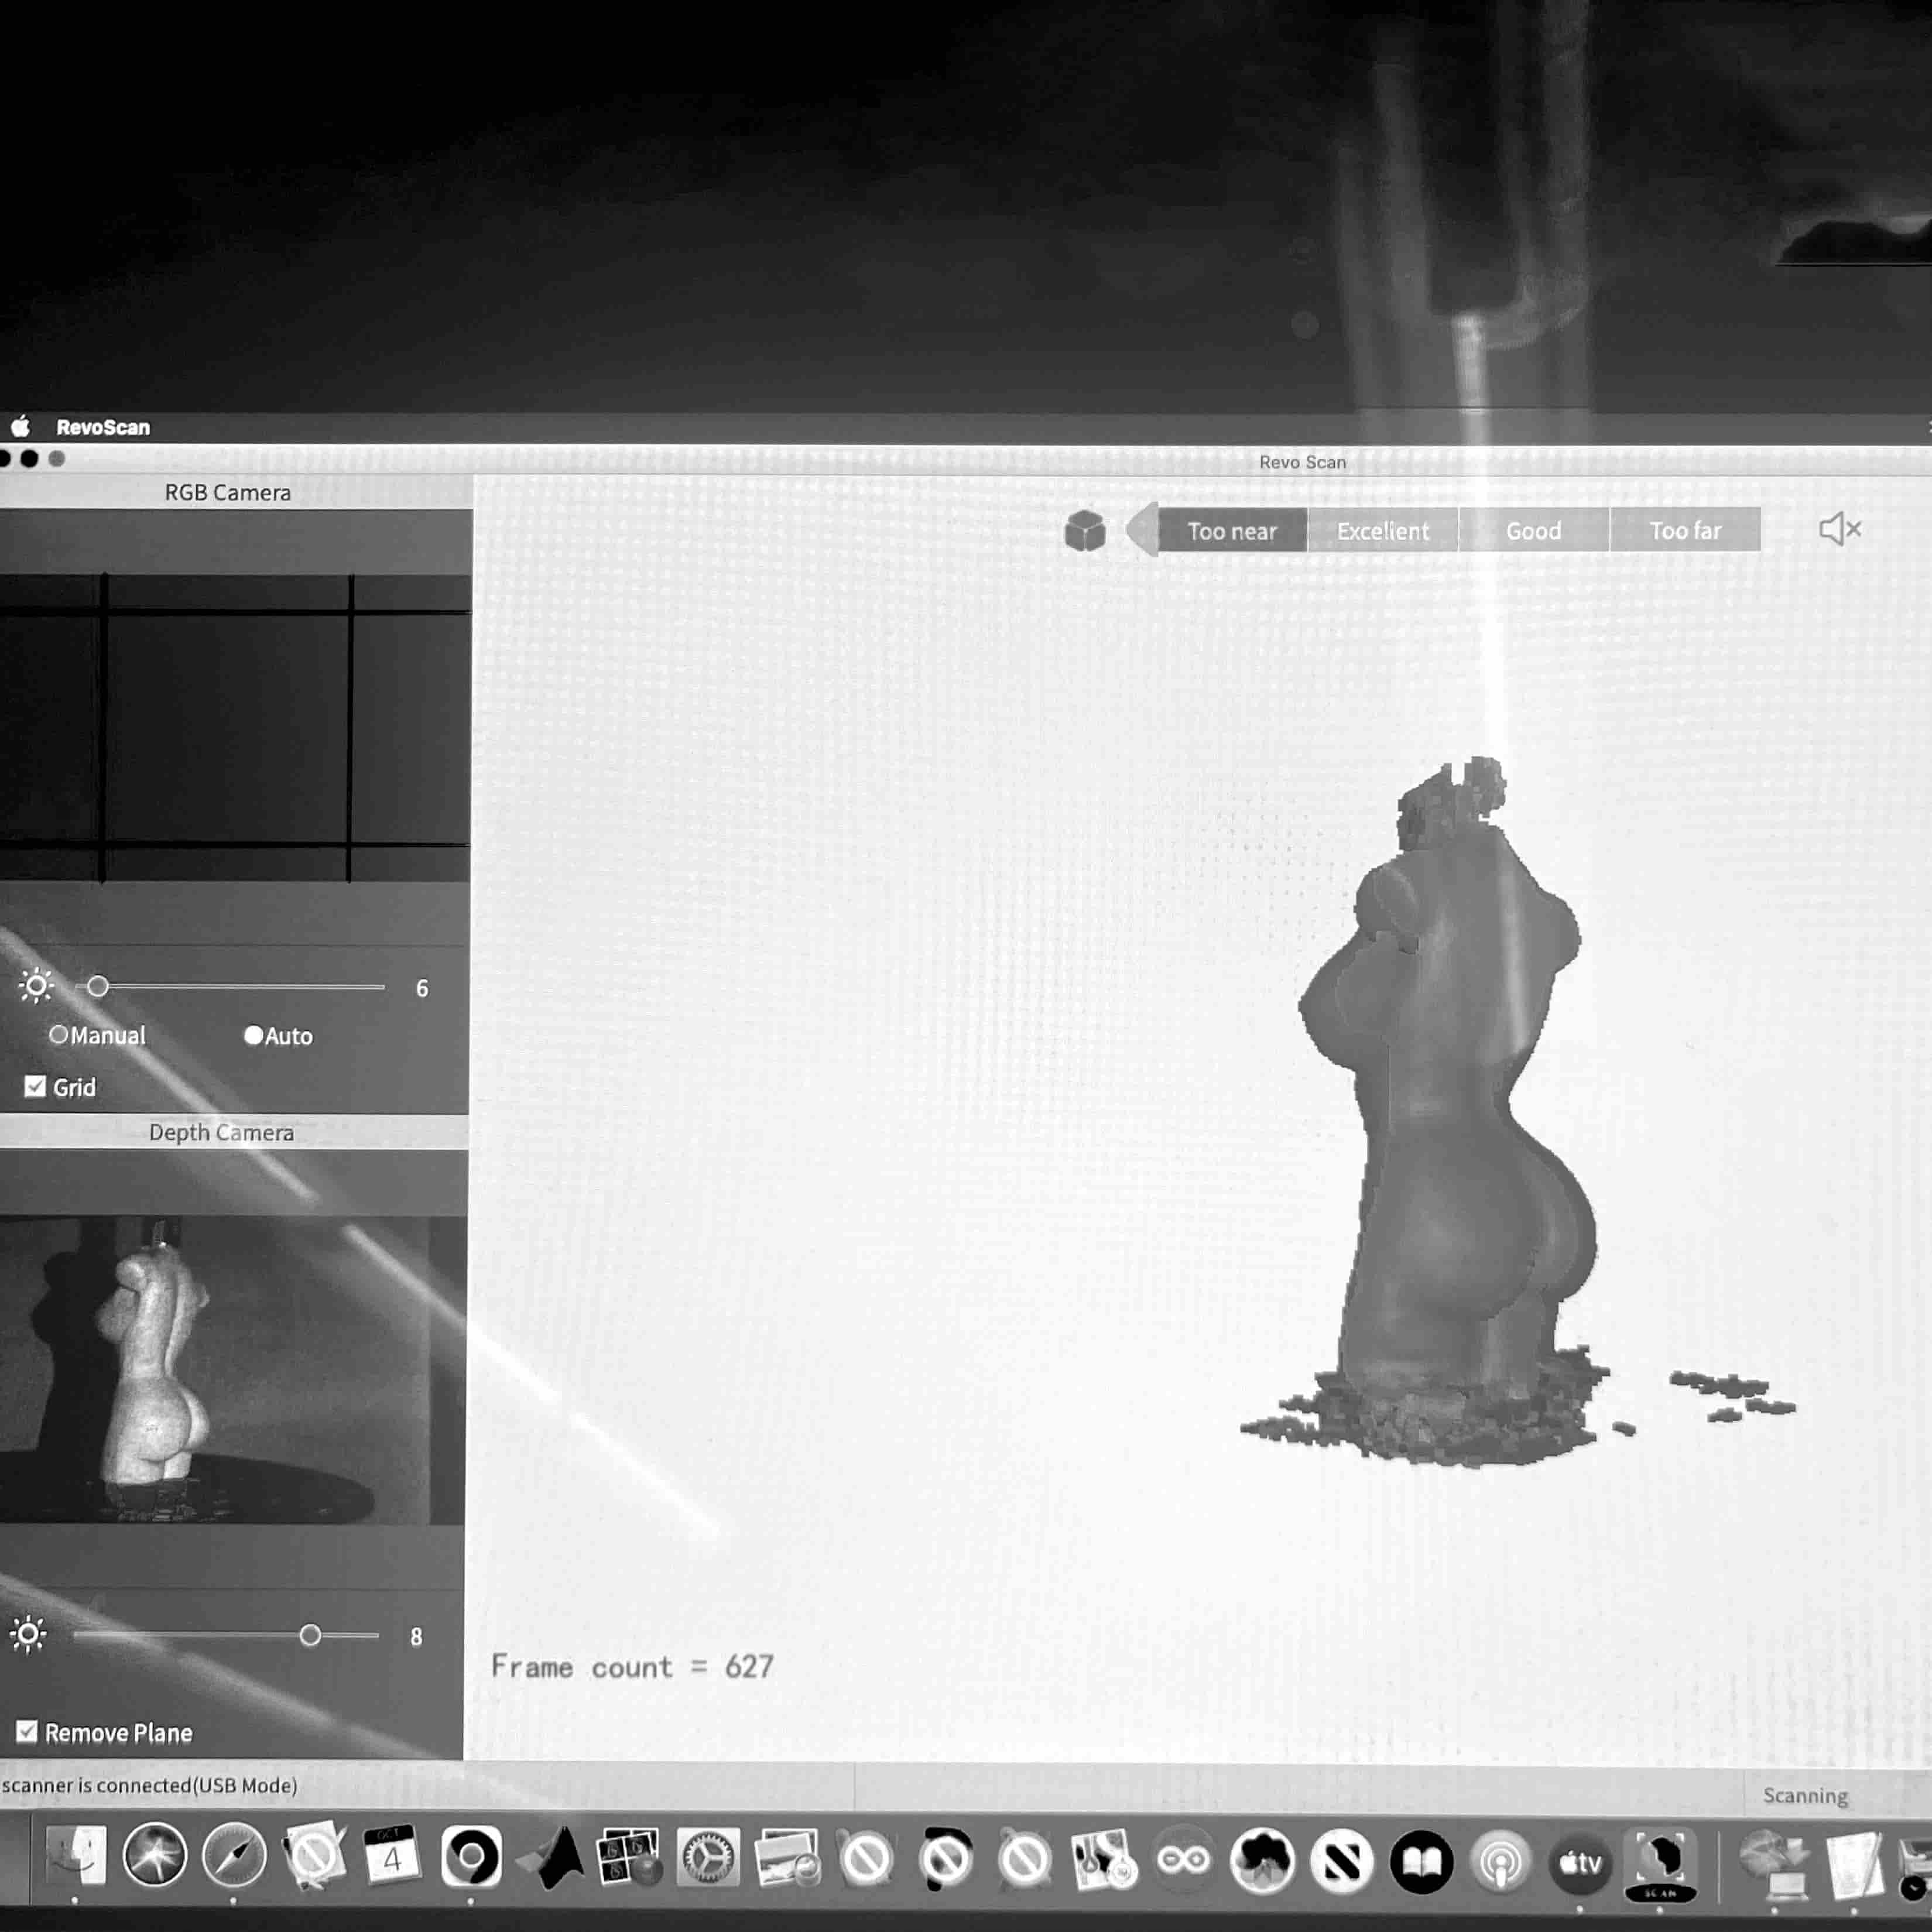
Perfume bottle scanning process
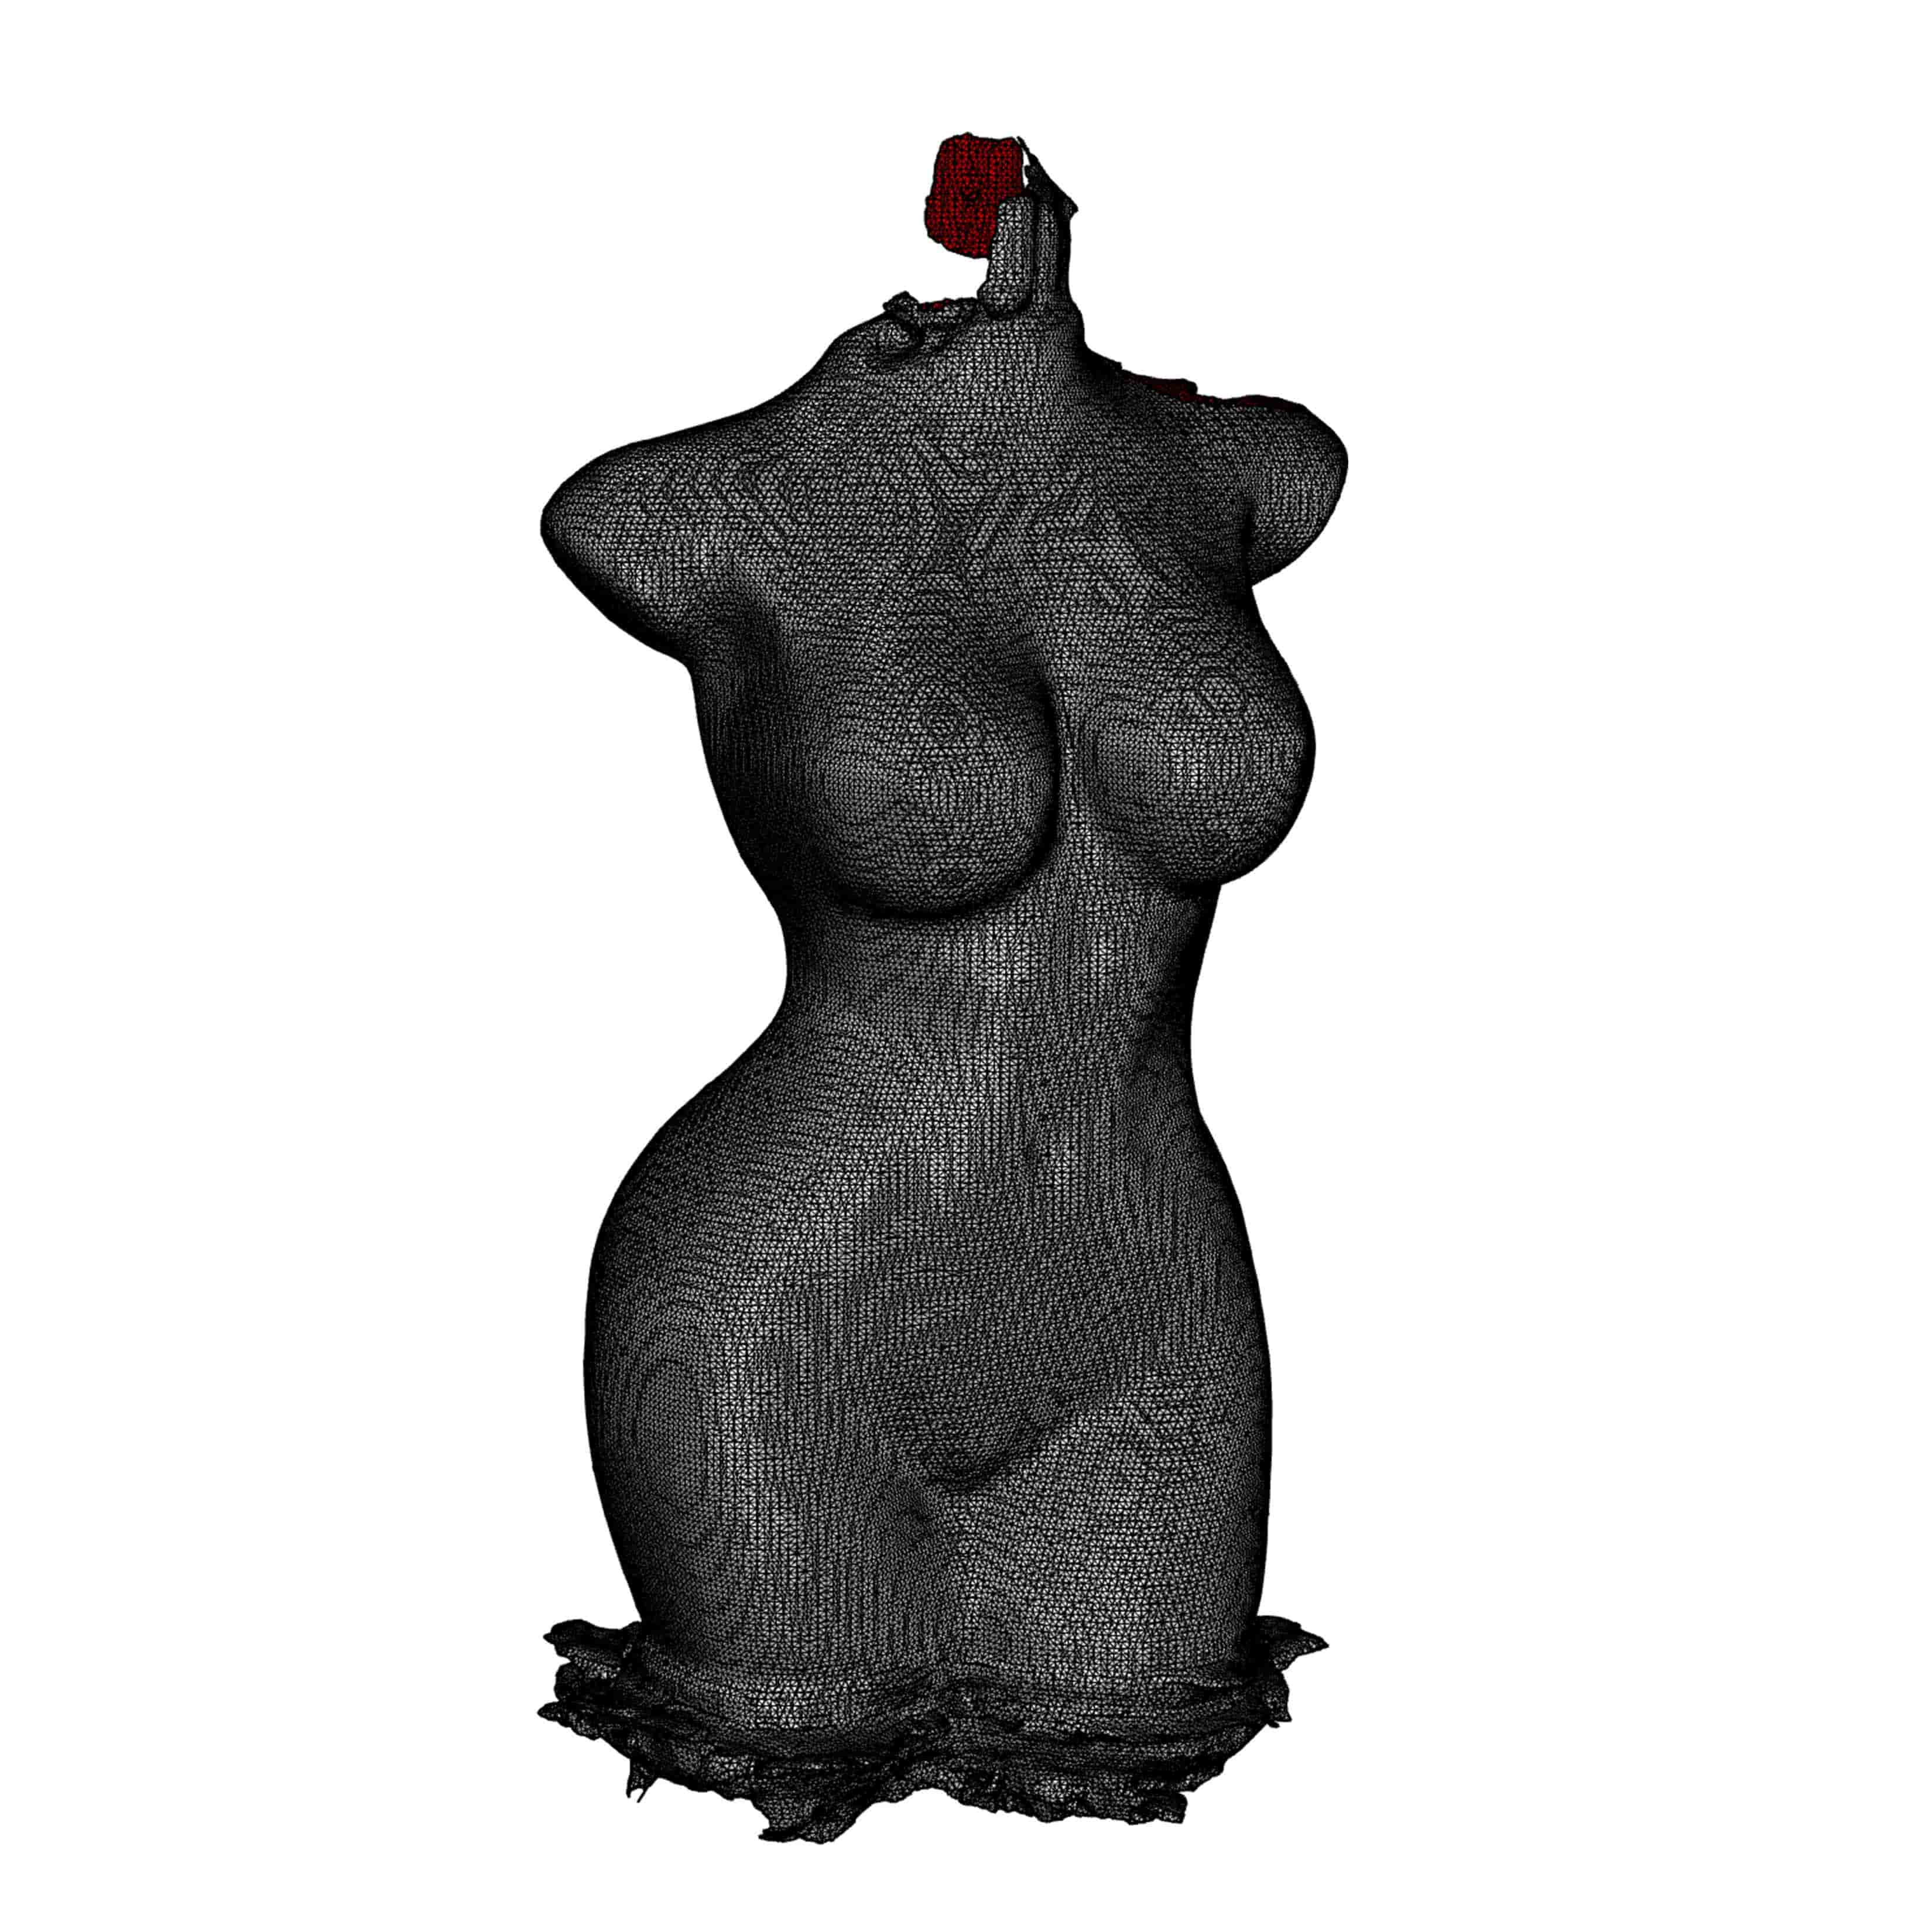
Resulting mesh from perfume bottle scanning.
Scanning
RevoPoint Scanner
The photogrametric scanner in the Harvard Fab Lab was a lot more finicky than the scanners I've used in the past. I started by putting the object on the turntable, making sure it was an appropriate distance from the camera and then trying to scan. I wanted to scan a lighter but the system kept getting confused. I wondered if it was because the object was too small so I put several lighters on the table to make a more unsymetrical scene. That still did not work. I then tried scanning a USB to see if size was the issue... that didn't scan. I moved on to a Bust and it did scan but it was rather boring. A stapler was too large. I brought in a perfume bottle shaped like a female body. It was the right size compared to previous objects, it was matte, and unsymetrical. It did scan. Unfortunatley the quality of the mesh was so poor it was really unrecoverable. There were so many small holes that the program should have easily patched up that I noticed in a later edge analysis and because the normals of the mesh were off, it didn't seem a worthy endeavor to repair the mesh.
LiDAR Images coming soon
.
.
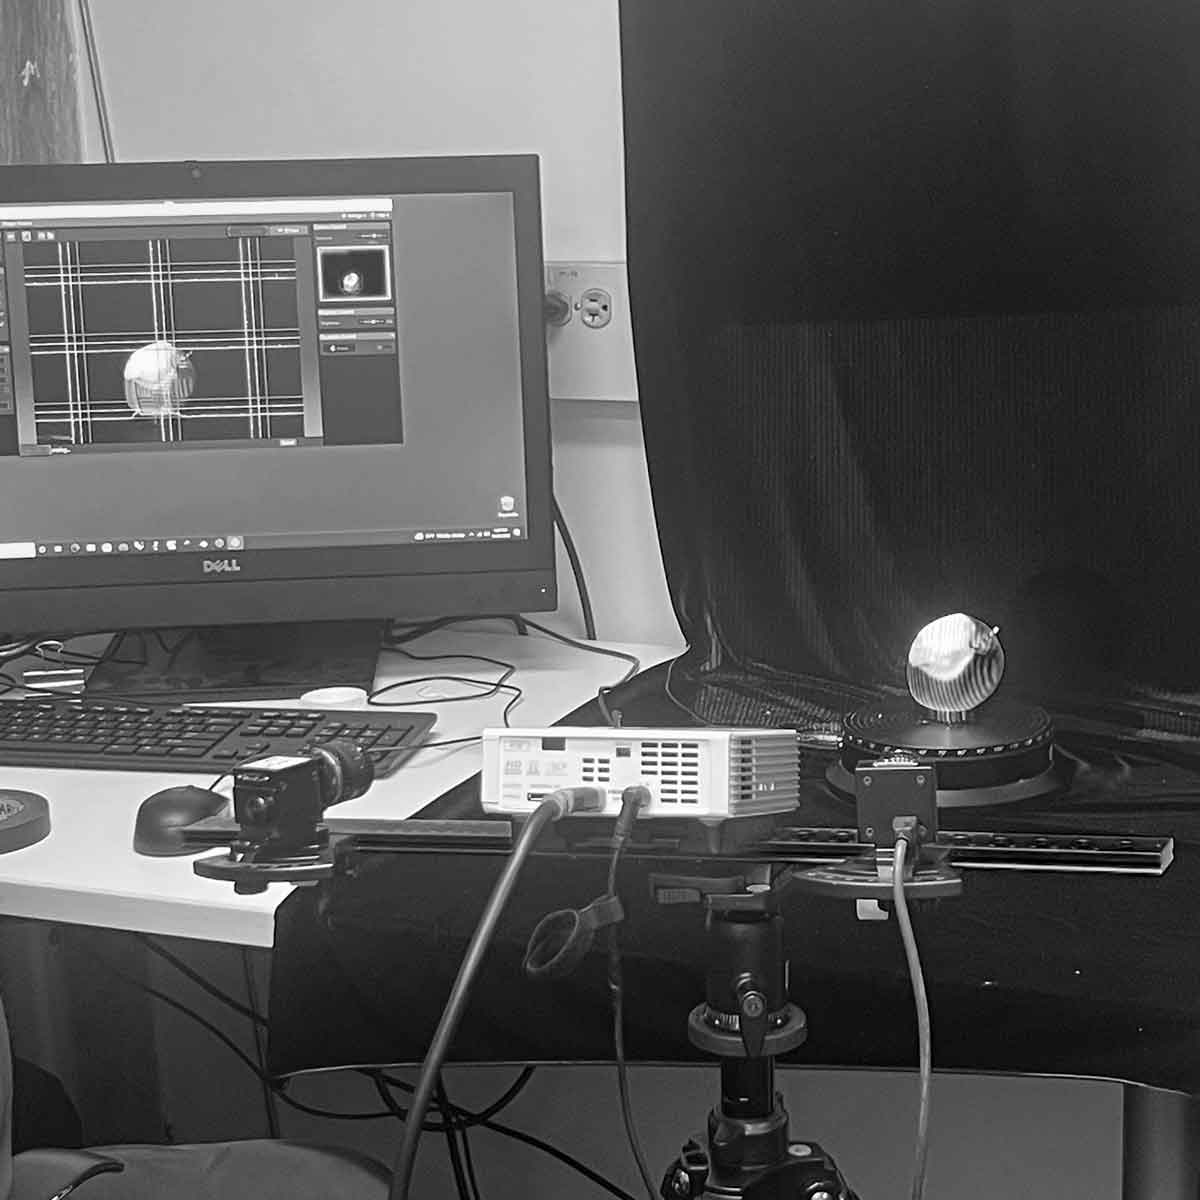
Image of scanning process
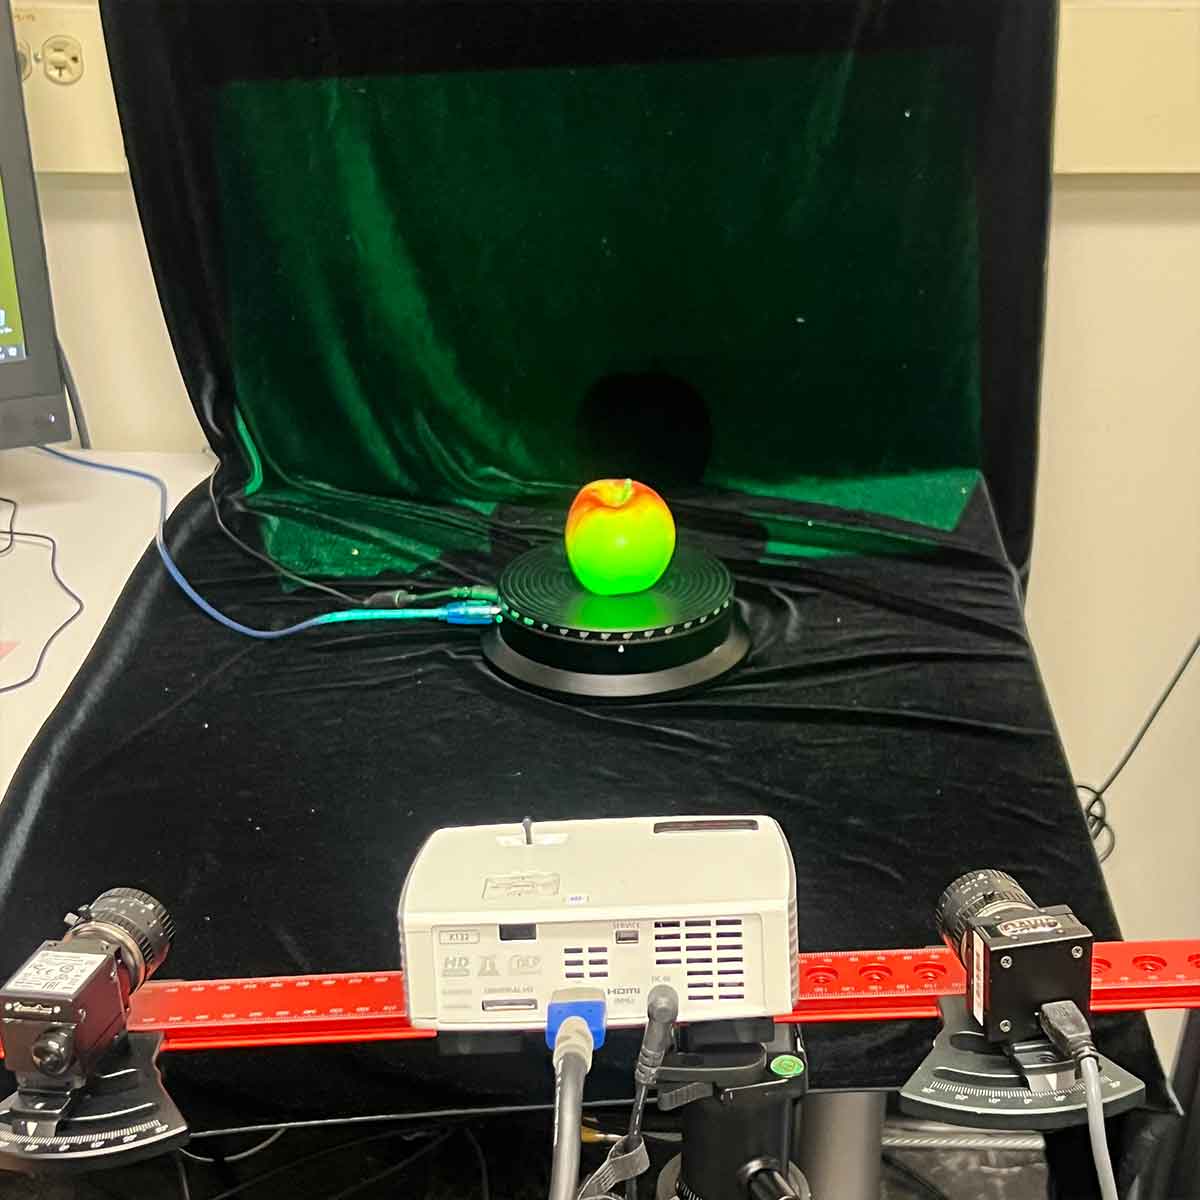
Projection of colored light

Exported texture
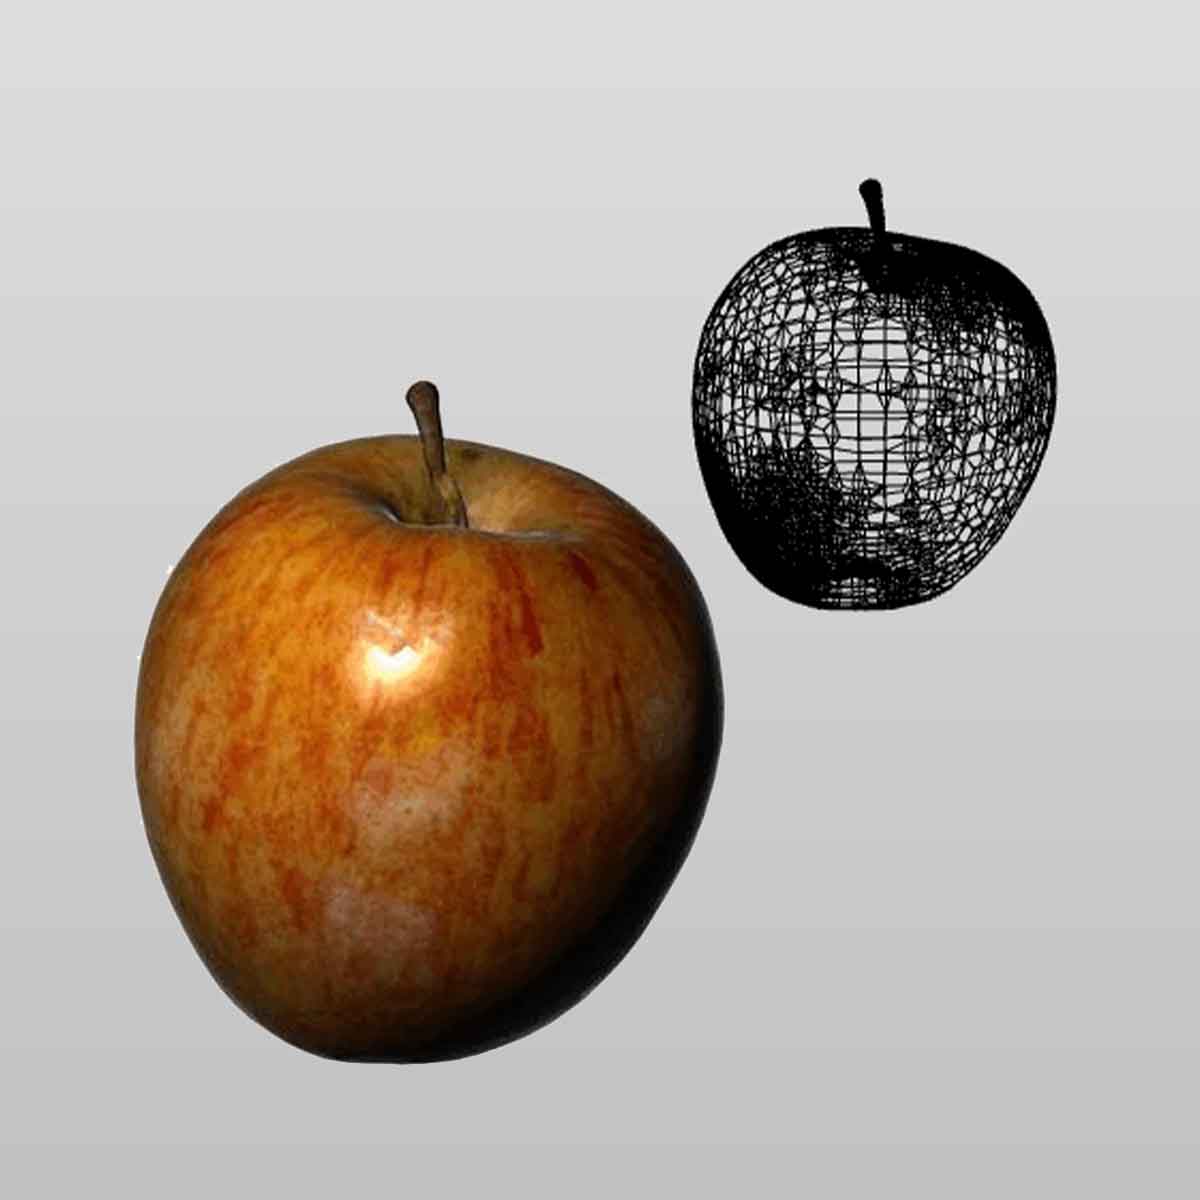
Resulting mesh rhino screenshot
David SLS
Because of my computational design class I had access to the David SLS scanner which functioned to project light onto the object and measure the deformations of the light patterns. It had a matching turn table much like the RevoPoint but performed much better.
.
.
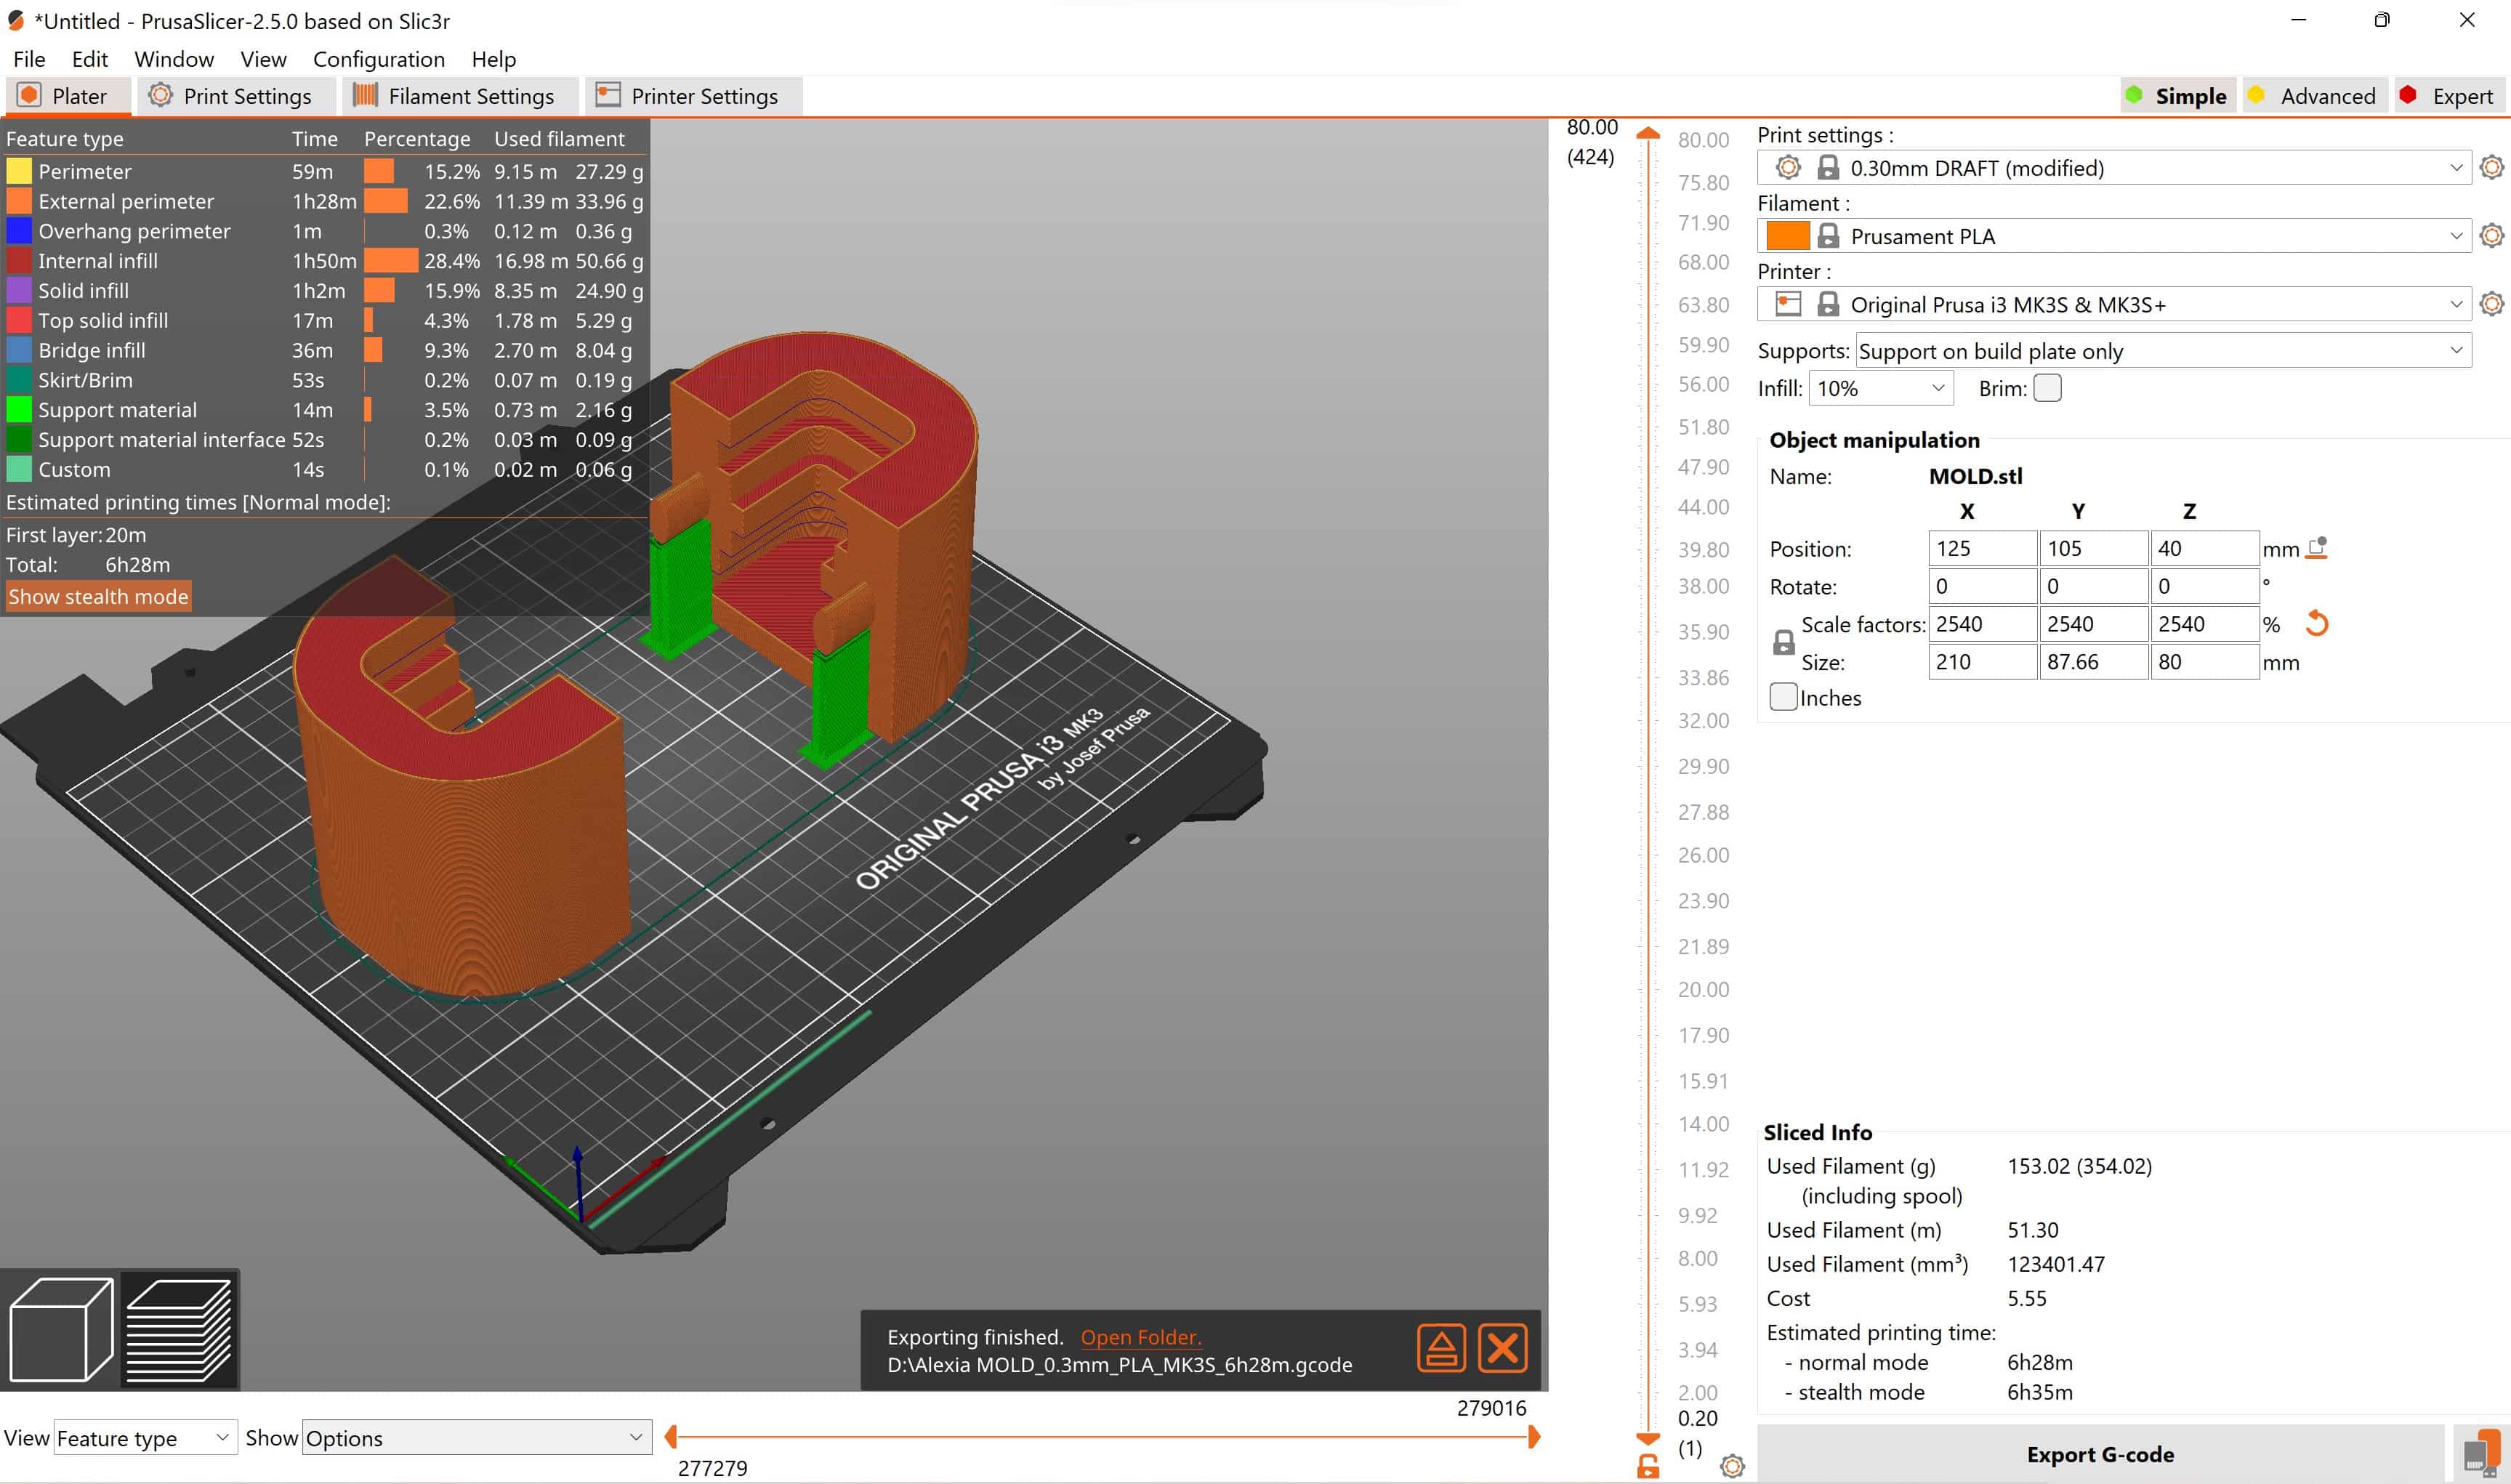
Prusa slicer screenshot (File was designed in Rhino)
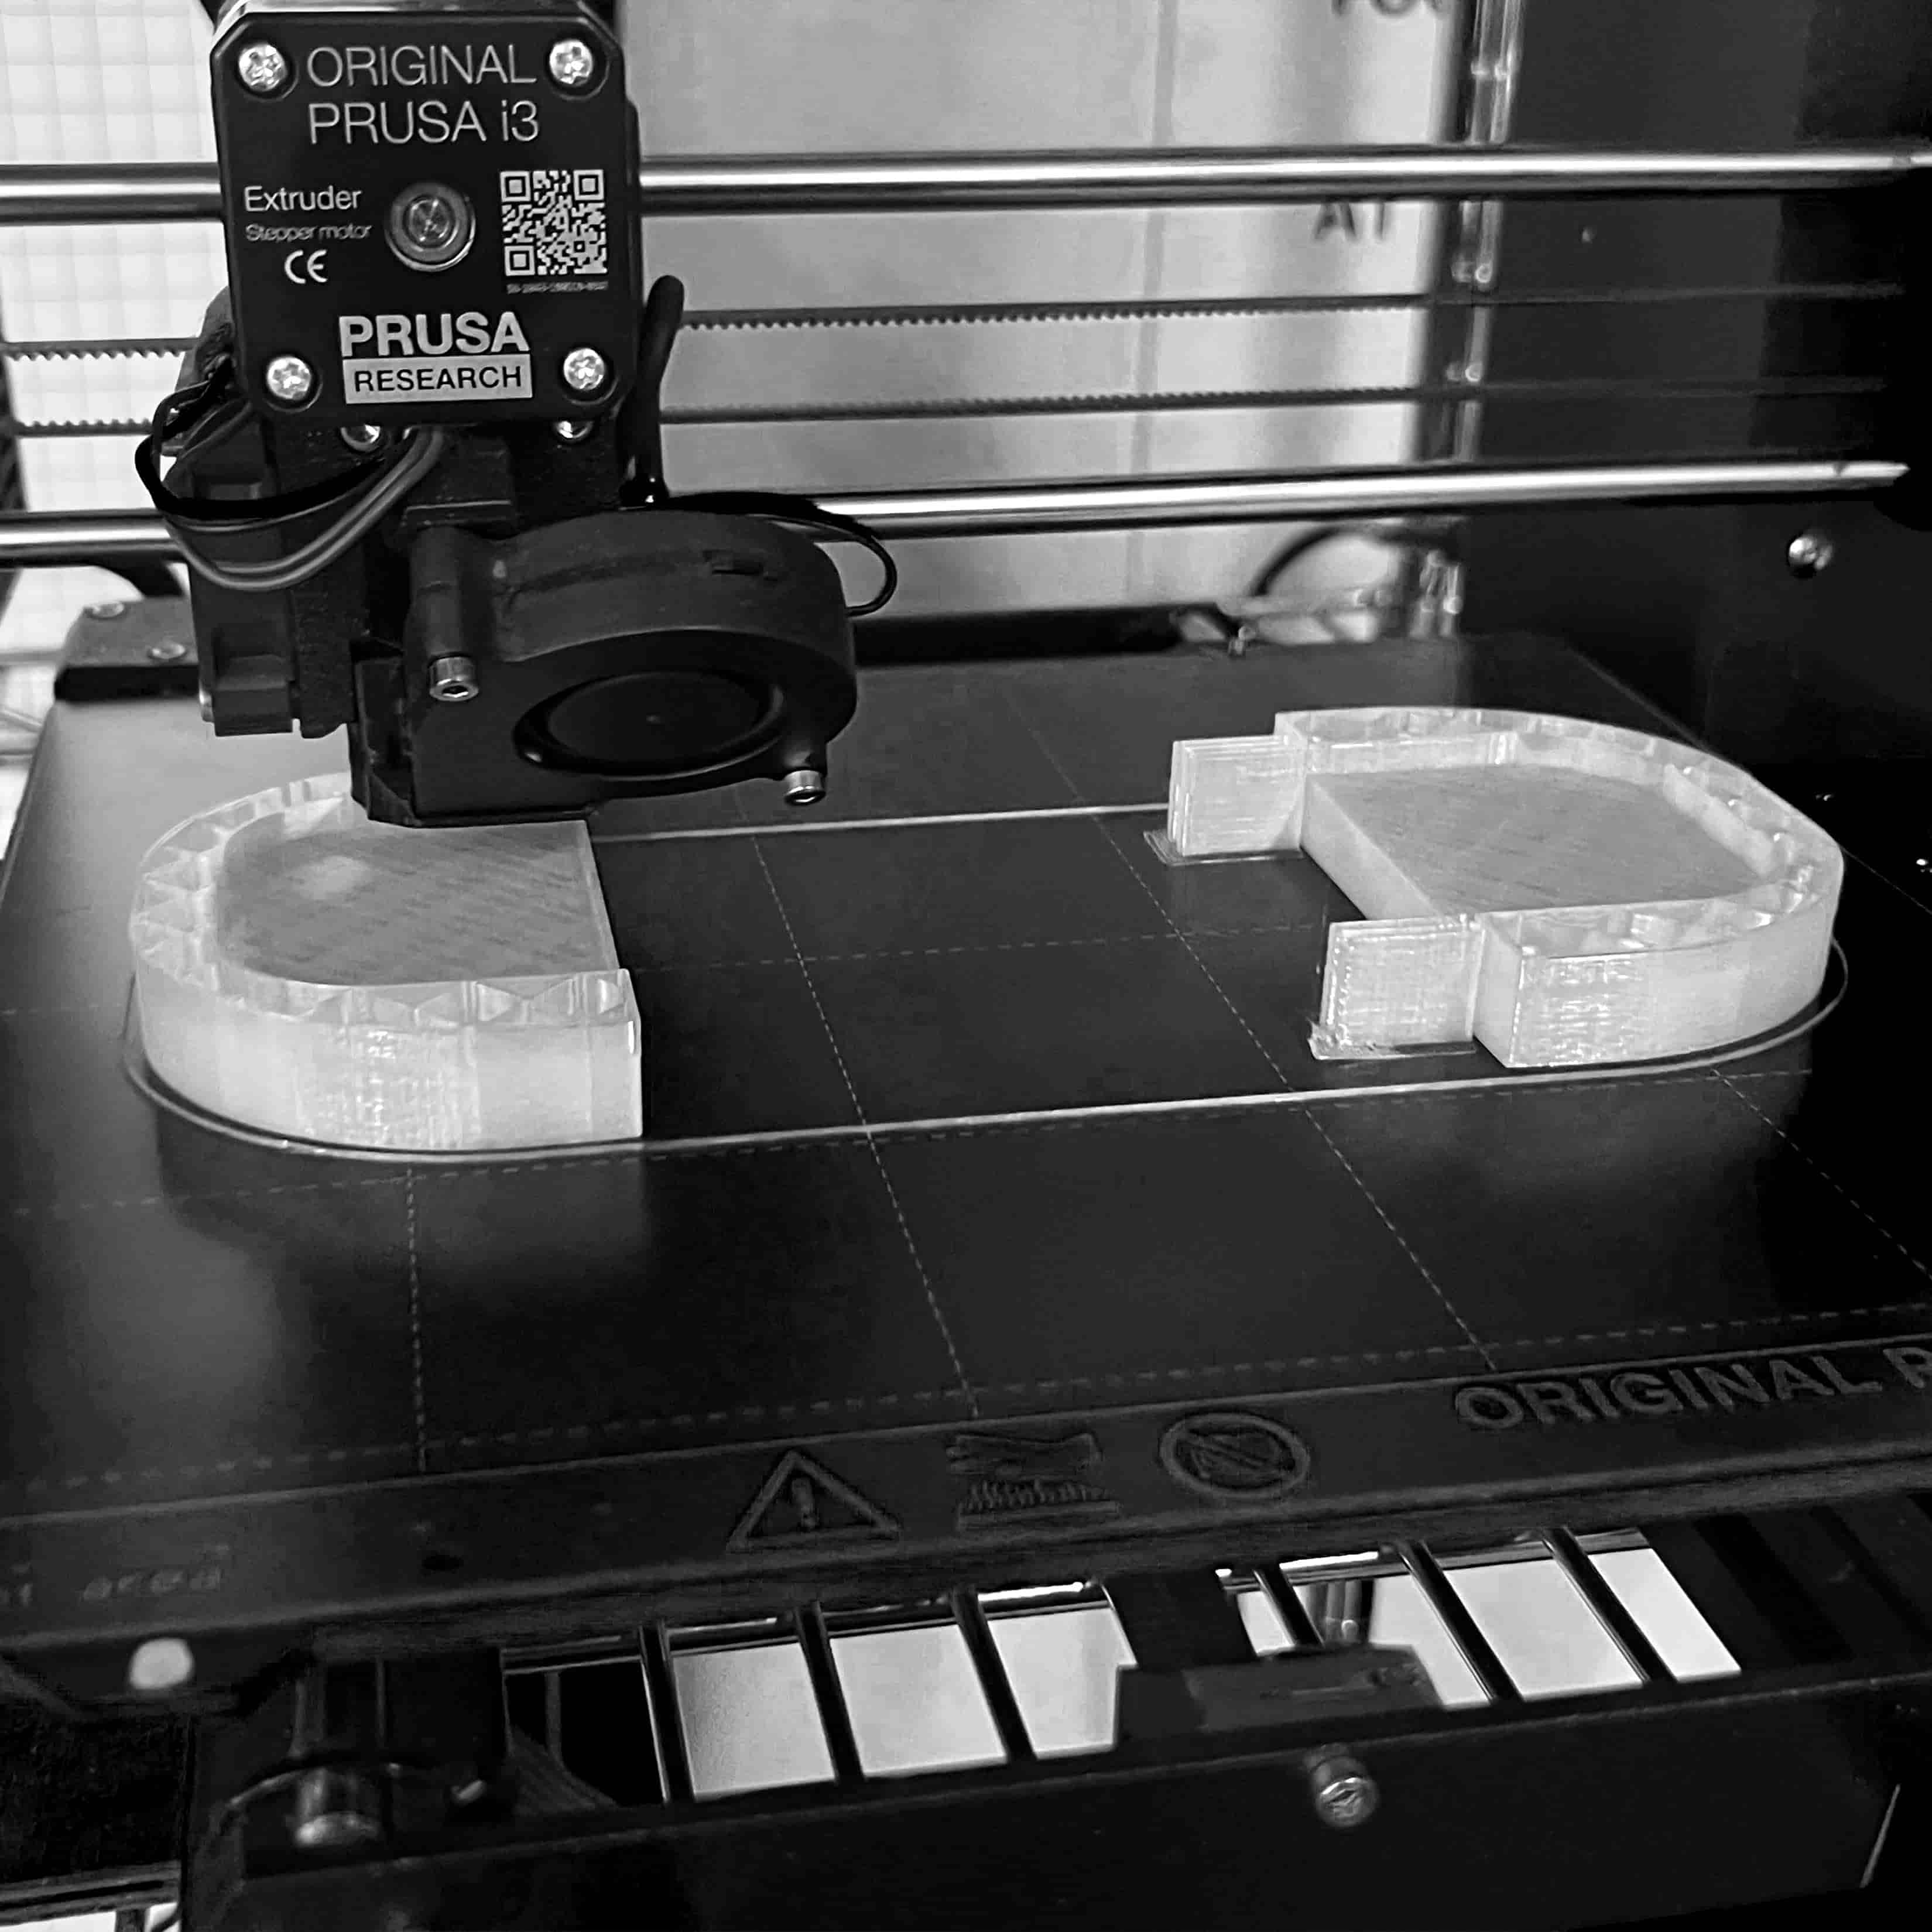
Printing process on Prusa printer
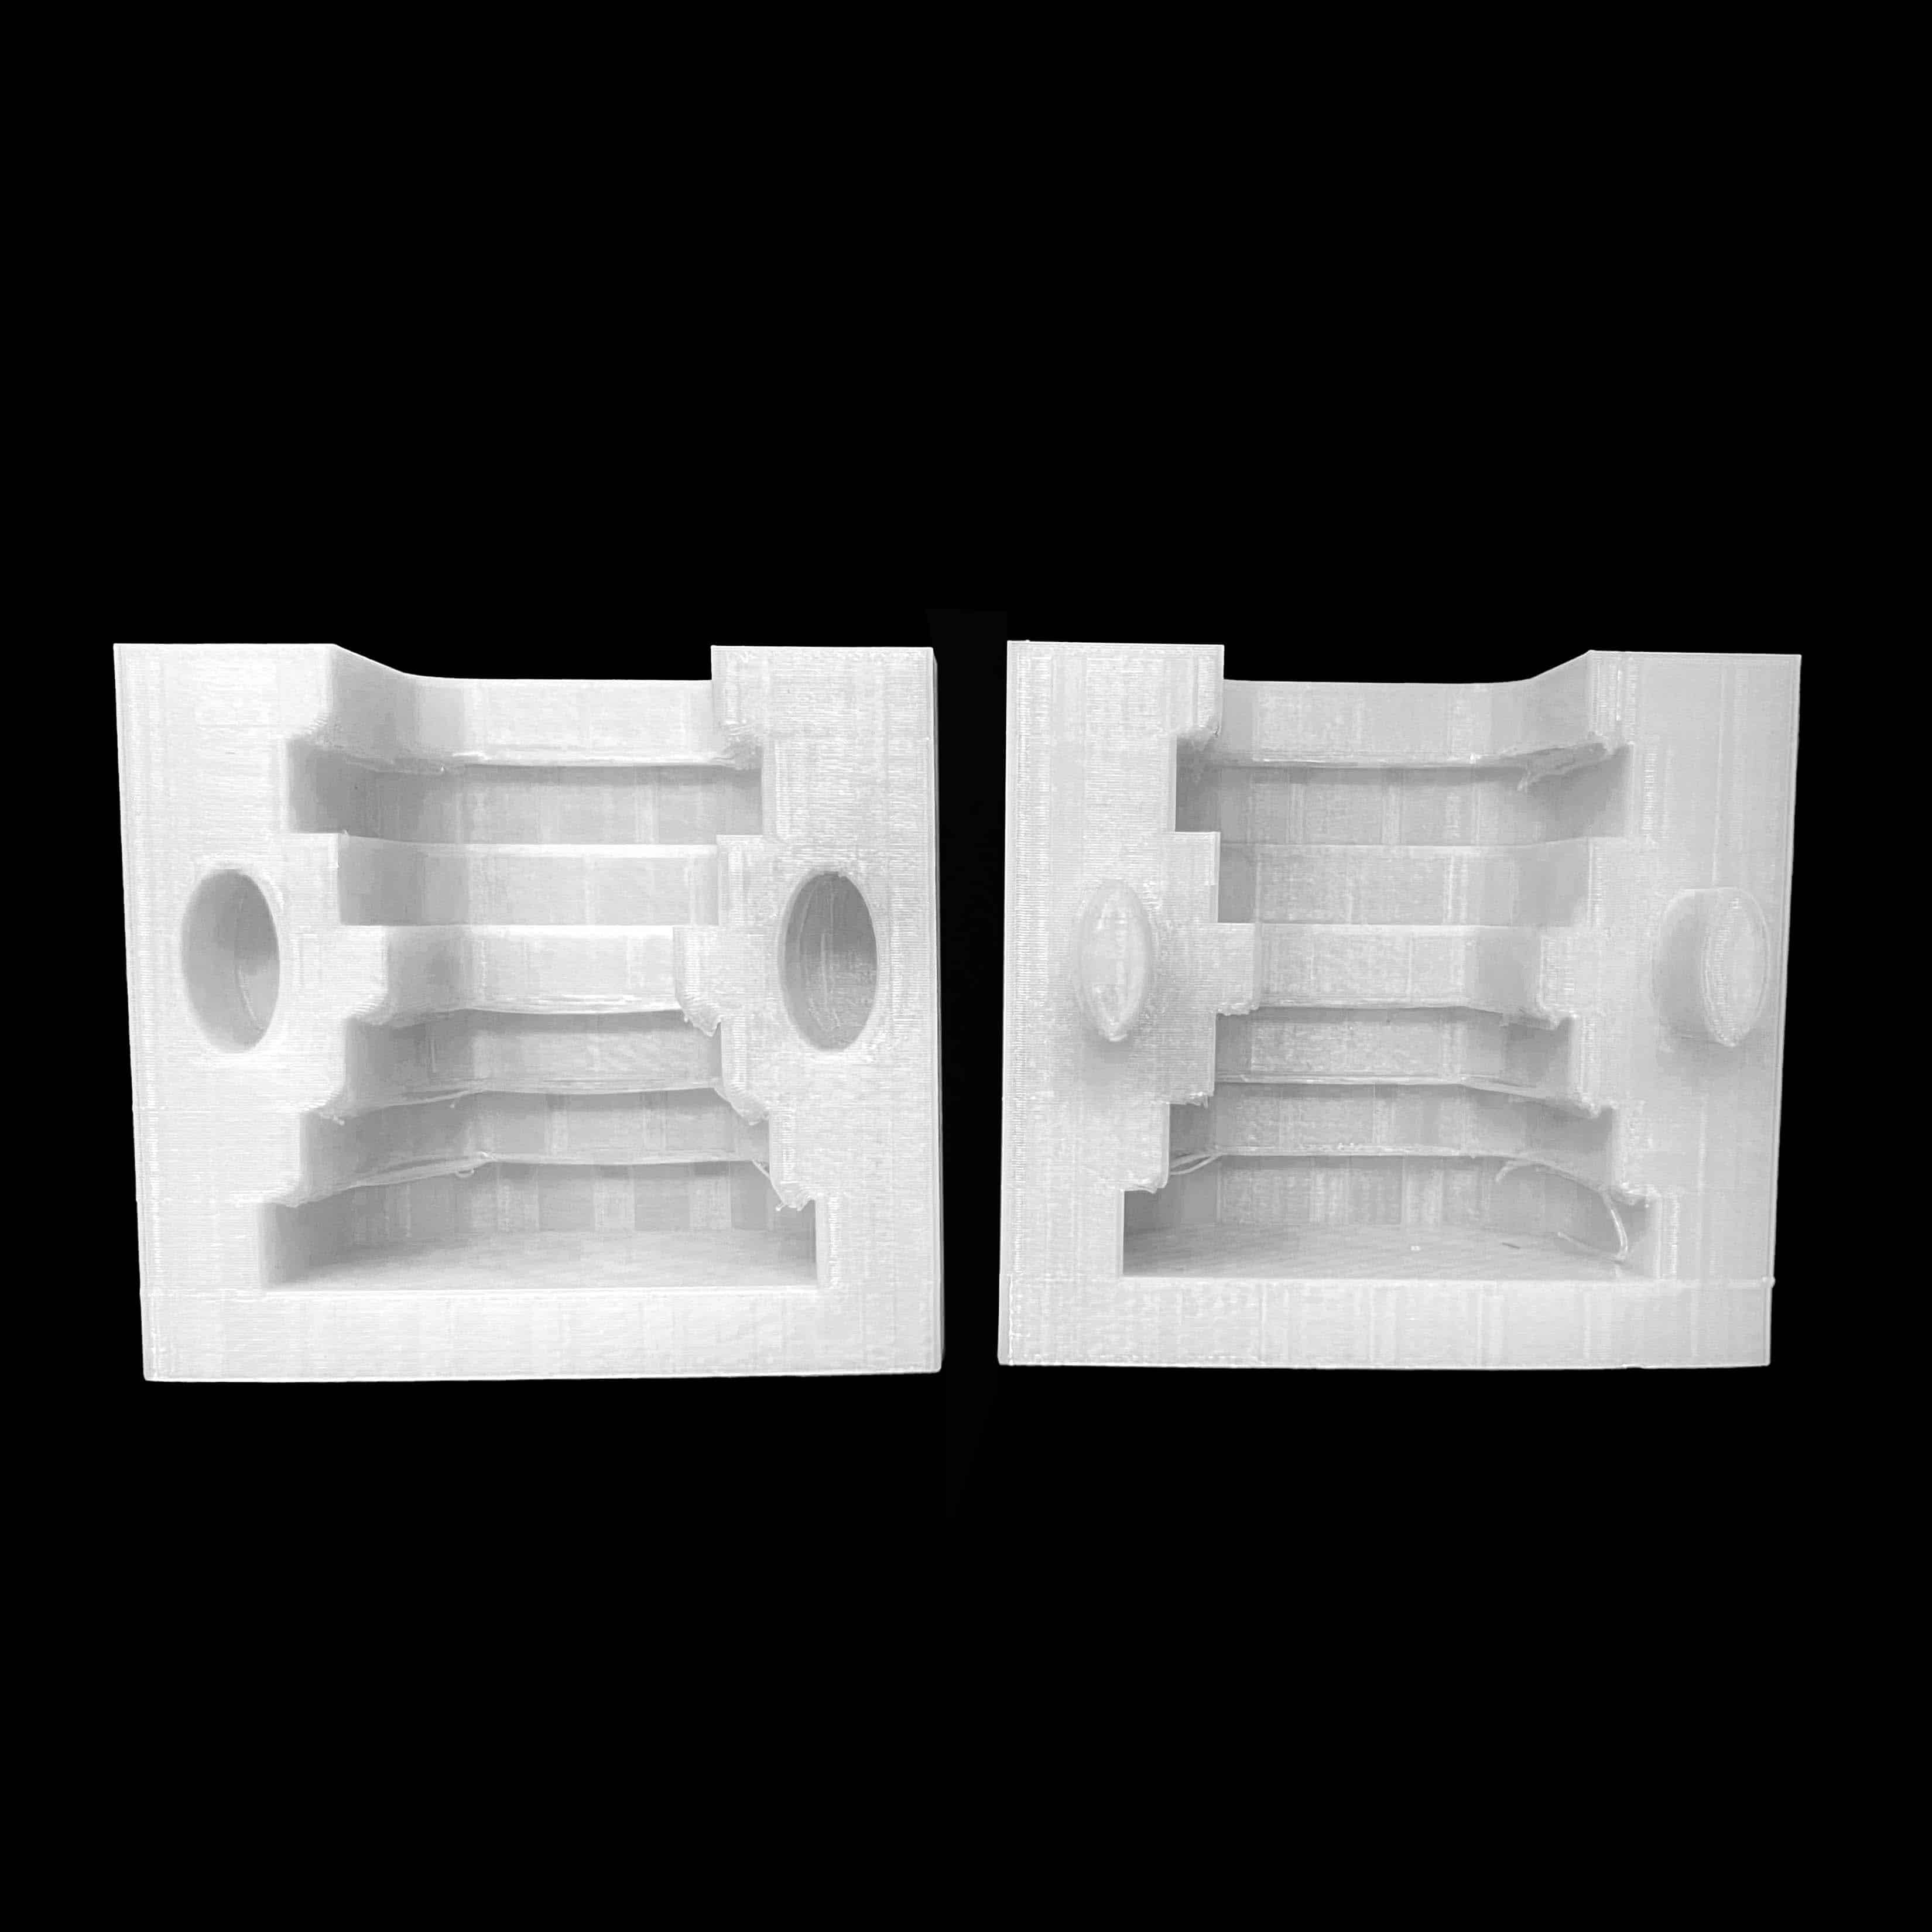
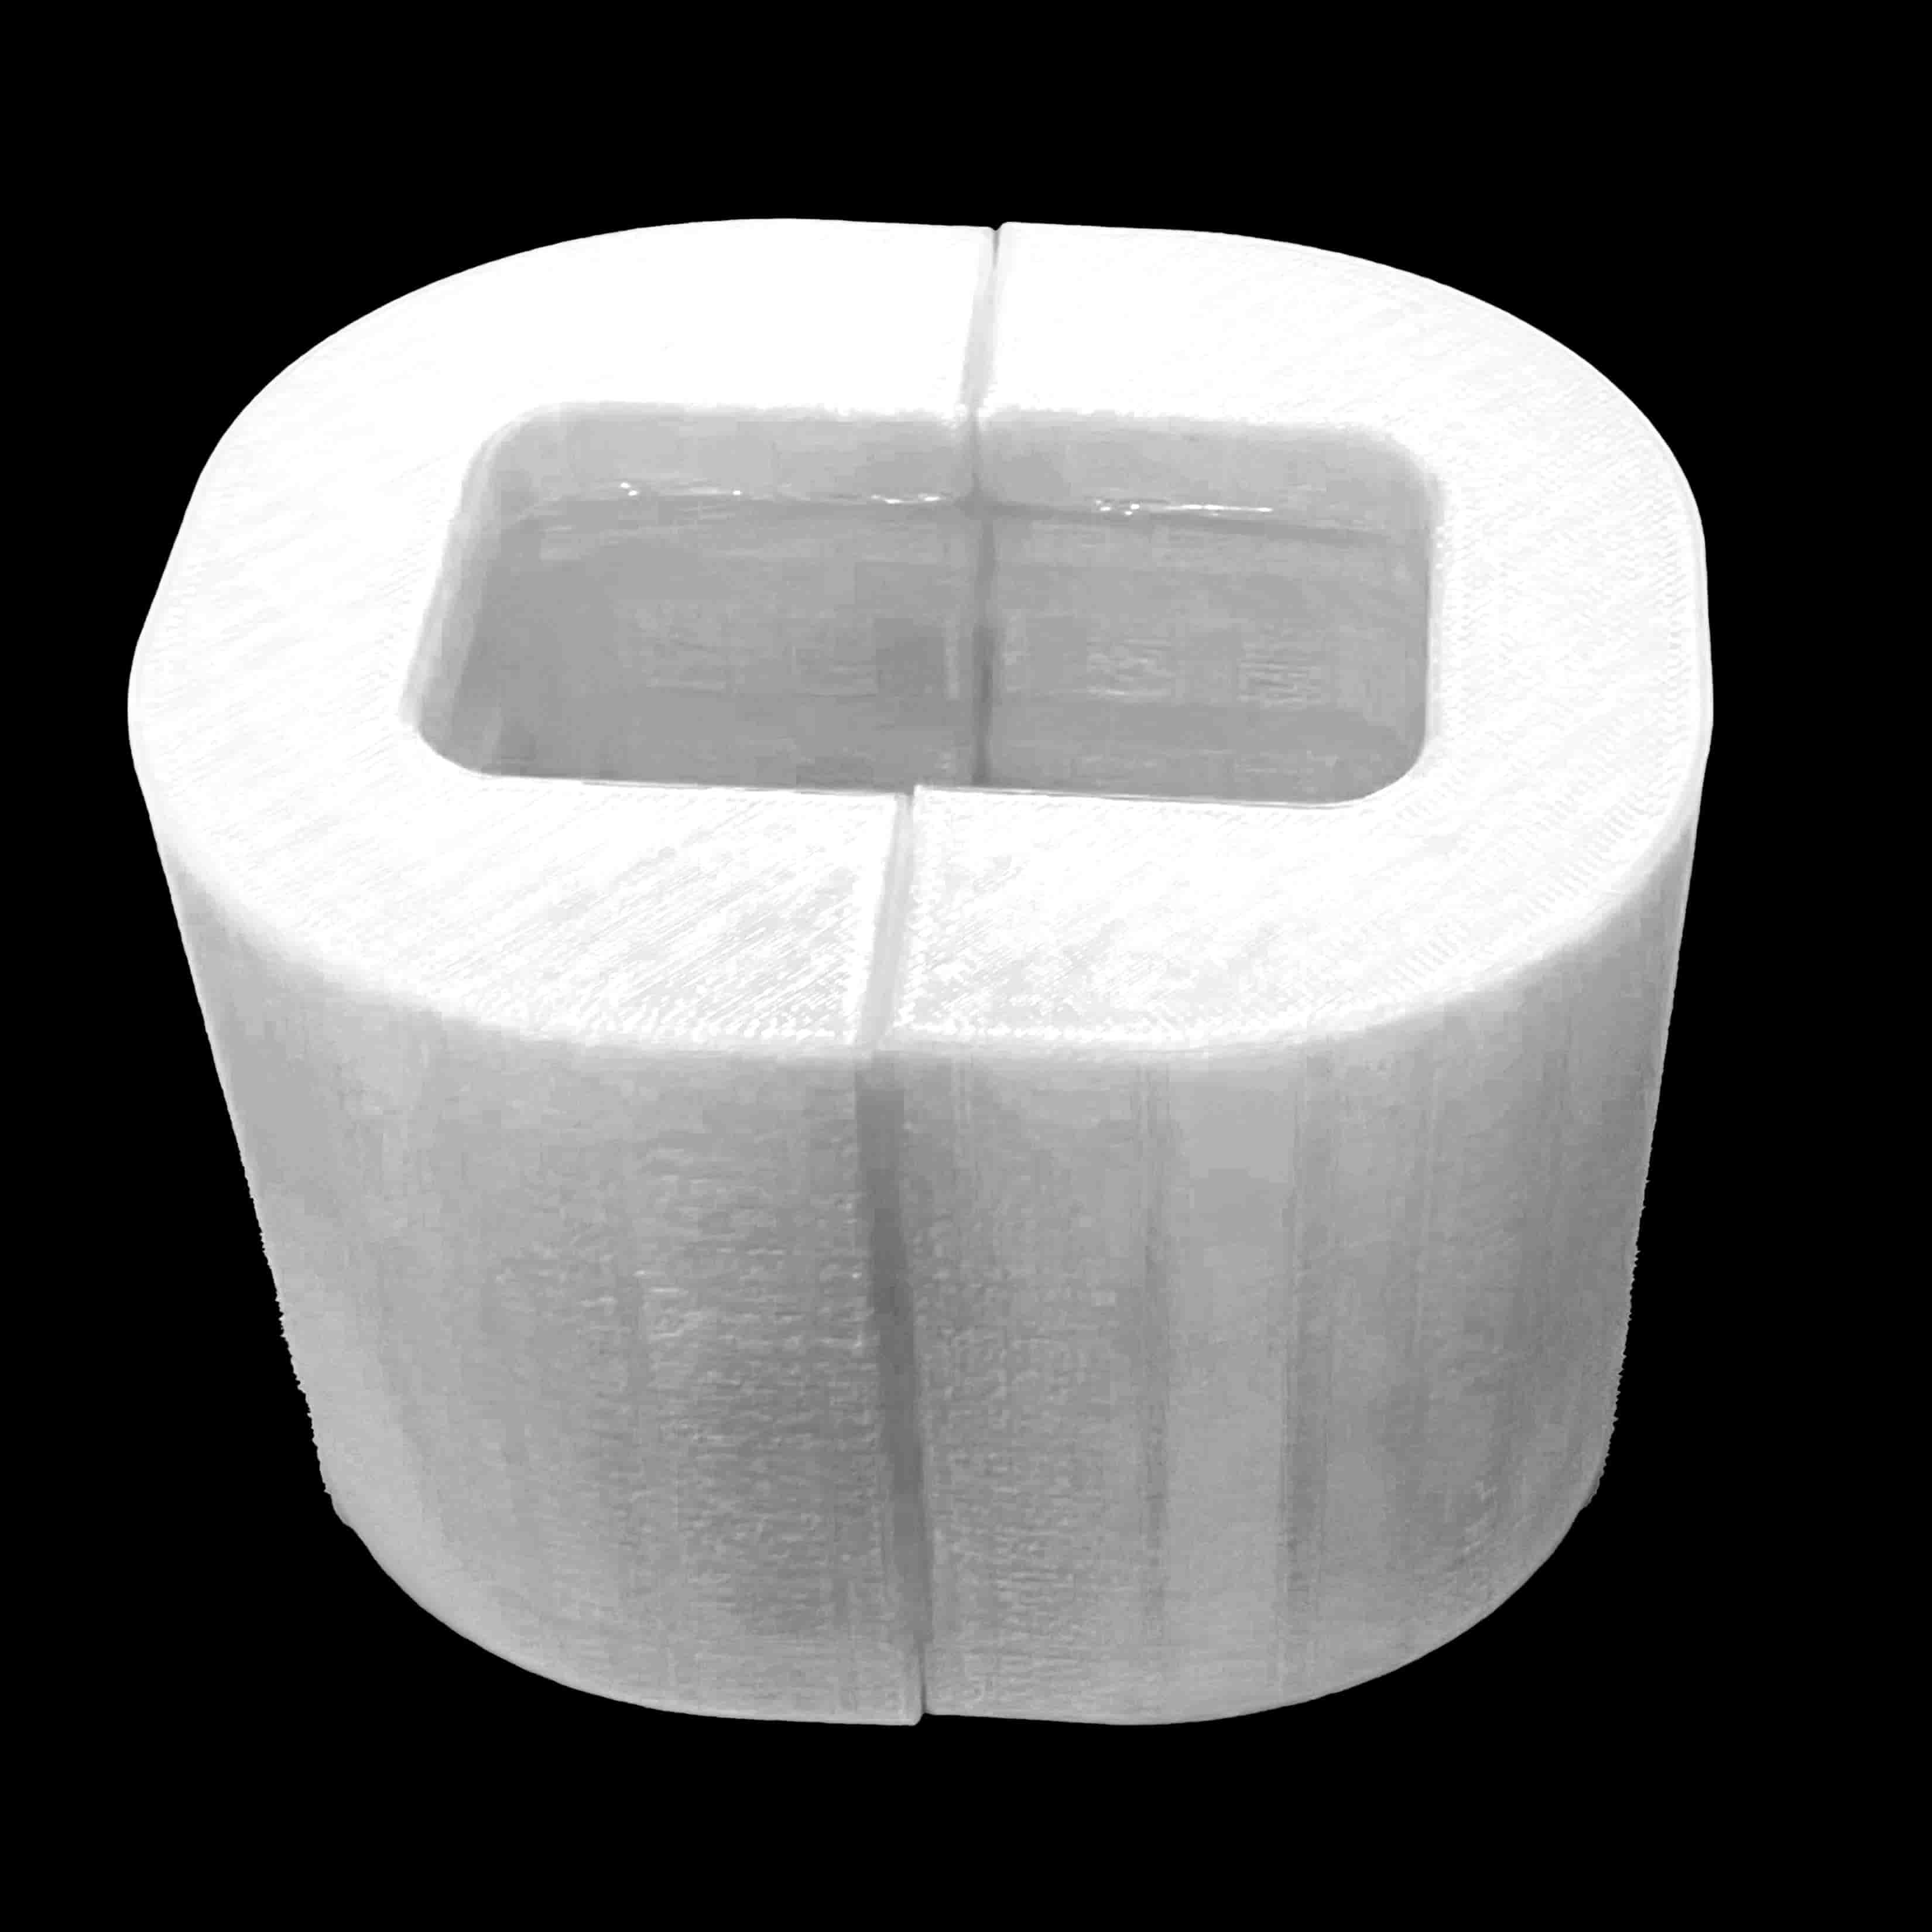
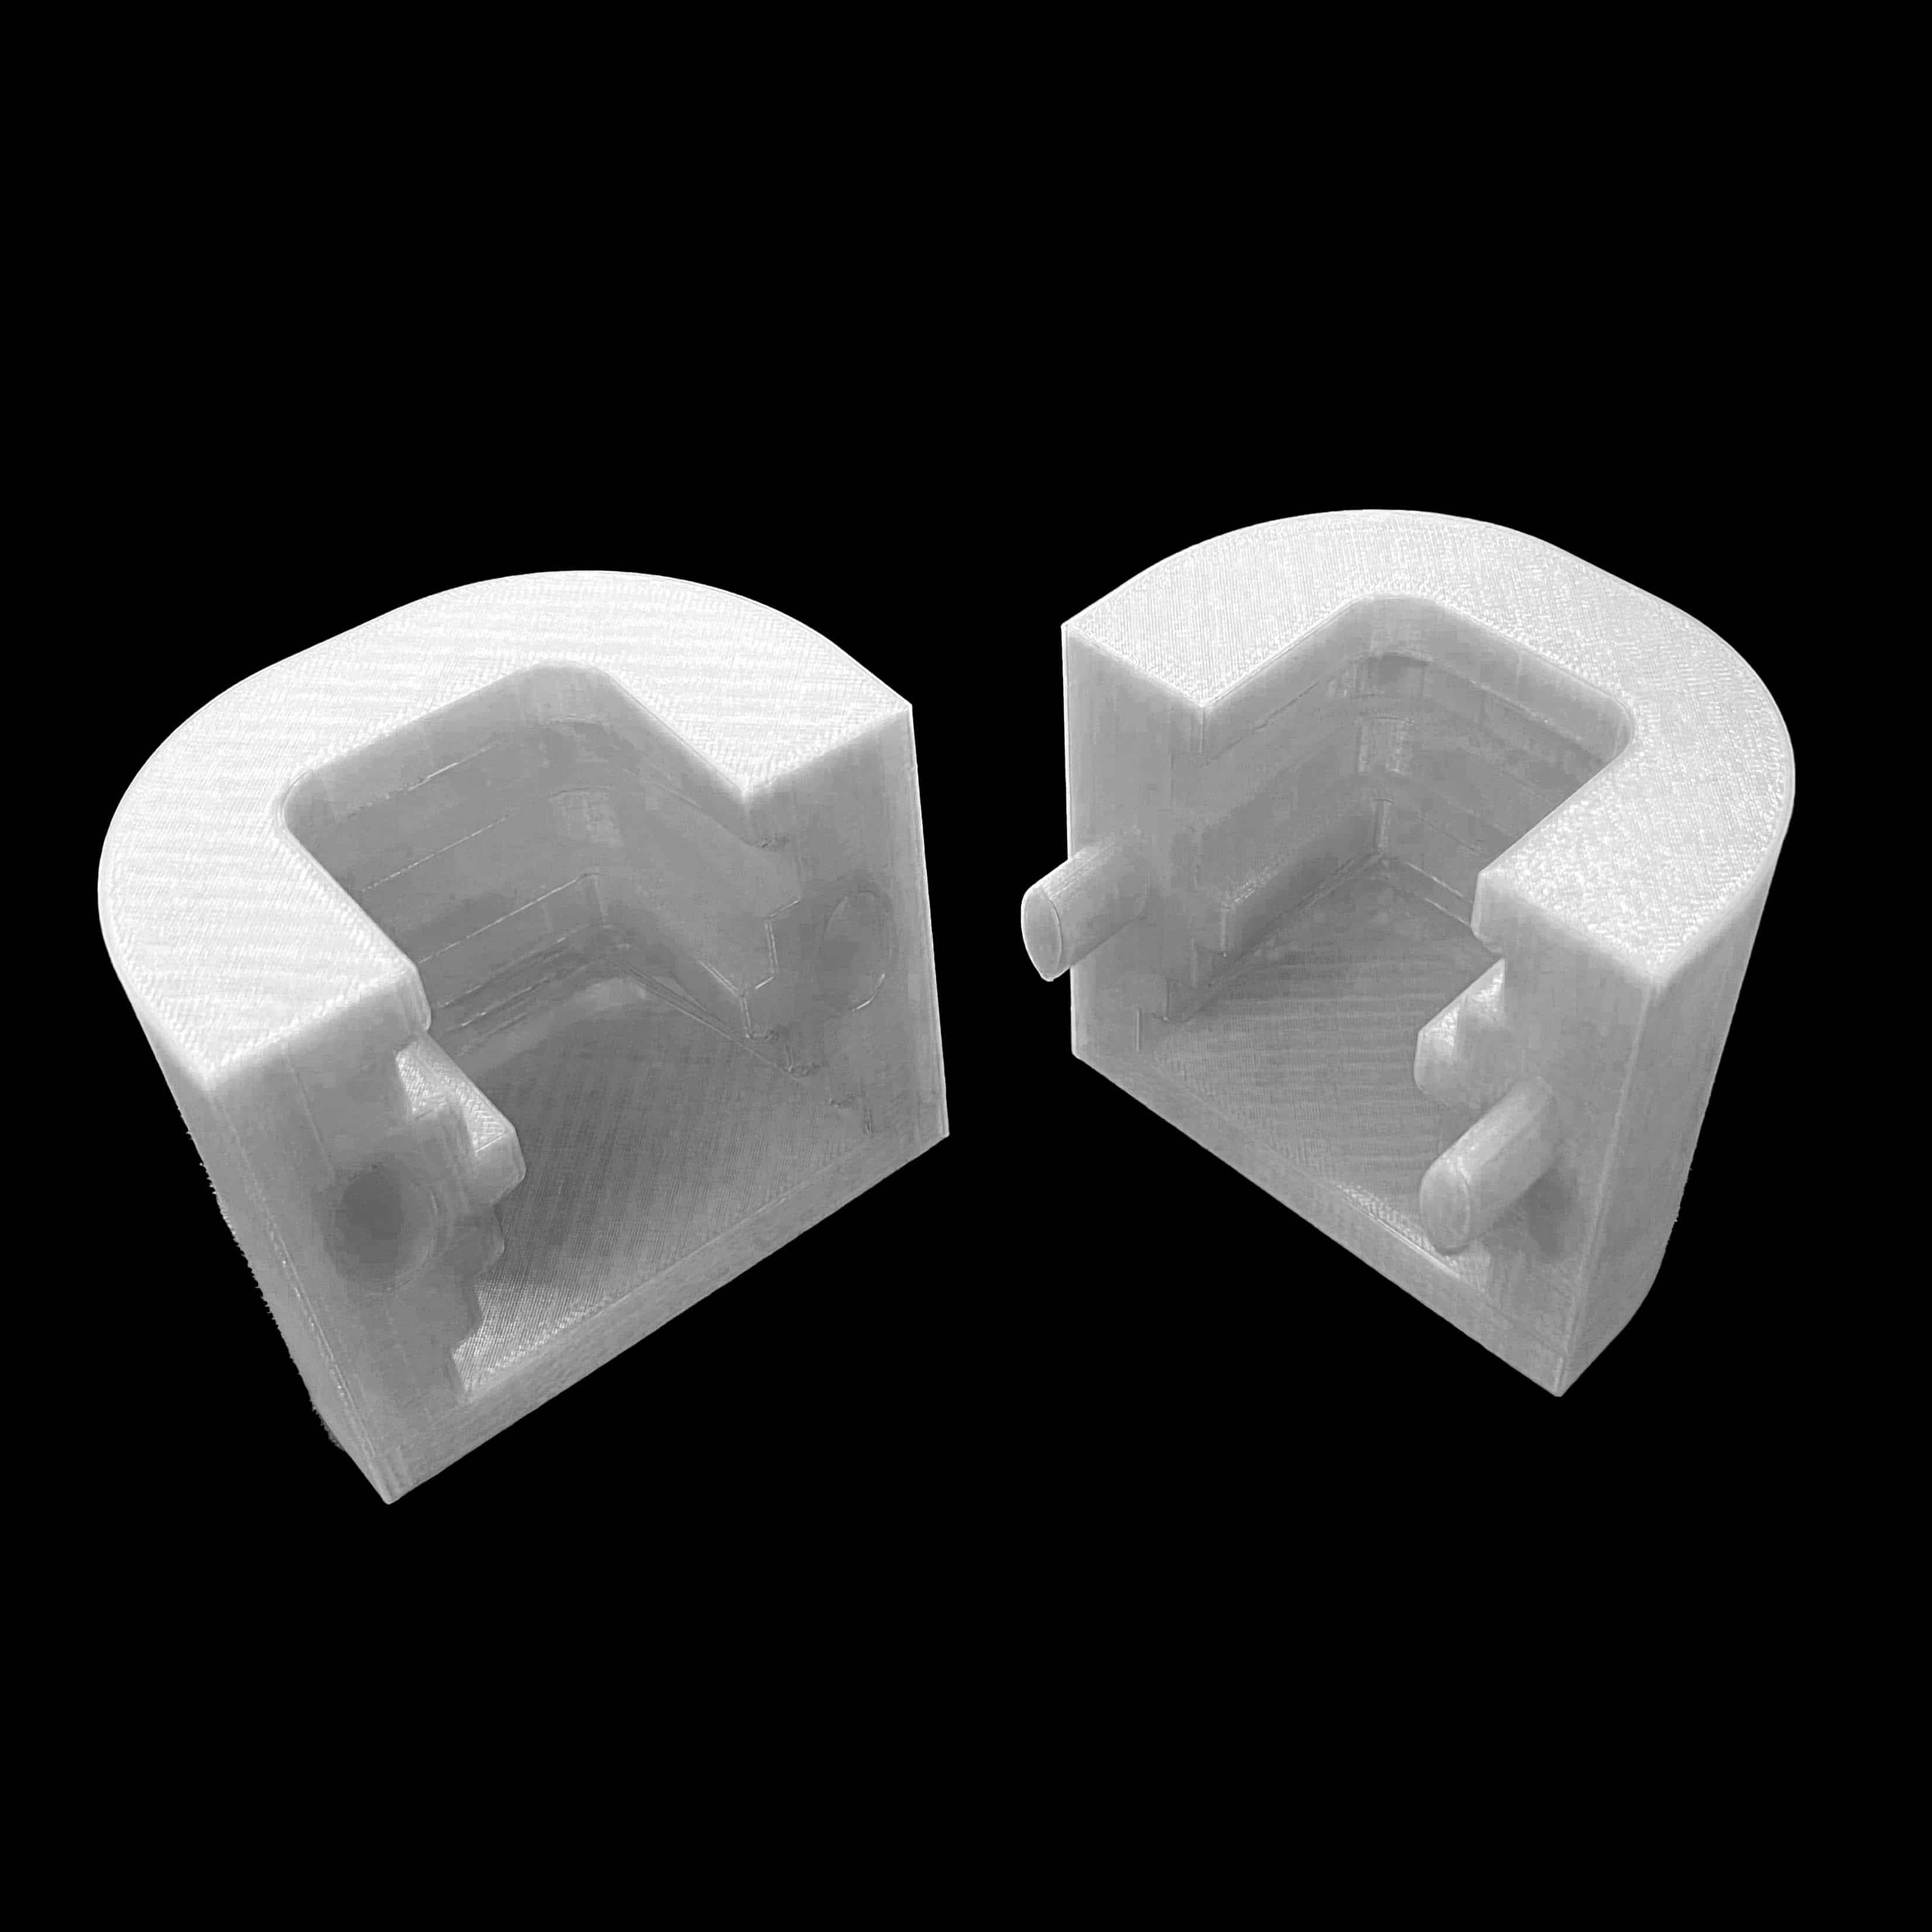
Images of 3D print
In attempting to make the mold, I coated it in vaseline...Unfortunatley though, the rockite found its way inside the mold. Neil advised to increase the number of the solid outer walls of the prints so this fusion doesn't happen next time.
I left it out to set after pouring in the rockite. I added some hot glue on the edges for good measure. My first clue should have been that when I came back the rockite level was a lot lower than before.
Yup....this failed. the rockite was imbedded in the lighter gears and mold. :,(
.
As part of a group project for my ceramics course, we discussed gyroid patterns. Though we planned to recreate these pourous patterns from clay, we ended up 3D printing them. Here are a few images of me printing them on the Prusa.
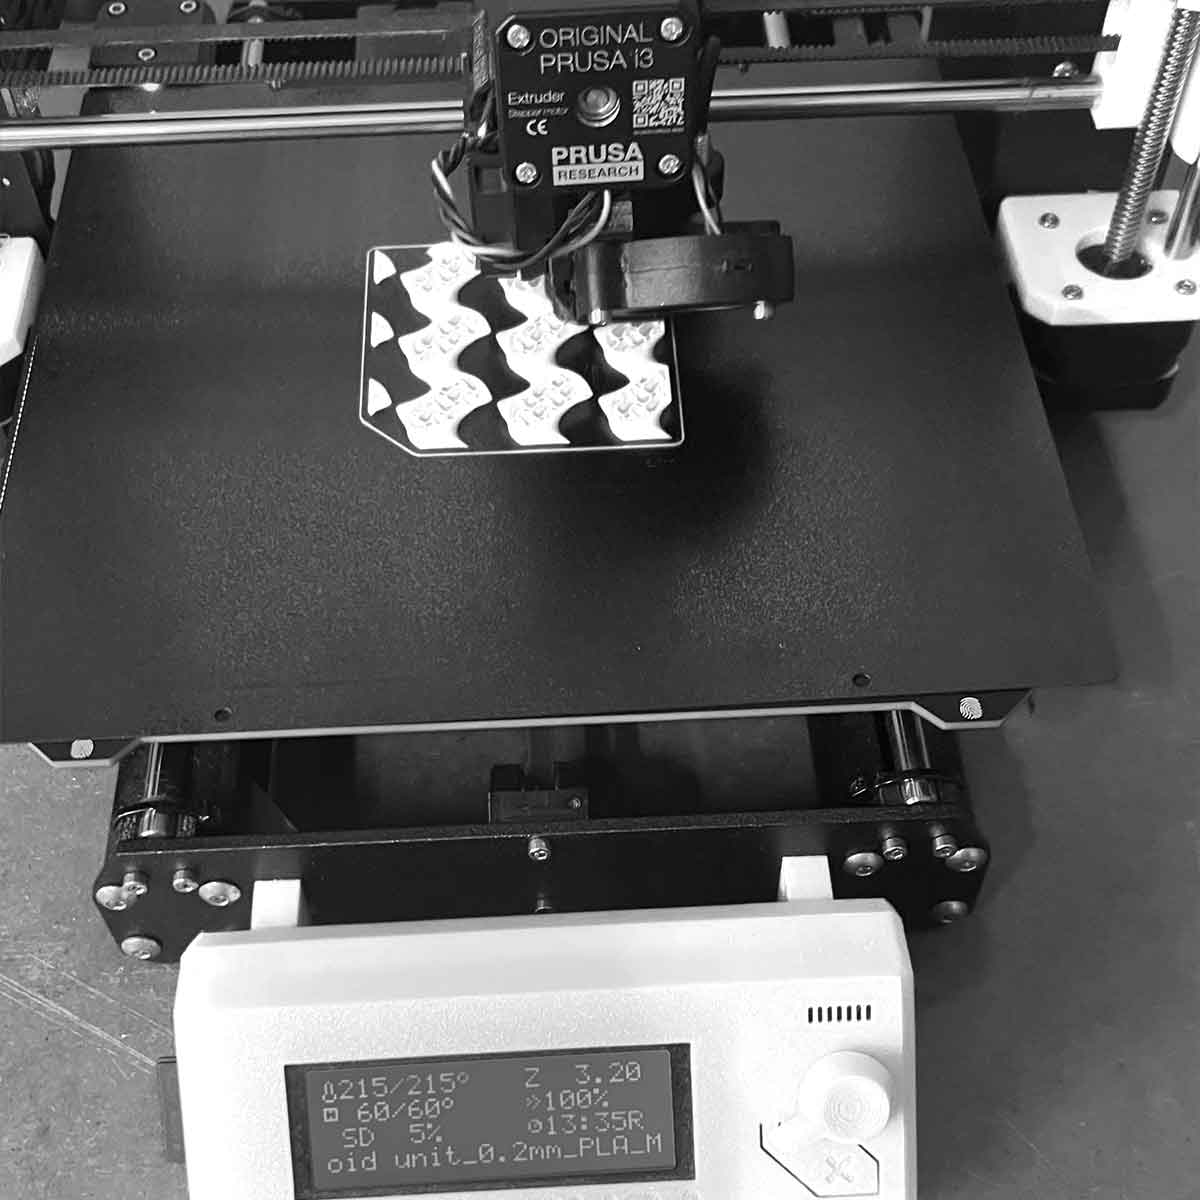
Here is the start of the print.

I came back to see it was removed from the printbed. apparently it failed later in the print while I wasn't around

At least it still got the message across.
.
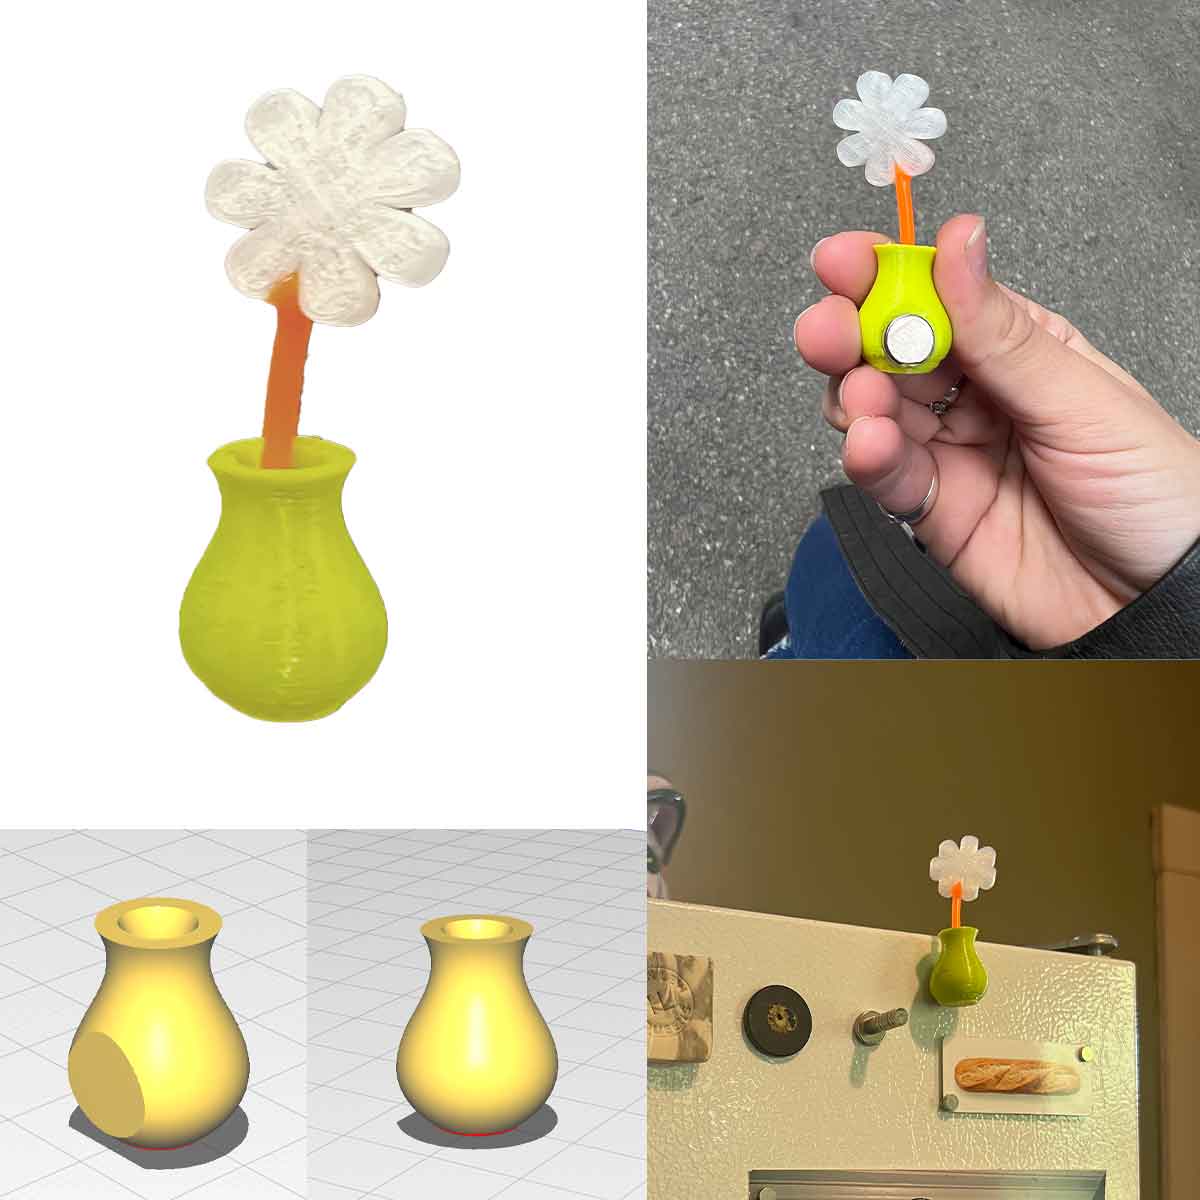
As a little bonus print, Noy and I collaborated with me designing a vase (in Rhino) with a flat spot for a magnet and Noy designing a flower to go in that vase. Noy printed them and they now live on her fridge. :)
.
.
Printing
Prusa 3
Here I tried using the Prusa printers which I haven't used in years. At first I had issues with the machine. Then it seemed my mesh was corrupt. Afterwards, I finally got a mold to print. I wanted to design a concrete lighter block so I made a mold to cast it. I chose 10% infill finding structural rigidity beyond this one casting unecessary. That was a mistake. The concrete found its way inside the mold, filling the hollow points and making it near impossible to remove. Lessons for later I suppose.
.
.
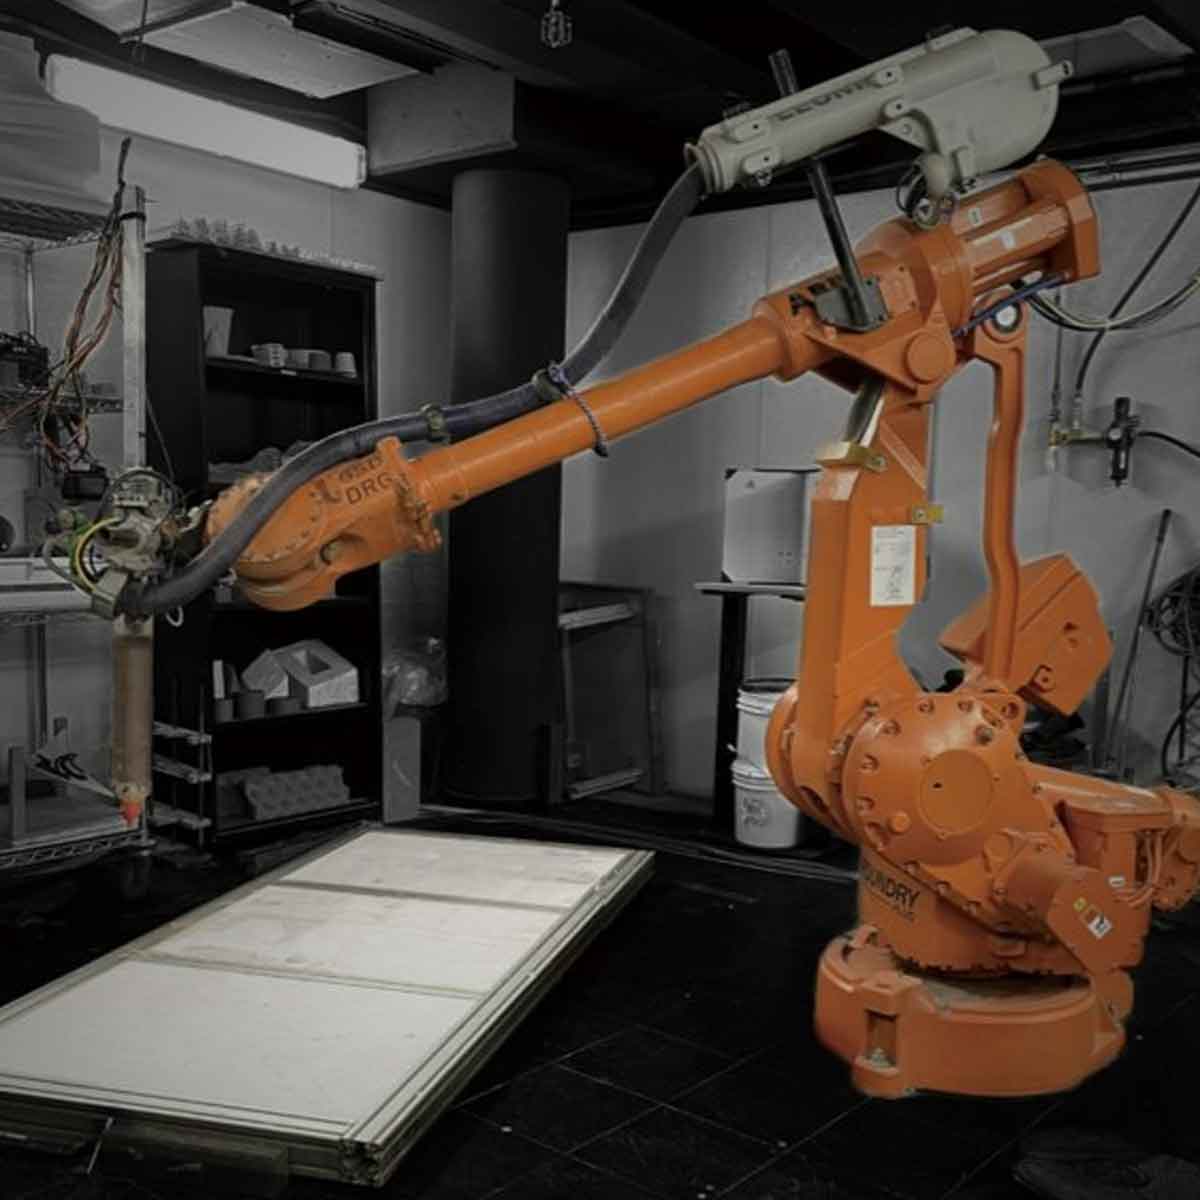
ABB IRB 4400
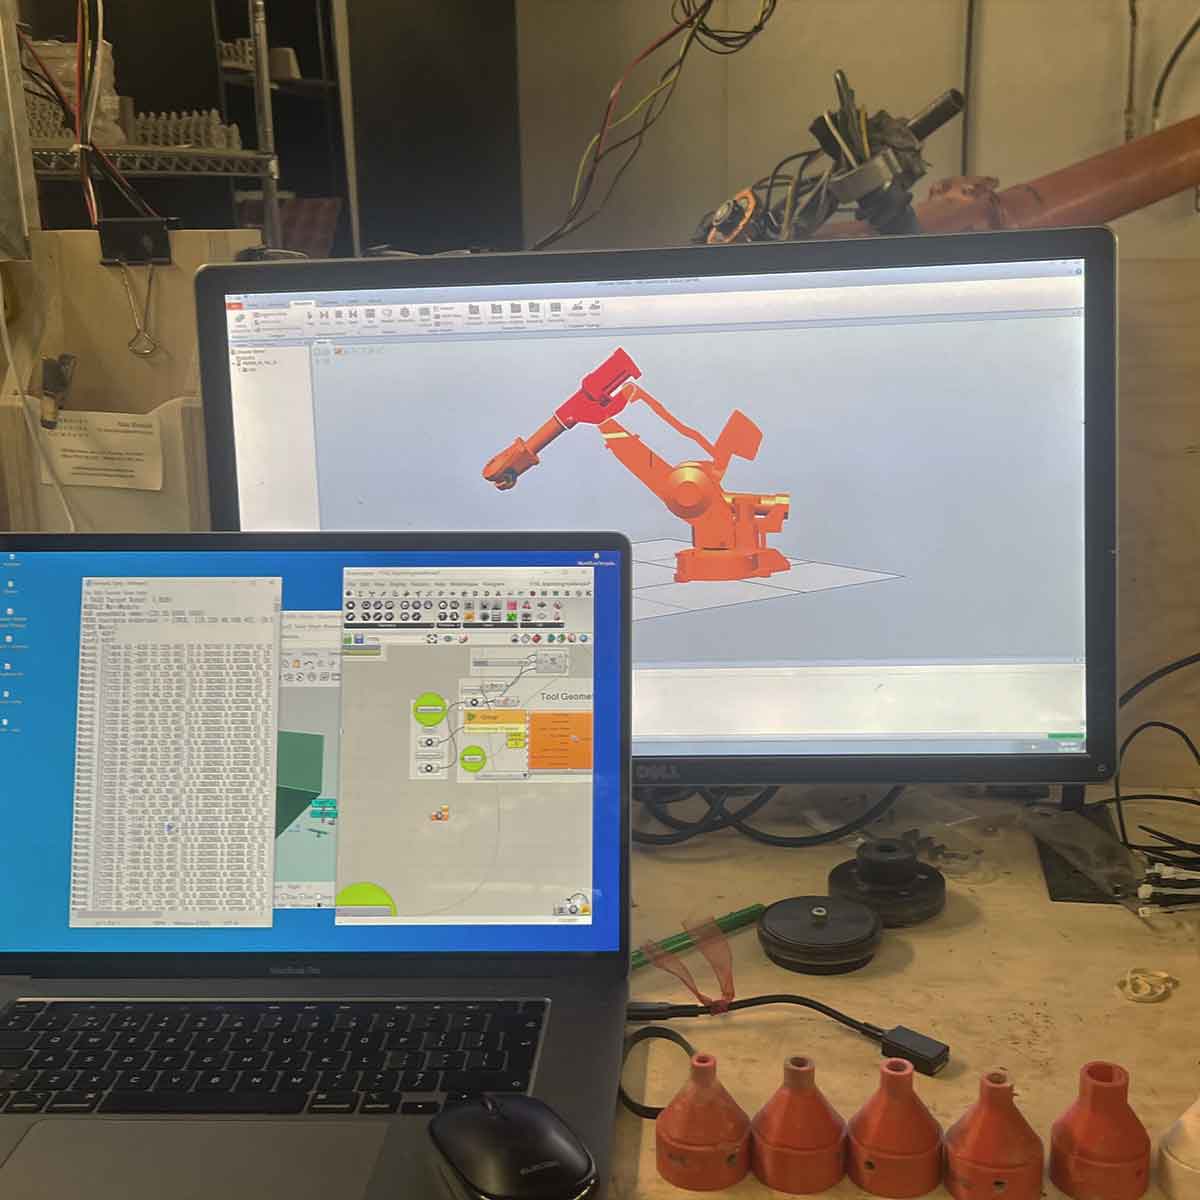
Taco plugin in grasshopper is sending instructions
To the left is the tubes, up top is the extruder which functions by pushing an auger (which I prefer over airpressure extrusion), and in the bottom right is our laser cut acrylic supports.
Here is an example print!
Ceramic Extrusion on a 6-axis Robotic Arm
In another course I've been taking this semester, I've been working with an ABB IRB-4400. While in the past I used Machina or wrote my own g-code through a custom grasshopper script, this semester I just ended up using Taco as all our prints were uncomplicated. The extruder mounted to the machine was a potterbot. I had a great team of people I was working with. Shoutout to Yuto Takenaka. We might be looking to publish the work so I can only release a limited amount of photos at this time. You'll just have to trust me that it ws fun!