This website is for the course How to Make Almost Anything (Fall 2022) You can reach me at
Contact me
alexiaasgari
@gsd.harvard.edu
Computer Controlled Machining
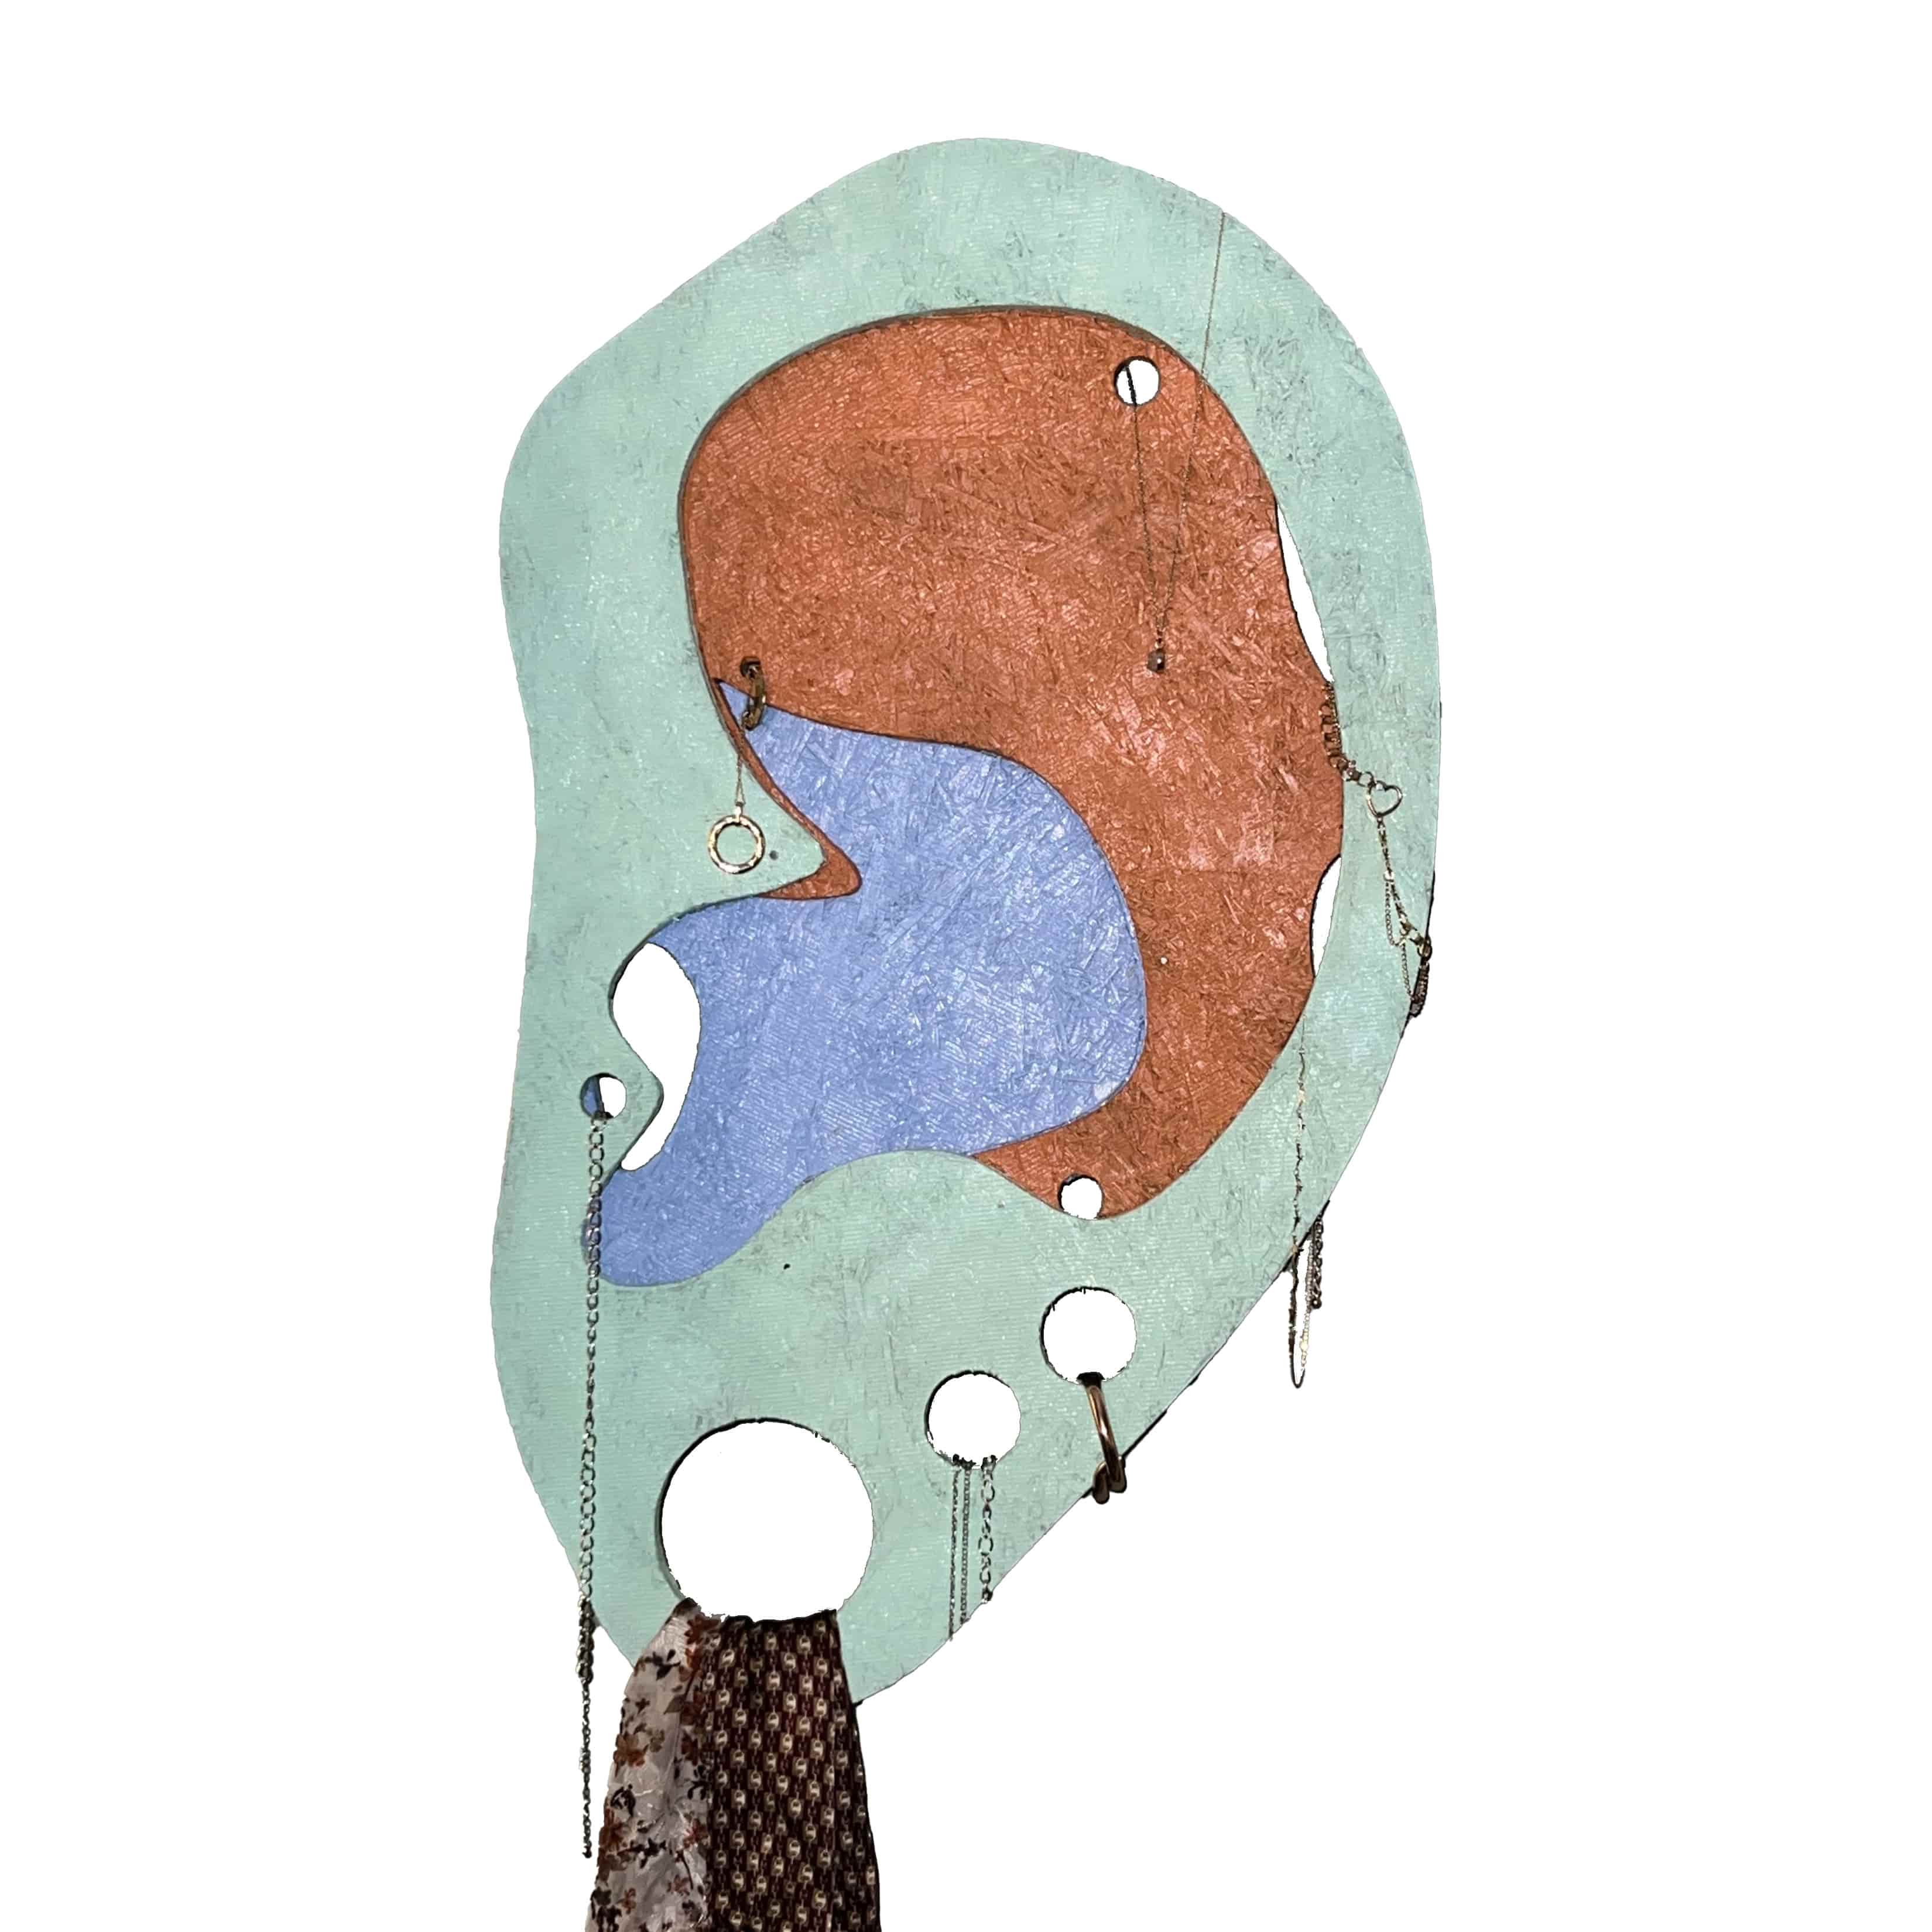
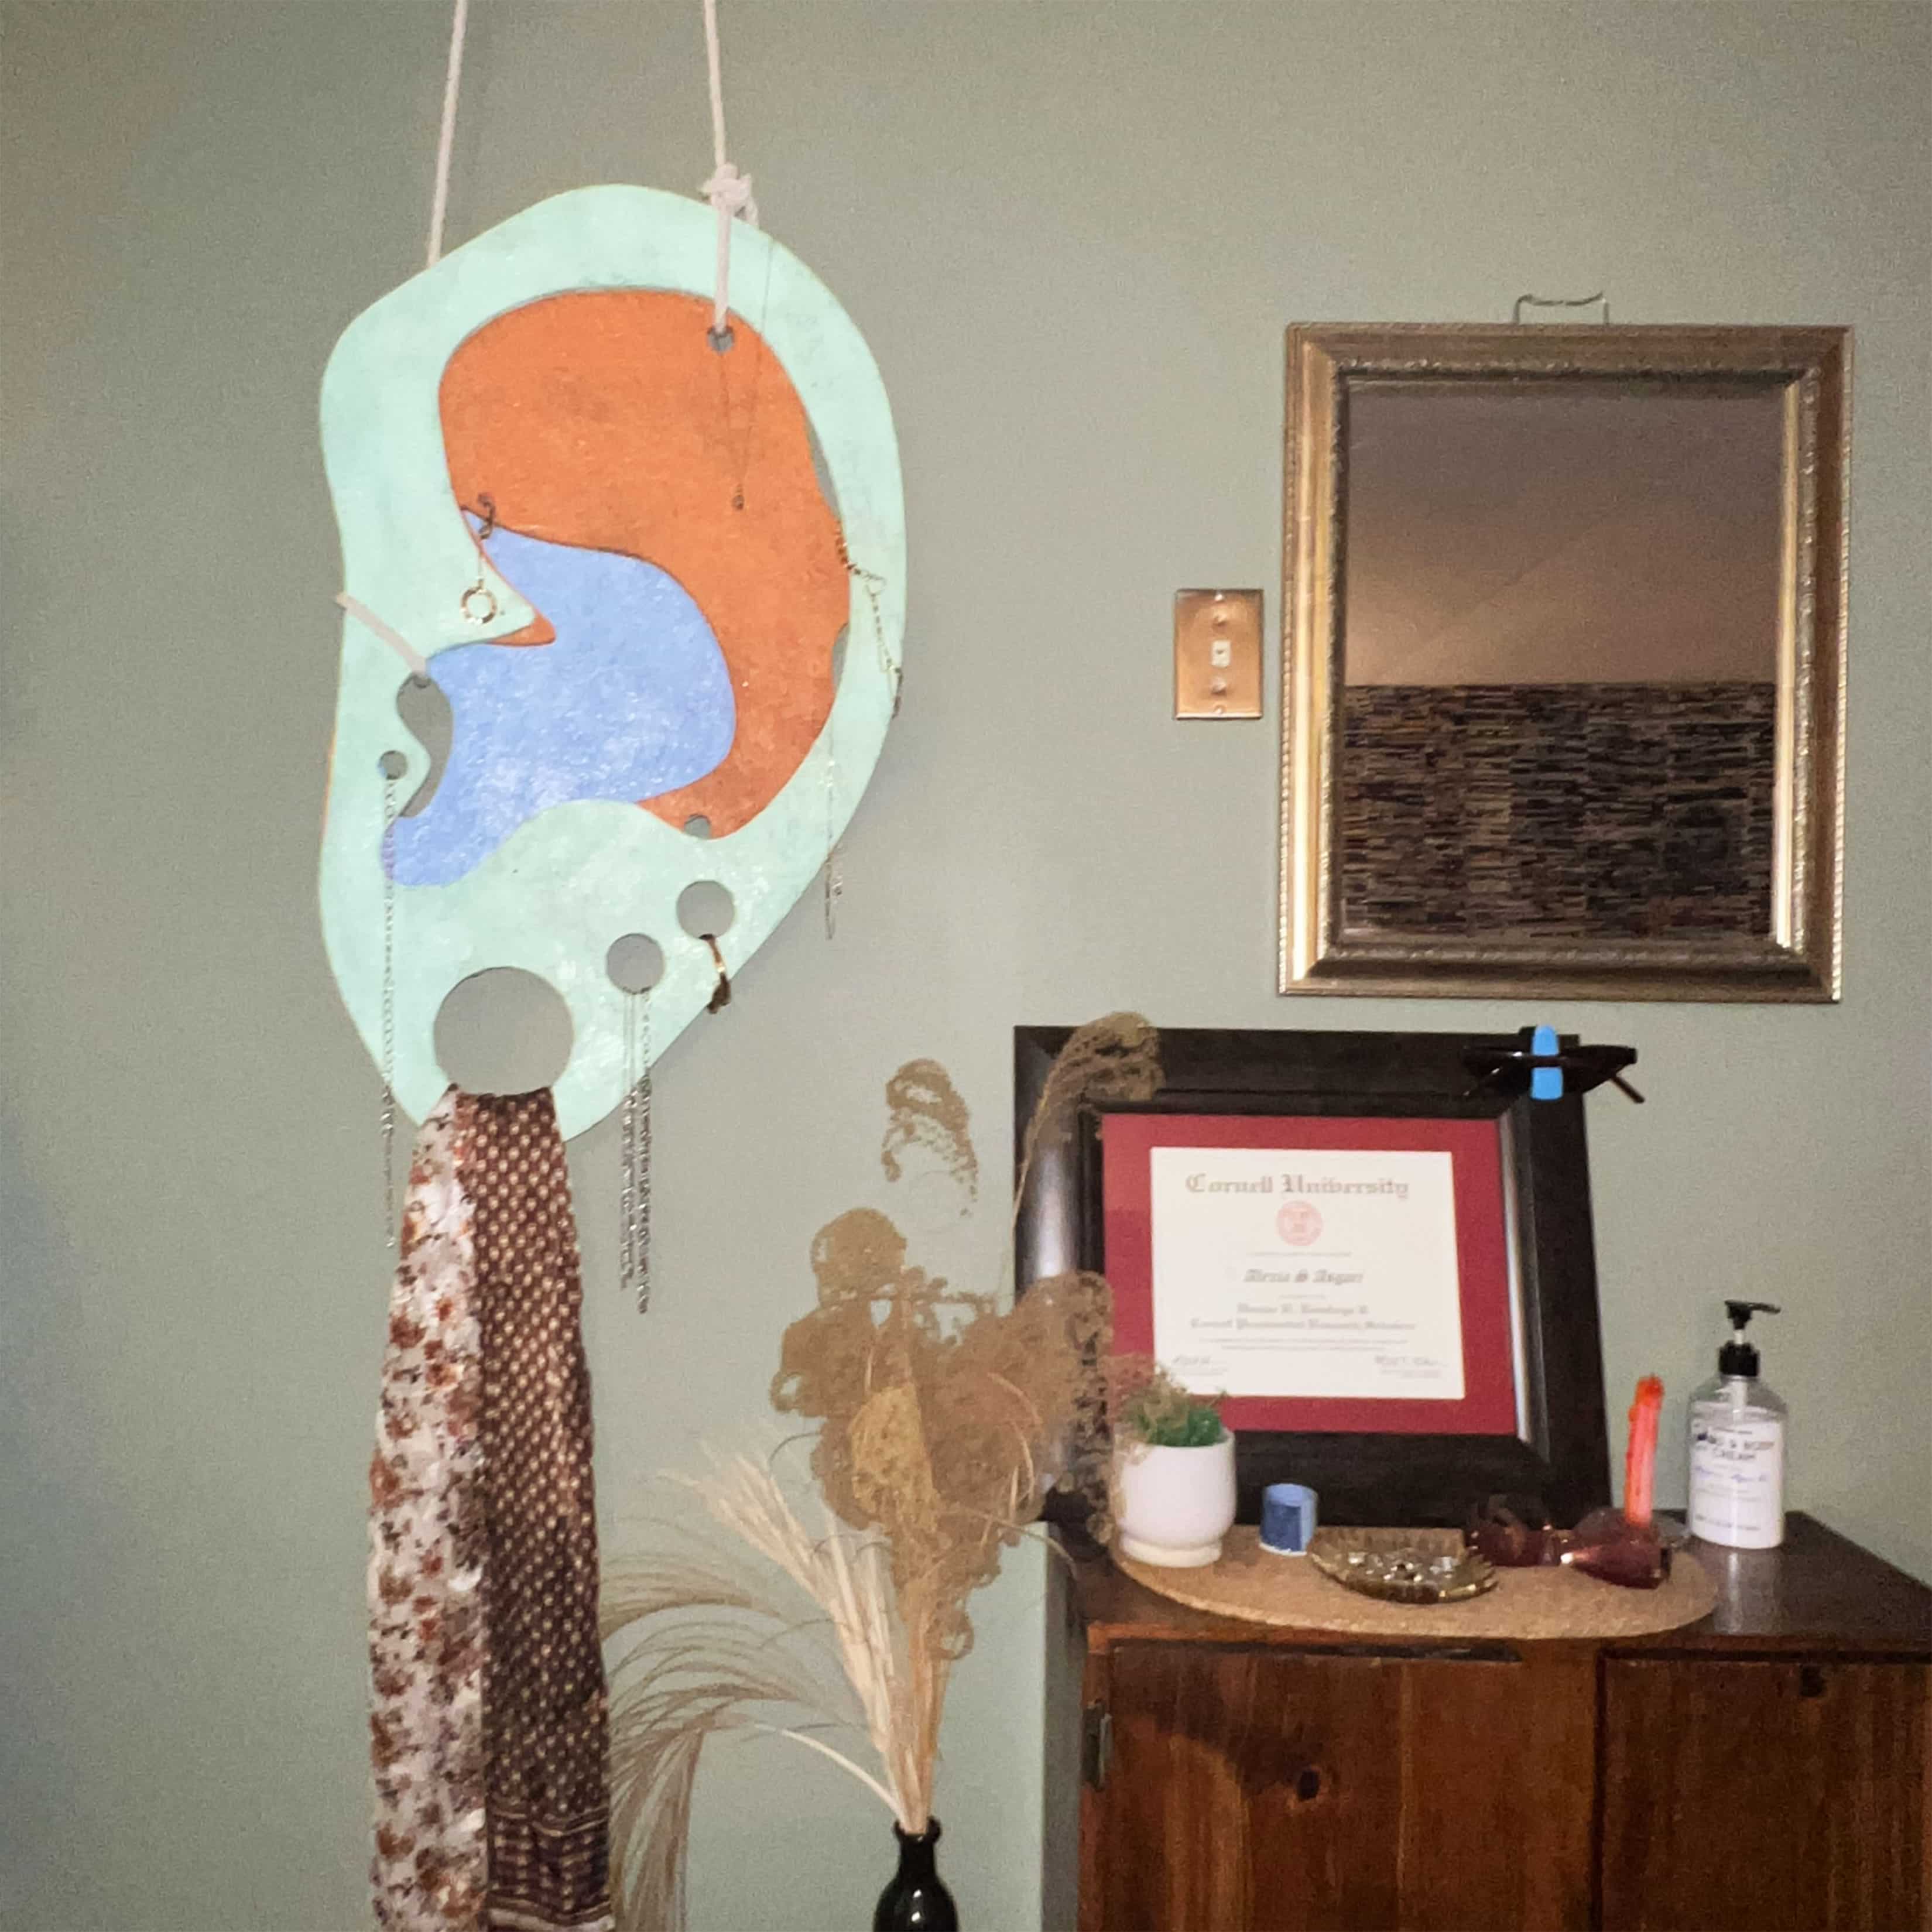
This week I ended up making a much-needed sculptural jewlery holder in the shape of an ear. Though I sport very few piercings now, in my teens I had ~19 piercings.
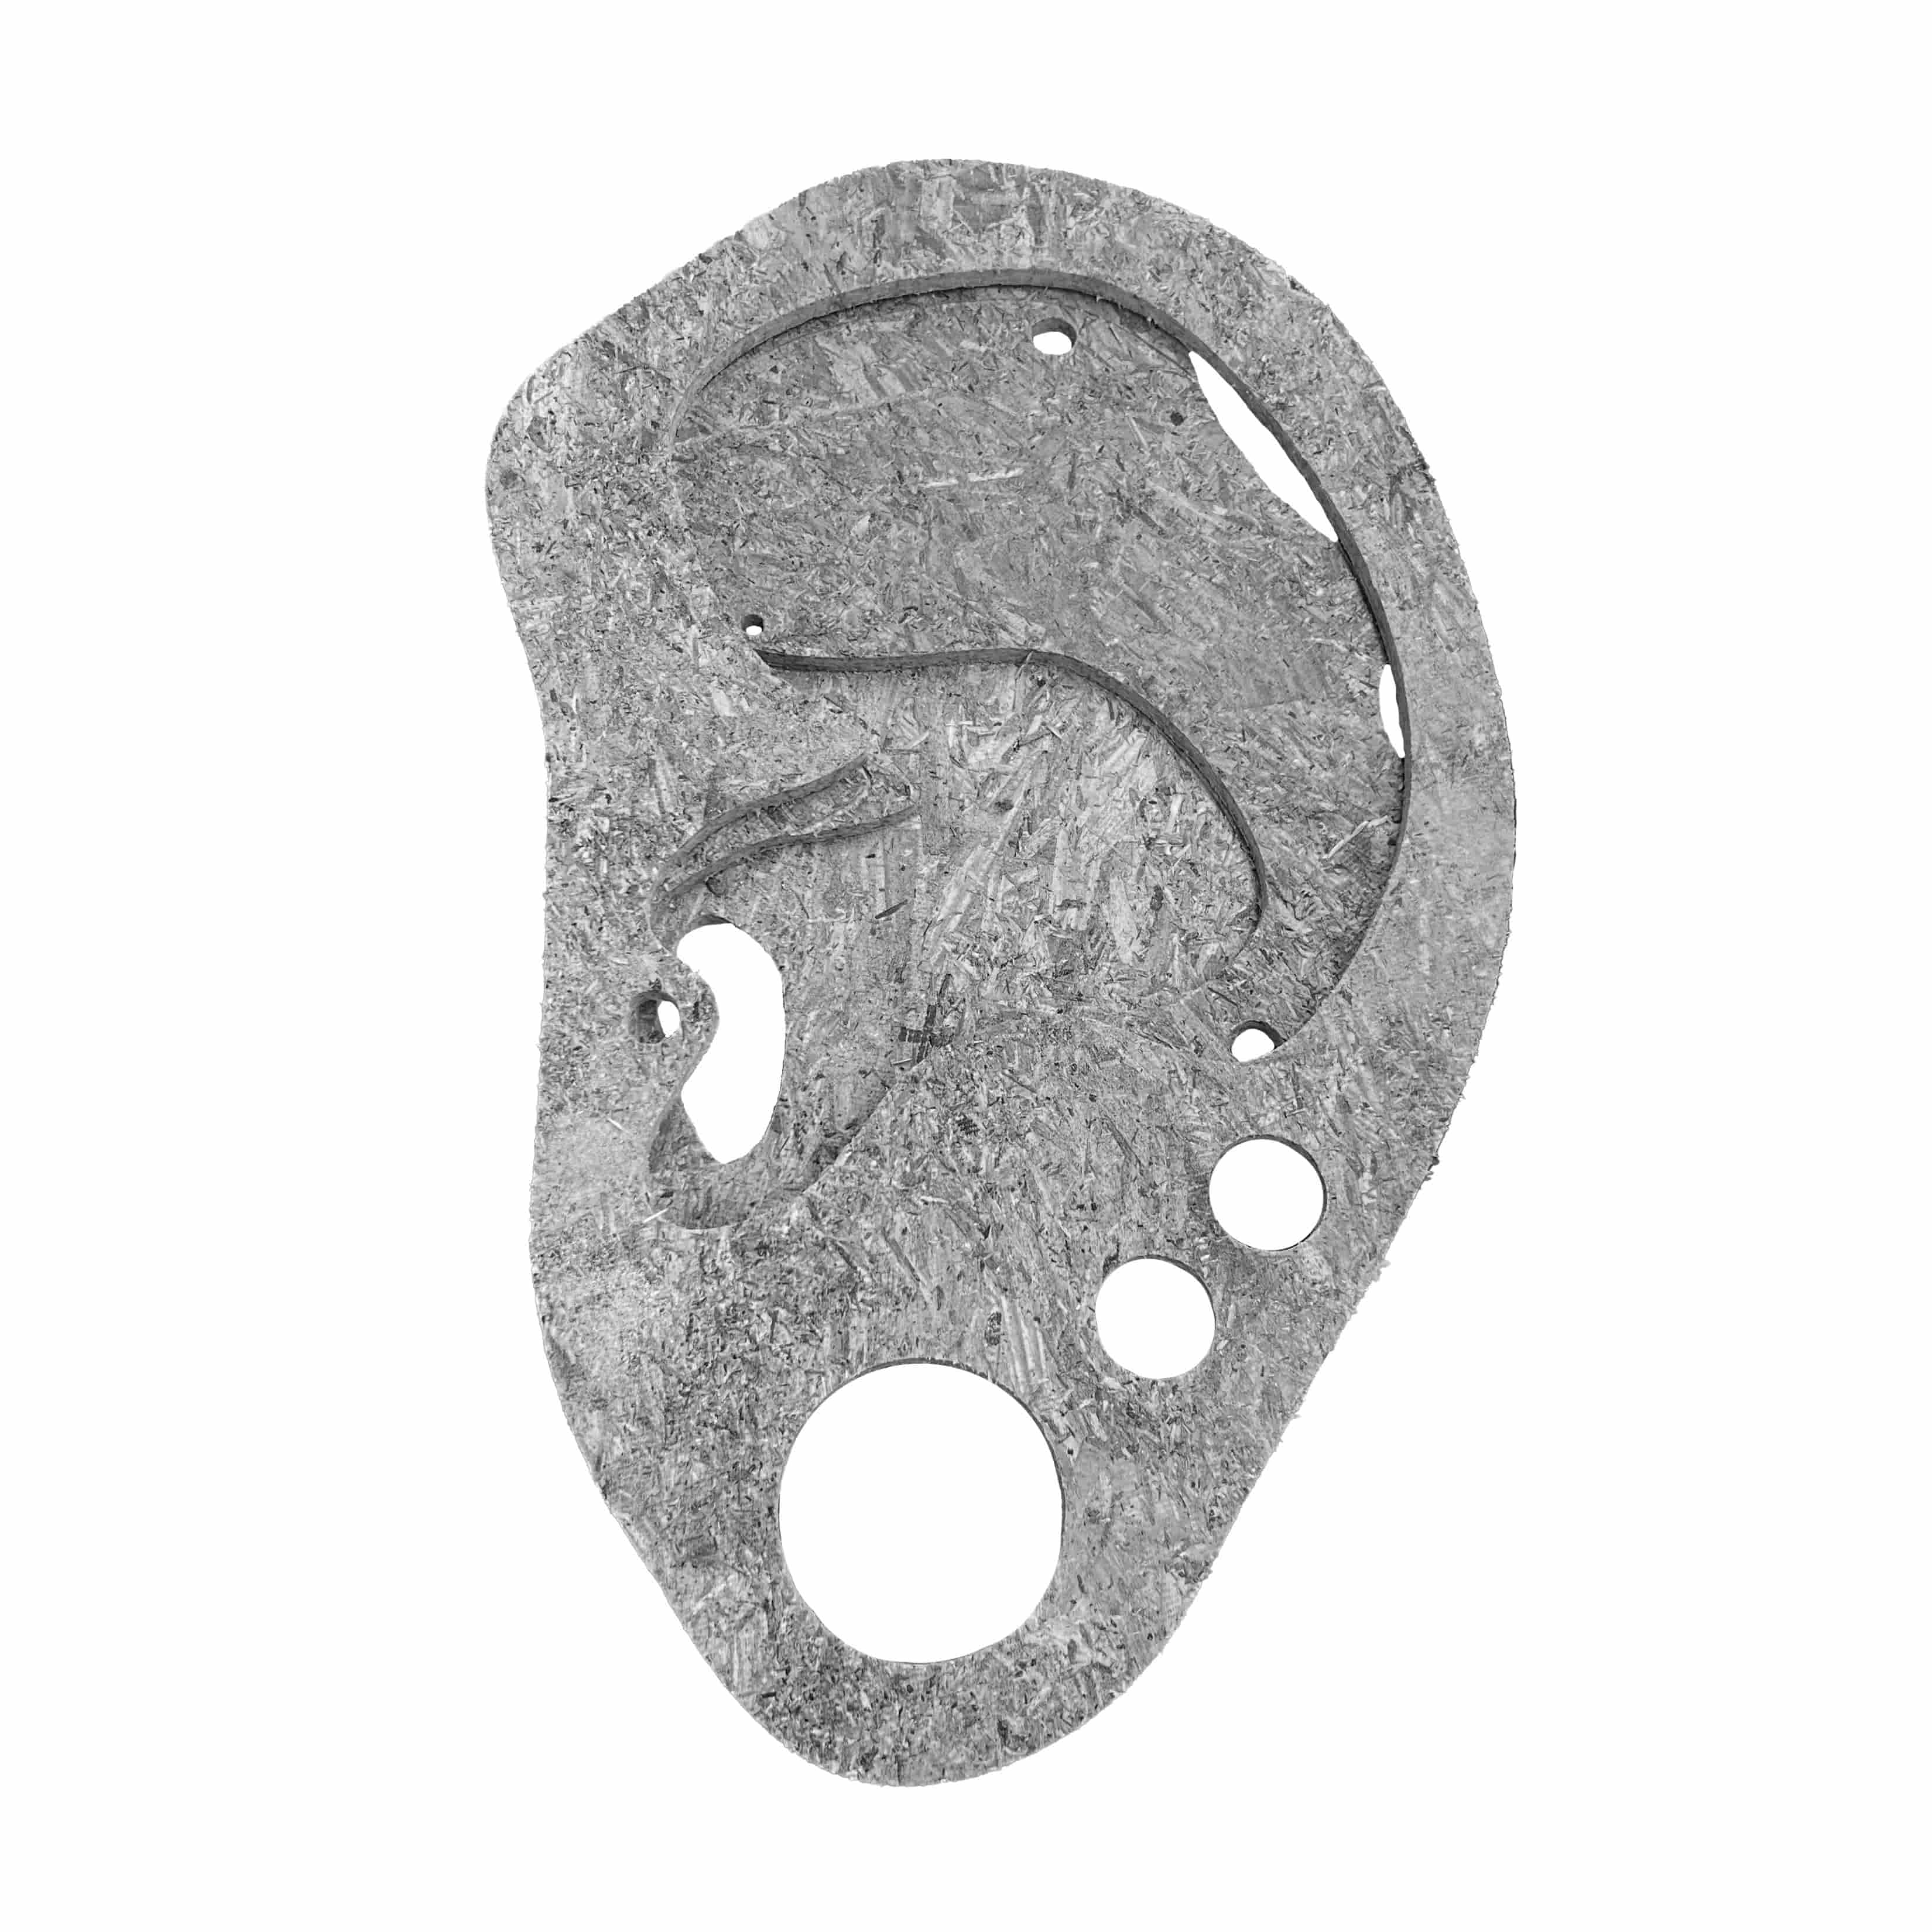

CNC Process
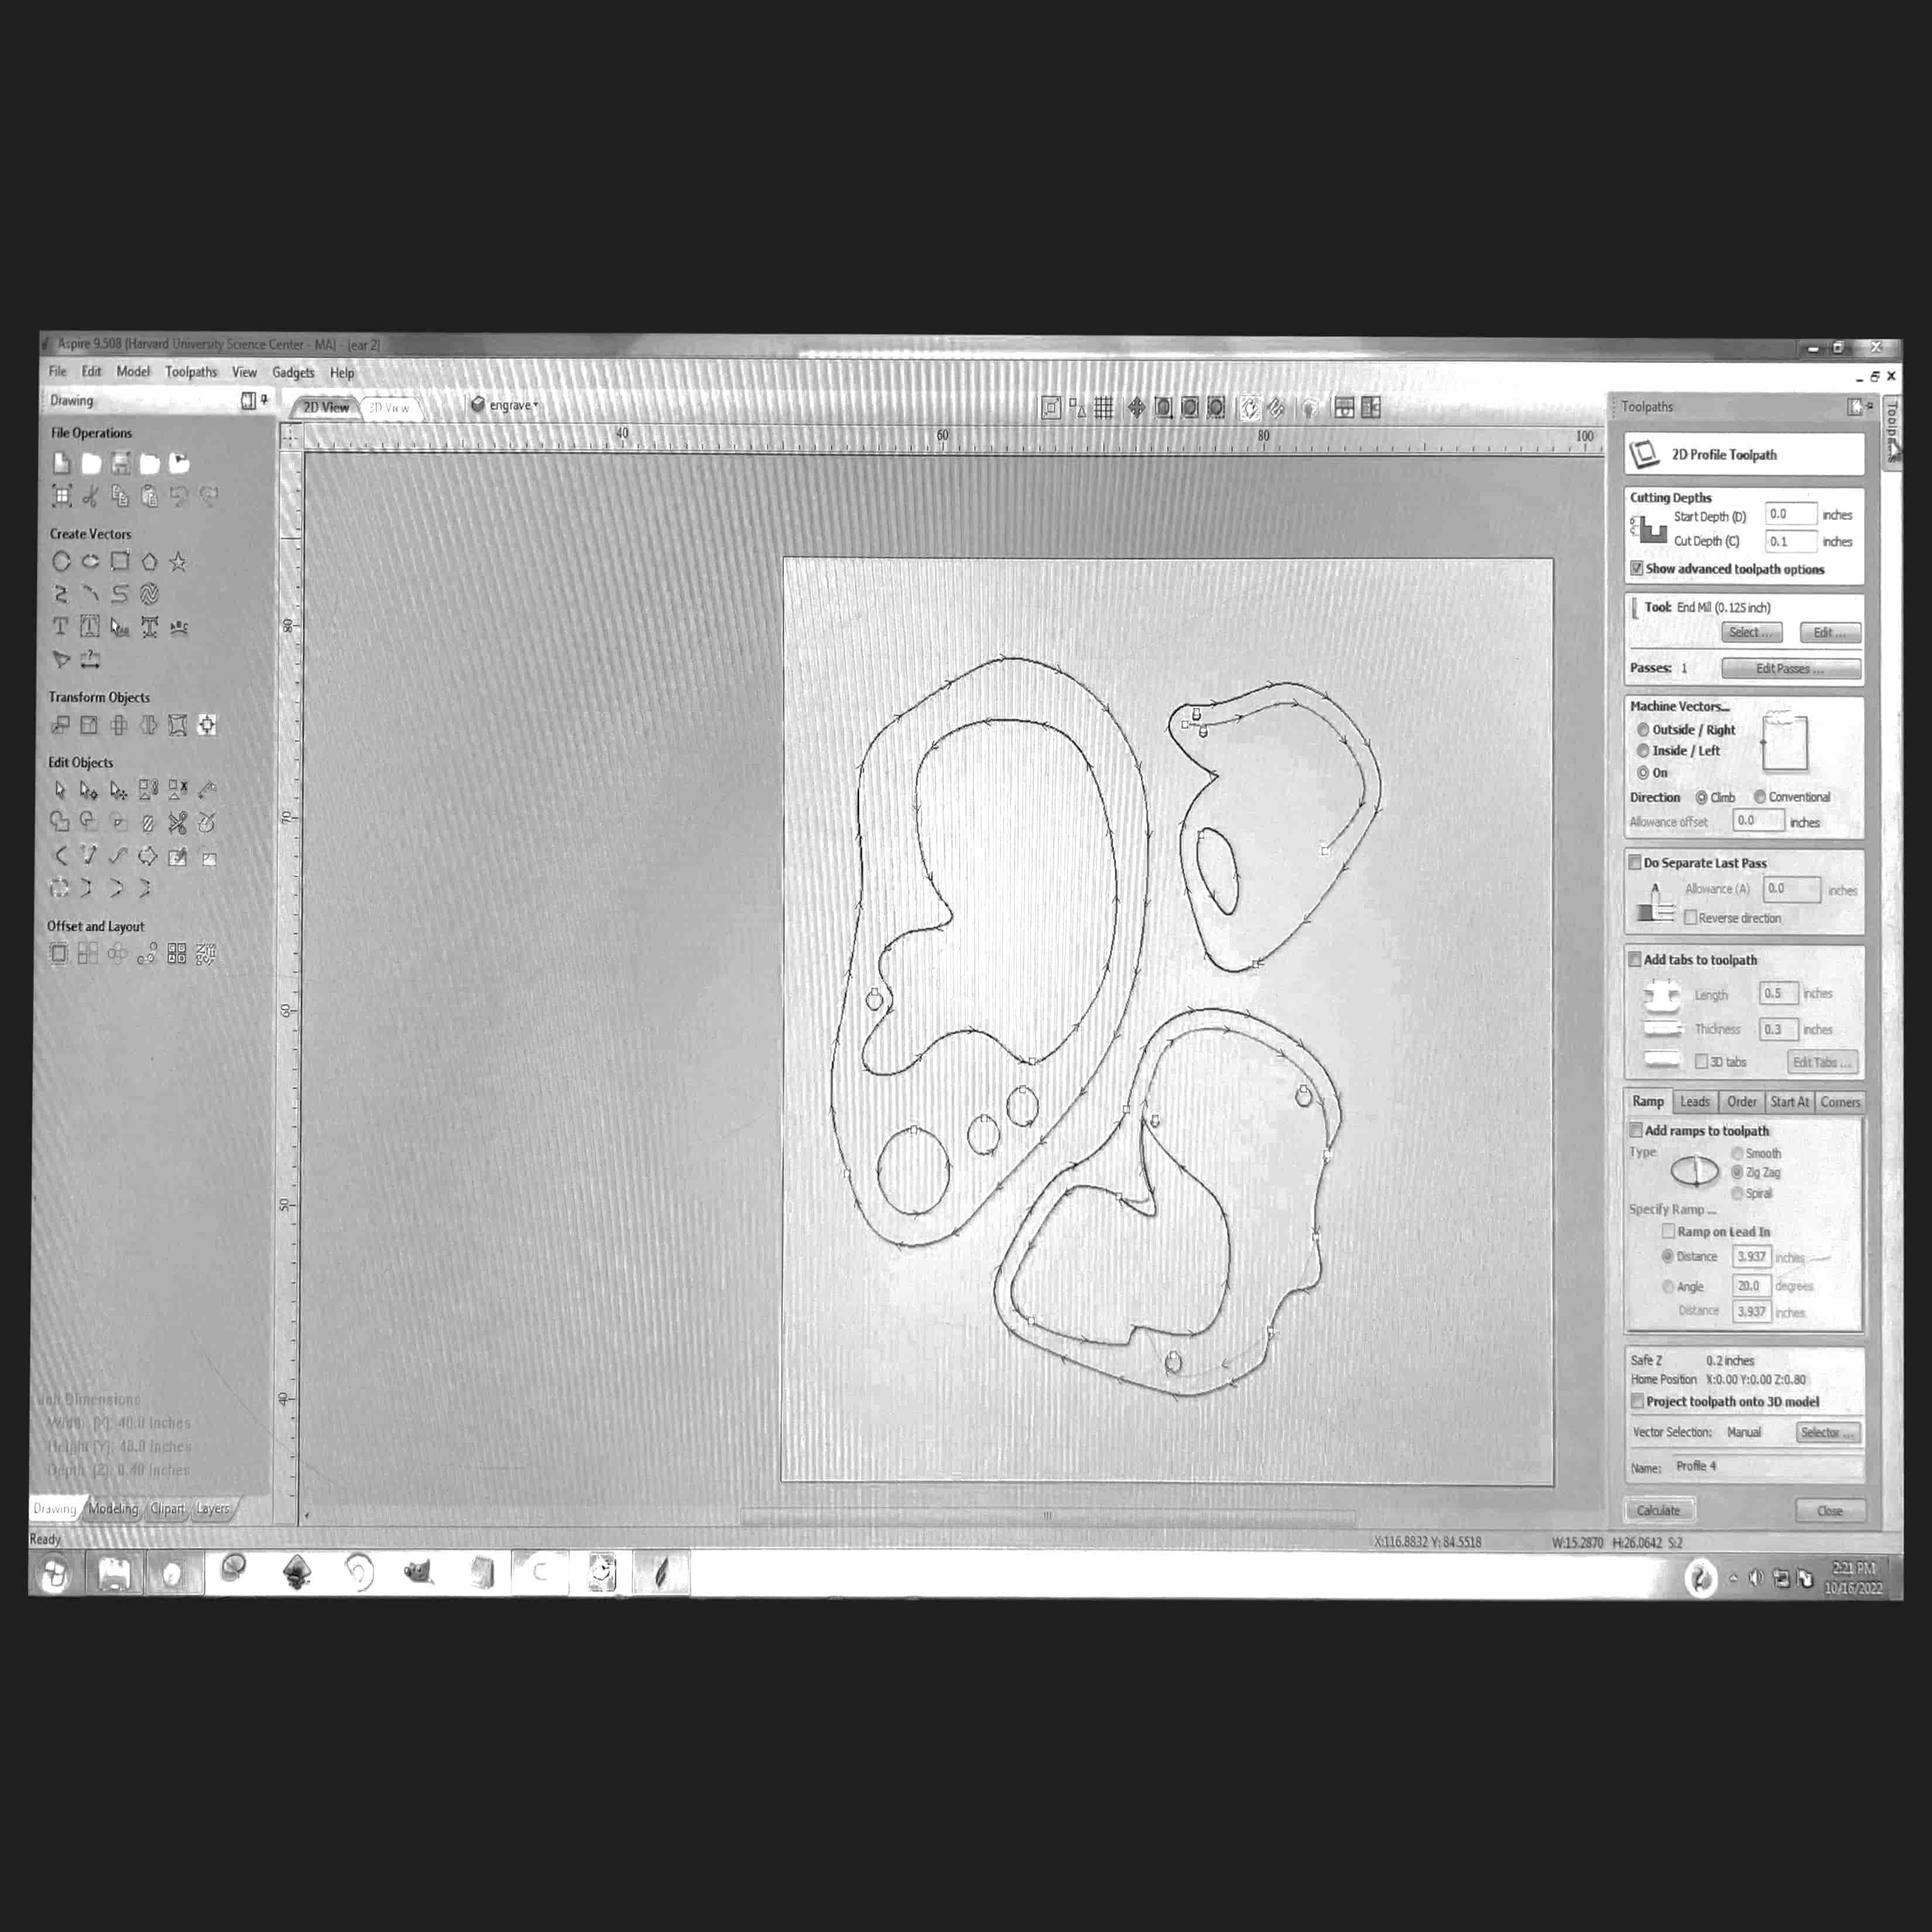
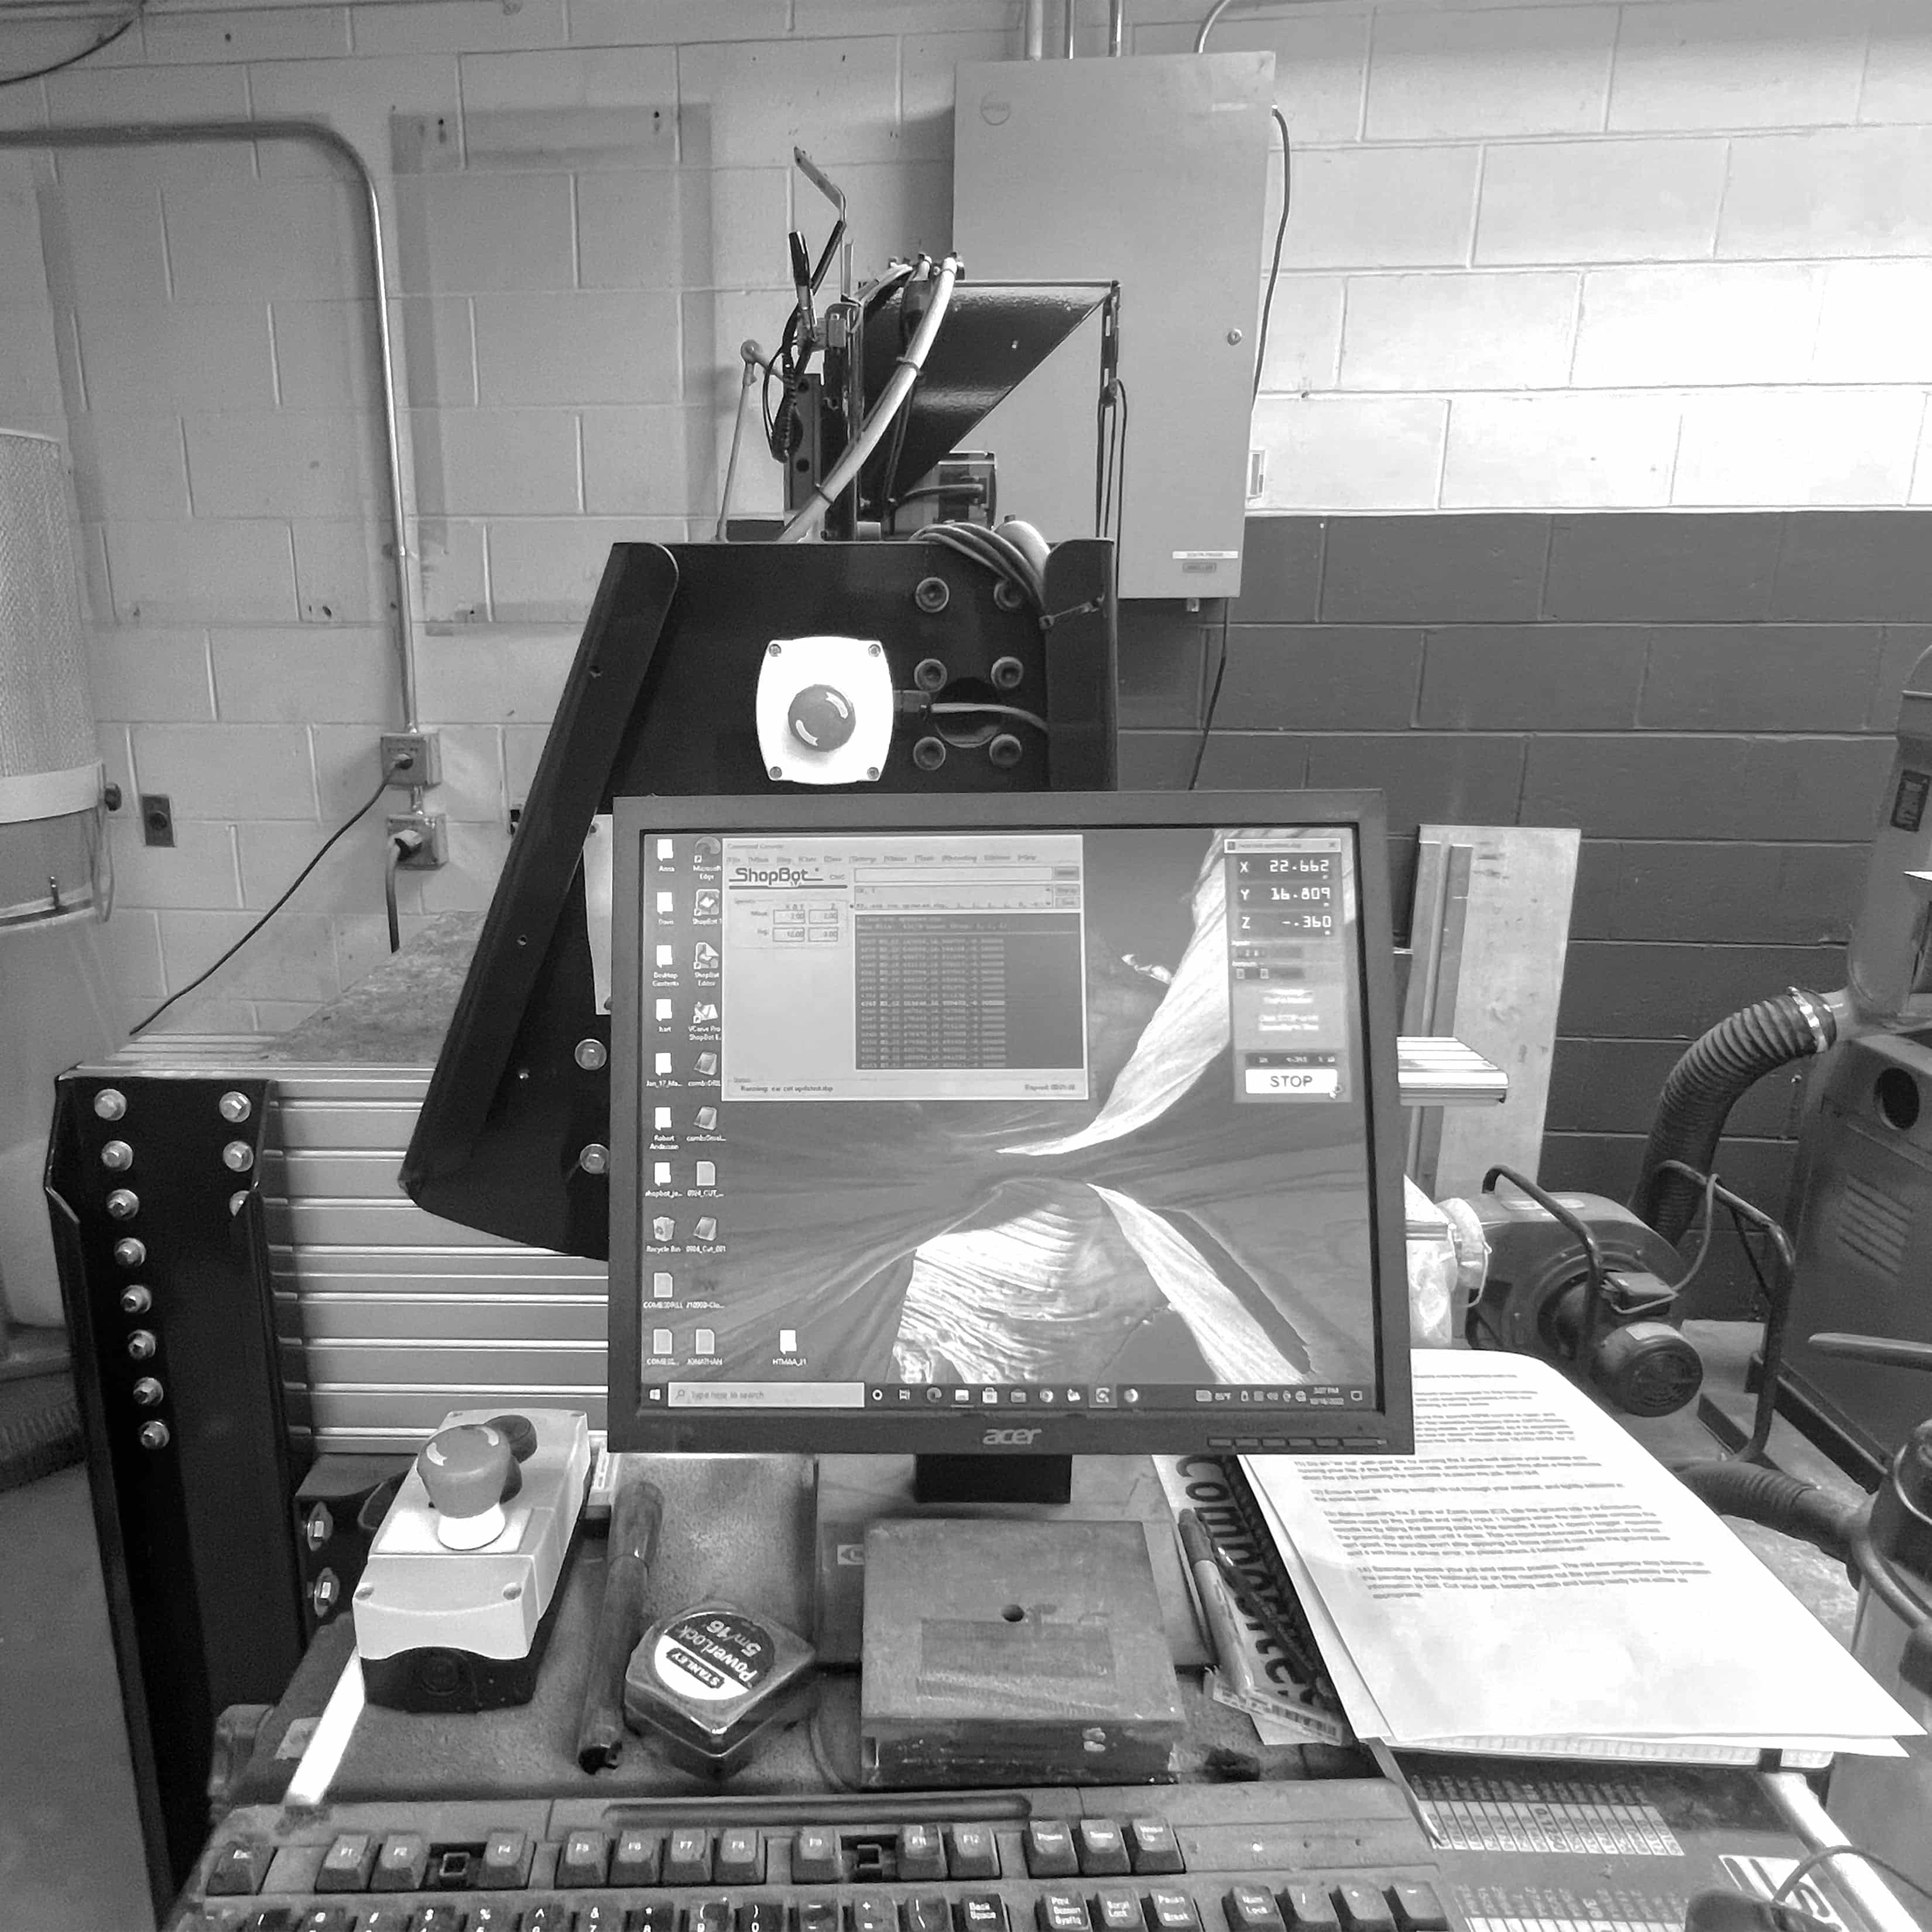
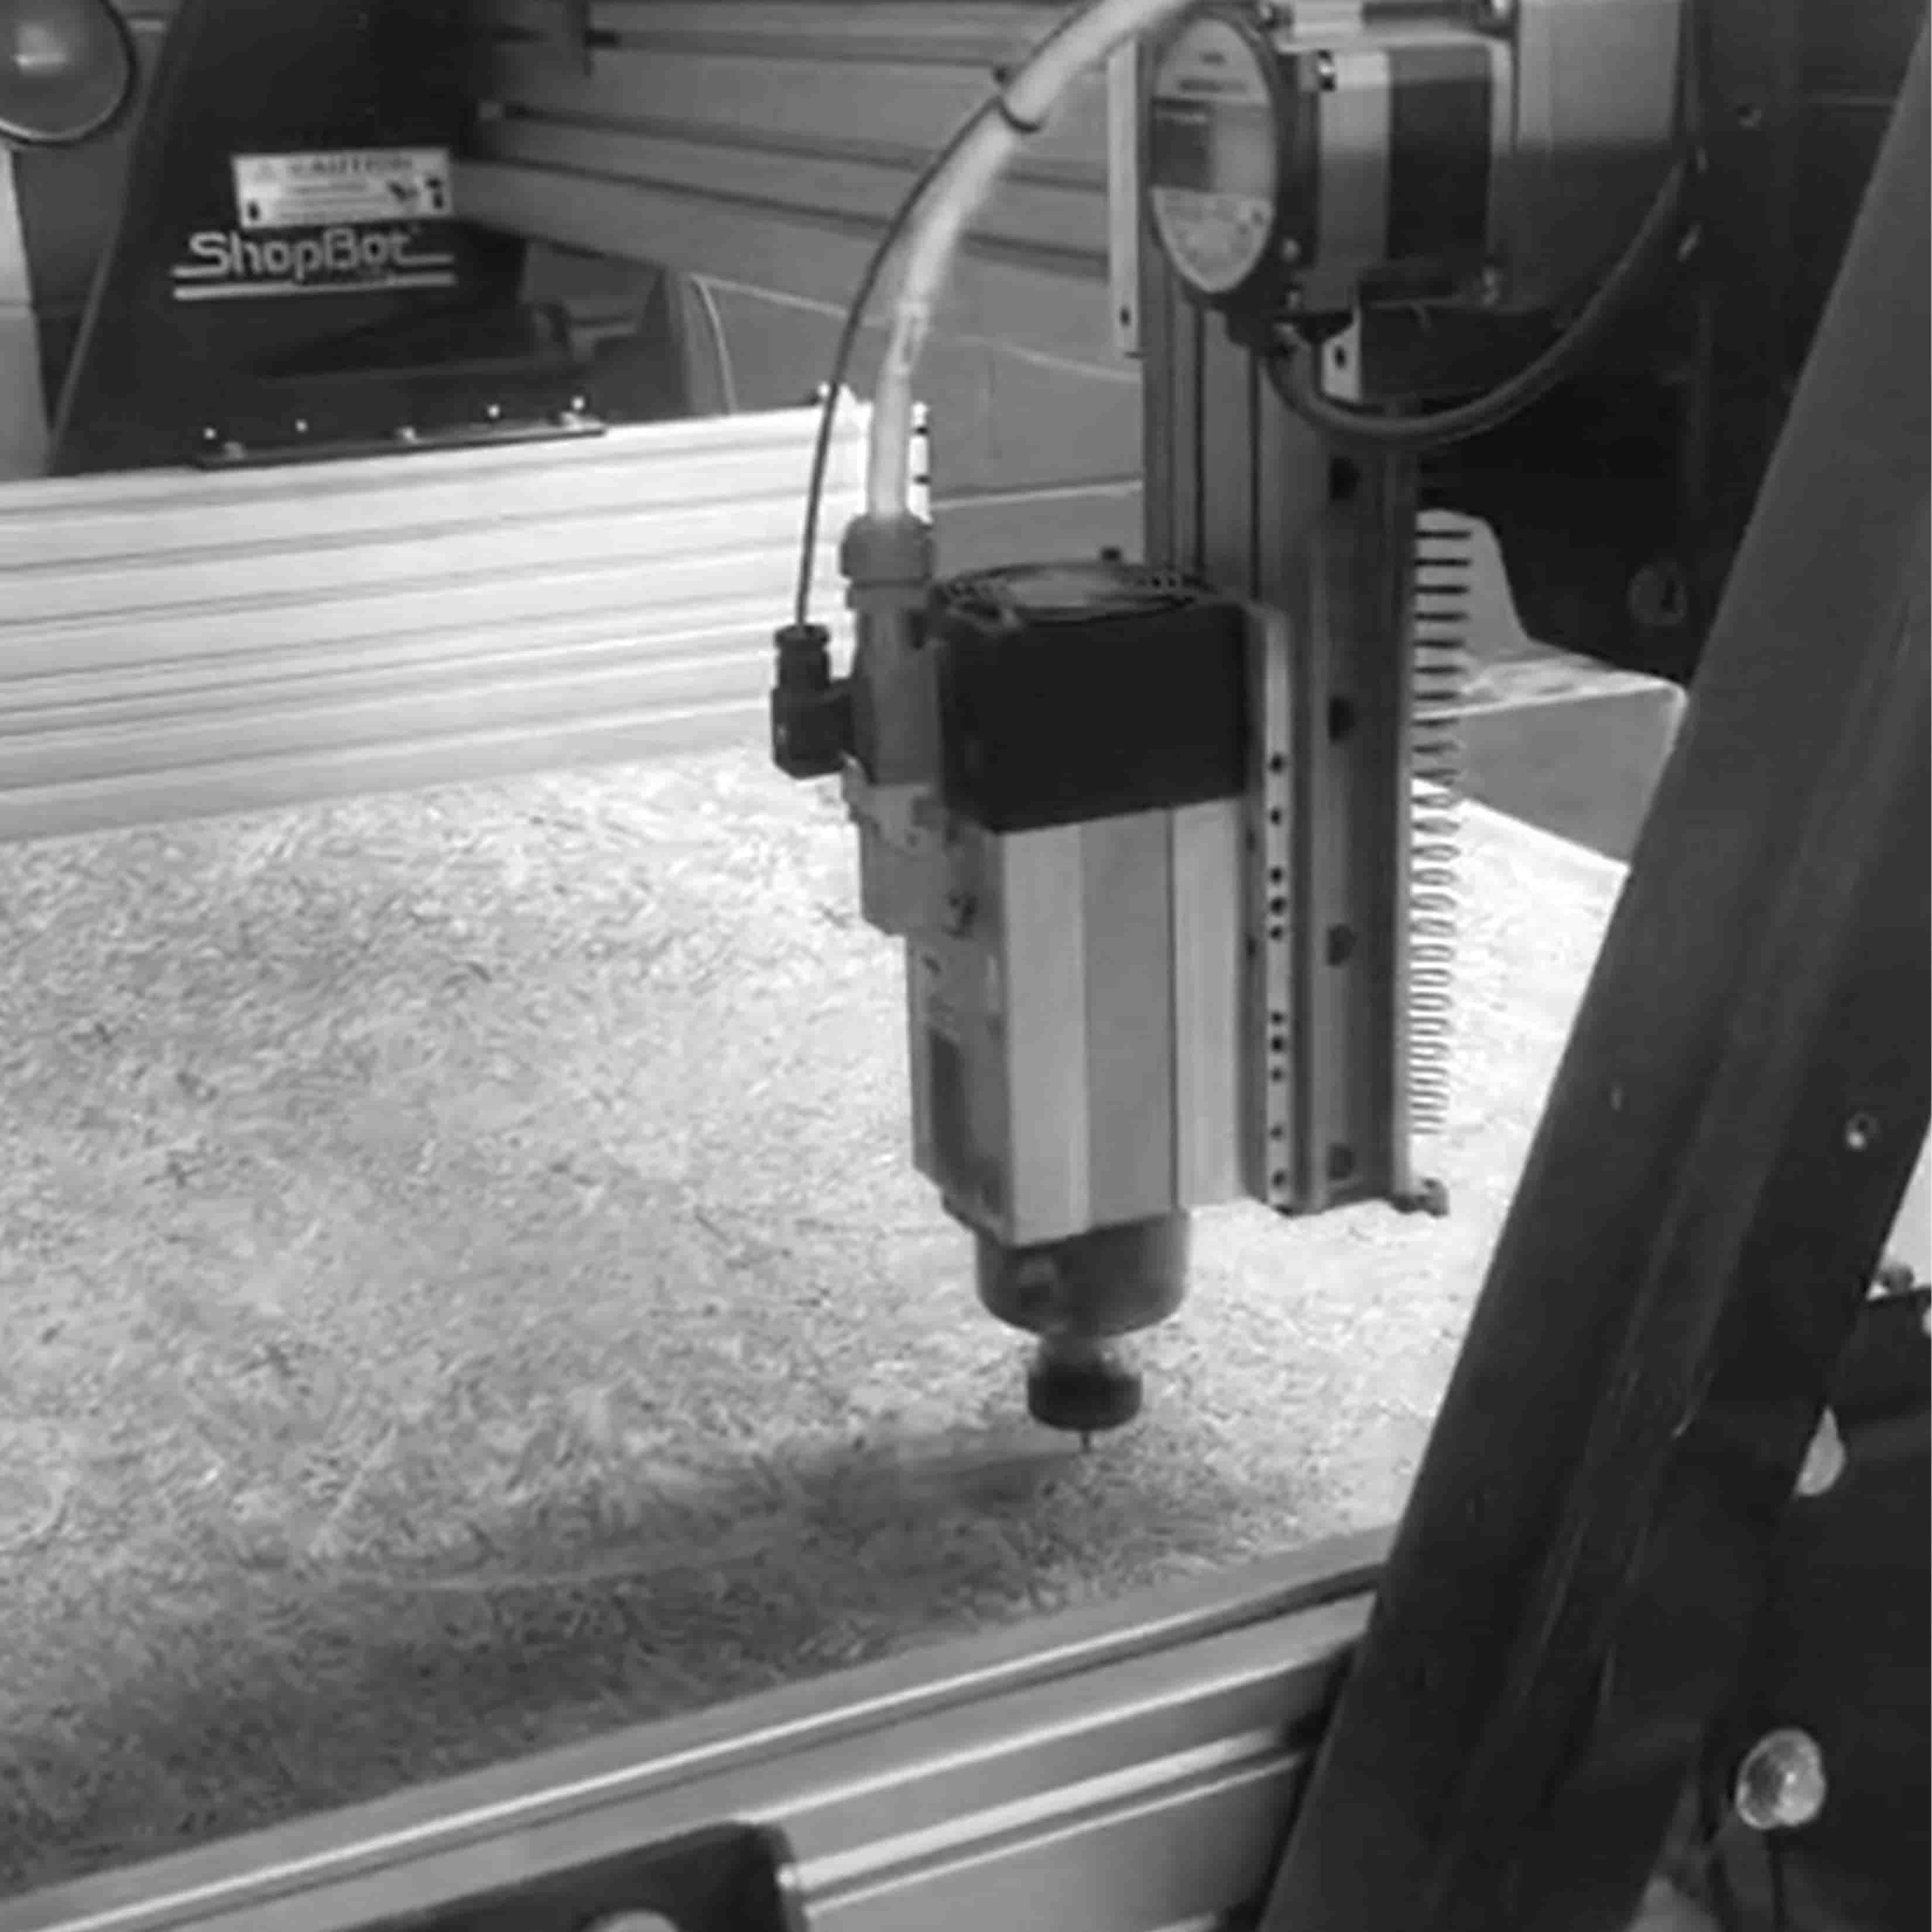
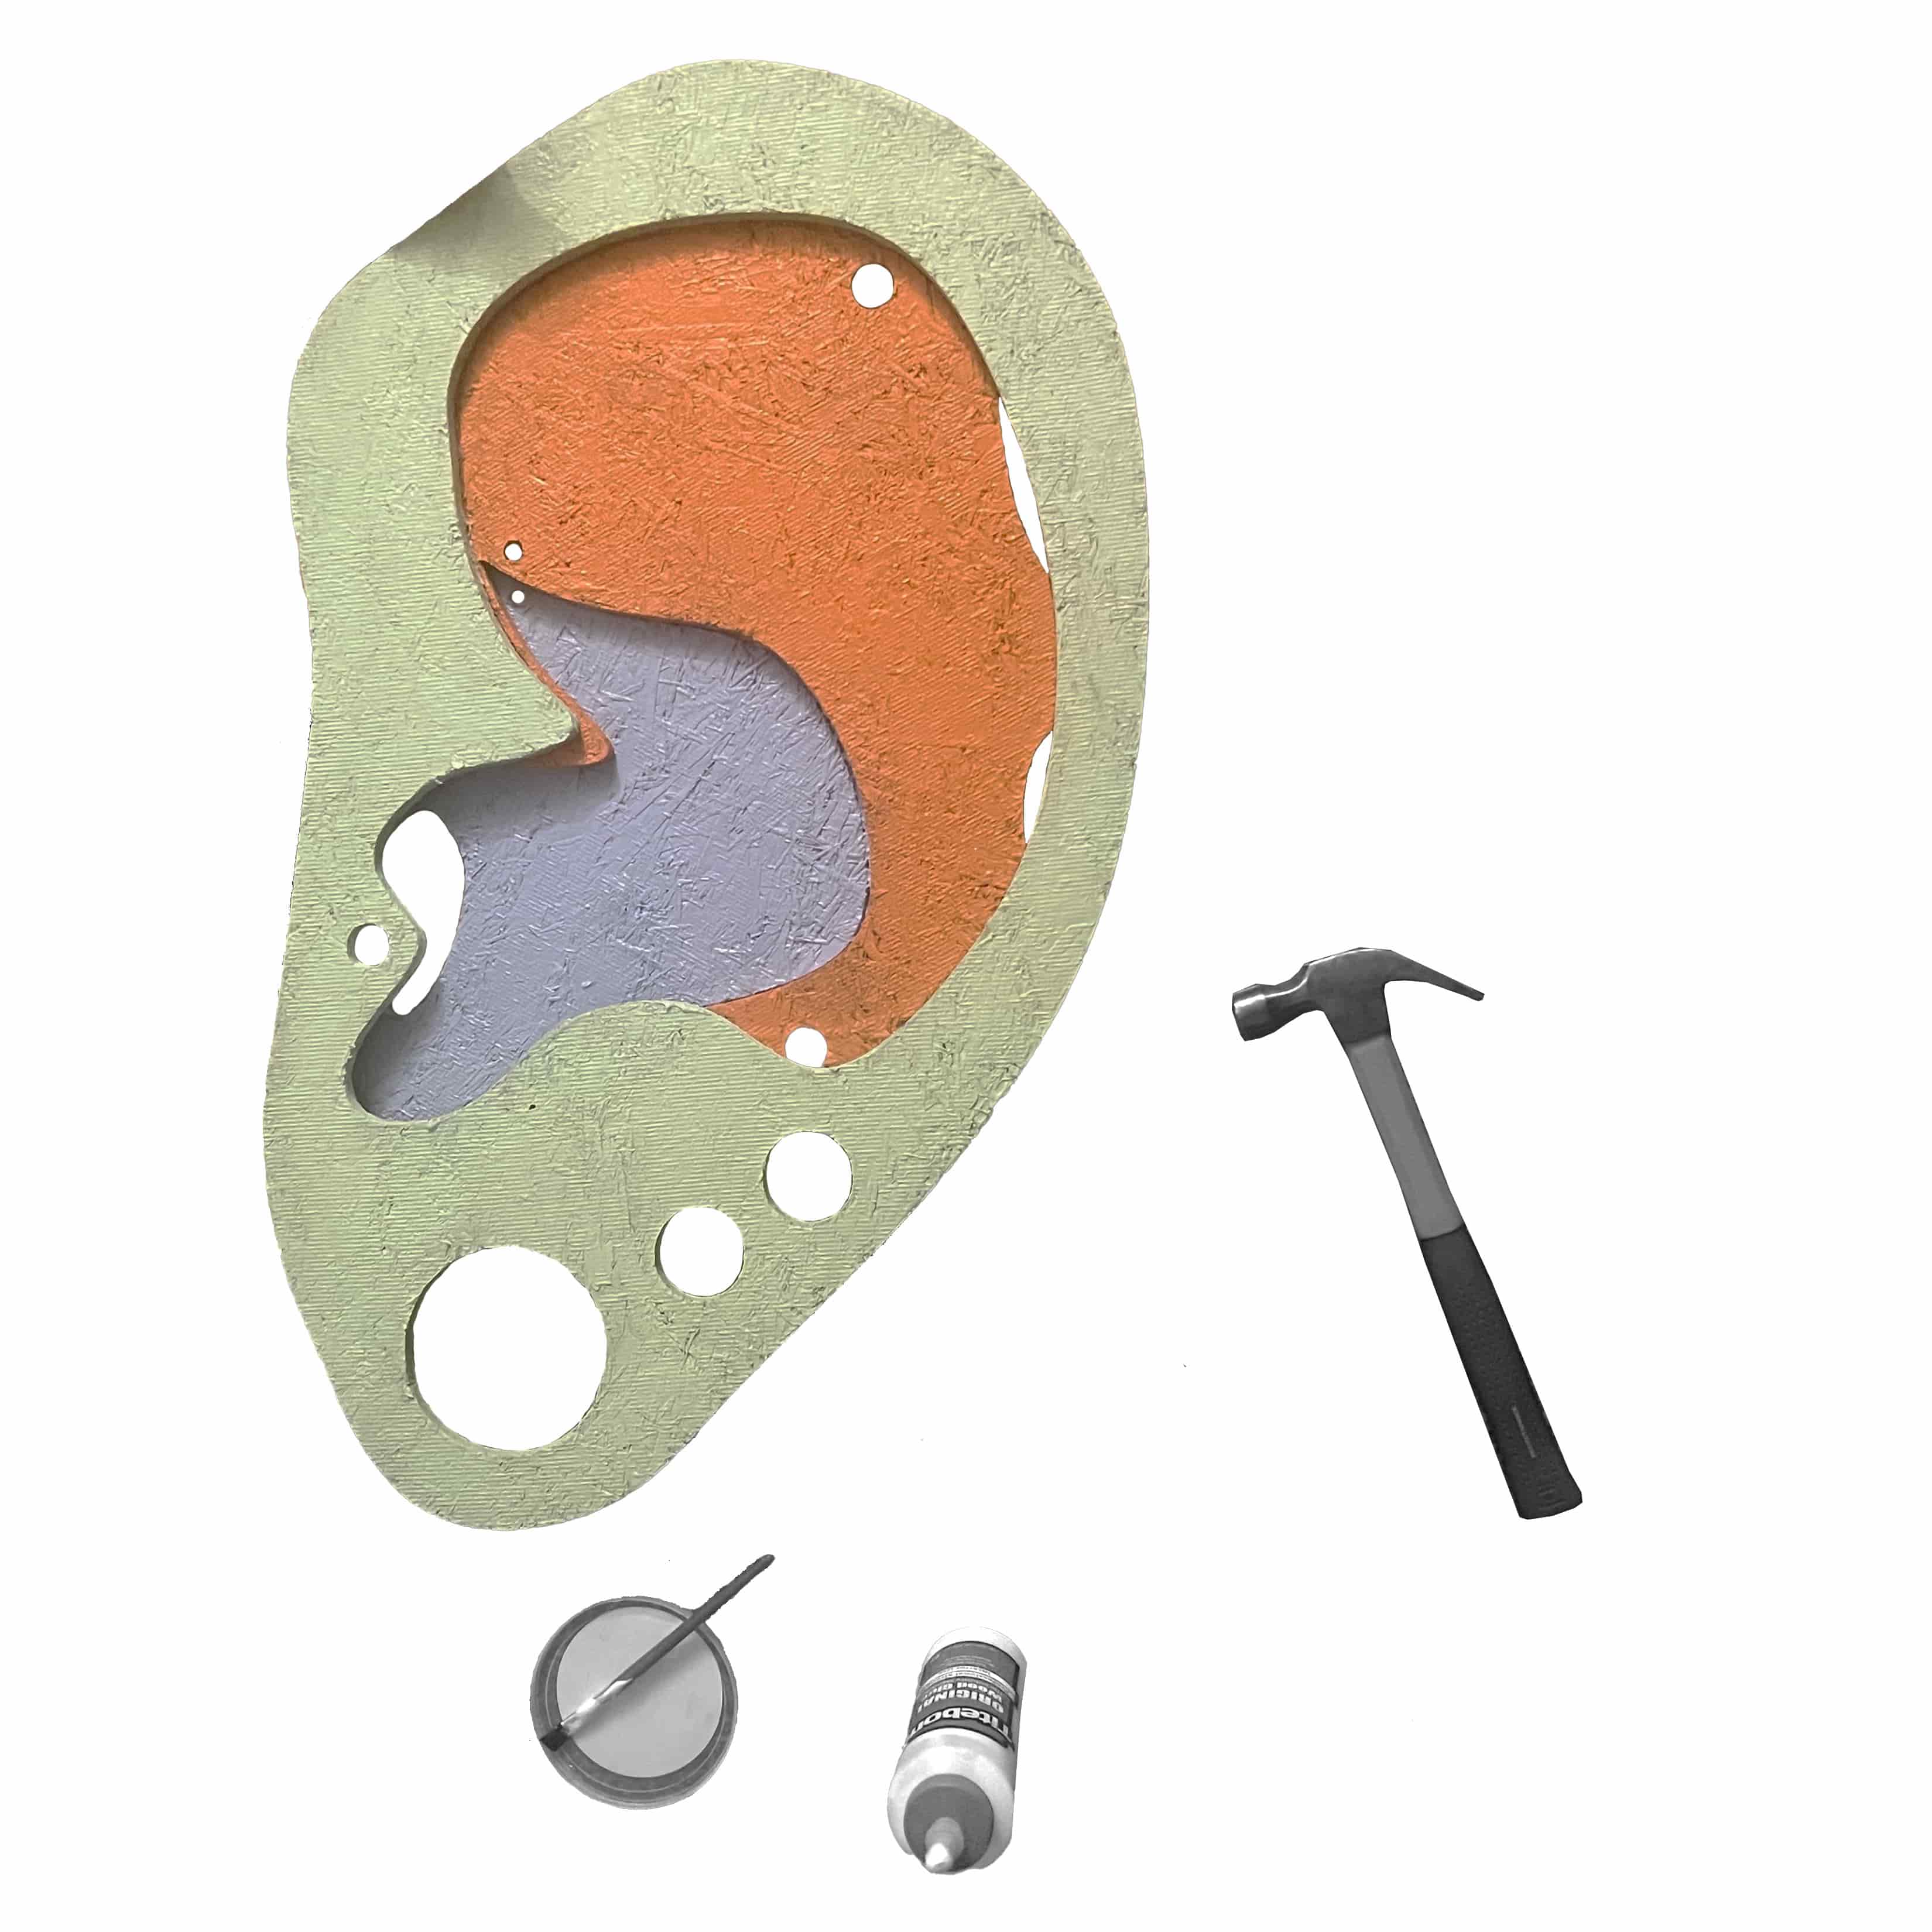
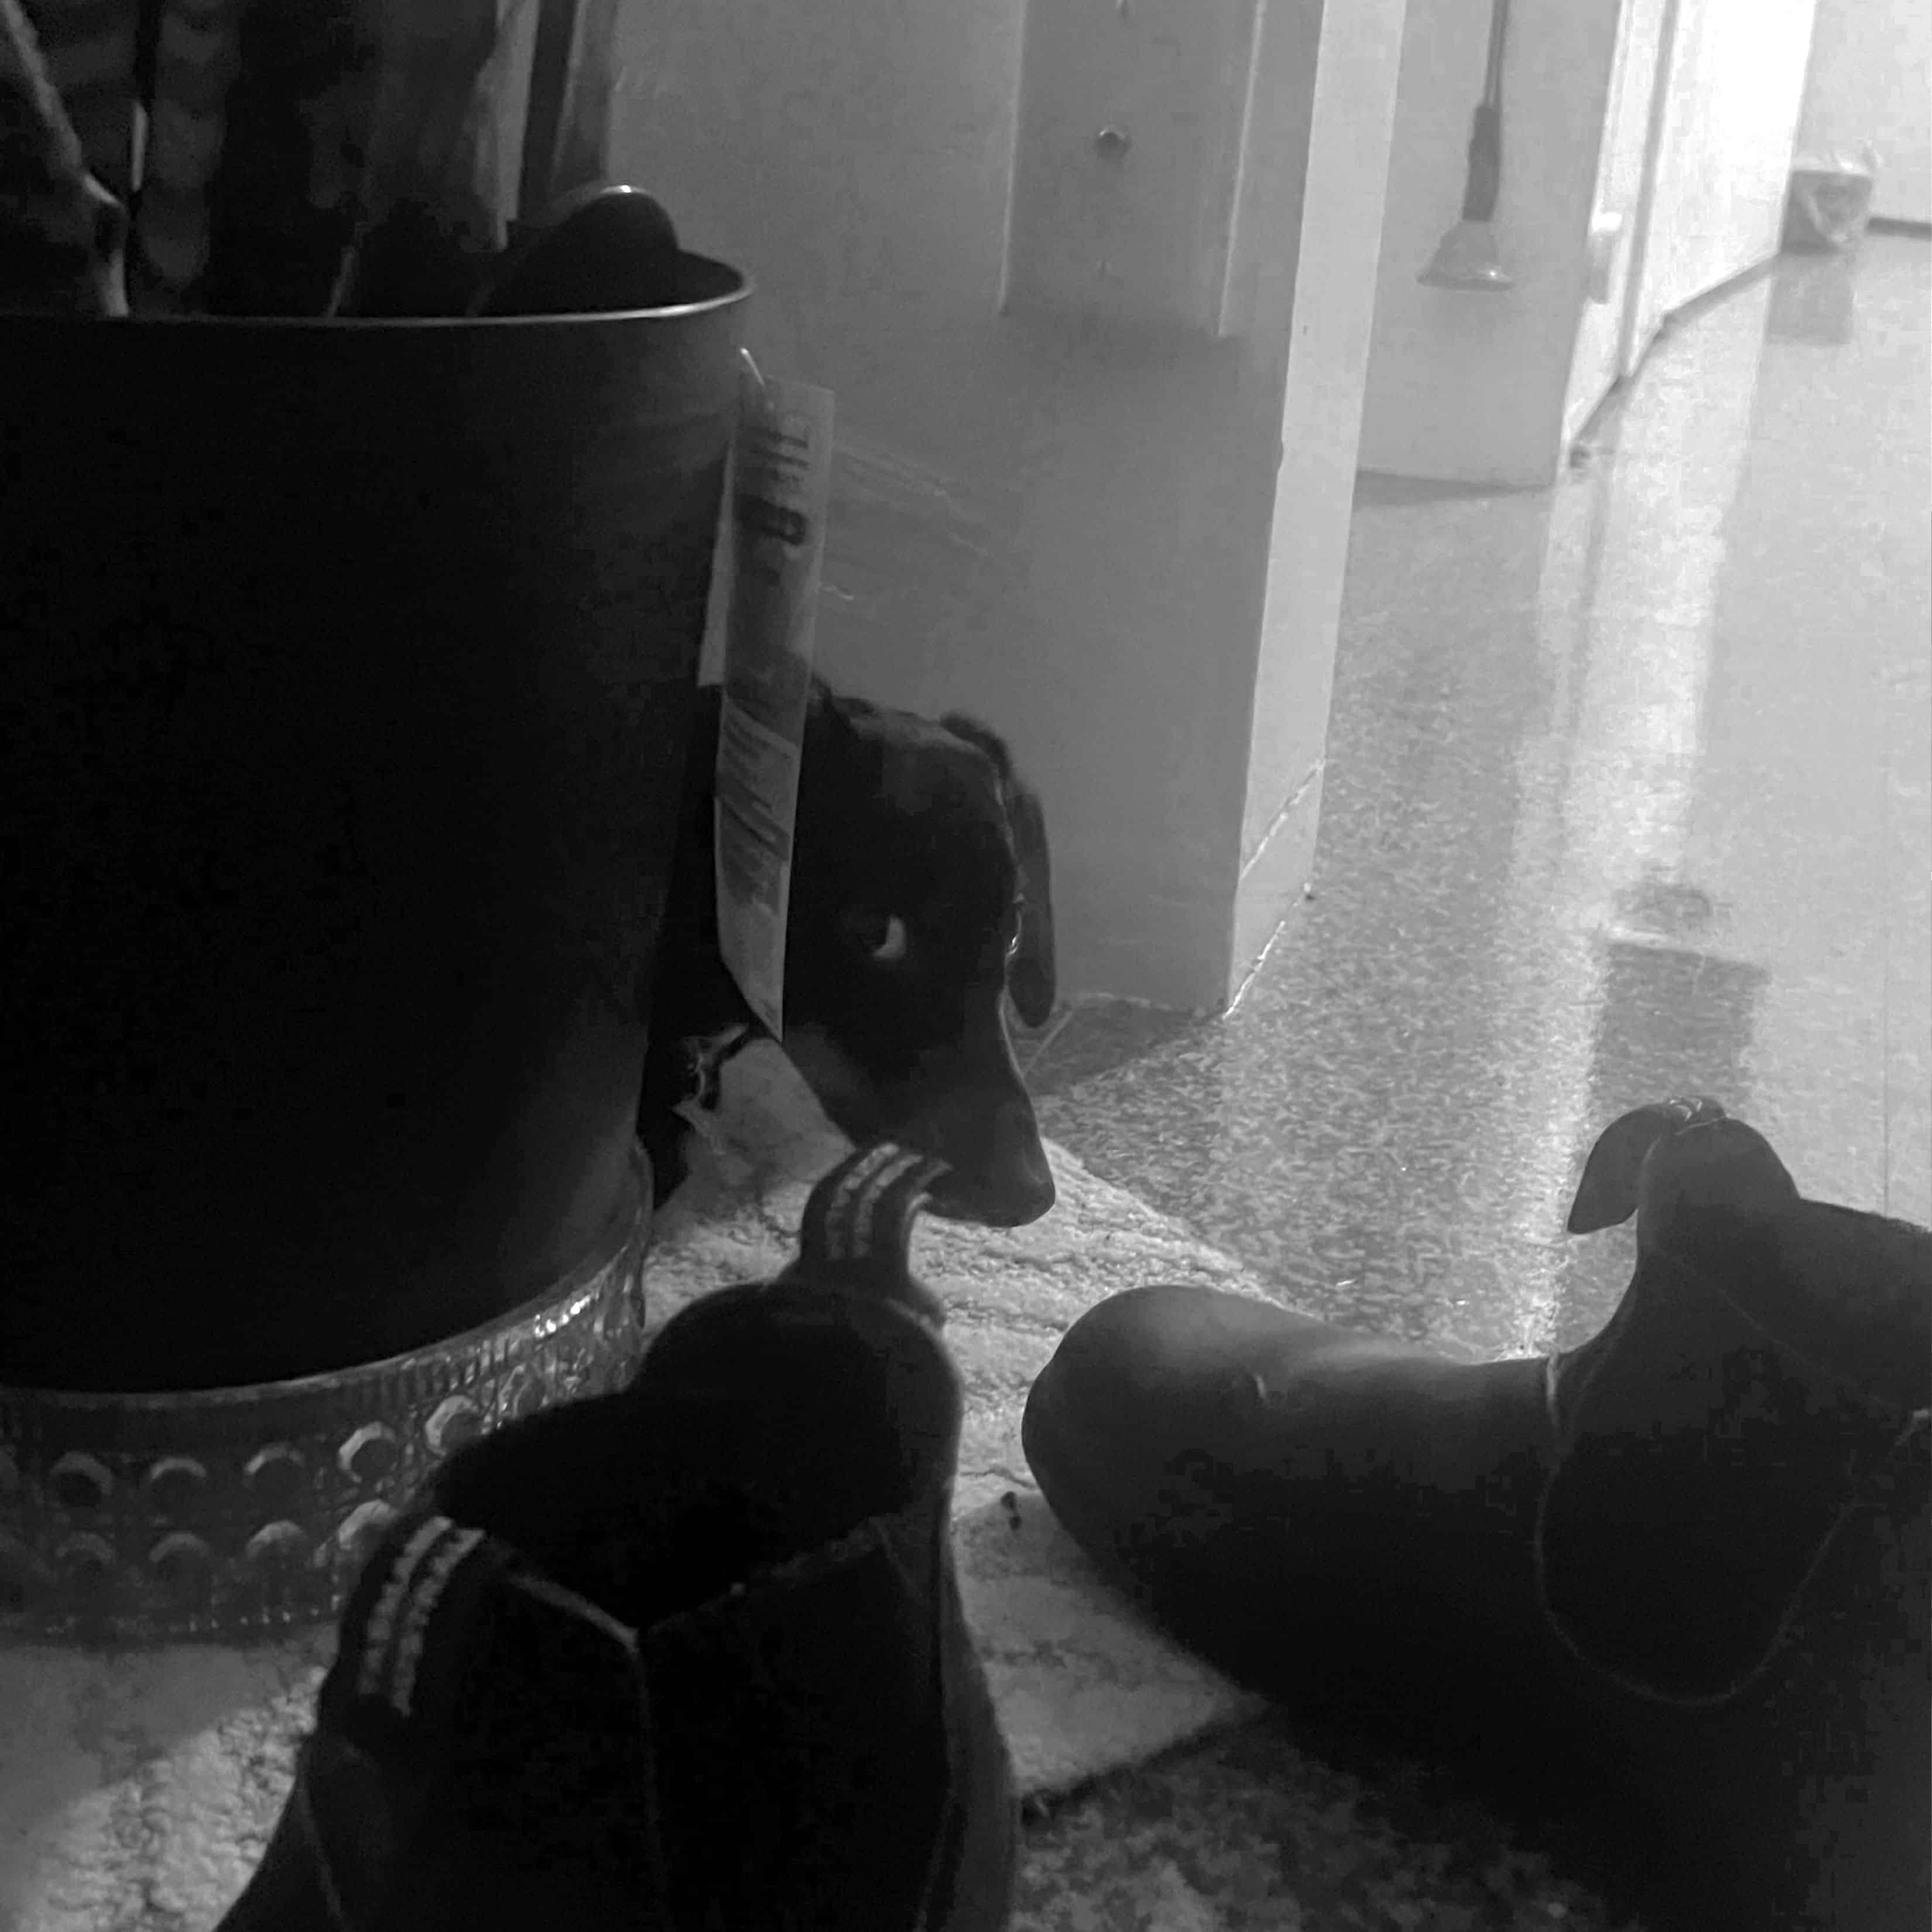
I began by drawing an ear in Rhino and separating it into 3 closed layers. I then figured where I needed holes and made overlap marking lines to help me line up the system later. When preparing the CNC file on Aspire, I was carefull to seperate outer curves cutting them on the outside at a depth of .48", holes cutting them on the inside at a depth of .48", and guide lines cutting them on center at a depth of .1". The process went quickly, I was the only person cutting curves that day so Nathan and I were curious about machine speed. On large curves the machine moved quickly but with circles with a radius of less than .5" , the machine moved very slow. If I was to repeat this I would engrave the guide lines before making any cuts to avoid those scary moments of the pieces popping out. I took the pieces home, coating the splintery edges in clear acrylic and spray painting each one as pictured. I then attached them with wood glue and a few nails. My puppy did not like the nail part (I included a picture of him hiding behind the potted plant to avoid the scary noise). I wish I had a less splintery material as this was impossible to sand and was very splintery.