Idea
In this post, I will go over how I created a simple multi-colored dot art image using a vinyl cutter. If that description
does not give you a clear image of what I mean by this (which I expect), check out the image of a pixelated banana below for
an example. I will go over the steps to creating a dot art image from any photo in Photoshop and then using a vinyl cutter to cut out the dots of different
colors on different colored vinyl. All in all, editing a photo like this is an easy undertaking in Photoshop, but the
vinyl cutter made this into an almost unbearable prototyping experience that made me feel like Murphy's law was slowly
turning into my reality any anything (everything) that could go wrong went wrong. Let's begin!
Vinyl cutters cut vinyl of one color at a time, which means that most stickers people cut from vinyl is one color and one color only.
I wanted to challenge this and create multi-colored vinyl art by reducing the colors of an image to a few vinyl colors available, and then print
one color at a time on top of each other. The biggest challenge to this idea is the fact that vinyl is sticky and sticking it on top of some vinyl that was already printed somewhere usually
means that whatever is printed below will be torn off by the layer above. This gets more and more exciting the more colors you add. Nevertheless, I had a few ideas I was willing to try.
Creating Dot Art from Photos in Photoshop
The first step to getting to a dotted image was to convert one into a dot art version. A great way to get a rough preview of what our picture
can look like can be generated with free online dot art generators like this one here from IMGonline. I went through my photo library but soon realized that most photos were not suitable for just the few colors I wanted to work with. Pictures have to be extremely
simple and ideally only contain about 2-3 distinct color groups. I first tried my luck with this free online stock image of a butterfly, but you will soon see that it will turn into a nightmare by the time I wanted to print it. Really choose simpler pictures with much less colors.
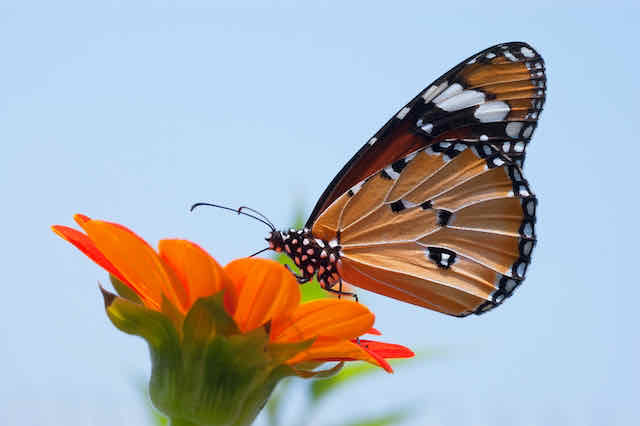
First attempt with a stock photo of a butterfly. Credits to Debadutta for this amazing shot!
In Photoshop, we first convert the image into a dot art image and then separate the colors later. To create the dot art image, I first applied the mosaic filter to the image to pixelate it. I then
filled the entire image with a mask of dots with the same diameter as the width of the mosaic pixels (which I set to 100). Our image is now a dot art image,
with each dot representing the average color of the pixels in the area of its mosaic pixel (in my case, 100x100 px). As we later need to separate these dots from the background and
onto our print medium, it is important to add a good amount of contour around each dot (I used 25 px). It is also very important to consider how big you want your circles to be.
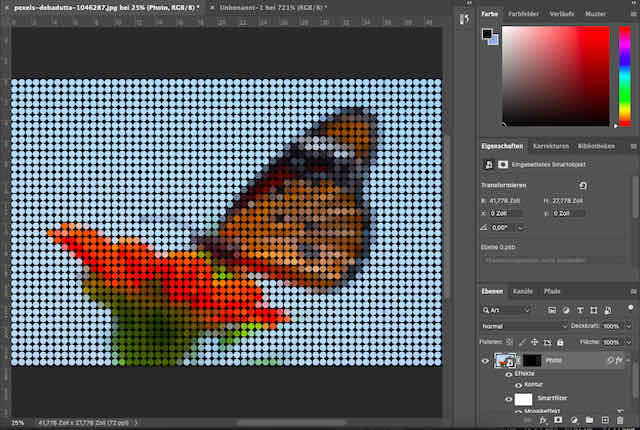
The mosaic filter and dot pattern applied to the butterfly image
As I plan to use two colors of vinyl for my print, we need to reduce the image to just two colors as well. I achieved this by adjusting the color mode from RGB to indexed color in Photoshop, which lets you
define which distinct colors you want to reduce the image to. Each dot will then be reduced to the "nearest" indexed color. Although this method works fine,
I found out that the same result is much easier to achieve using the separate colors functionality in Photoshop's image correction menu. The end result looks something like this and is a very good preview of our print.
For my export, I used the positive and negative colored version of the image, as the vinyl cutter I was using allowed to set a threshhold. If this were not the case, I would have to separate out the two distinct colors into two separate exports.
It was only at this stage that I realized just how simple a reduced image with only two colors is. Luckily, the banana came out great, but I also had a few more complex images that turned out miserable at this step. I highly recommend using one of the online tools previously mentioned to get an idea for the result!
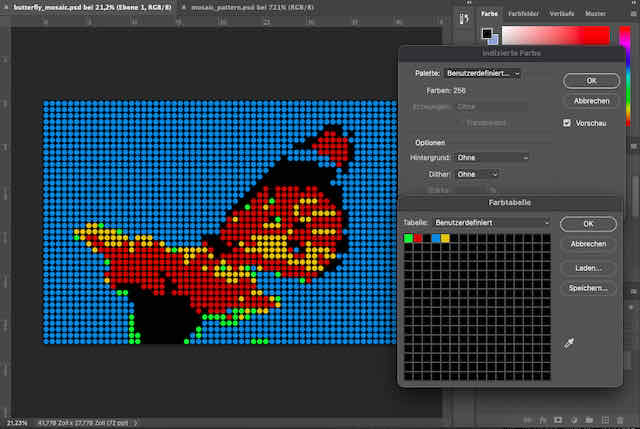
The butterfly image reduced to three color channels hardly looks anything like the original image

Very simple pictures with contrasting and easy-to-separate colors work best with this technique
Cutting Dot Art Images on the Vinyl Cutter
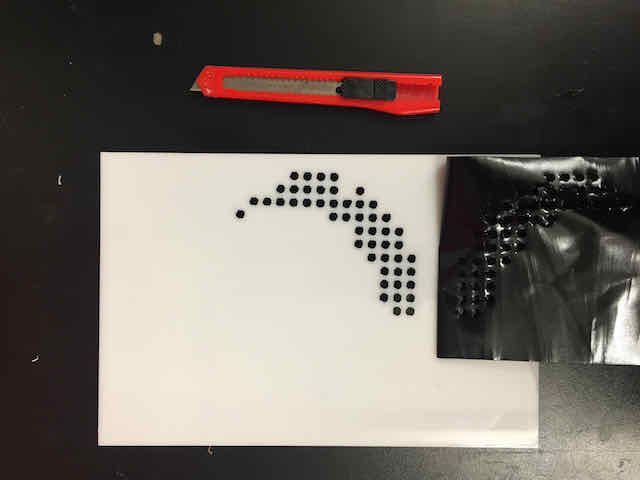
I decided to use black and yellow vinyl as the two color layers to print. My foreground image (the banana) would be black and the background would be yellow. The order of printing them later is very important, so this is an important consideration to make.
After cutting the black banana pattern, I immediately realized the dots were way too small and did not come off at all. I scaled down the DPI to fix it, but now the resolution was so bad that the edges
of the circles did not separate cleanly anymore, so I went back to Photoshop to fix it. I repeated this process about 8 times until I finally found a circle size that the cutter could reliably cut cleanly.
With all the circles I was cutting, the vinyl cutter knife appeared to be losing sharpness, which created a few prints that failed in parts of the design (but too many to fix by hand). So, I changed the vinyl cutter knife and tried again.
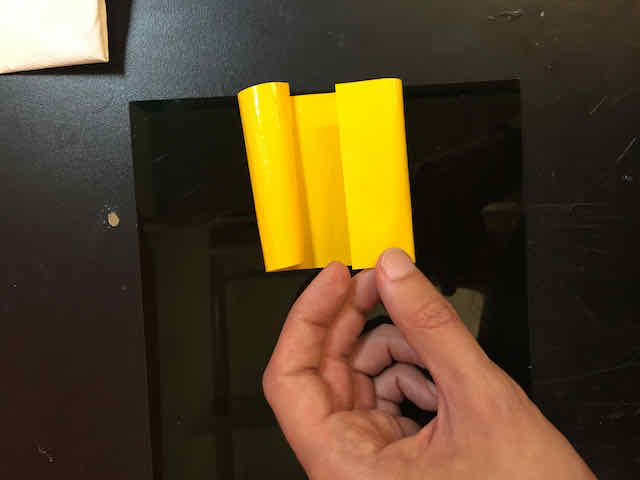
For the next few prints, the sharpness was too high, so that the cut patterns would mostly stick to the back of the sticker.

In this case, the banana foreground dots are cut too strongly, so the dots already separate on your paper back of the vinyl and stay there

Here, the contour was too low, resulting in the foreground dots all merging into one big pattern rather than individual slots
The cuts were not strong enough, leaving the circles unable to separate from the paper substntive
I eventually found a force level that worked just right. In addition, I radically reduced the number of dots on my image from around a thousand to just a hundred, and increased their size to get more surface area.
The resulting prints came out much cleaner and I was starting to get confident in being able to print with it. I also realized the medium I was printing on had a huge influence on the ability
of the dots to keep stuck. After some testing, I decided to go with acrylic as the base, since the dots glued strongest to it.
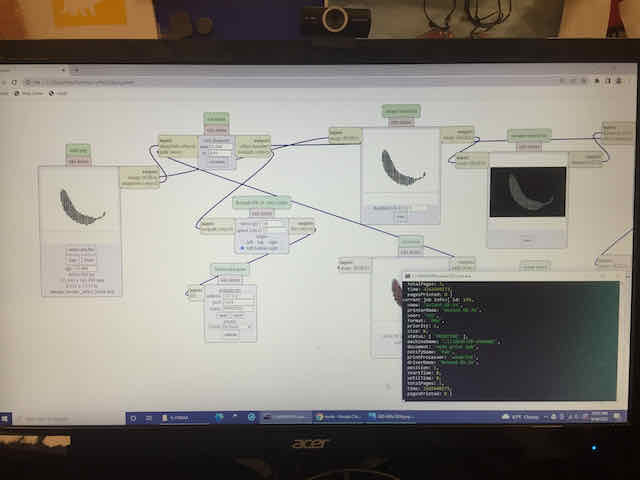
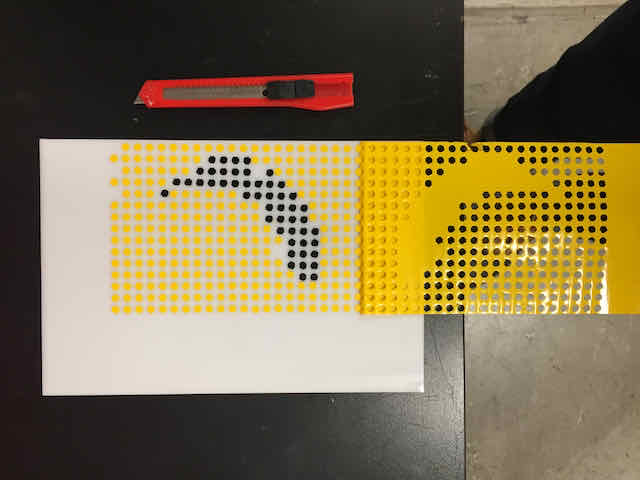
Generating the tool paths for the vinyl cutter
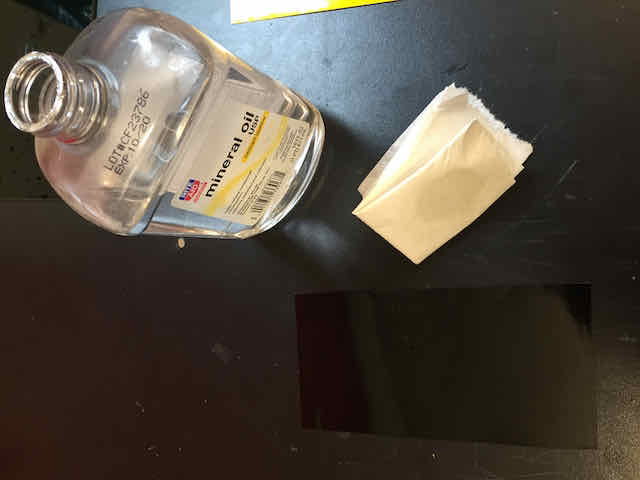
Wiping down the back surface of the black foreground layer with mineral oil, so nothing sticks to its surface later when we apply the next layer
Printing the black foreground banana onto the acrylic substrate
Printing multiple colors on top of each other is the trickiest part. I decided to first print the black banana (foreground) vinyl onto a white acrylic base. Before tearing off the vinyl to separate the banana dots from the background vinyl, I used mineral oil and some paper tissue
and covered the surface of the top of the dots with it. This would make sure that nothing sticks to the already printed dots, thereby removing them. The dots separated fairly cleanly, although some hardly came off (probably due to insufficient cutting force). I continued with the
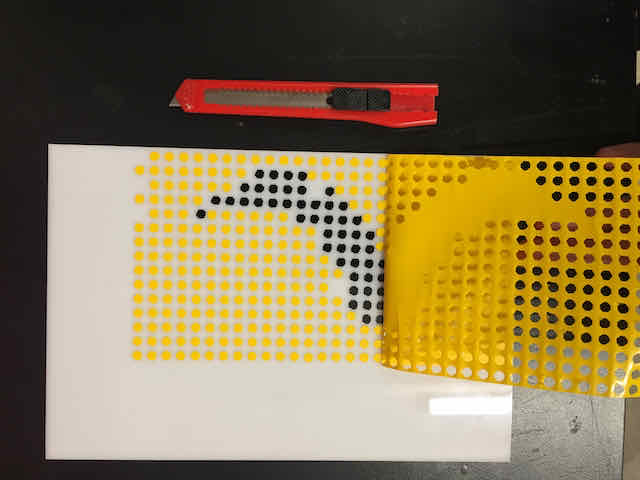
yellow background vinyl and printed it over the print that was already on the acrylic. I also used a piece of paper that I covered the first print with, just to make sure it would absolutely not get stuck to the sticky bottom of the second vinyl print. Luckily, the print
worked great and did not destroy the first color by a bit.

Starting to print the yellow background layer on top the black foreground
Print developing
Print finishing
Bonus Negative Prints
As the prints came off fairly clean, I ended up with two cool negative dot art prints as well. I decided to cut two
card stock post cards in the laser cutter and glued them on, giving me three prints in total.

Cutting post cards and an acrylic board to print the final print on
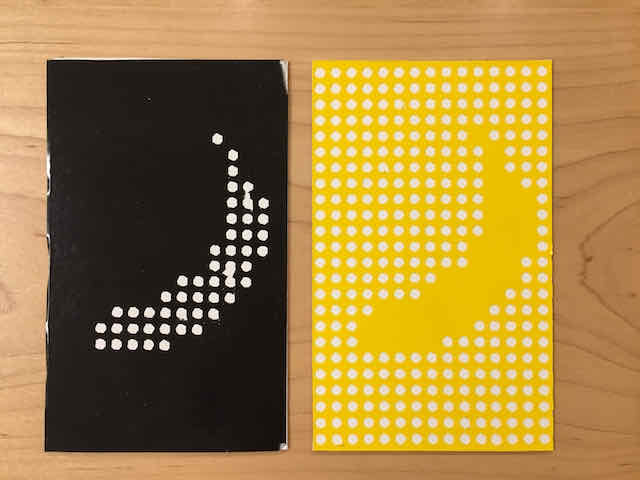
The negative prints on the post cards
Summary
Overall, creating multi-colored dot art images using vinyl cutter printing sounded much easier at first than it turned out later.
The choice of material, the finnicky nature of the vinyl cutter, the sharpness of the knife, the force, and so many other factors
made this a project very challenging. Nevertheless, I think there's hardly any cooler piece of art you can make
from just a vinyl cutter at home – and that probably comes down to the challenge of creating it.
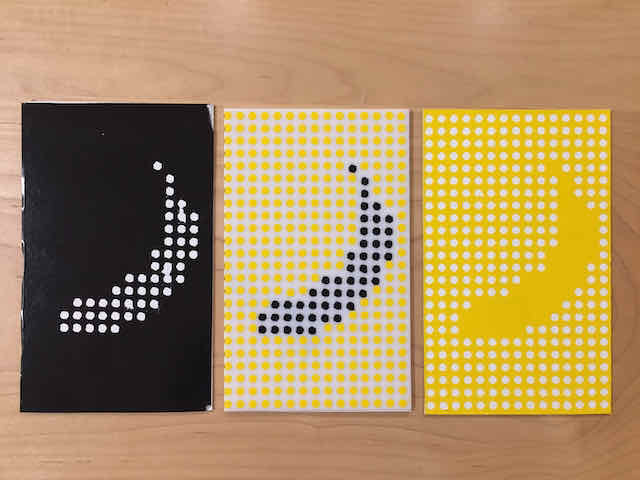
All prints together