Introduction
Have you ever heard about dogs smelling cancer, or about the women who could smell parkinsons I thought this was awesome. And I realized that I have never seem an artificial smelling machine device that is meant for biochemicals. So I decided that I was going to make it. And it was going to look like my nose.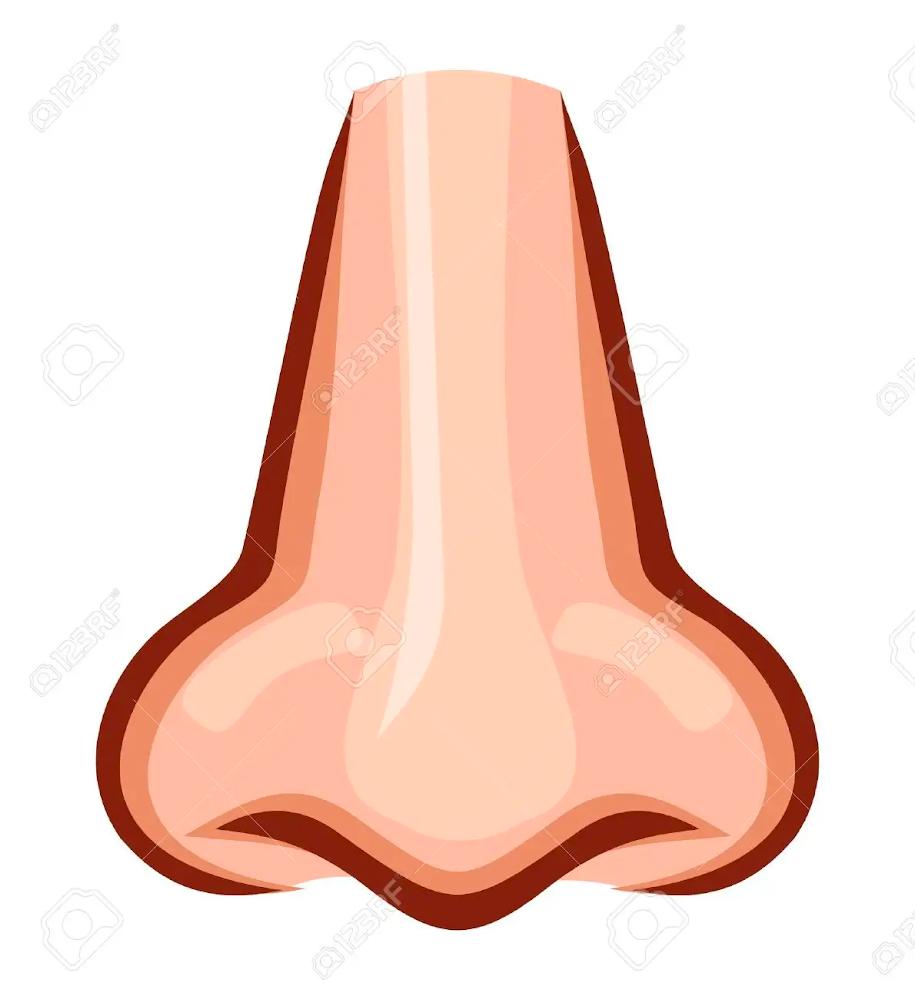

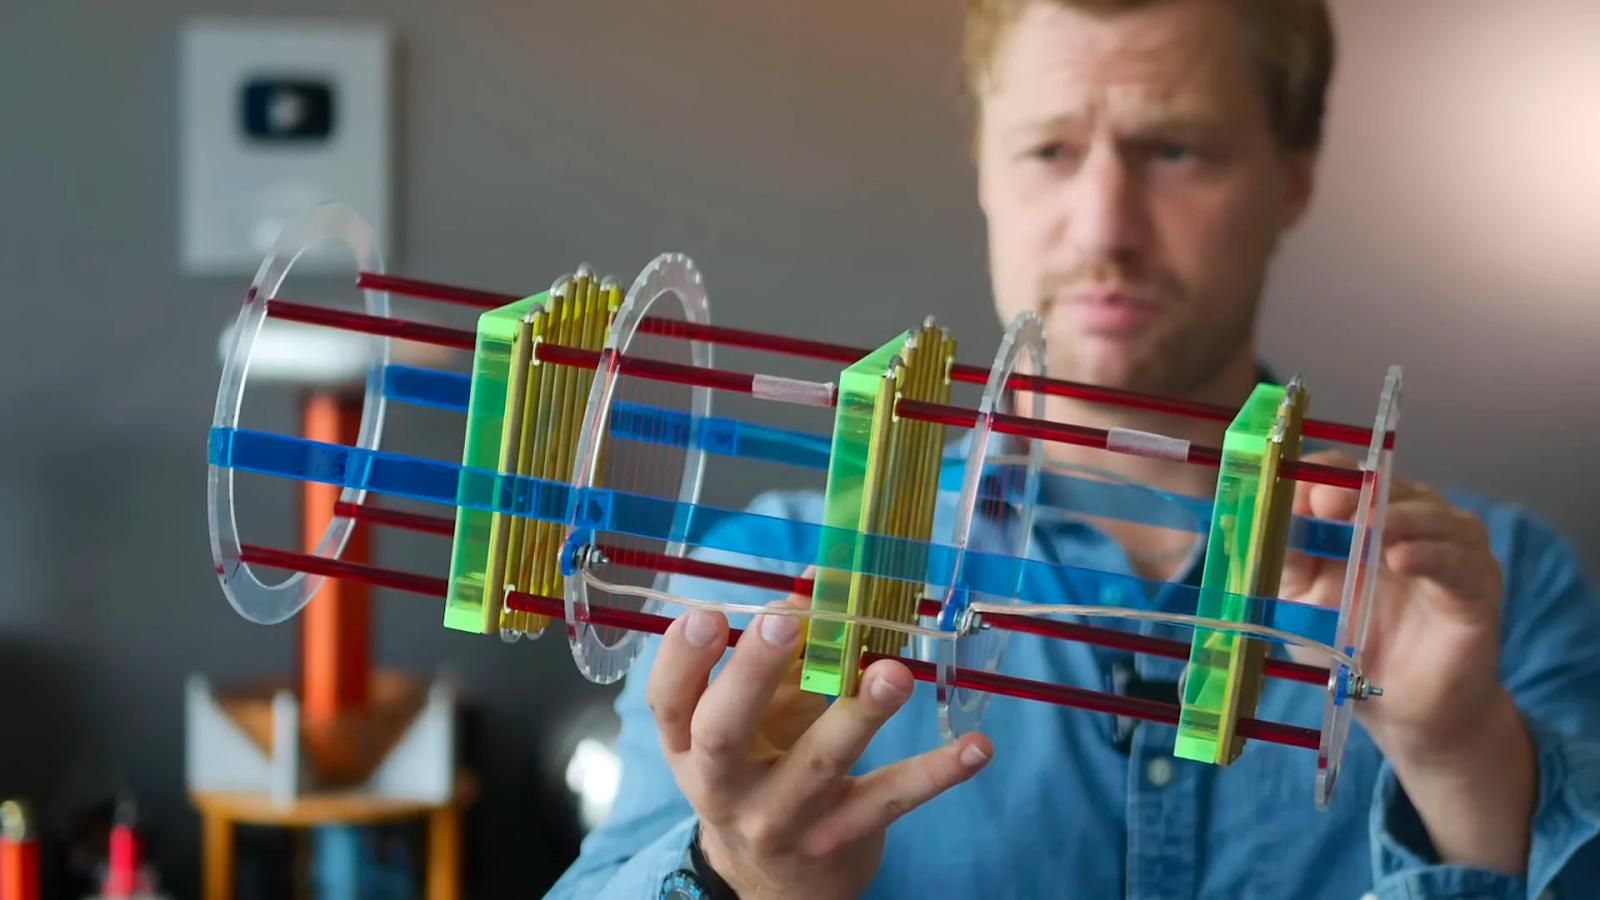
Making gas sensor holder
The form-factor of the holder for the sensors is important because it not only needs to get the gas and spread it across the different sesnors, but it also needs to deal with the heat of the sensors. I started by making a holder for a single sensor which incorporated screw holes. I think this was a good start but the issue is now to incorporate the 6 sensors I am going to be using and also the fan I am going to use for the gas. I see a problem because 3D printing a case might be hard because of the way 3D printing works with extrusions being the gas sensor.Edge Impulse
I am going to use this website as a guide for how to take my data and get a model as an output. I am going to be using a regression model rather than a classification model. A regression model gives a number/percentage out rather than a word. Classification outputs words. I want to focus on biochemicals. So I believe at first I want to choose 1 biochemical and see the differences in smell of the concentration of that biochemical.Designing a Holder
In the final product I wanted to put it in a device that looks like my nose. But for the trainings I wanted to make something that could hold all of the sensors I would be using, and have a fan blowing away to create a vaccuum that would pull smells. For this I jsut printed a hexagon because I am using 6 sensors with a space on top for a fan.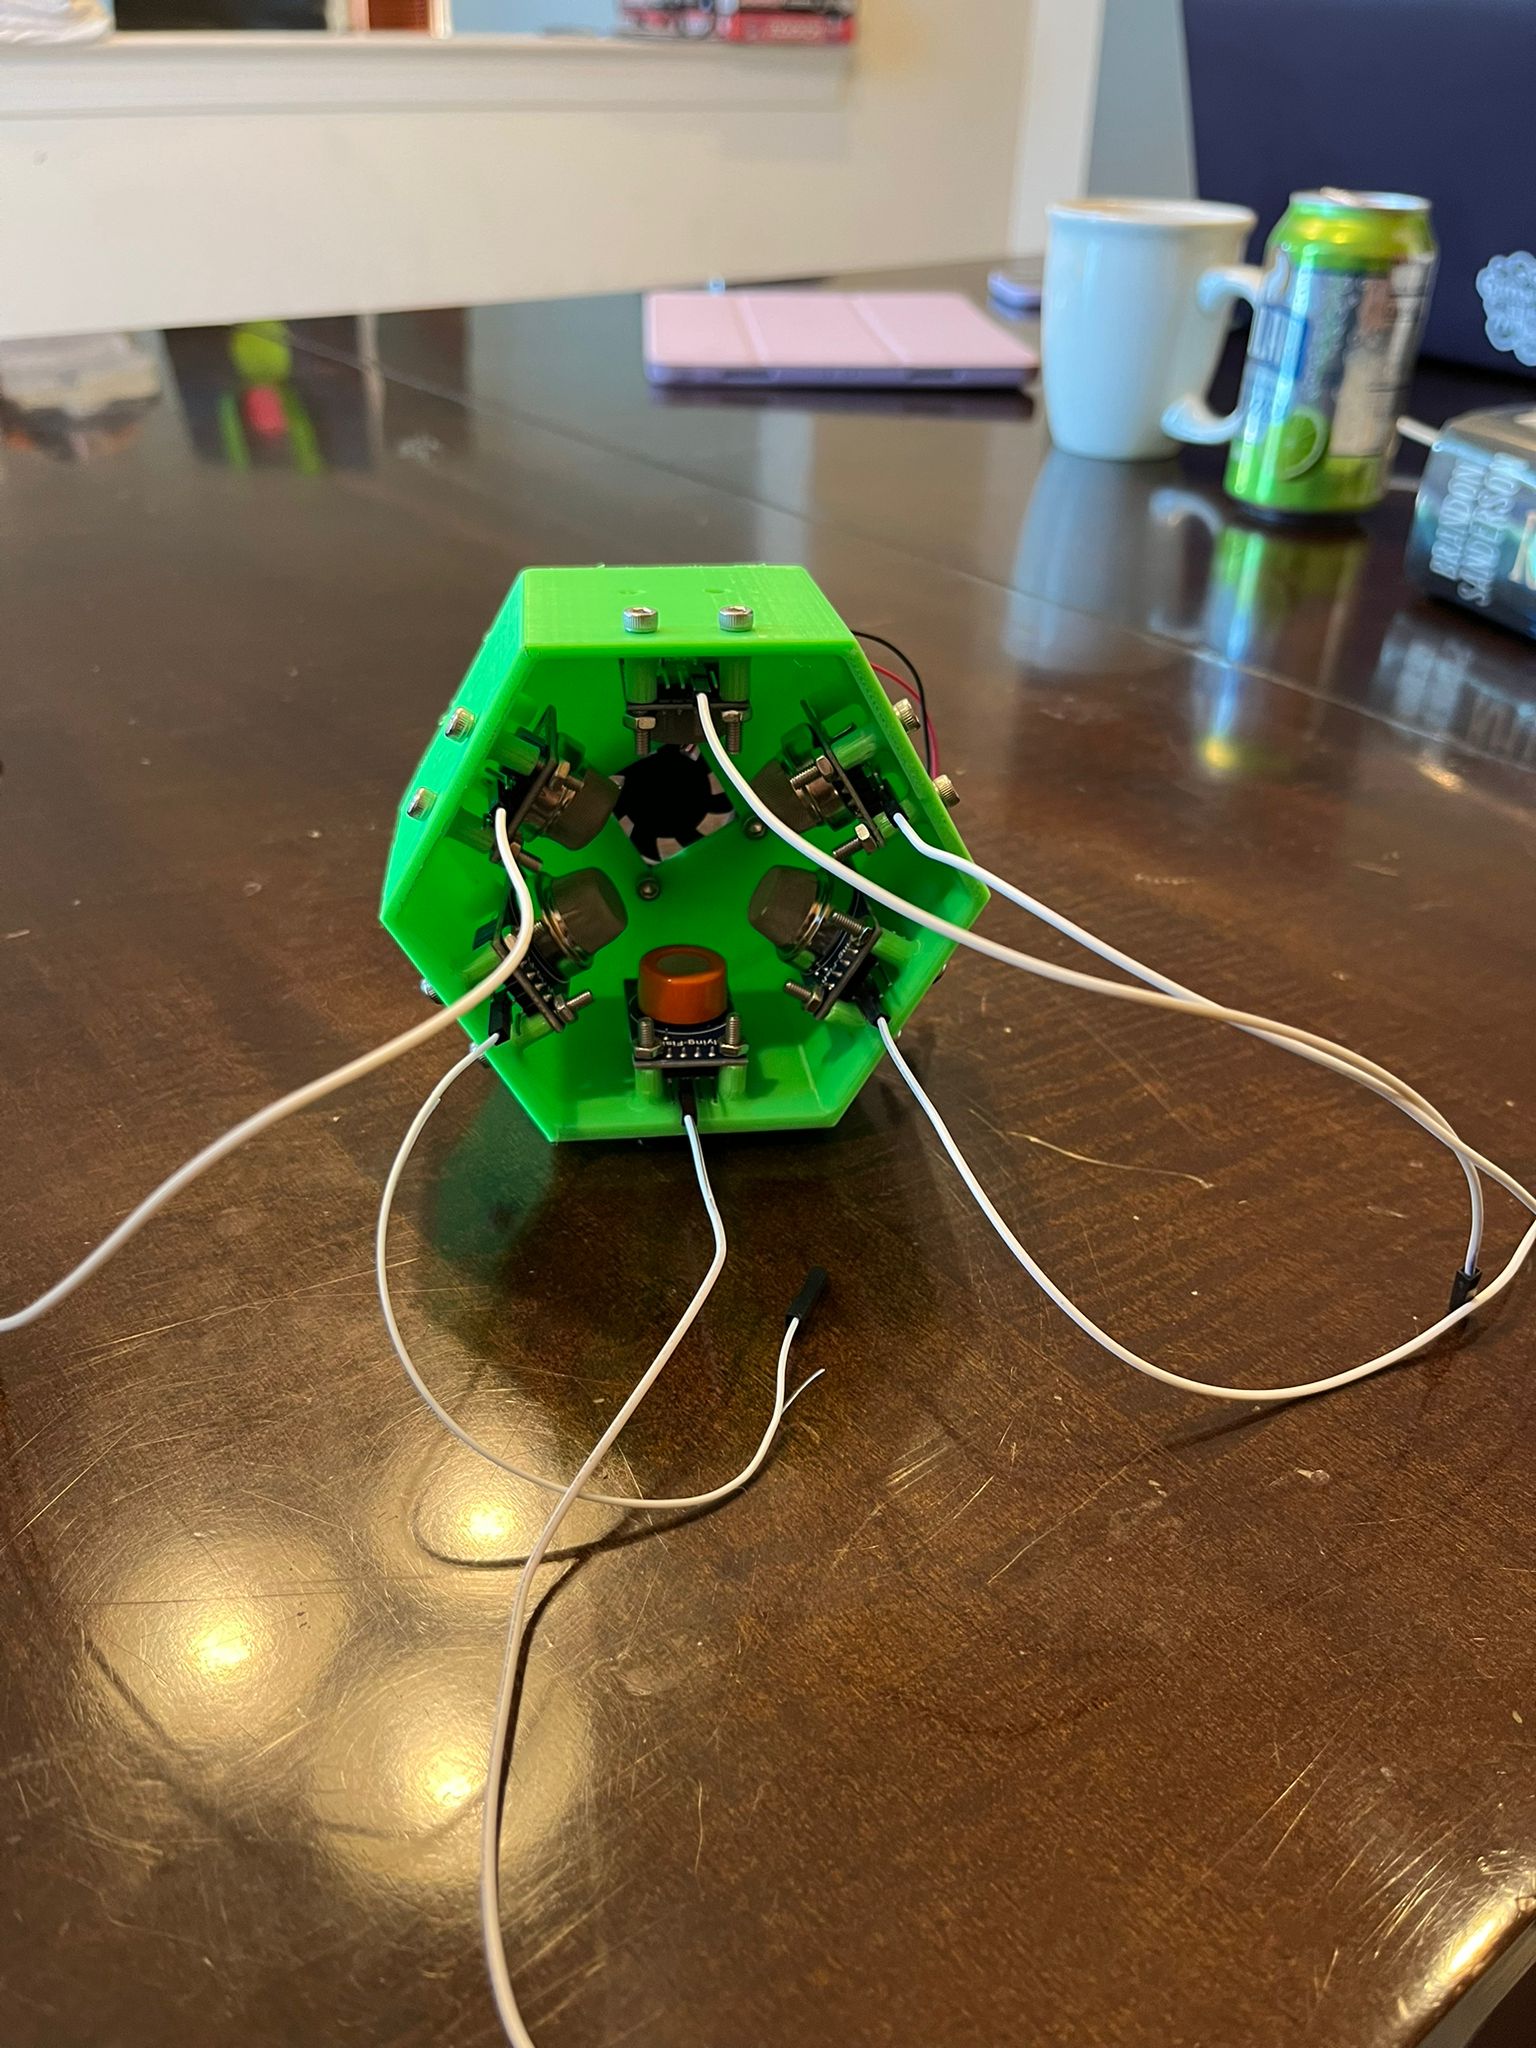
Coffee vs. Cinnamon
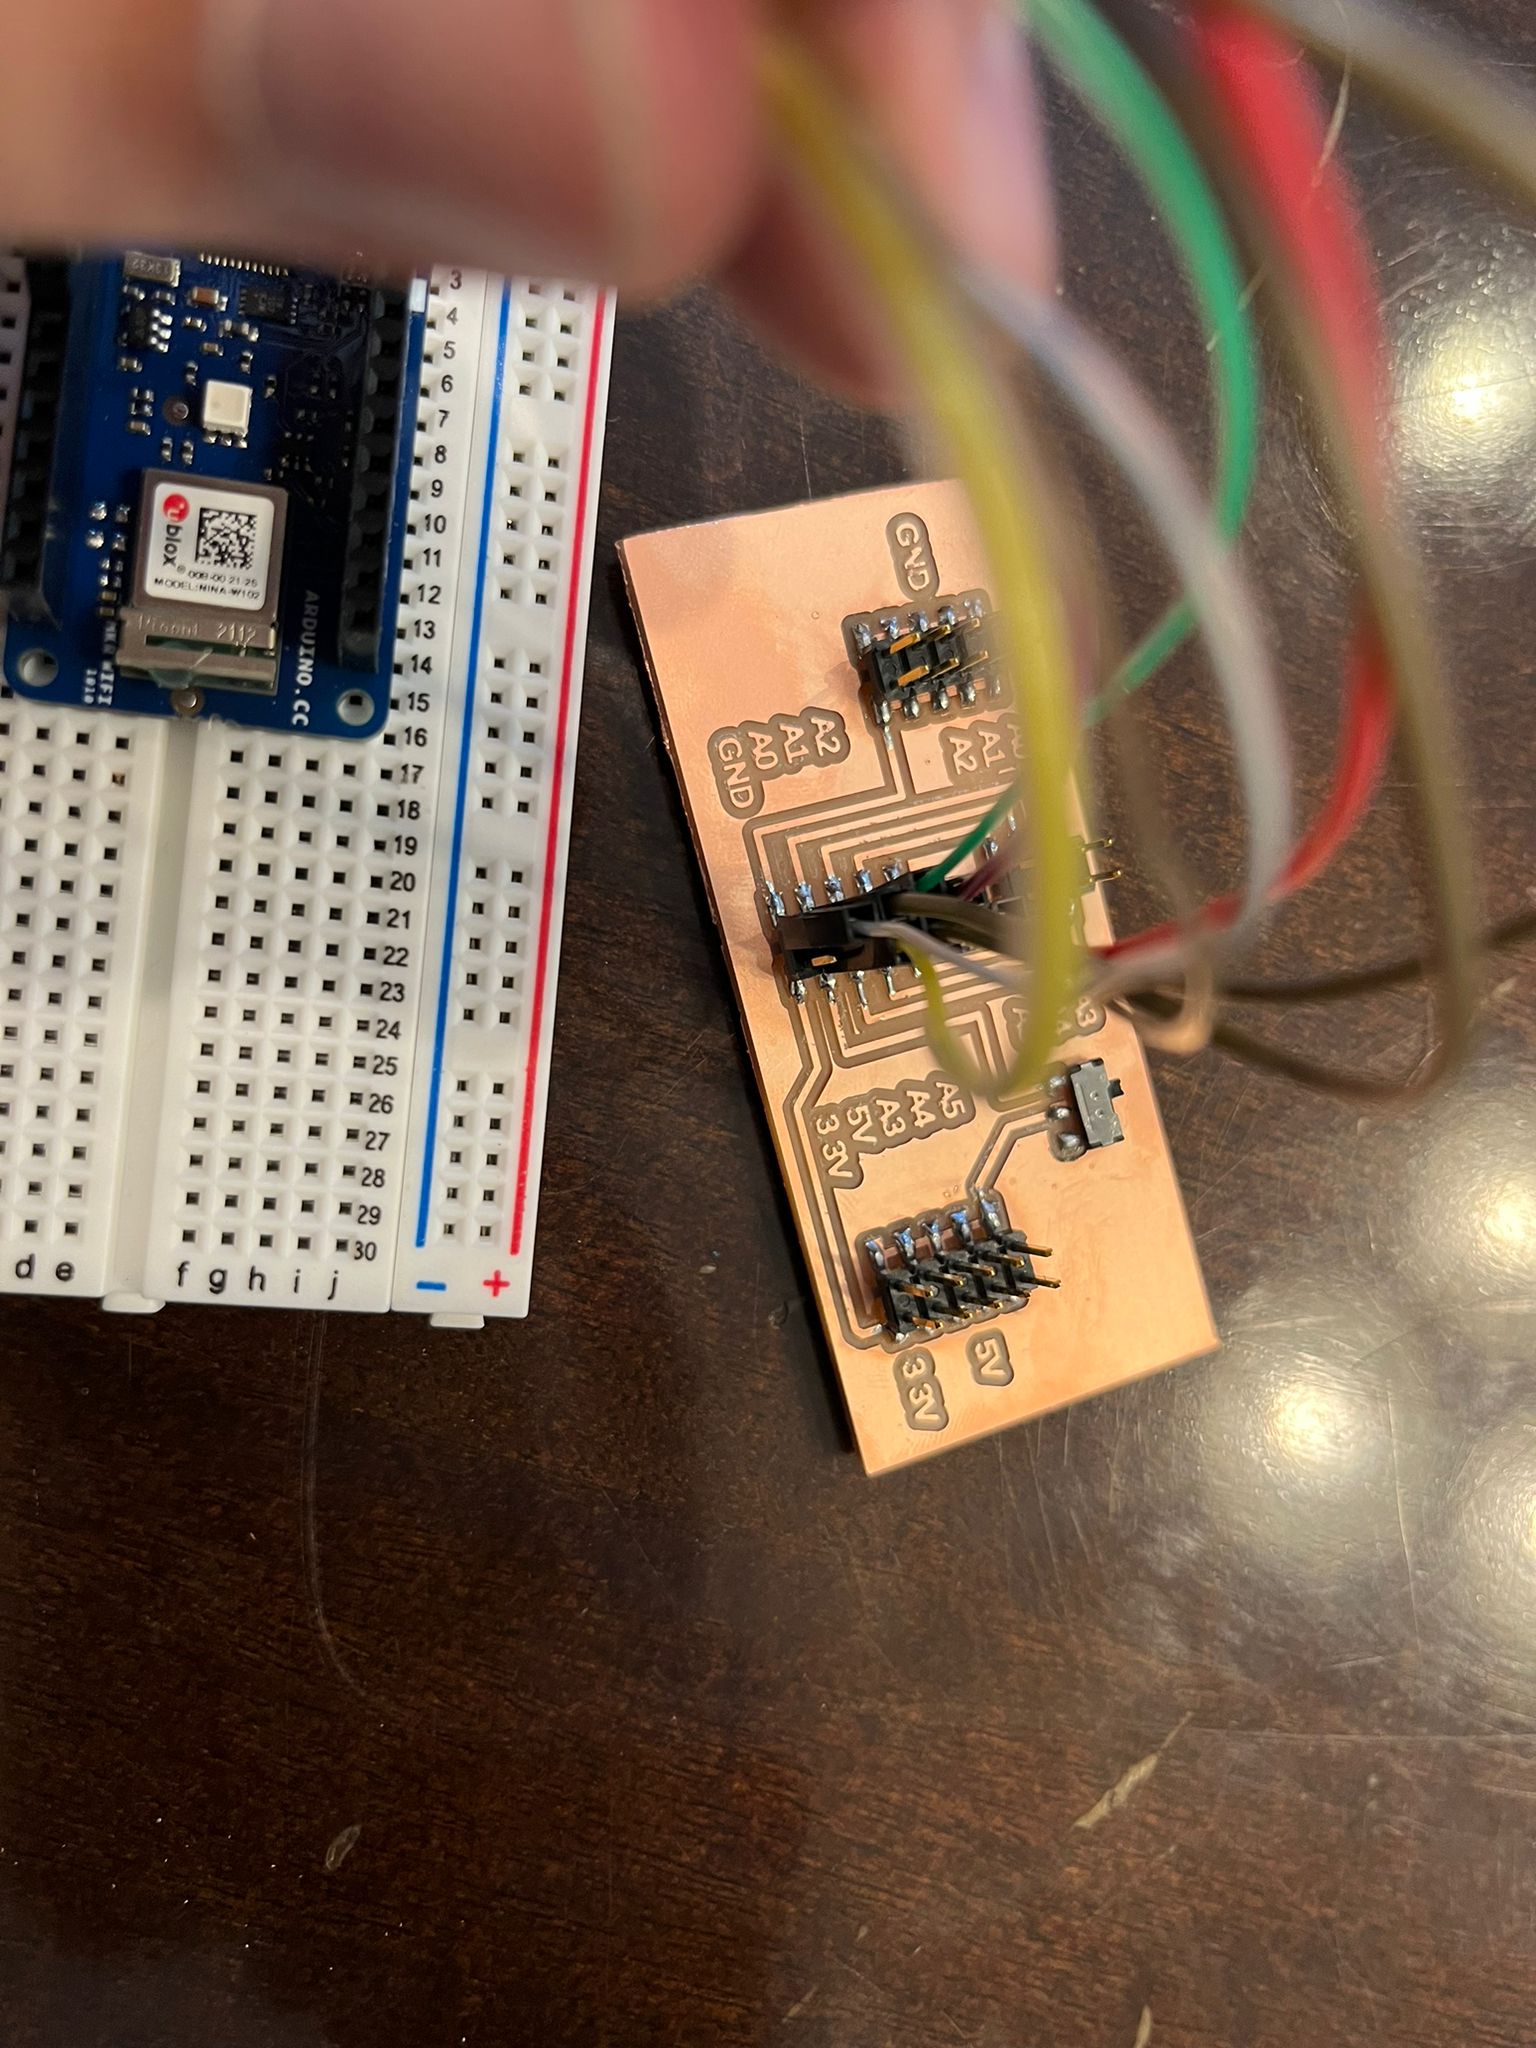
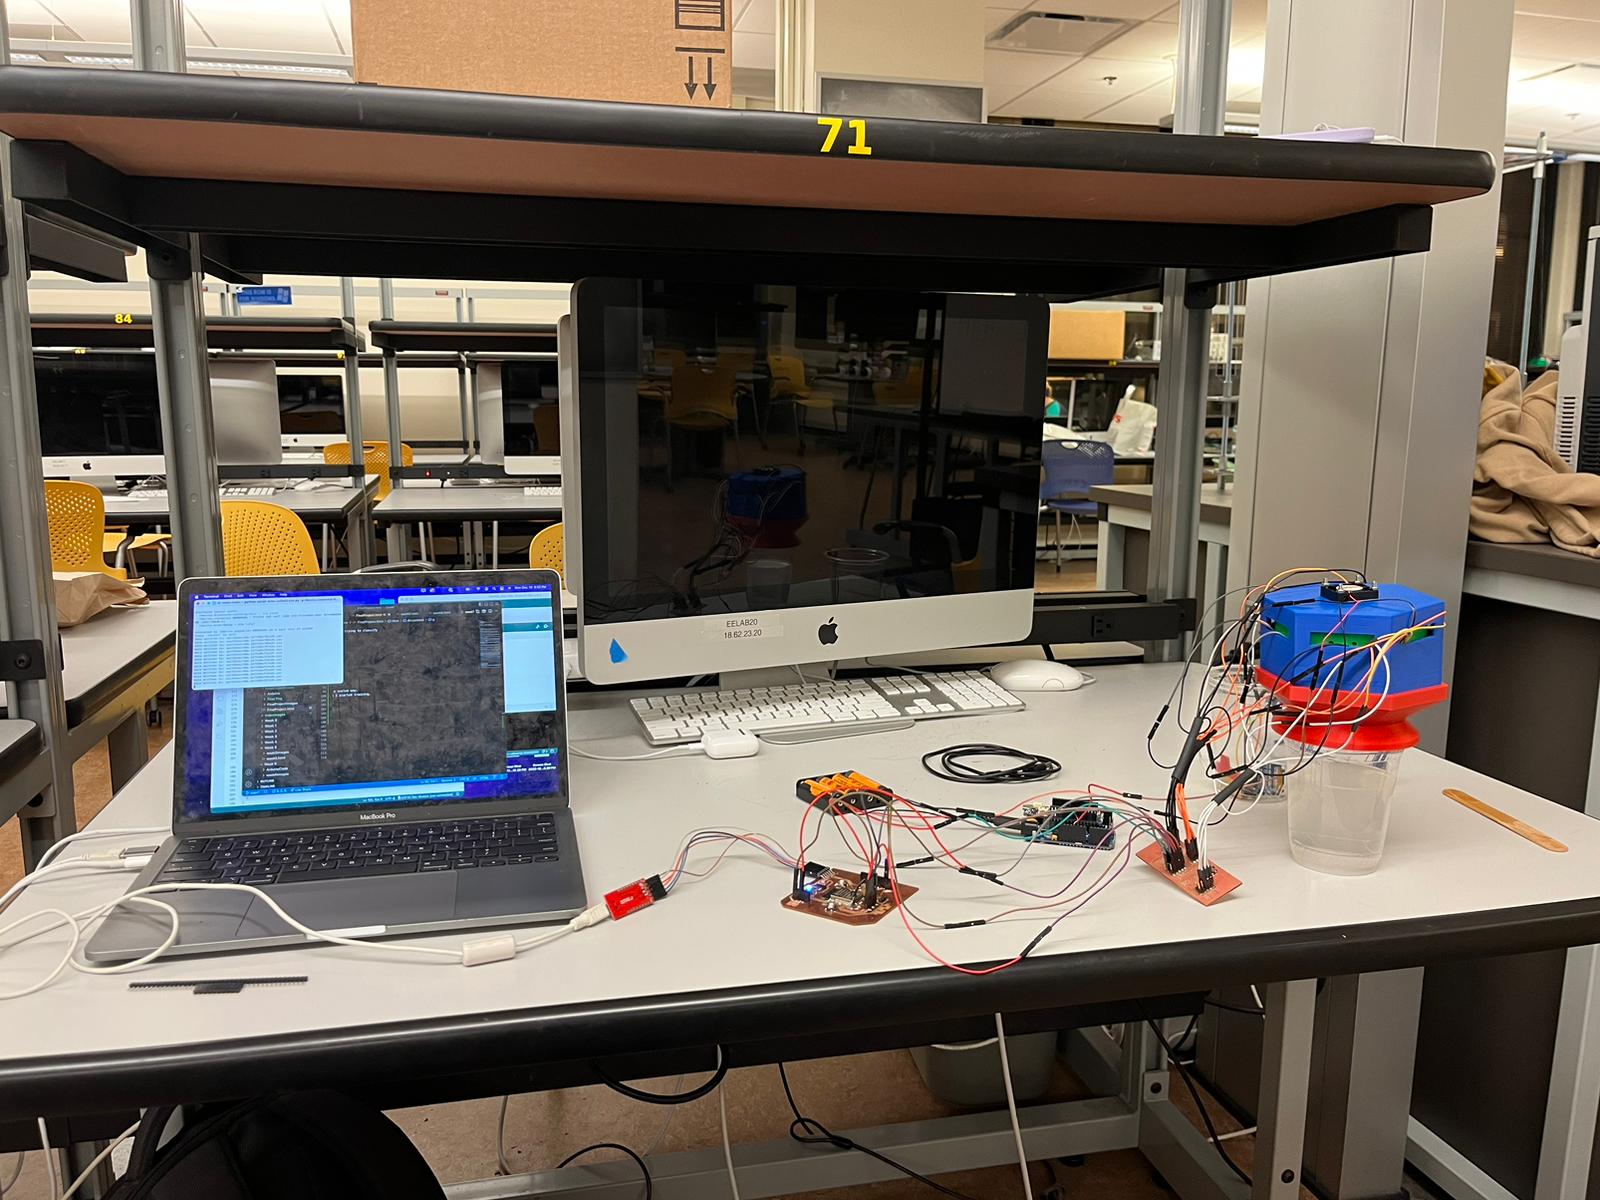
After printing the case, and putting all 6 sensors in their positions I was ready to try using the nose. After plugging in all of the wire, which was a hastle. I realized it would be smart to print a small board that I could plug all the wires into and then have a space to connect to any board. As I continue to make different devboard.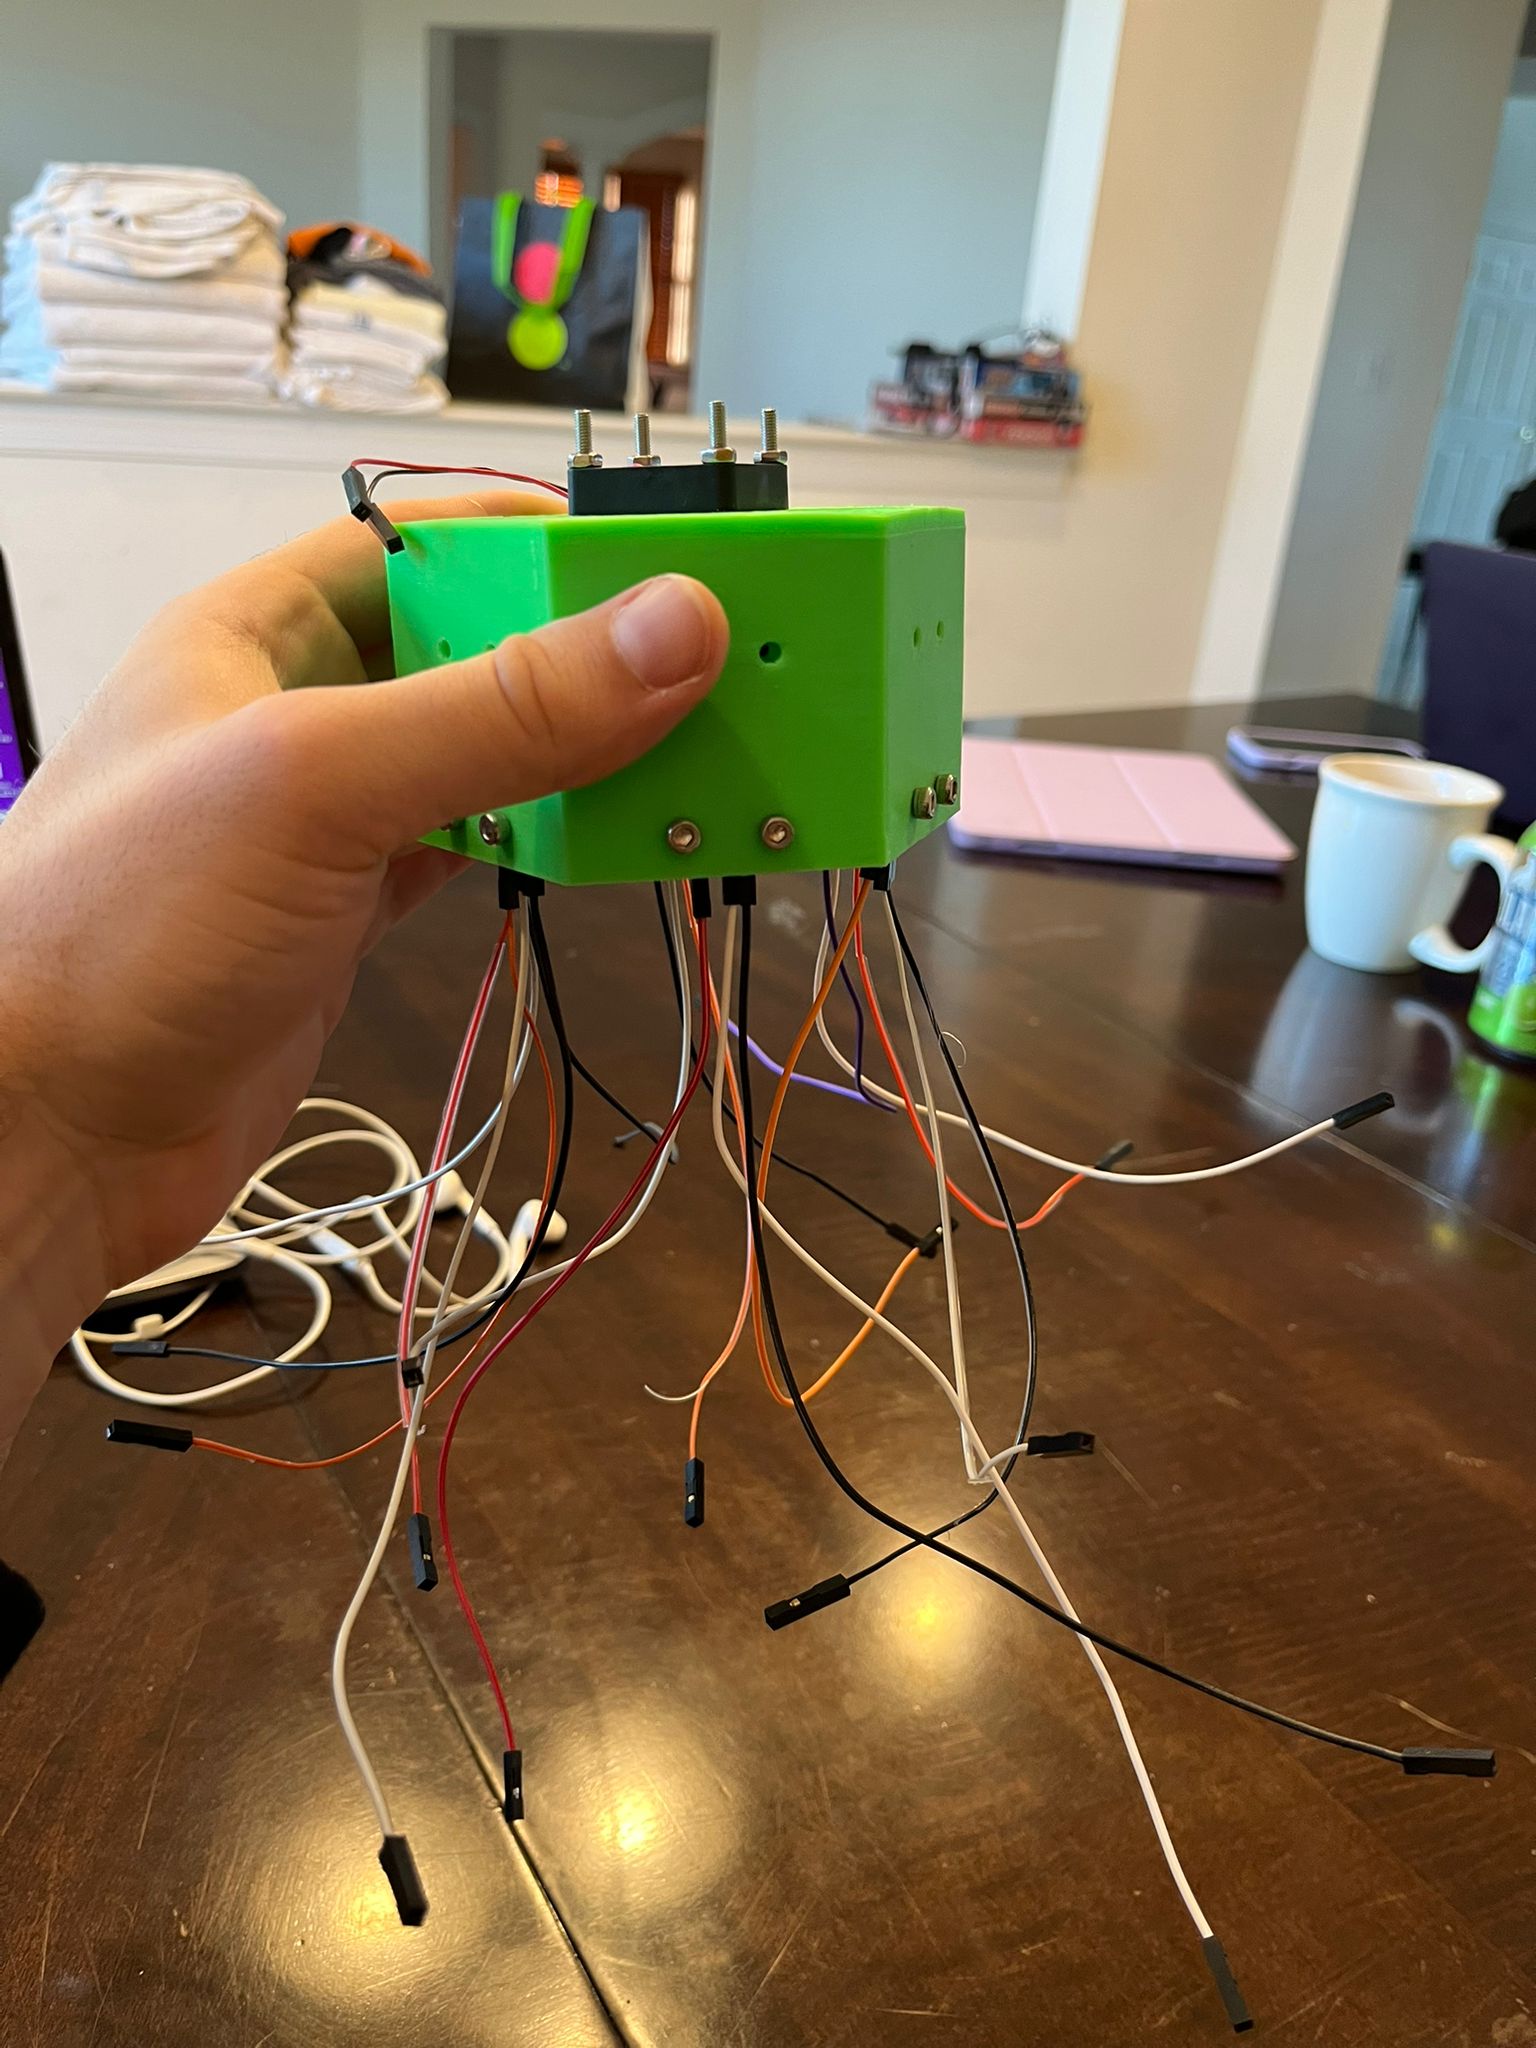

Salt Concentration
Now that the easy classification was done. It was time to move into something that I did not know would be successful. I was nervous because when smellling salt water it is hard for me to differentiate a lot vs a little salt. For the concentrations I chose 40,25,10, and 0. I originally wanted to do 100,75,50,25,0. But when I tried to make a concentration of 100%. I realized that there is a maximum concentration of salt that will disolve in water. This was frustrating but I was forced to adapt. 40 percent seemed to be the maximum of even a little past the maximum concentration that the salt would dissolve into. To get the concetrations I knew I was going to use 200ml of water. I then measured out the concentration by calculating the weight I needed of salt to get the correct concentration then measuring out the salt on a scale.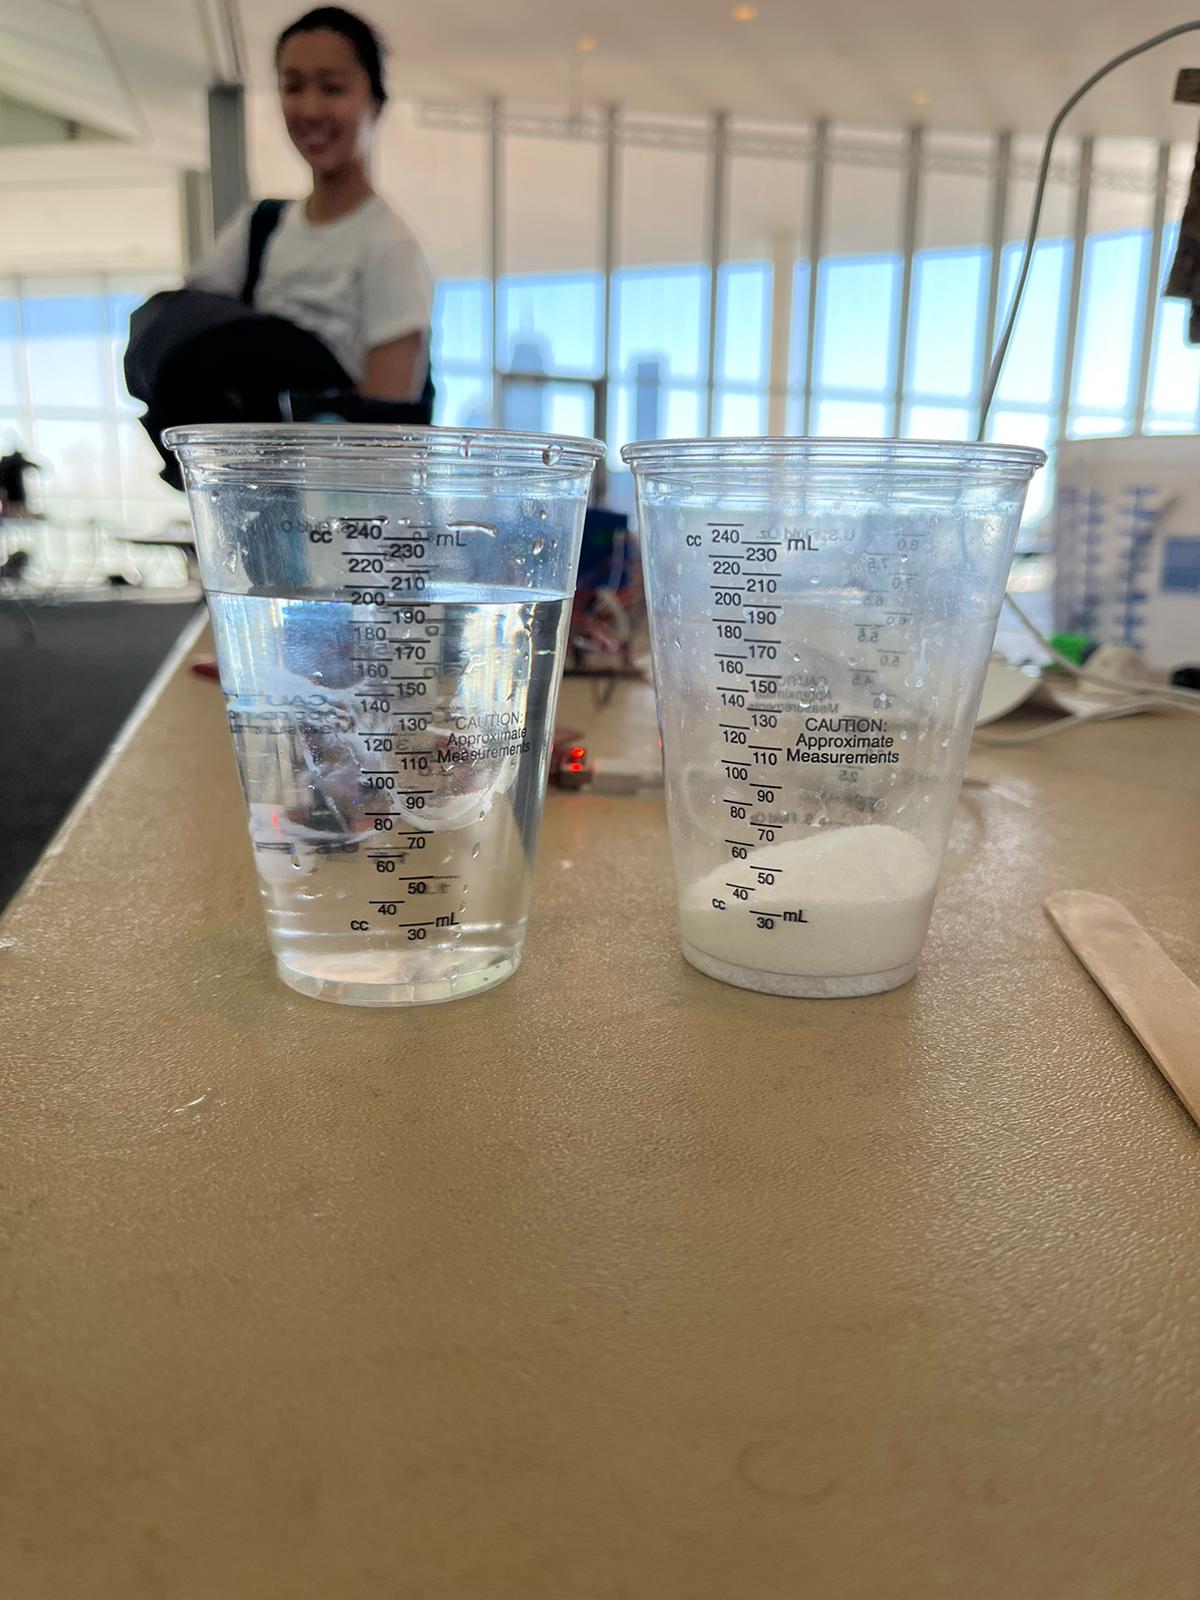
- 40p = 80 g salt, 200ml water
- 25p = 50 g salt, 200 ml water
- 10p = 20g salt, 200ml water
- 0p = 200ml water


- Run Nose DataCollection script for 4 minutes each data collection
- Then in terminal run python serial-data-collect-csv.py -p /dev/cu.usbserial-00000000 -b 115200 -d Folder Name -l File Name, make sure serial monitor is closed, which is a scirpt that takes the data from the arduino and turning them into CSV files. Name should just be a number if want to use recursion
- Put the data through the dataset processing script
- Go to edge impulse
- Go to data acquisition and imput the processed data
- Go to impulse design
- Change window to 250 ms
- Add a flatten block for processing block
- Choose Regression and Anomaly detection for learning block
- Hit Save impulse
- Go to flatten
- Deselect Skewness and Kurtosis and choose Save Parameters
- Click calculate feature importance then Generate Features
- Ideally go to EON Tuner to get parameters for NN Class
- From EON Tuner able to choose the node layout mine is using 30 -> 20 -> 10 -> 4 click start trainging
- Go to anamoly detection and choose RMS for all the inputs
- Go to model testing
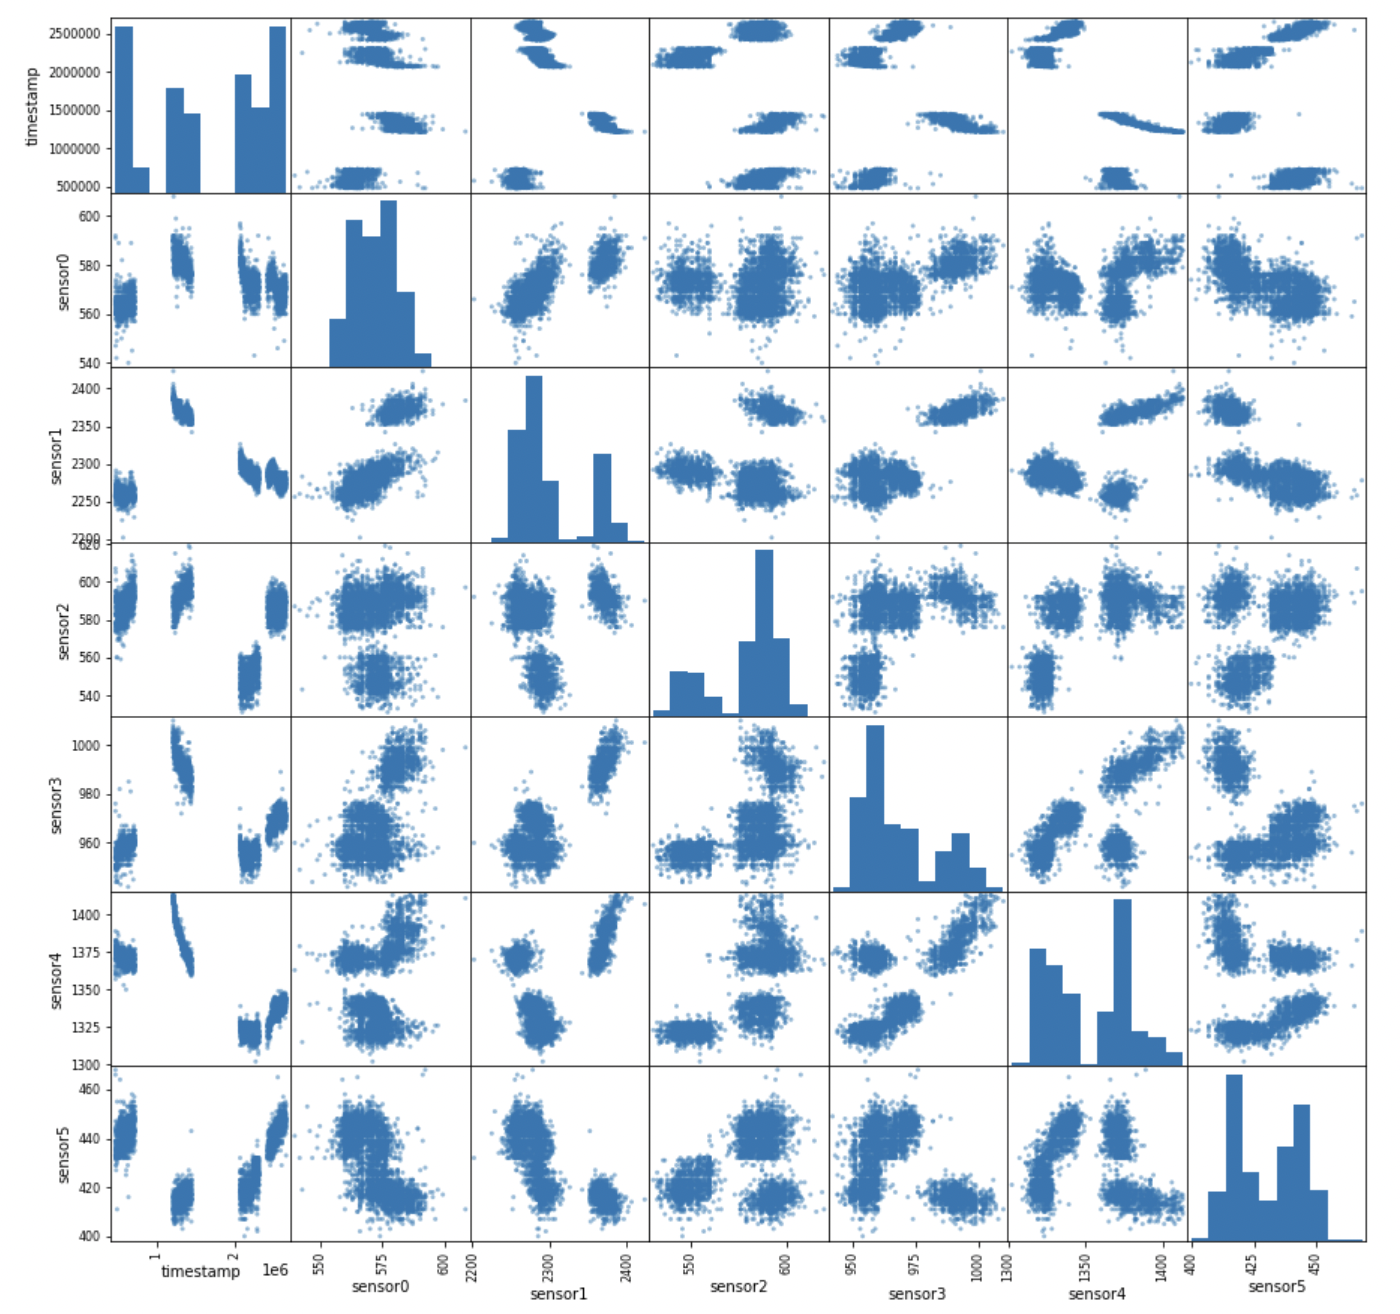
- Click test and see how the data was trained
- Go to deployment and download in zip file

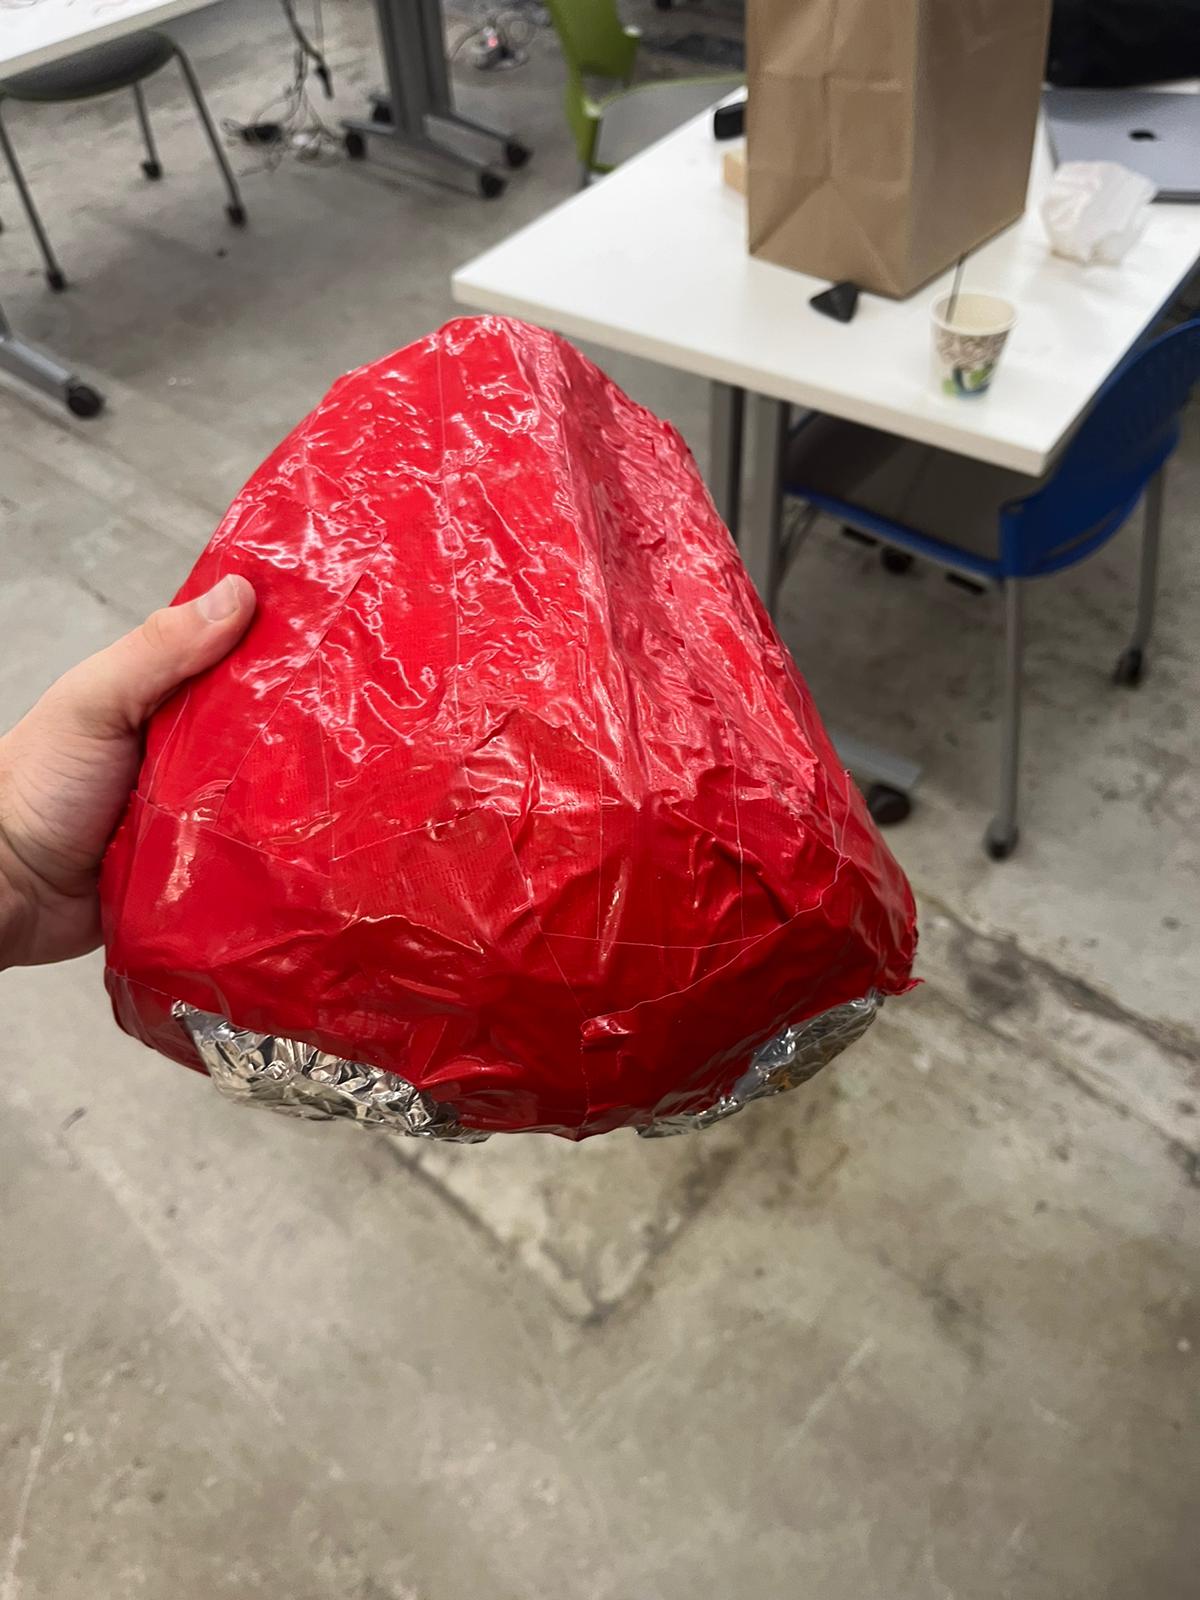
The Actual Nose
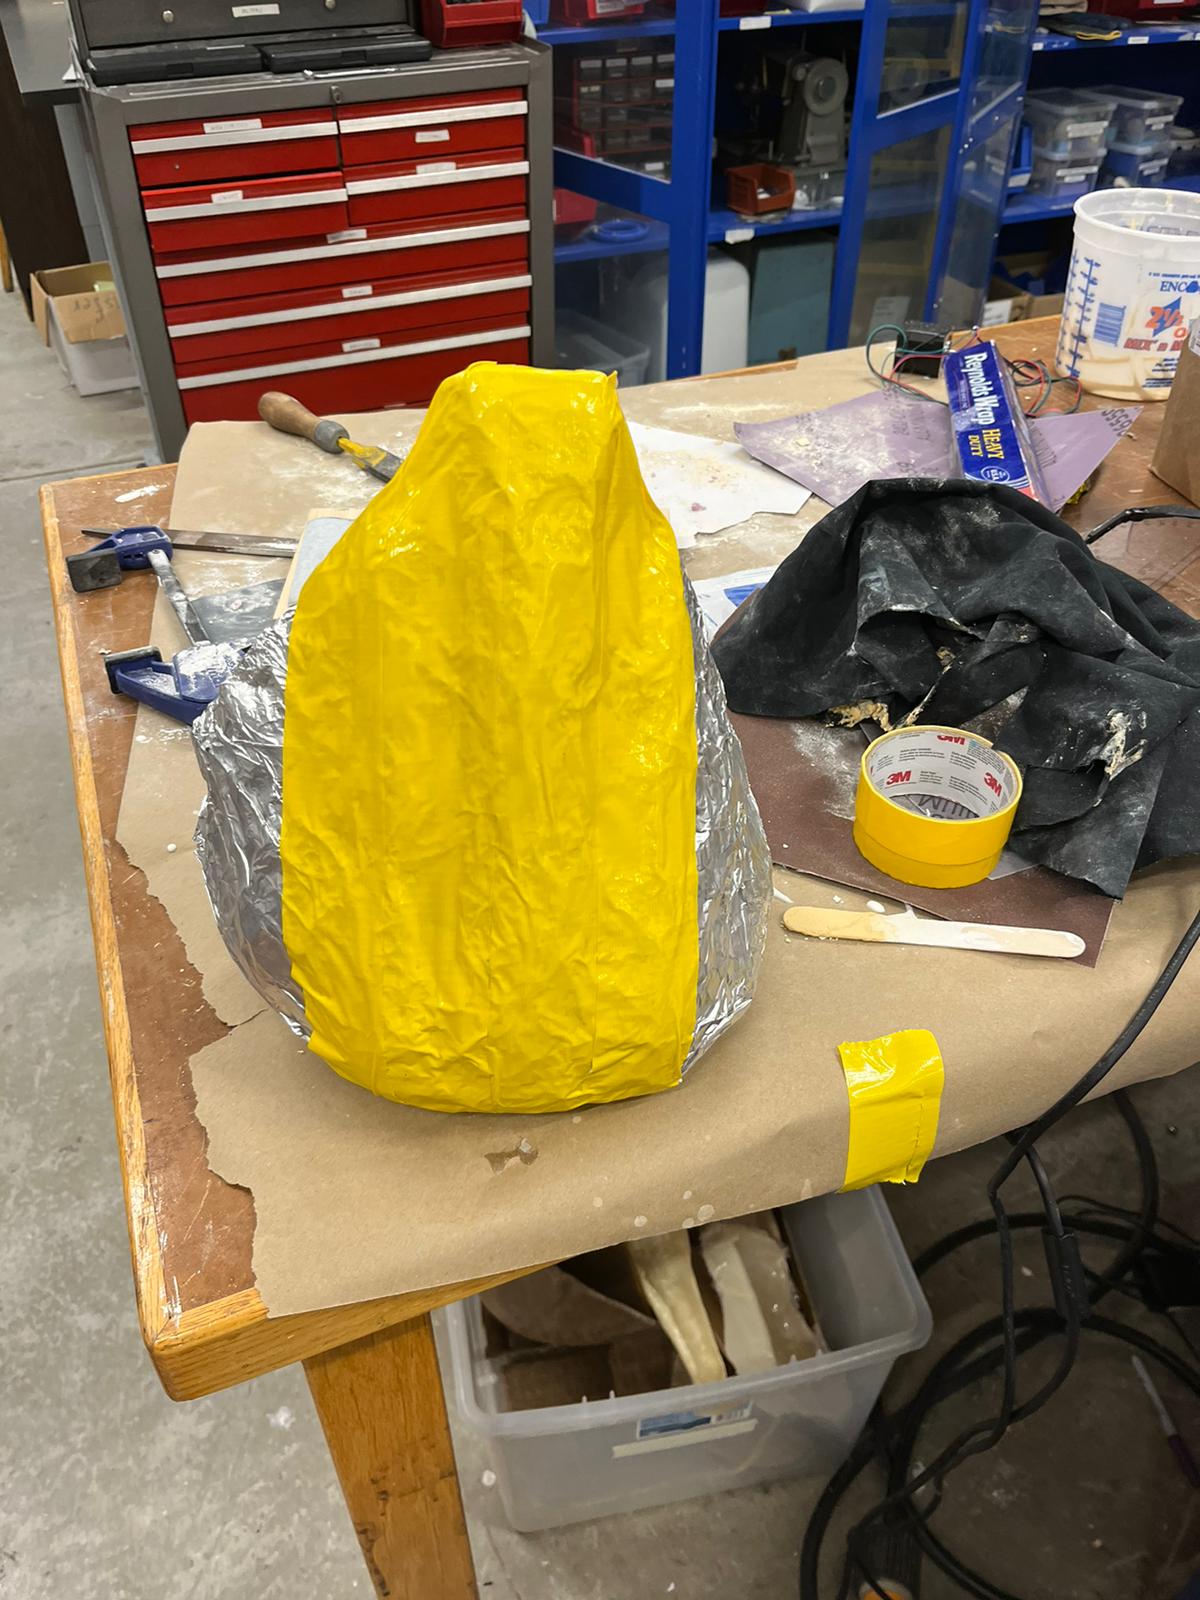
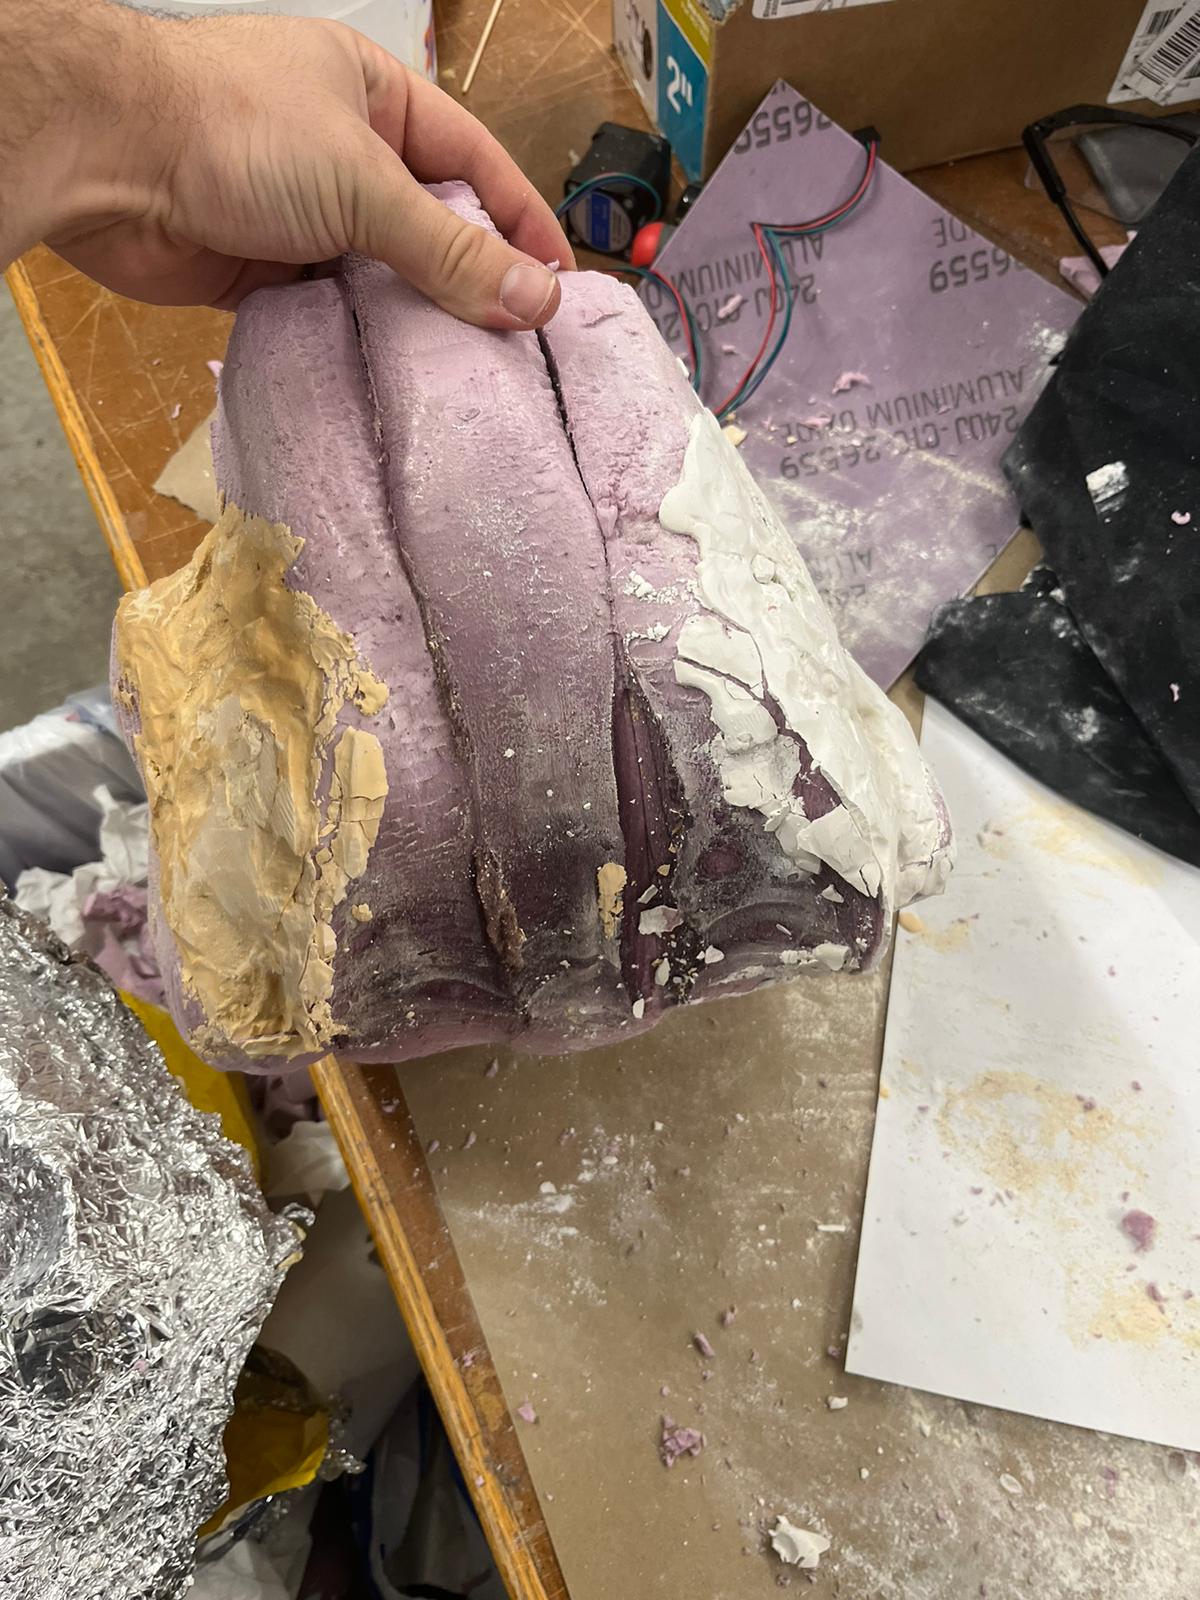
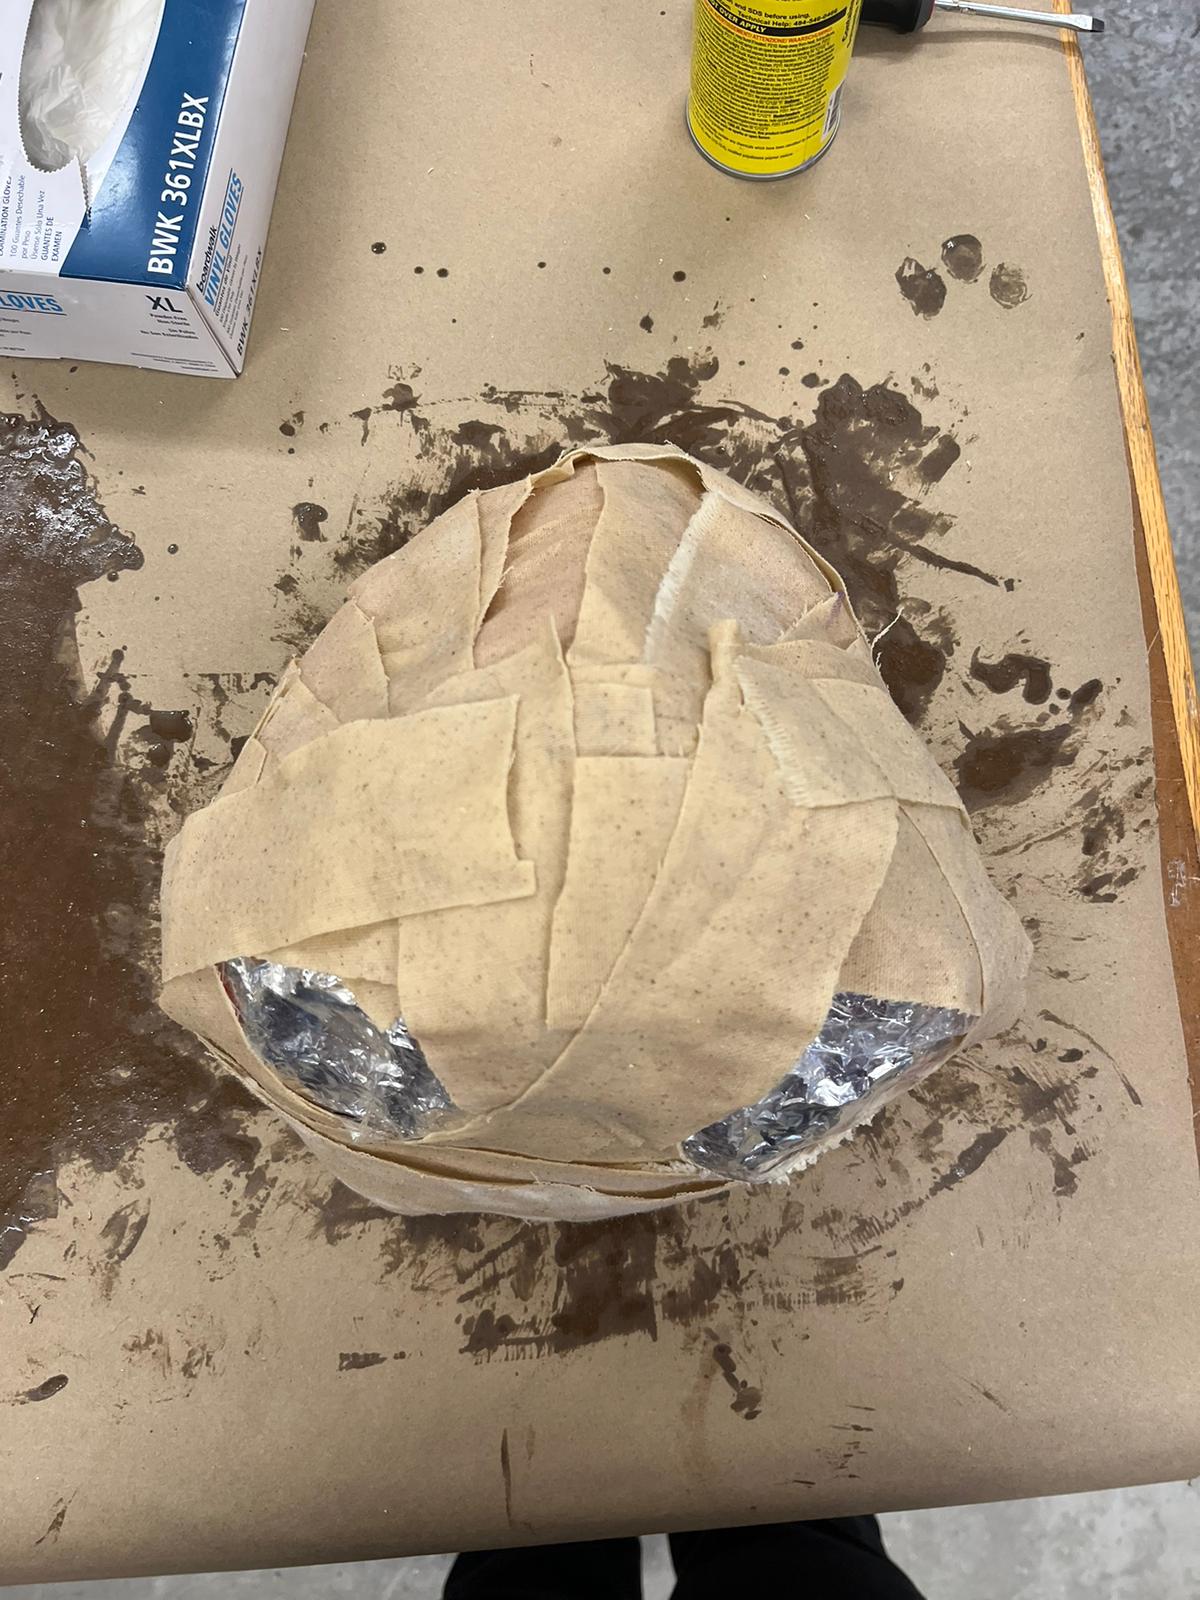
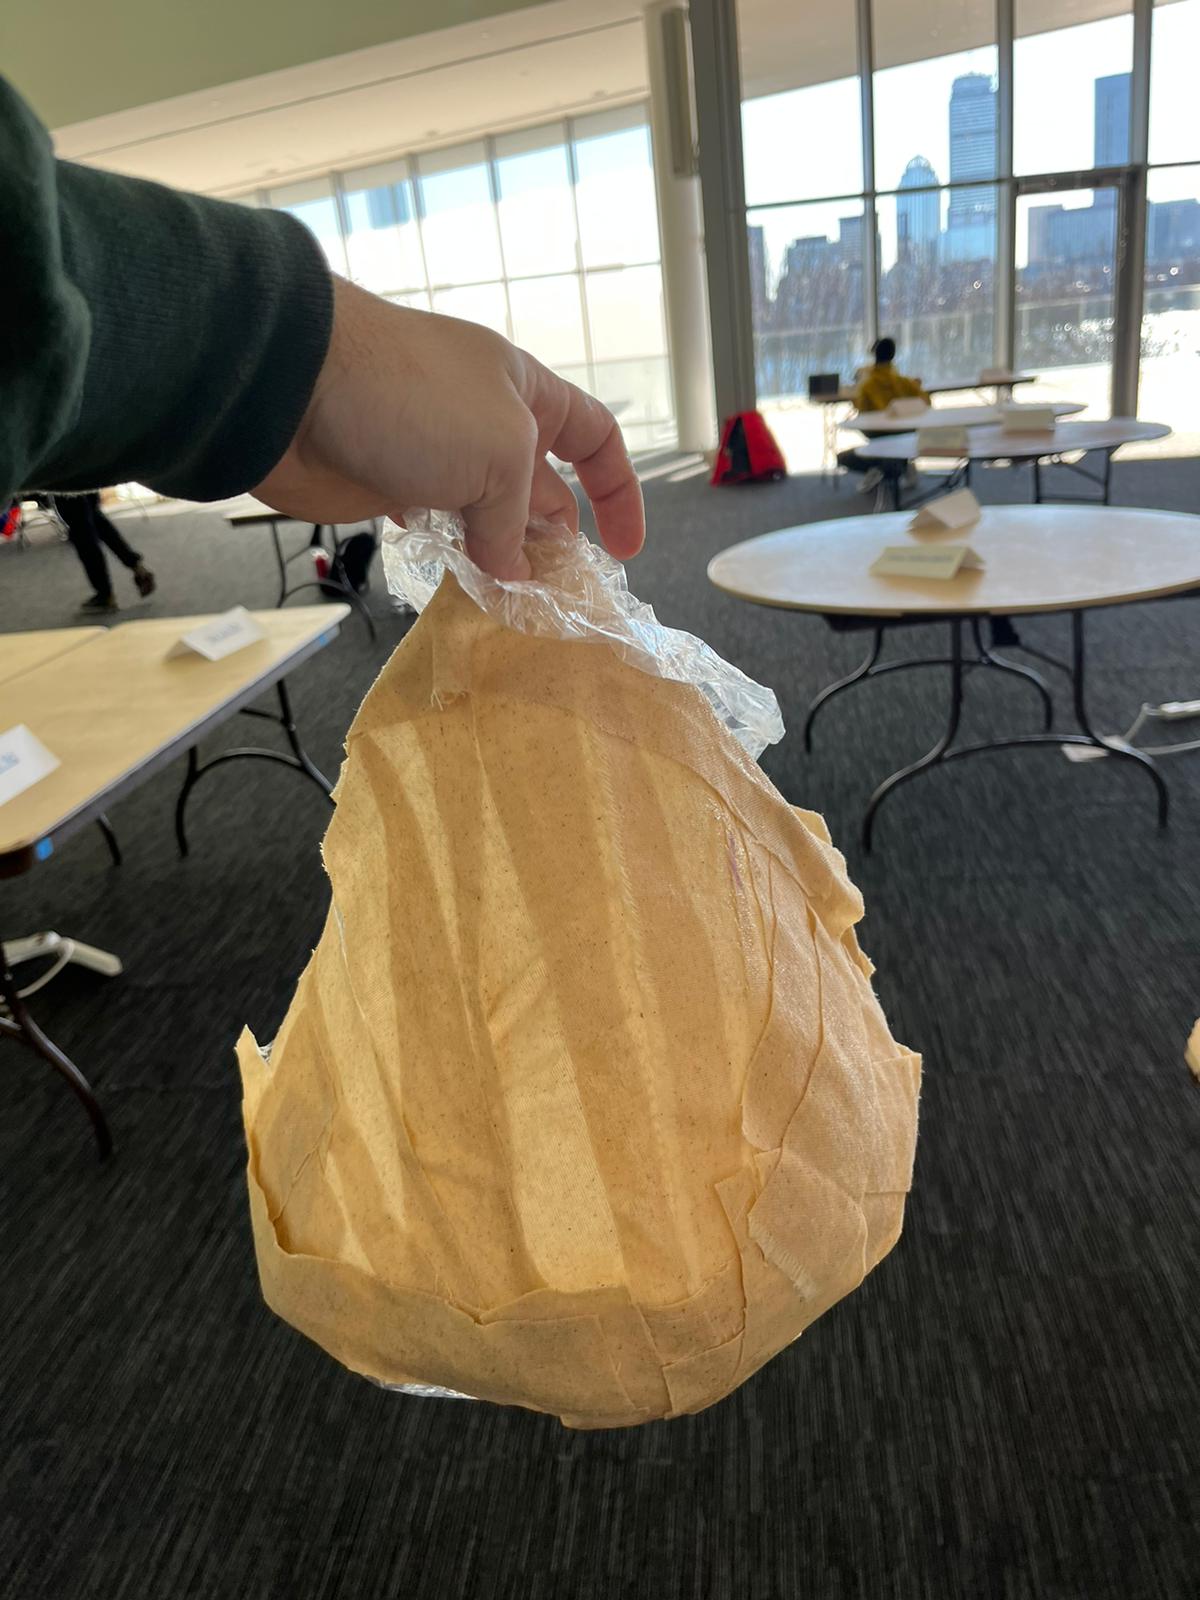
The next step was to make the device in the image of my nose. I plan to use blender and then make the stuff out of foam. Then use pressure heat press to make a plastic casing. I had seen people use blender before and it seemed so easy to mold the shape into whatever an imagination could think of. But after I got the hang of it I was able to get the shape that I wanted. I also needed to cut the nose up in order to cut it into the foam, the foam pieces. I tried cutting it out in blender the first time and I ended up cutting it wrong and was not able to go back to before I sliced it. So instead I exported it .stl file and uploaded it into fusion to cut.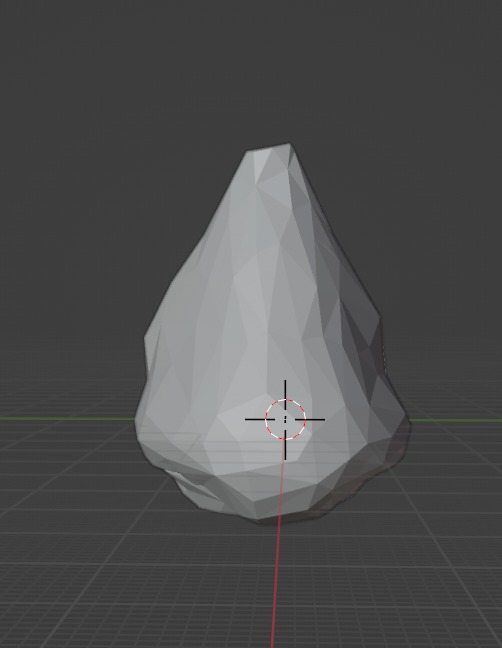


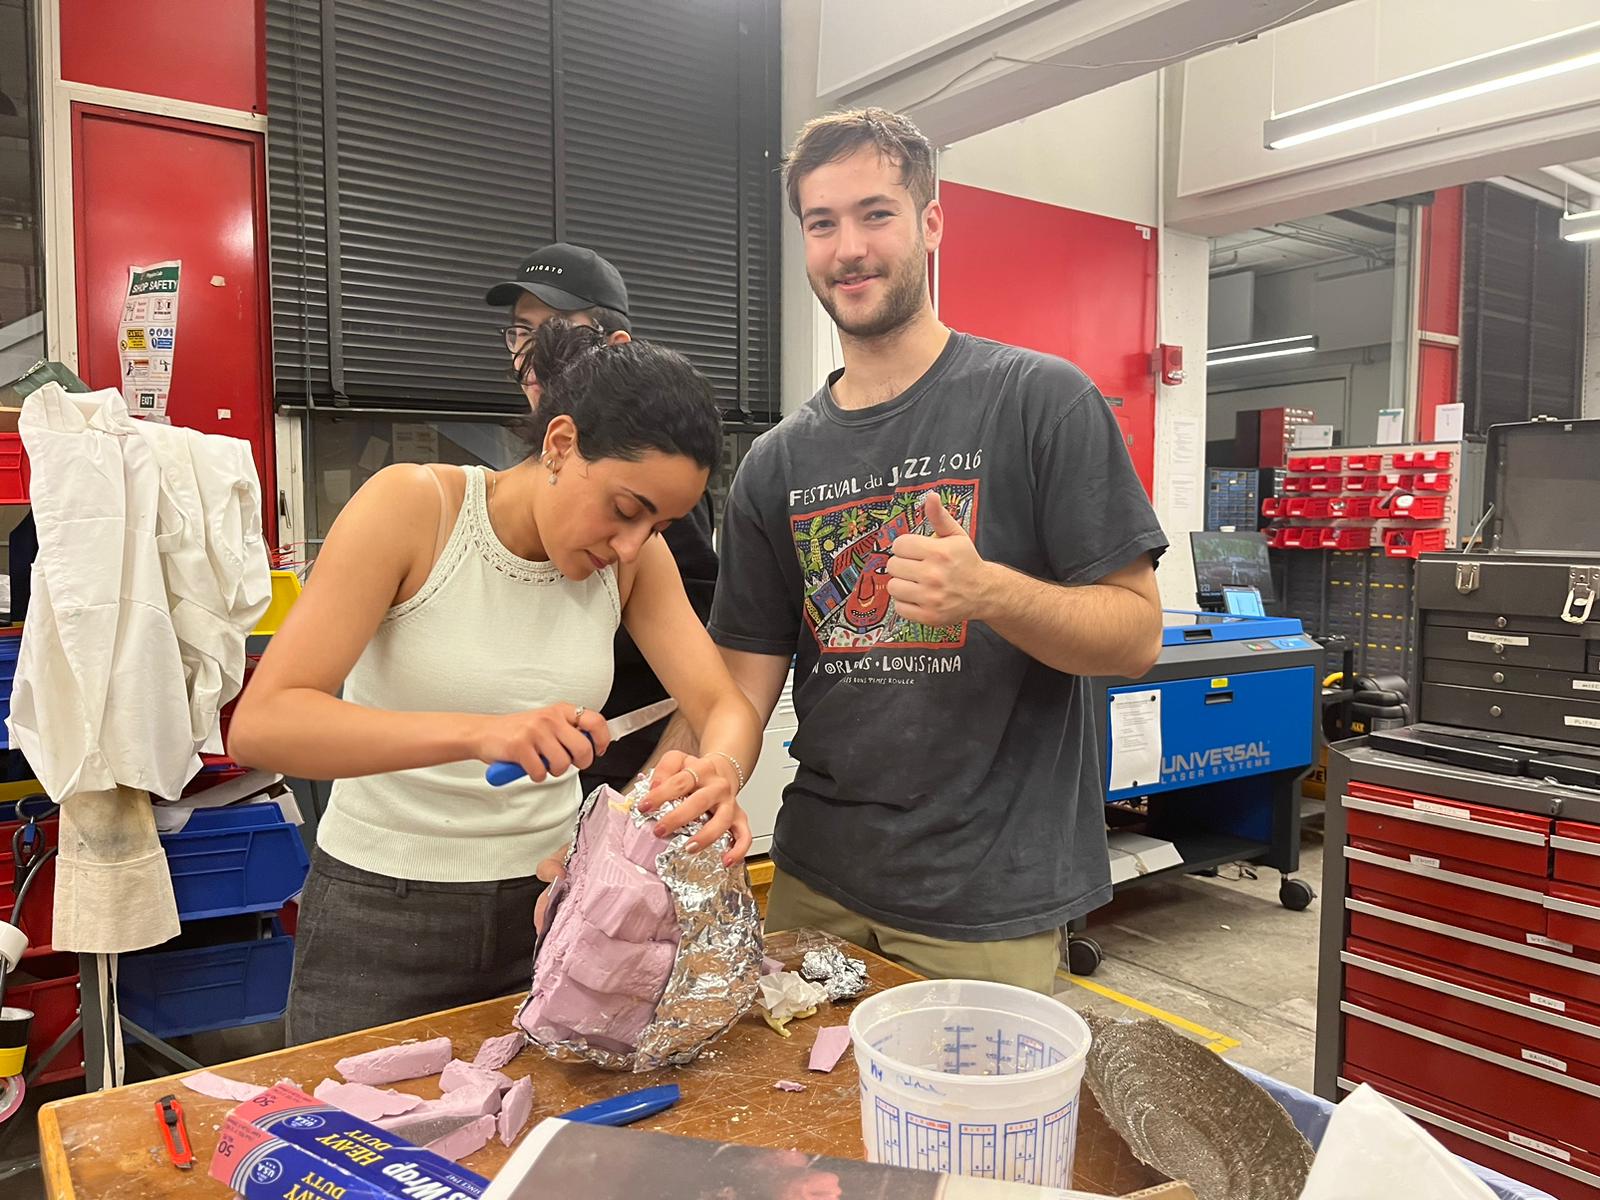
- I started by cutting up fabric
- Then I mixed the apoxy A and B in 1:3 ratio
- Then I took the fabrics and poored the mixture onto the piece and putting the piece on the nose
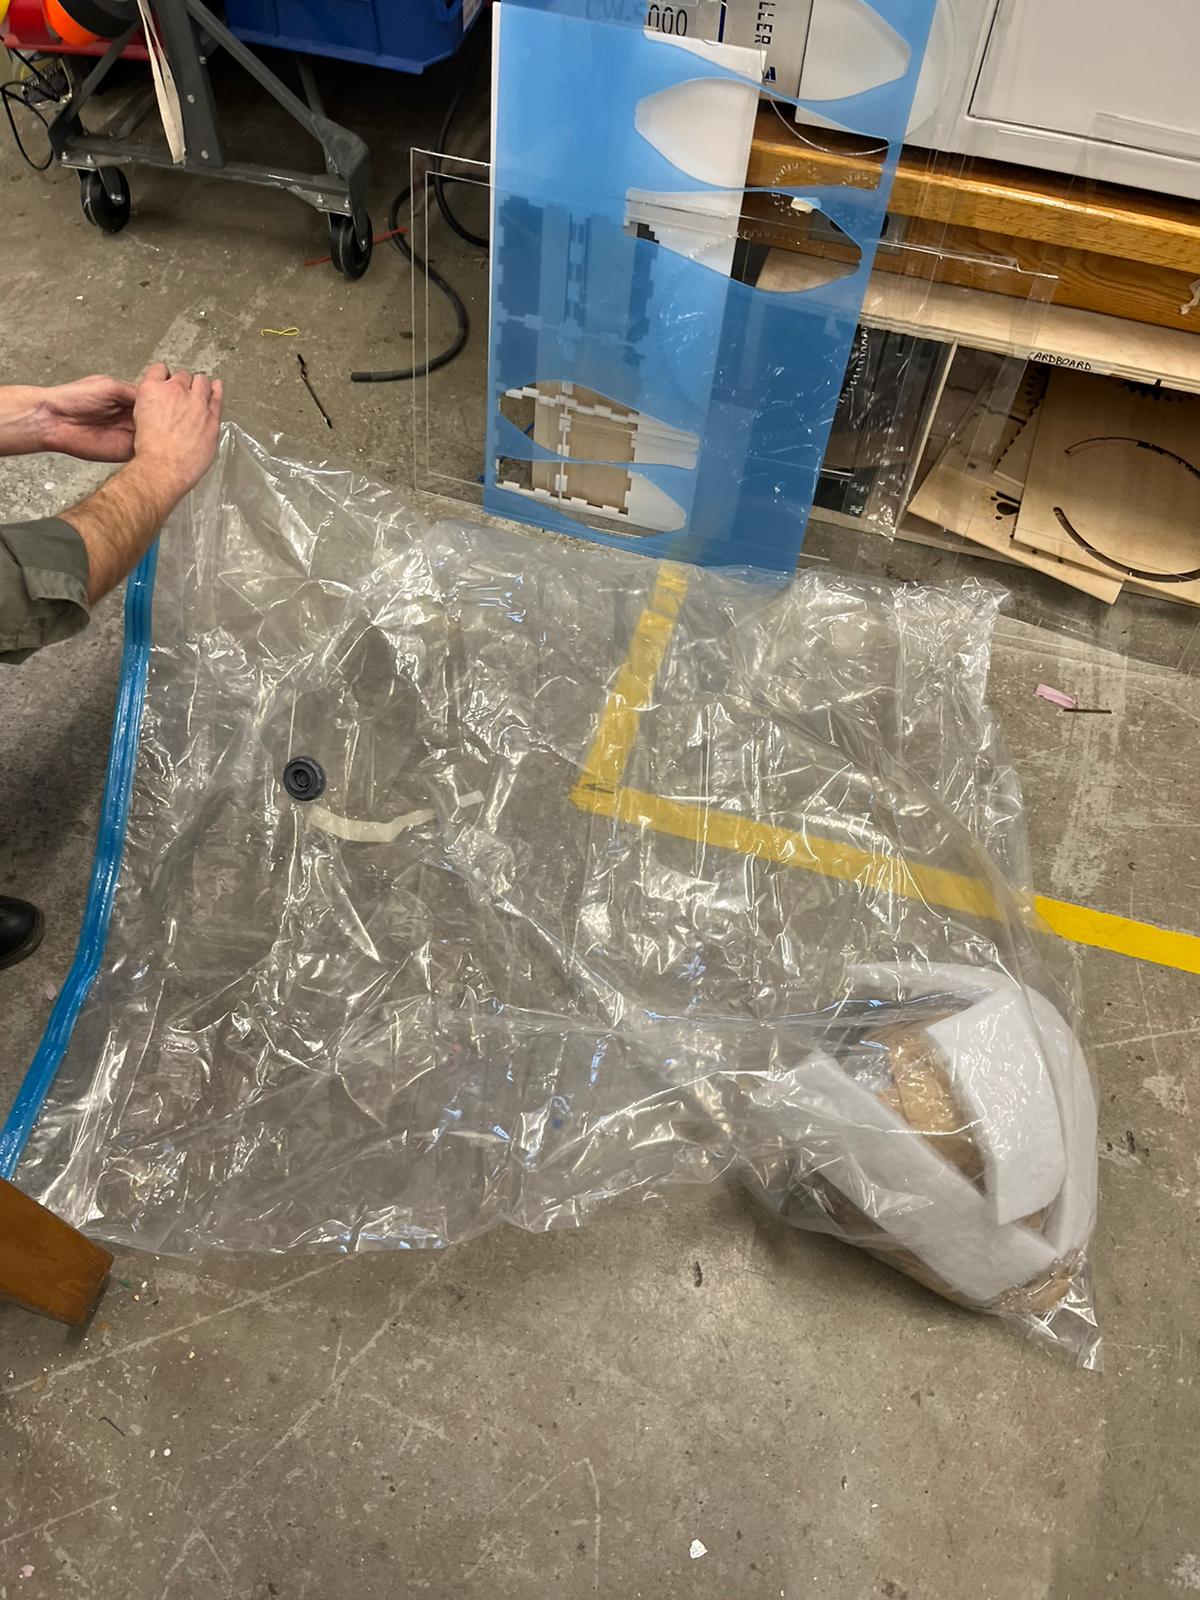
- Then I put the nose in a bag and let it sit for 12 hours


Takeaways from the project
This was a really fun project to work on. I learned so much about so many different aspects of digital fabrication and it also allowed me to see what working on a long term project felt and looked like. Coming into this class I wanted the skills to make prototypes/MVPs for ideas that I have and after finishing this class I believe I have the skills to do that.I want to thank the Harvard TA's and other students for making this class unforgetable.