Week 01 - Computer Controlled Cutting
1.1 Group Assignment
1.2 Individual Assignment
1.3 Vinyl Cutting
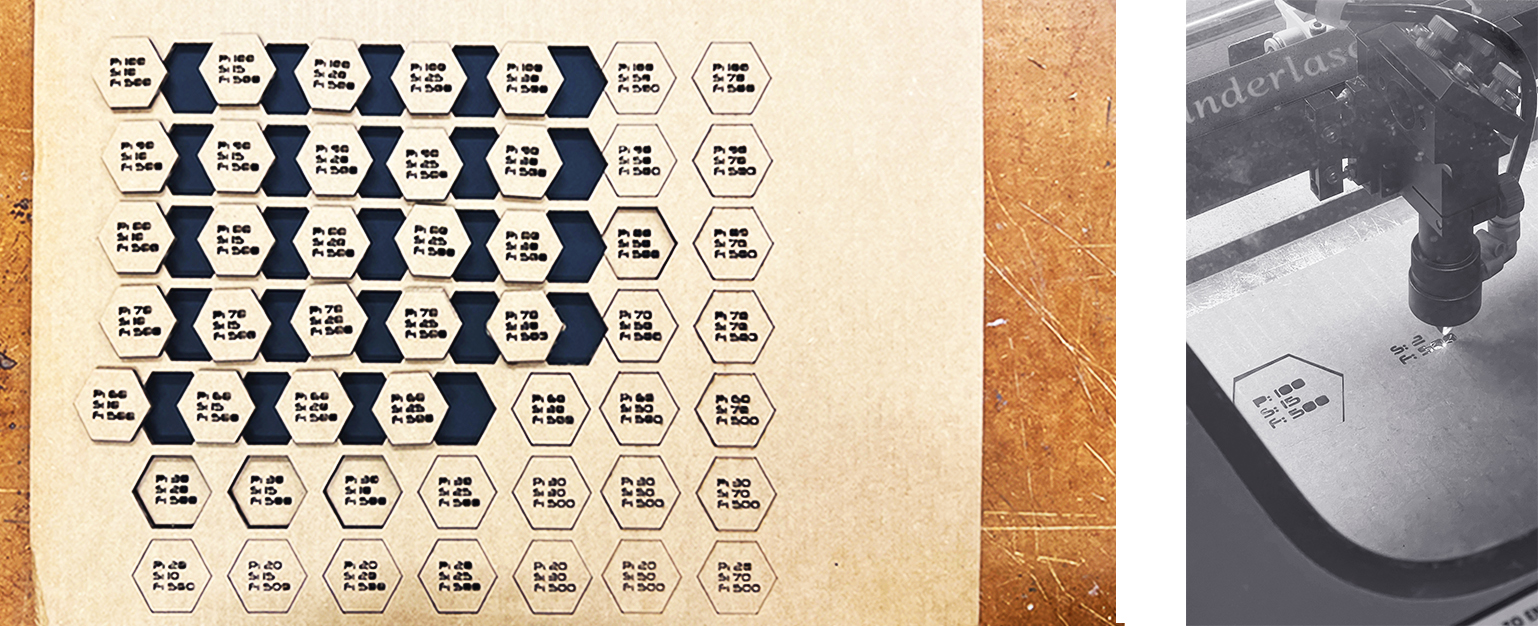
Our assignment started with learning about the characterization of the laser cutter machine. Alexia Asgari, Treyden Chiaravalloti and I decided to calculate the cutter’s most optimized settings for cutting and rasterizing our cardboard through changing the machine’s power, force, focus, rate and speed parameters. Every material has its own special setting. Thus, with the hope of getting to know our cardboard, we started off by calculating its thickness with a digital caliper. It varied from a cardboard to another, but we decided to attain a general thickness of 4.5 mm.
We proceeded with drawing six hexagons for each parameter in Rhino CAD, and tried a variety of different rates for only one parameter while keeping the others stable to understand each parameter’s behavior with the material.
 The best solution was looking right into our eyes:
For Cutting
Power: 90%
Speed: 20 mm/s (25% worked as well but, the slower, the better, right?)
For Rasterizing
Power: 20%
Speed: 30 mm/s
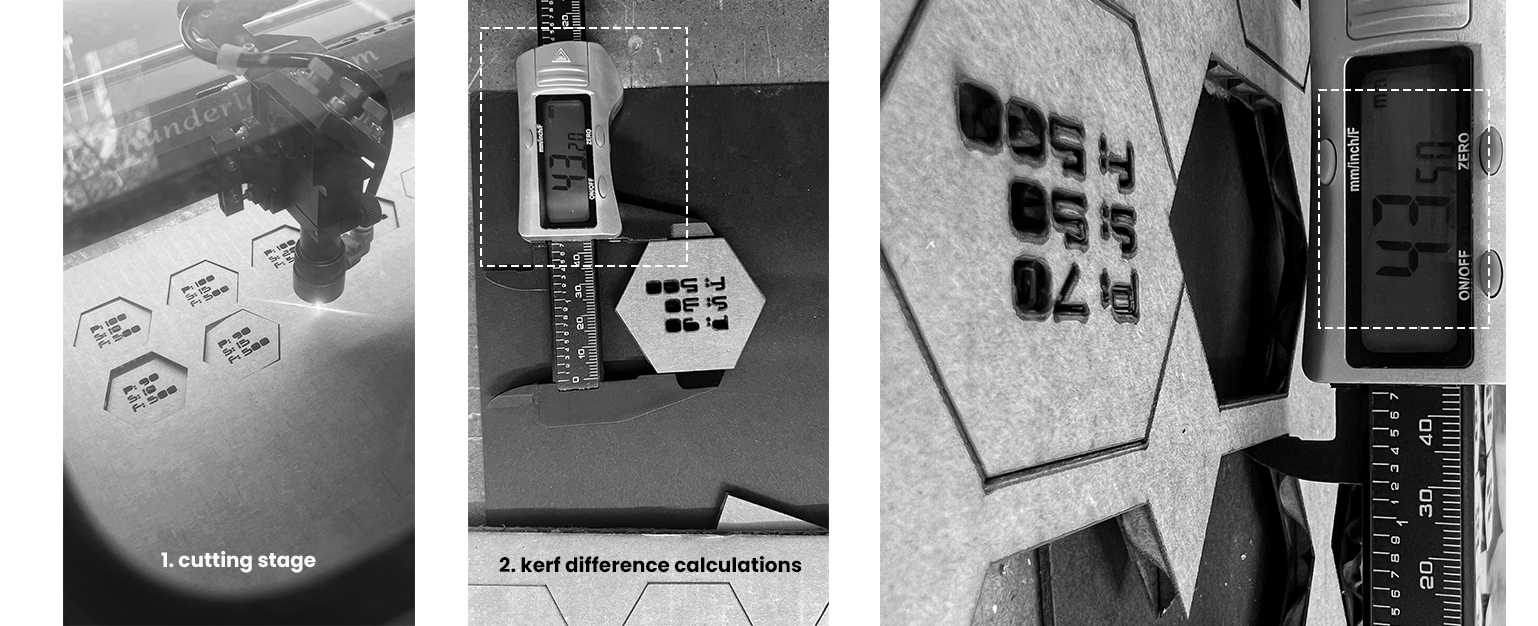
Cutting the hexagons also gave us another VERY IMPORTANT (I’ll talk about why I am writing this in capitalized letters) information: k e r f. The cutter tends to cut the shapes a bit smaller than they are, the difference of the drawn version and the cut version (aka kerf) was approximately 0.3 mm.
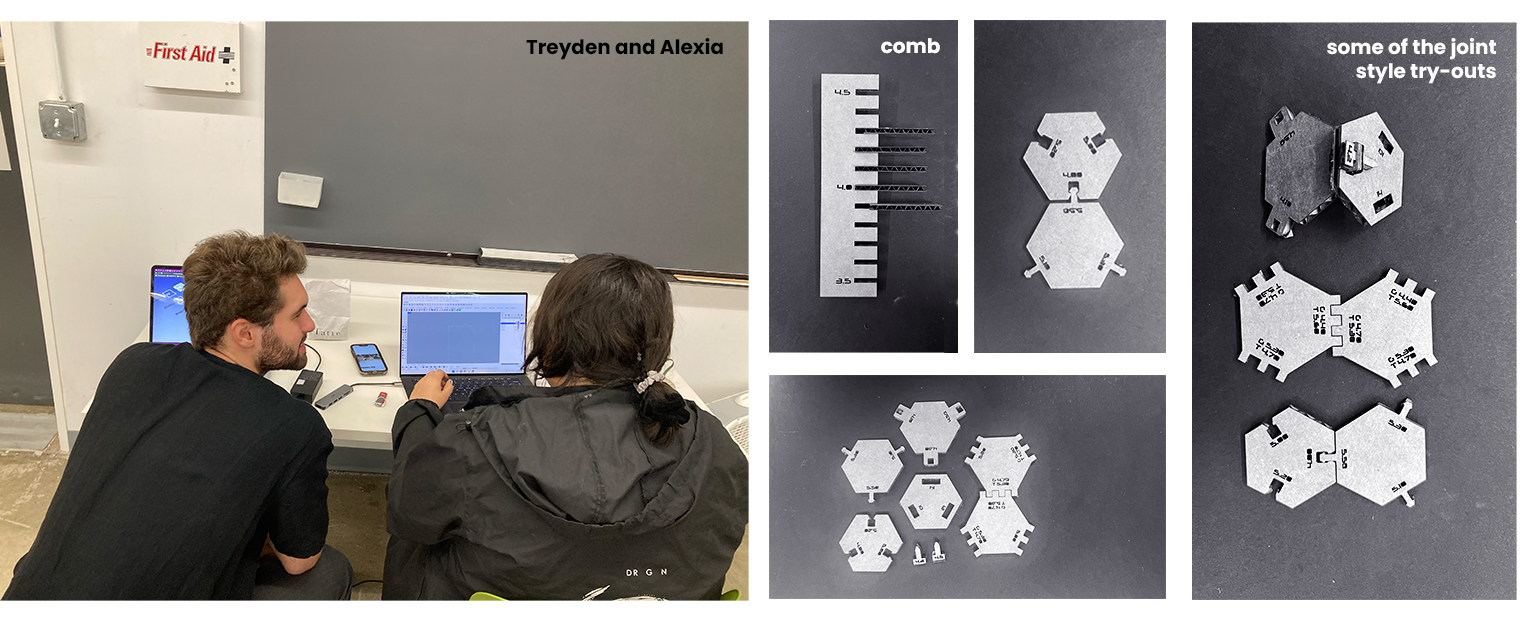
 Later on, we have designed a comb with different gap sizes, gradually increasing from 3.5 mm to 4.5 mm. 4-4.1 mm thicknesses were the best fits!* (Just bare with me, I will forget about this in very very near future of the past)
With all the information acquainted, we started trying out different connection styles such as snap and finger. Finger seemed to be the sturdiest, and I decided to use this joint style for my individual project.
A long, sweet and sour day. Staying more than 12 hours at fab-lab definitely meant that the semester had just begun.
1.1 Group Assignment
1.2 Individual Assignment
1.3 Vinyl Cutting
For this task, we were asked to create a parametric design kit that could be assembled in multiple ways. As a former architecture student, I realized how bad I felt throwing my models away after a week or so, thus, I wanted my design to have at least a life span and not be directly wasted in a trash can.
 `tHe jOurNeY`
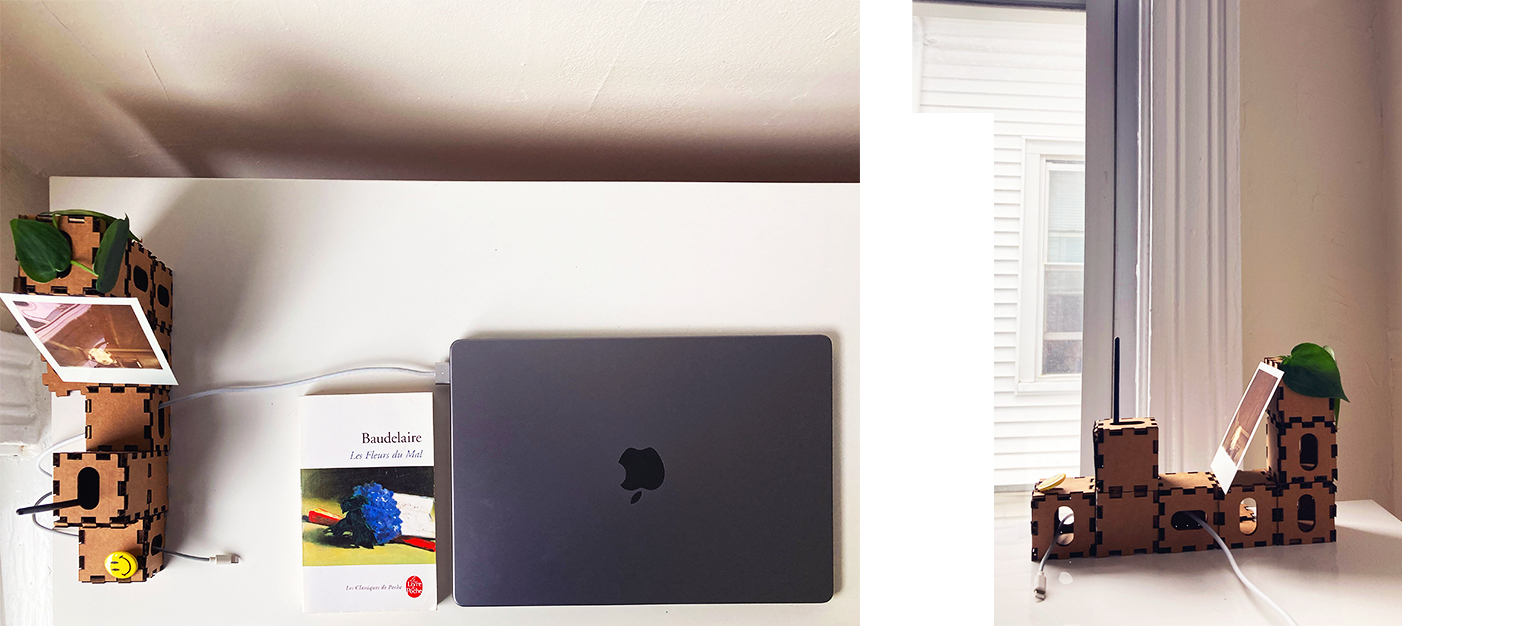
My main idea was to design a cable organizer kit for desks, which could have a layout out in various ways. I don’t have a monitor but I work with three computers and — a couple of meters-long cables that come with it and tangle on the desk. This kits aim is to not hide the cables completely but to orient them, show them a route to follow so that they do not get tangled in the middle of the desk. I wanted it to be flexible and moveable, in case I change the location of my laptops on the desk.
Ideas were limitless but the time was not. So, I decided to start simple.
Modular cubes, finger joints, and a minimal design. I had already experimented with finger joints with the group assignment but even though I am a CAD user, I was newly introduced to Fusion 360. After a day or two, I have come up with a simple but effective design kit:
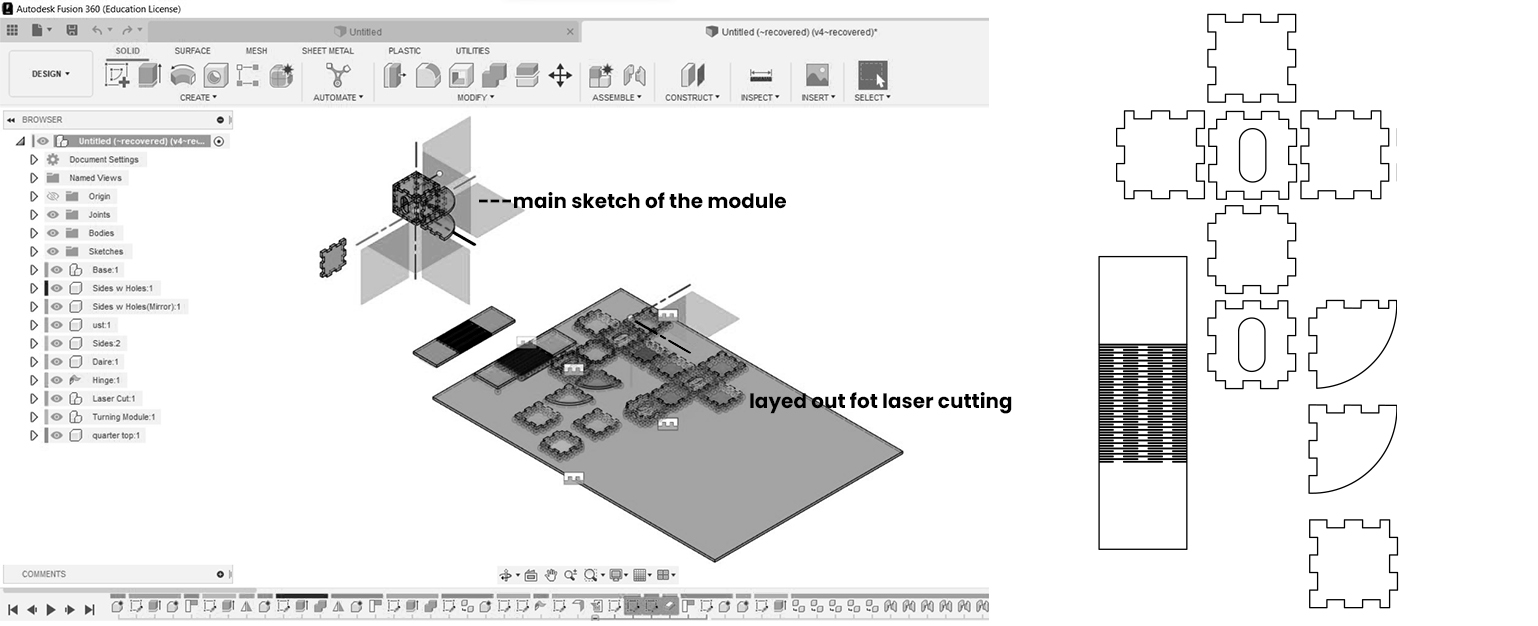 I also drew a living hinge. This was more mathematics than design. Well, somewhere in between.
I have used 8 parameters, but forgot the most important one: k e r f.
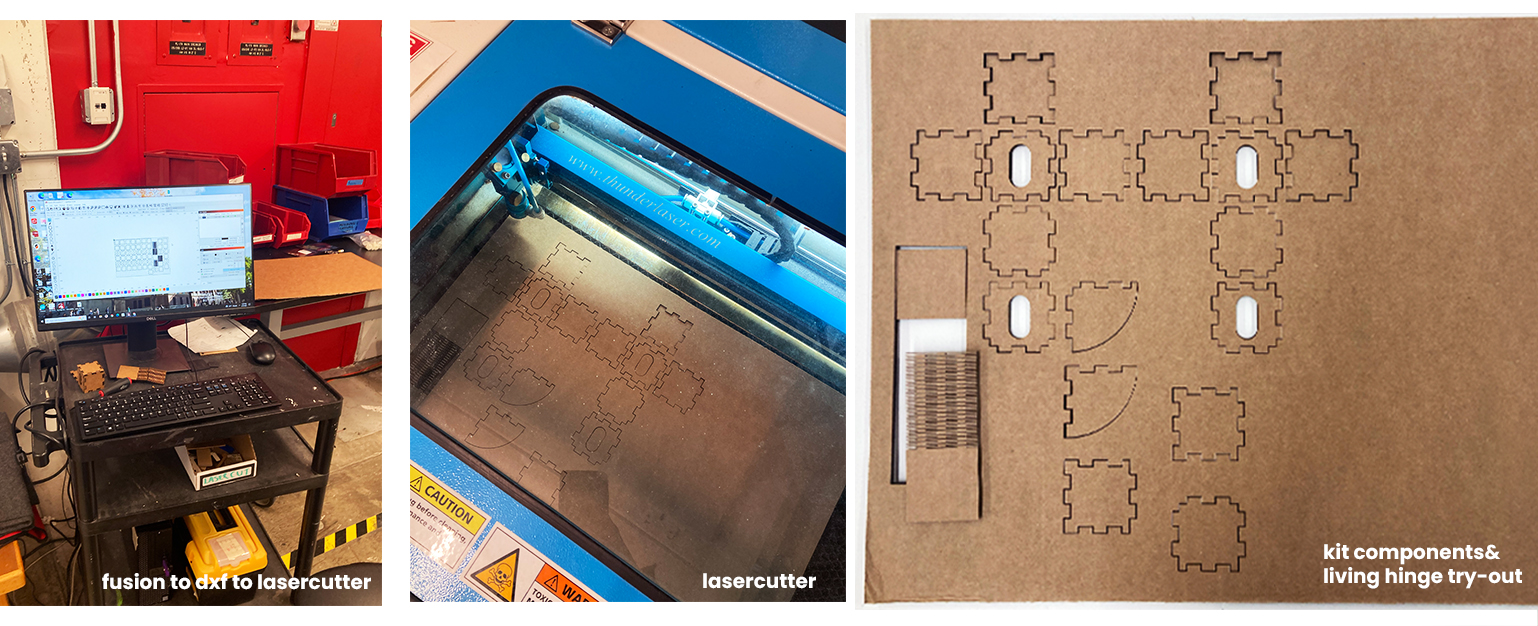
Even though I knew I have not set the kerf calculations right, I went ahead and decided to initiate a cutting test.
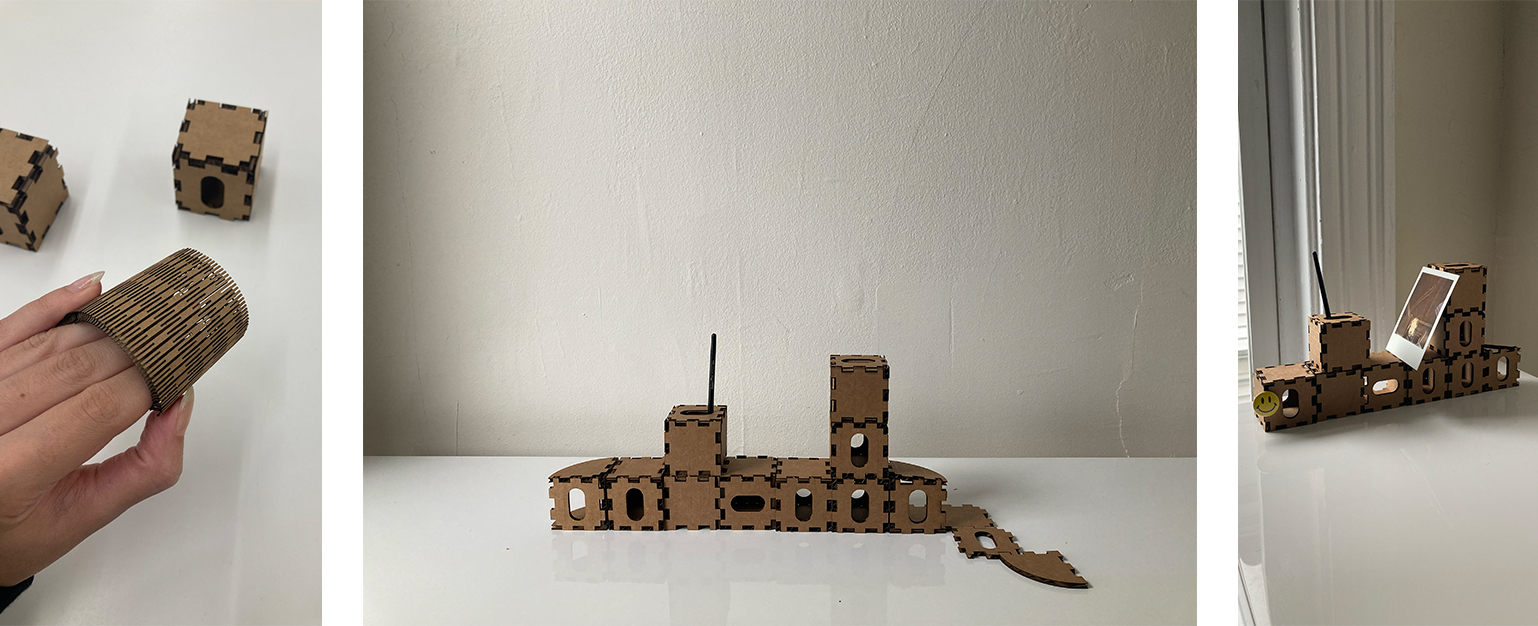
It somehow… worked. There was a bit of looseness but the elements of the cube were able to hold themselves in the right place. I have decided to multiply my modules and try a setting out in my apartment.
Results & What I'd Do Differently
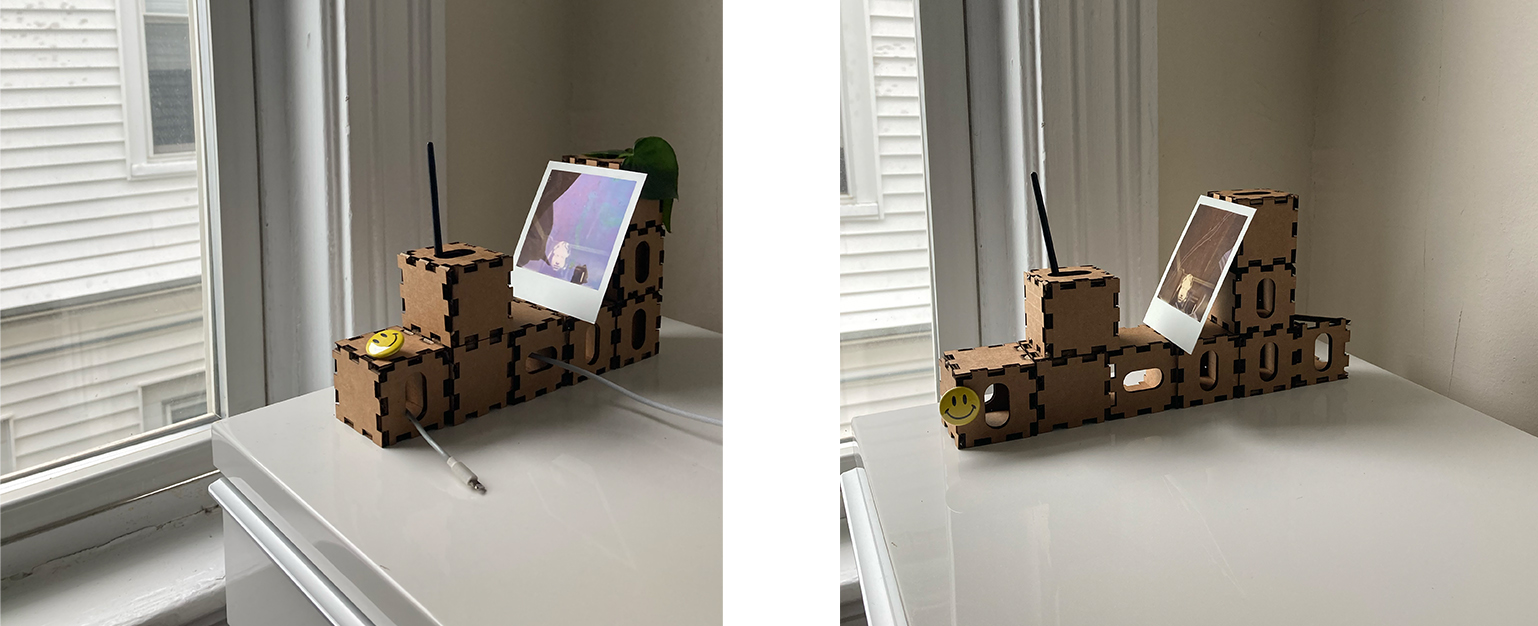
The cables were nicely organized with my parametric kit, and I liked the simplicity of it!
Notes to consider:
Calculate the kerf and set a parameter for it!
Don’t be afraid of taking risks in design: use the living hinges next time!
Take notes of what you did as you proceed to remember it later.
1.3 Vinyl Cutting
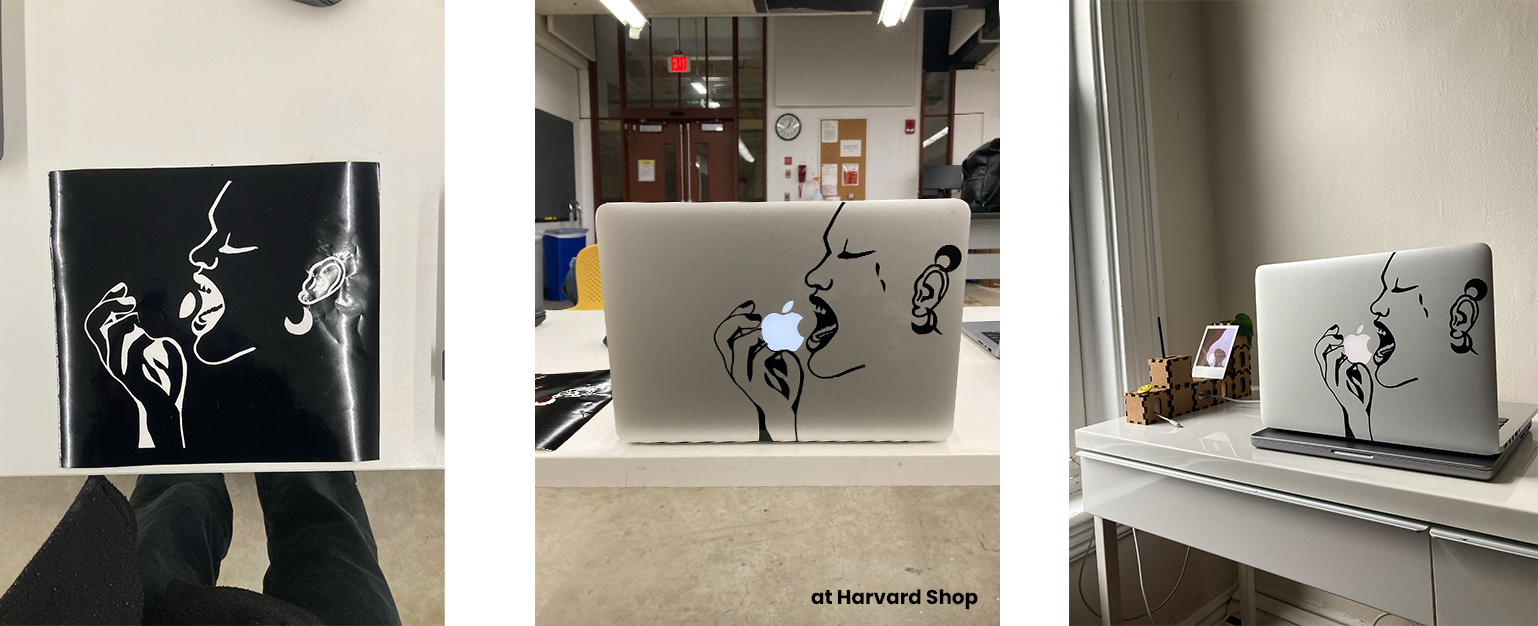
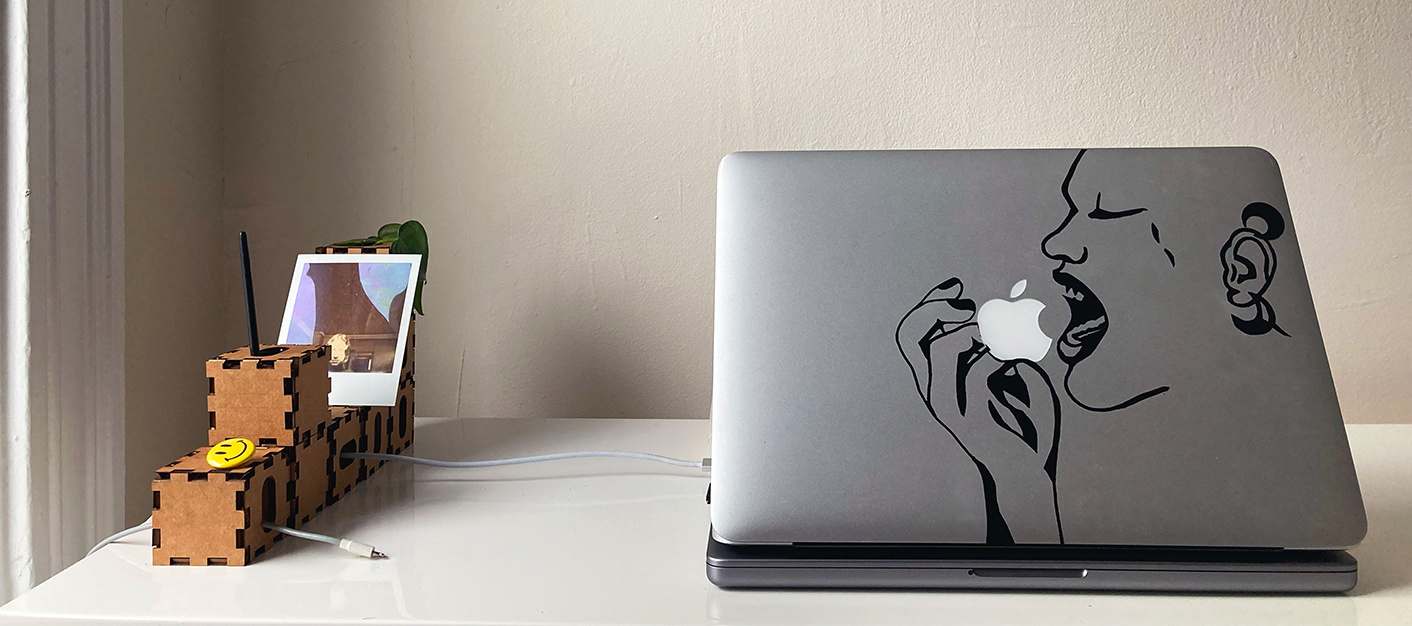
Cutting - “Reminiscent Bite” dedicated to Alan Turing
It all started with a decision of saying “I will be designing a sticker for my laptop”, and continued watching the apple logo for some while. Then I started contemplating on the absence of the apple bite, and then, Alan Turing. The vinyl cut design represents that very bite Alan took, and the tears resemble the 'unbearable lightness of his being' in that very moment.