Week 04
This week I design a sphere inside a cube with round openings at the walls of the cube, The desgin was simple and straight forward, but the 3D printing process was complicated.
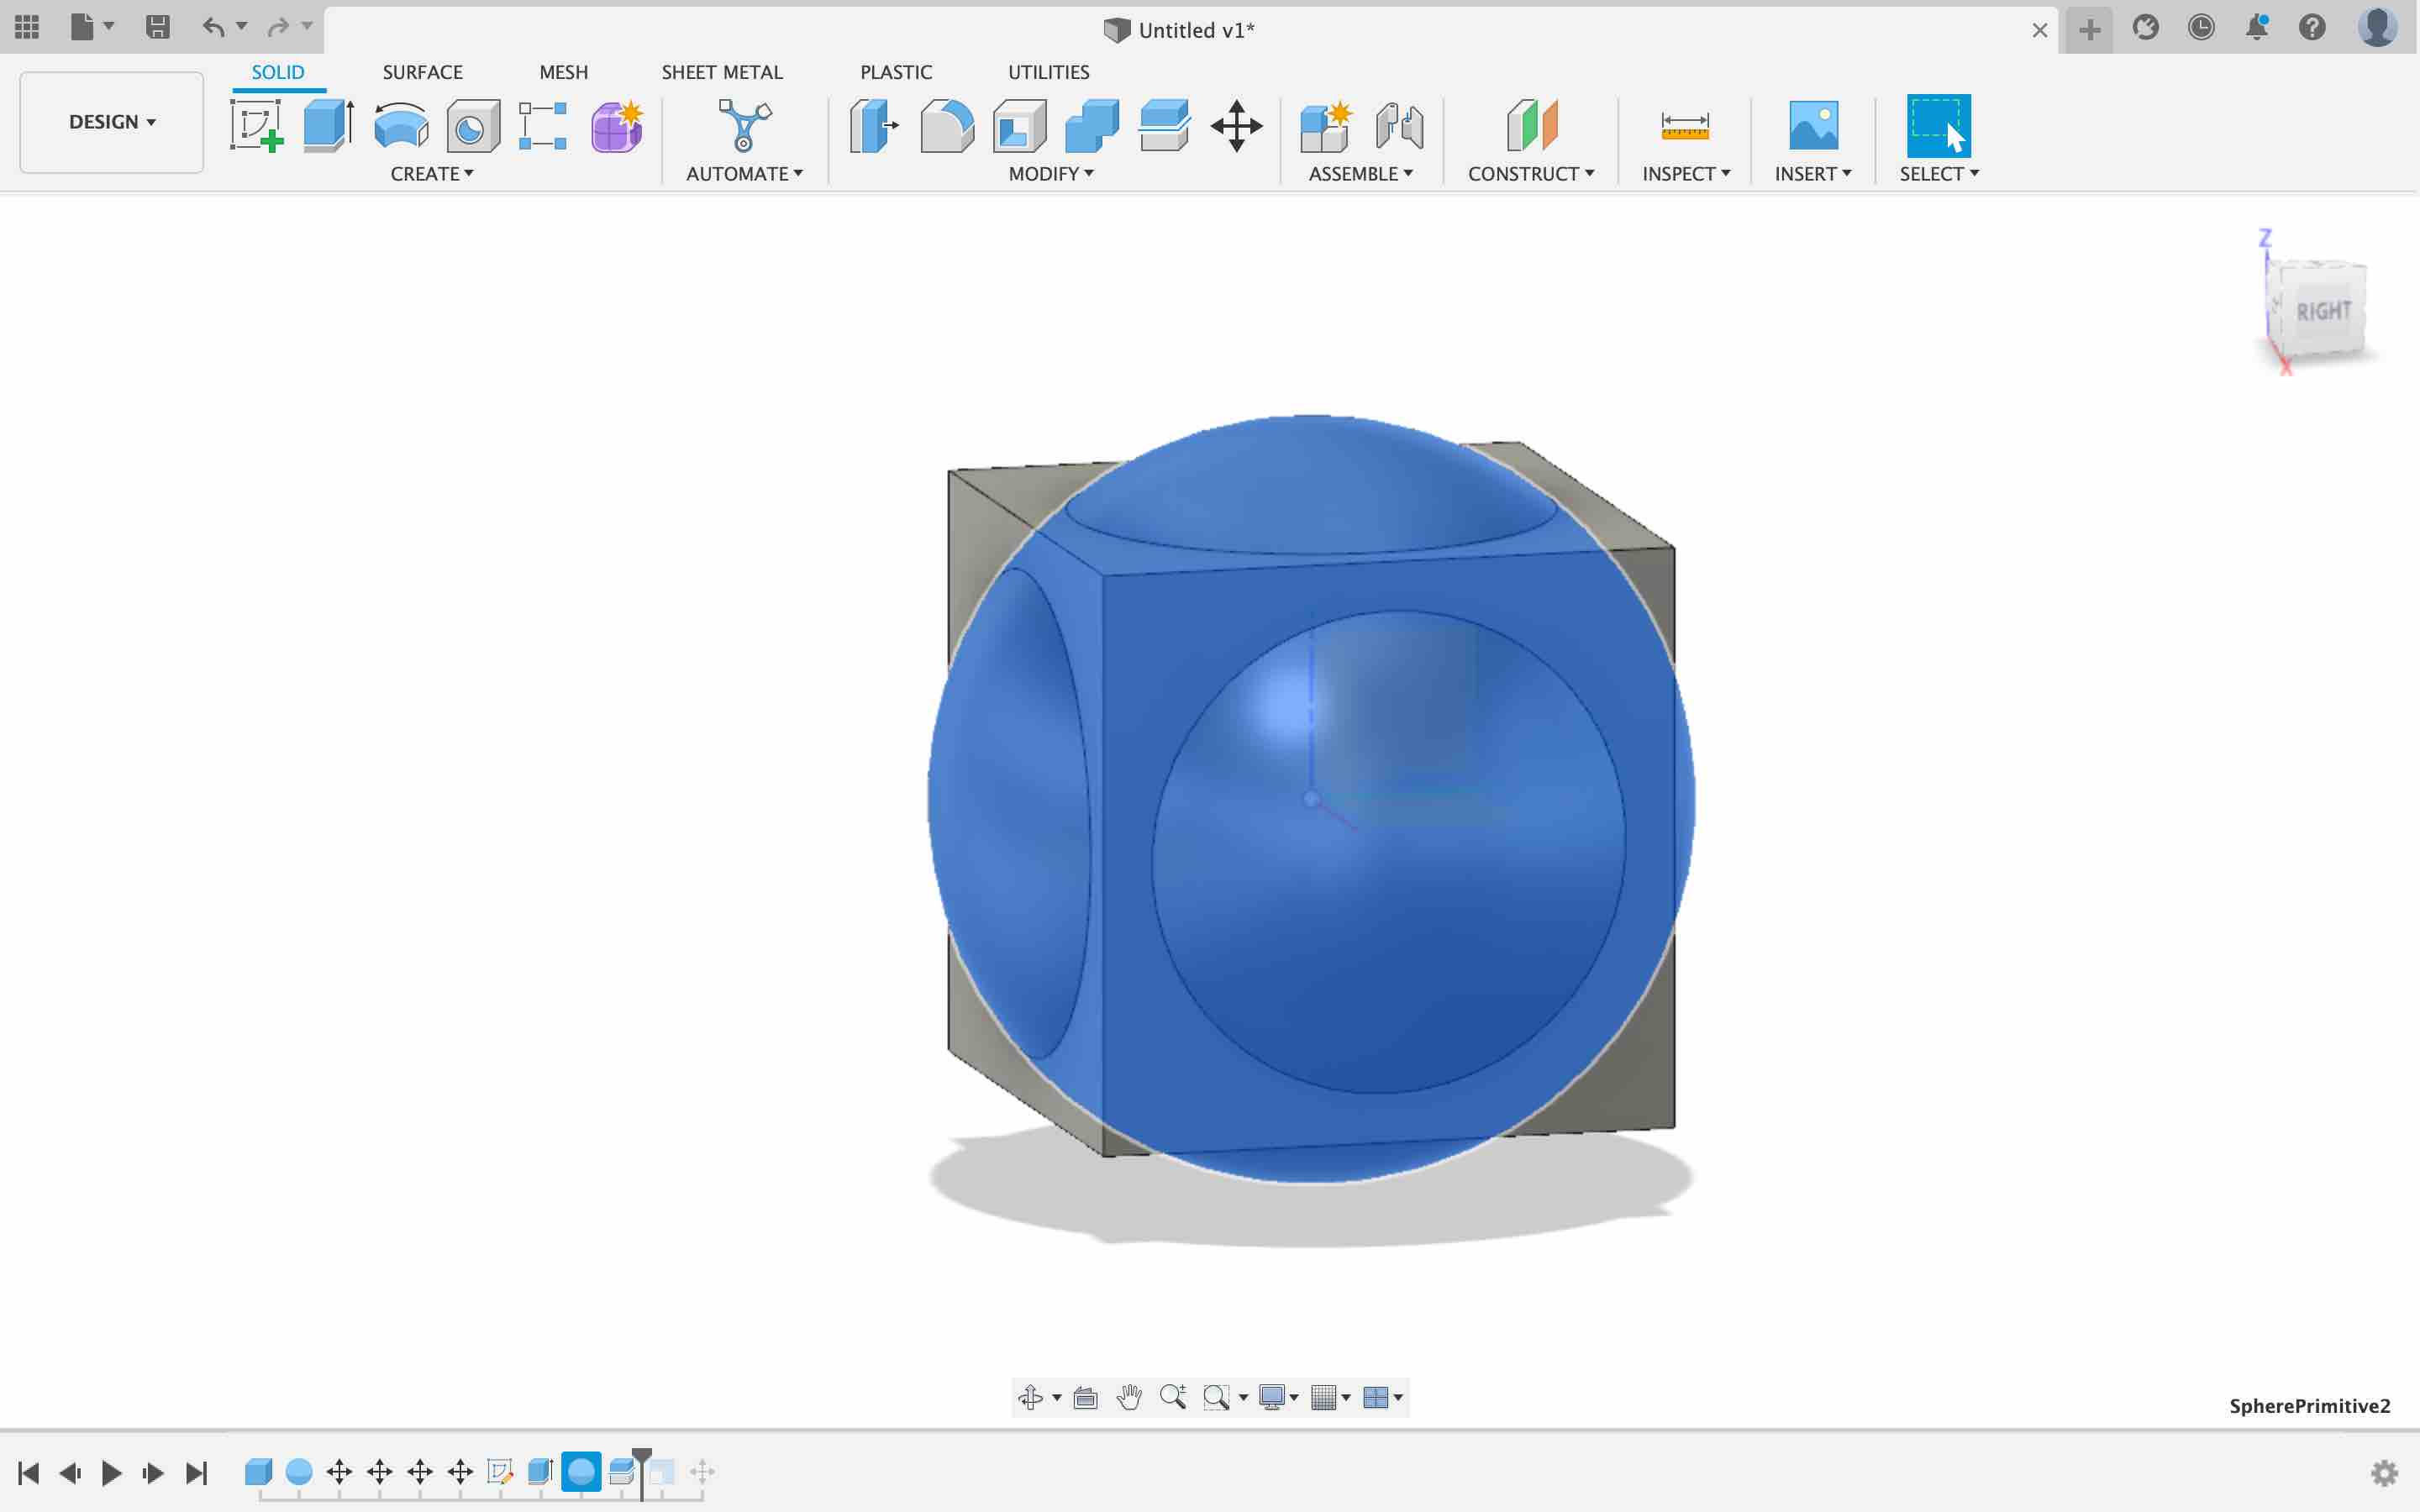 I made the cube first, and then made a large sphere in the middle to make the cuts for the round facings on the walls.
 Then I shortend the diameter of the sphere so it can fit inside the cube, and to be big enough so it cannot go out of the cube.
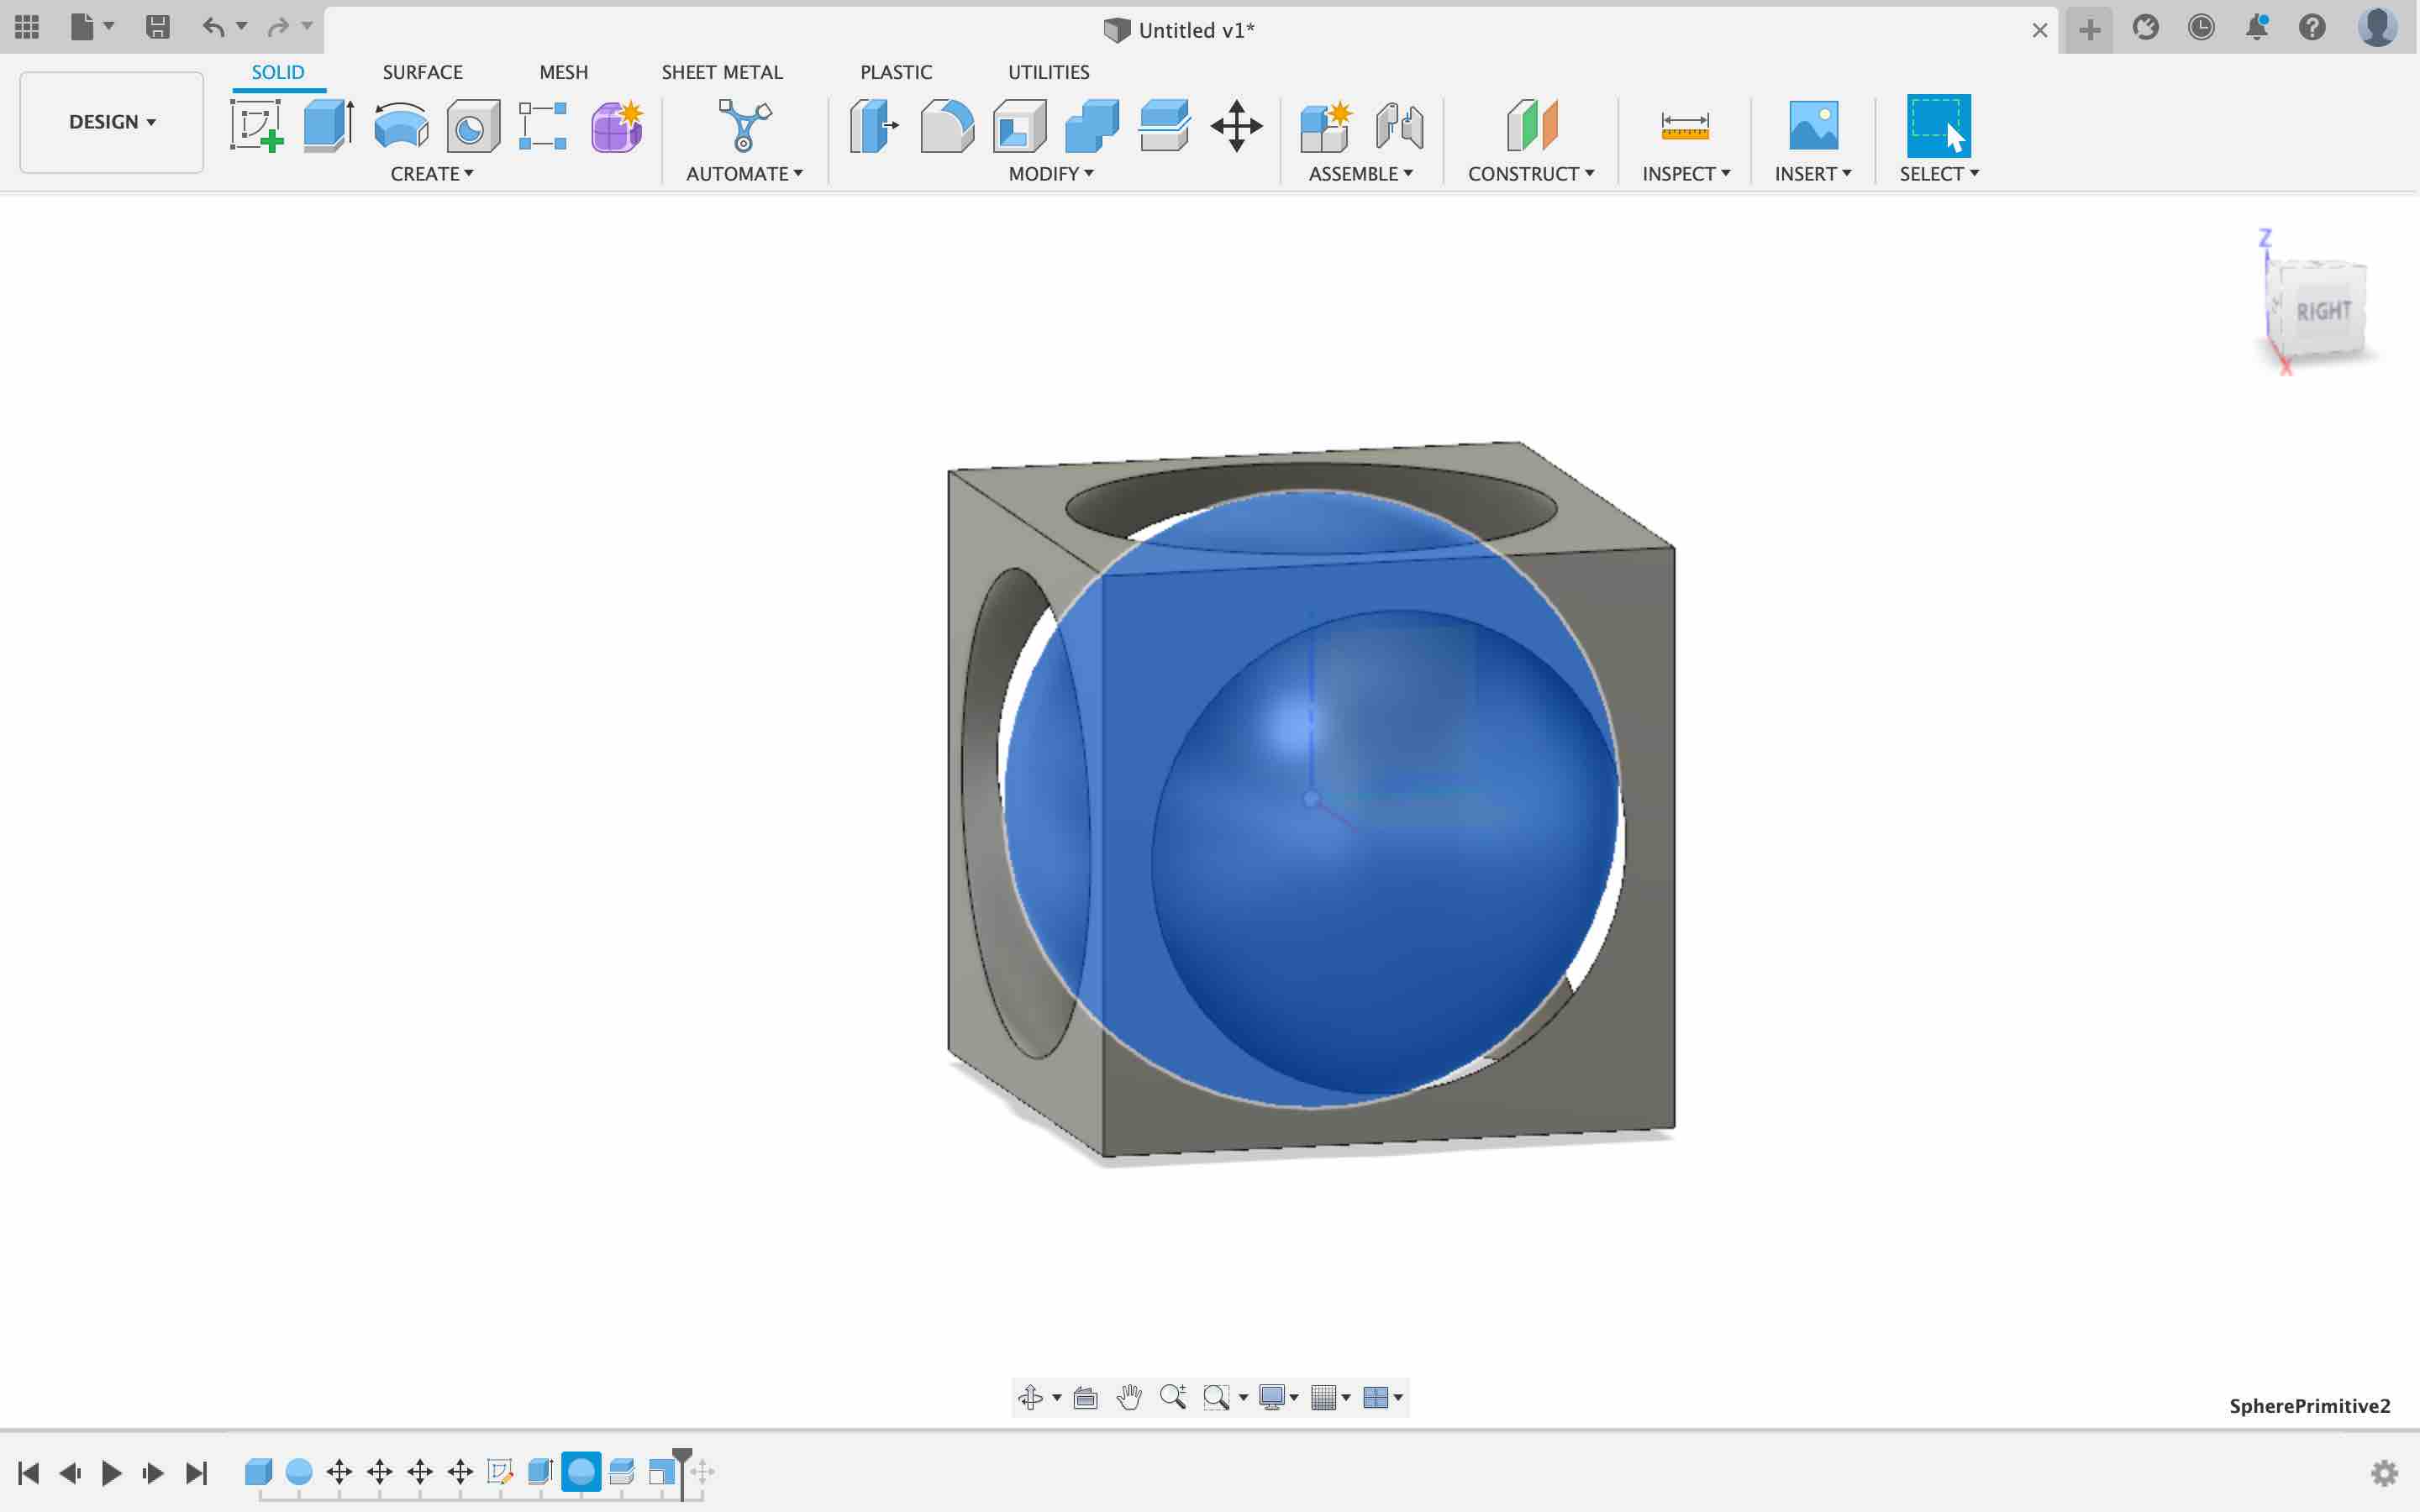
 I put a smaller sphere inside the sphere so it will cut it and be hollow from the inside.
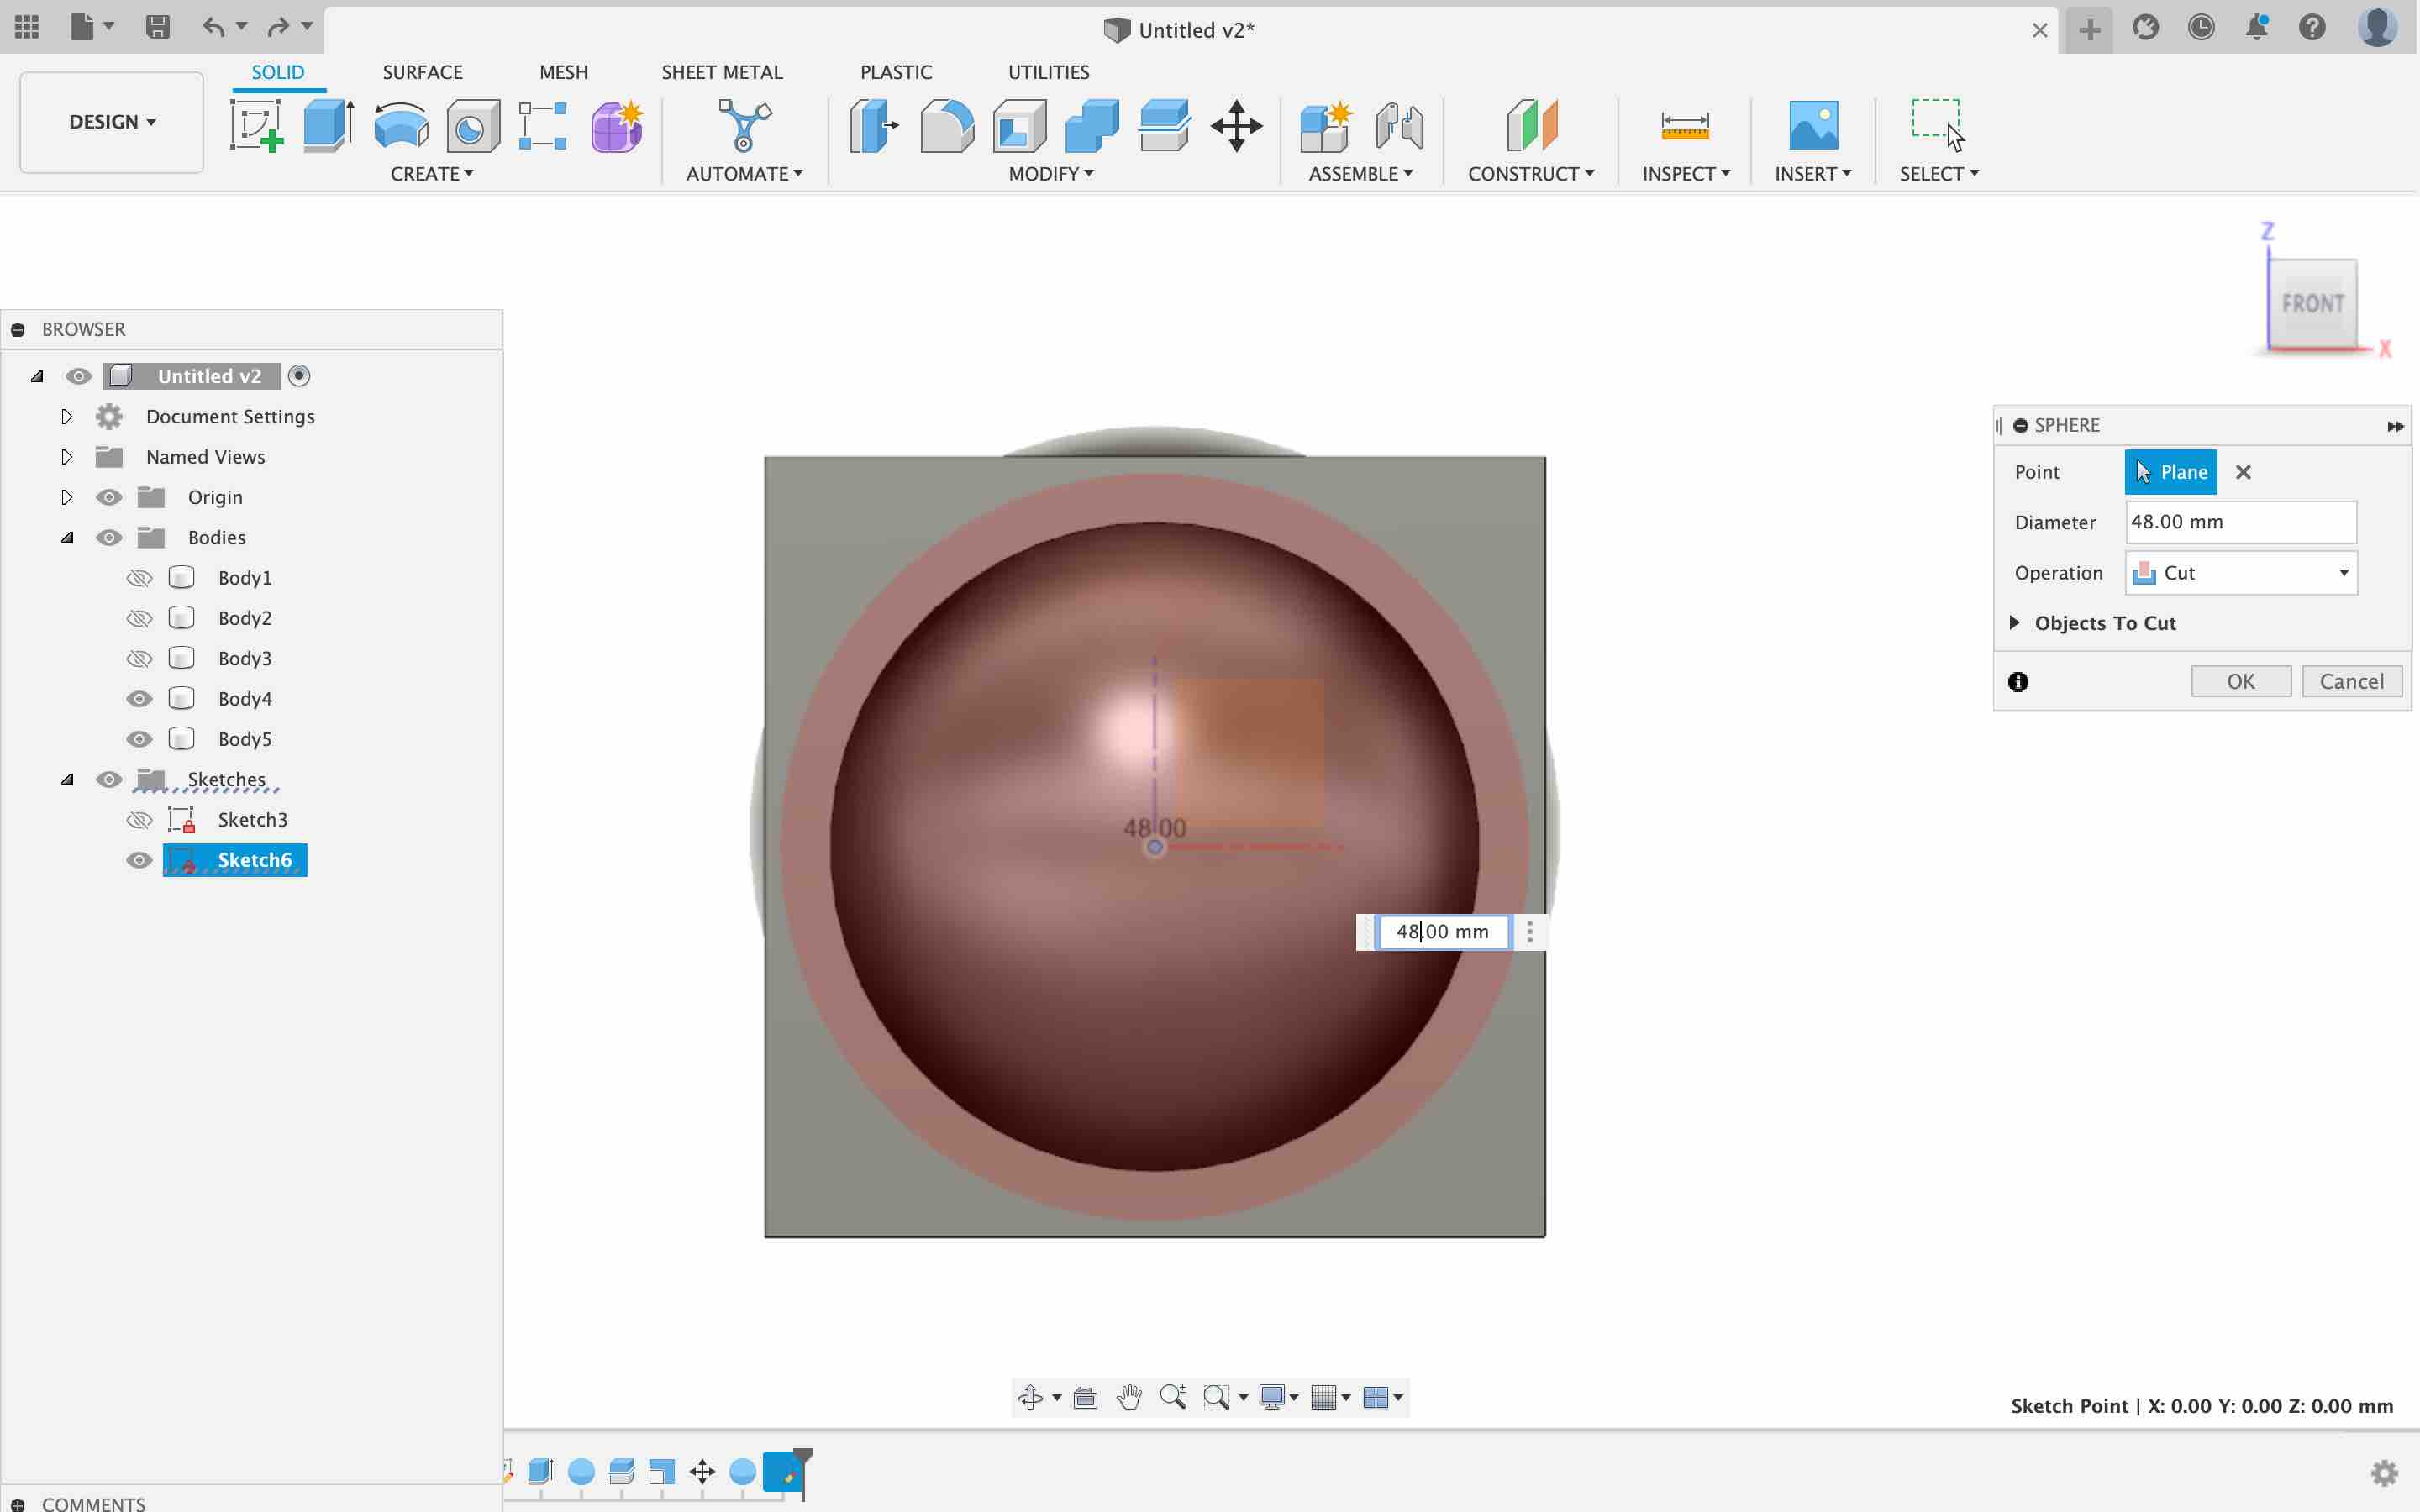 This the diameter of the smaller sphere, the original sphere is 55mm in diameter and I cut it from the inside with a 48mm diameter sphere.
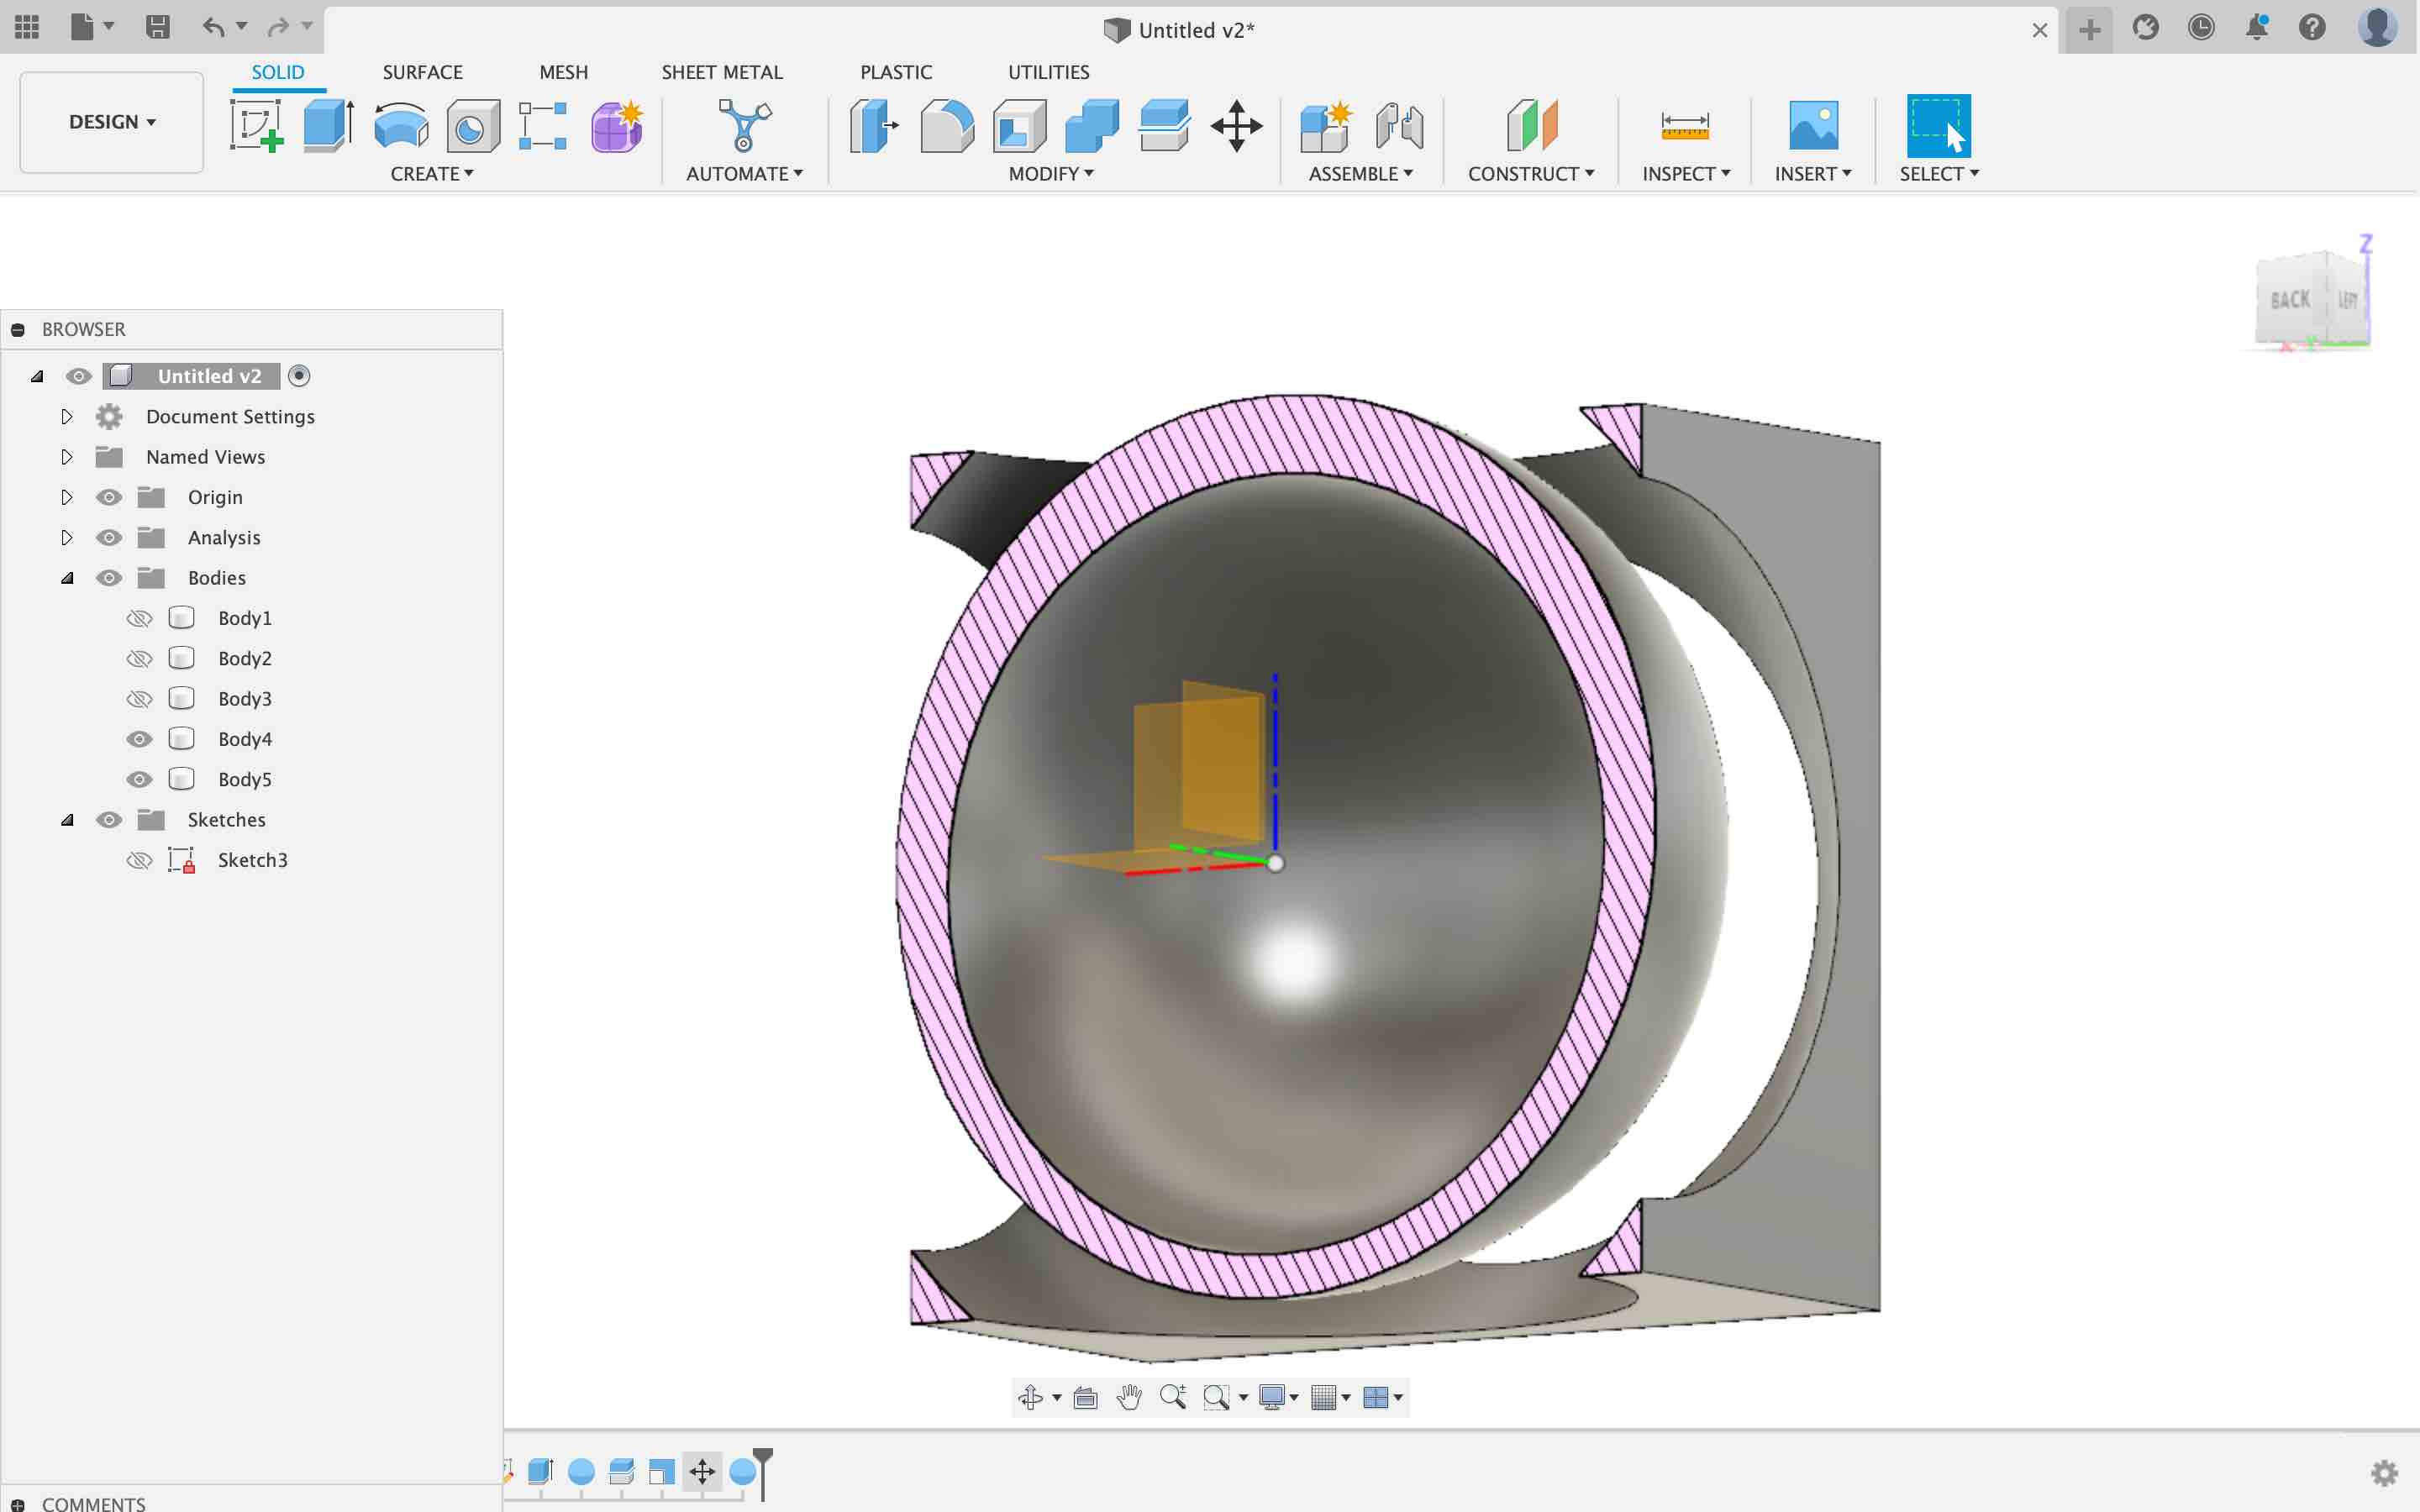 This is cross-section of thr whole design to show the details.
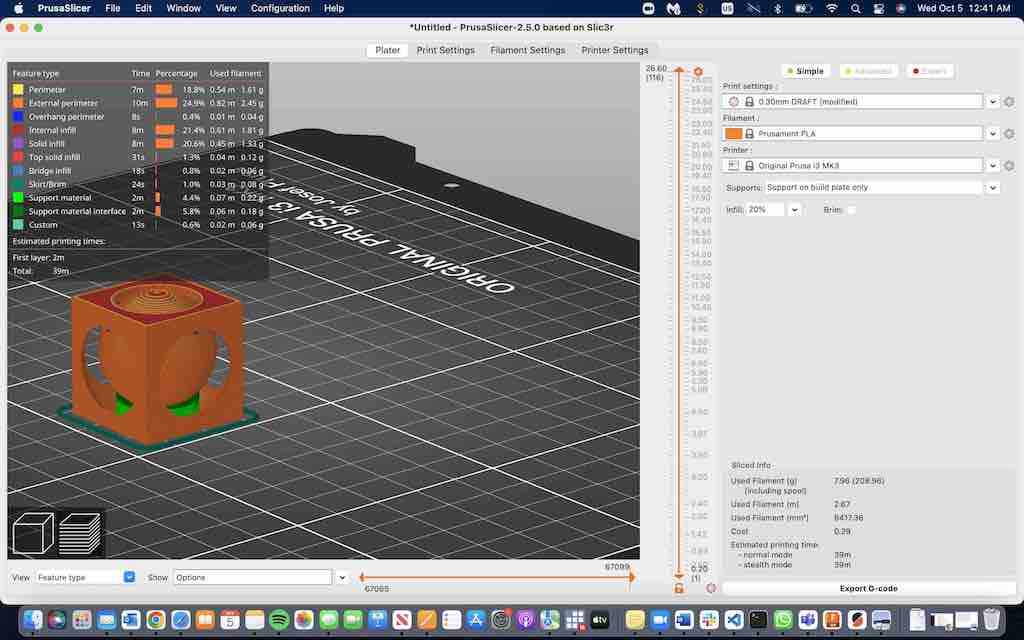
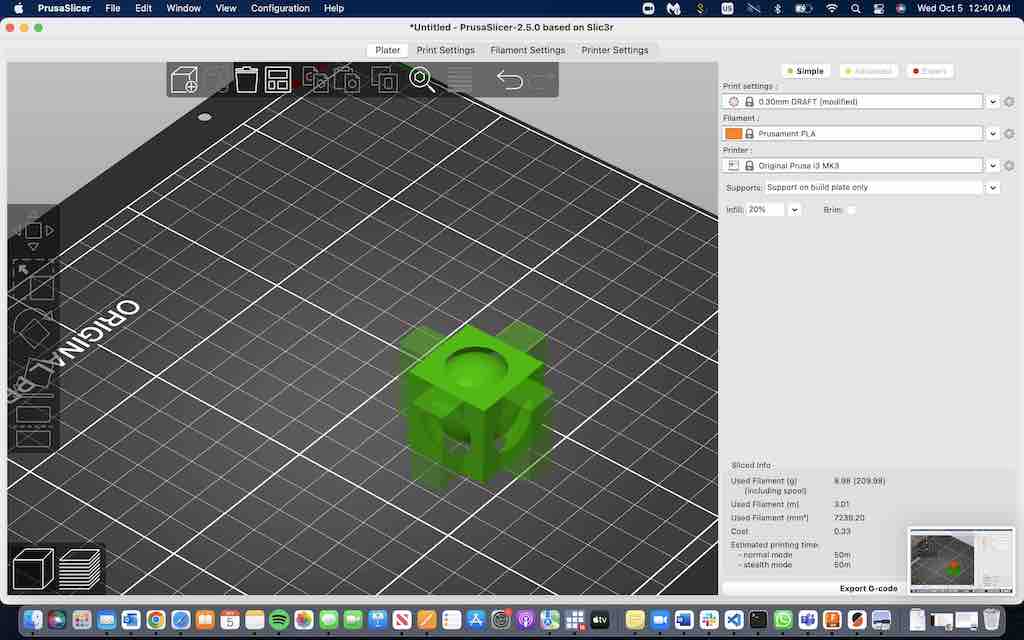
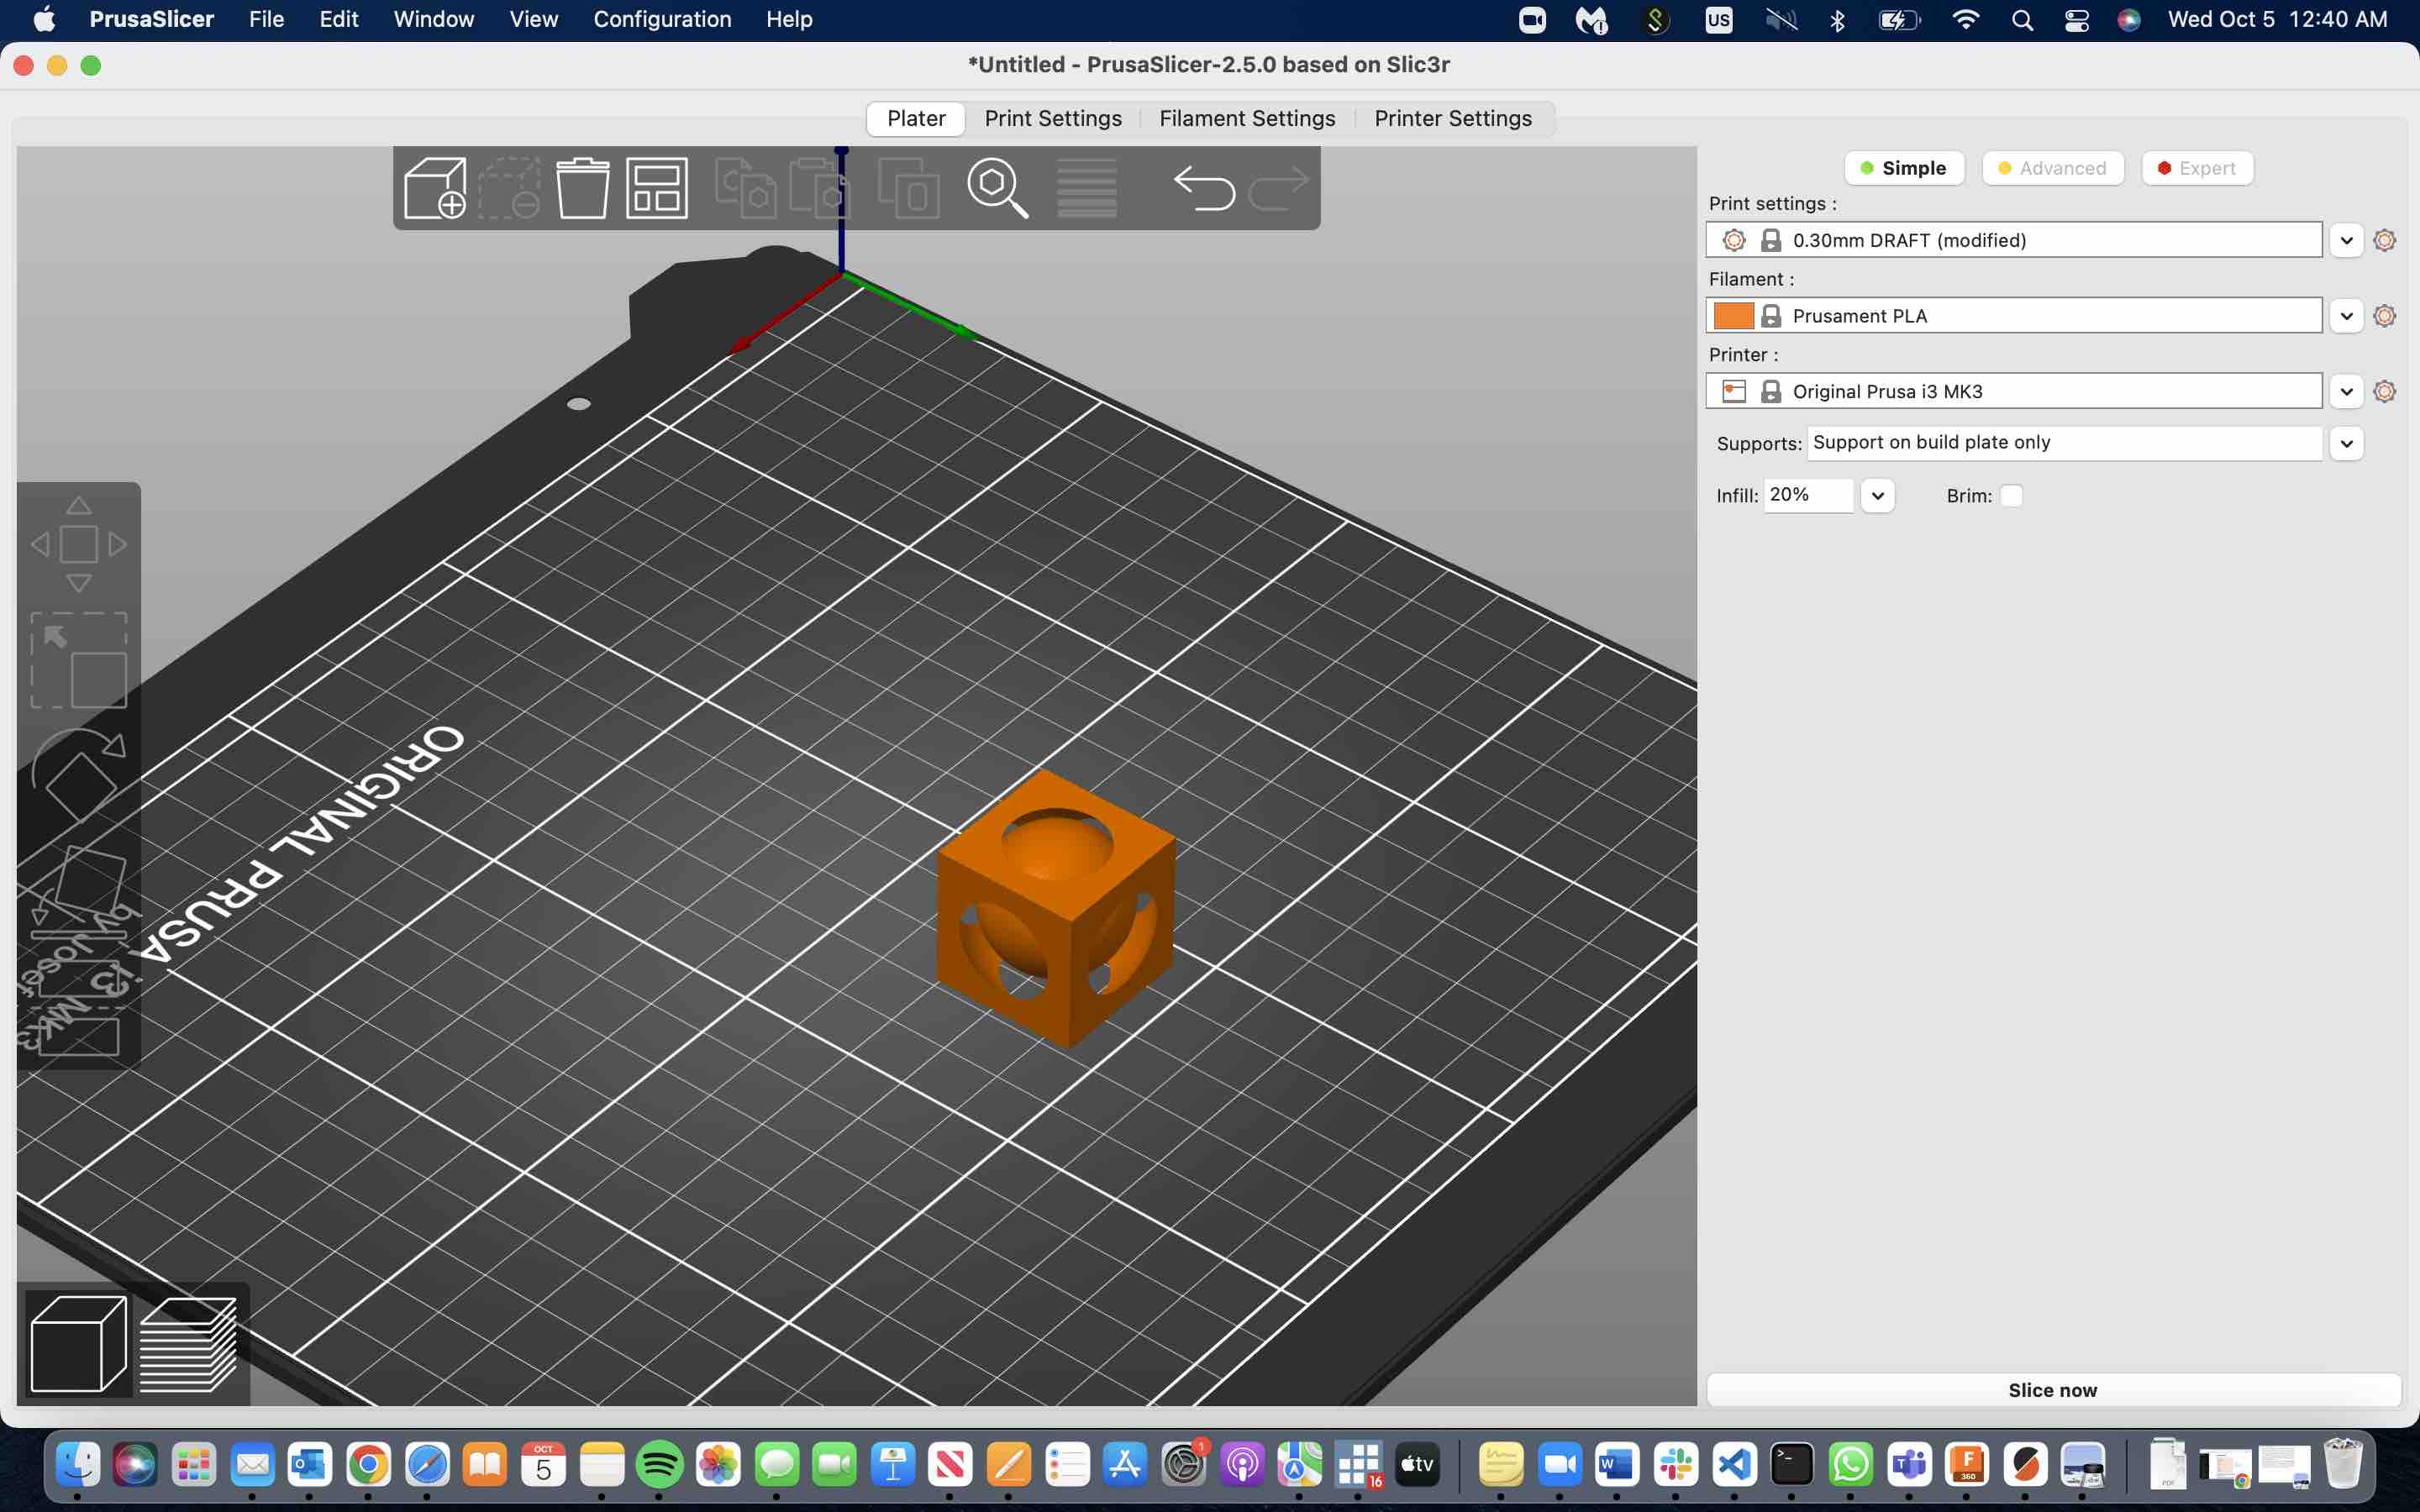 After I finished the desgin I saved it as SDL and opended it in Prusaslicer to prepare for 3D printing in Prusa 3D printer.
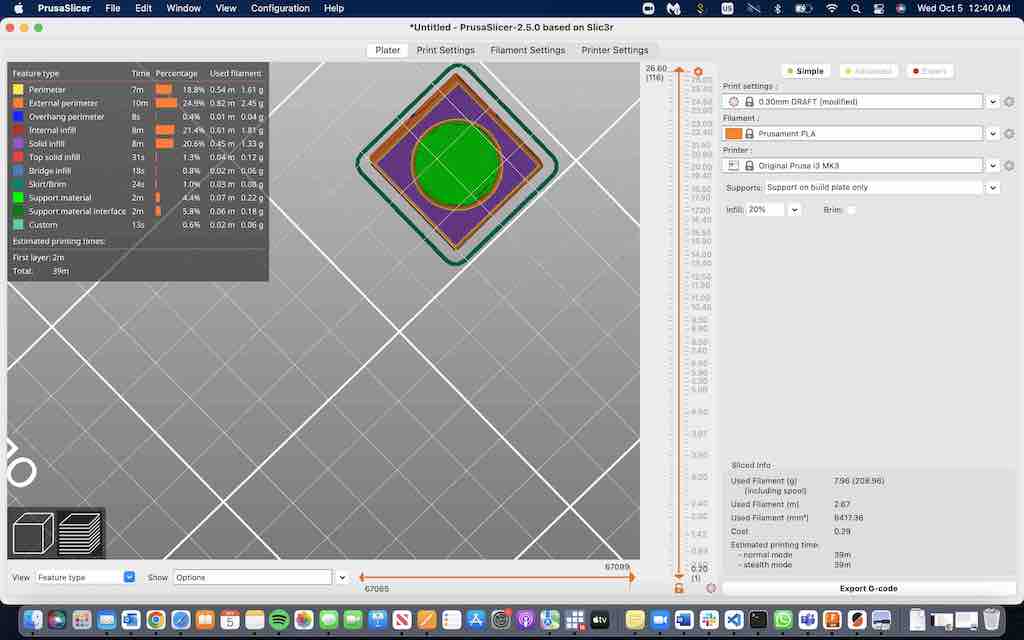
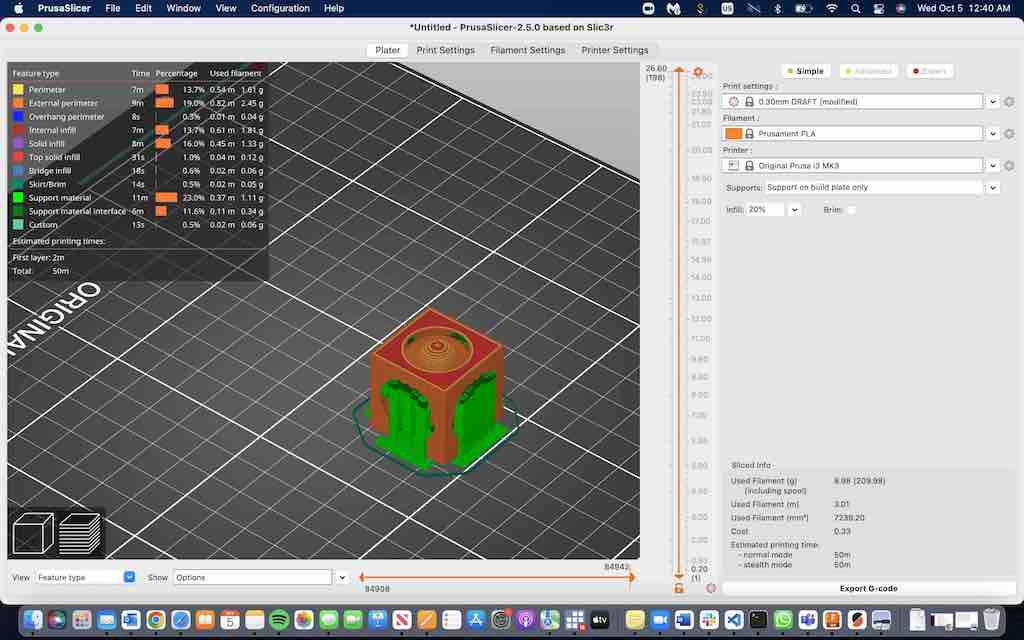
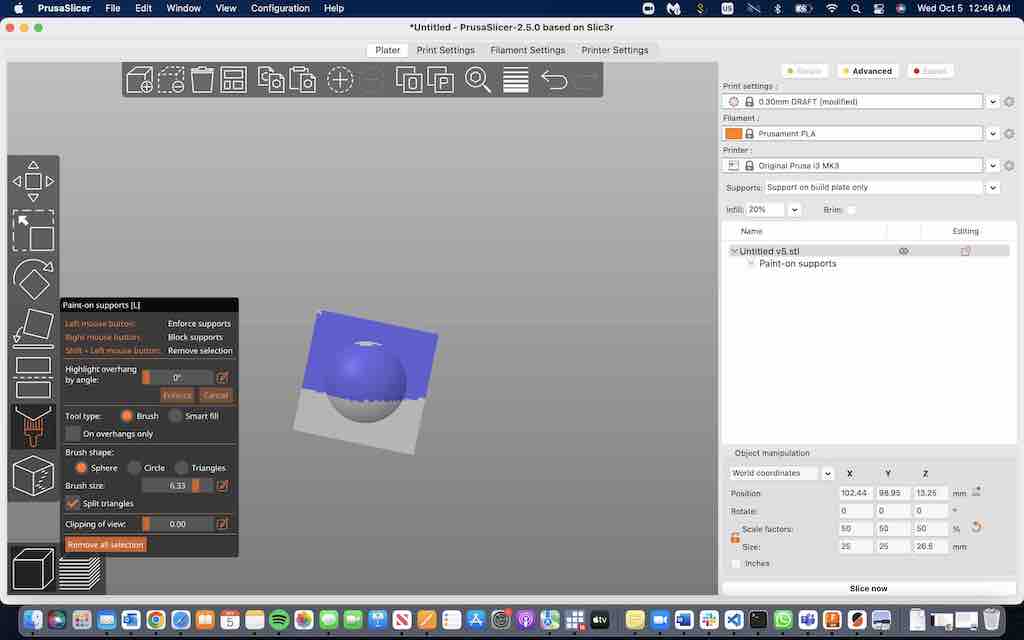 I used the brush in Prusaslicer to add enforcement to support my desgin when it gets 3D printed.
 The enforcement was covering all the base and extending outside the cube borders.
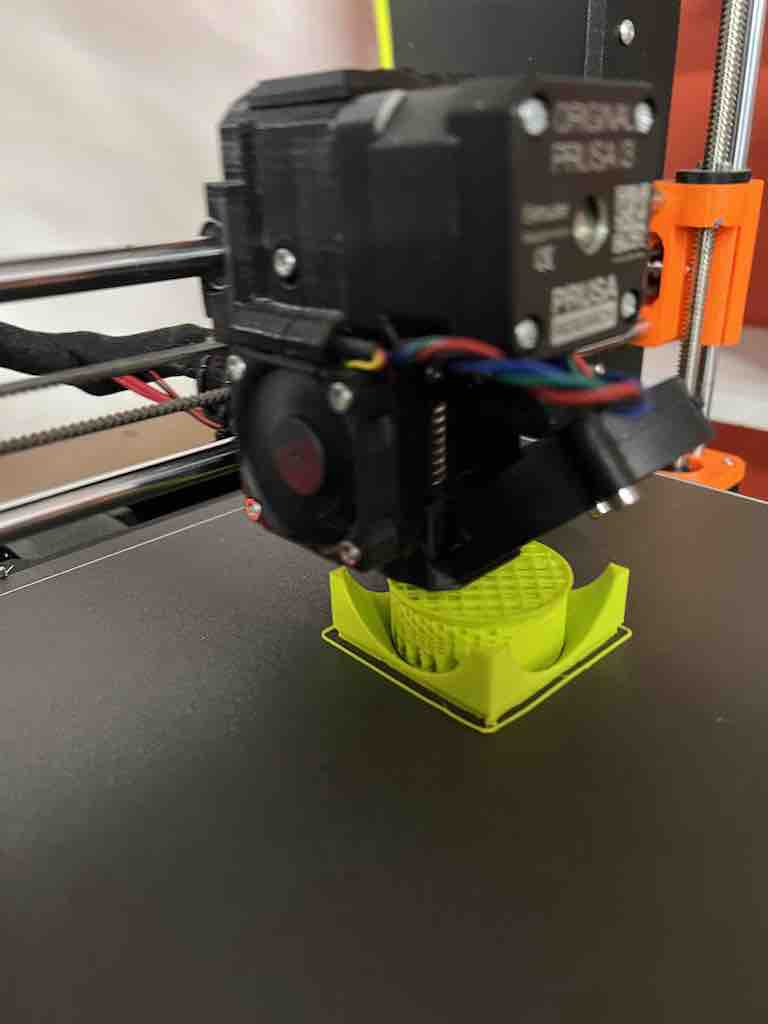
 This is a photo for the first failure I had when I 3D printed my design, it kept moving with the machine, and it distorted, I kept changing the shape of the enforcement to make it stick to the base but it kept on moving.
 After many trials, with different 3D printers, and different filaments, and with many changes in the the enforcement type and location, it failed to print and here it failed 8 times with different setting in each trial.
 I figured out what is causing it to move is that support being out of the cube borders AND the shpere starts printing from the base, so I raised the sphere 5mm and made sure it did not stick to the top borders of the round opening, and there is clearance between it and the internal structure of the cube.
 This is the look of the support only covering the base of the sphere from the inside.
 After these adjustments in started printing properly without moving.
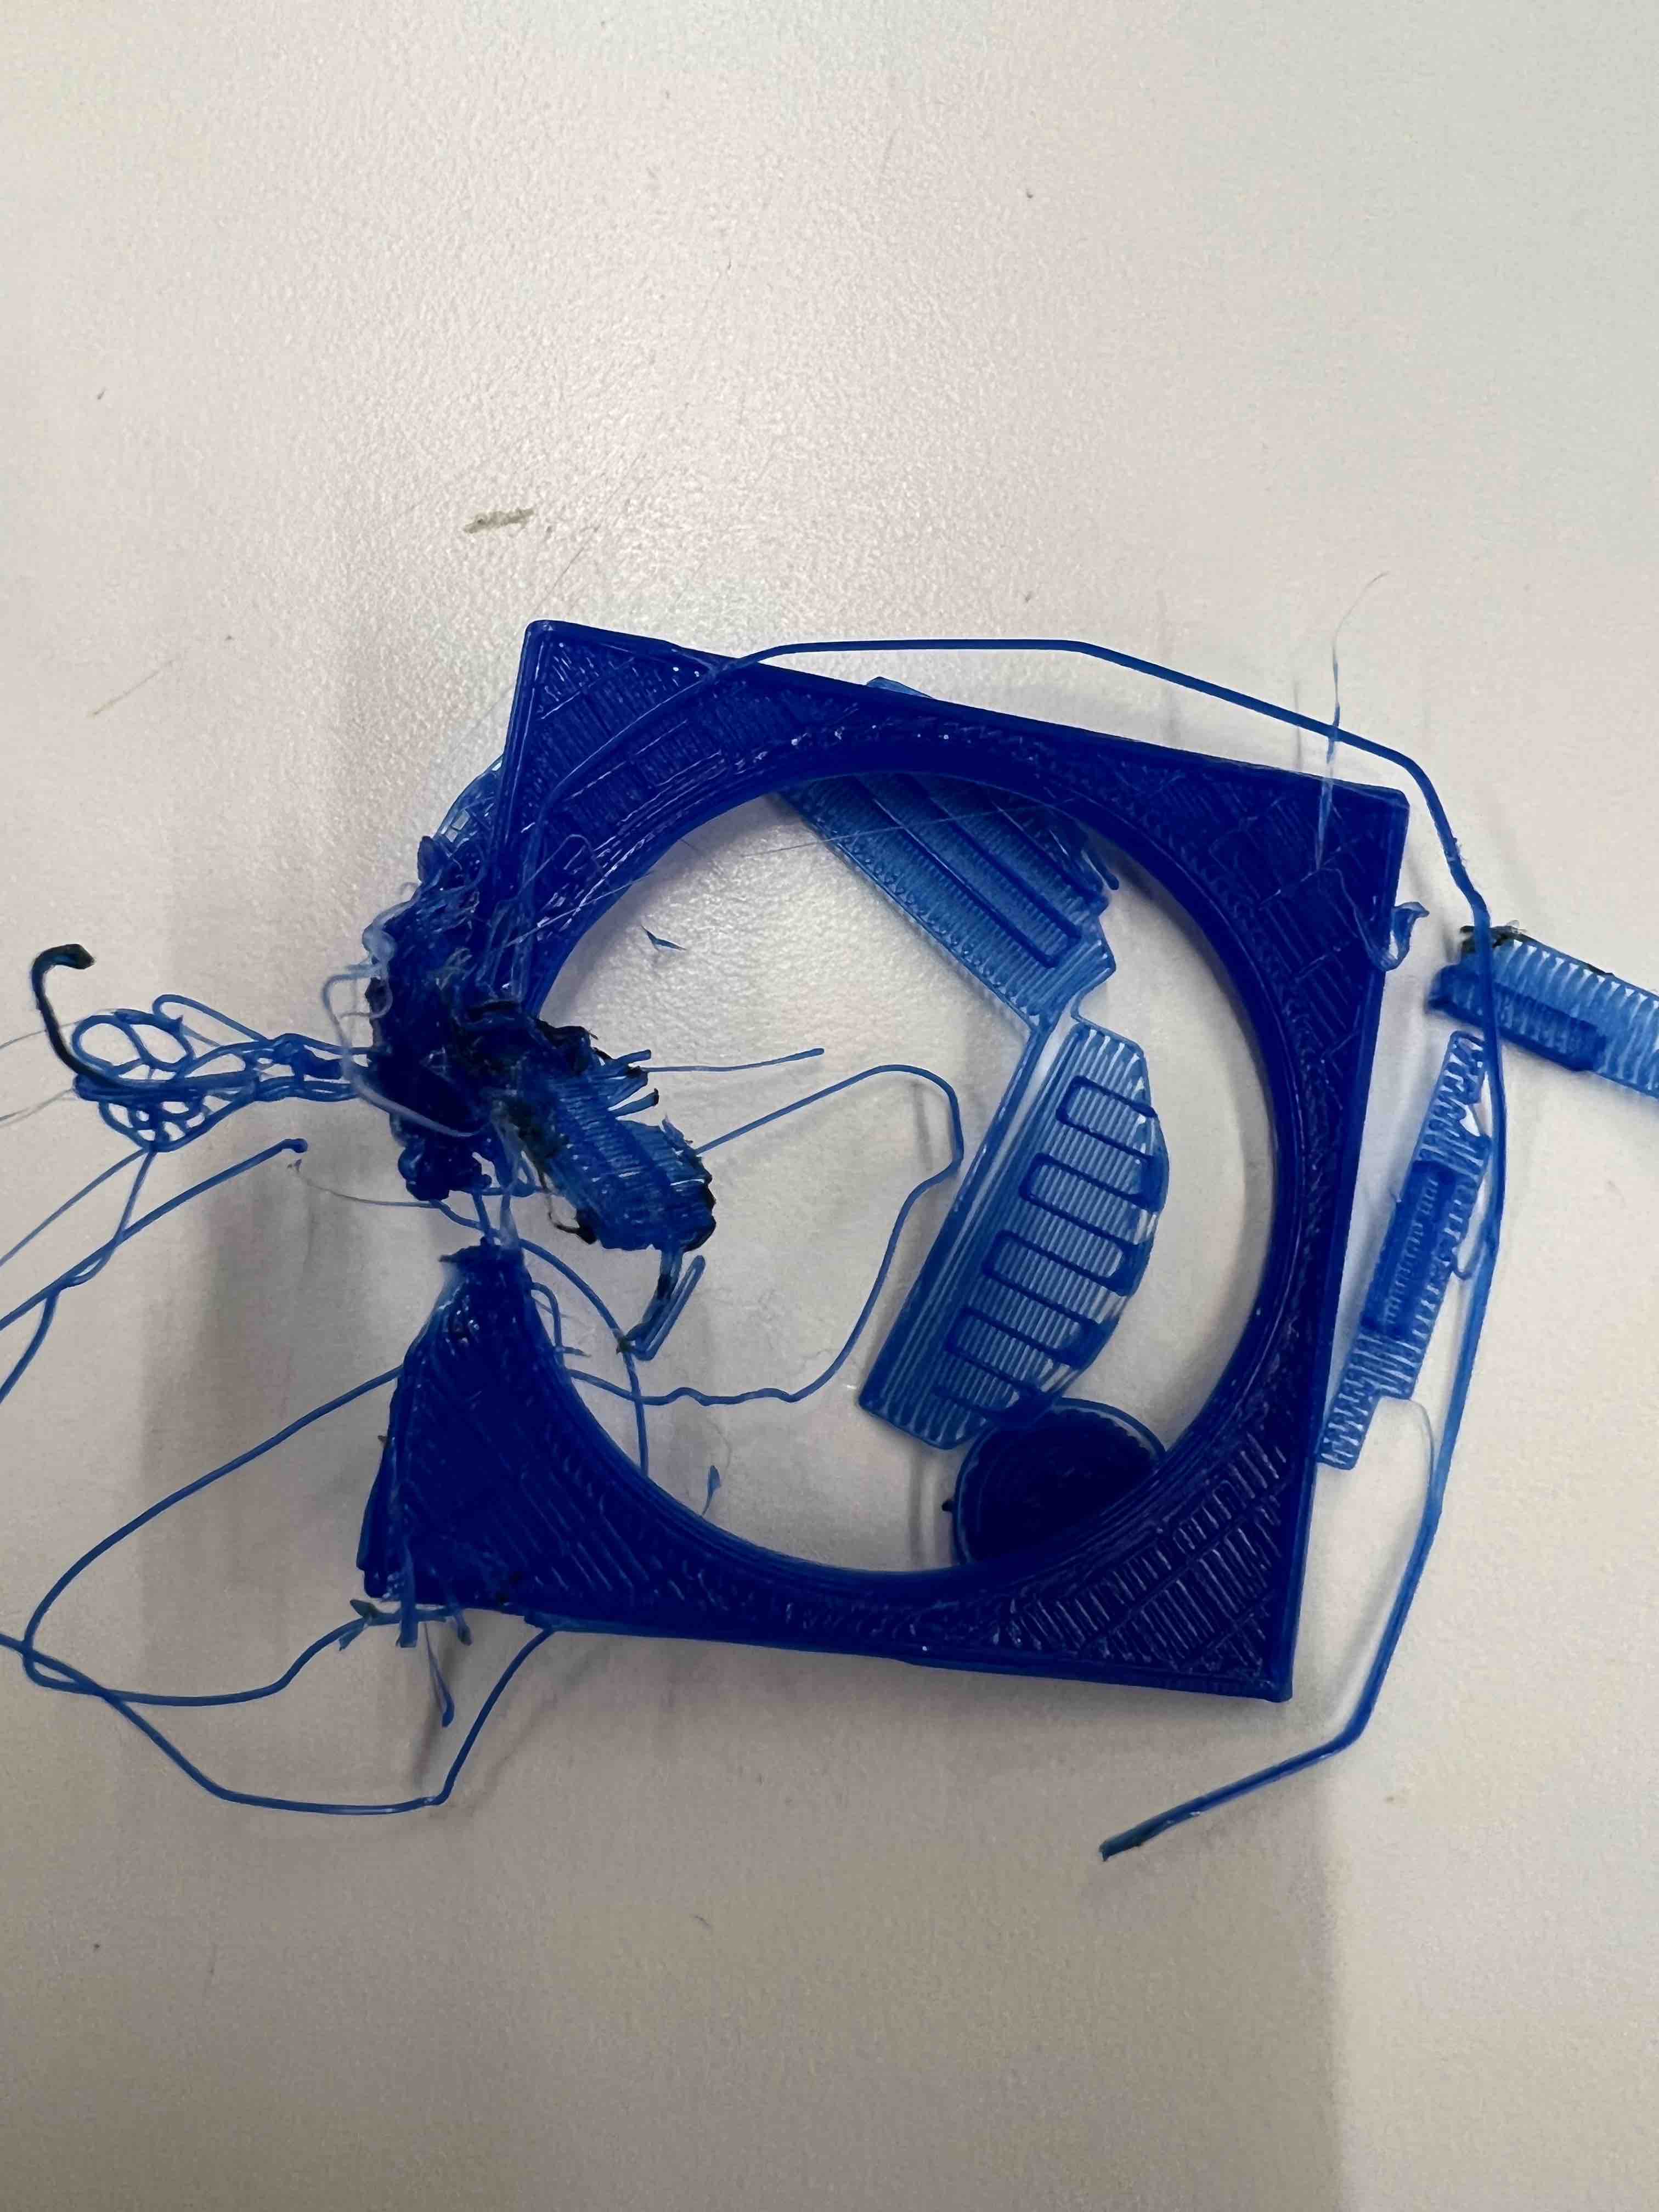
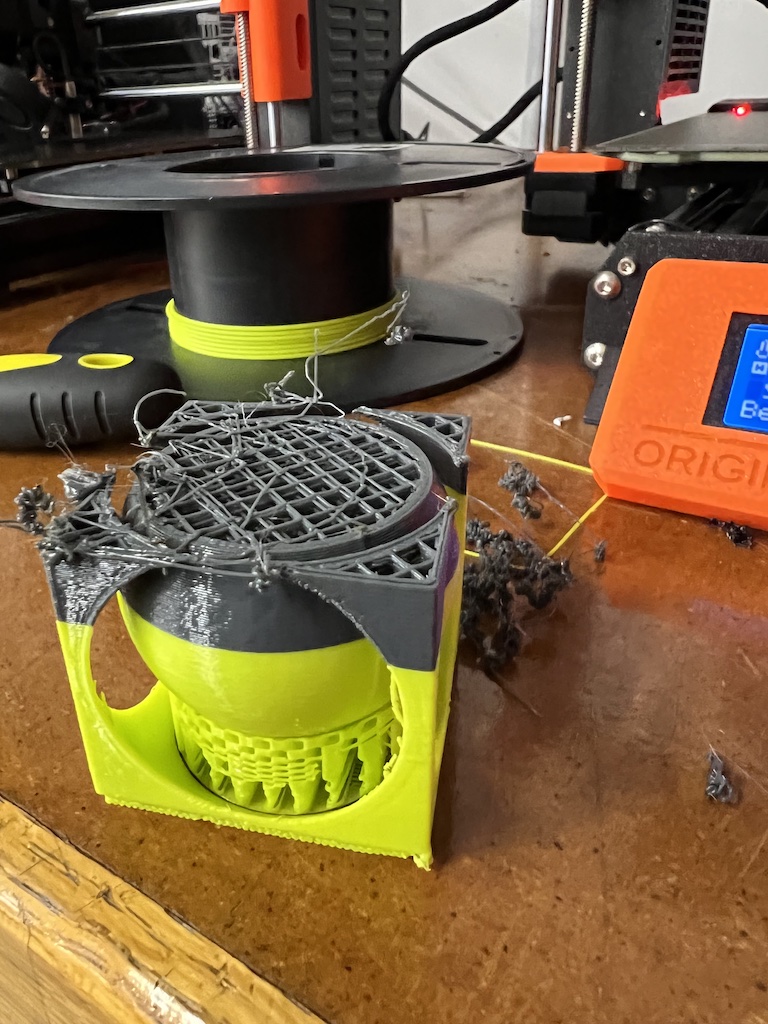 It started moving, and creating spagetti when it started printing the upper ridges for the round shaped openings in the walls of the sphere, and it failed, but this time it gotten to the highest it has ever gotten.
 I realized the issue is with the ridges being apart for more than 10mm, and descided to scale down the design so it will be smaller that what I had made initially. The initial design was 50mm for for the lines of the cube, and I made it so it will be 12.5mm, so it can get connected without falling, but it was too weak and broke at the thinnest areas in the rdige.
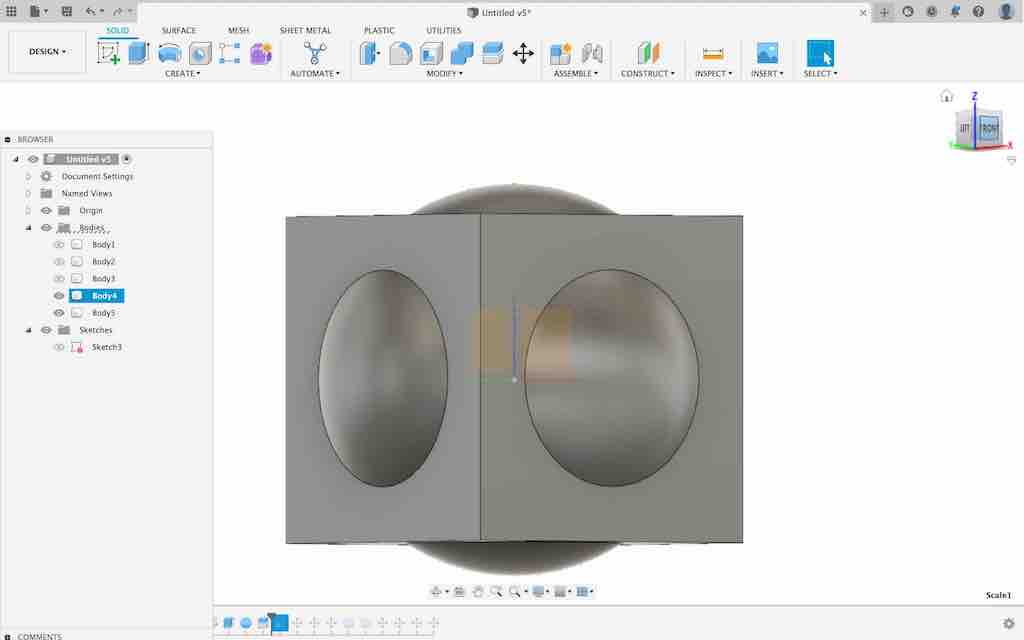 I went back to Fusion 360, and reduced the diameter of the sphere that made the cut for the round openings for the walls of the cube so the ridges would be thinker, and stronger specially now that I am making it smaller.
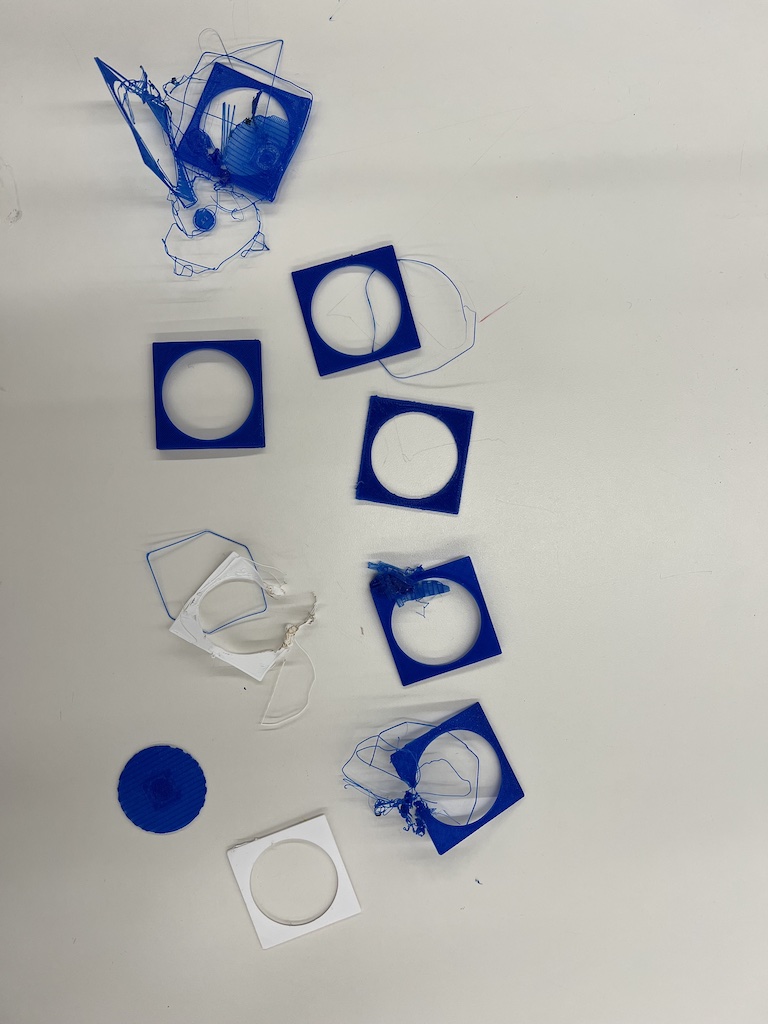
 I assembeled the failures for fun, and to get to make better calculations for my next design.
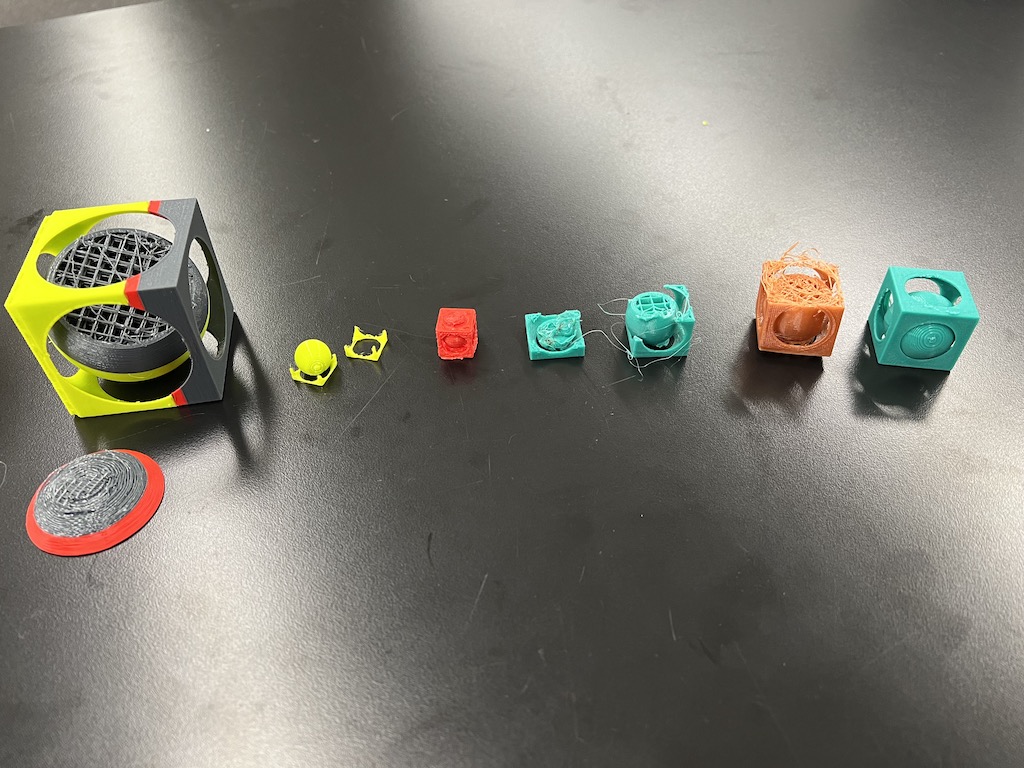 I adjusted the size to get the desired result, but it kept reaching a point where it fails and then starts moving and creating spagetti, and here's the photo of the many sizes that I made with different colors.
 It didn't work for many sizes, and I kept on thinking, what enforcers I can used so it will print completely with success, and added 4 walls of support just on the side where they wouldn't touch the floor nor the sphere.
 This is a photo for the enforcement I used for the FINAL and successful print.
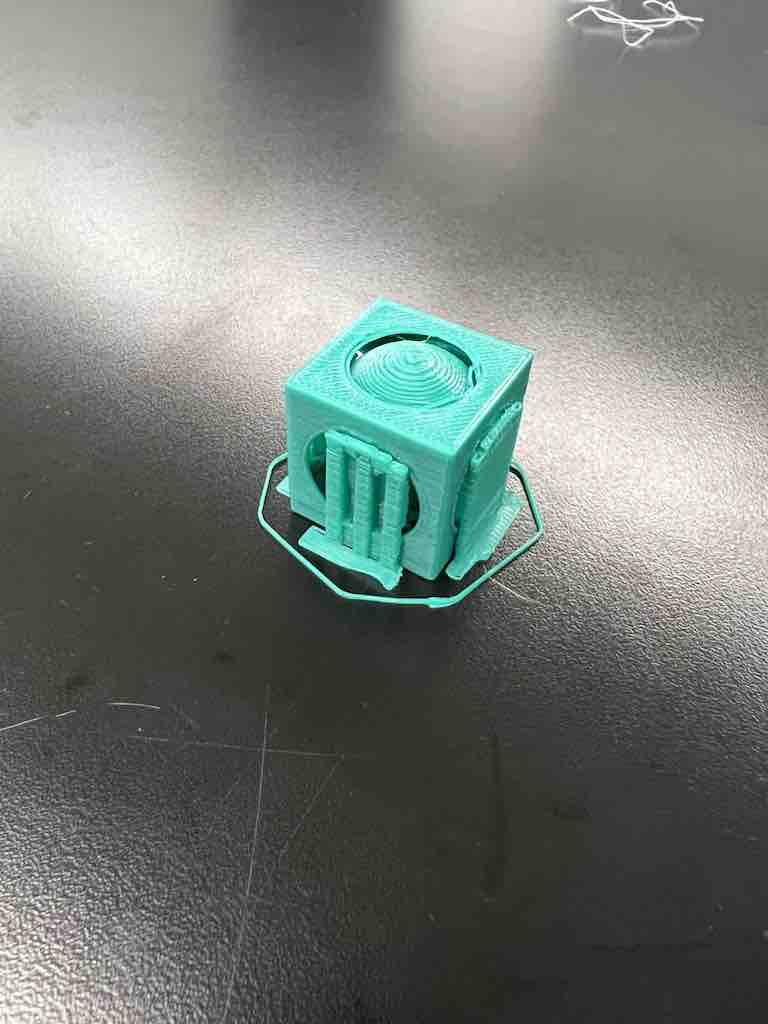 It printed the complete shape and the enforcers are shown in the photo.
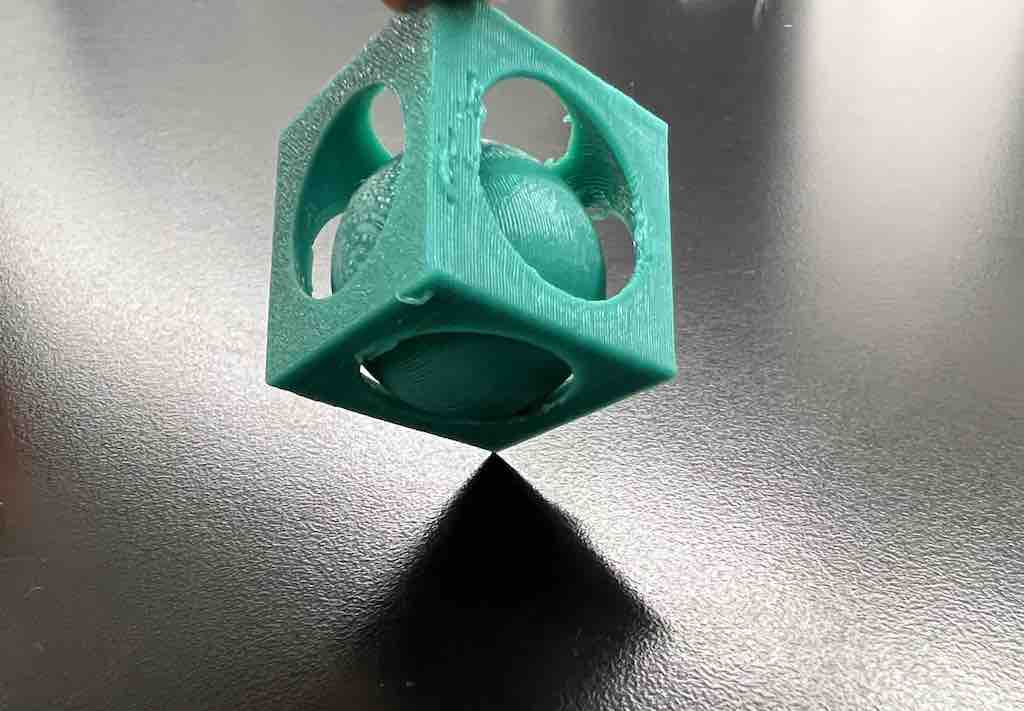
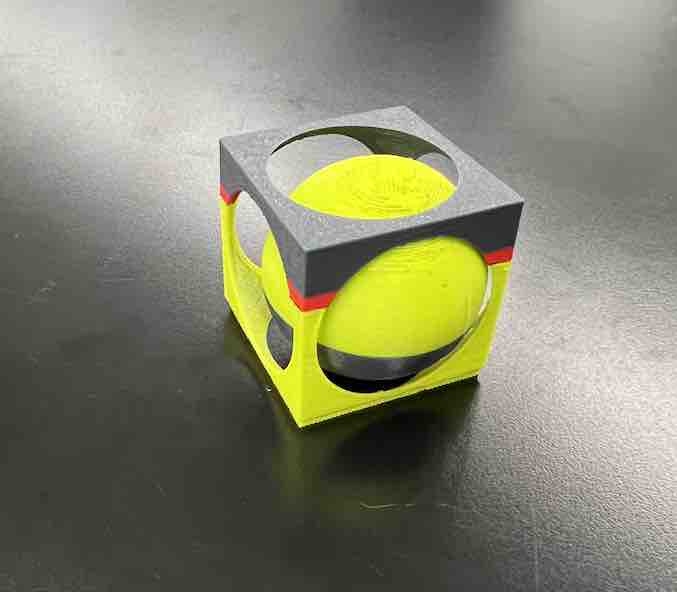
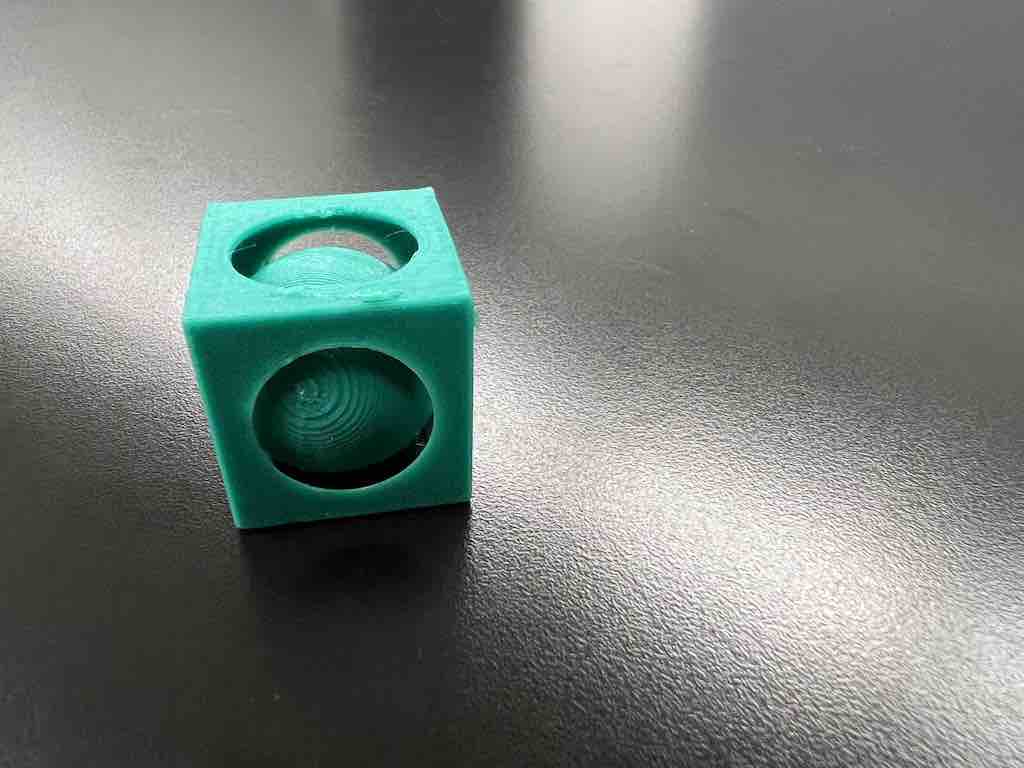 This is the final printed design, Finally after all the prvious trials. I printed around 15 times till I reached the correct settings for the design, measurement, and support.
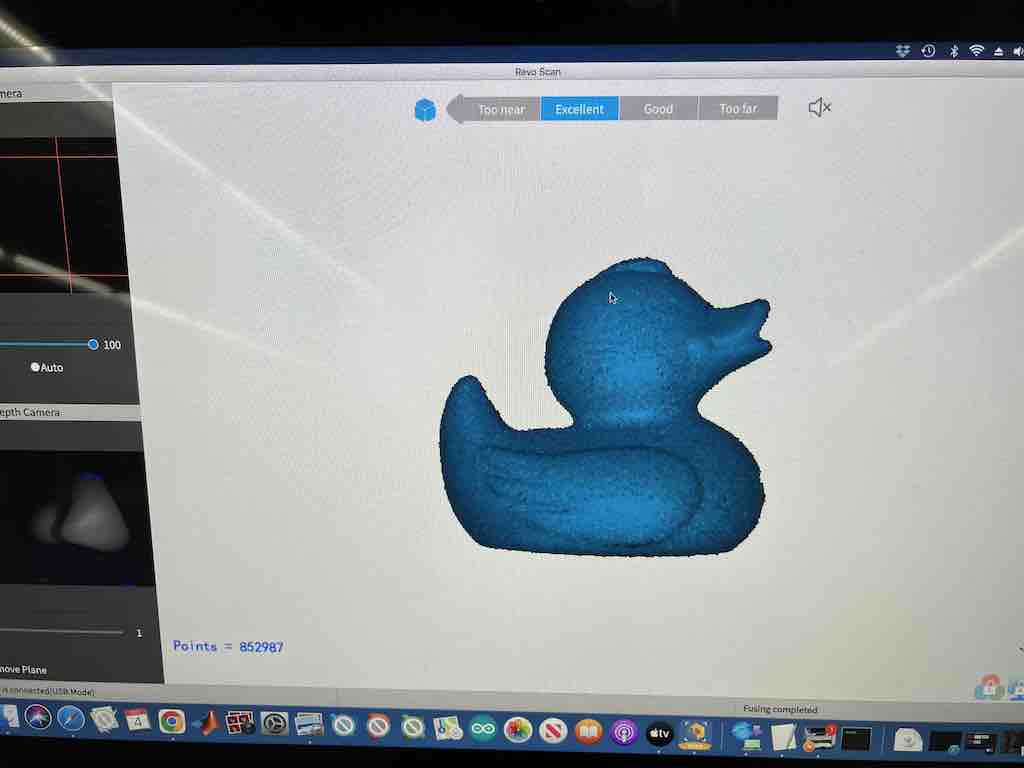 This is a phote for the 3D scan I made, I tired other objects but it was hard to scan the full body, and the image kept getting distorted and the software was not able to assemle the images together, so I used this duck because the material and the structure is working well with the scanner.
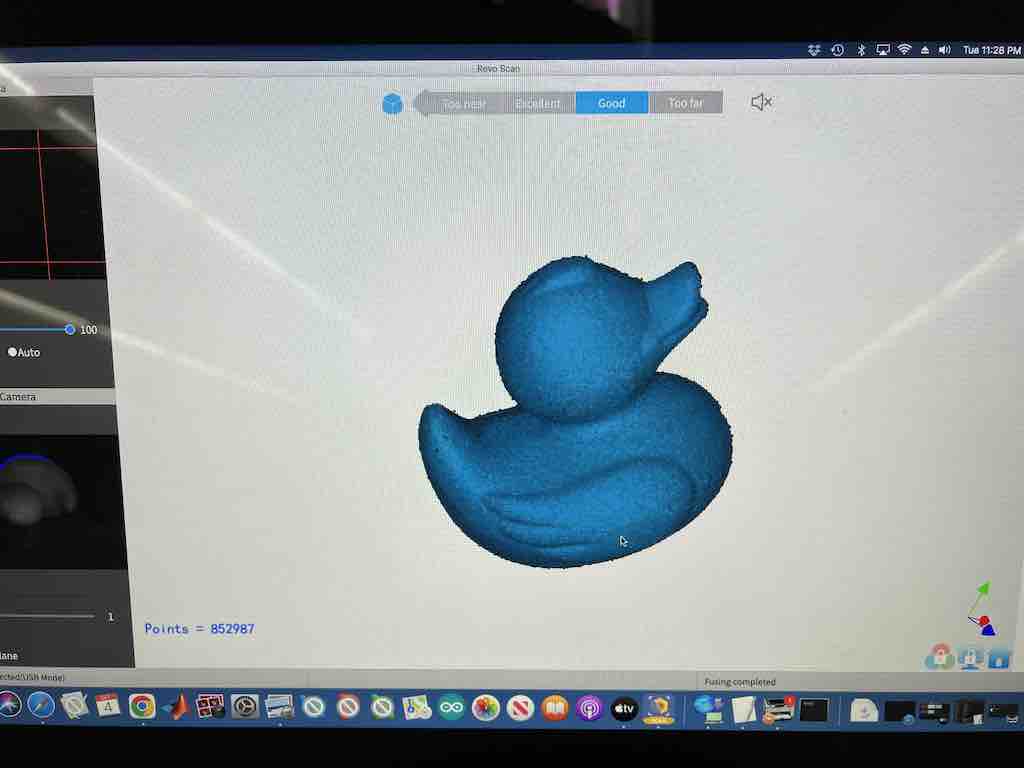 Another look of the scanned duck.