Week 08
This week and I designed a cherry blossom for casting and molding.
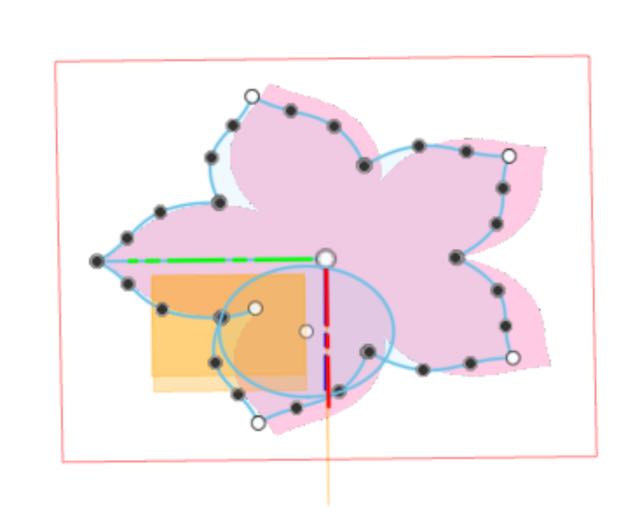
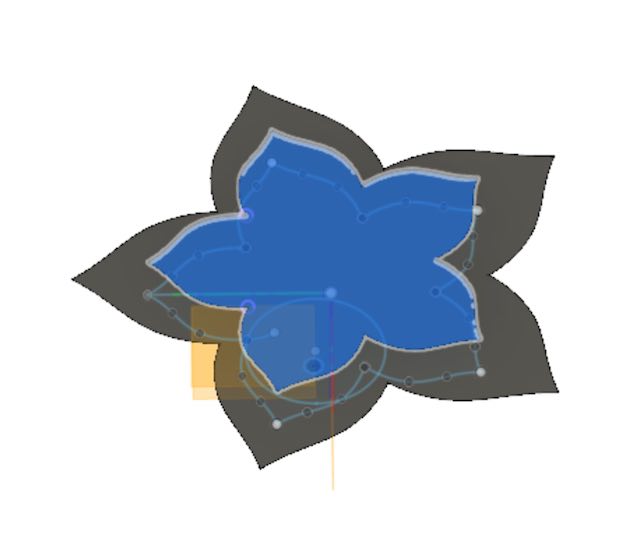
I started by importing a png. file of a photo of a cherry blossom, and then made the tracing on it as a sketch. This is the initial sketch of my design where I started creating the projections
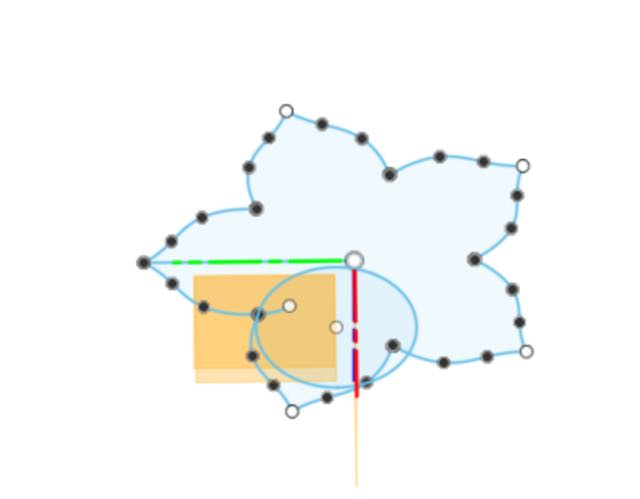
Then I made a bigger sketch of the samw flower so that it will be the outline for the cherry blossom flower.
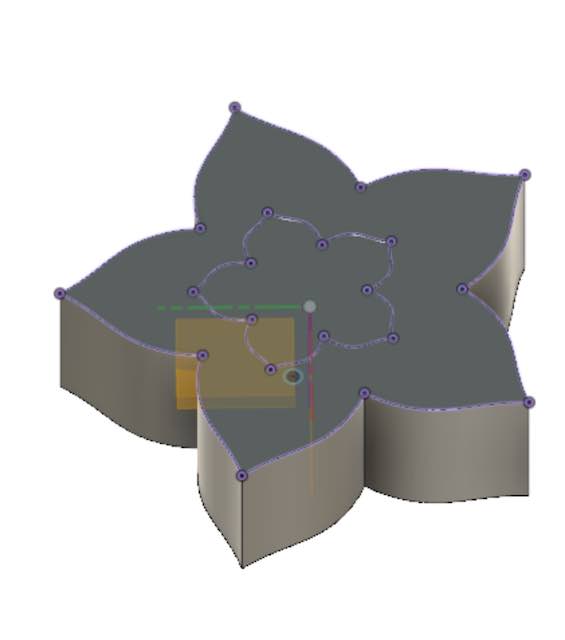
I made a body of the sketch and extended the walla to be straight so that it can be cut in 3D millimg machine.
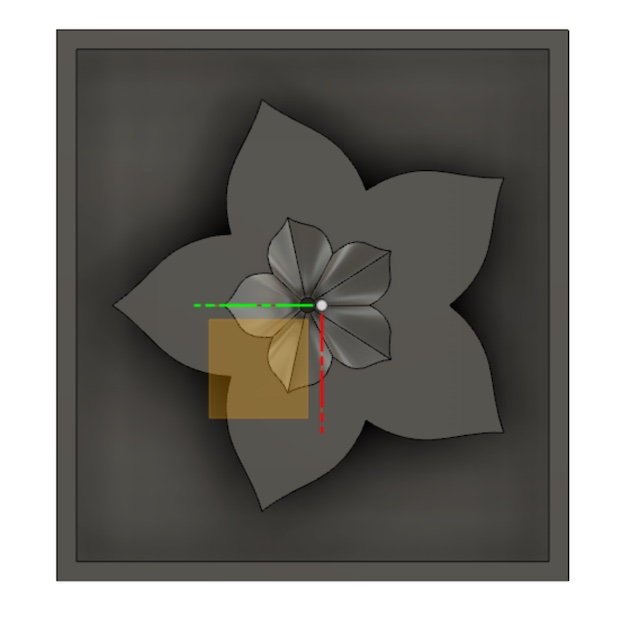
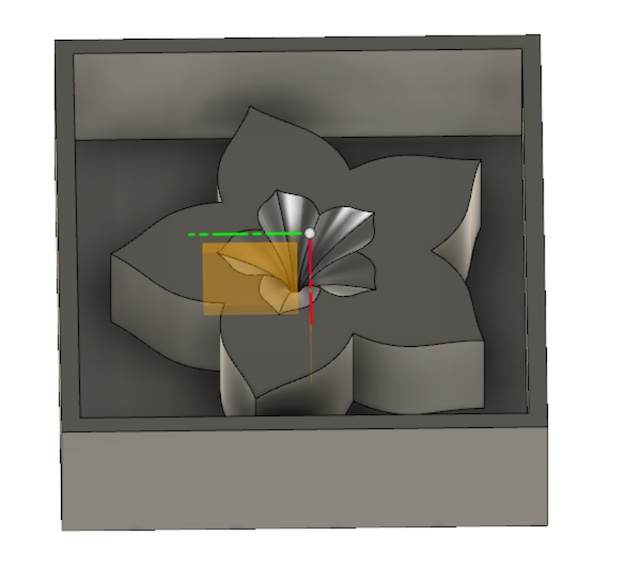
Then I made (loft) into for the small flower to form the shape of the flower from the inside, and then added a box and put the flower inside it, to be milled and then so I can pour the casting material inside it to capture the shapre of my design.
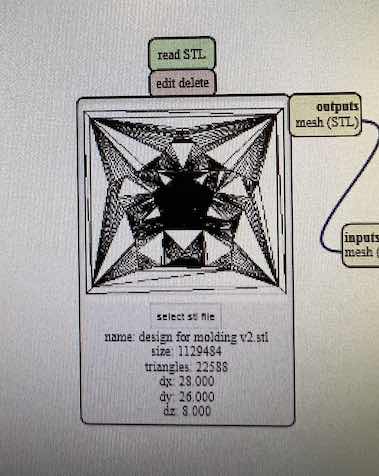
I saved the design as (stl.) file and then opened it in mods to make the cut in the wax block. I made the first (rough cut) with 1/8 end mill.
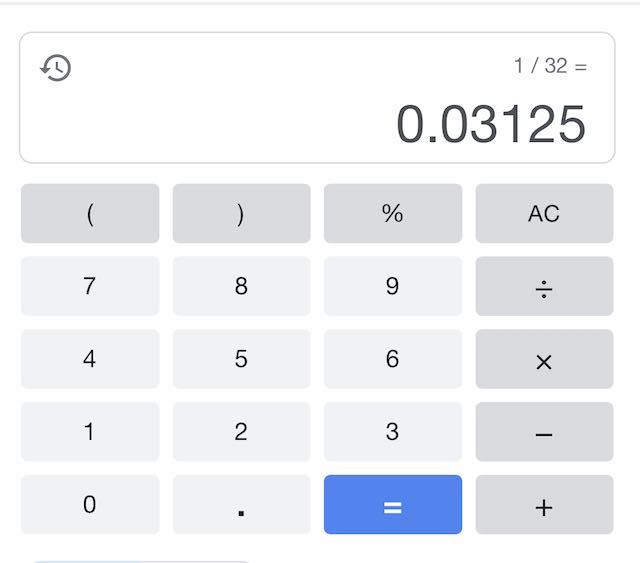
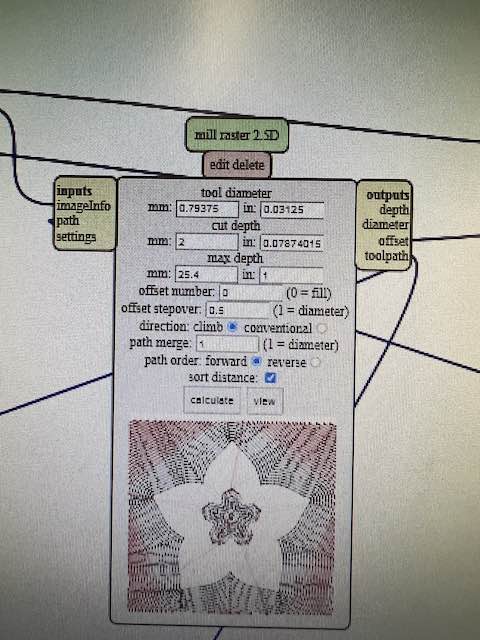
Then I made the (finer cut) with 1/32 end mill, and made the calculations from inch to decimal.
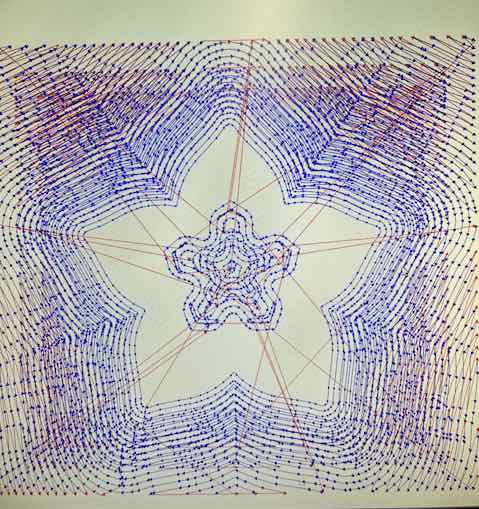
This is a preview of the traces of the cut in mods that it's going to make for my design.
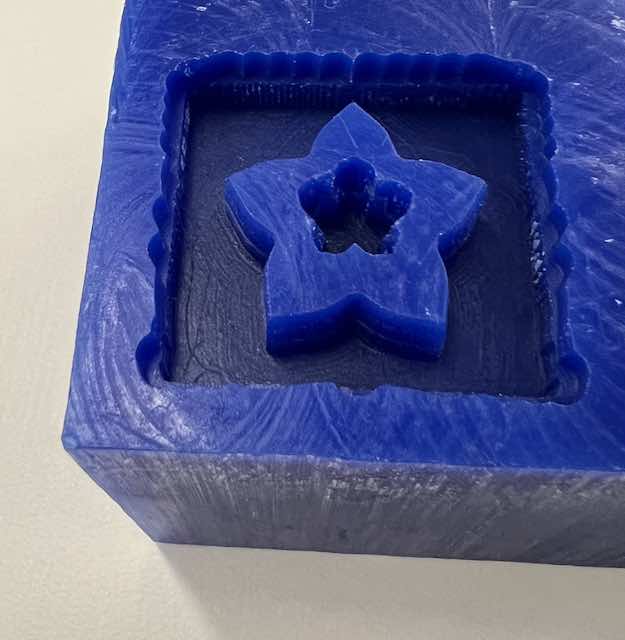
Final look of the design after the milling process, ready to make the mold.
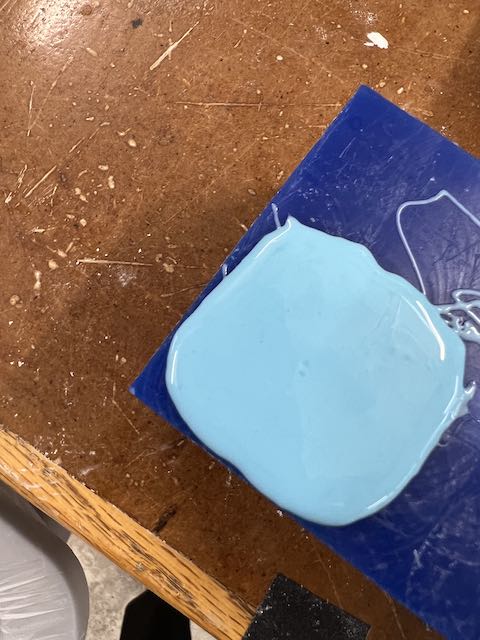
I used the silicone to make a mold out of my design, poured it and let it dry for 1 hour.
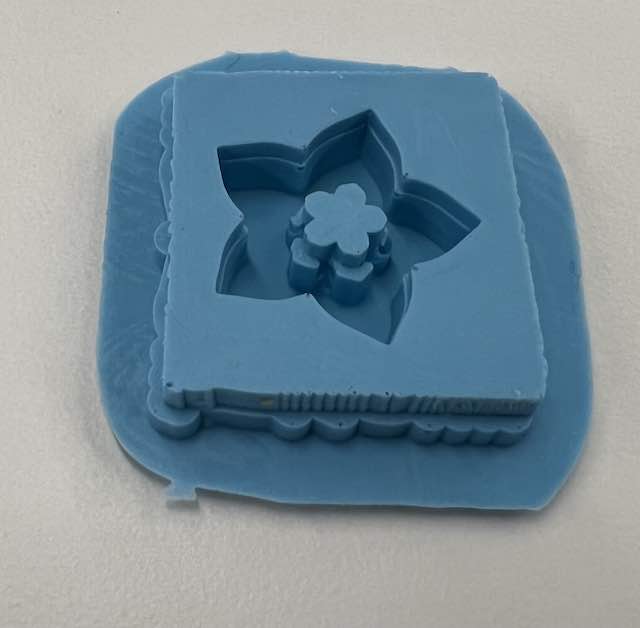
The mold of my design ready to make a cast of it
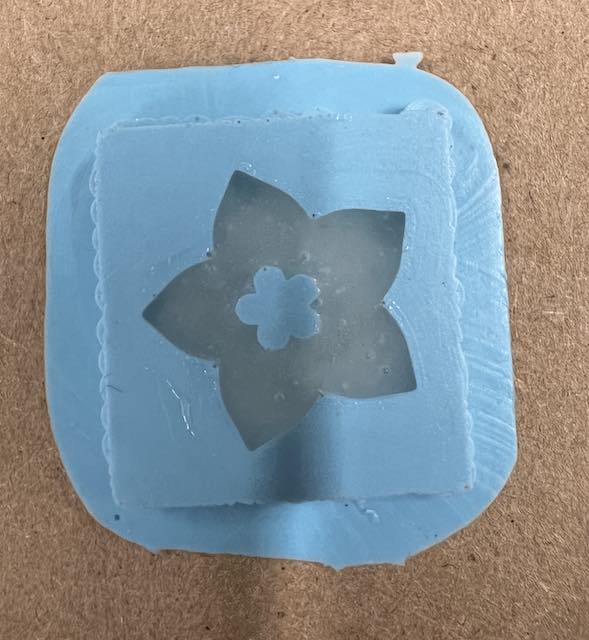
I used the polymer to make a cast of the cherry blossom.
Making Impressions
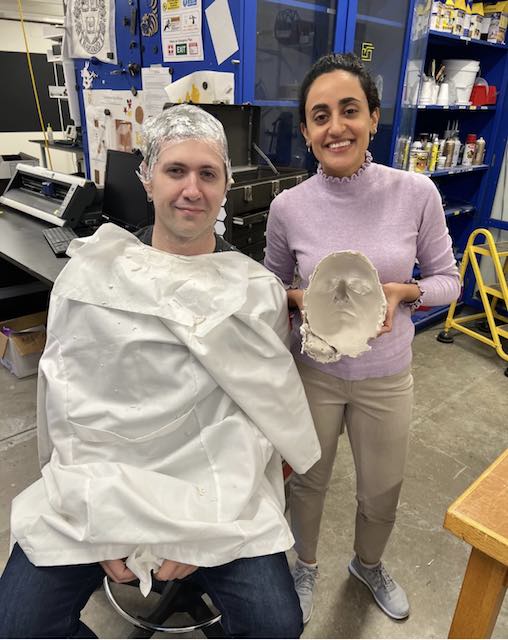
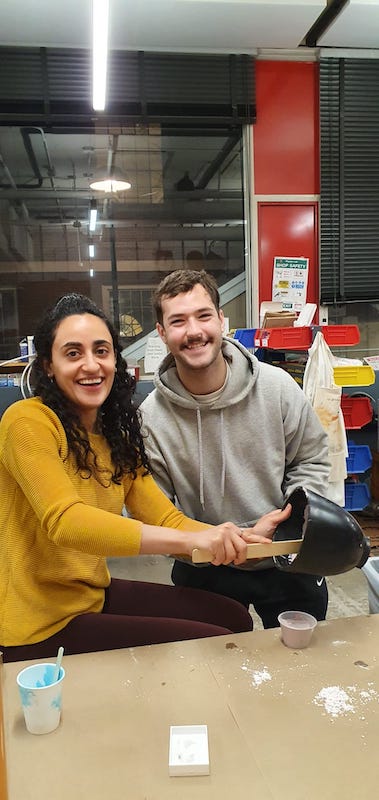
This week was very intersting, I was able to work closely with my group in the lab, where my experience in taking impressions for dental purposes came in handy, and I was able to share that knowledge.
Each person wanted to make an impression of different body part, some wanted to make an impression of the nose, or ear and some wanted to make one for the whole face, and others were making these for the hands. We watched videos on how to make face impression, because for me that was more complicated.
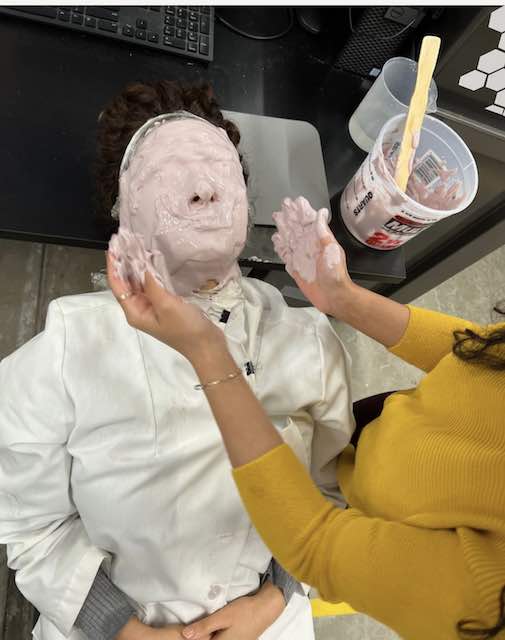
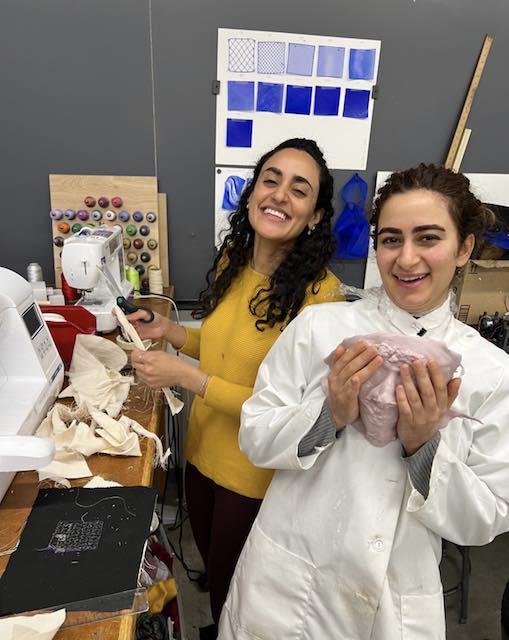
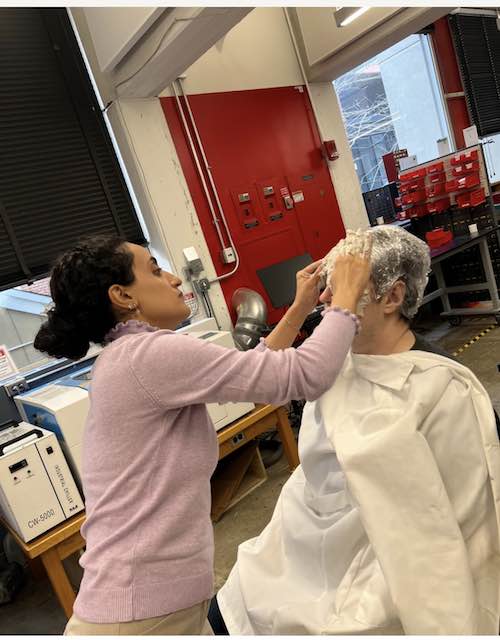
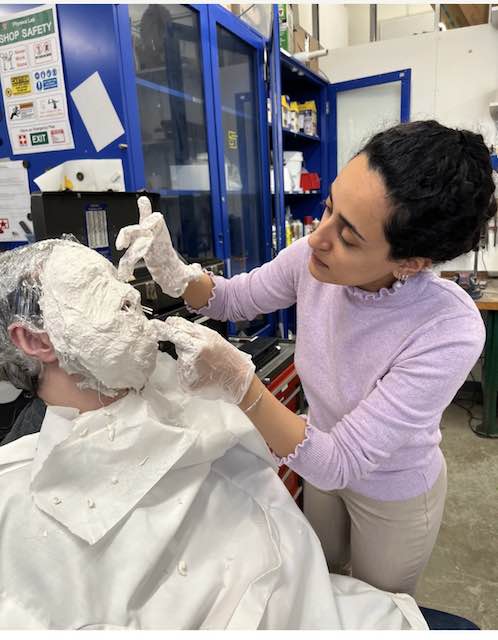
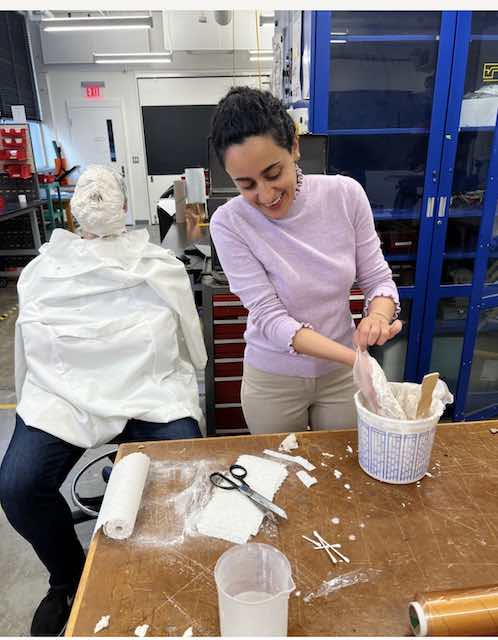
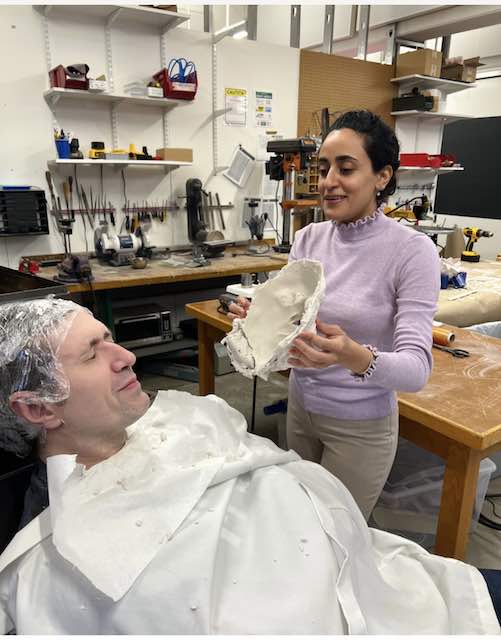
Mixing the alginate: The iinstructions say to mix equal parts of alginate and water to prepare the mix for the impression, but from my experience in dental impression, I remembered that when the mix is super thin and runny it makes it difficult to control it and it will be dripping down so it will ruin the clothes or the hair, and in cases of aming the impression for the face it might go into the ear or the nose and cause unwanted issues. So I prepared the mix to be more thincker and I used a ratio of 3:2 (poweder to liquid) to prepare the aliginate impression. Another point is to have a structure that will support the alginate after the impression has been taken, and this can be easy in cases where we wanted to make nose or ear impression where we can place the alignate in a cup or similiar medium, and then insert the nose, ear or hand into and simply wait untill it dries andthen pull the hand or nose. However in cases where we want to record the face, it can be challenging because we want to leave space for breathing, and also we want the person to be comfortable while waiting for the alginate to set. So in that case we do that by reinforcing the alginate after it has set by covering it with (gypsum cement soaked bandages), and have these cover the entire alginate and wait for them to set, and then take it off. Here are pictures of some of the impression we took together *THANKS to all for making these work*

This picture shows loading the alginate into the cup to make an impresion of the nose, where Danny is going to put his nose in (after covering his nostrils). some trickes to make the impression more accurate - Vibrate the alginate after misxing to remove and release some the trapped air bubbles inside it, and after you load it into the cup - Make the outer portion of the mix smooth by swiping it with wet hands with some water to make the impression look neat and clean from the outer area - While mixing, spread the alginate in the walls of the mixing