Clo(o)k
What does it do?
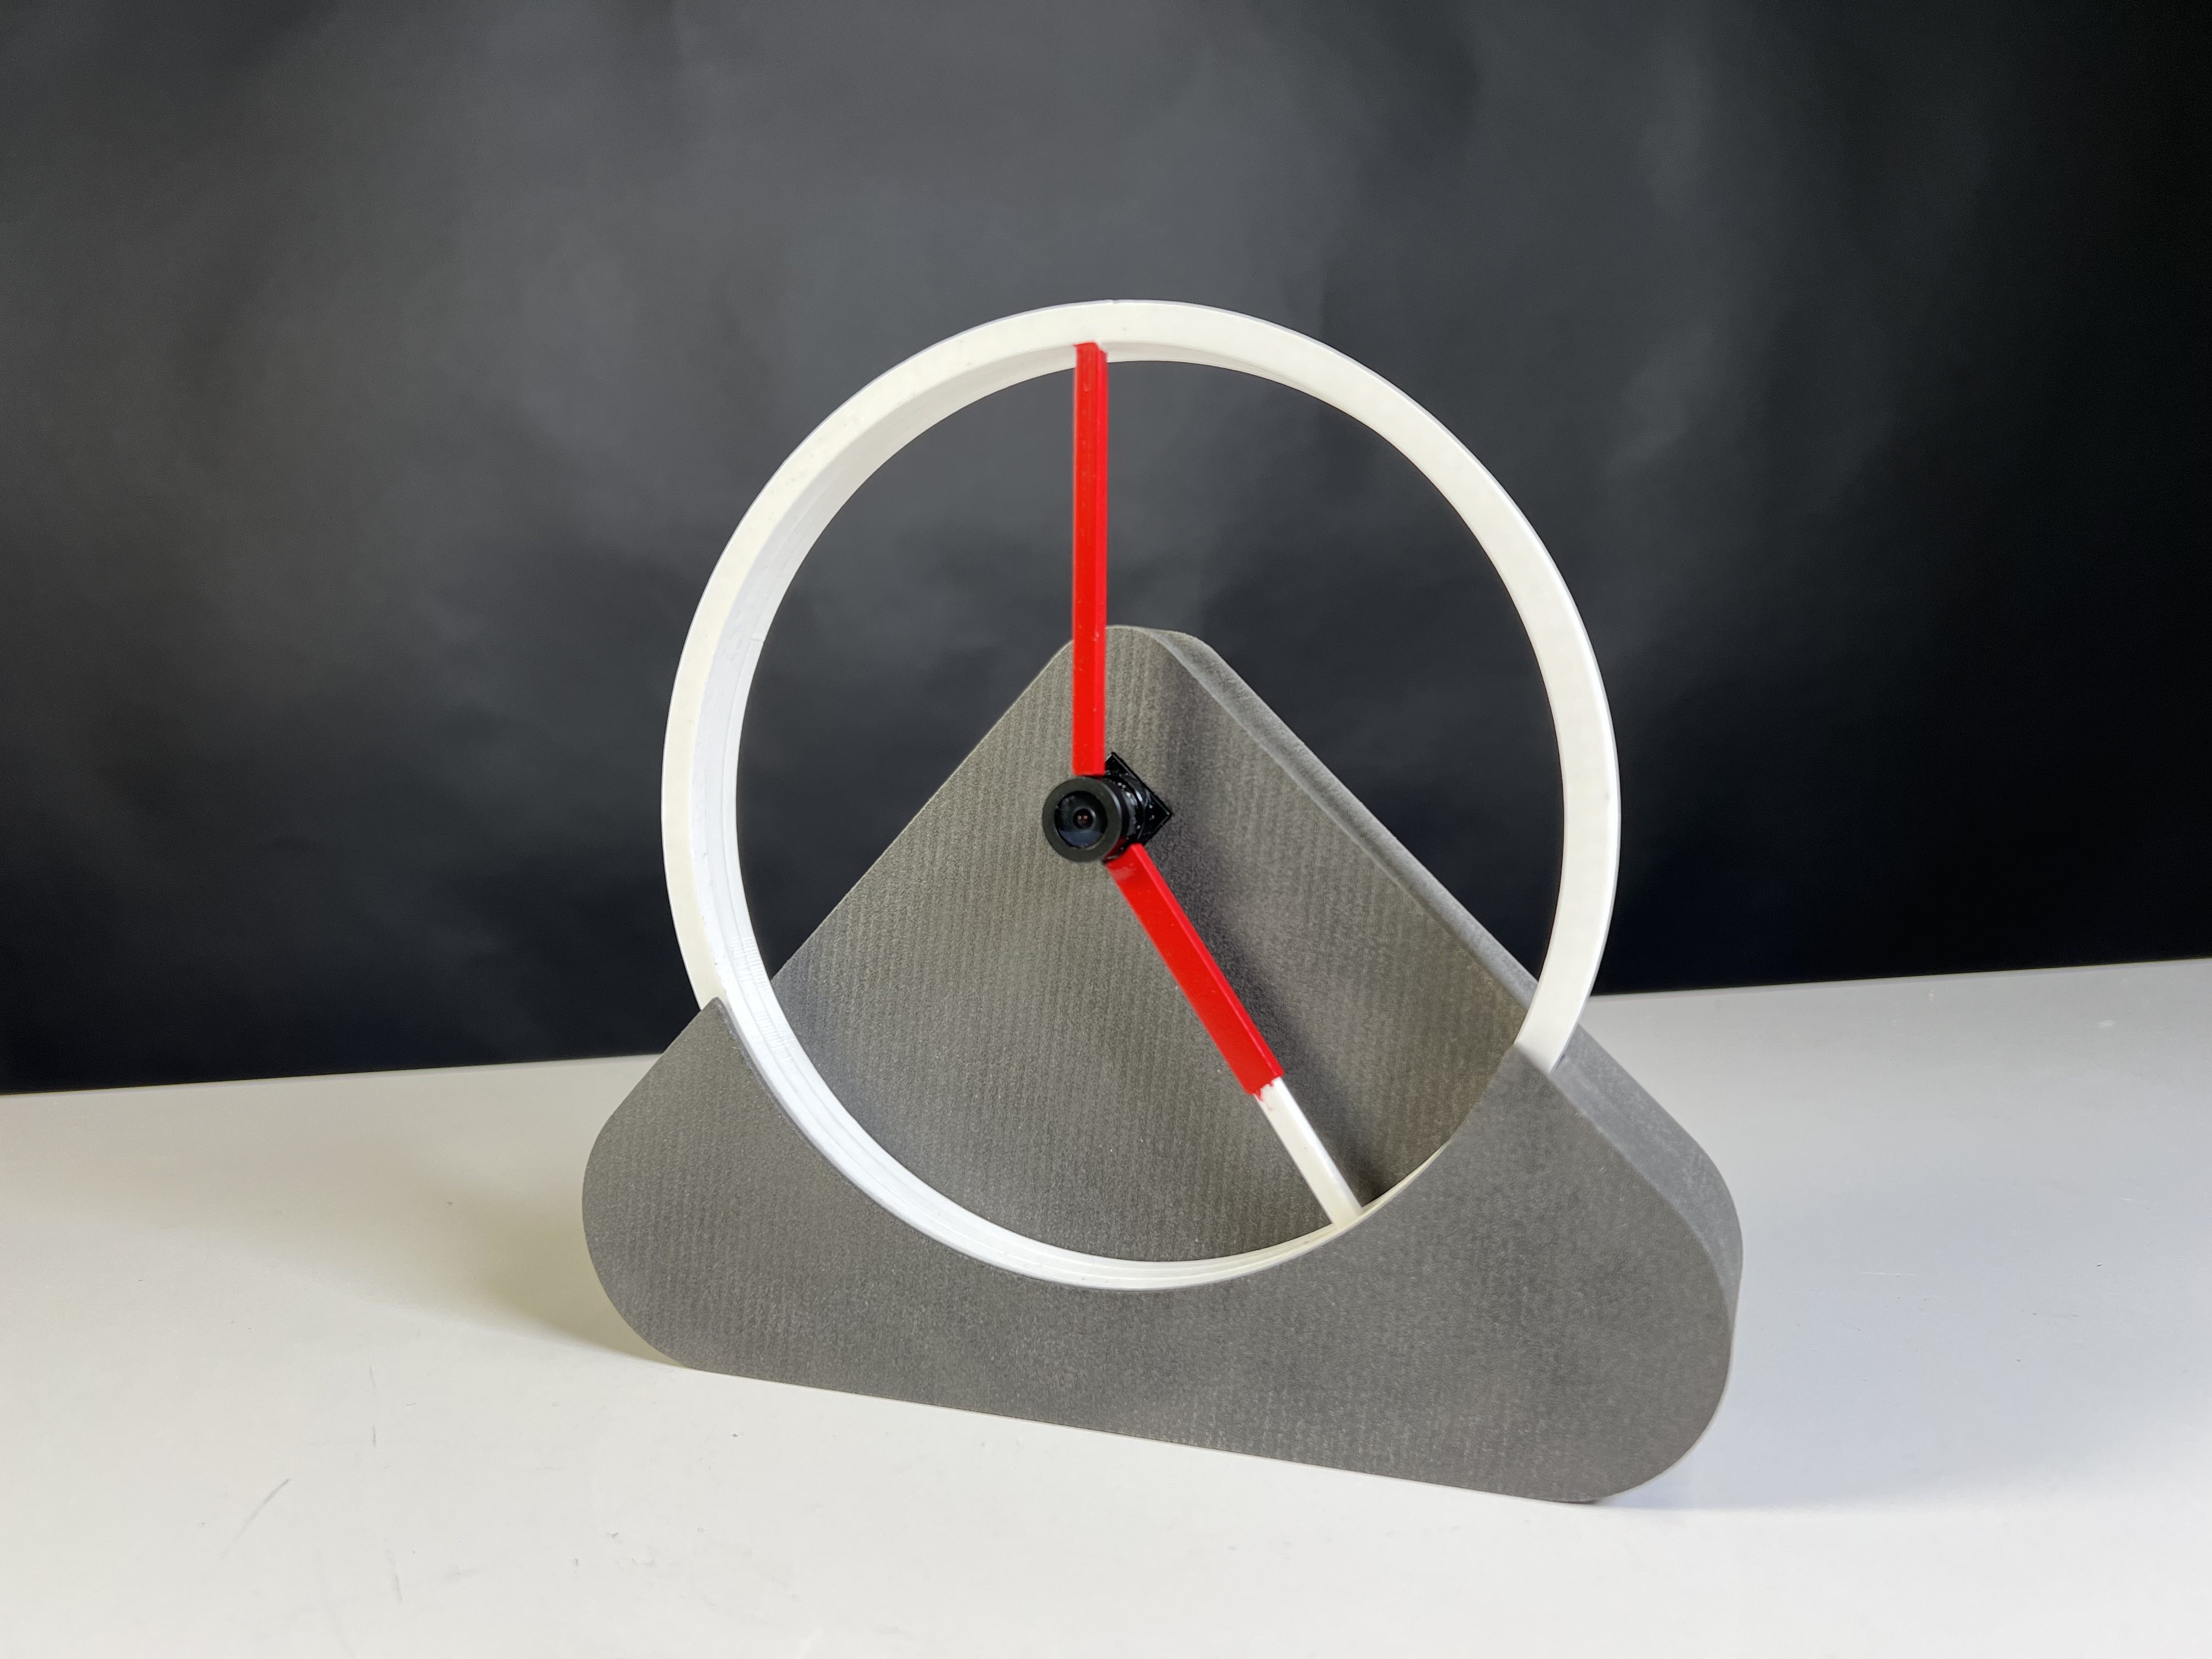
My project is called clo(o)k, which combines the word "clock" and "look" because I was thinking, what if the clock can see you? What kind of interaction can it afford? I put a camera in the clock, which offers almost infinite ways of interacting. In the video below, I demonstrated three interactions:
- When you look at it, it goes like a clock, but while you look away, it runs faster.
- When the clock sees that you are talking with someone and the conversation is interesting, it stops because it doesn't want you to worry about time, just enjoy the movement.
- If your loved one is in a different country or time zone, if you both look at the clock you have simultaneously, you will see the other person's time.
Who's done what beforehand?
My 1st inspiration was a work called MR TIME (video below), it gives characters to the clock: when the hands move, it moves like a person. My 2nd inspiration was the inTouch (video below) by Prof. Hiroshi's Tangible Media Group here at Media Lab. It allows people to feel the presence of another person even if they are far away from each other. My 3rd inspiration and more direct influence in the fabrication process, was this interesting hollow clock that I encountered. I borrowed the gears models from this project.
What did you design? What materials and components were used?
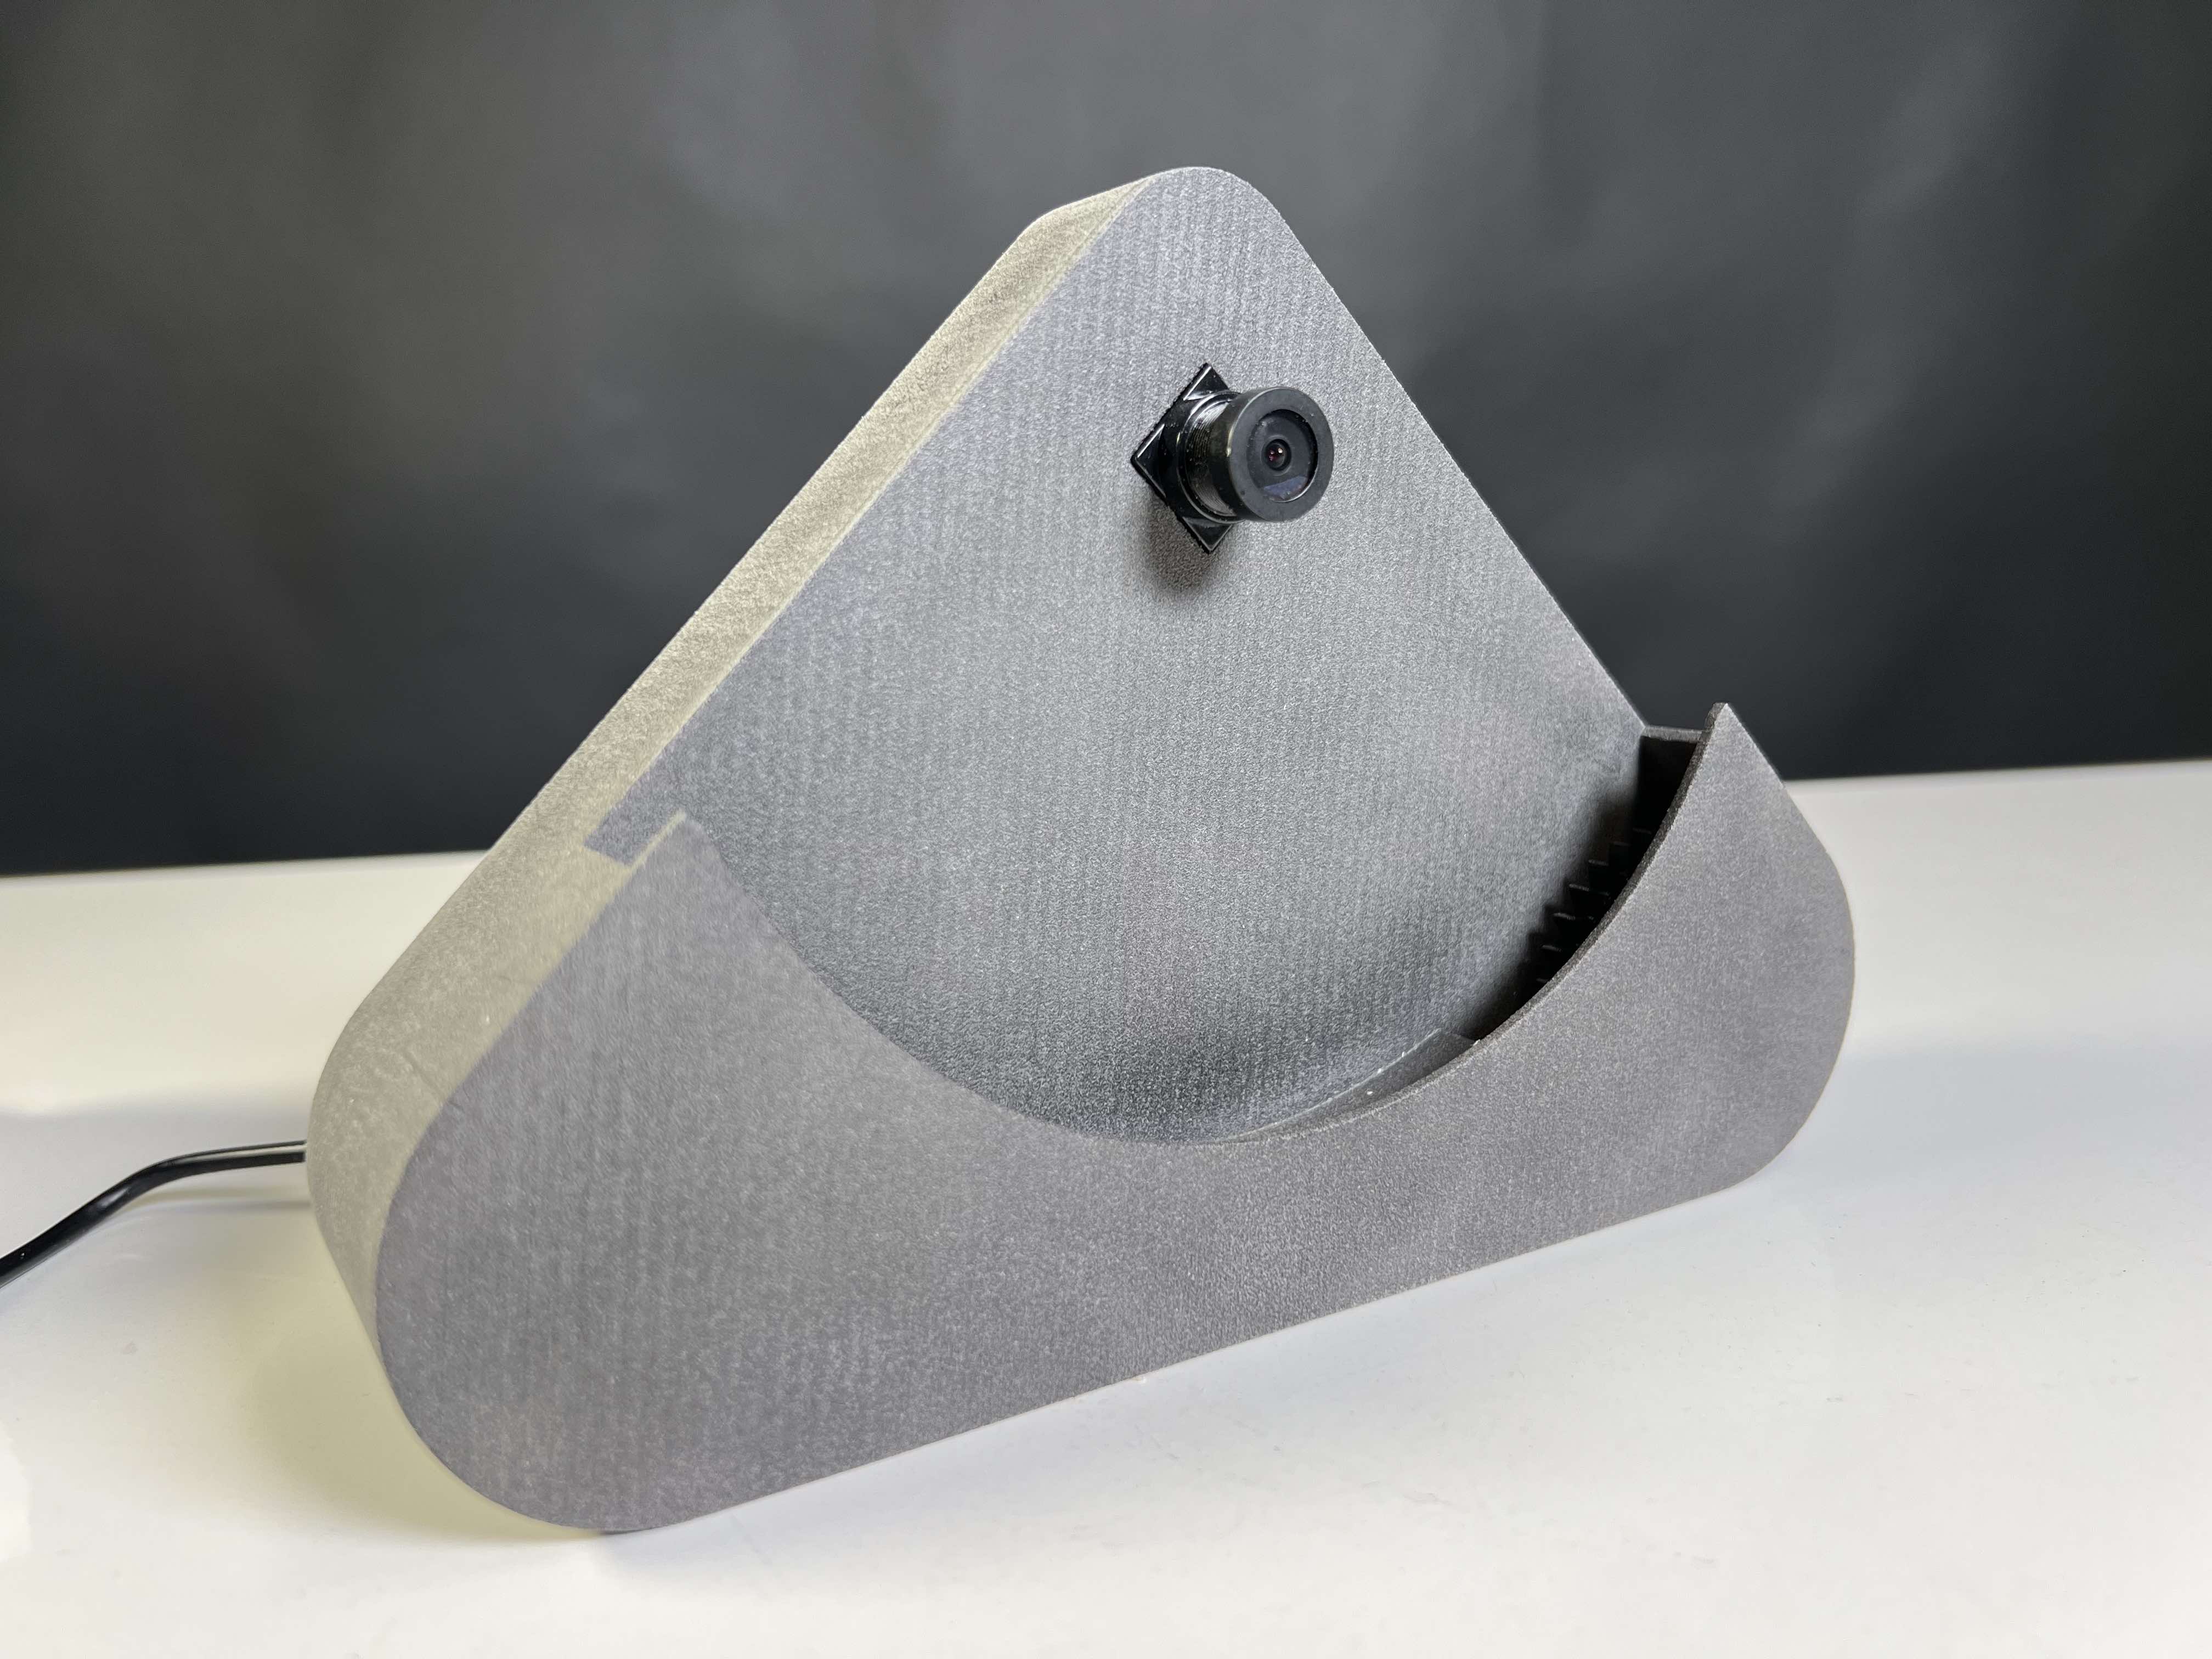
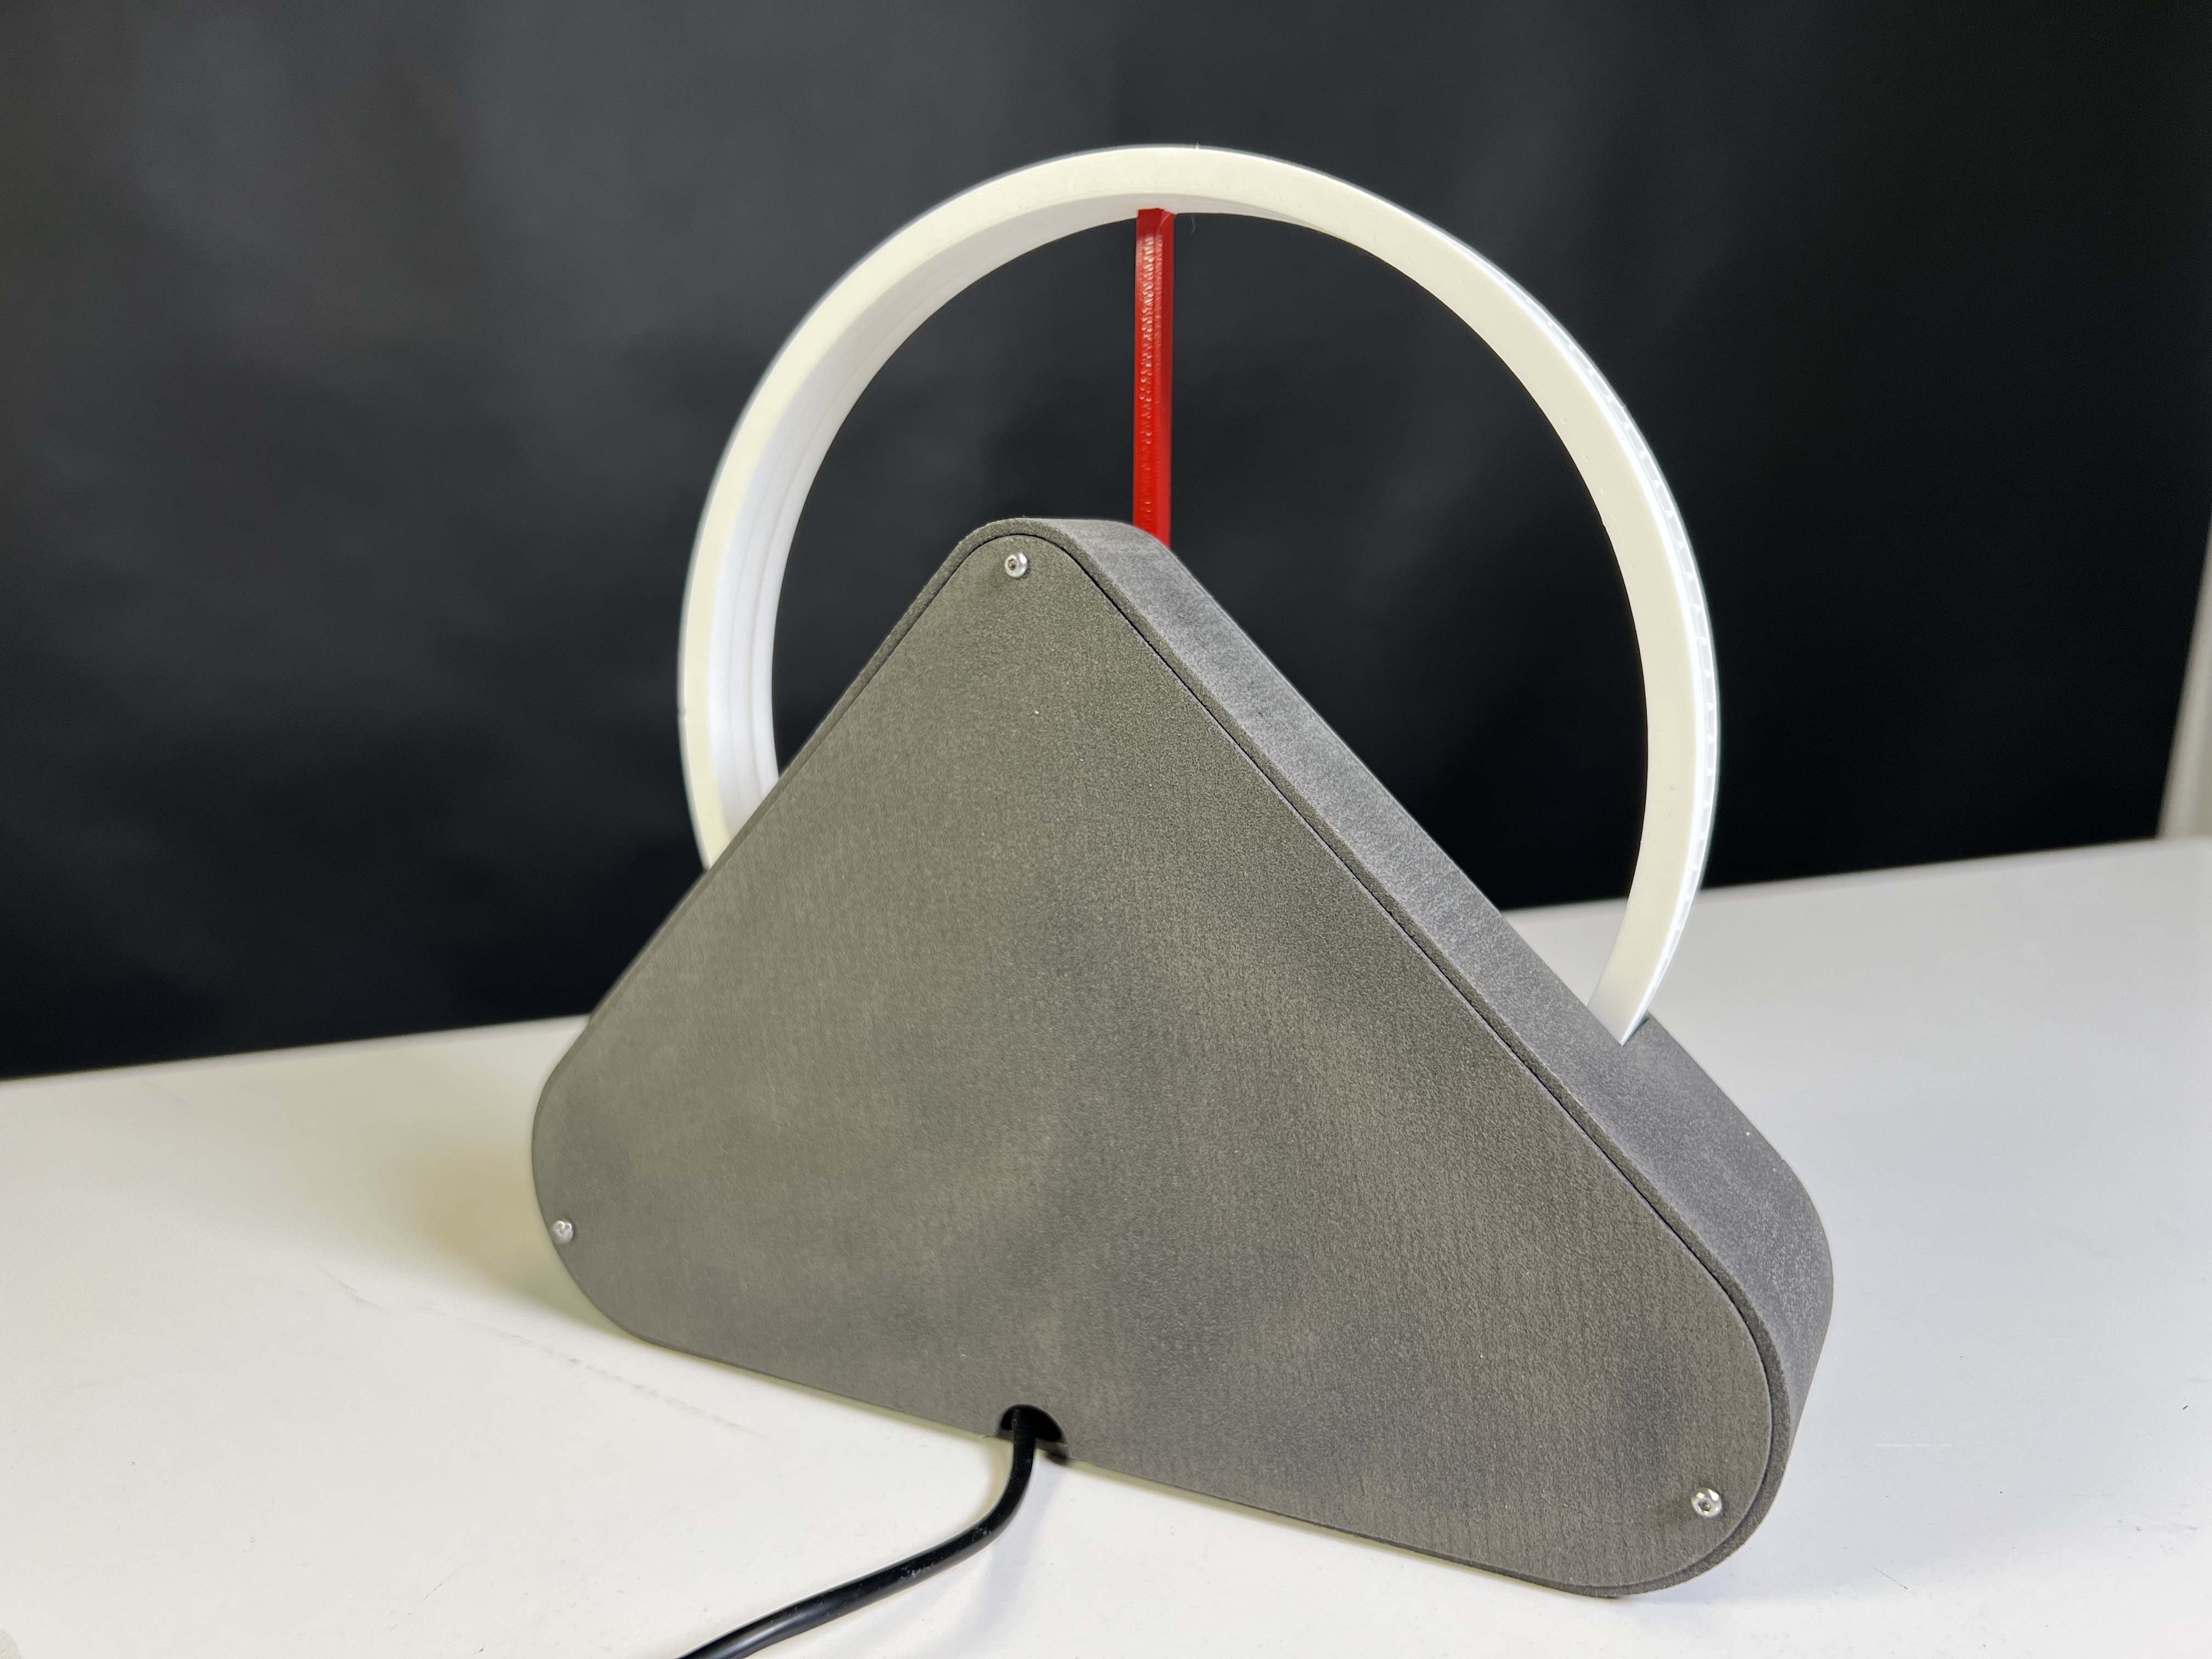
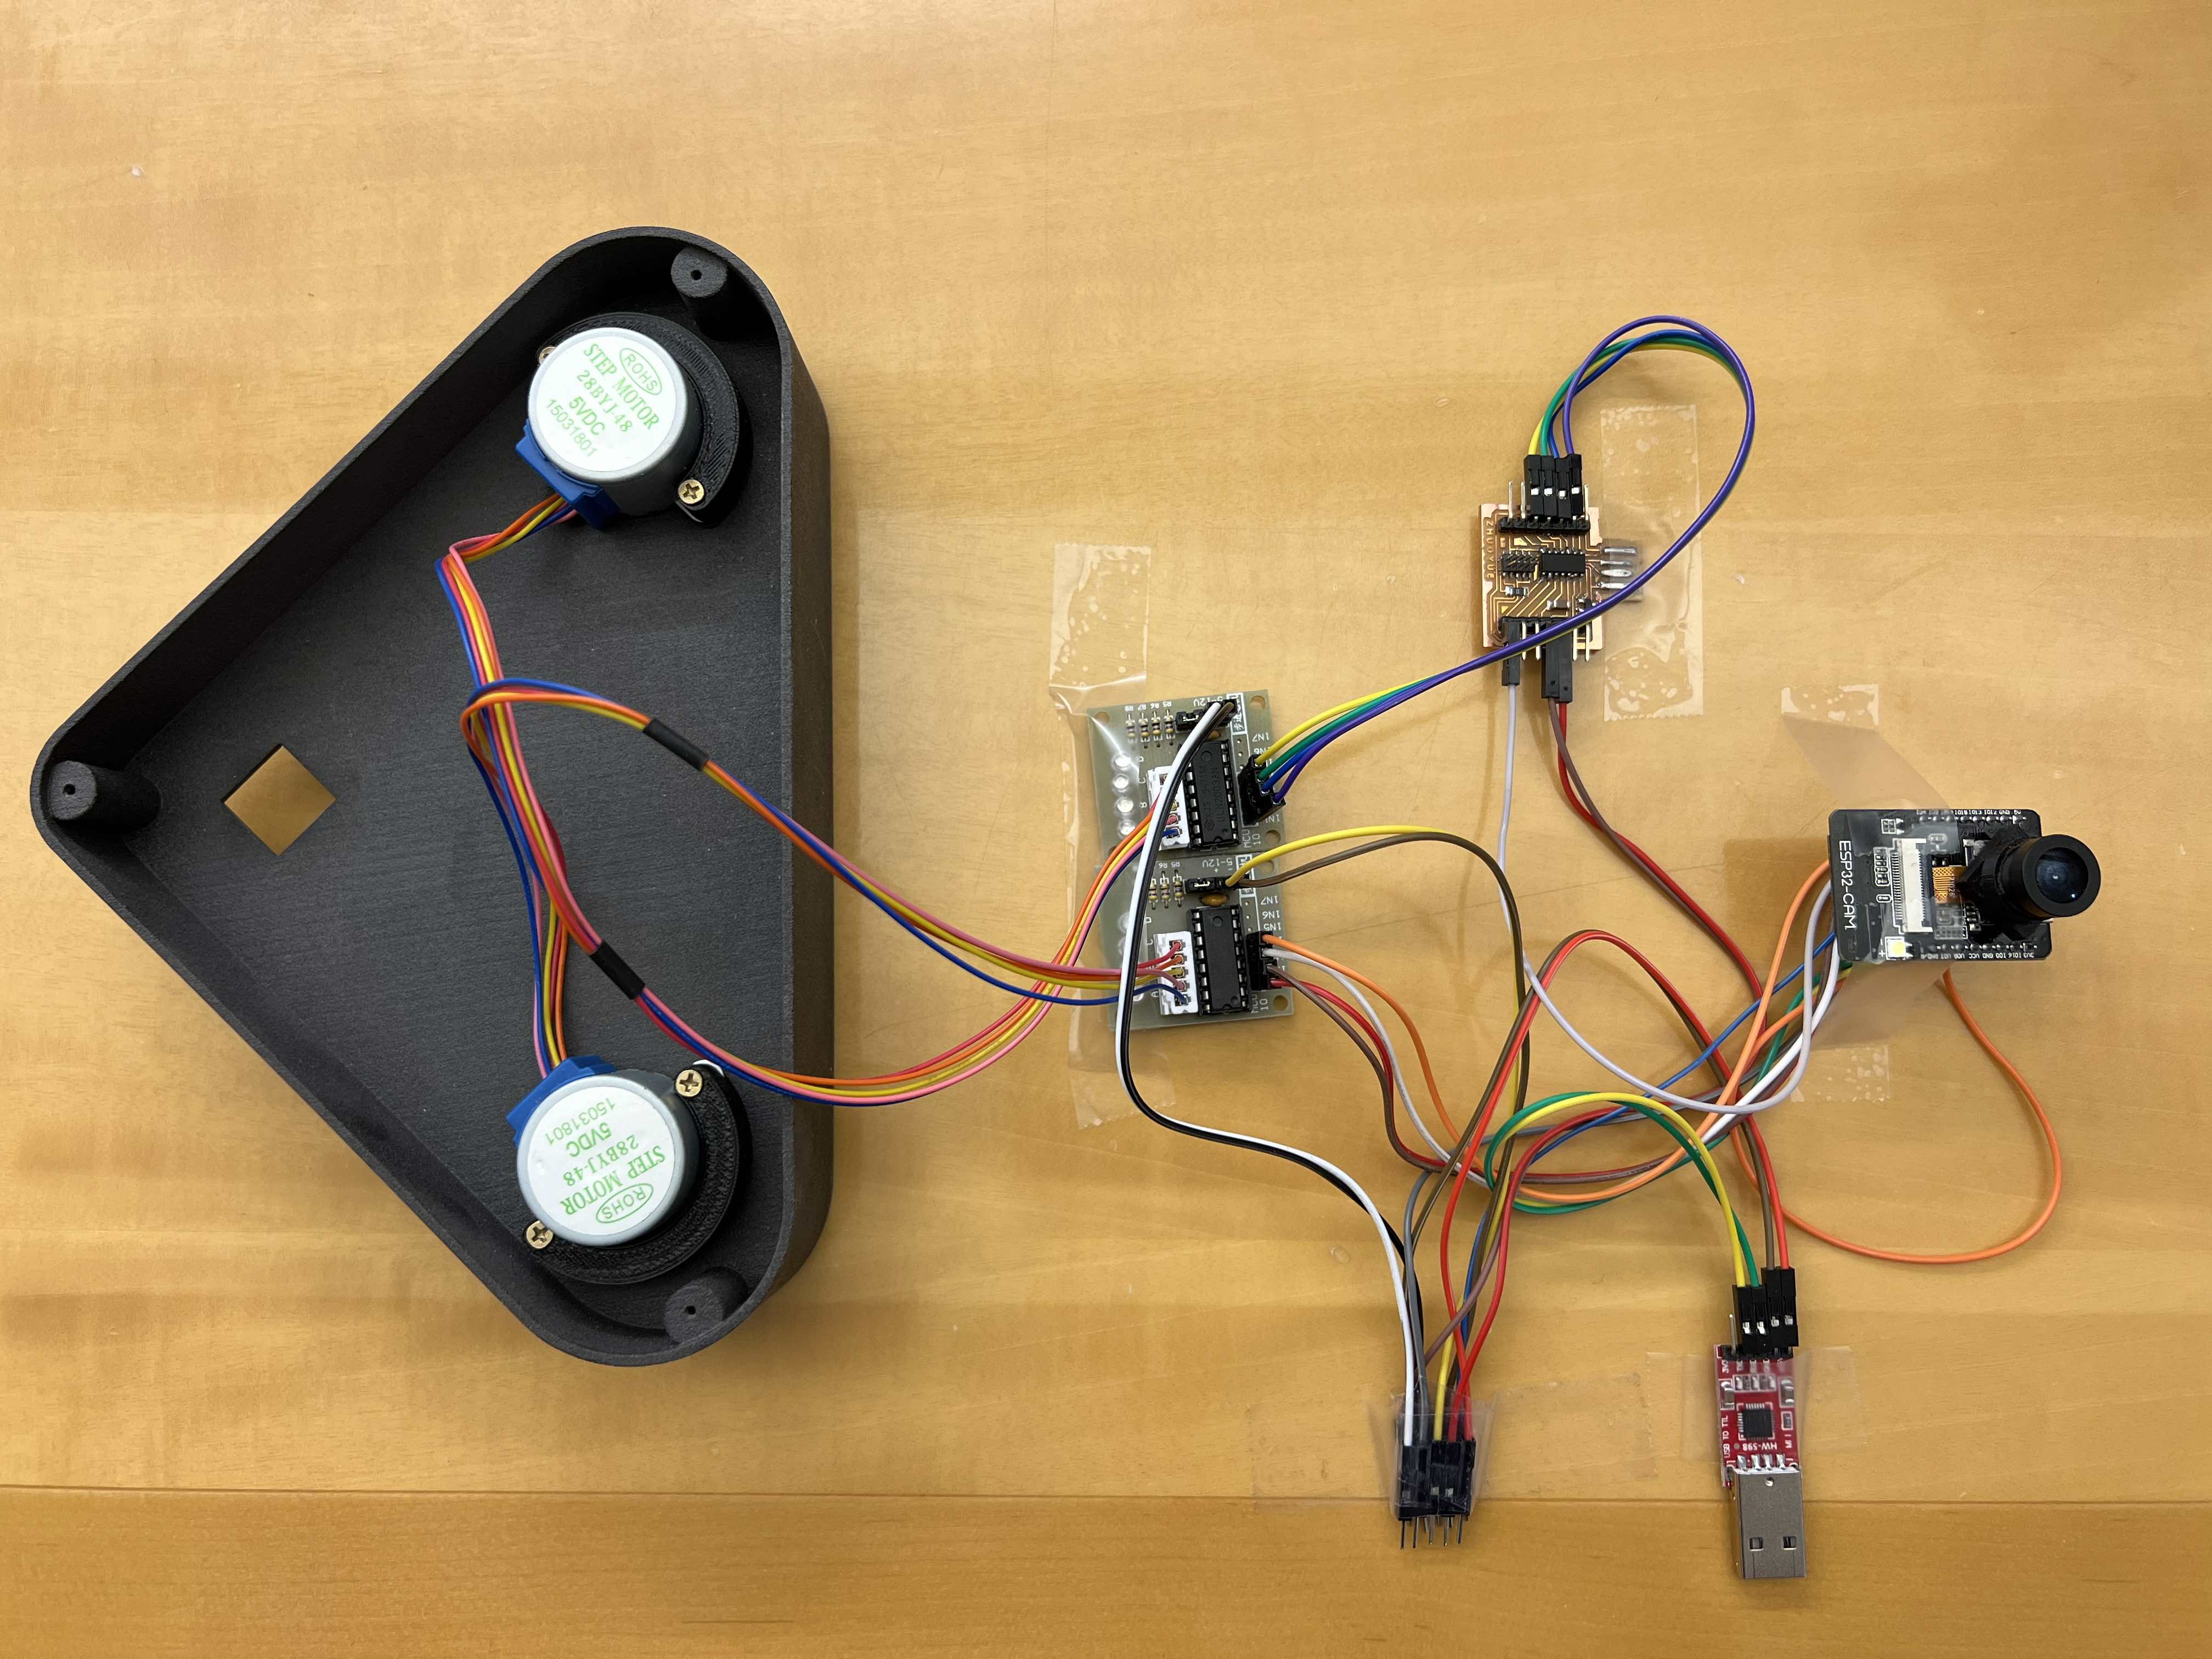
I designed the base that holds the rings, camera, gears, and electronics. I had about 5, 6 iterations of this, and each print took around 9 hours. The final version used the FUSE 1 printer with SLS powders that is located in N52, which took about 24 hours to print. So in total, I spent 80+ hours just printing this base.
The back cover is screwed to hide the components ( I unscrewed it during the presentation on Friday so Neil, students and guests could see the components I'm using)
I designed gears based on existing 3D models so that I could have four of them on two motors to rotate the minute ring and hour ring individually.
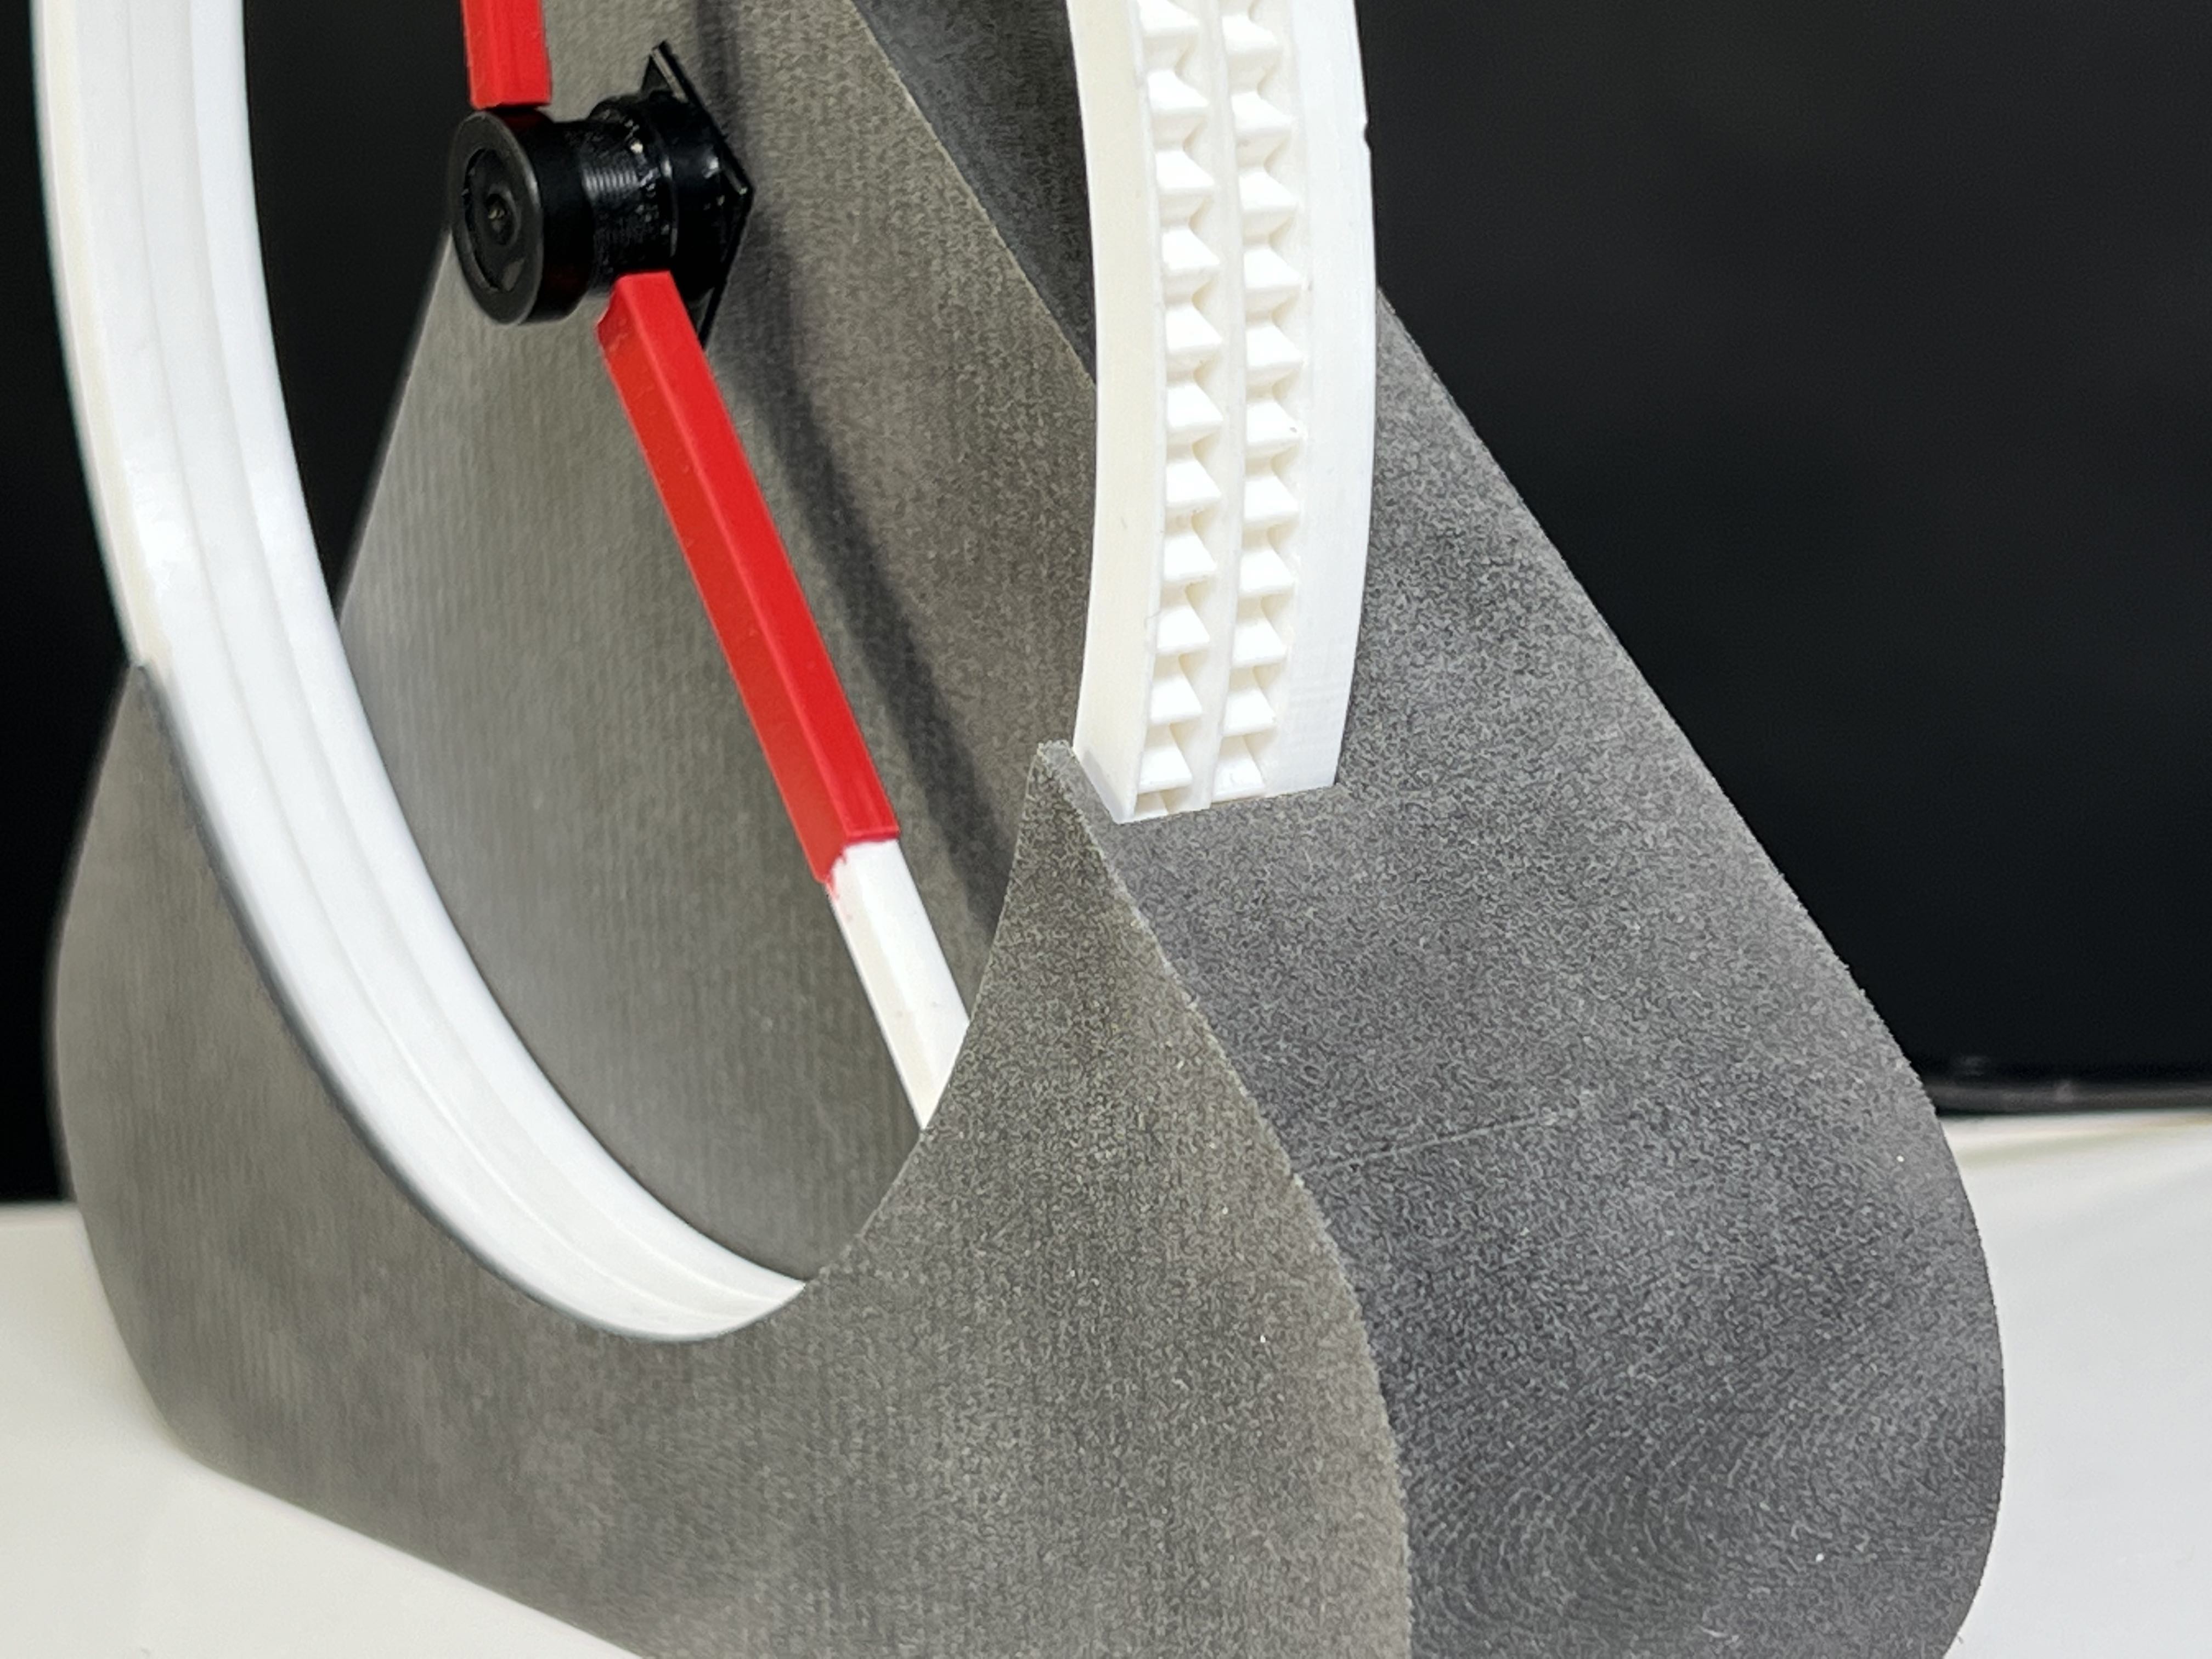
I modified the rings based on the existing 3D model so that they have the space to put a camera in the middle.
Both rings and gears were printed using Prusa with PLA. The hands were spray-painted to be red.
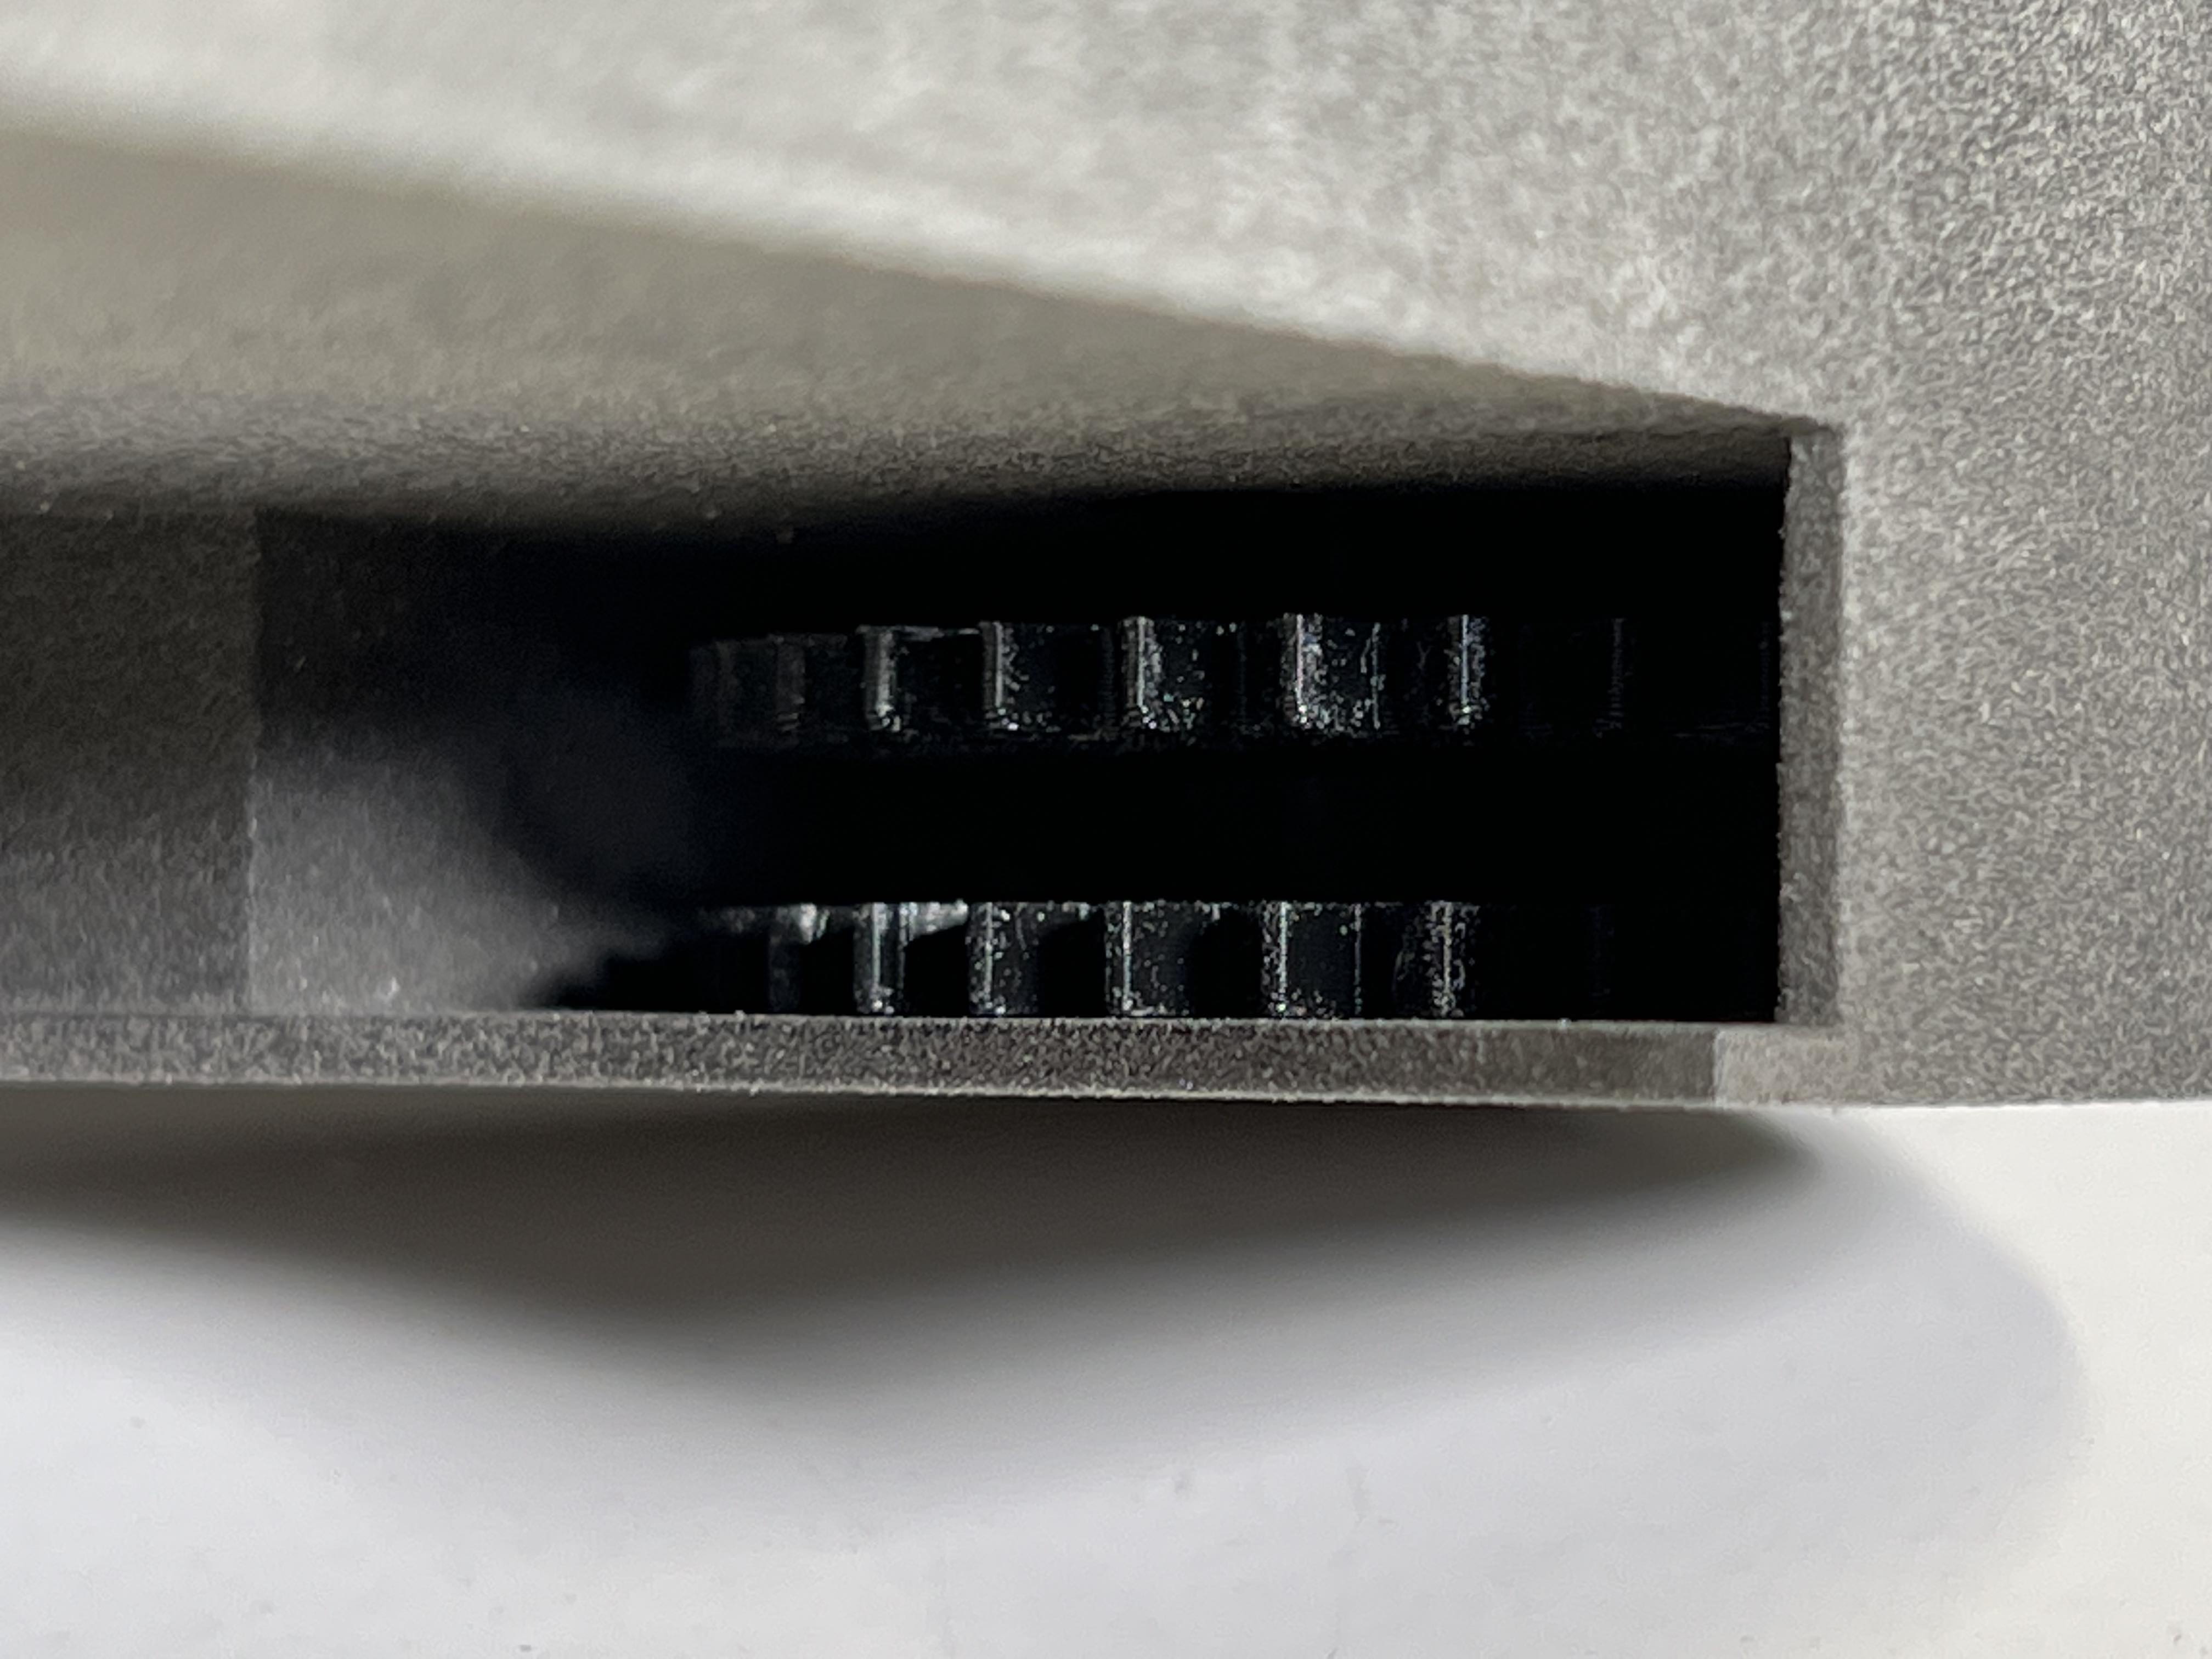
I designed and milled the PCBs. I programmed and integrated the input, output, network, and interface. I used ESP32-CAM for video streaming, which connects to a modified D11C that I designed and milled to control the motors through two driver boards.
Where did they come from? How much did they cost?
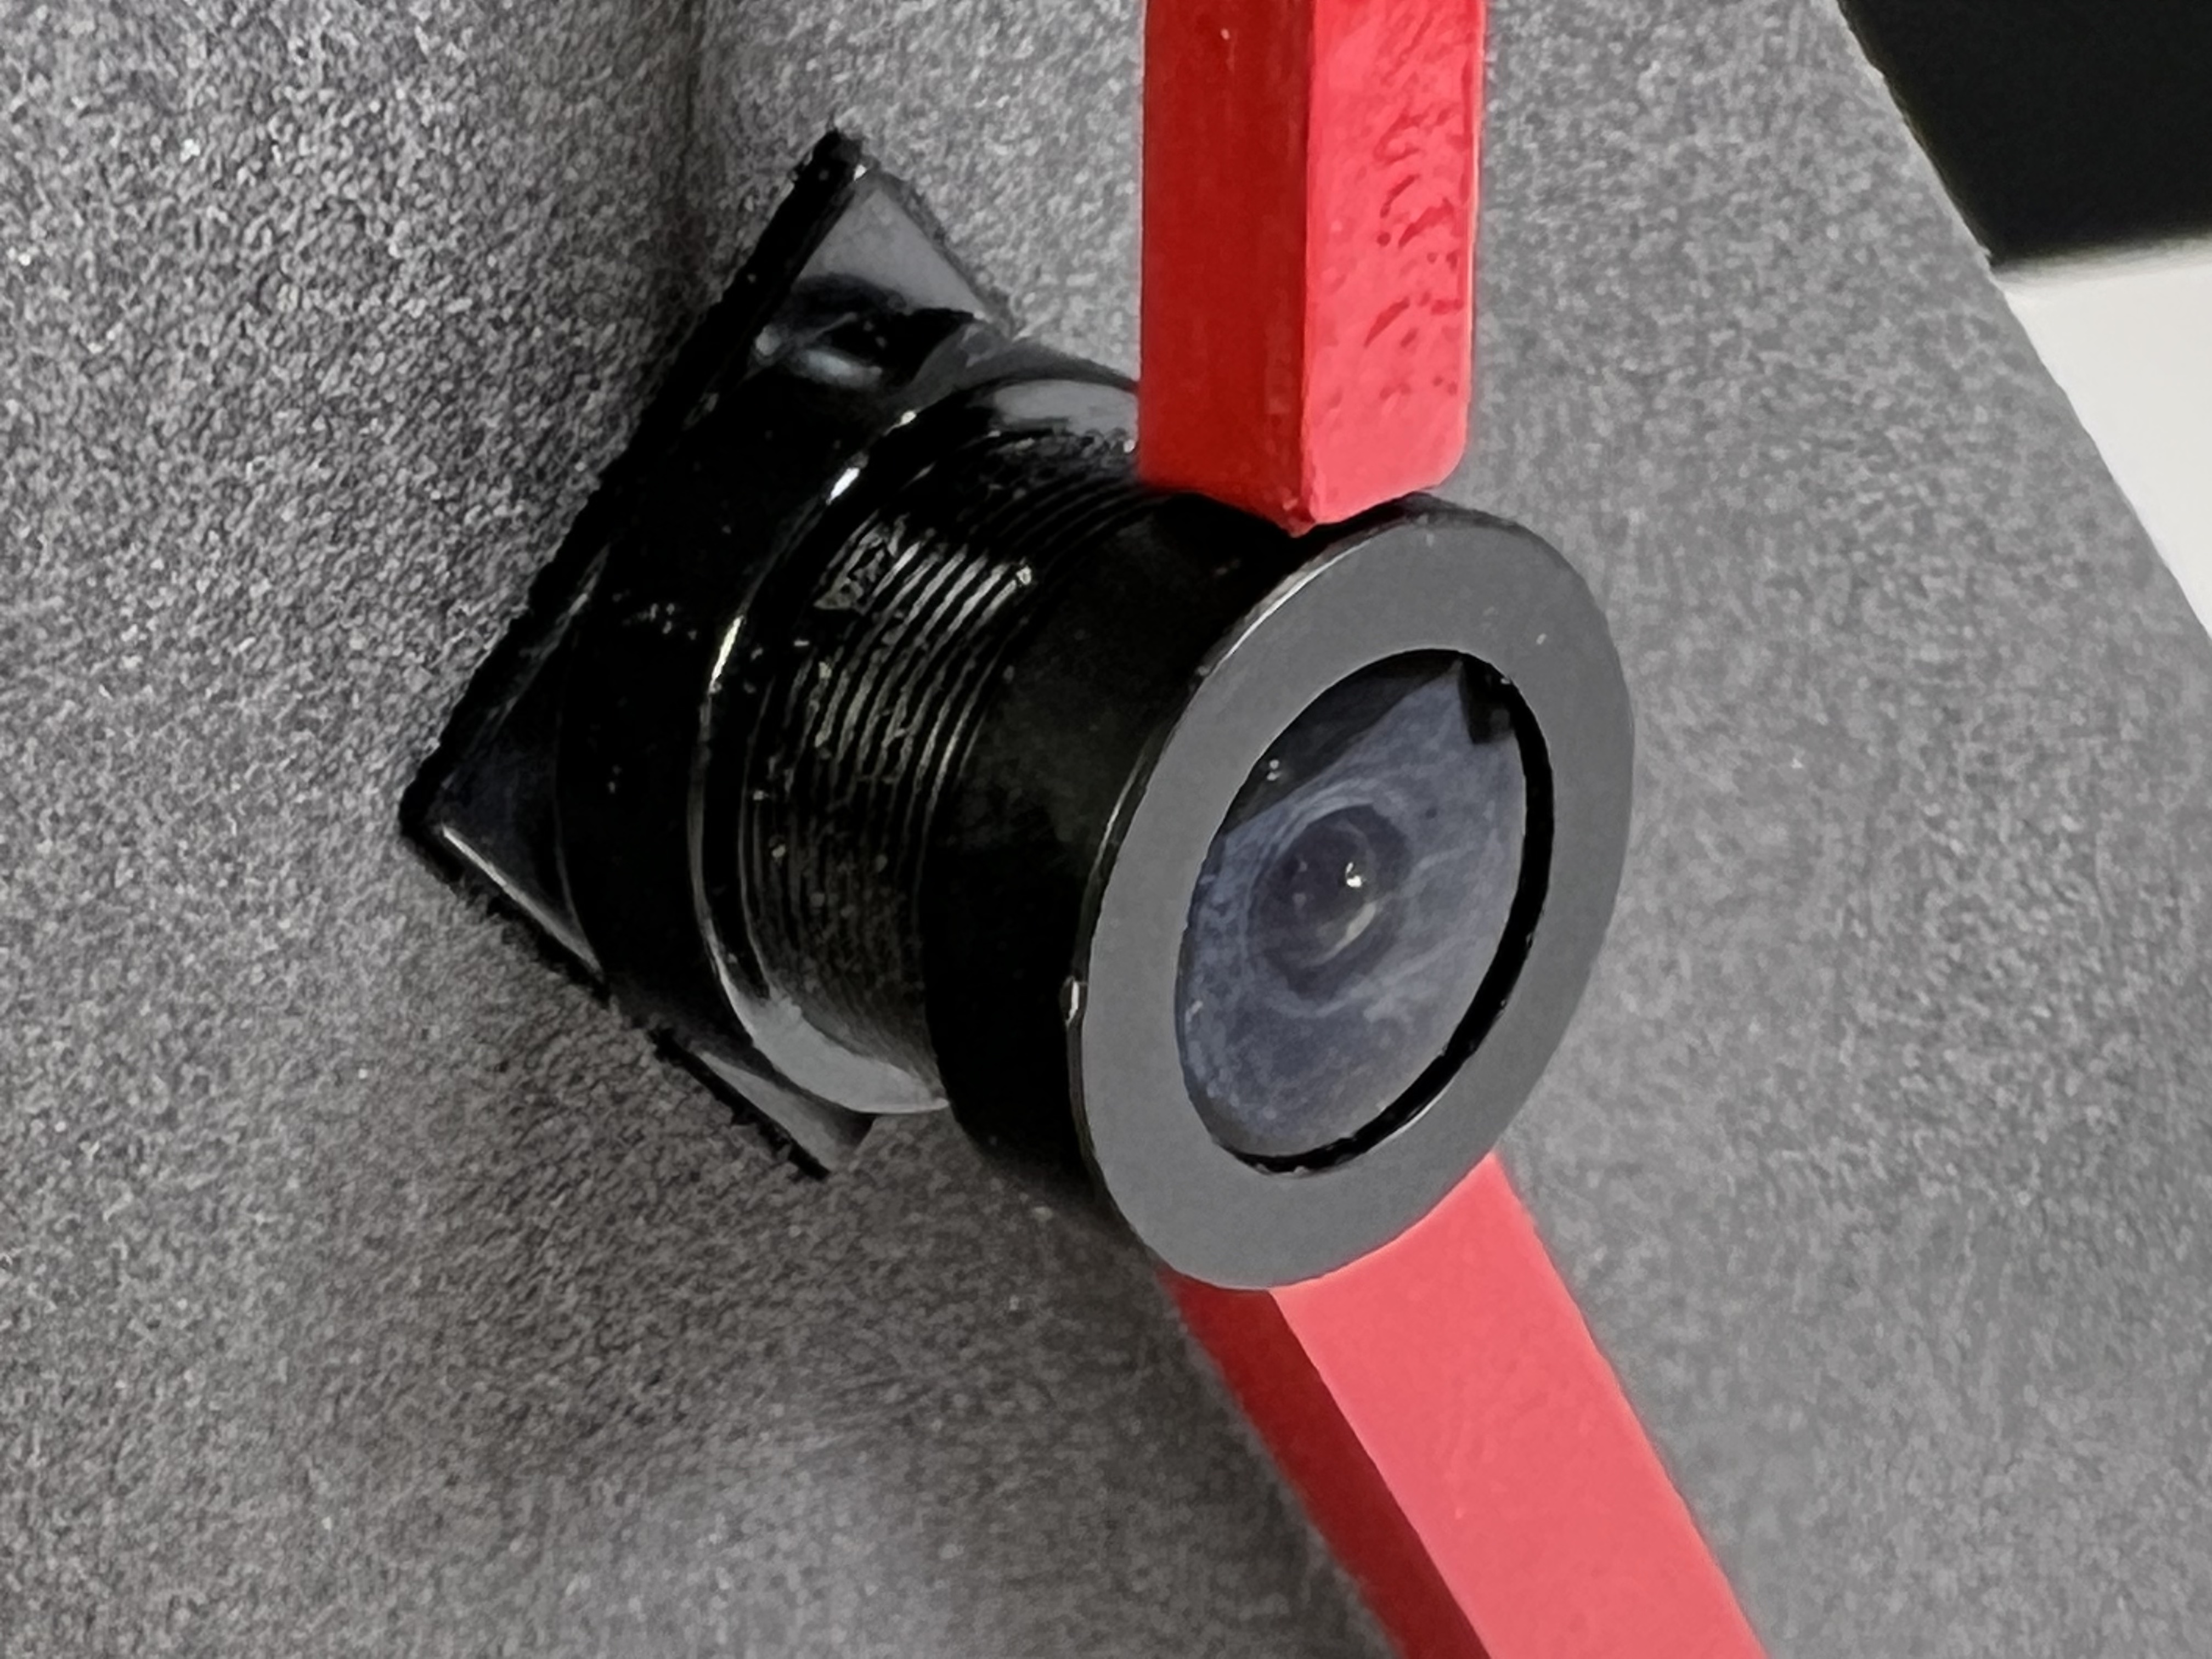
The shop provided the printed materials, PCBs, and ESP-32-CAM. I bought my own stepper motors, which cost about $15. In addition, I took out the lens from a webcam and glued it on the ESP32-CAM to make it look nicer. While the webcam is expensive, the lens itself costs about $5.
What parts and systems were made?
Everything (except the ESP32-CAM and stepper motors/driver boards) was made by myself.
What processes were used?
The project involves all weeks of knowledge (except Weel 8 molding and casting):
- Week 1 computer-aided design: all 3D printed components were CAD using Fusion 360.
- Week 2 project management: the software was iterated and version controlled on GitHub
- Week 3 electronics production: I milled my PCB
- Week 4 3D scanning and printing: I used Prusa and Fuse 1 to print the components.
- Week 5 electronics design: I customized my D11C for extending the pins of ESP32-CAM and controlling the motors.
- Week 6 computer-controlled machining: if Roland SRM-20 counts, then yes, I used it to
mill PCB. I actually fixed the machine for the Harvard section. (also created a document for using it because the workflow is slightly different.)
- Week 7 embedded programming: I programmed my board to update motor speeds based on the video it captures
- Week 9 input devices: ESP32-CAM
- Week 10 output devices: two stepper motors
- Week 11 networking and communications: serial talks from computer to ESP32-CAM to D11C; Wifi connection between ESP32-CAM and laptop
- Week 12 interface and application programming: UI to control the flashlight on ESP32-CAM
What questions were answered?
What kind of interaction can a clock afford if it can see you? I provided three examples of interactions in the video above.
What worked? What didn't?
Everything functions well when the lighting and wifi conditions are good (as the video in the top shown). The image processing of OpenCV doesn't work well in bad lighting conditions. I got it working (briefly) for a few people in the open house using 2-3 flashlights to shine the face.
How was it evaluated?
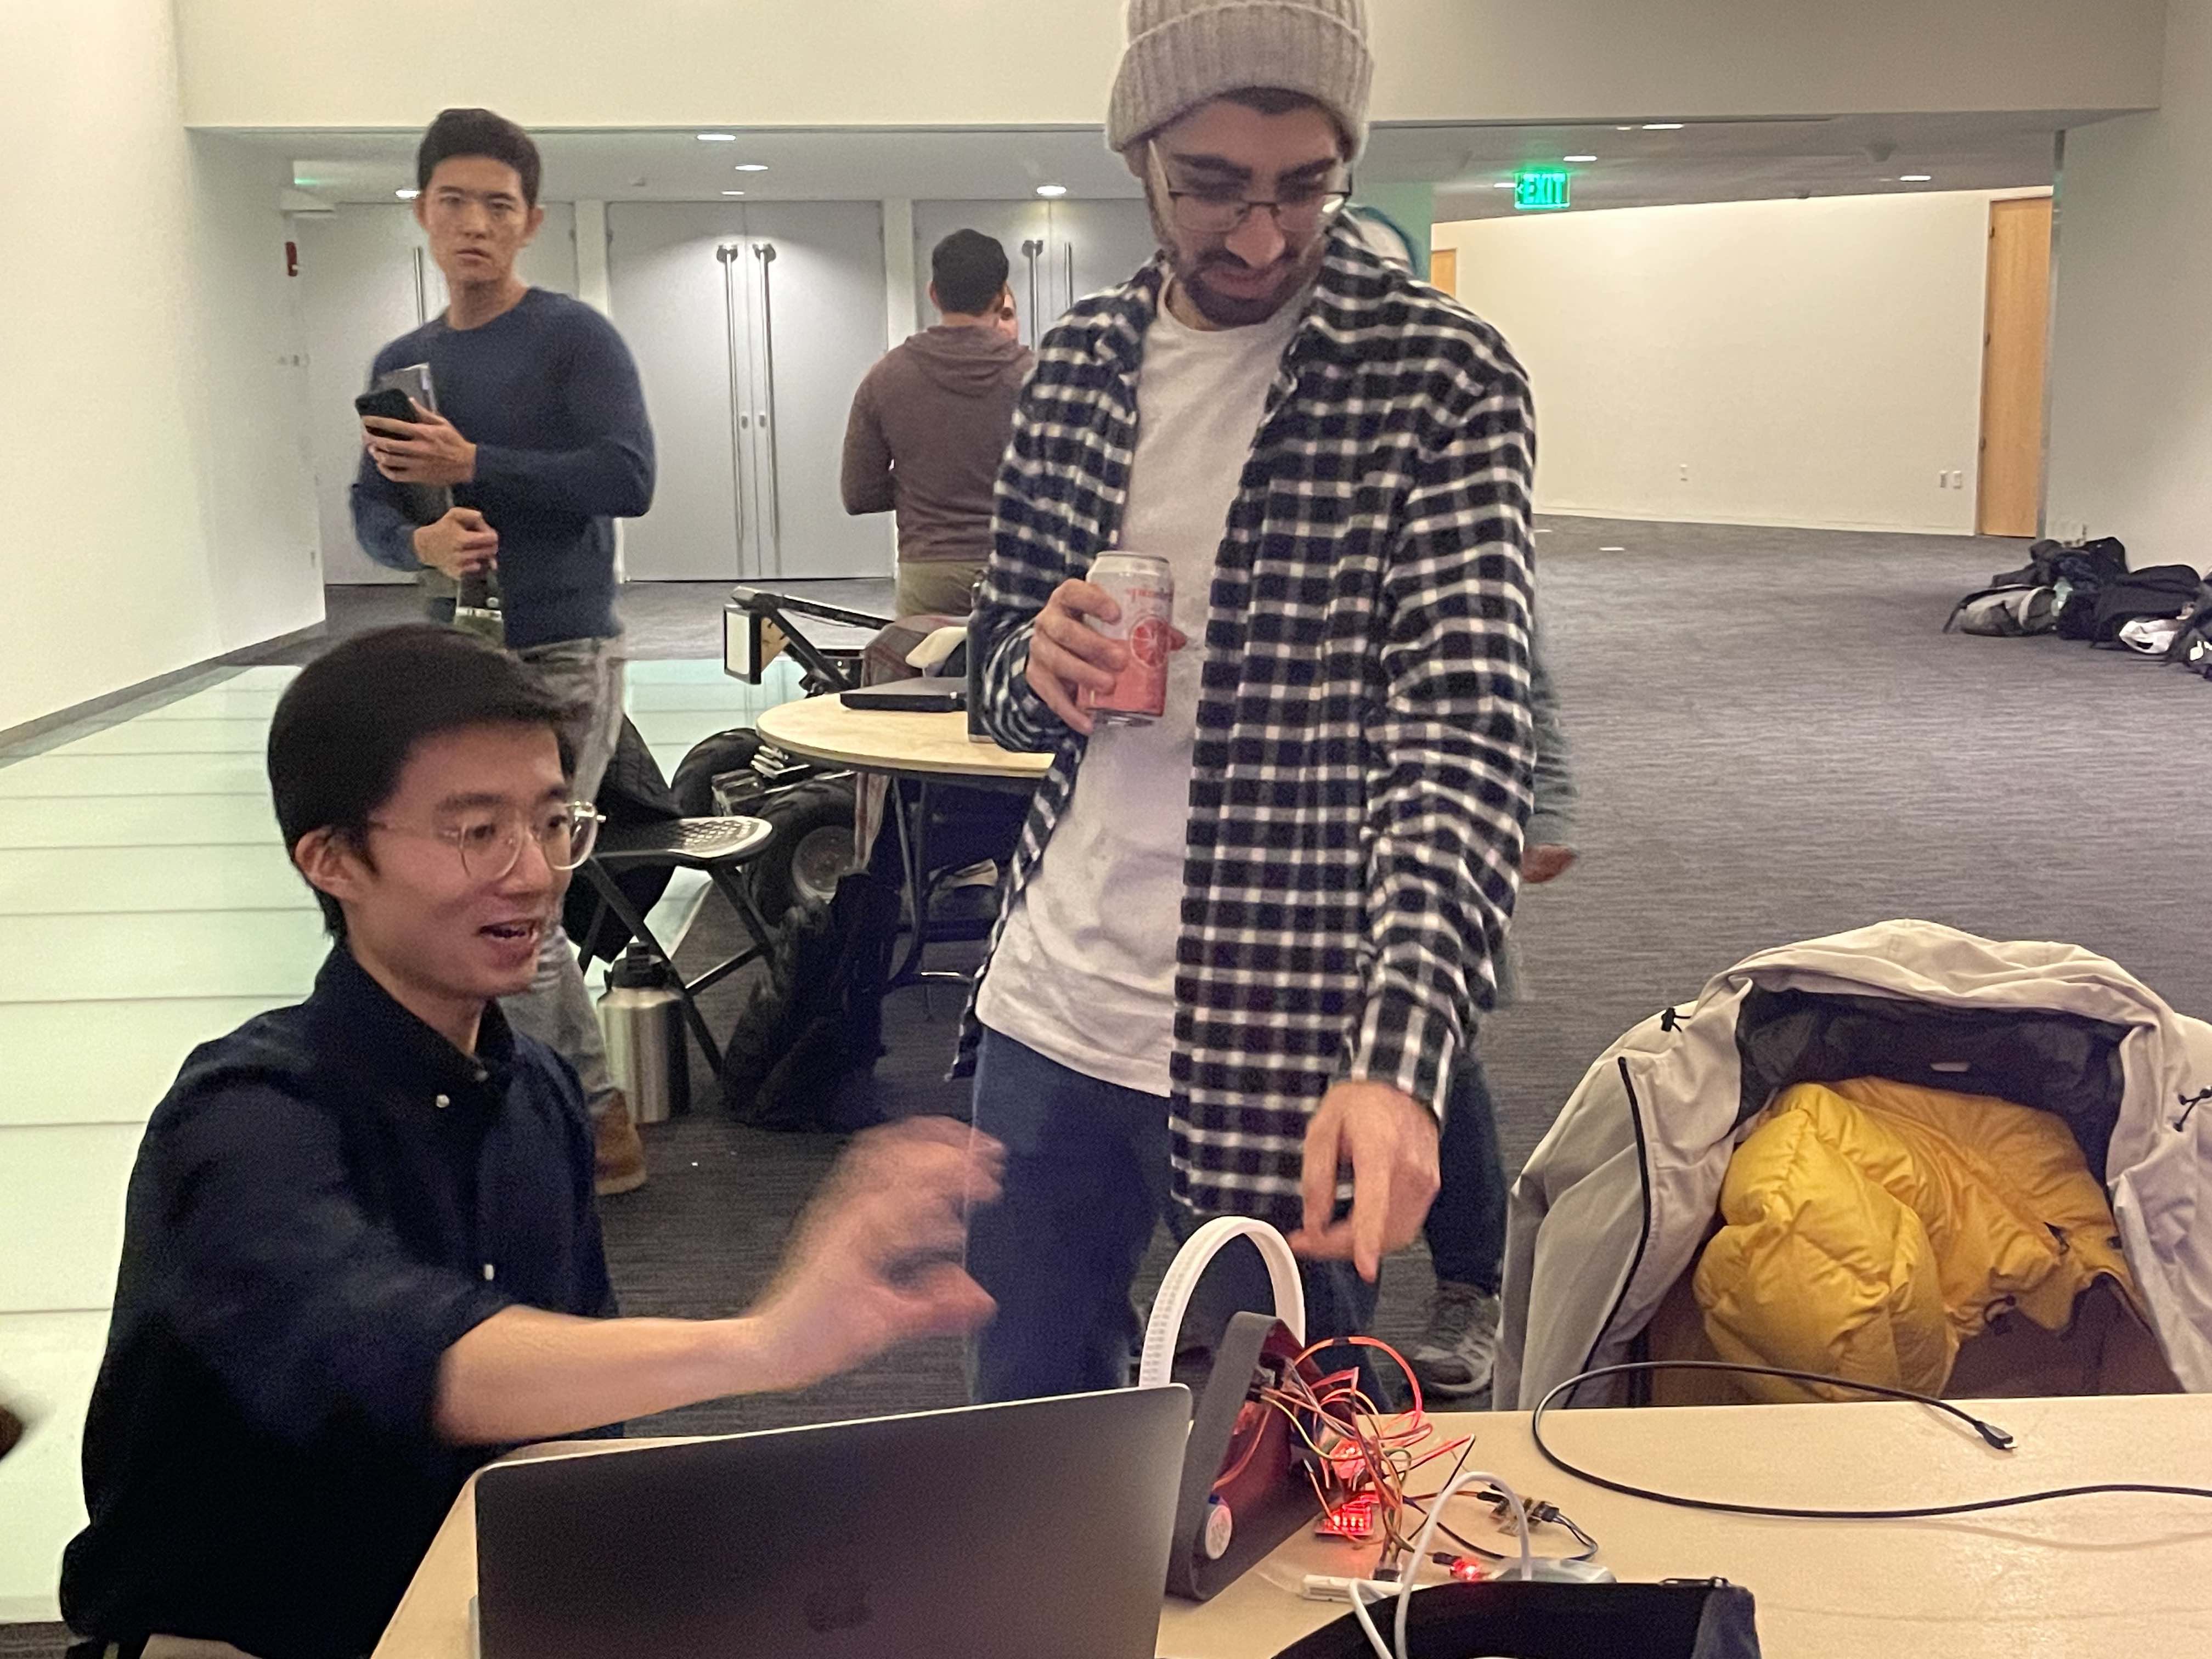
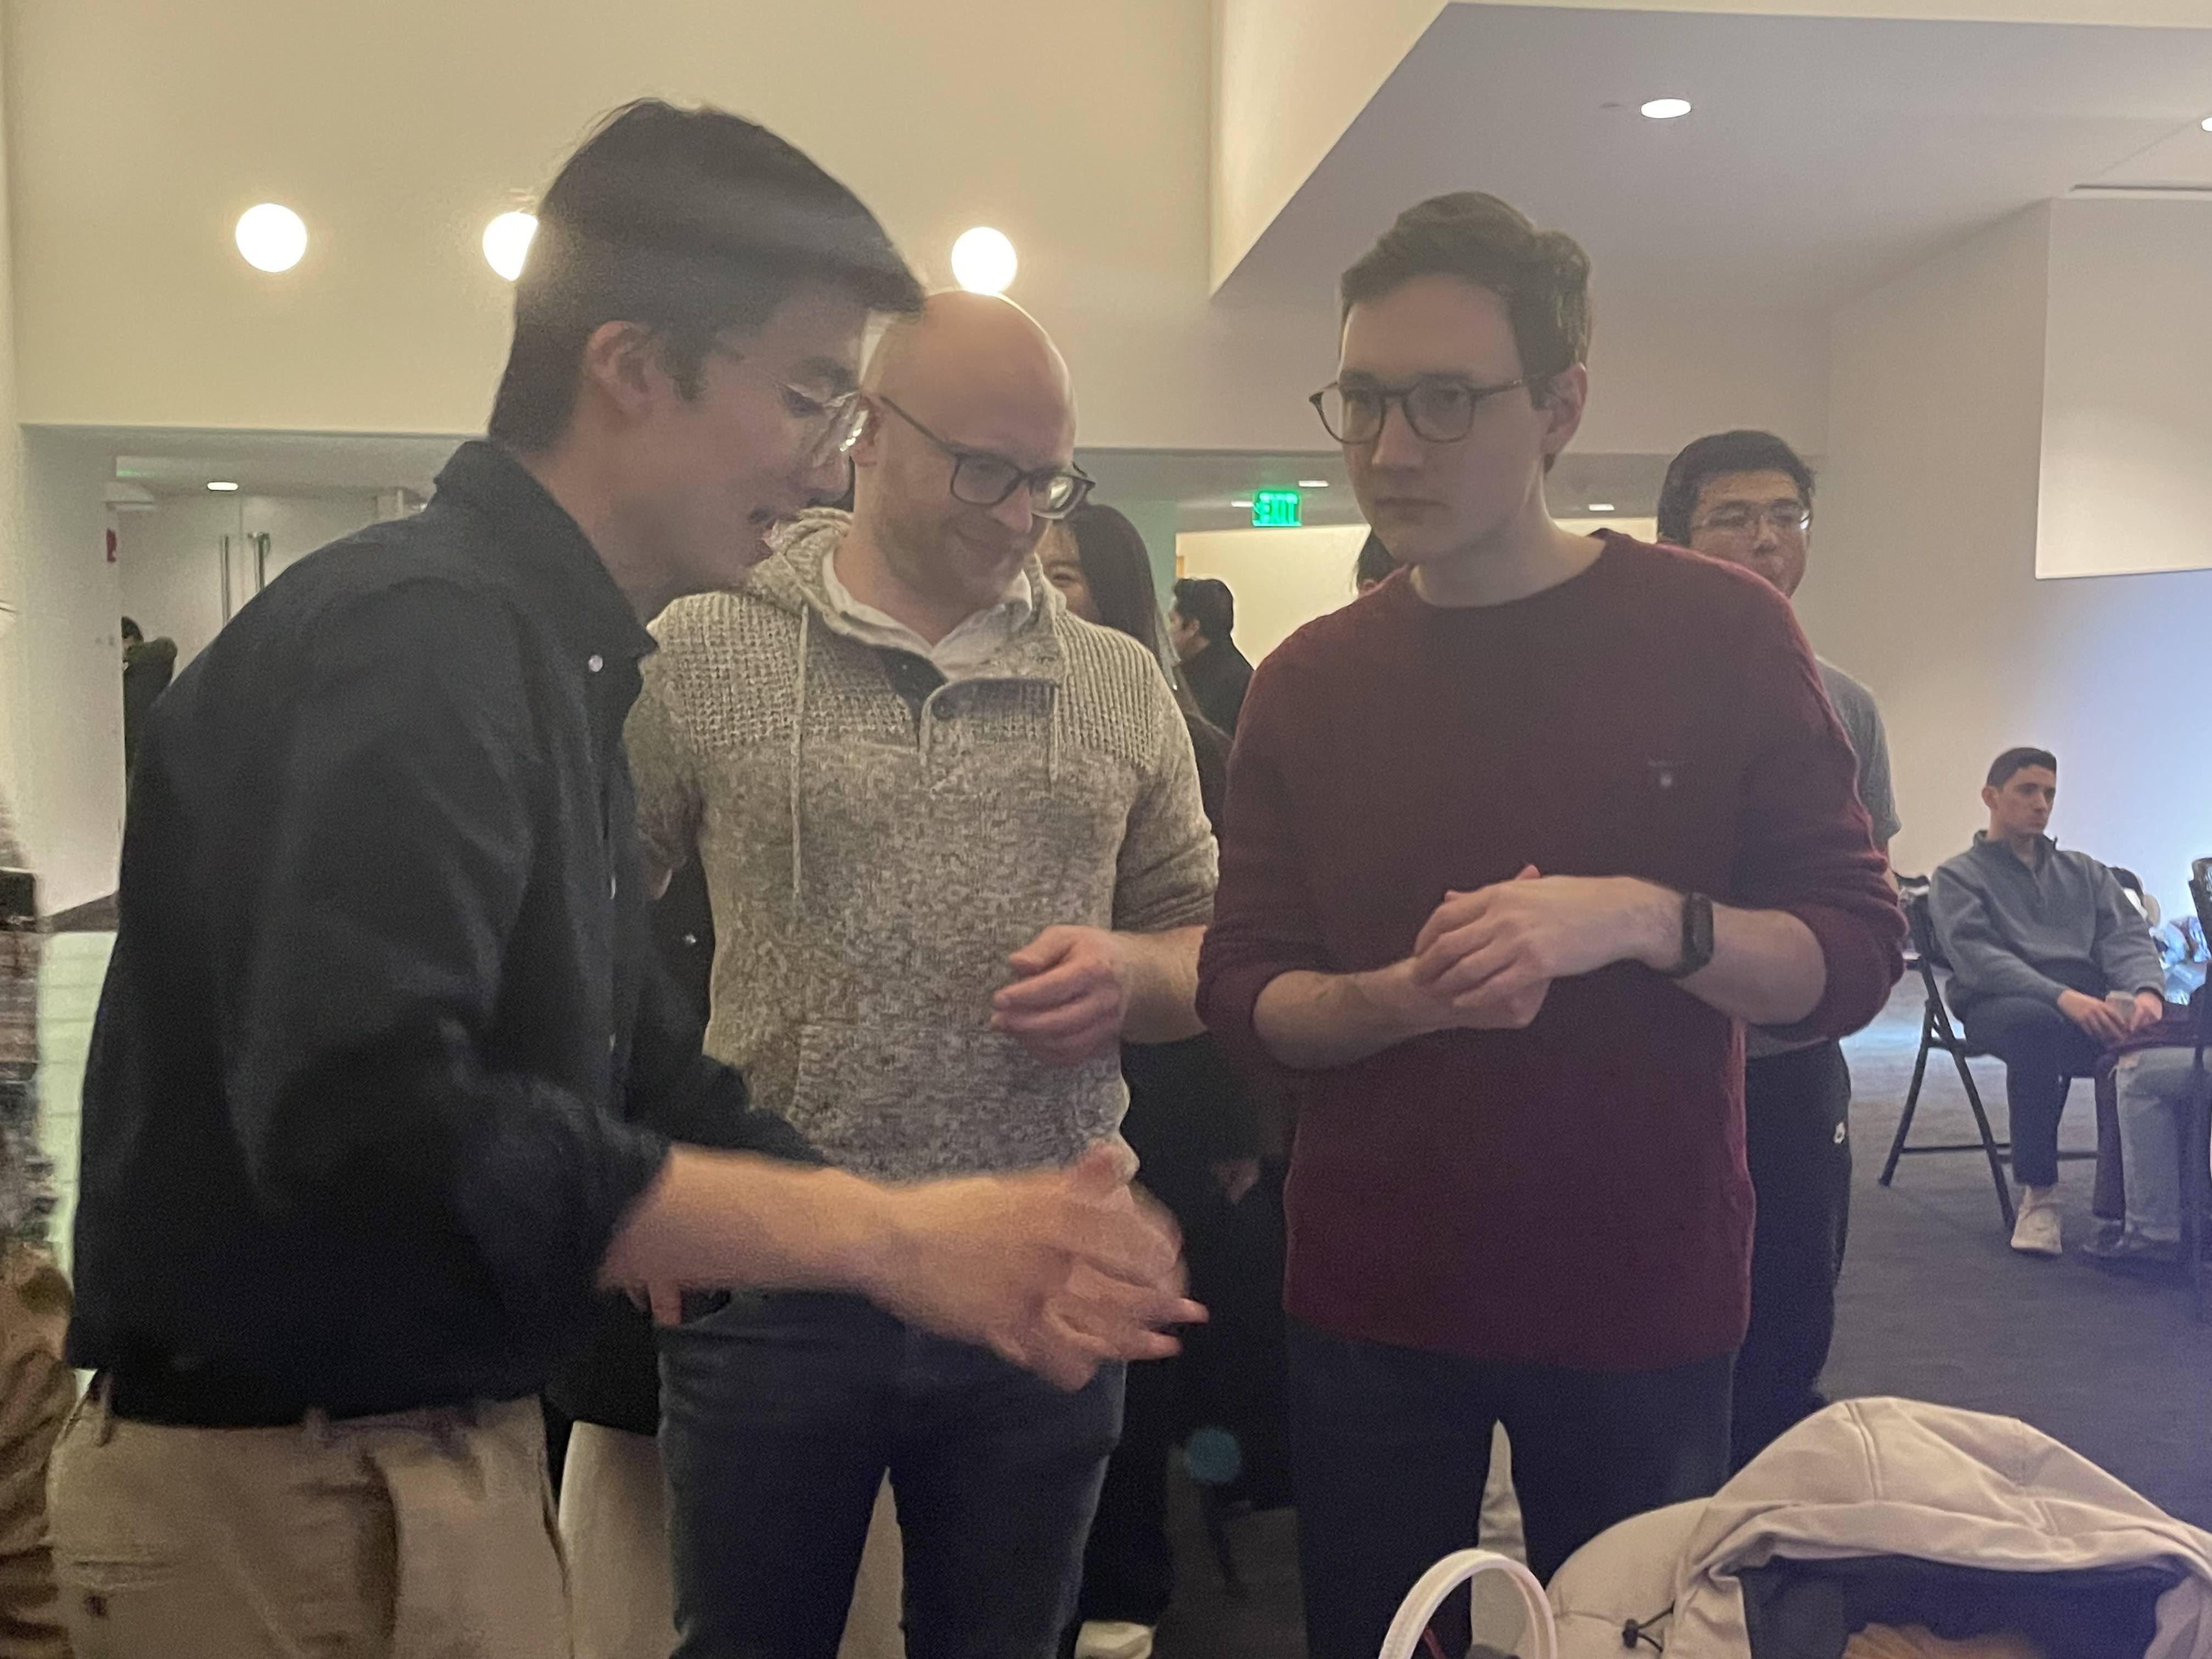
Here I summarized the comments and feedback I heard from the users (during the open house)
-
People always smile when hearing about the way the user interacts with the clock, and they found it very interesting the way I explore the idea of time, how time is subjective and objective at the same time. Also, international students who have relatives in other countries found the 3rd interaction useful because of feeling the presence of their family and loved ones.
-
People were attracted by the minimalism design itself (and suggested I go to design school instead of the education school, haha). They were also surprised that the rings are detachable from the base, the minute and hour hands are controlled by the two stepper motors in the bottom, and the center part is a camera, not a motor.
What are the implications?
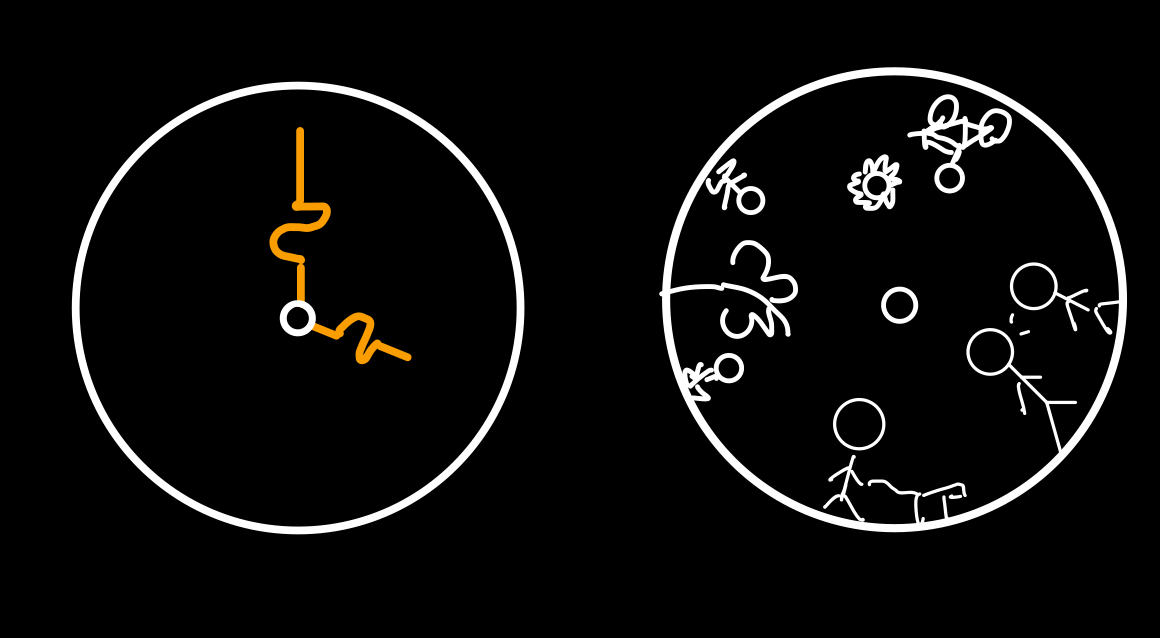
The device is a platform that can afford an almost infinite number of interactions. The three I gave in the video are just examples. Because the rings are detachable, I will also explore different frames and what kind of new interactions will generate. For example, the rights can look like these, where you can either customize your hands (left) or even turn it into a storytelling device. I will continue developing it and hopefully will submit a short paper about it to a research conference (maybe CHI)
Files
The PCB files are shared in Week 9, here I share the clock model:
Acknowledgement
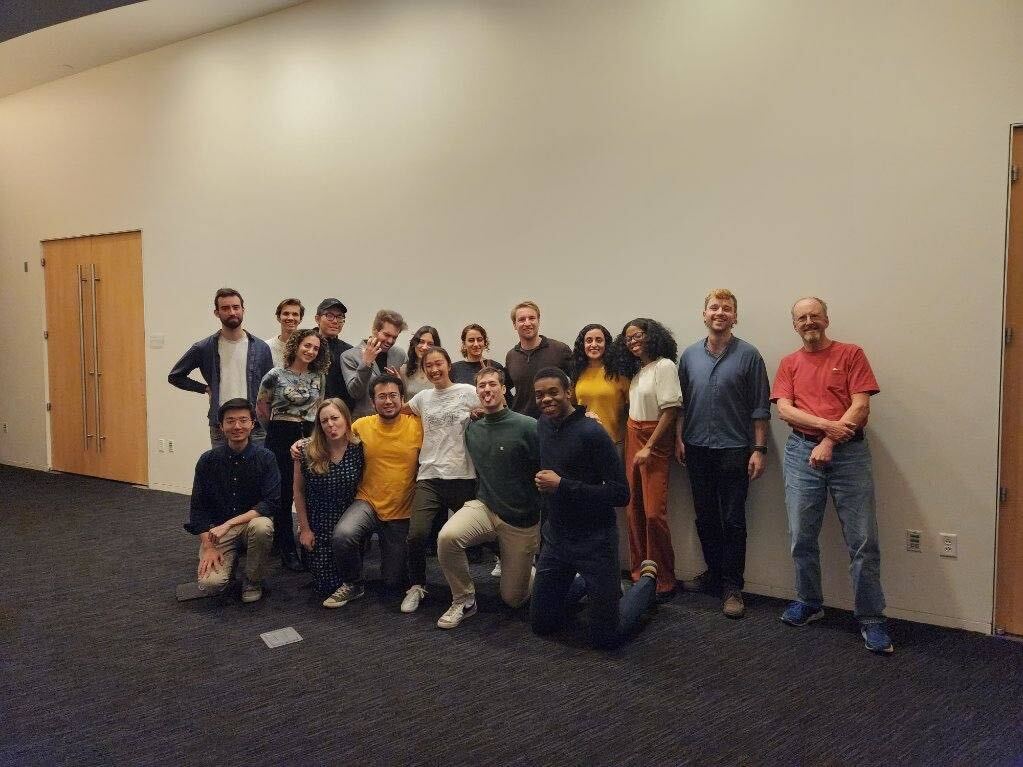
I want to thank Prof. Neil and TAs for organizing this course. I thank the amazing students at Harvard sections for spending so many no-sleep nights at SC102 with me. I also want to thank Dr. Marcelo Coelho and the students at class 4.031 for their feedback on the interaction design of the clock. Finally, thank Yushan for taking photos for me during the open house and those who stopped by my booth for insights and comments.