Week 3
Embedded Programming.
Engineering Files
Programming the Seeed Xiao
I began by looking through the datasheets and documentation for the Seeed Xiao. From the links provided by the HTMAA staff, it was very clear how to interface the board with the Arduino IDE.
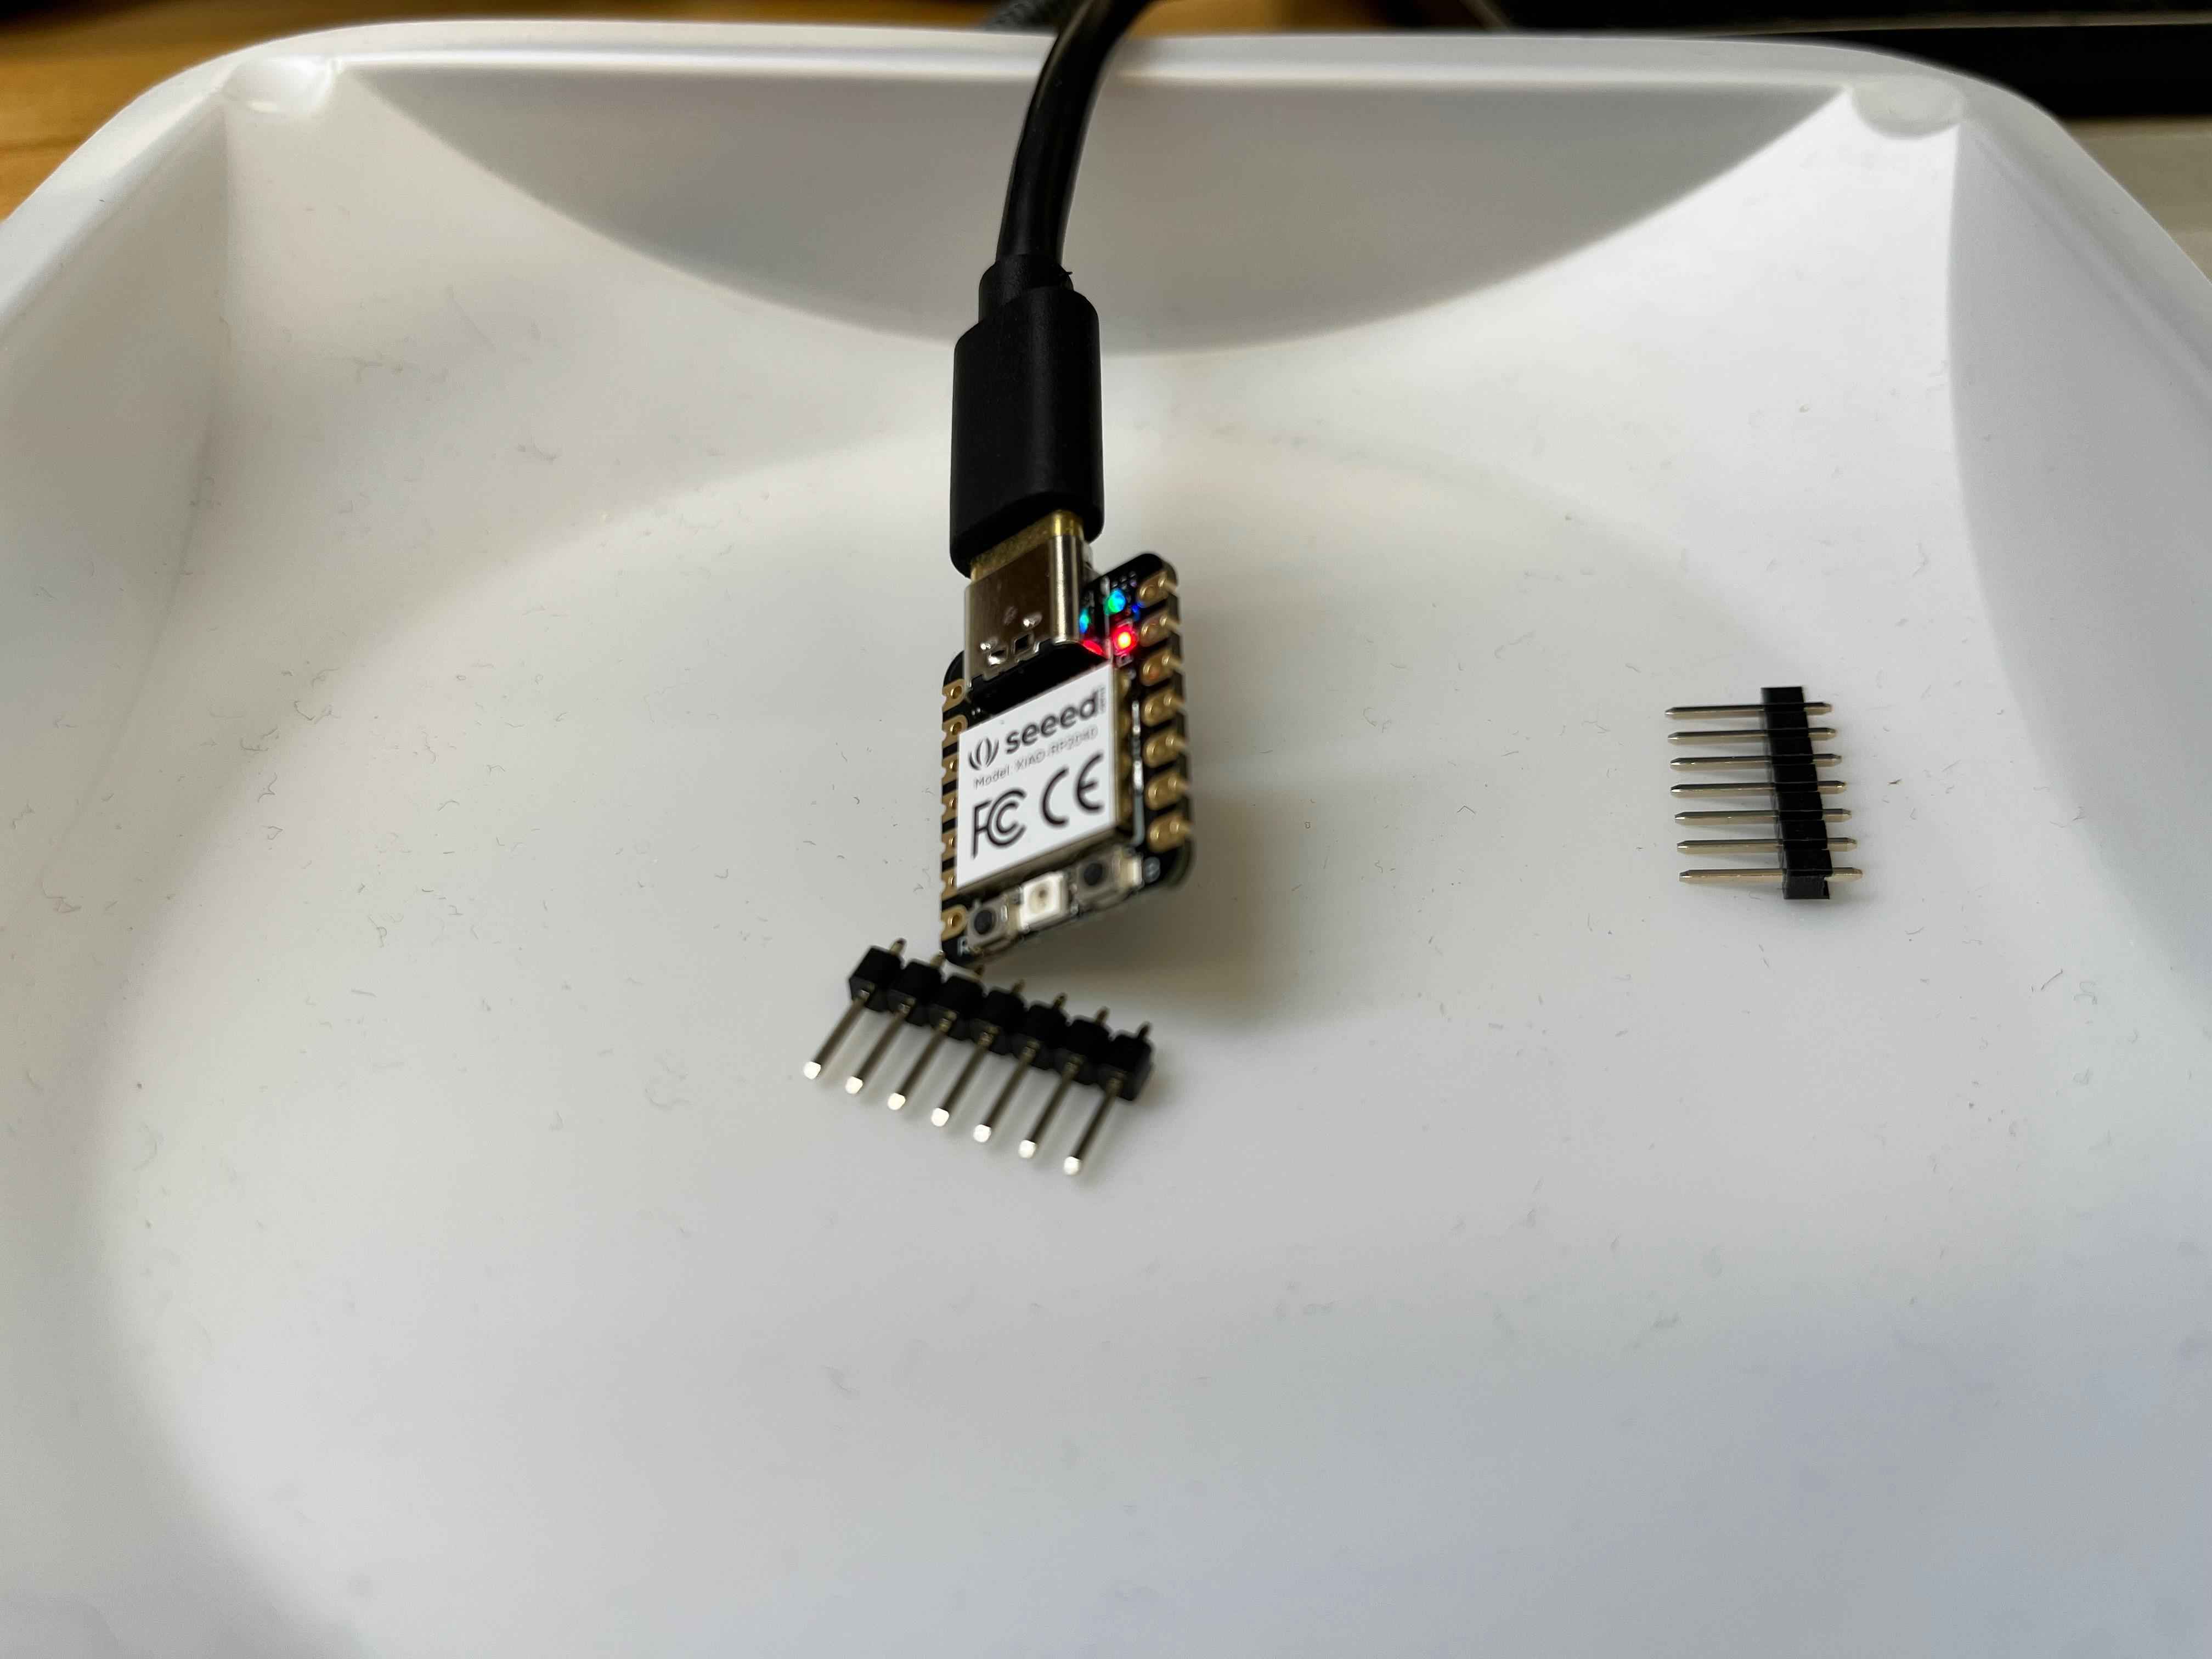
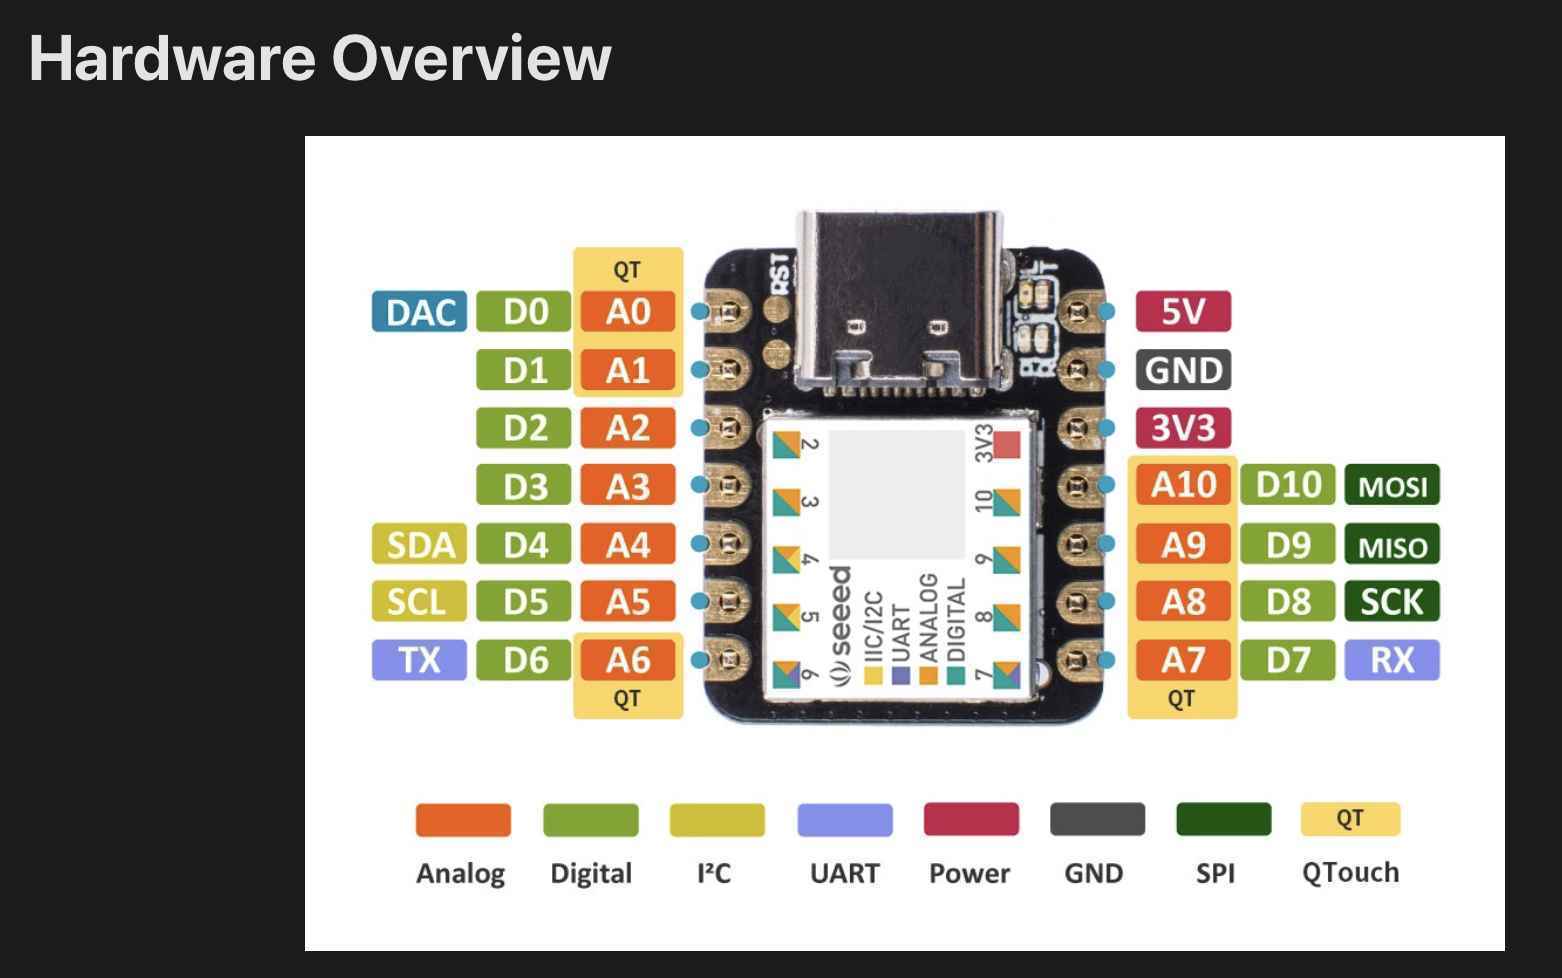
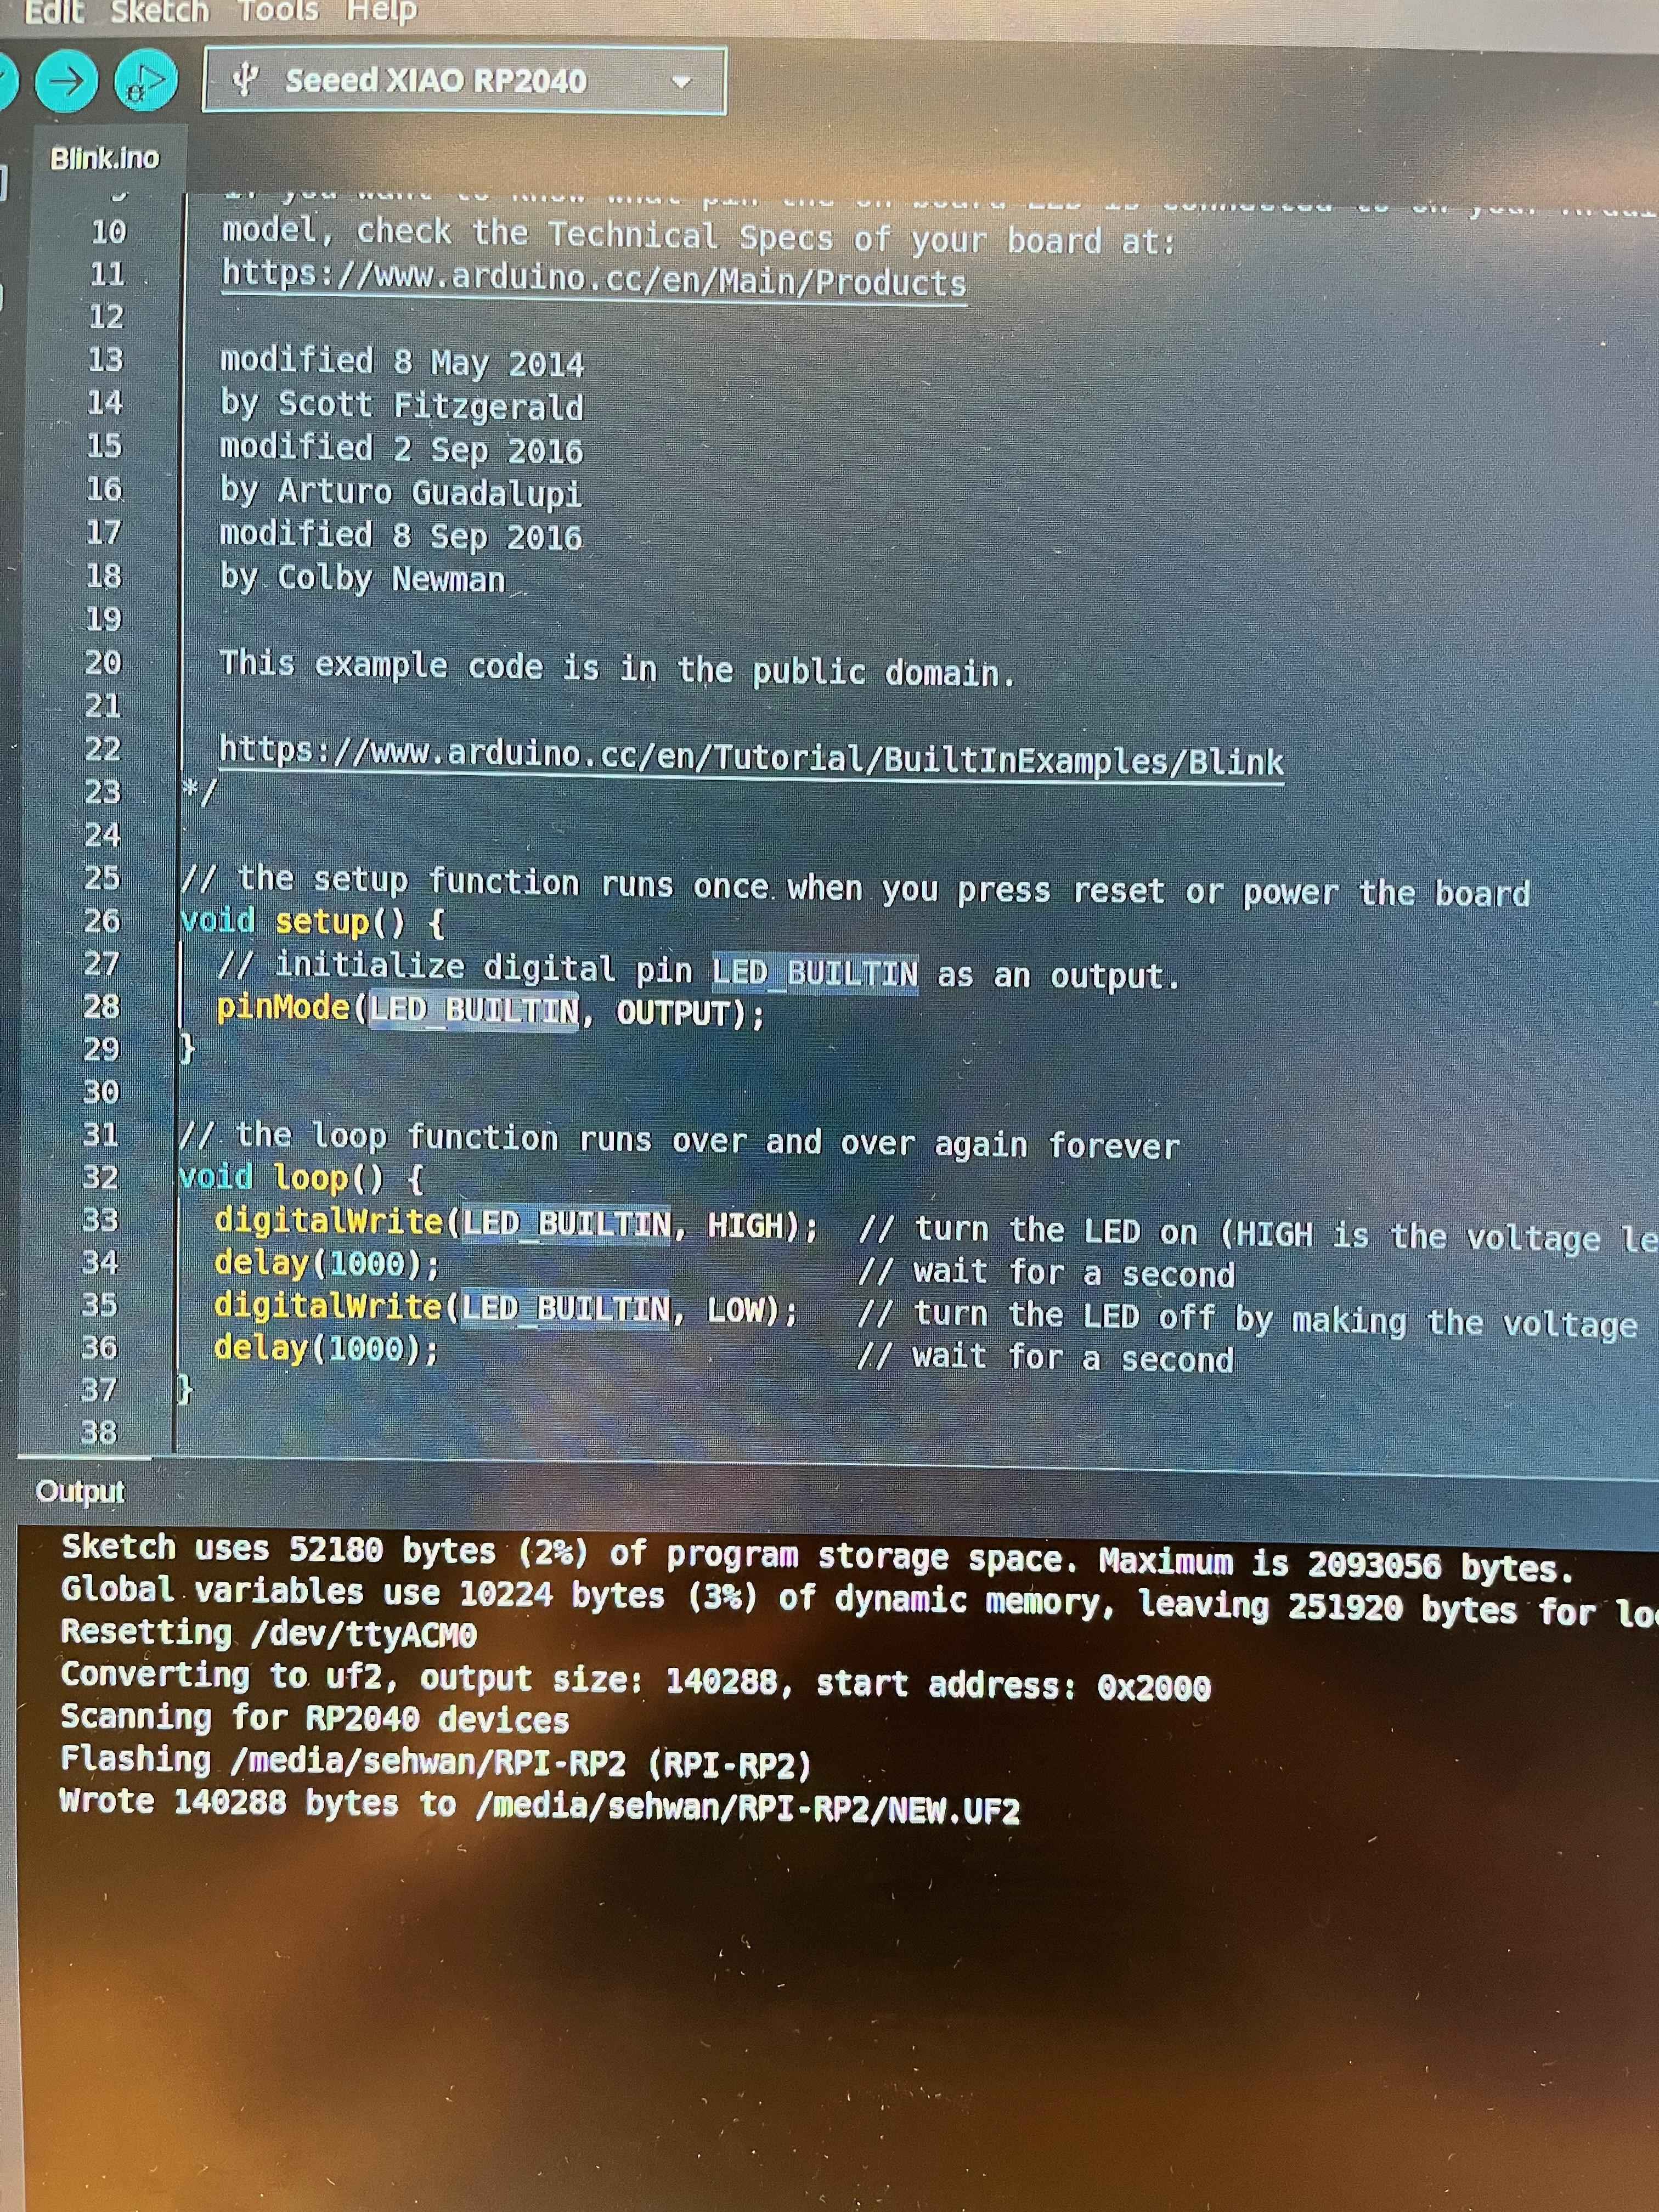
To test the board, I loaded the "Blink" example provided by the Arduino IDE to make sure I could flash the microcontroller. While I had to reboot the board once or twice, and chance superuser permissions in terminal to connect to the serial monitor, I was able to program the Xiao via the IDE.
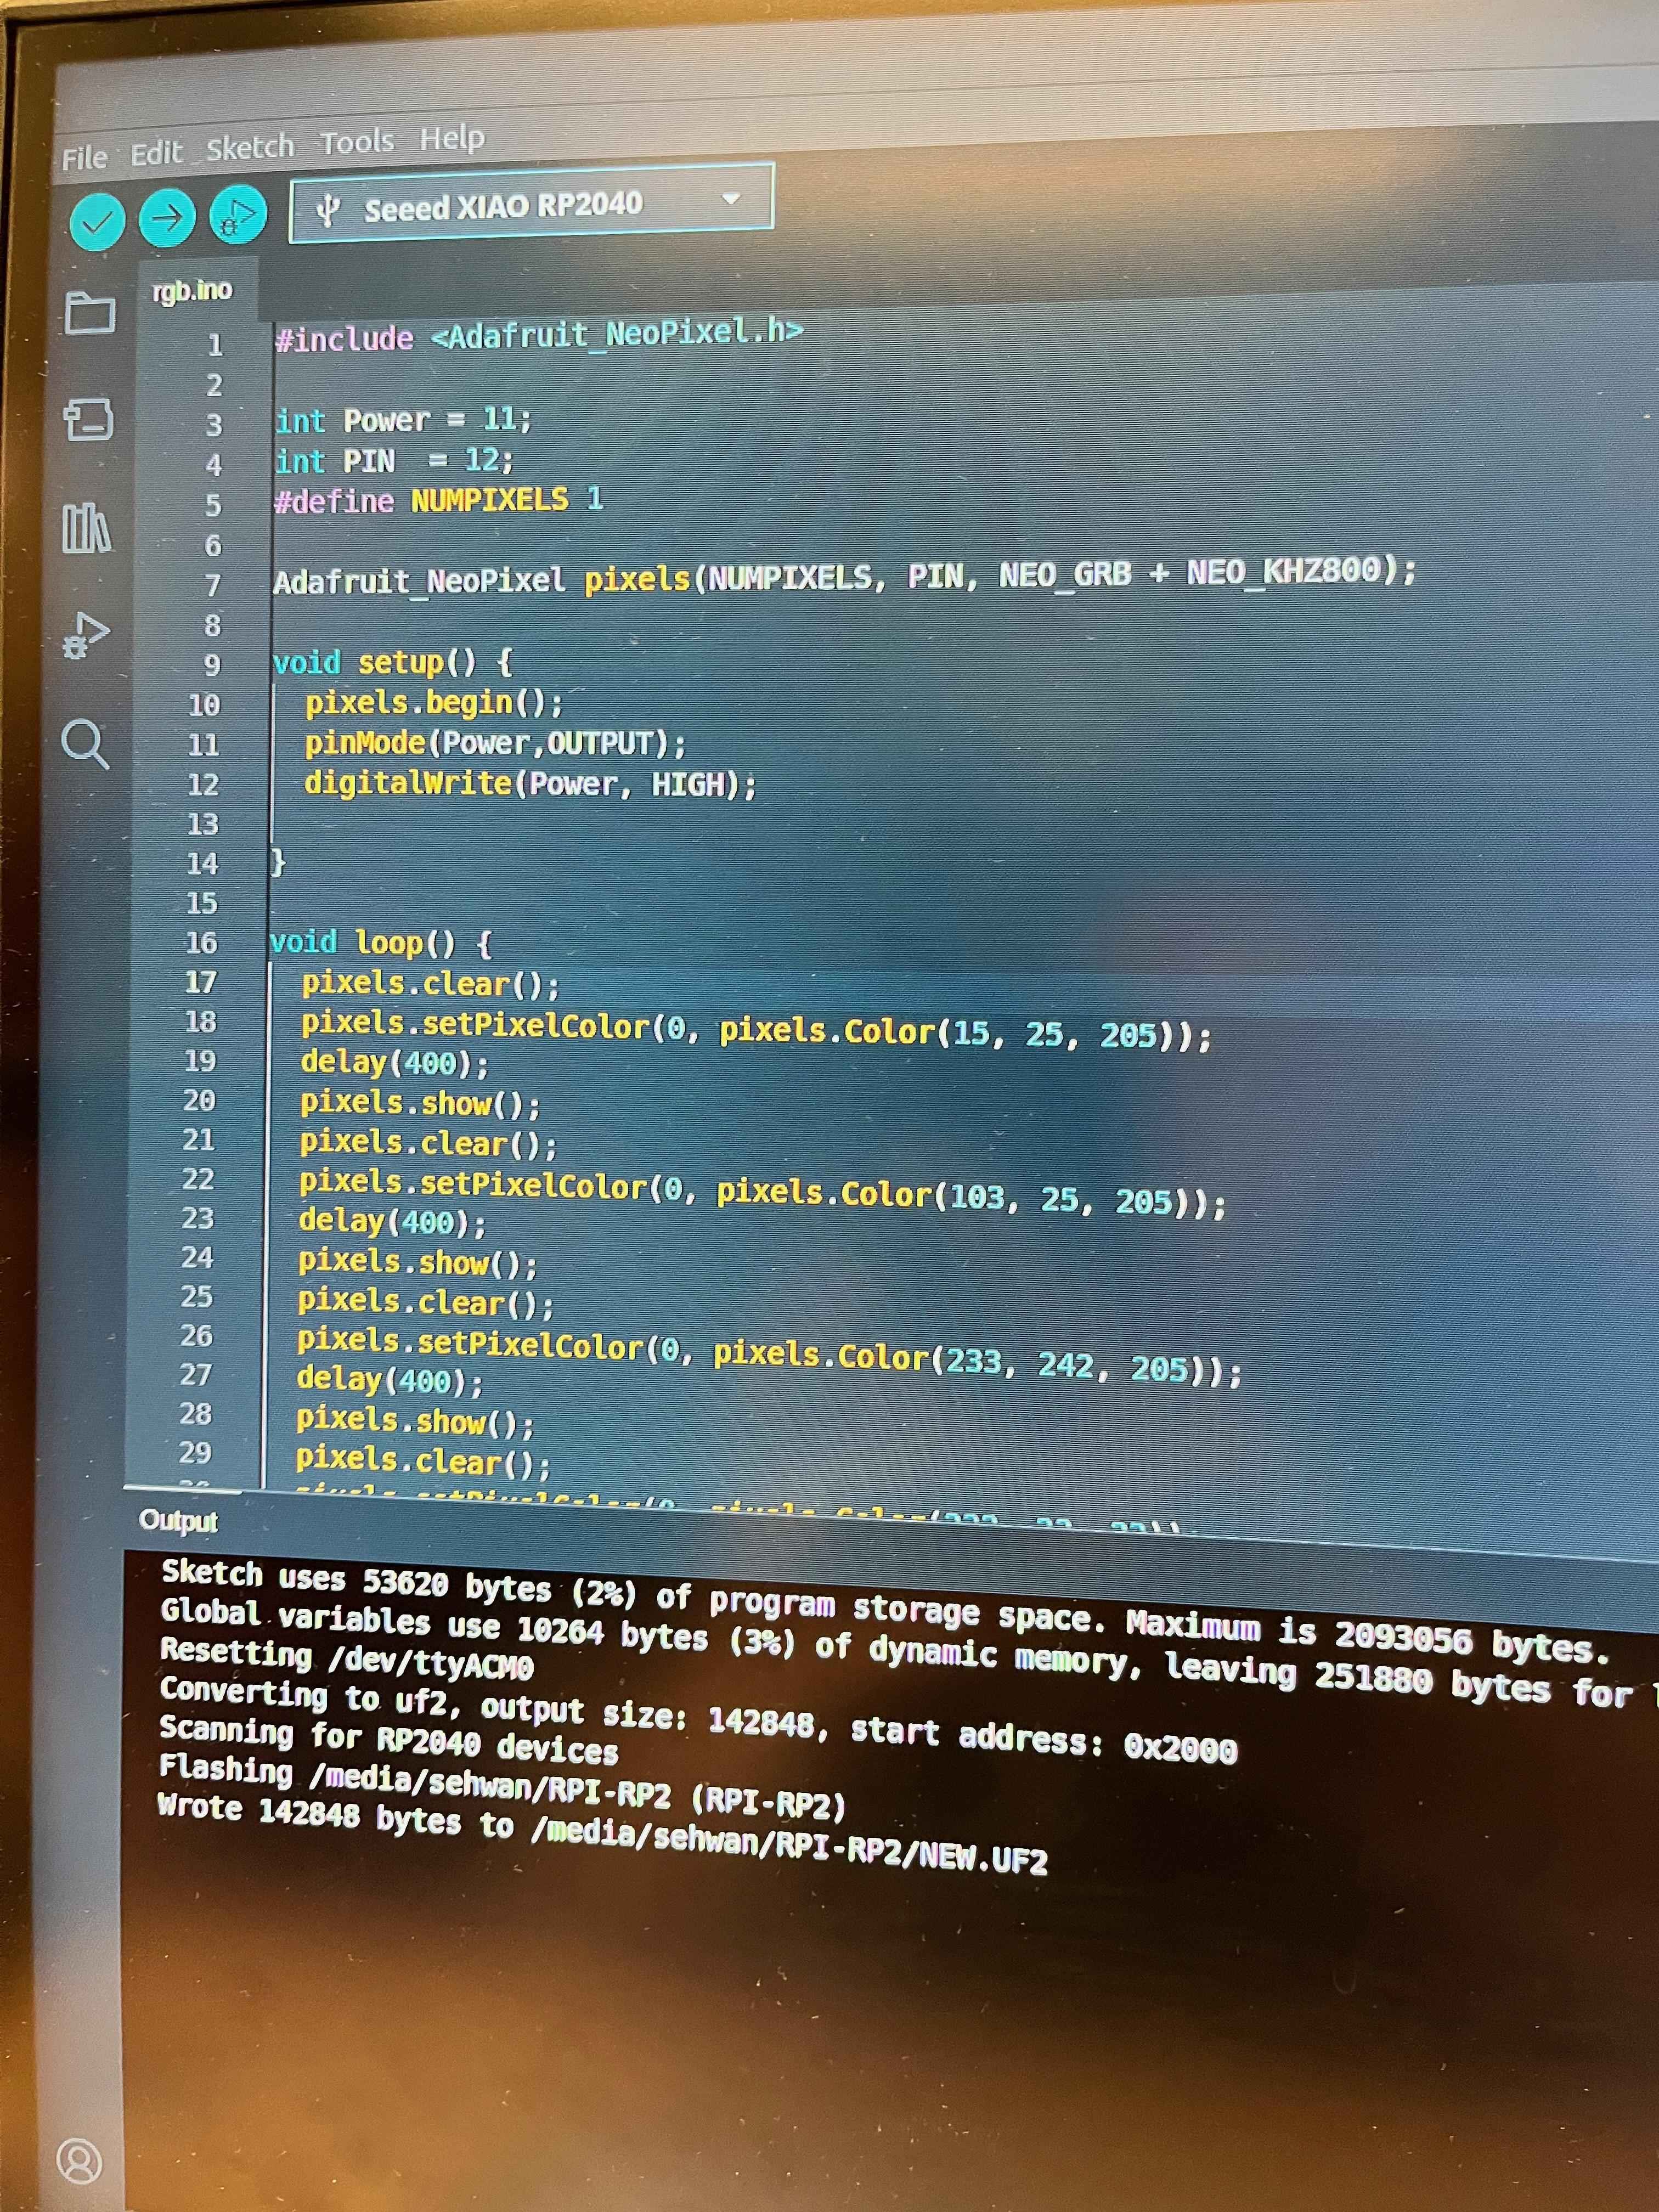
To test the capabilities of the RGB LED on the Xiao, I also loaded the "RGB" example onto the microcontroller and confirmed that the light could change colors.
Finally, I wanted to try interfacing another peripheral with the Xiao. One of my labmates had a time-of-flight (TOF) sensor from a manipulation project our lab is exploring, so I soldered the connections to the Xiao and the TOF sensor, and connected them all up on a breadboard.
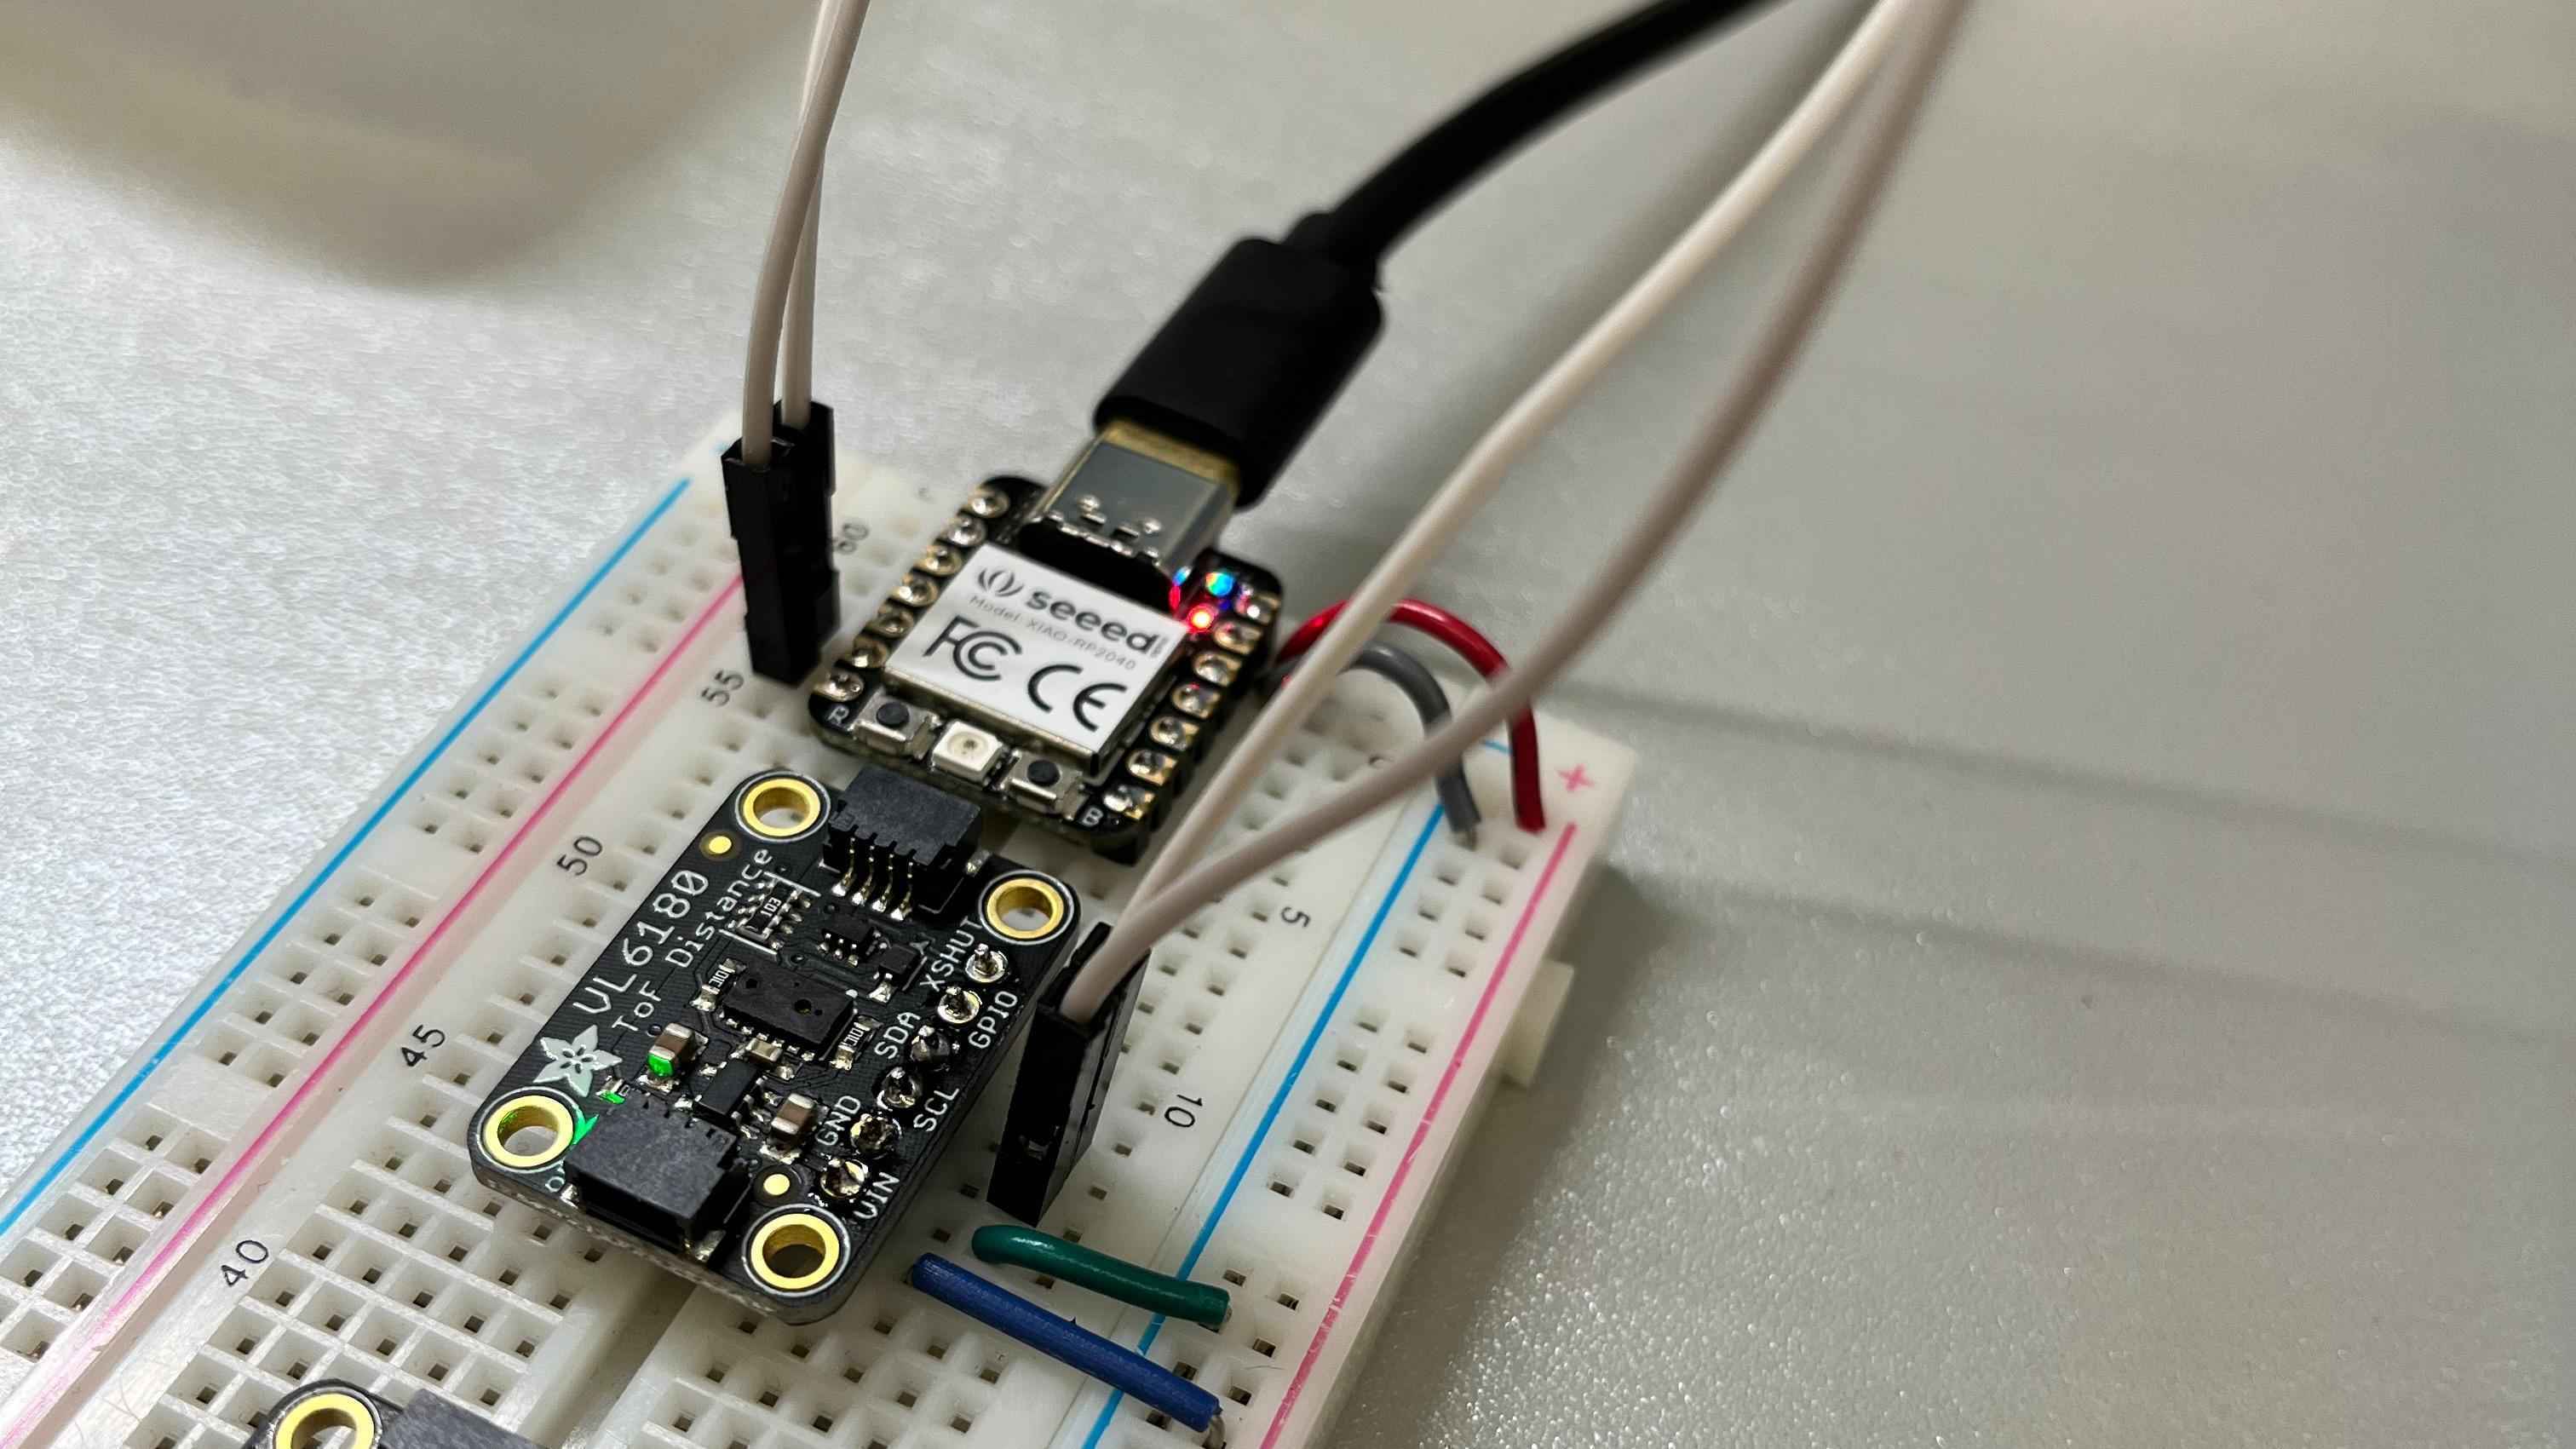
It was my first time soldering since undergrad, and the connections were a bit inconsistent. I also learned about the different communication protocols in embedded systems (SPI, I2C, UART, CAN), and when to use each.
To test my connection with the TOF sensor, I used an example provided by the TOF libraries to confirm with serial printouts that the sensor could detect objects near it.
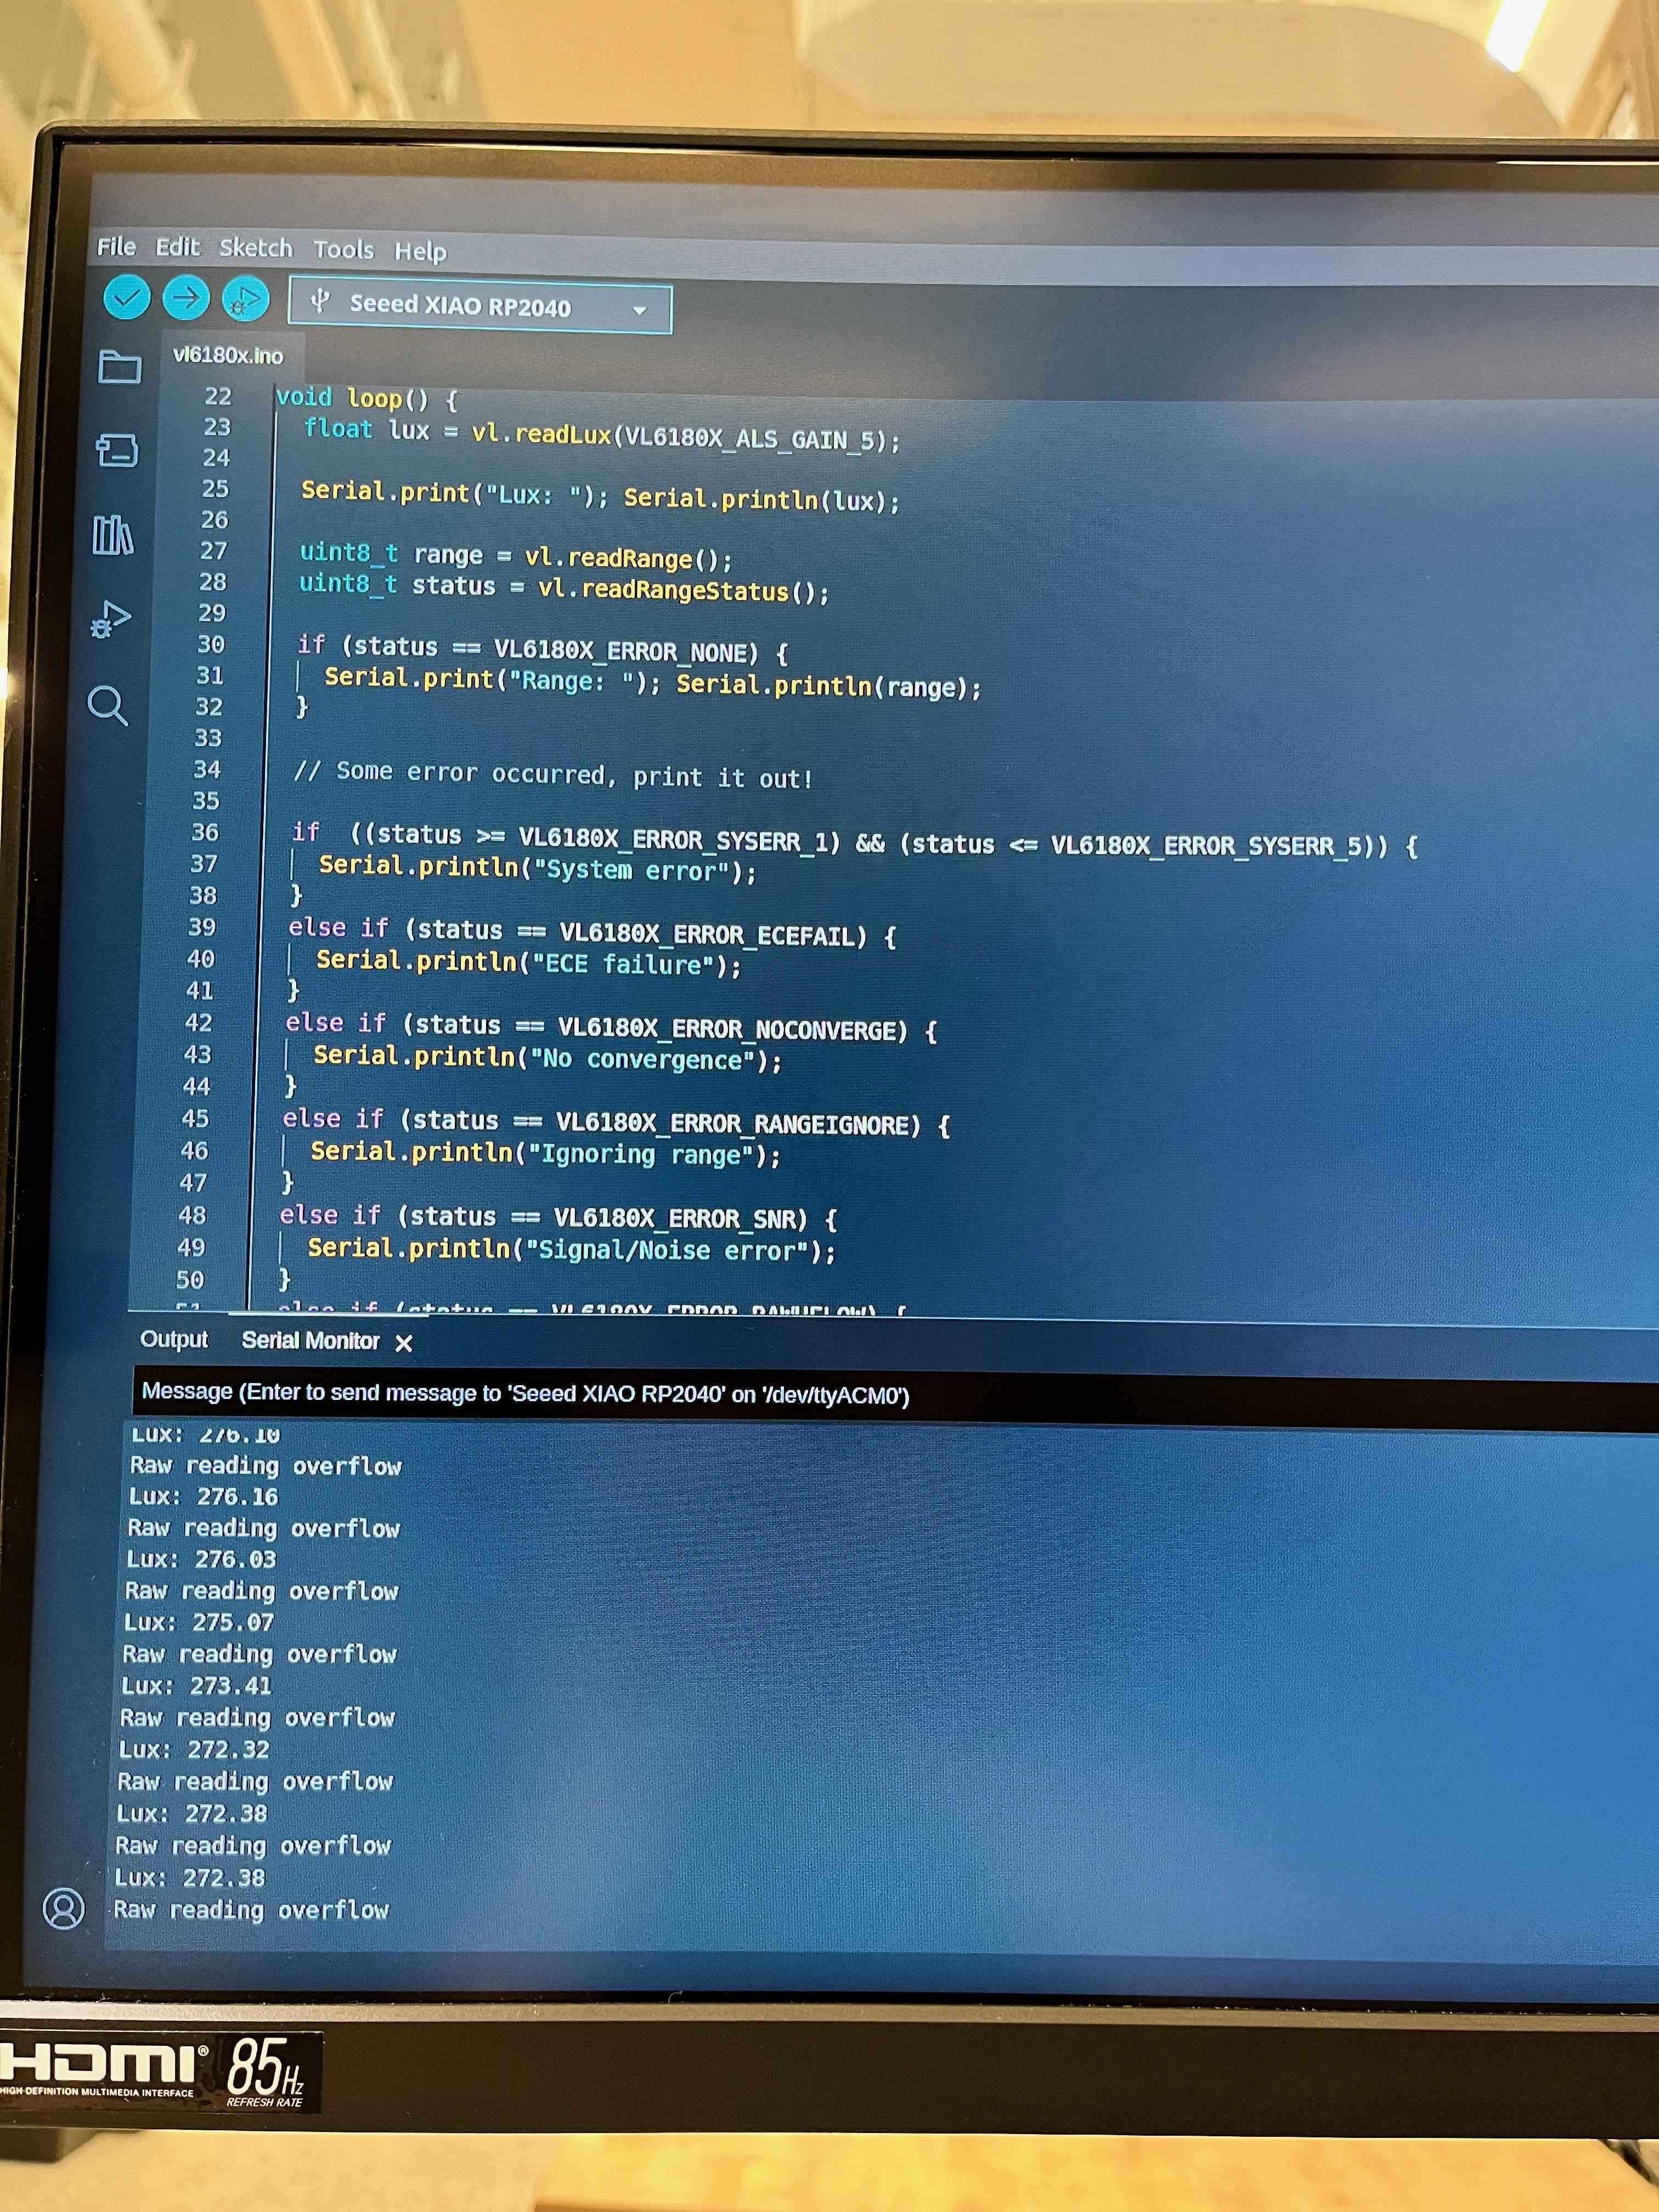
Finally, I combined the RGB code with the TOF code so that the LED would change color when something entered its range and field of view. A video showing the result is below.
I also compared running simple Blink-type programs for the Xiao RP2040s via Thonny and MicroPython. While the Python interface makes it much easier to code, I found it was easier to debug with Arduino serial.