Week 3 - 3D Scanning and Printing
3D Modeling
For Week 3, I really want to do something with programs or AI. Here are the inspiration for my initial ideas:
AI Generated Vase by Valdemar Danry
Generated Chinese Puzzle Ball by Lingdong Huang
However... unlike my predecessors, I do not much coding nor blender experience so I have to get a little creative...
Text to 3D Model Program
I knew I wanted to make some sort of seashell structure because I saw a lot this summer and they really captivated me. From the AI recitation this year, I learned about programs that convert text to 3D model: Dreamfields-3D and ThreeStudio.
I try to get Dreamfields-3D and/or ThreeStudio to work. My MacBook couldn’t run the programs because you need a strong NVIDIA GPU so I went to my PC in my dorm. There were countless error messages and the installation of the program itself took ? hours… Just troubleshooting and waiting.
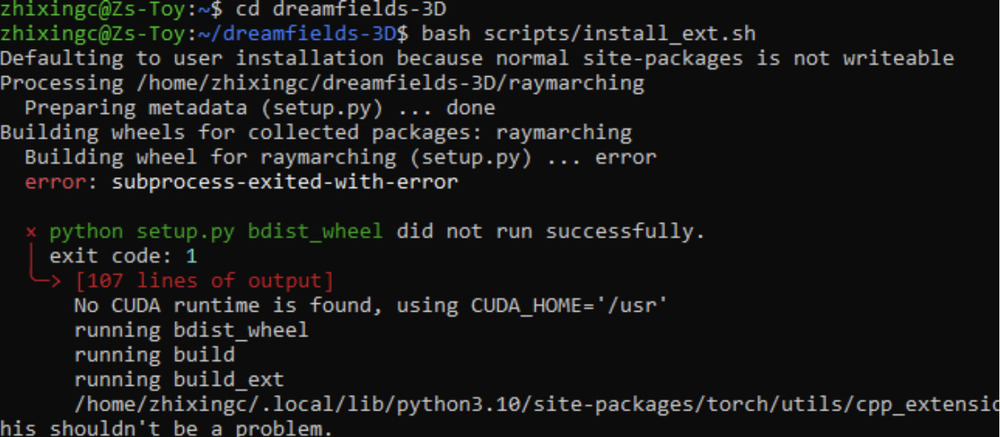
I found a coding pro friend and it seems that the issue is that my cuda was not installed in the right place

Now it found NVCC but not Cuda. It seems that I might have not installed it properly with just sudo apt install nvidia-cuda-toolkit
Then I deleted Cuda, sudo apt remove --purge nvidia-* && sudo apt remove --purge cuda*
I try reinstalling Cuda with a guide on linuxhint and reinstalling NVIDIA
I installed and rebooted but when i checked with lsmod | grep nvidia, it didnt work
All of this spanned two days... finding out what the error was and going through the process to fix each step was so time consuming. Here, I only list the main errors that I spent the most time debugging here. So, I spent two days looking for help while I did my other work and I never got enough help to get the program up and running… time to move on and try something else. So I decided to learn Blender by following Blender Guru’s Donut Blender Tutorial
Blender
Here is the progress I made during my first session (lost track of time but it could have been 4 hours?). I got through about half of the videos and here is my rendered donut using Cycles! In the meantime, I also worked on 3D scanning (details later in the page).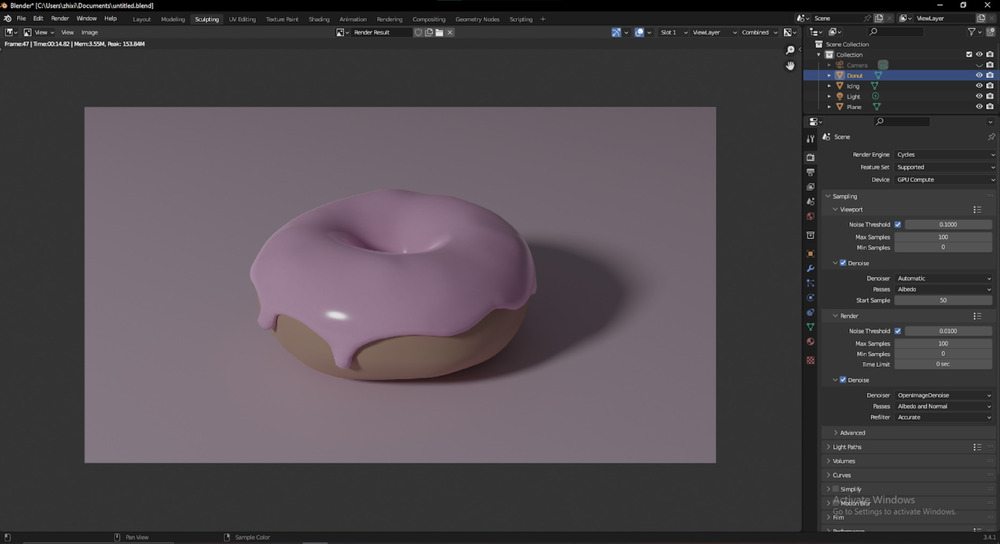
While doing design for my 4.031 class, I went into the rabbit hole of generative design. I suddenly got a YouTube recommendation on drones and my brain put the two together and I finally realized that I can work on a component of my final project (3d printed drone body). Because my time was starting to run out and how I couldn't become a Blender pro in a weekend, I pivoted to generative design.
Generative Design
I found an inspirational page on DIY Drone Design with 3D printers. Then, I followed a tutorial on generative designing a drone chassis. I followed the general idea of the tutorial and decided to build my own shape taking inspiration from this drone.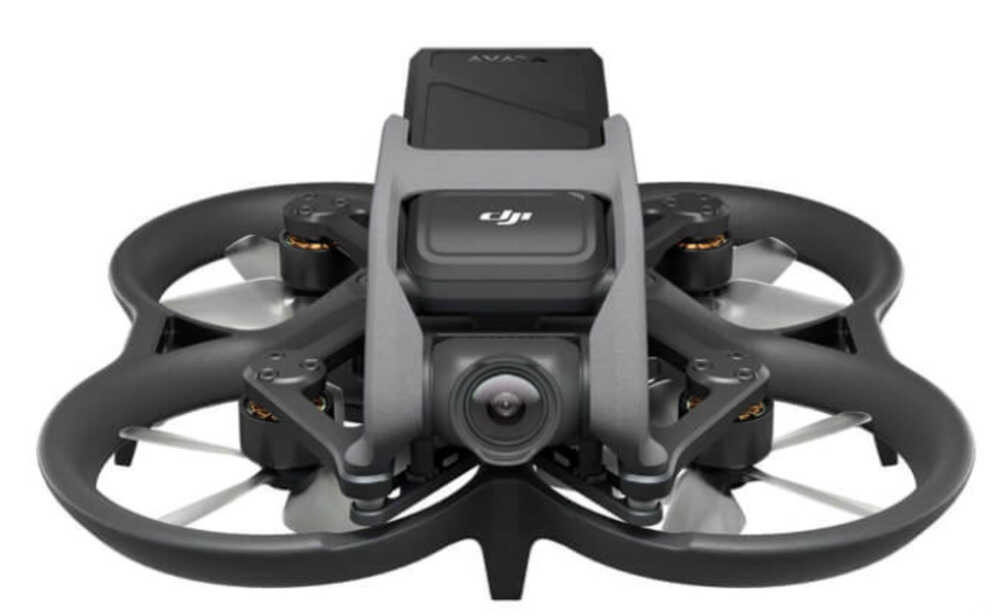
Made a free form of the drone shape and stretched parametrically (parametric design went a lot smoother than Week 1 so I'm happy I got to continue to work on this skill)
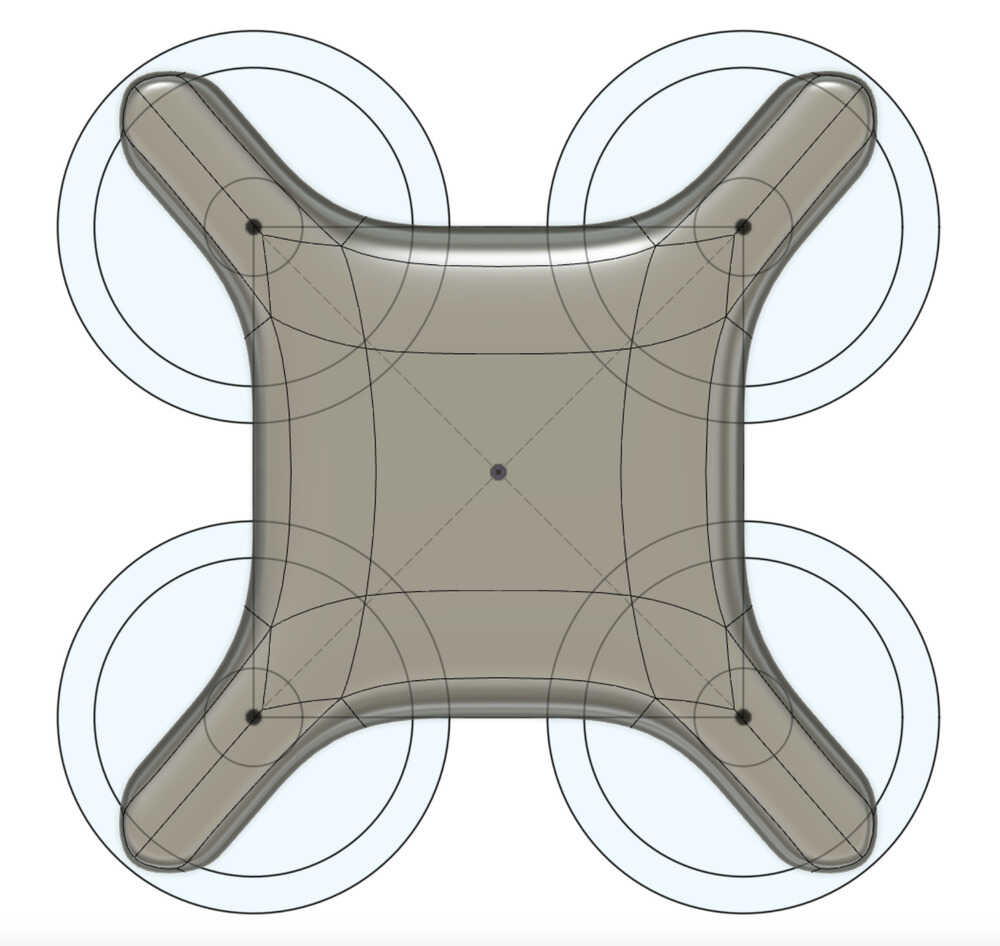
Finished design following steps on the tutorial
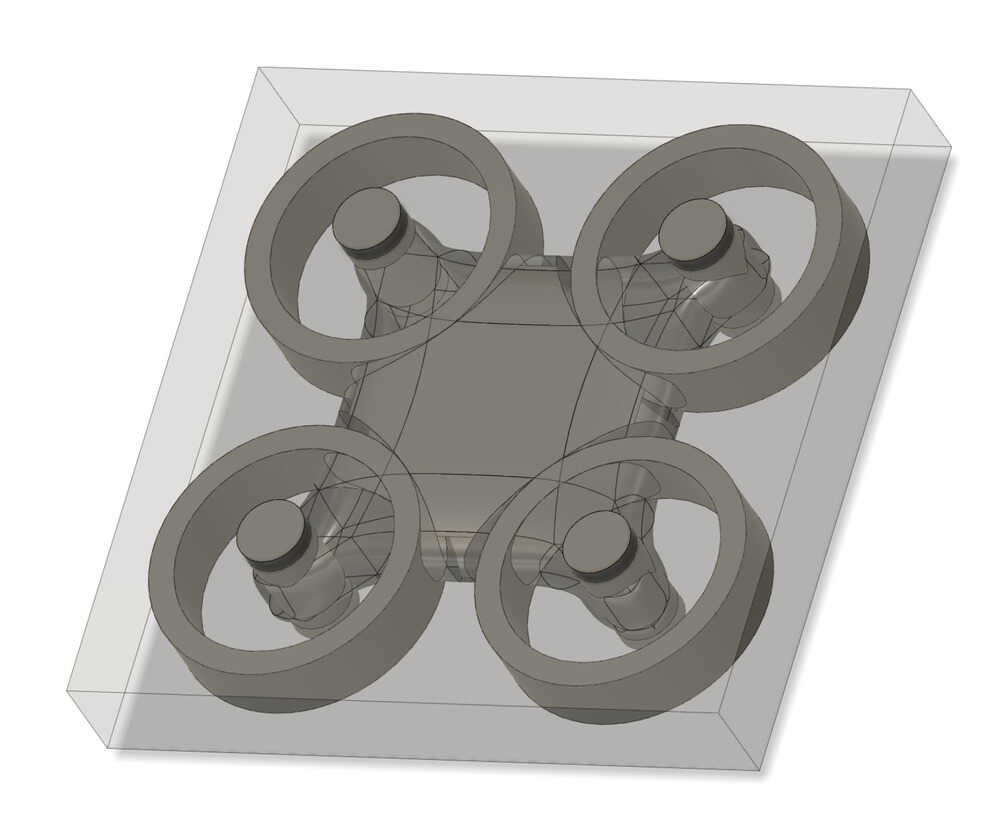
All set up for generation
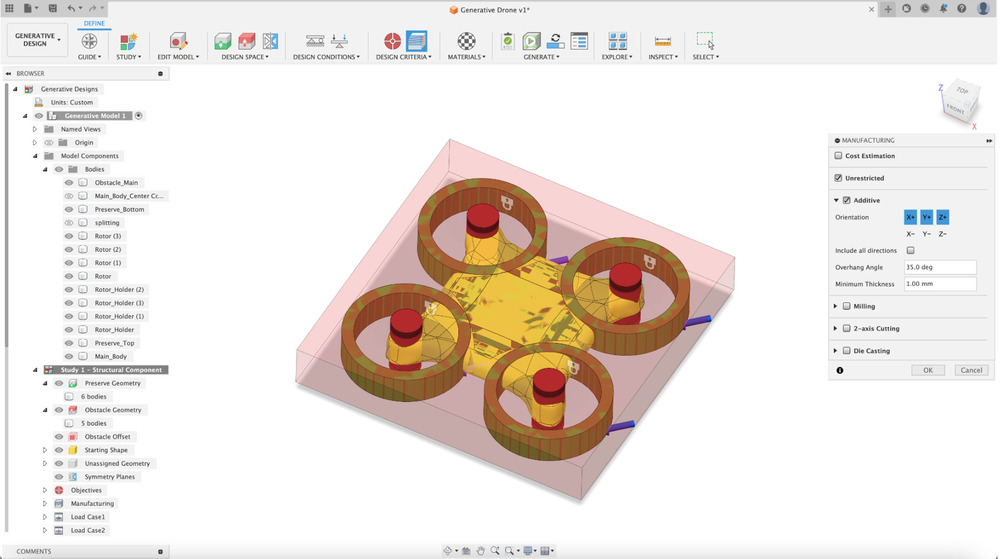
First generative design study did not turn out great :C
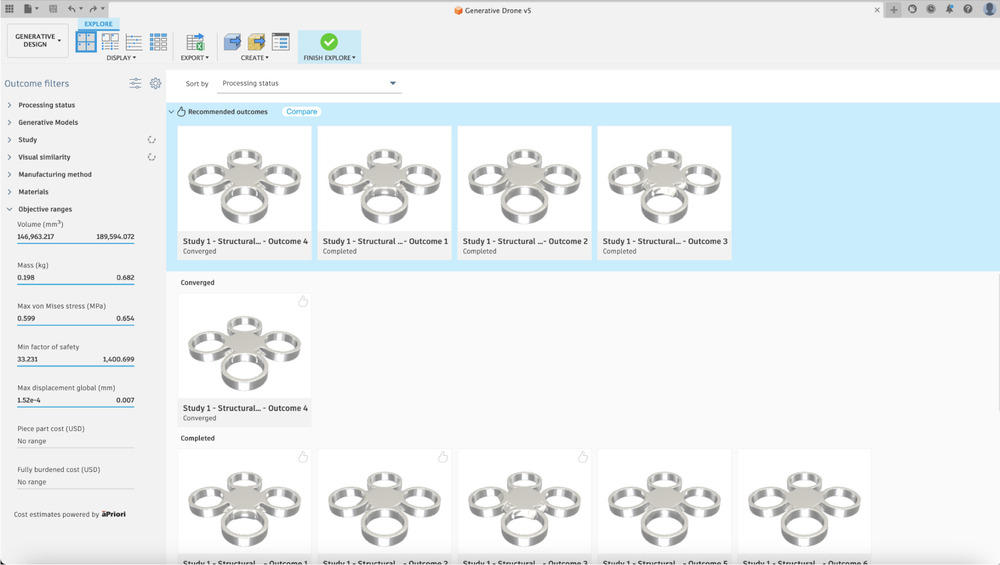
It just looked like a blob in the middle. I think the problem is that the load is not next to the rotor so I tweaked my design.
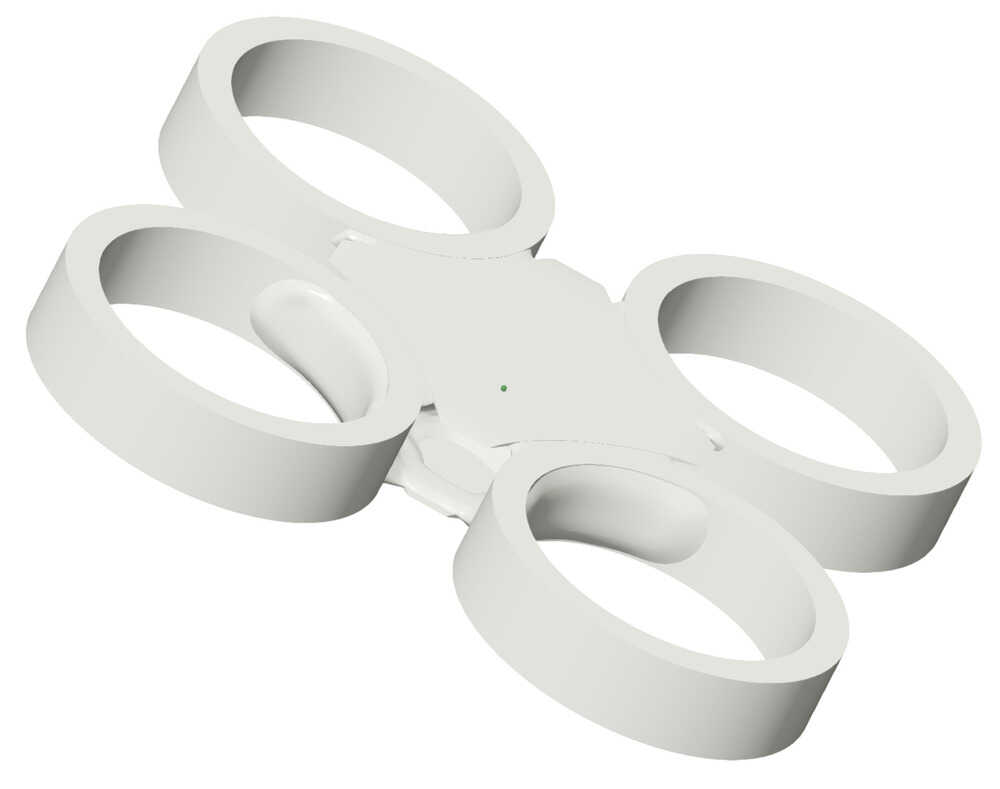
I added smaller rotor holders right next to the rotor (made the rotor smaller)
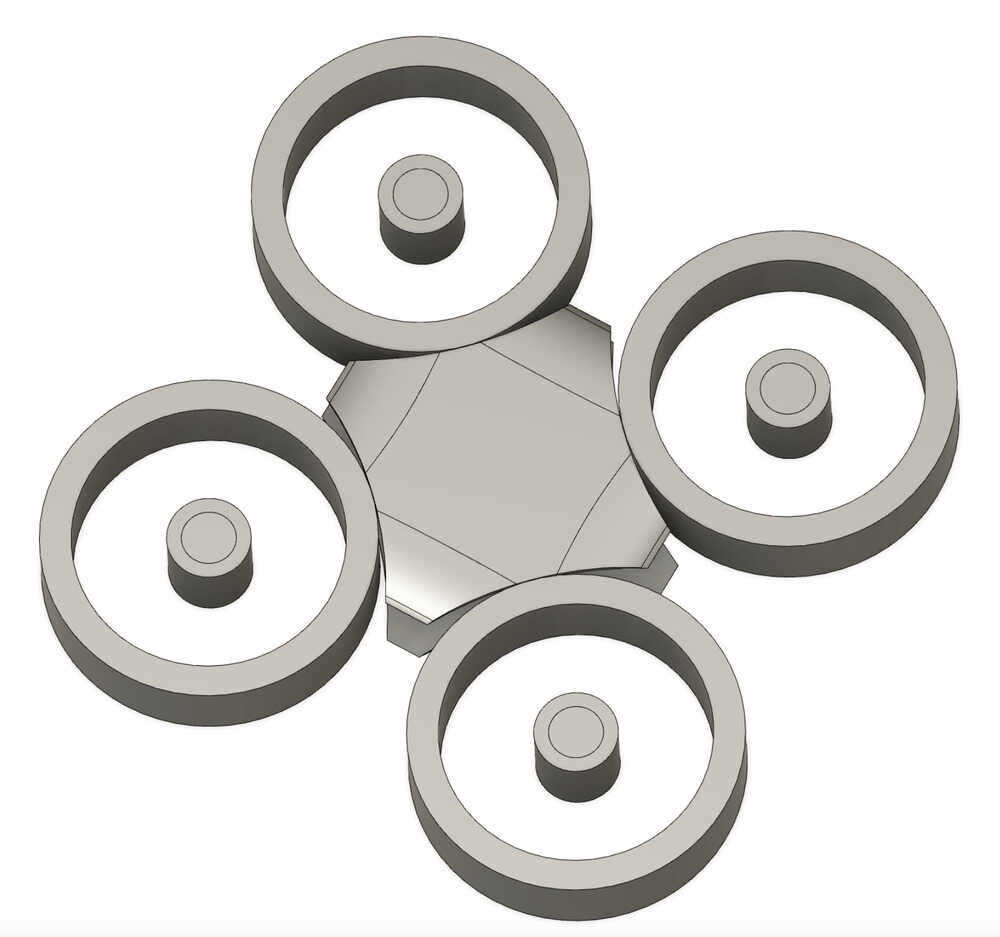
Also made another design by making the middle piece smaller.
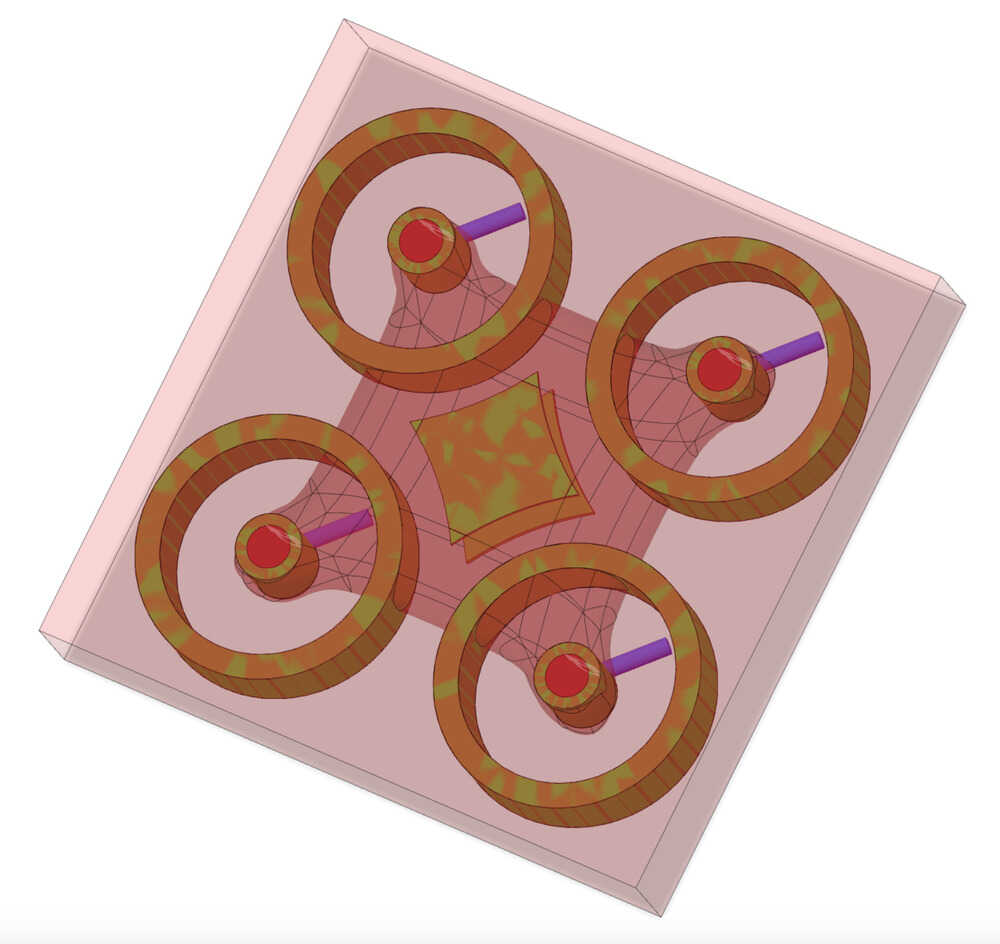
In the end, because I did not follow the tutorial completely, my design ended up not looking like what I hoped for. I’m running out of time now. I went back to the drawing board and really need to get something done. I found app.alpha3d.ioand is an online text to 3d model tool. Dreamfields 3D didn’t work for me but maybe this does? I get 50 credits for free in the beginning and each model generates in a few minutes. I was able to play with it for a bit and actually got something cool! Wow I really came a full circle...
Text to 3D Model Program
After a few runs, I was able to generate a coral/seashell design from the input: Spiral Sea Shell Coral. The design came out as a GLB file so I used a converter.The whole process to get the 3d model on my page was actually super simple. I followed the instructions on this tutorial
At first, I kept getting an error: Access to fetch at 'file:///Users/zhixingchen/Desktop/htmaa/archsite/people/Zhixing/assets/3dobjects/spiral%20sea%20shell%20coral.glb' from origin 'null' has been blocked by CORS policy: Cross origin requests are only supported for protocol schemes: http, data, isolated-app, chrome-extension, chrome, https, chrome-untrusted. This was fixed by pushing my files to GitLab and opening the webpage online.
3D Printing
Characterizing my Bambu Lab X1-Carbon Combo 3D Printer
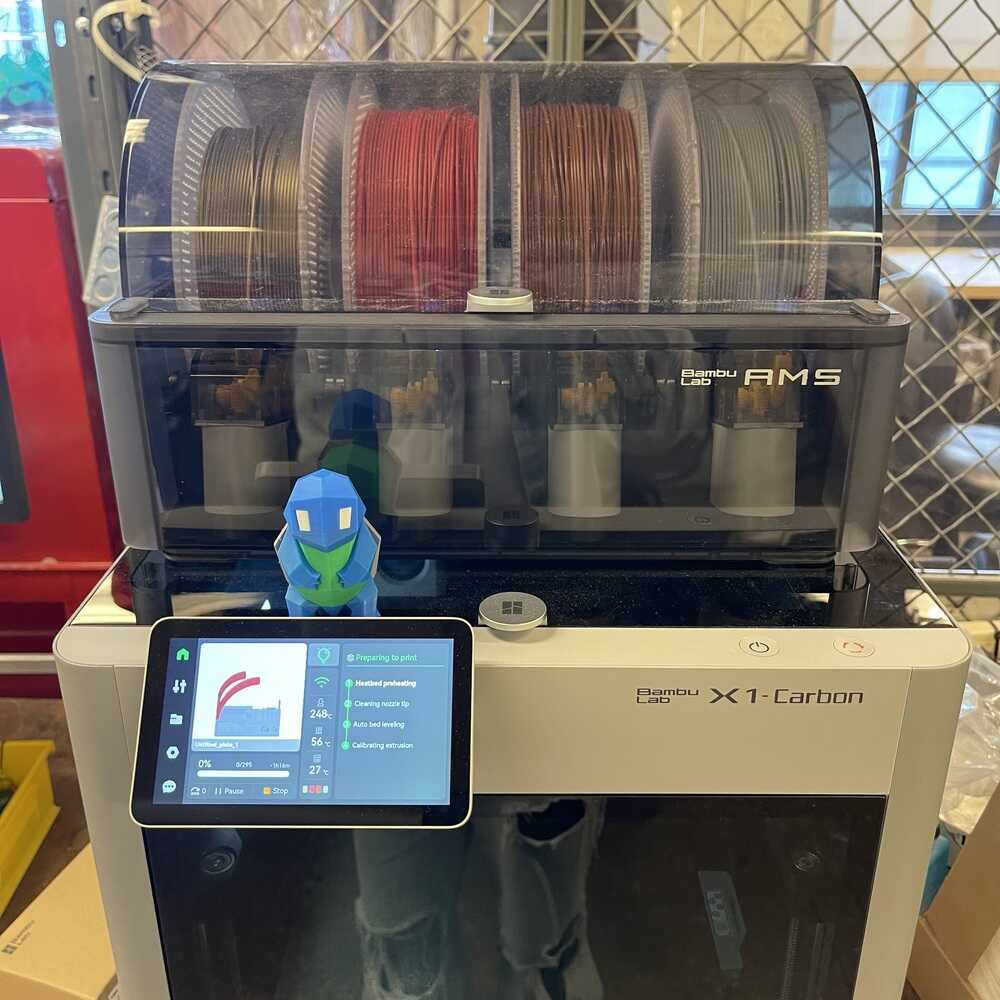
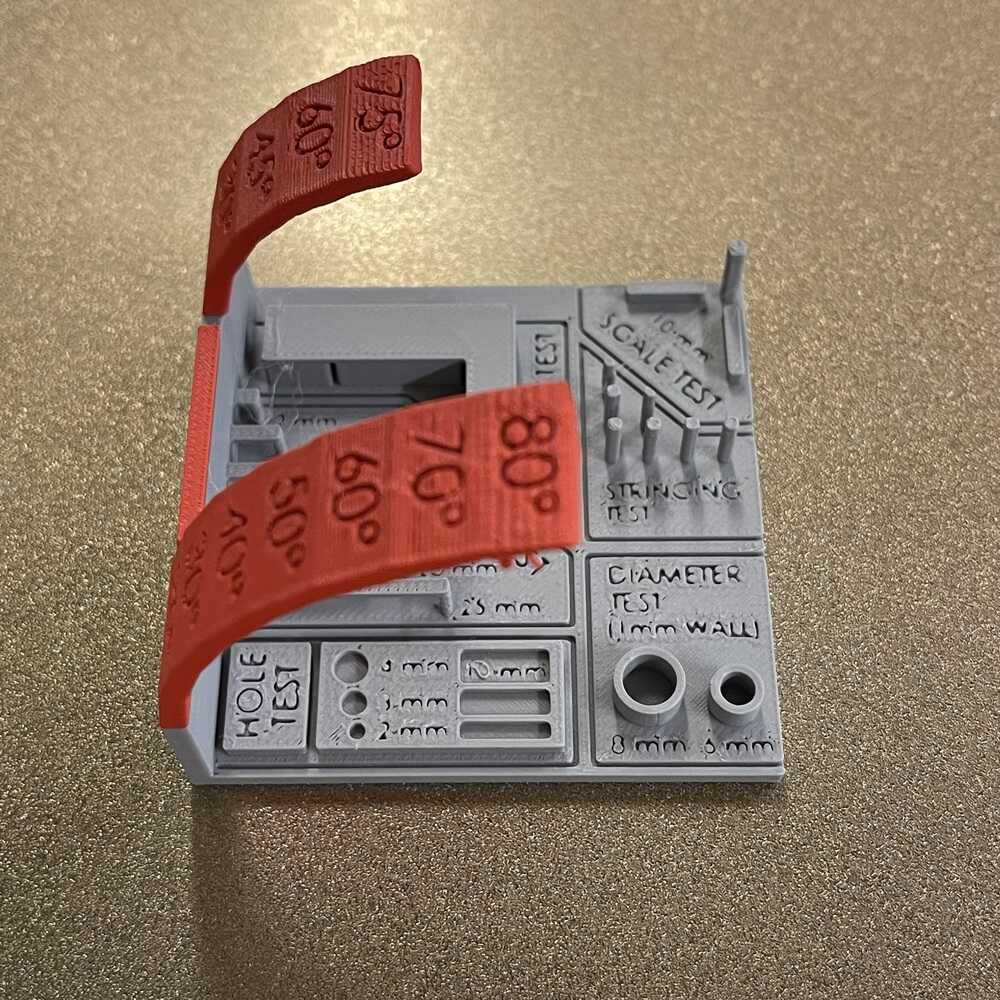
To better understand my 3D printer, I print a test design from Thingiverse. The all-in-one test pushes the limits of the 3D printer to quantify the constraints in its printing capabilities. The test turned out great and the Bambu slicer interface was easy to use. I also tested the multicolor printing funcationality of Bambu.
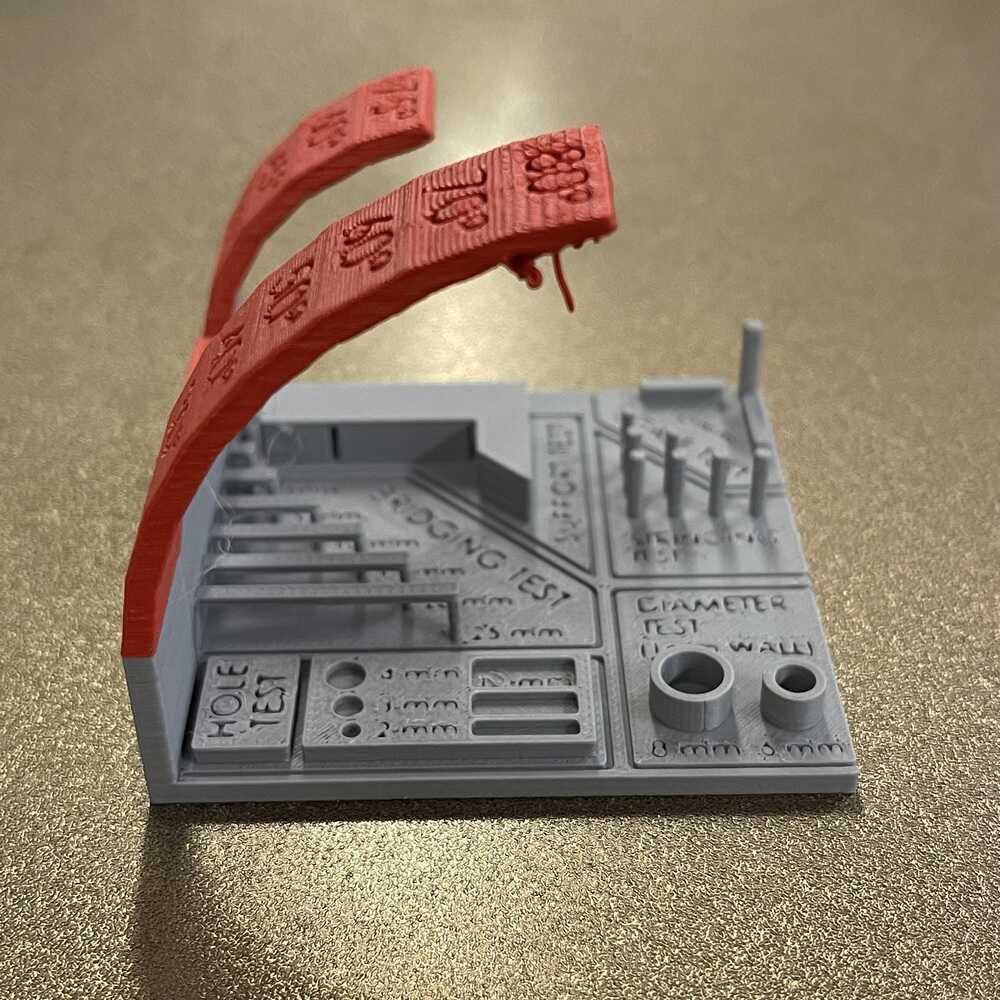
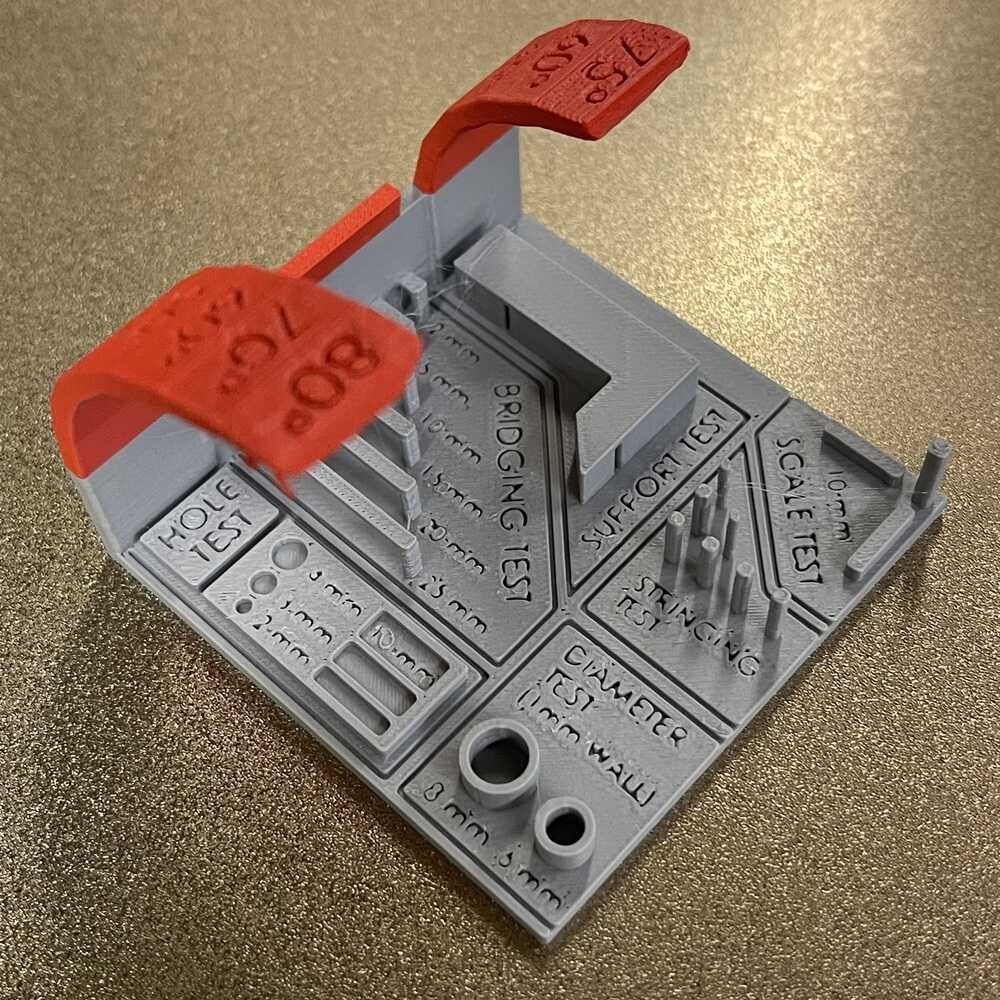
This video is not sped up, you can really see how fast the Bambu goes.
3D Scanning
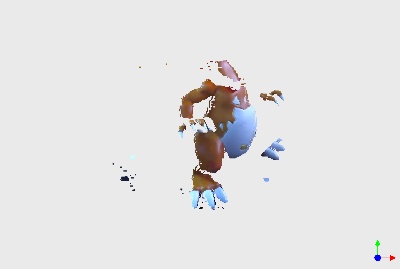
1st Scan: Gigantamax Charizard Model
My first ever 3D scan did not go so well but it was fun. I learned that 3D scanners are not good with transparent or shiny things, which is exactly the material the wings (and fire) of my Charizard model is made off. Because of that, the scanner was not able to pick up a lot of the detail.
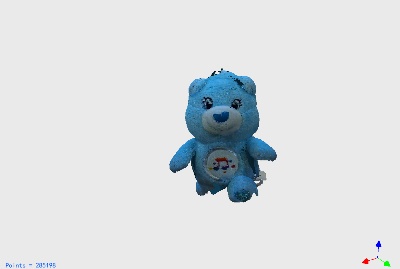
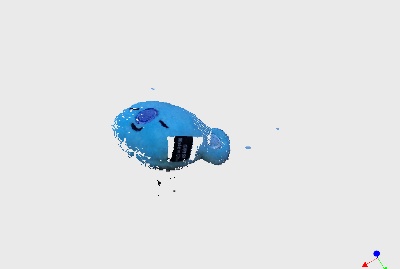
2nd Scan: Small Carebear
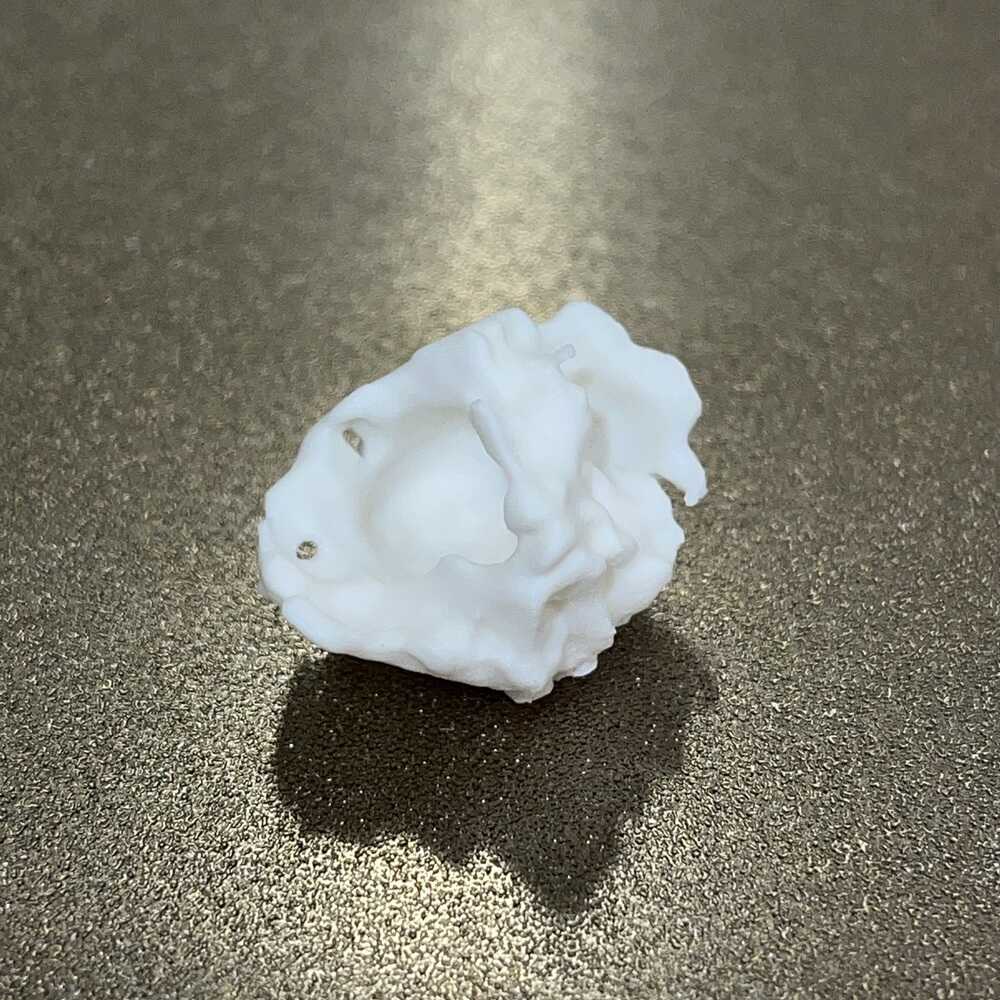
I just have a lot of random cute things. The problem with my carebear was that it was floppy and wouldn't stay in place so it was difficult to get all the angles without it moving or moving it.
3rd Scan: Koya Model
Found another small object. I learned from the first two and this time it was shiny, transparent, or floppy. This model turned out the best but I was still not able to get the bottom of it. Next time I can try hanging it up to get all 360 degrees.
4th Scan: Me
You can see a 3D model of me in the Home Page! This was my fourth scan, which happened a few days later than my first three. I could not get access to the 3D scanner in the Arch Shop but I bumped into one of my past TAs, Susan Williams, who was doing her thesis project on my way out. She suggested the app PolyCam and I was able to get a friend to 3D scan me using the photo mode! Also I used the free trial. The actual service costs about $100 a year.
Week 3 Final Thoughts
Overall, Week 3 for big for me in terms of design. Because I have 3D printing experience, I really focused on different methods of 3D modeling. I introduced myself to 3D modeling with AI, modeling in Blender, and generative modeling in Fusion360. Thinking back on it, I am kind of happy the first text to 3D model program did not work for me. Through this, I was able to take my first steps into Blender and generative design. I eventually got back to AI but I'm happy I was able to learn different tools along the way that will definitely revisit in the future!