Week 02
Vinal and Laser Cutter Fabrication
This week we were tasked to utilize the vinal cutter to make anything, and the laser cutter to make a kit meant to be assembled with press joints. Both of these tools only operate in two dimension; however, they are both incredibly versitile. For example, in the vinal cutter one can simply cut out sticker, but also cut screen printing masks, sand blasting masks, fabric patters and more. For my project, I started by cutting a sticker. Initially I was given a design by a friend - they wanted me to cut out the logo for their lab. I imported the logo into adobe illustrator, editted it and saved it as a PNG. (The vinal cutter will accept a PNG or SVG file type). For more precision projects, you can model the work in CAD and save it as a DXF, only to import into illustrator and save as a PNG.
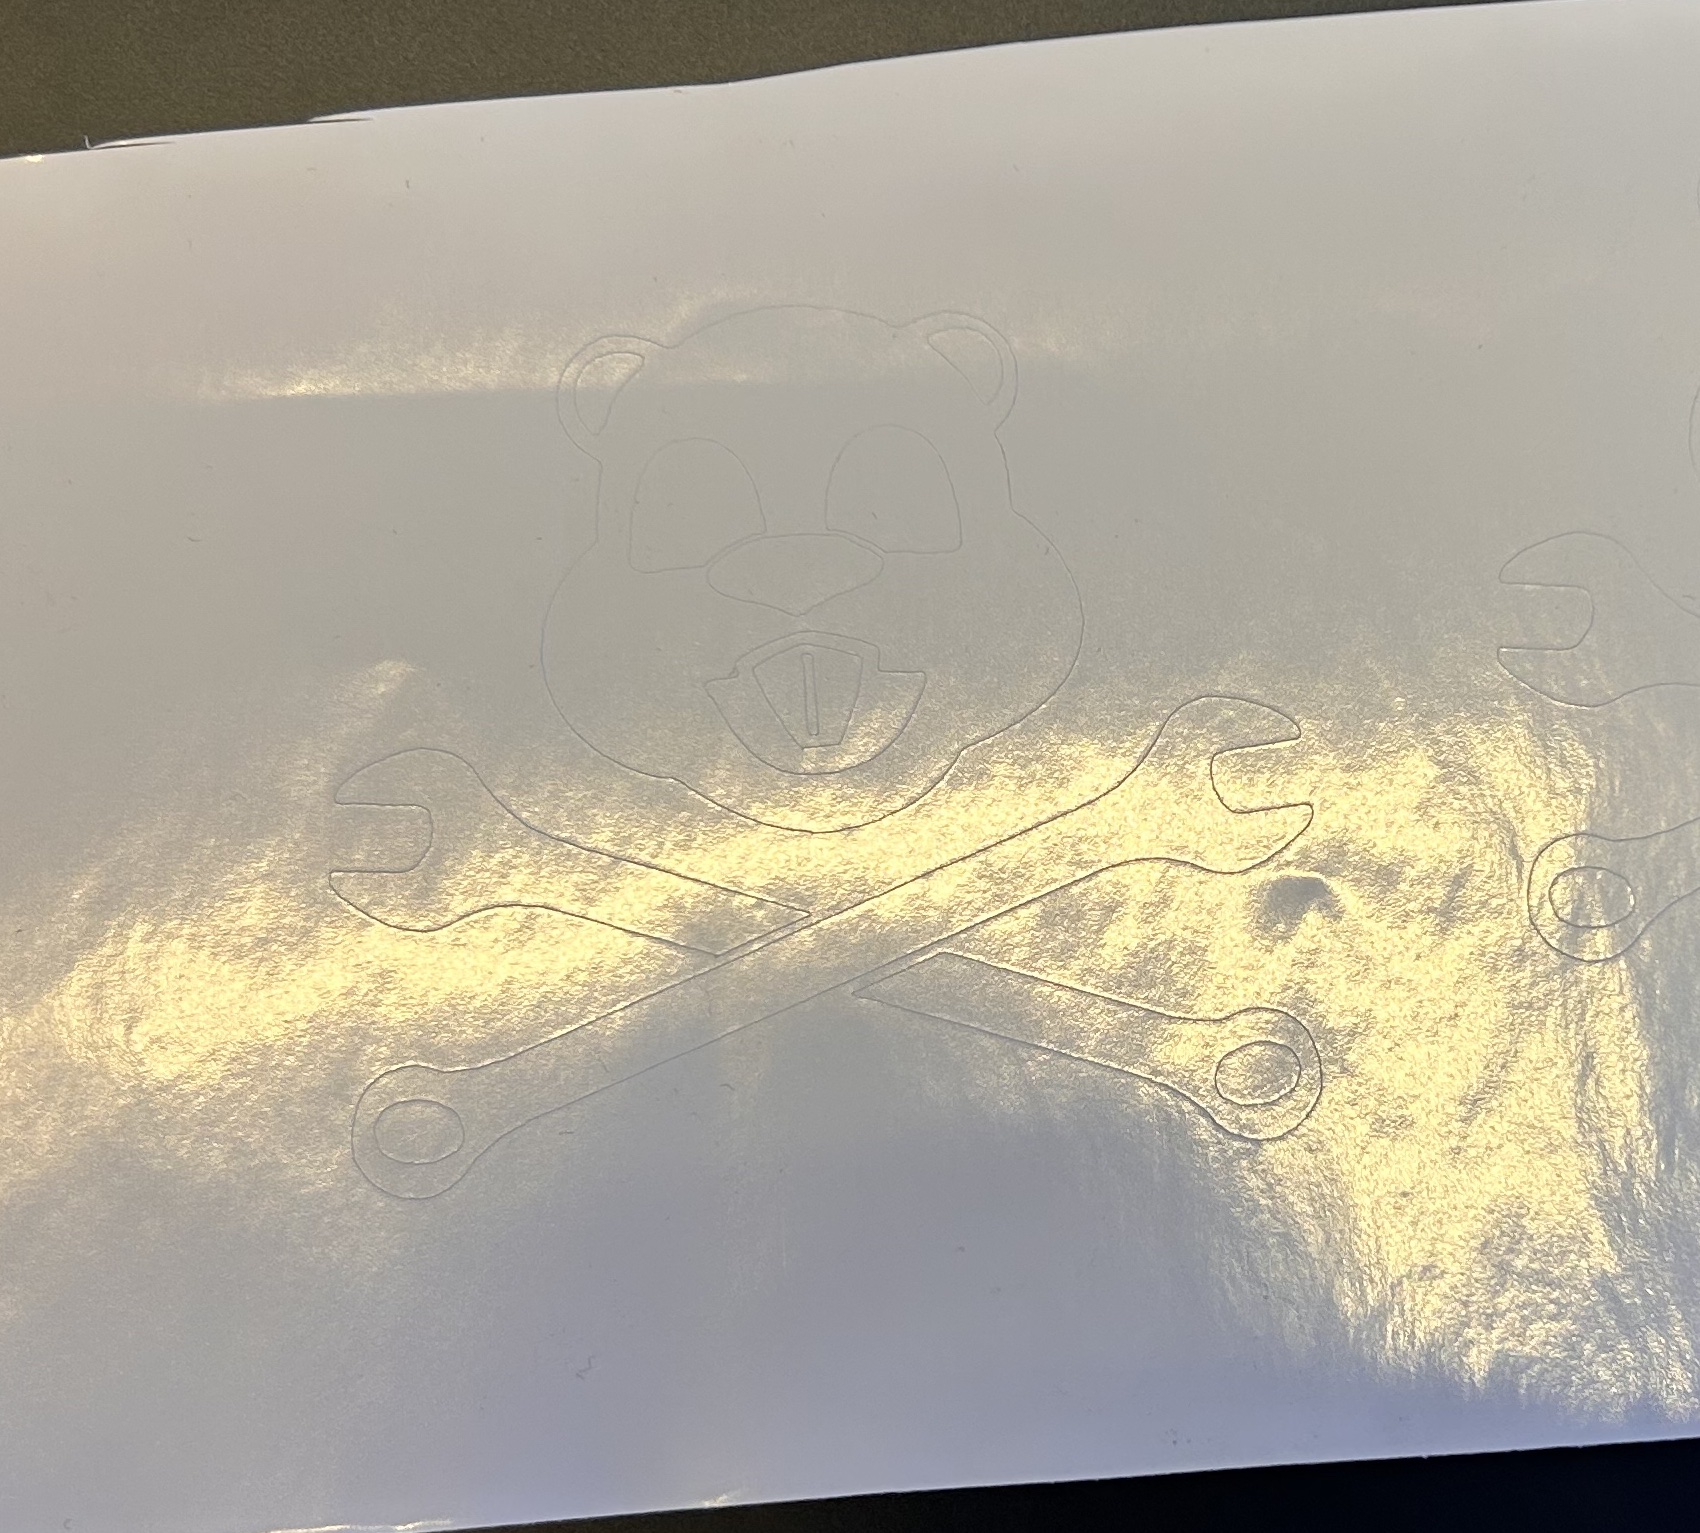 The Jolly Beaver on a waterbottle.
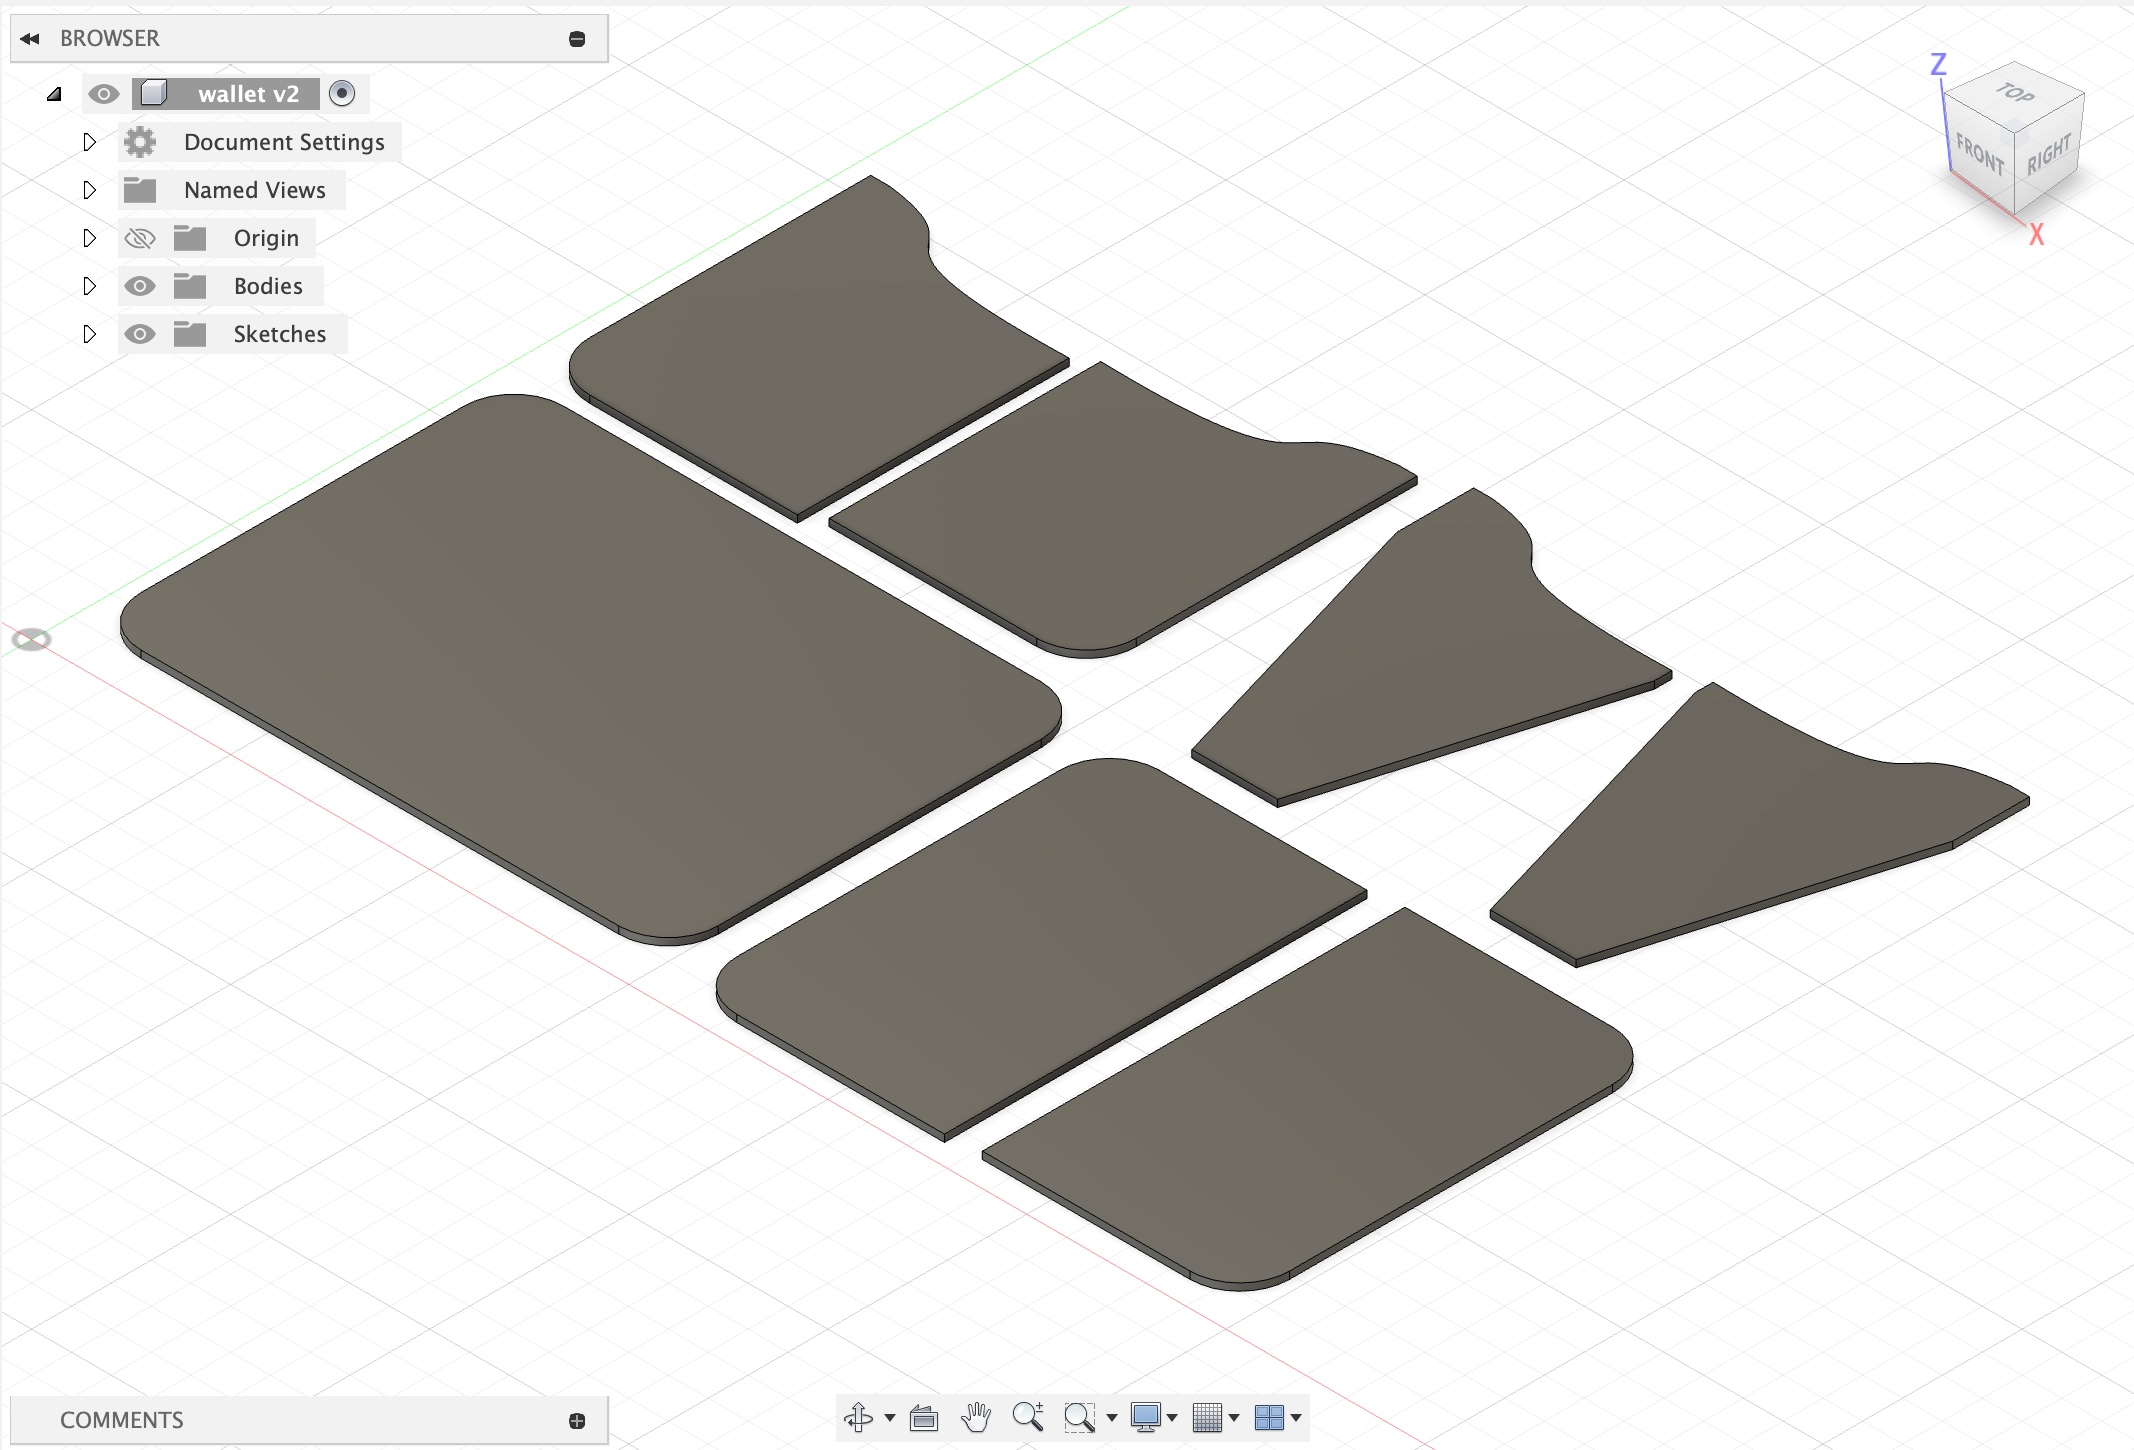
I also decided to try and build a wallet - the CAD file is show below. For this project, I researched lots of different wallets for design ideas and size references. Once I picked out a shape, I drew it in fusion360 as a new sketch. I then extruded the shapes and exported the file as a .dxf. I bought some 3oz leather online, which is about 1.5-3 mm thick and thought that I would use it on the laser cutter; however, I quickly learned that a lot of leather has been made with caustic chemicals and this was a bad idea. I decided to use the vinal cutter. First, I made some test cuts to dial in the settings, but ultimately decided to use the standard settings that the EDS shop uses for vinal. The leather was too thick to cut all the way through, and with a cut line drawn by the machine, I could follow it with a exacto knife.
 |
|---|
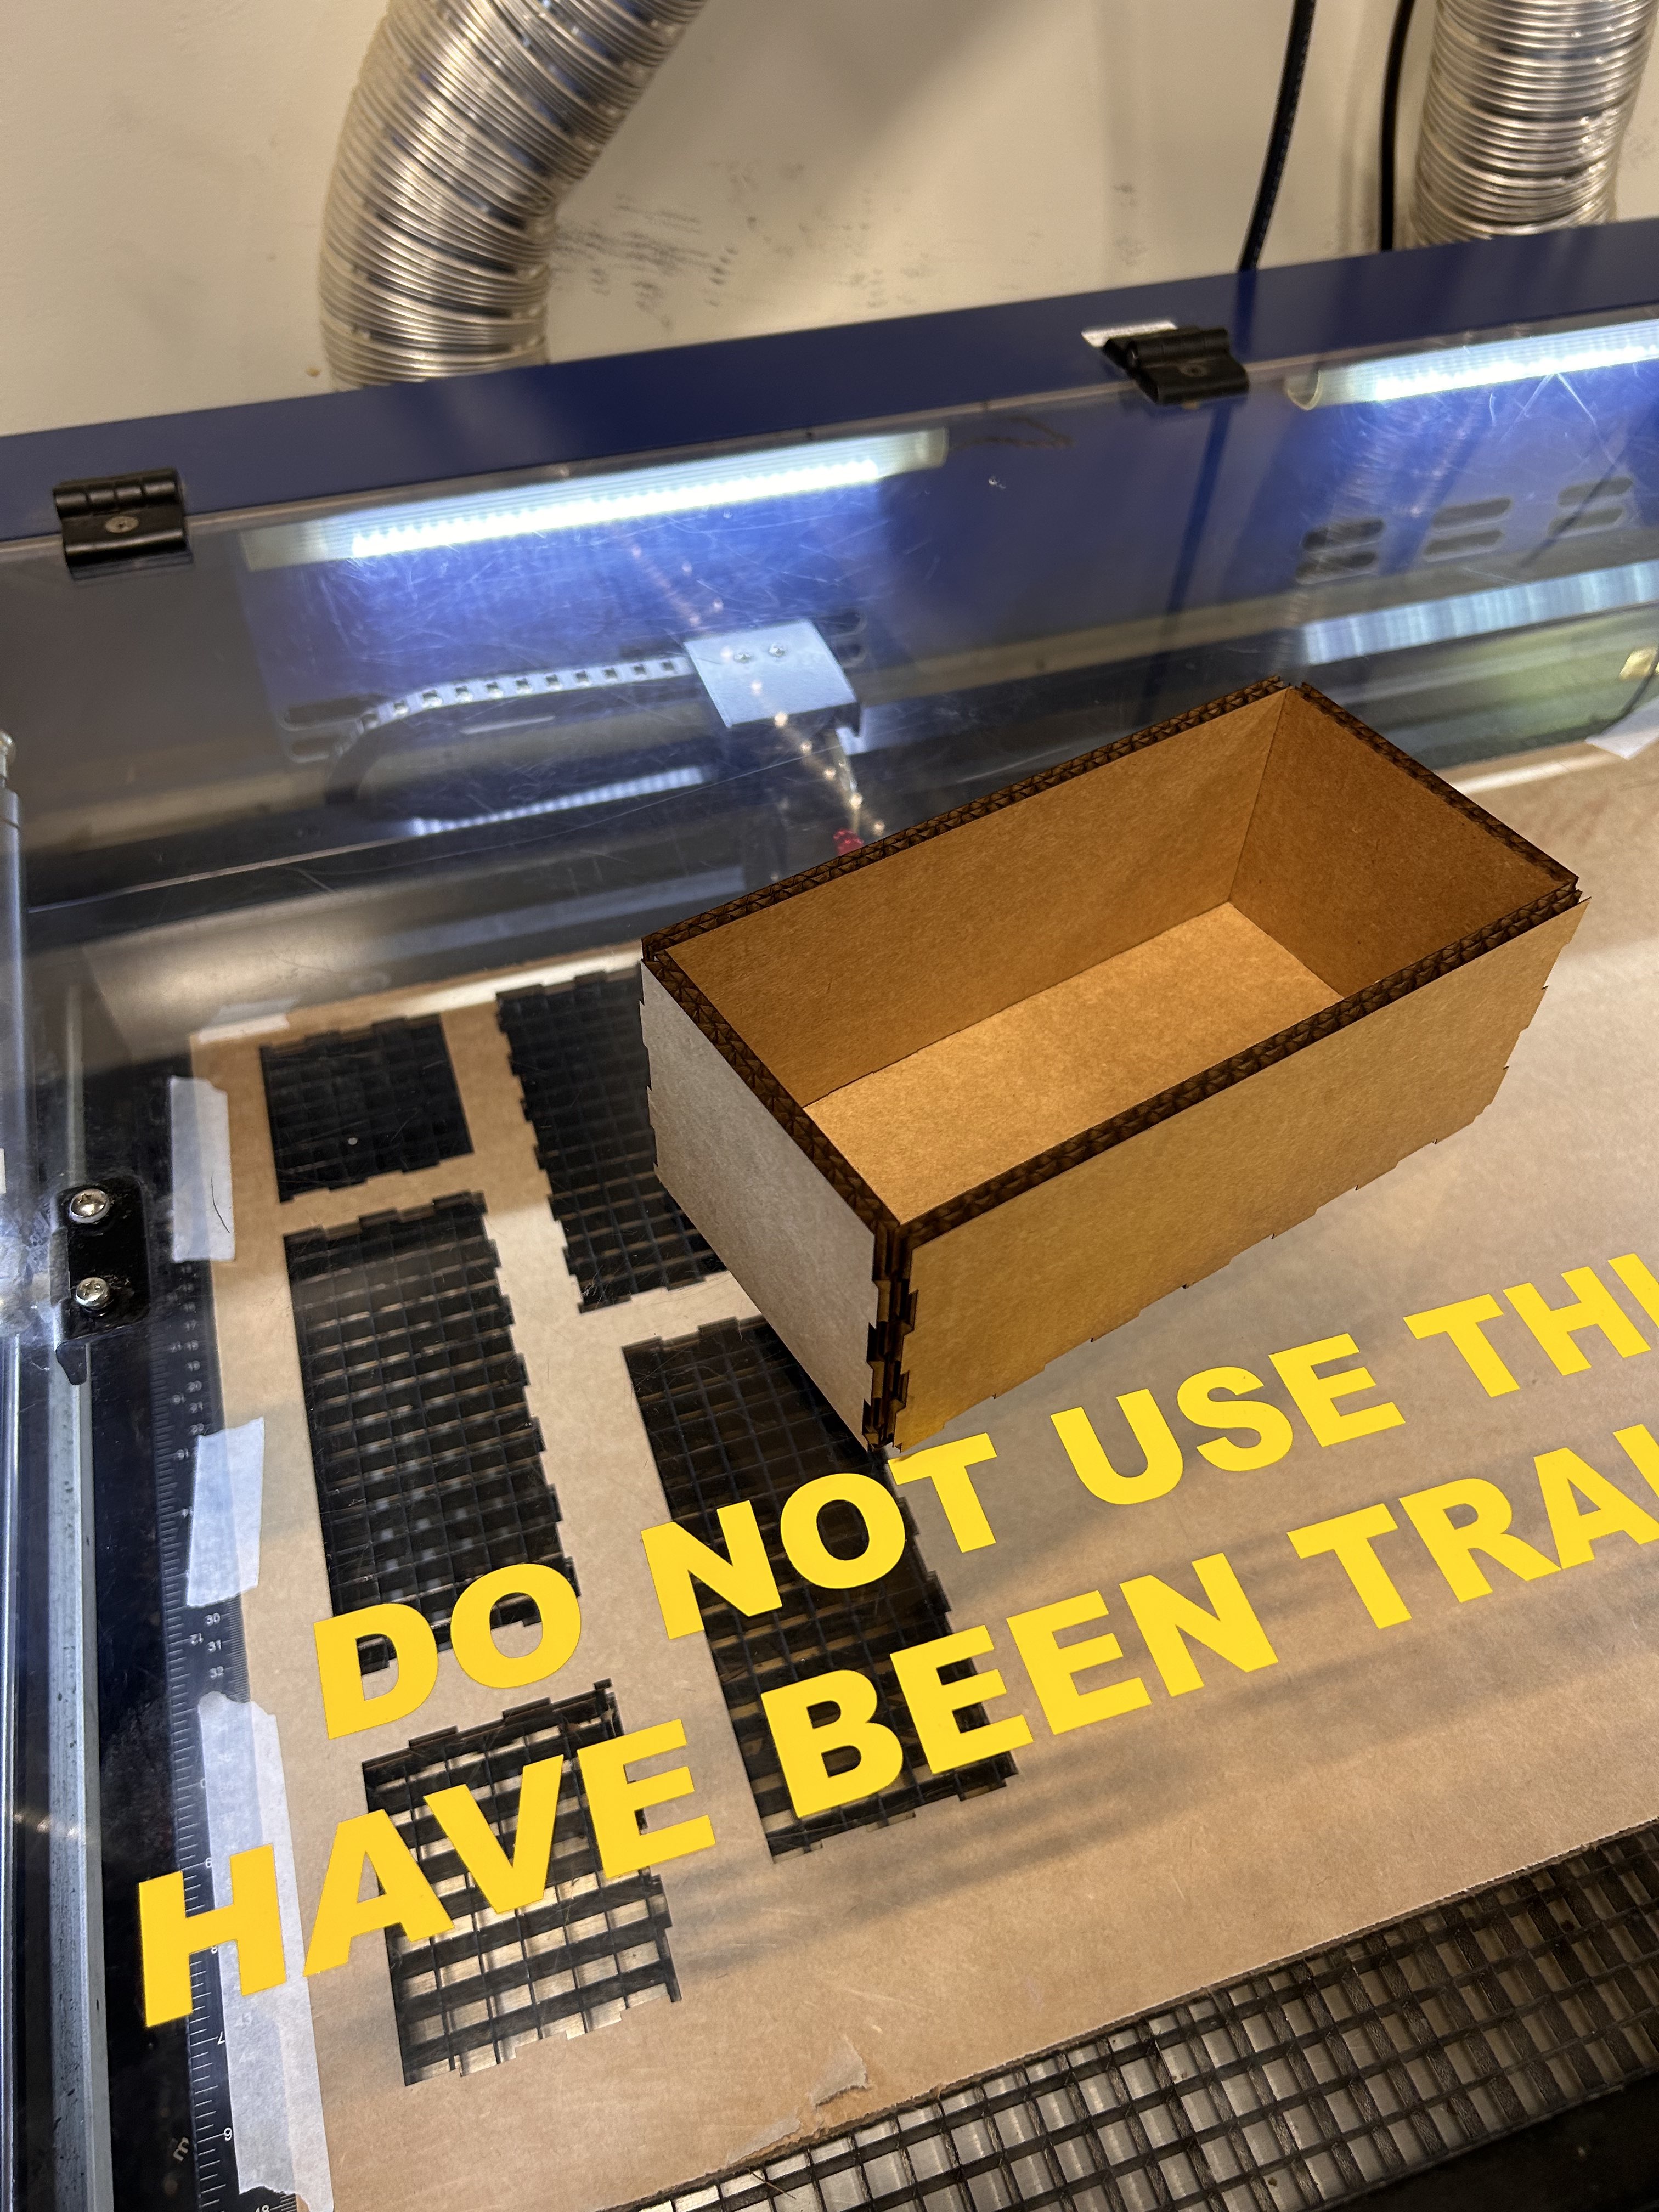 |
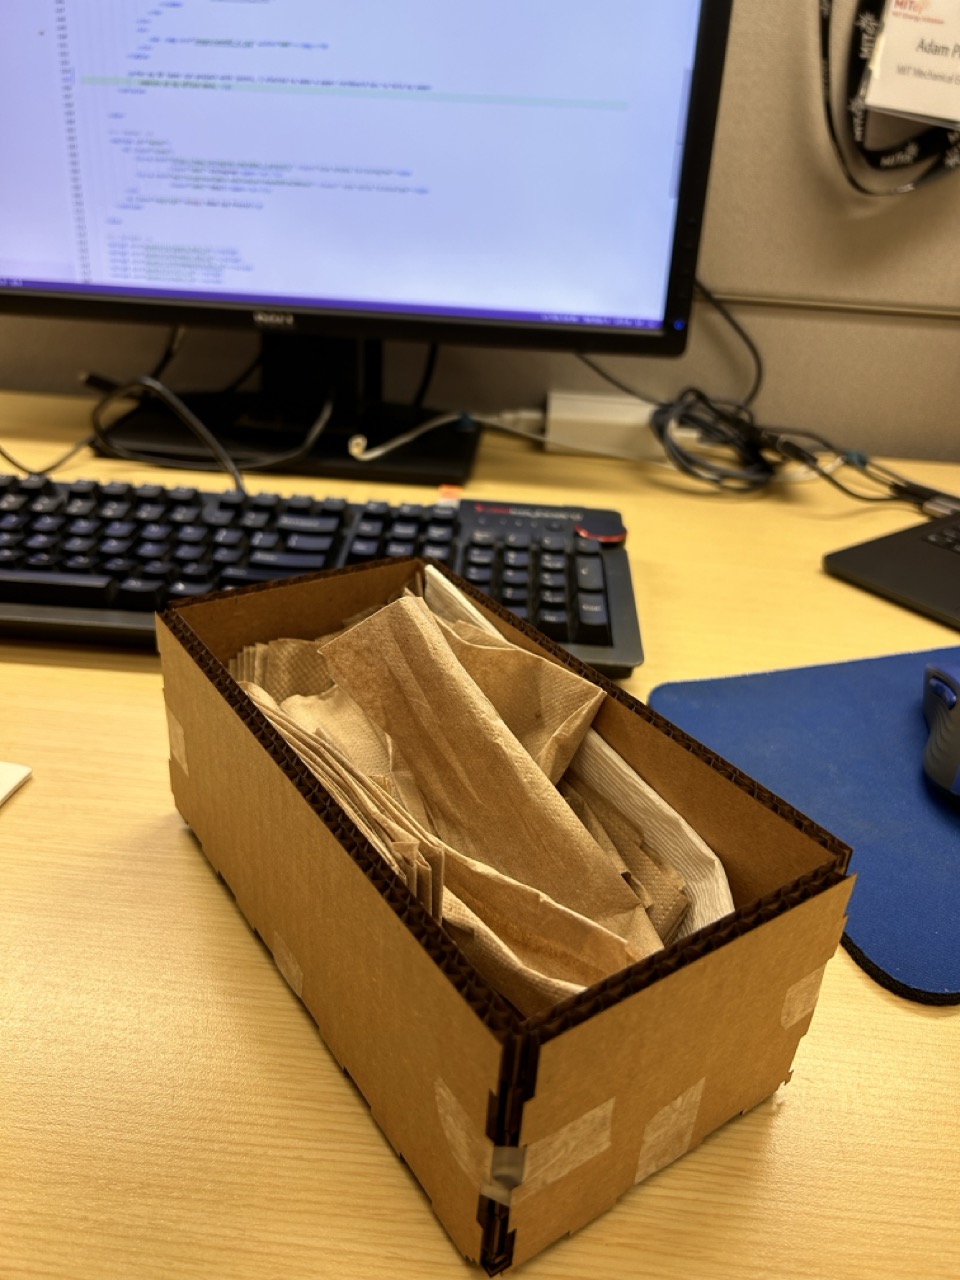
For my 3D laser cut project with joints, I elected to make a paper cardboard box to hold my paper napkins at my office desk.
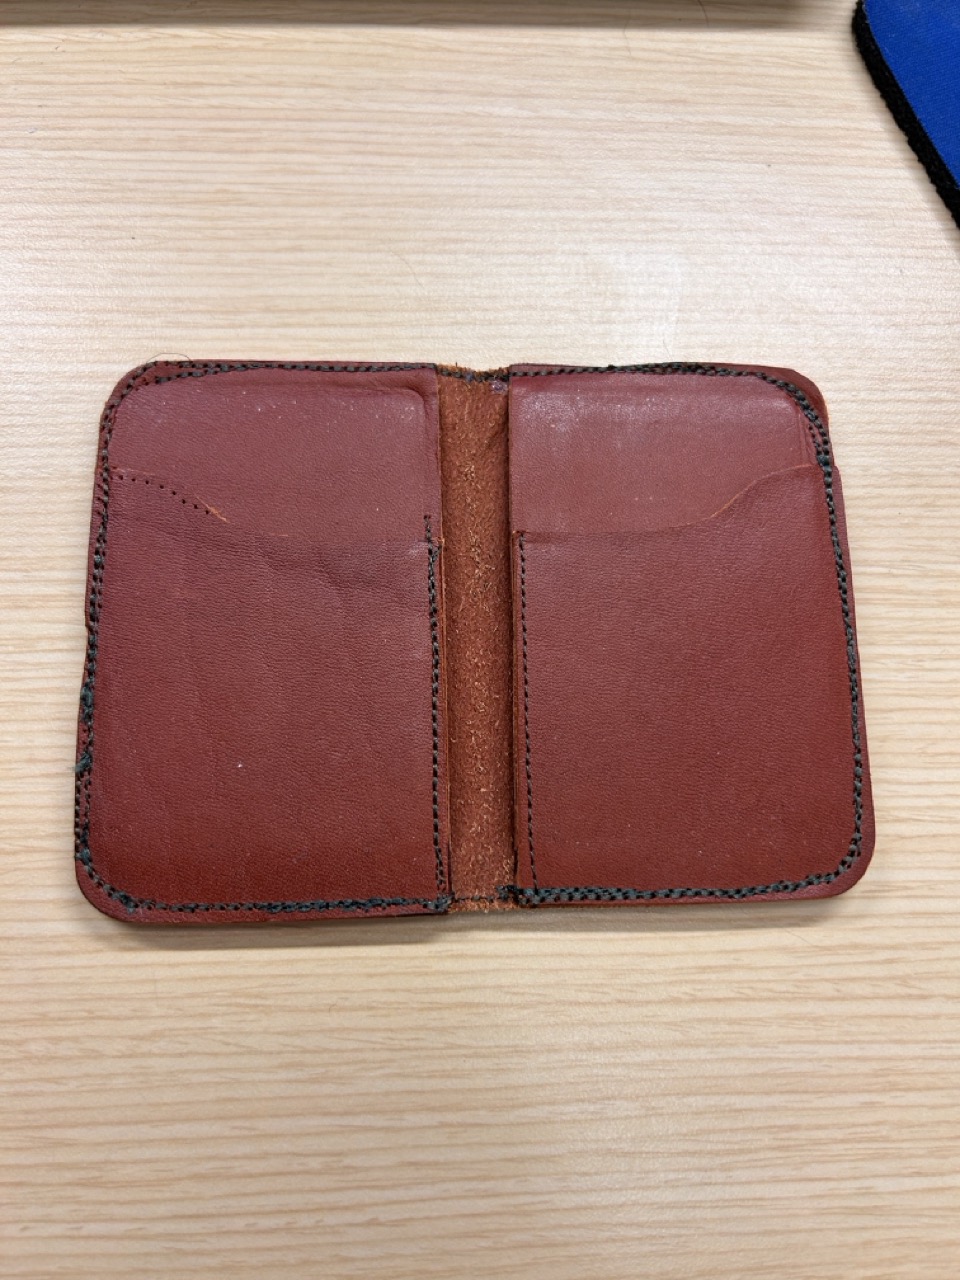
Below is the finished wallet, I sewed it using the machine in the EDS Space; it was hard to get straight lines.
