Week 04
3D Printing
My goal this week was to 3D print a front light mount for my bike. My girlfriend was seriously happy with this idea as I had commuted all last winter without a front light. Anyway, I had an extra and broken black diamond headlight laying around and decided to put that on my handlebars. The first thing I did was make a sketch of the general idea, this was initally very challenging because I was measuring the light with a ruler. Quickly, I learned to use a pair of calipers. From my sketch, I began to model this in fusion360.
The below video shows the progression of sketches, extrusions and cuts that I made in modelling this mount. I was very careful to consistenly return to the light and measure the features. One consideration I had during this process, was what tolerance do I build for and how thick do I make the wall for structual support.
This part could not have been made (practically) subtractively, due to the sharp corners in the slot where the headlamp sits. I also included an embossed HTMAA shoutout at the bottom of the slot that would be very challenging to machine subtractively due to the clearance necessary for a spindle and a bit against the wall of the form.
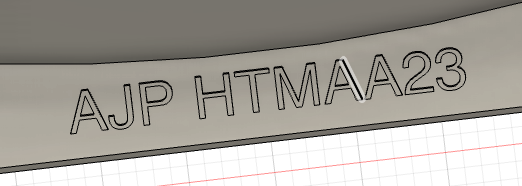 HTMAA shoutout
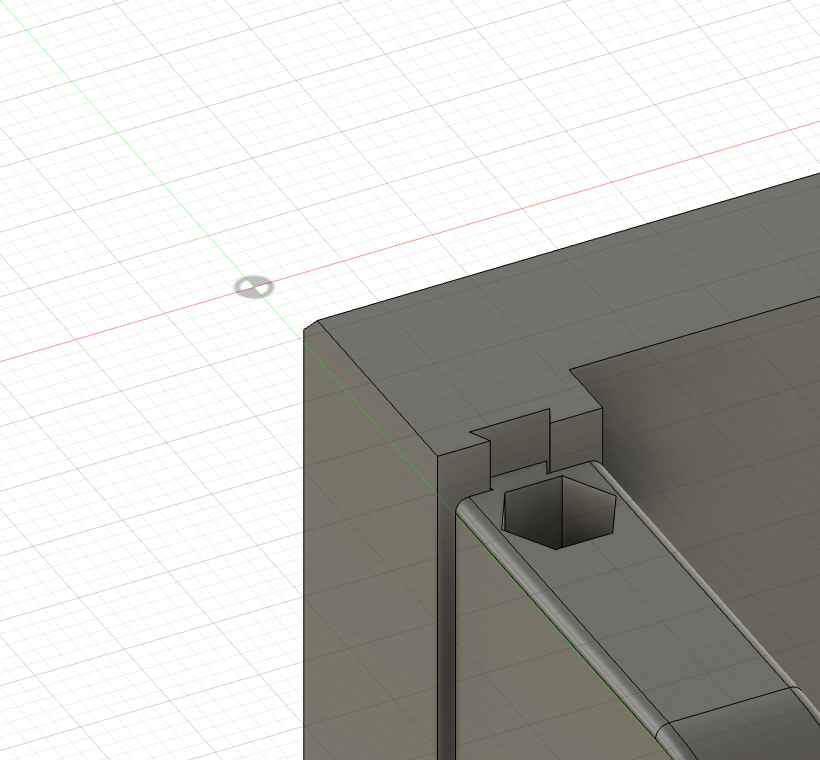
I needed a way to align the bottom and top of the mount, especially as I tighten the M3 bolts. I elected to add a slotted sliding dovetail and key. I added a clearance of 0.5mm between the slot and the key. One concern I have is the
Below is the final prototype. I made it out of PLA. The clearance for M3 bolts, and nuts was not enough for a stable connection. I had to redue the model with thicker walls to accomodate the nuts. Additonally, I recognized that there was too much material around the light, so I reduced that in the final model.
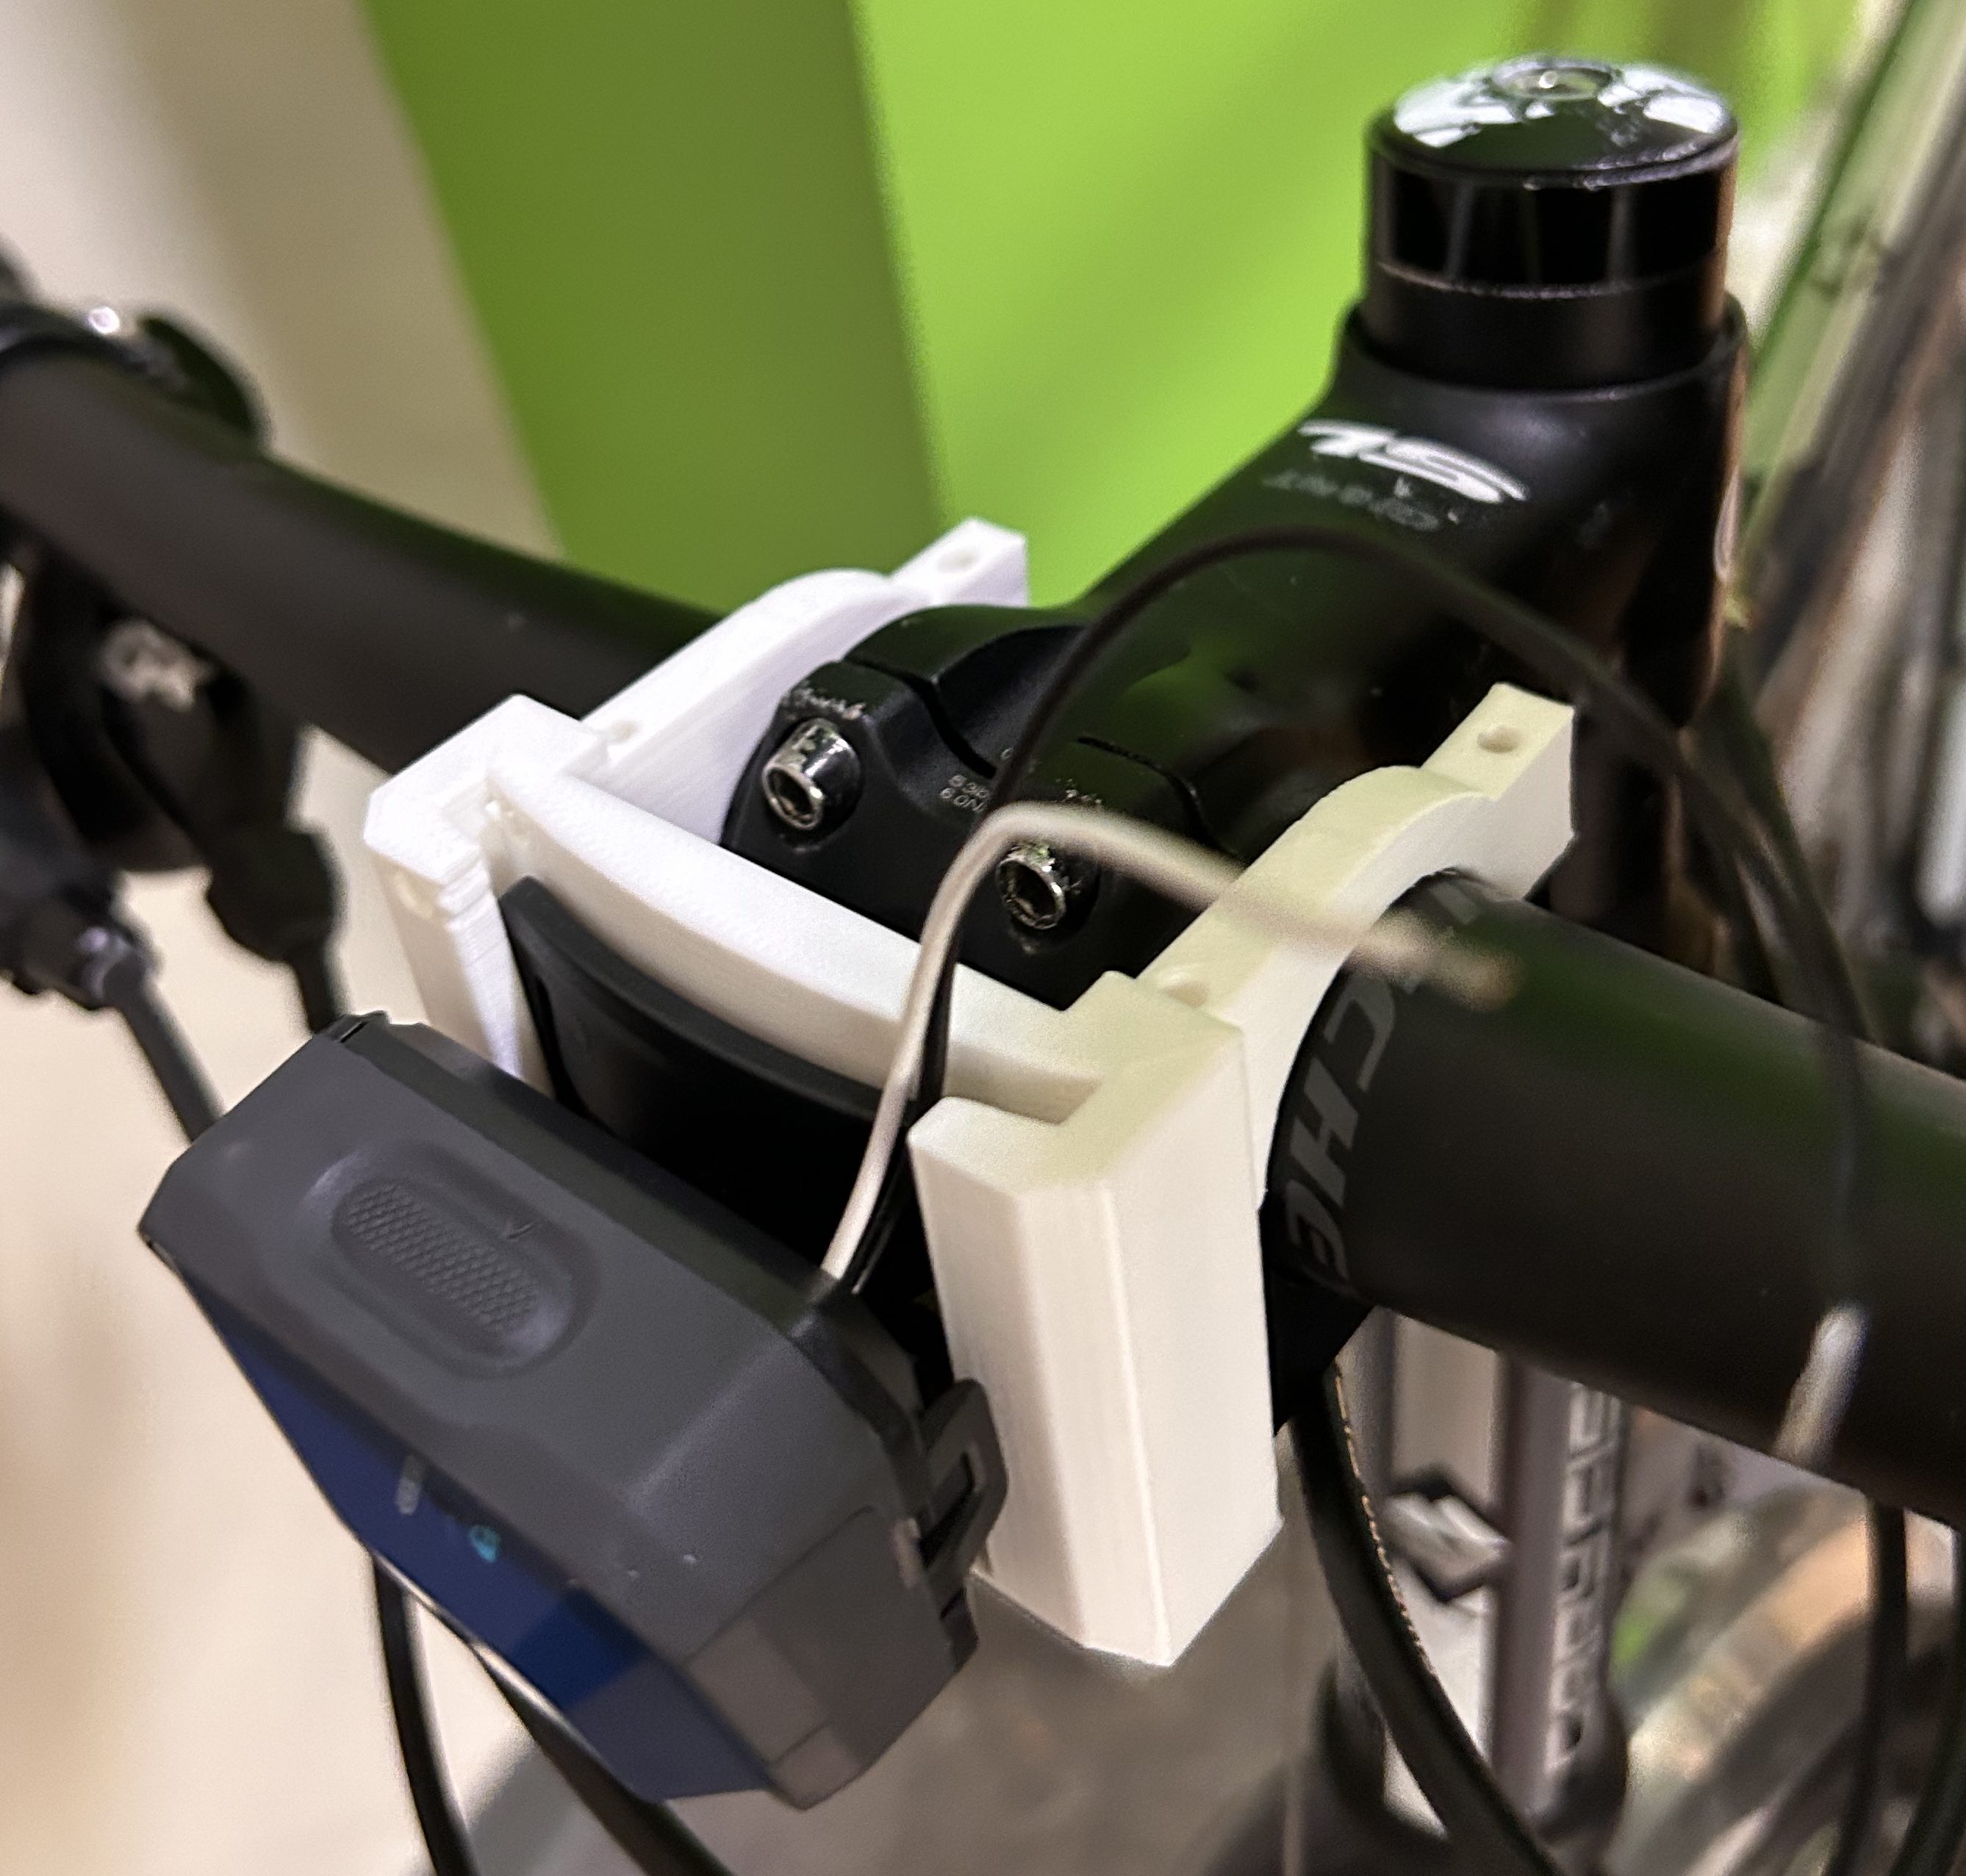 prototype installed on my bike
I saved the final .stl file and sent it to a friend at FormLabs who was very excited to print it on their SLS Nylon Sintering Machine. Stay tuned to see the final project.
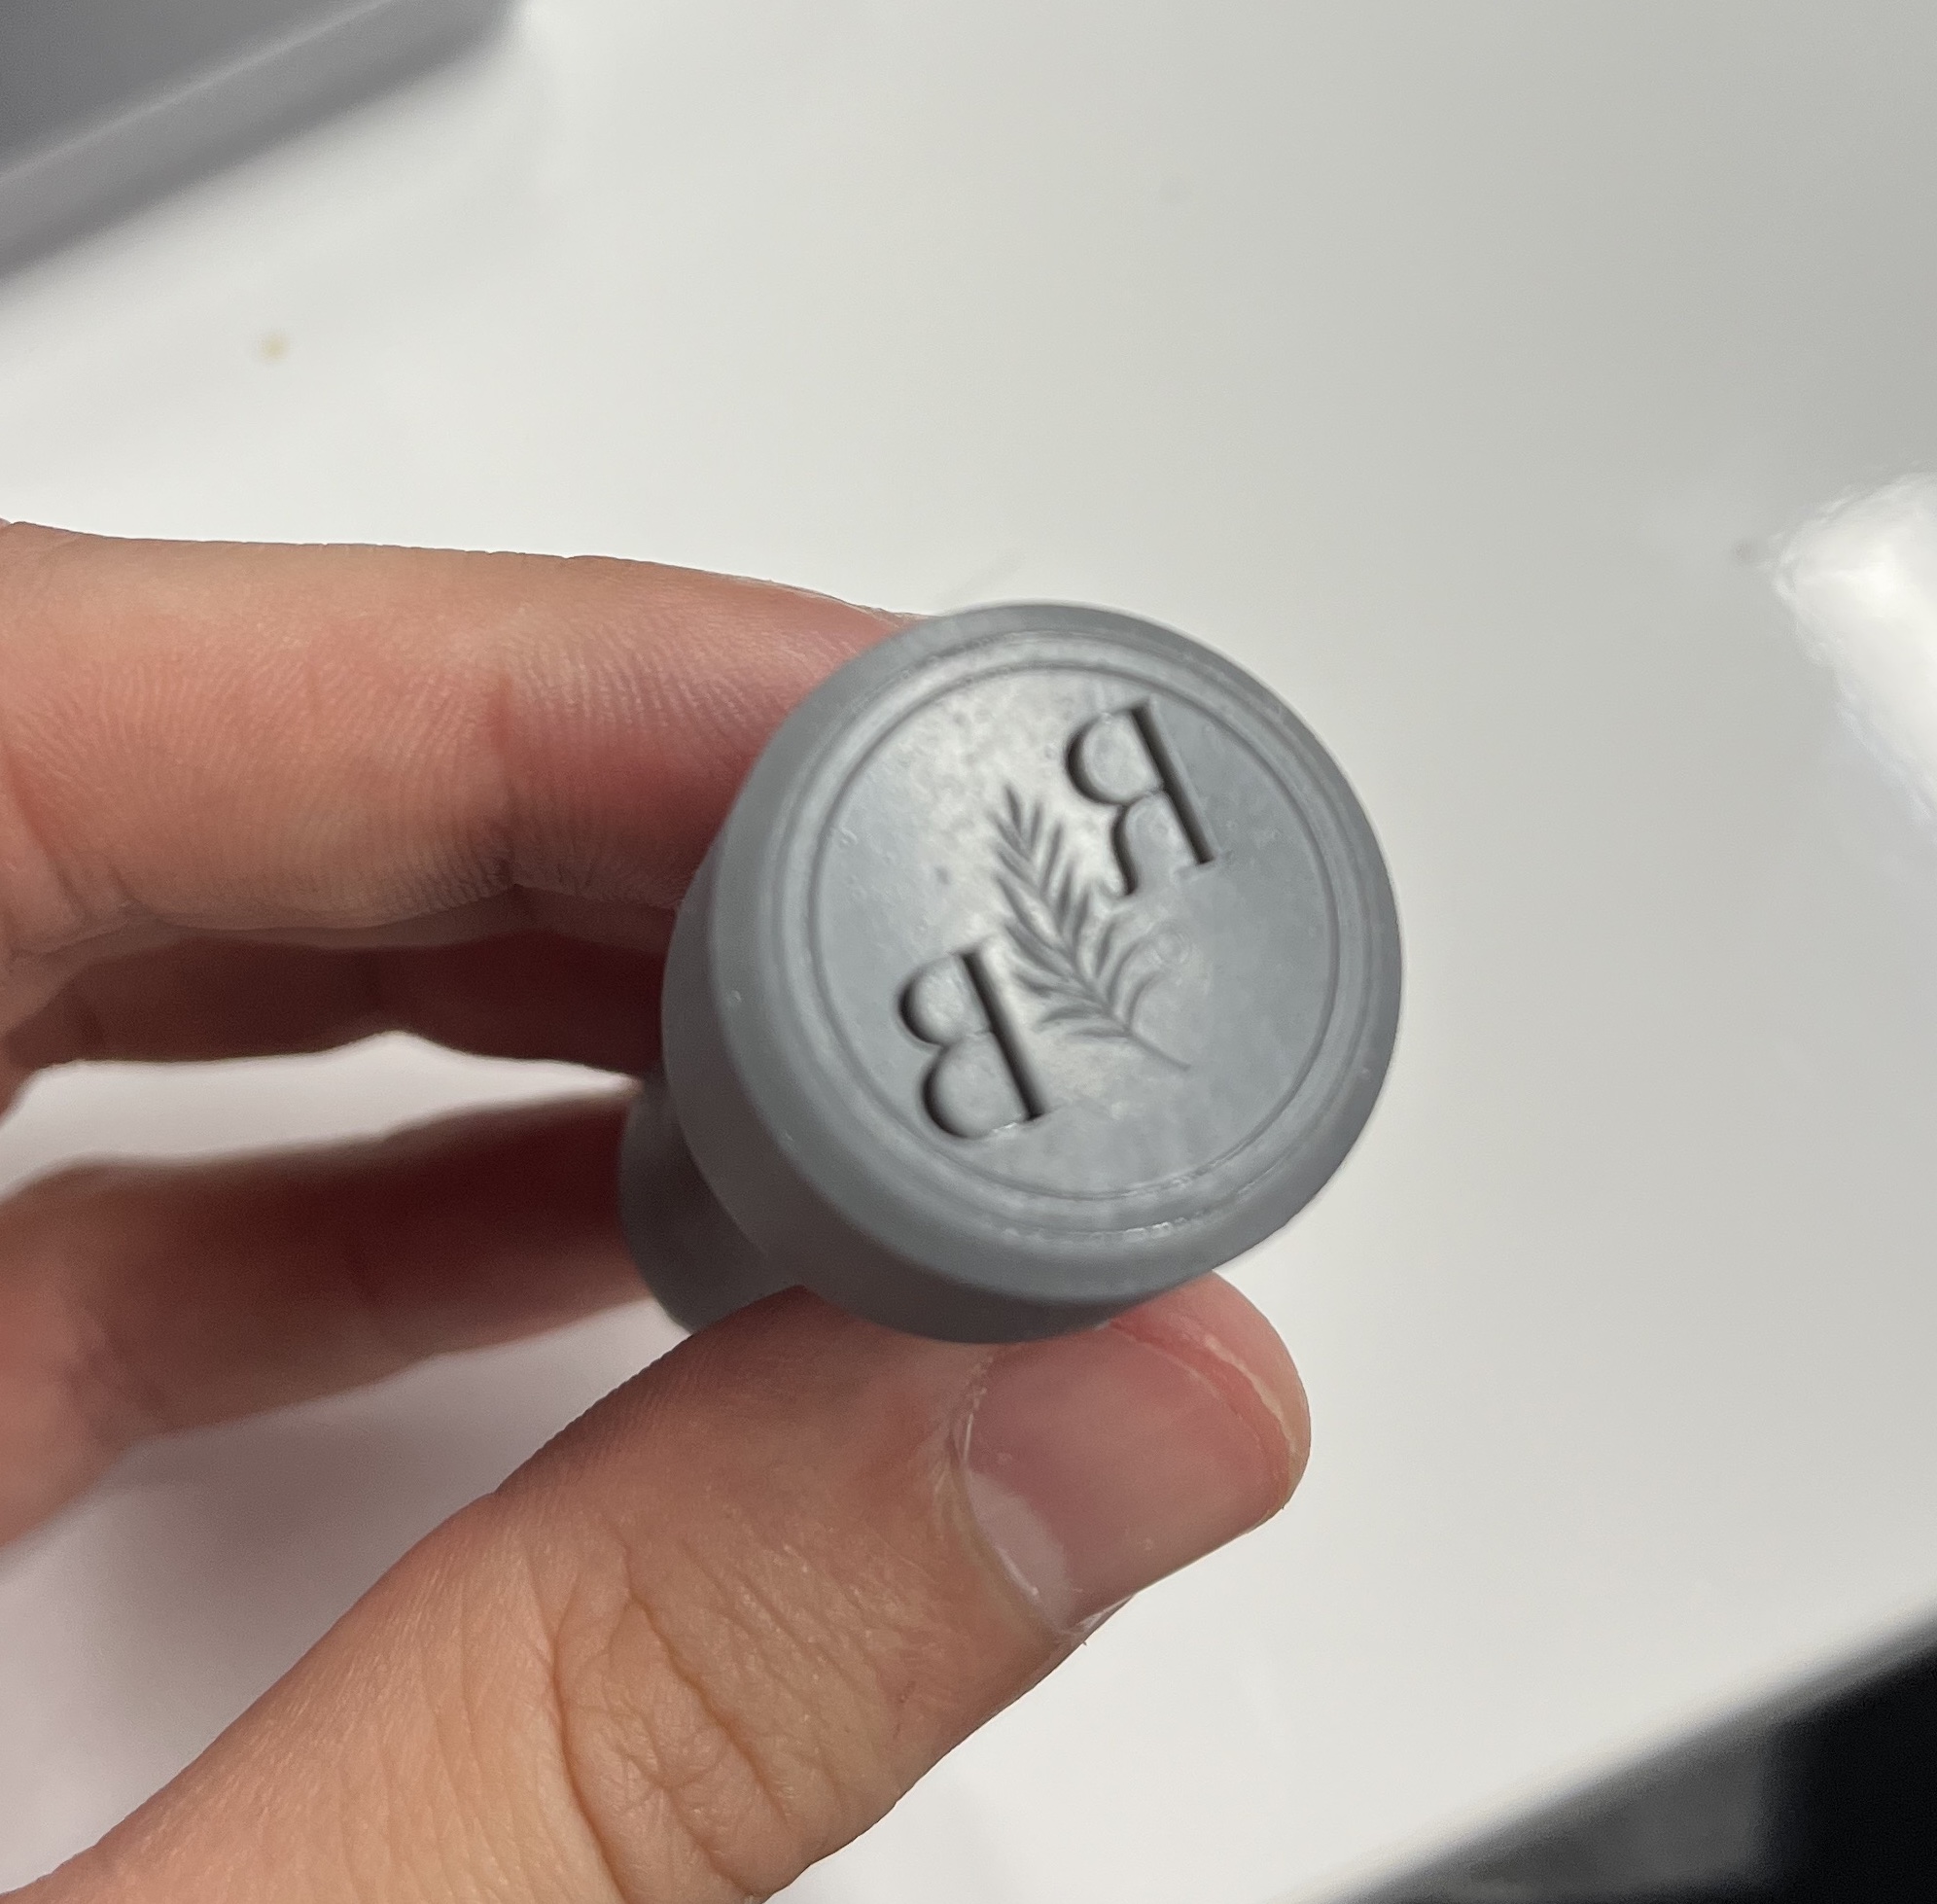
For a fun bonus project, this week I also made a wax stamp for my best friends wedding. I printed this on the Formlabs SLA resin printer.
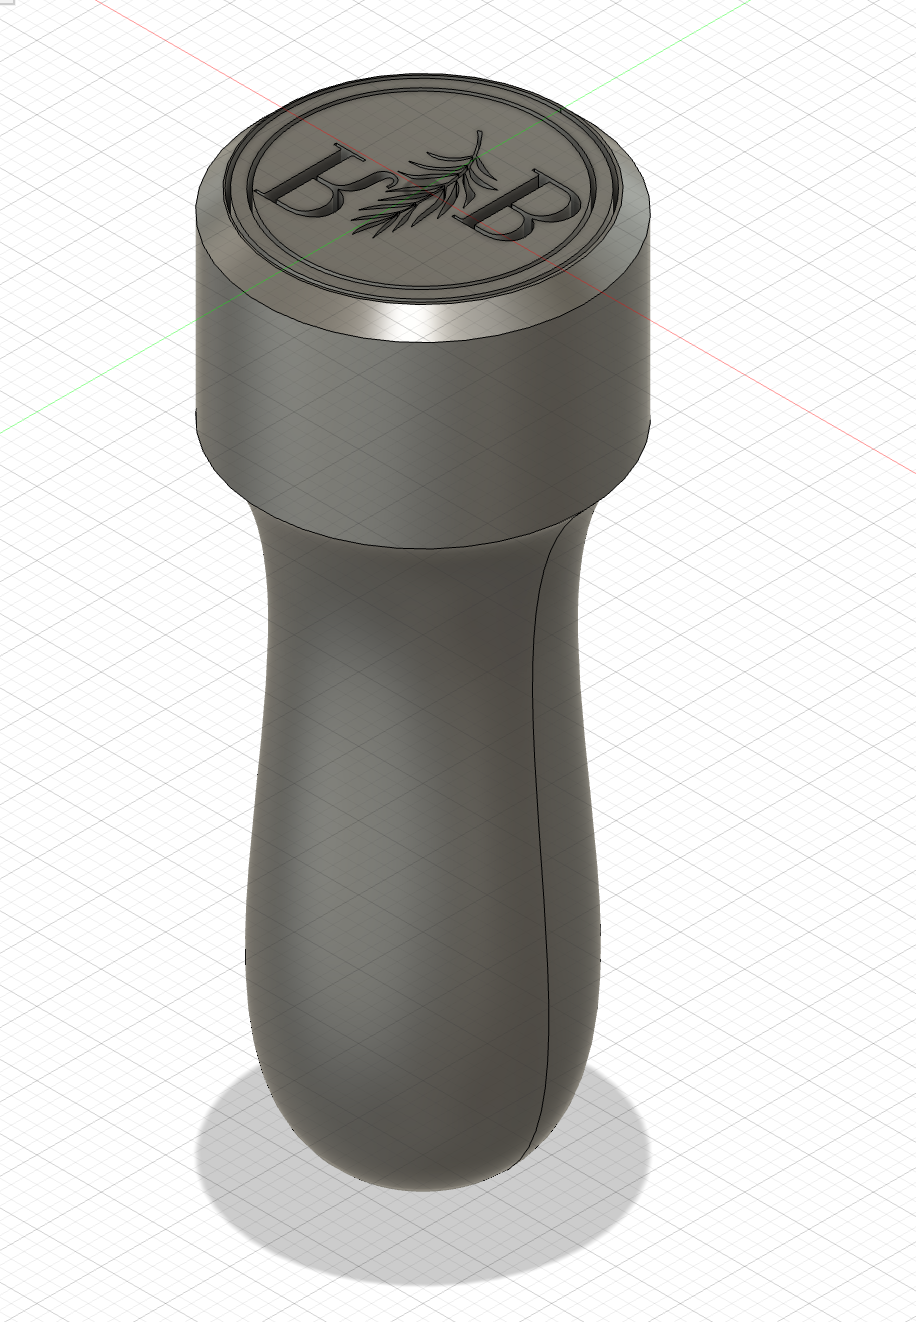 Wax Stamp
Lastly, we had to utilize a 3D scanner, I used the one in the EECS lab to scan a sample bust.