HTMA Week 14: Wildcard--Embroidery
Published: 2023-12-13Intro
For wildcard week, I decided to do embroidery and make a patch of something from Dota 2:
this emote

Embroidering Process
Design
Because this design isn’t something that would have came packaged with the embroidery software, I needed to make it myself in Inkscape. I mostly followed this tutorial to design my emote embroidery using Inkscape and the plugin Ink/Stitch
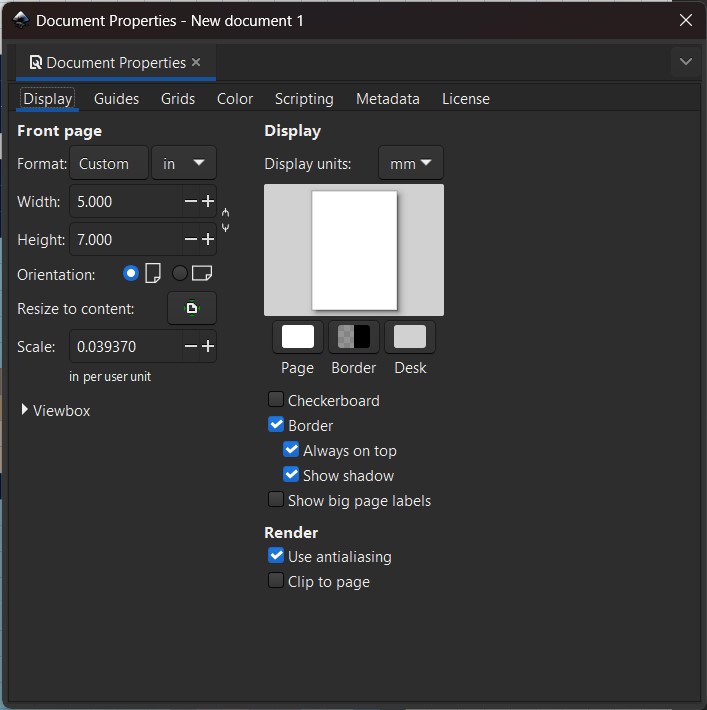
Document Setup
Here are how I setup my document for the embroidery machine that we have.
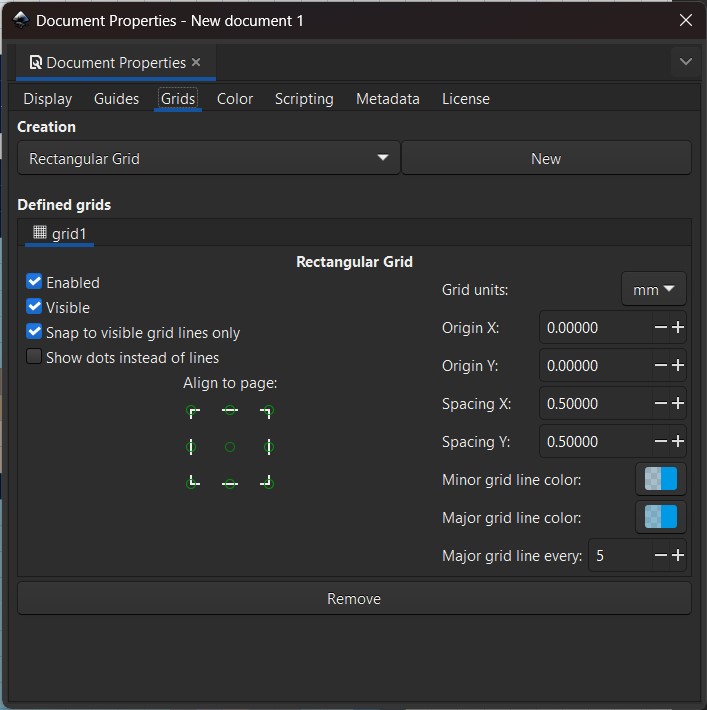
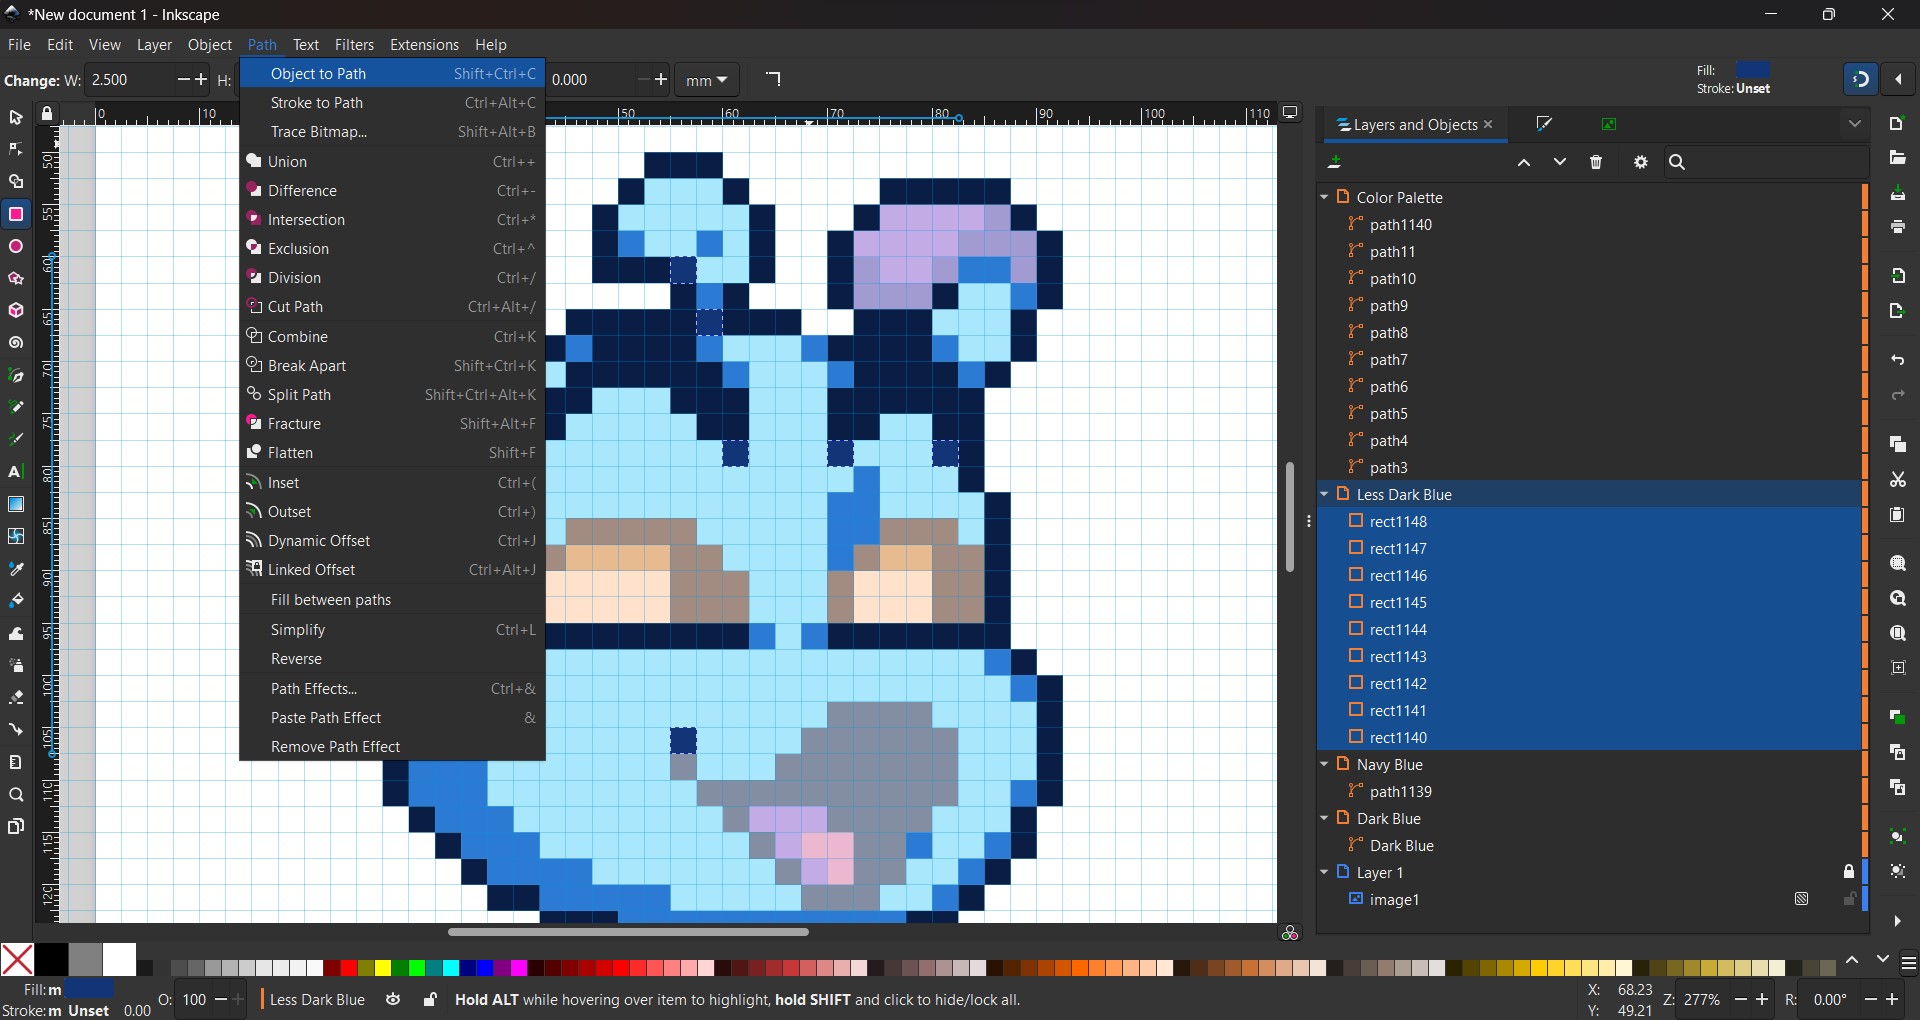
Because we’re using pixel art, I setup my grid like the following then aligned my art to the grid, so I can snap the pen tool to the grid while doing color fills.
Colors
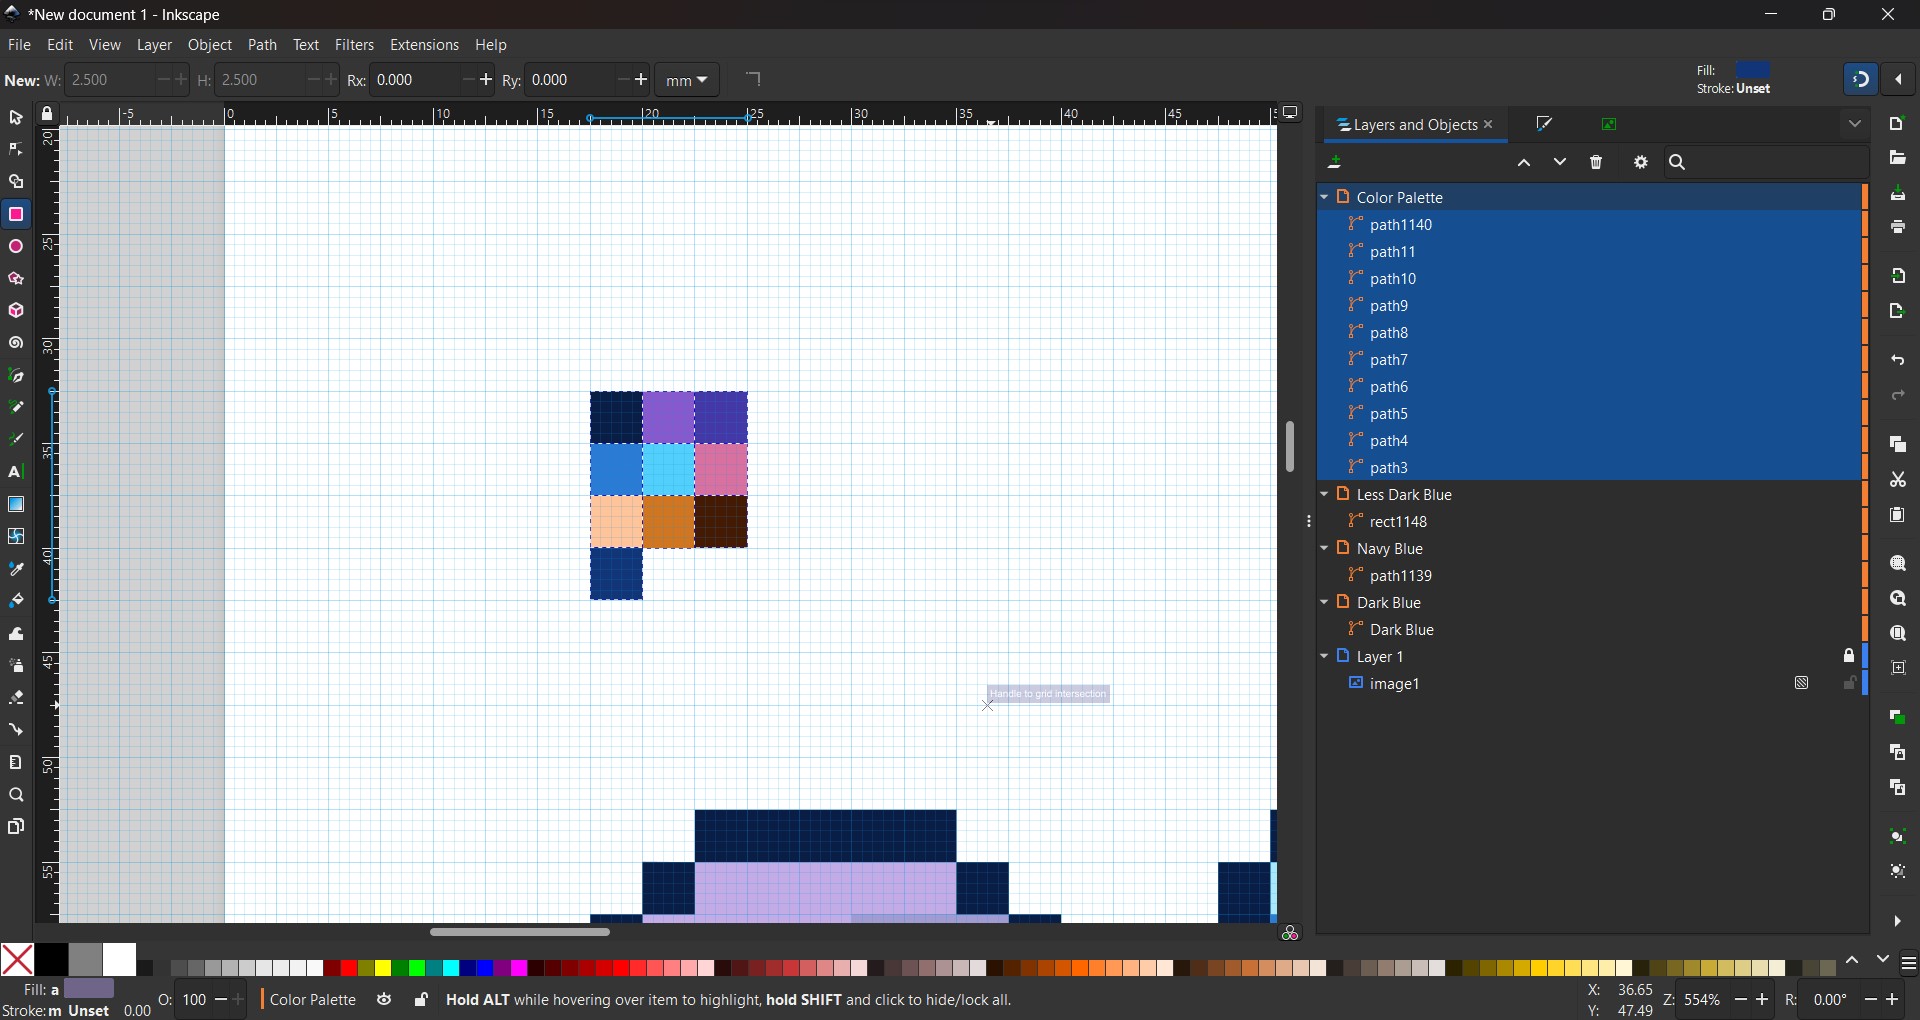
The colors that you use in Inkscape really doesn’t matter, you just need a different color for each different color of thread you want to use. This sprite has 10 different colors, so I setup a color palette to the side for quick access.
Fills
With the image imported and aligned to my grid, I can then start making fills of colors to create different zones for the embroidery machine. You can use the pen tool to trace out areas like so:
Alternatively, you can also use rectangle tools to mark out areas quickly. However, you’d need to convert them to paths from objects in order for them to work with Ink/Stitch.
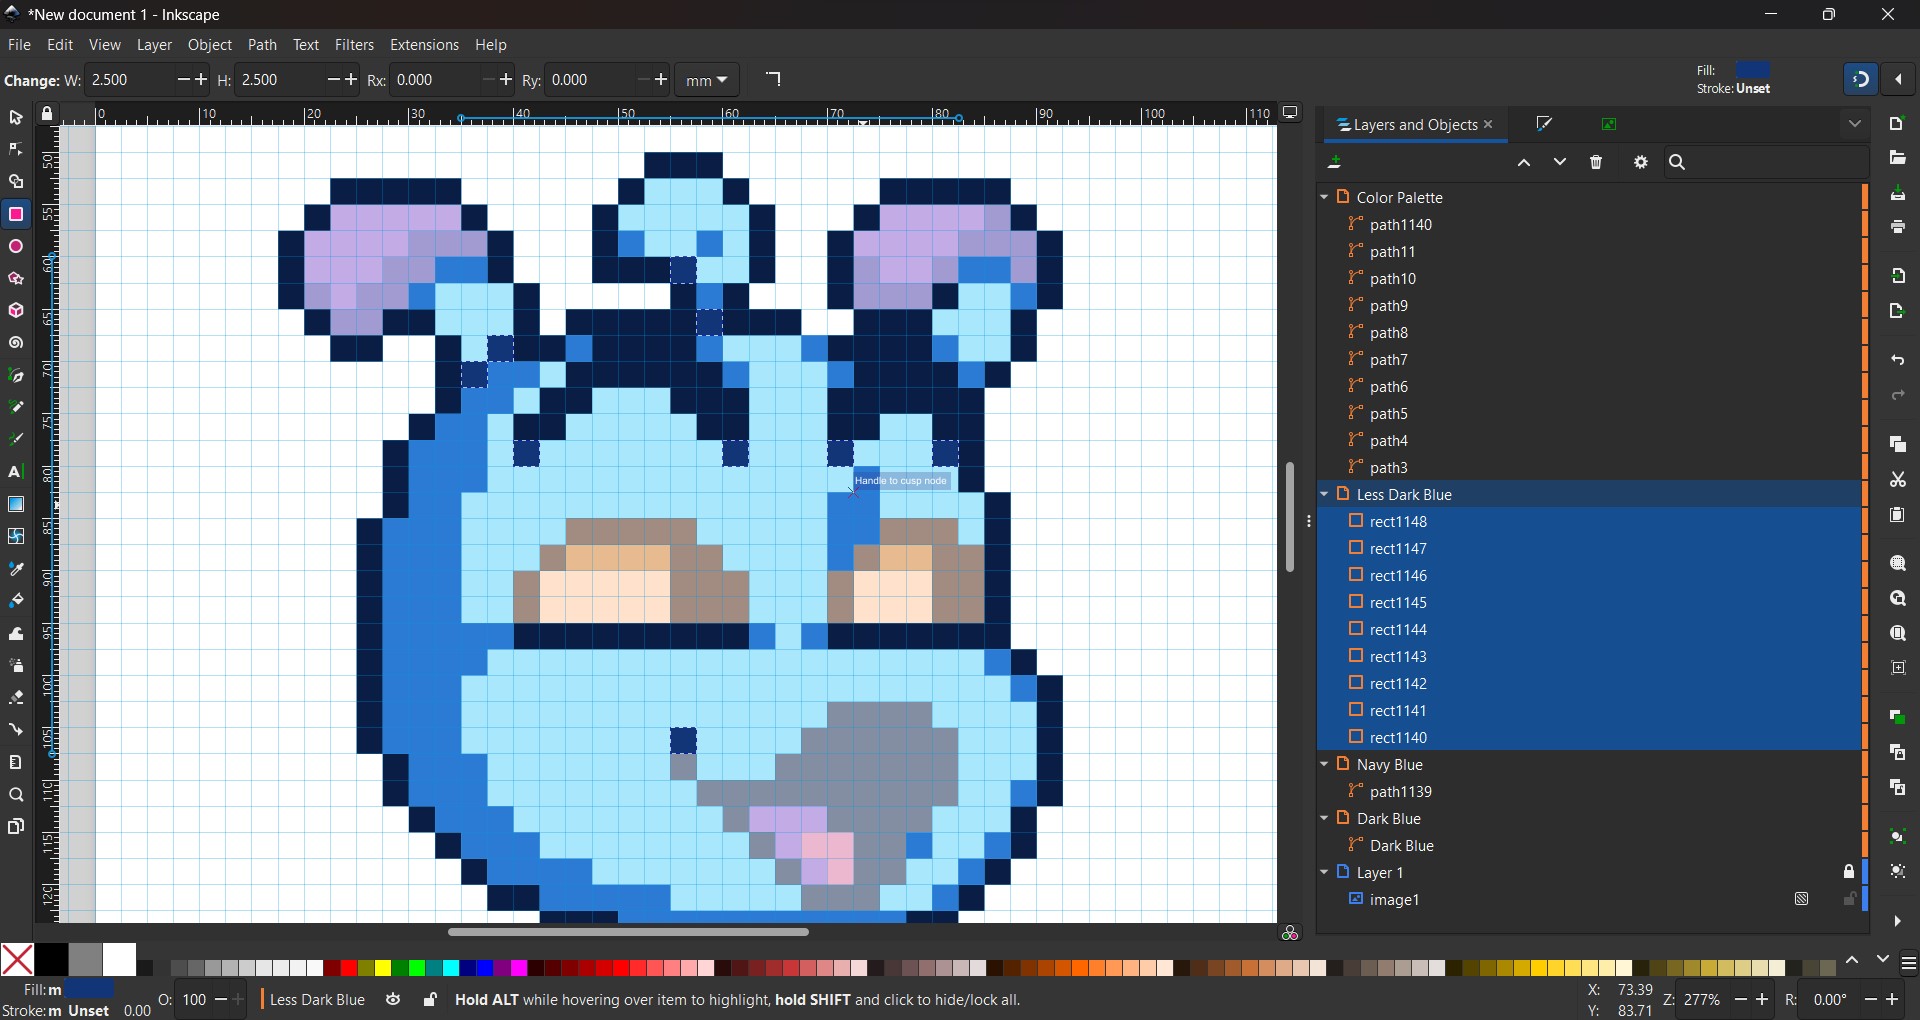
Rectangle fills
Convert them into paths

Now they will work with Ink/Stitch
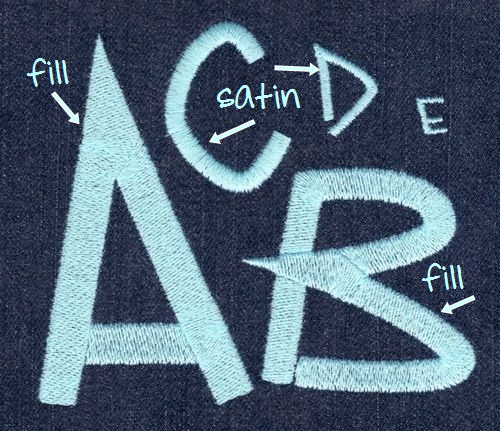
Satin Columns
A good patch usually have satin columns around its borders. The difference between a fill and a satin column can be seen here.
To create satin columns, you need paths laid out in a specific manner for Ink/Stitch to recognize it. Luckily, it has a tool for this. You just need to
- Trace a path around your embroidery where you want to column to be.
- Specify a stroke width. I found 2-3mm to be enough for me. You can try different join styles to fit your liking.
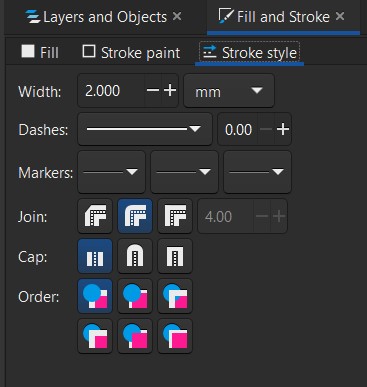
- Use Extensions->Ink/Stitch->Tools: Satin->Convert Lines to Satin. This will create two path objects
- It creates two path objects because a satin column must have a beginning and end. They may be disconnected, in which can you just need to extend one of the paths and extend it to the other as close as you can, without actually connecting the two paths.
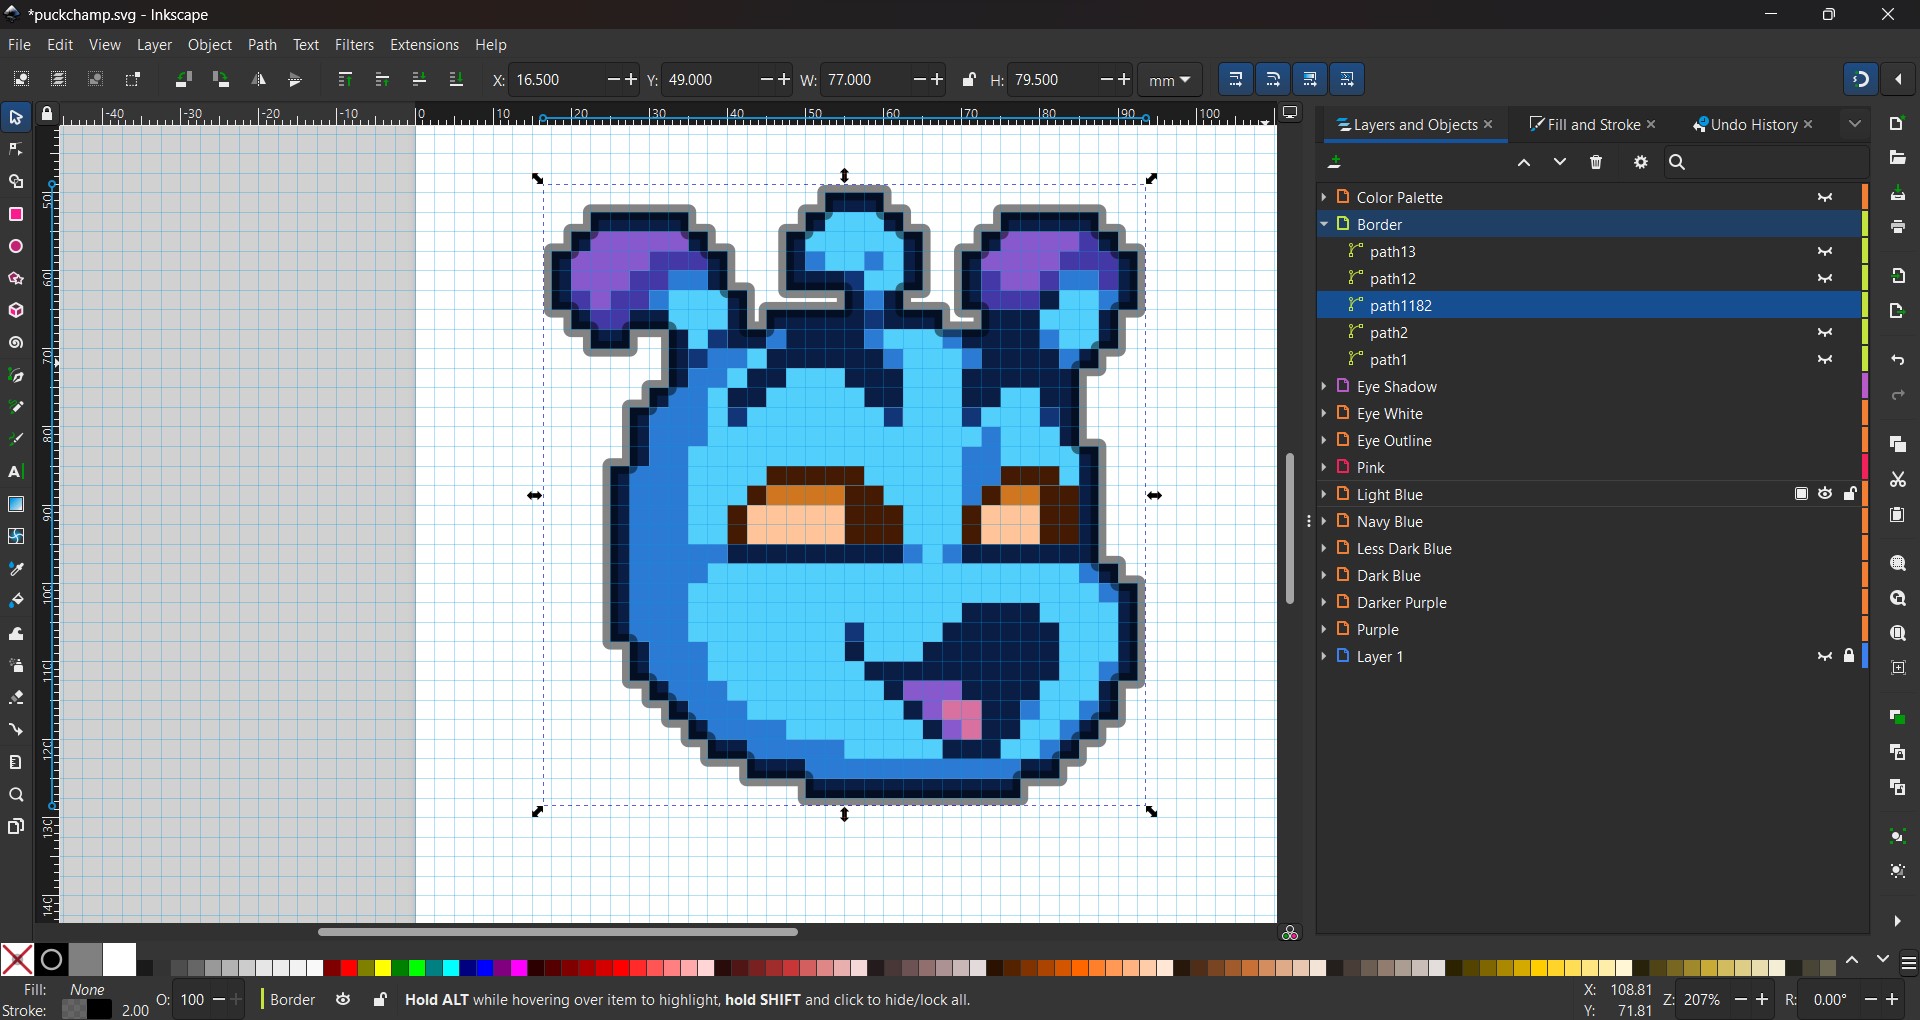
Creating Embroidering File
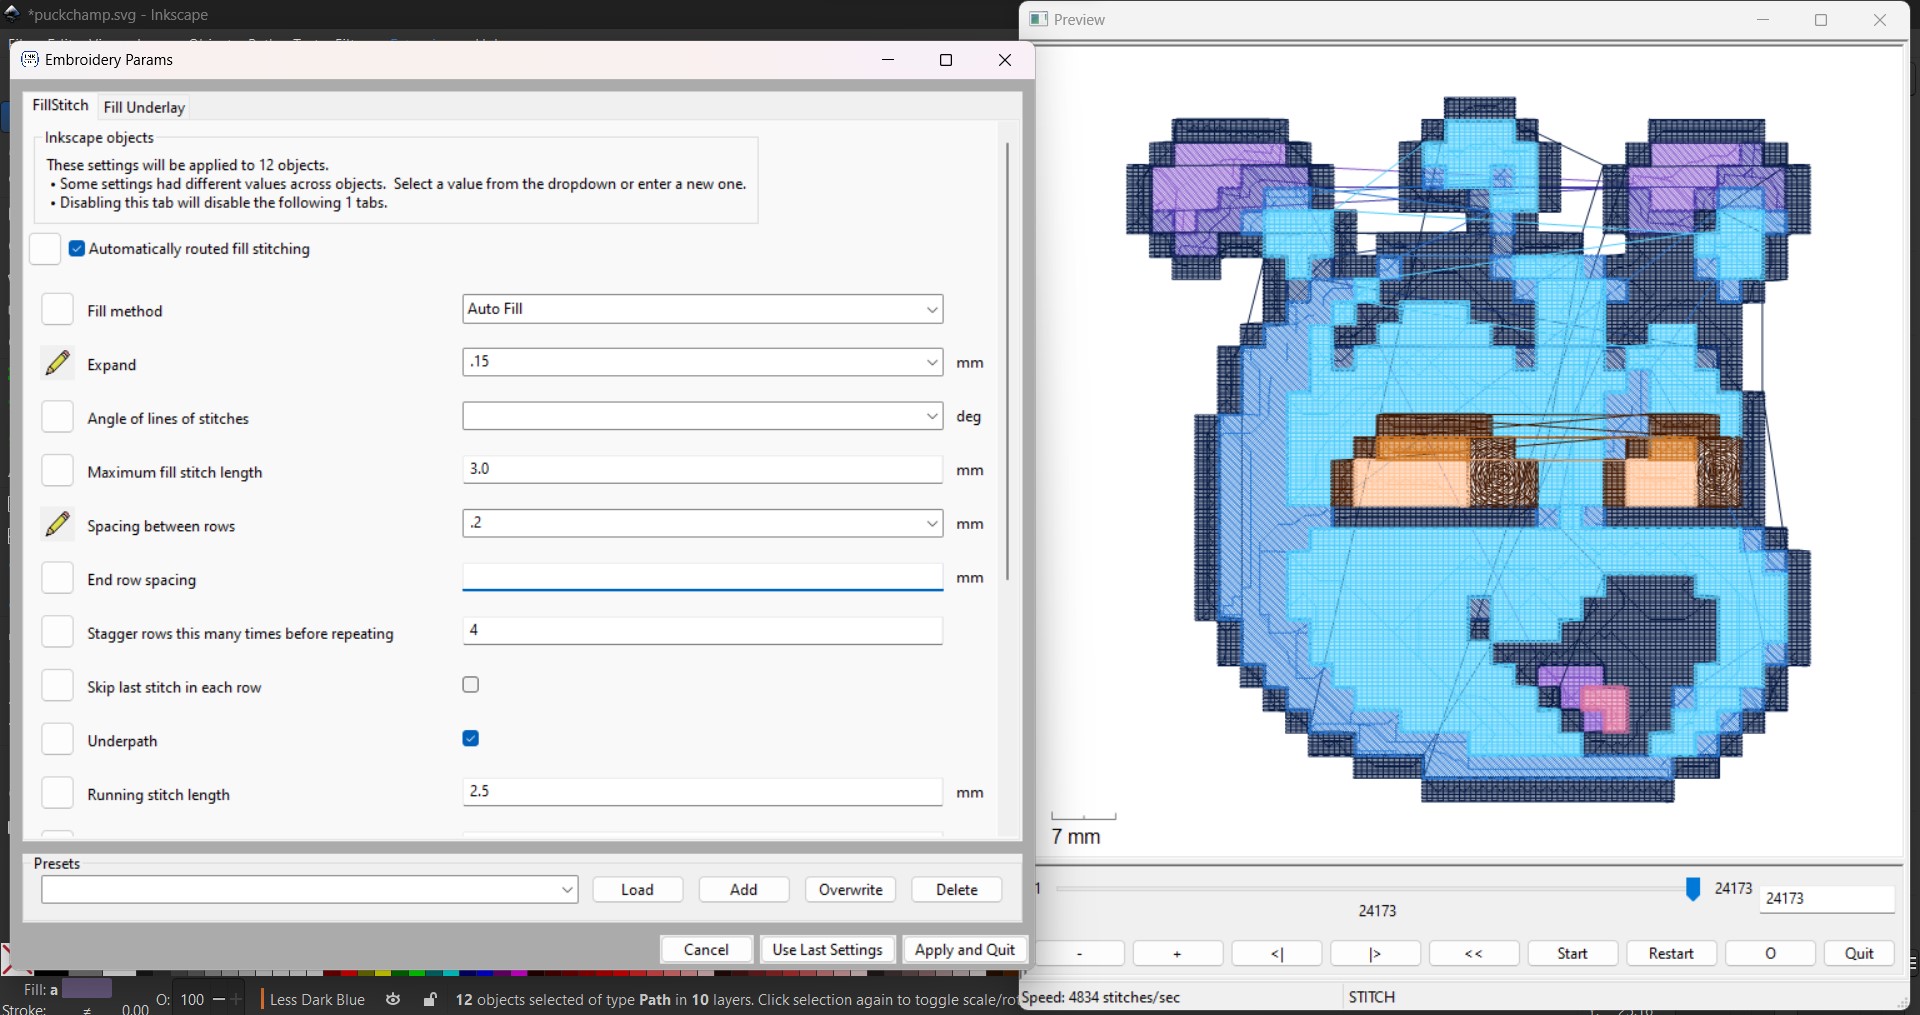
With every pixel filled with a path, I can then use Ink/Stitch to generate parameters for the embroidery machine. You can configure them by selecting multiple paths (or no paths to have it autodetect and configure all paths) then hitting Extensions->Ink/Stitch->Params. This will allow you to configure various parameters about how the embroidery machine will stitch the fill areas. I found Auto Fill to work nicely for most places, though I varied its angle for some other areas, or chose another fill method to create more interesting details.
Export and Embroider!
Finally, you just need to hide everything except for your fills and satin column paths, and hit File->Save A Copy and save it as a .pes file. Bring that file over to Alec and have him show you how to use the machine. This one took about an hour or so to fully stitch.
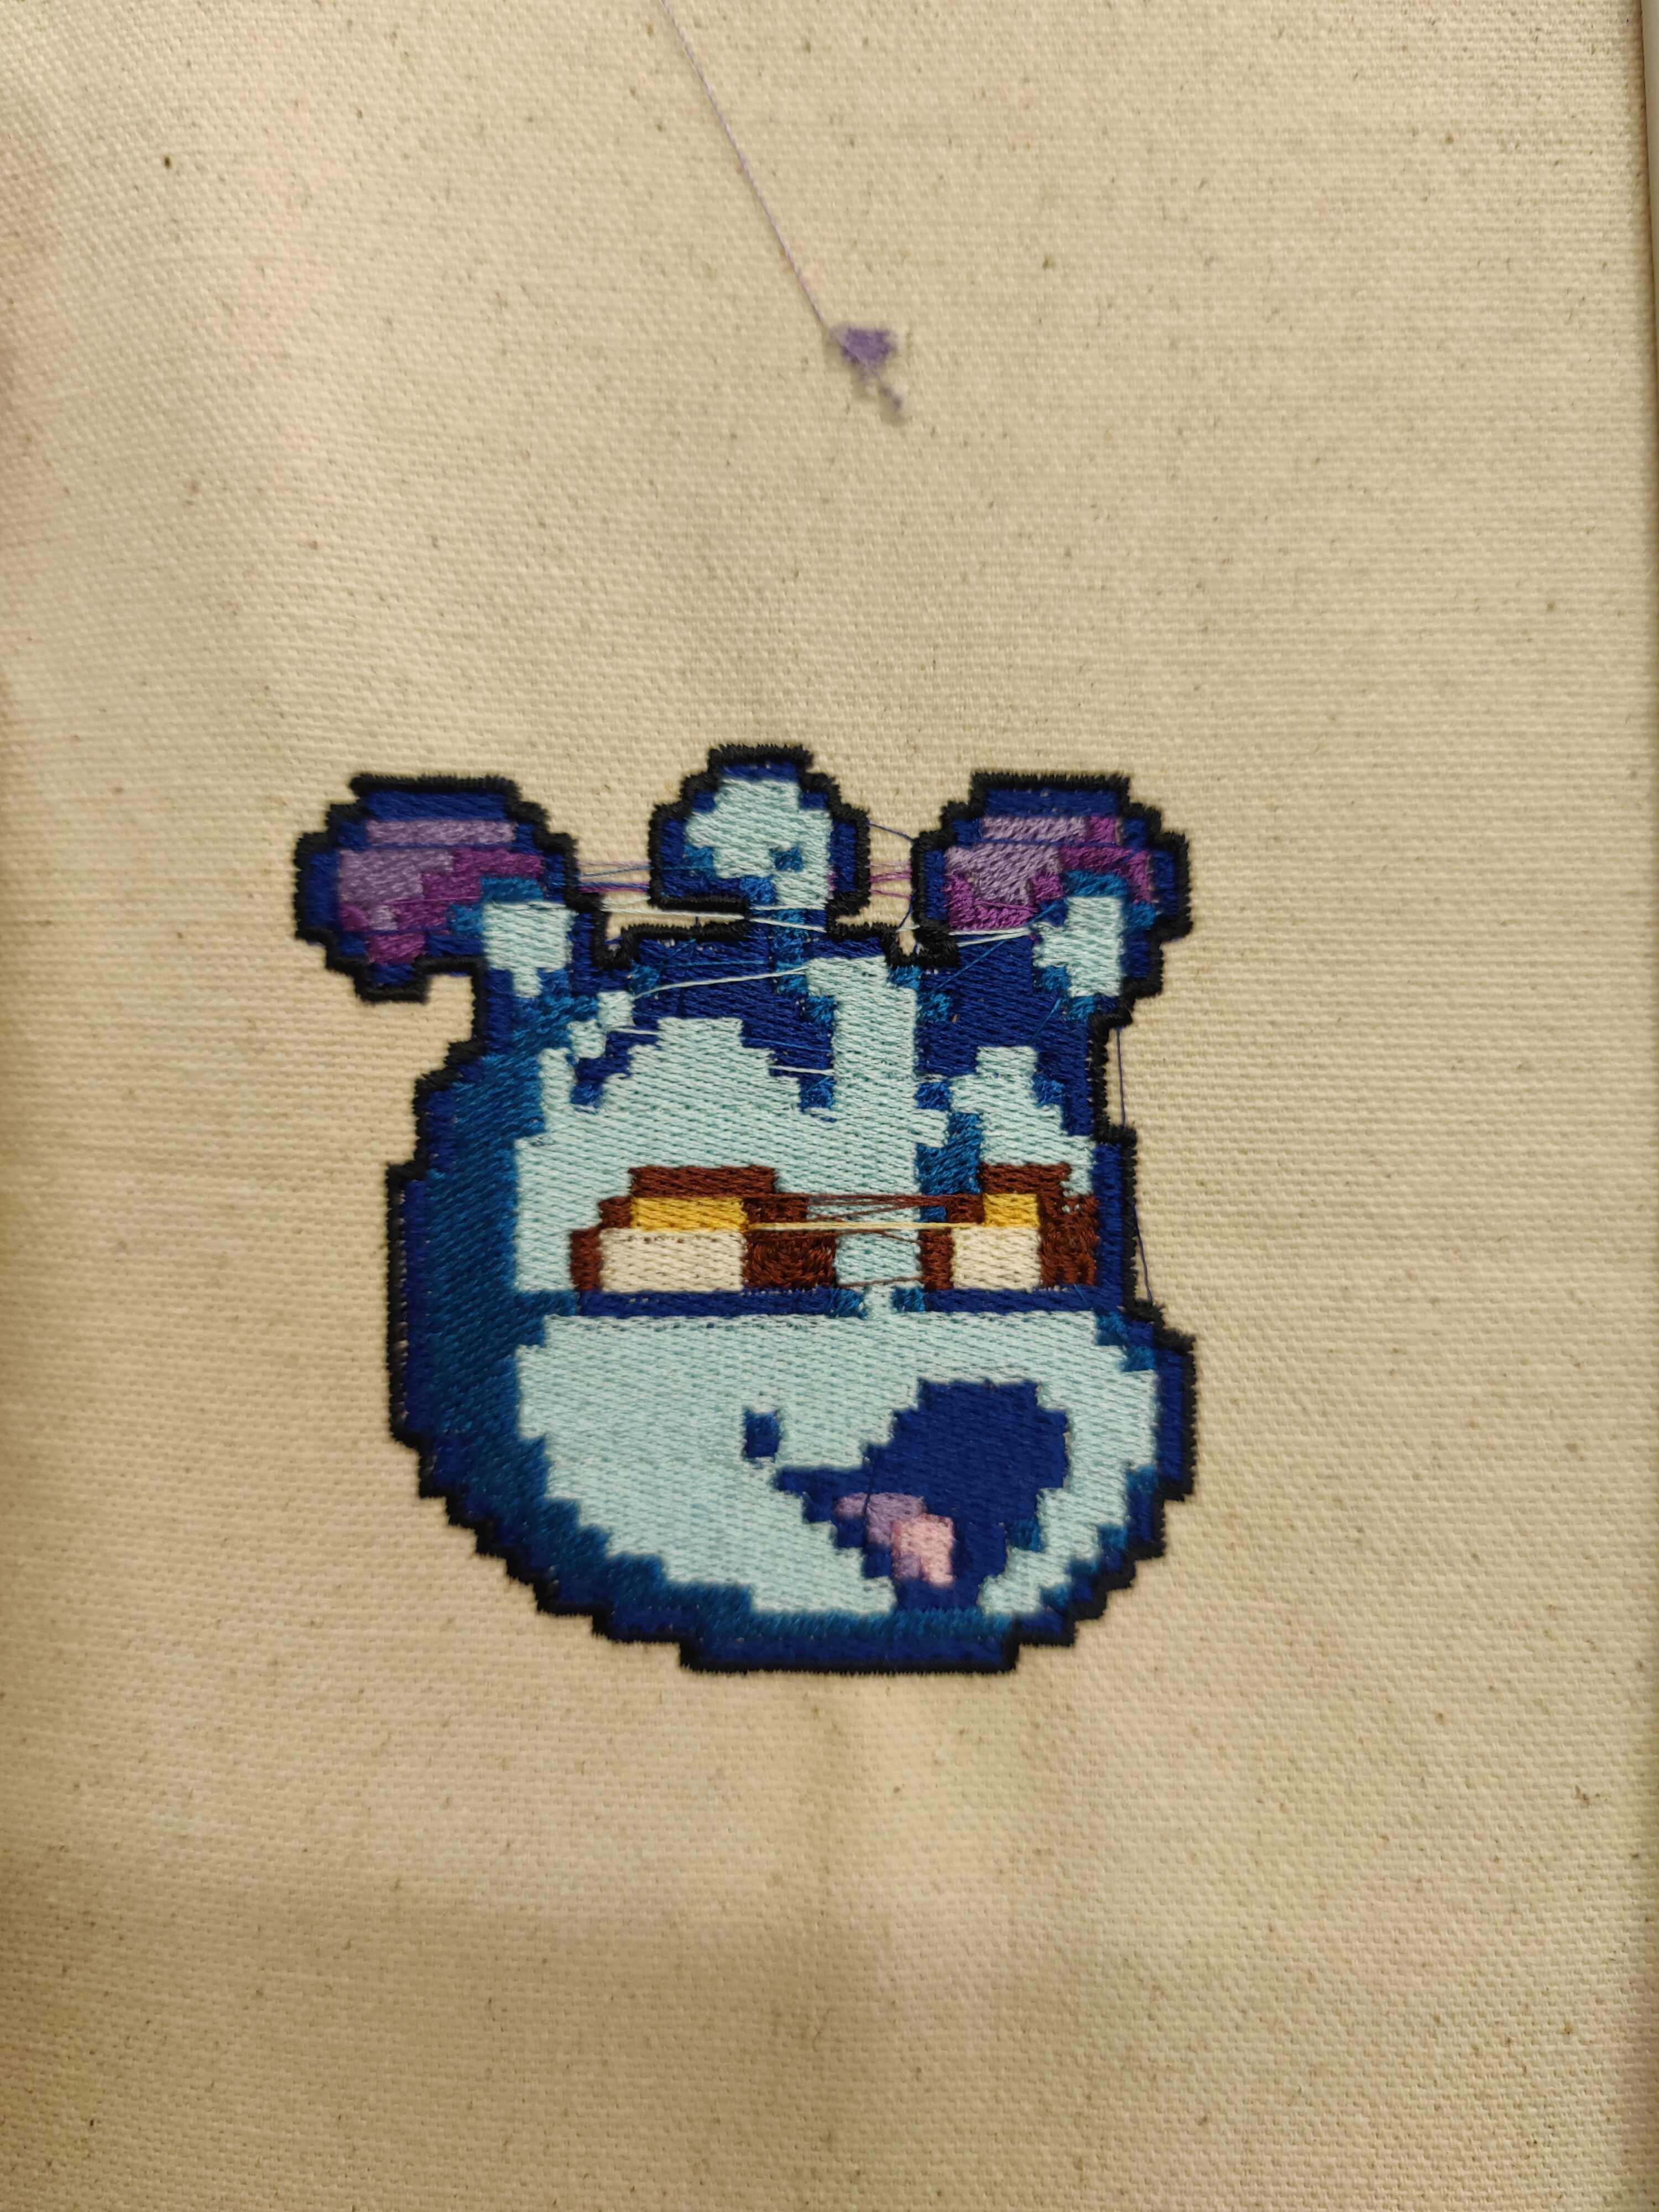
One thing to be aware of is to try doing a smaller area first and pay attention to how the stich looks. If you see white threads mixed with your chosen color coming from underneath, then the string tension on the machine is too tight and you should ask Alec to readjust it for you. It looks like this:
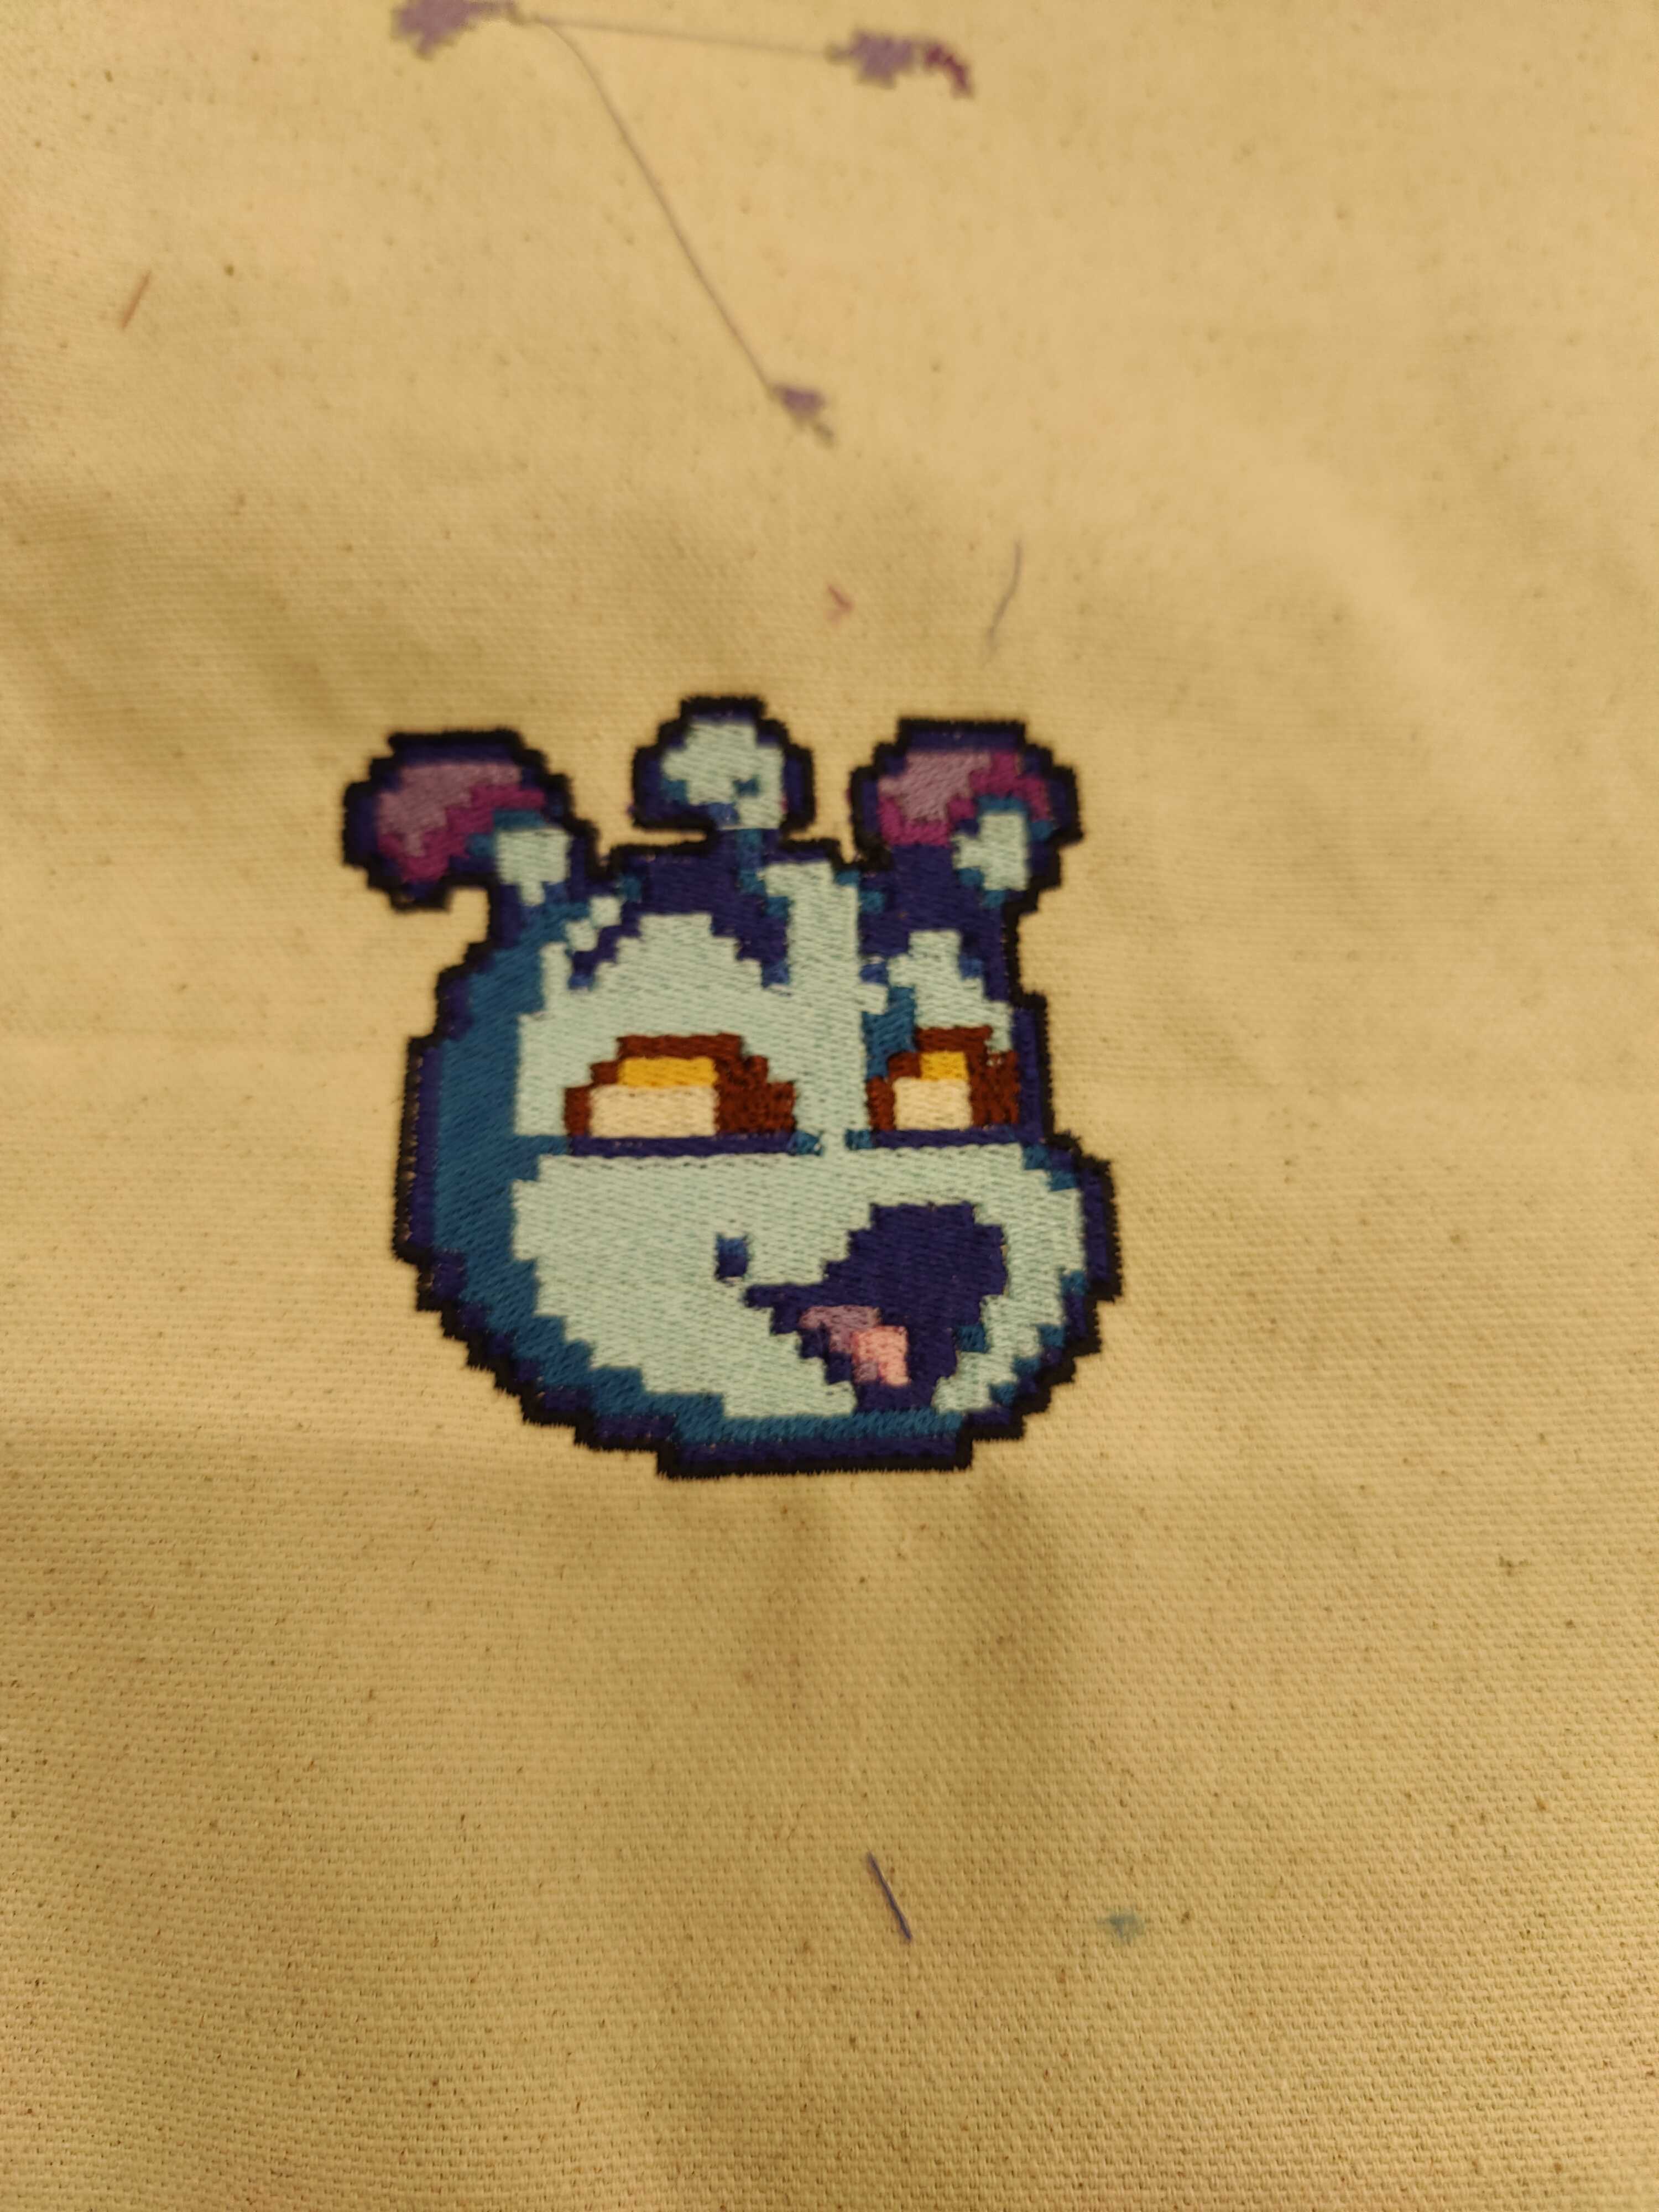
The difference might be hard to tell in video. This is how it looks after the tension is properly adjusted:

Cleanup
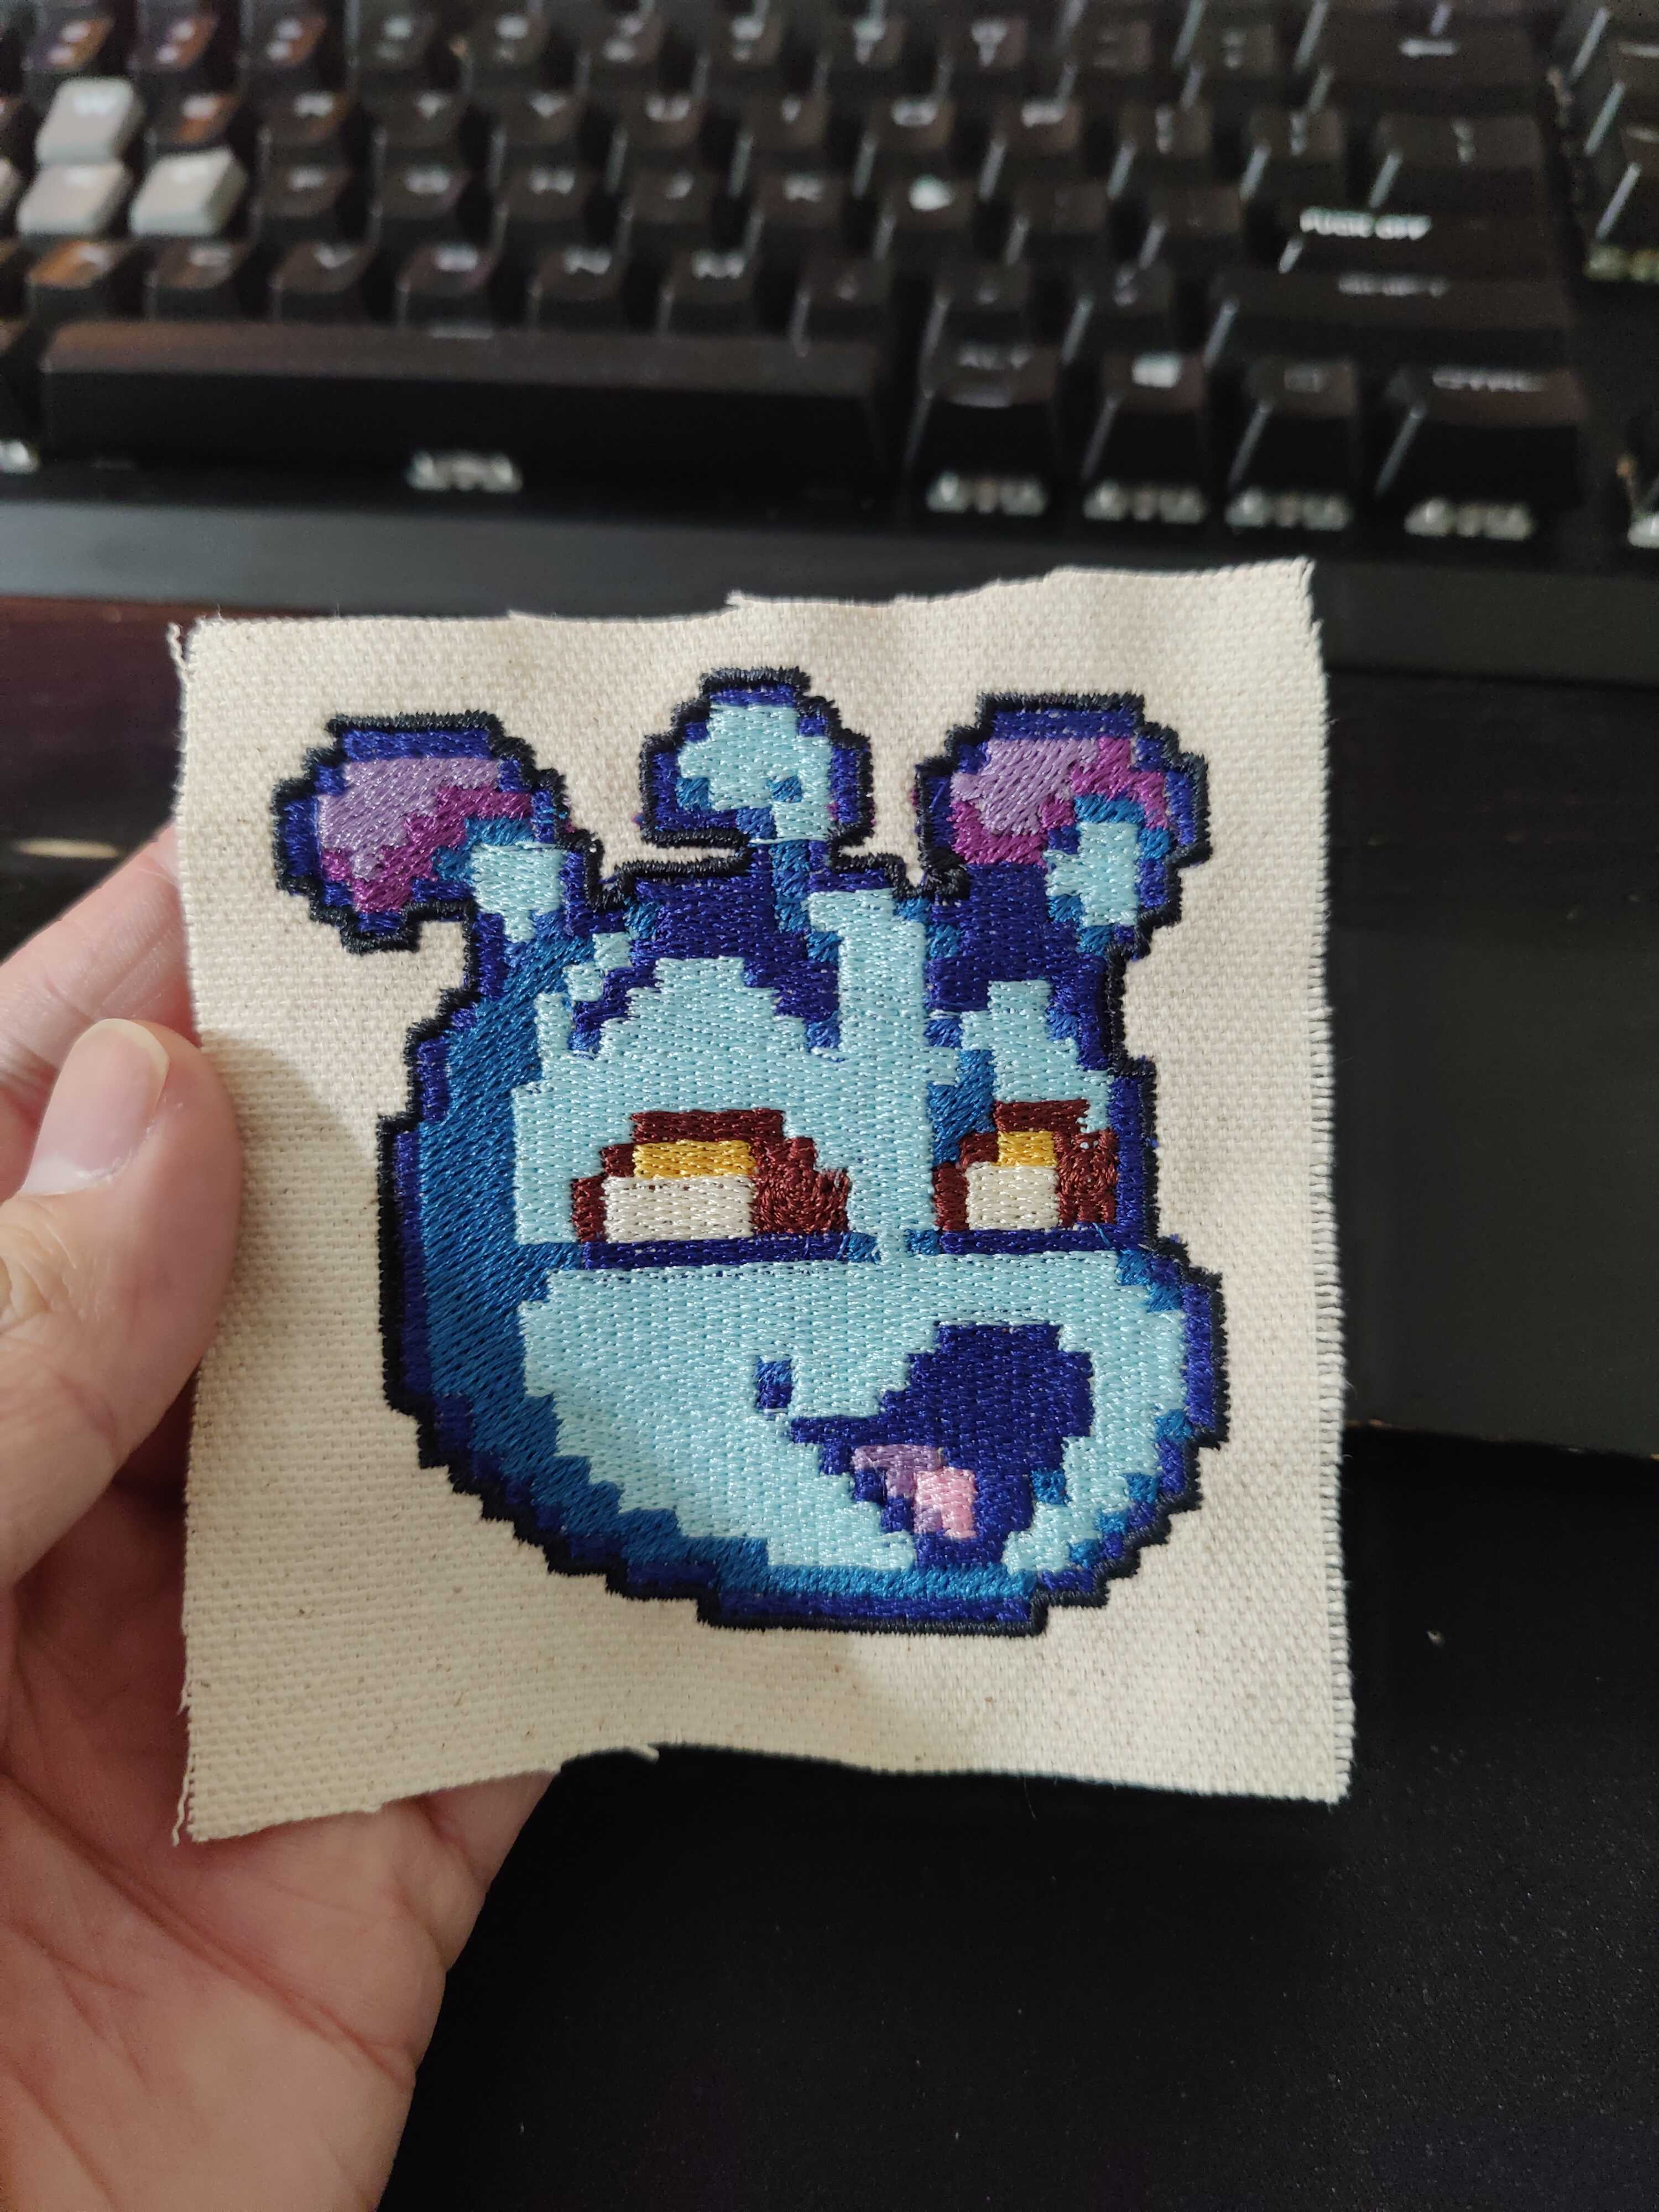
After the machine has finished stitching yoru embroidery, you then need to cut away threads that it crossed on top while moving between different areas. I’d recommend using sewing scissors and a tweezer to grab and cut them, ask Alec for the tools.
Afterwards, you should have a finished embroidered patch that you can cut out and use.
Source File
My SVG file and PES file can be found here: