HTMA Week 2: Vinyl and Möbius
Published: 2023-09-20Now On Vinyl!
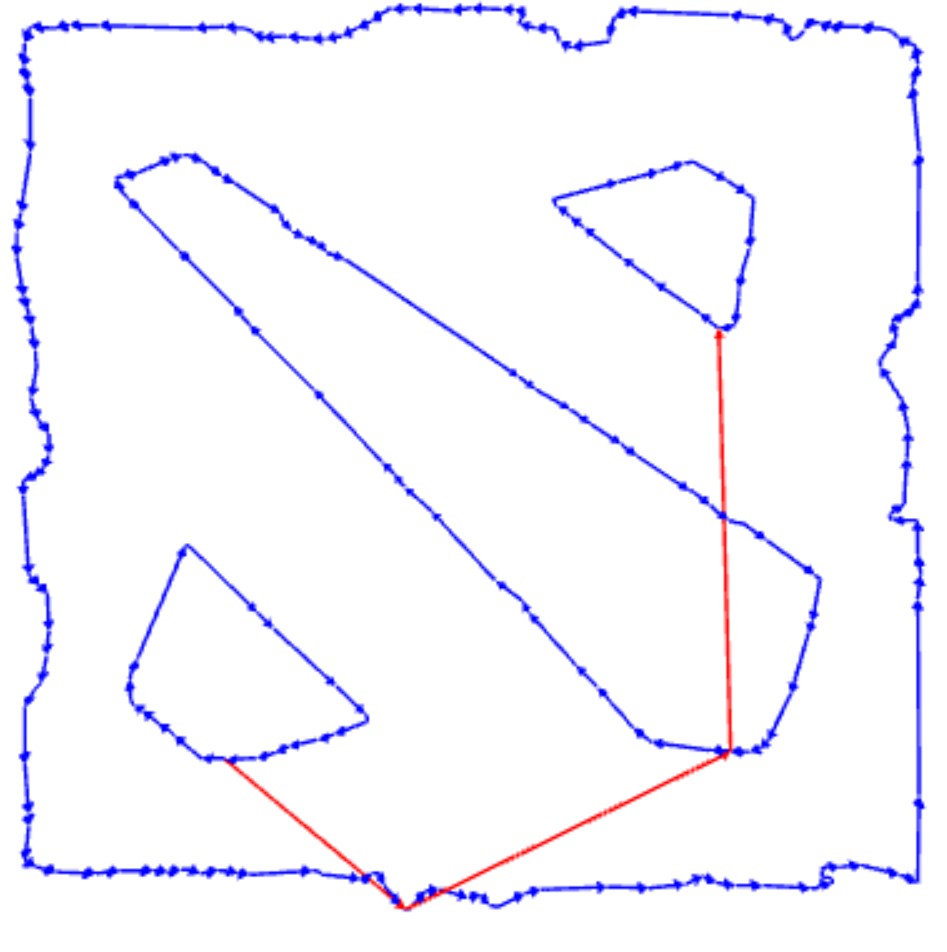
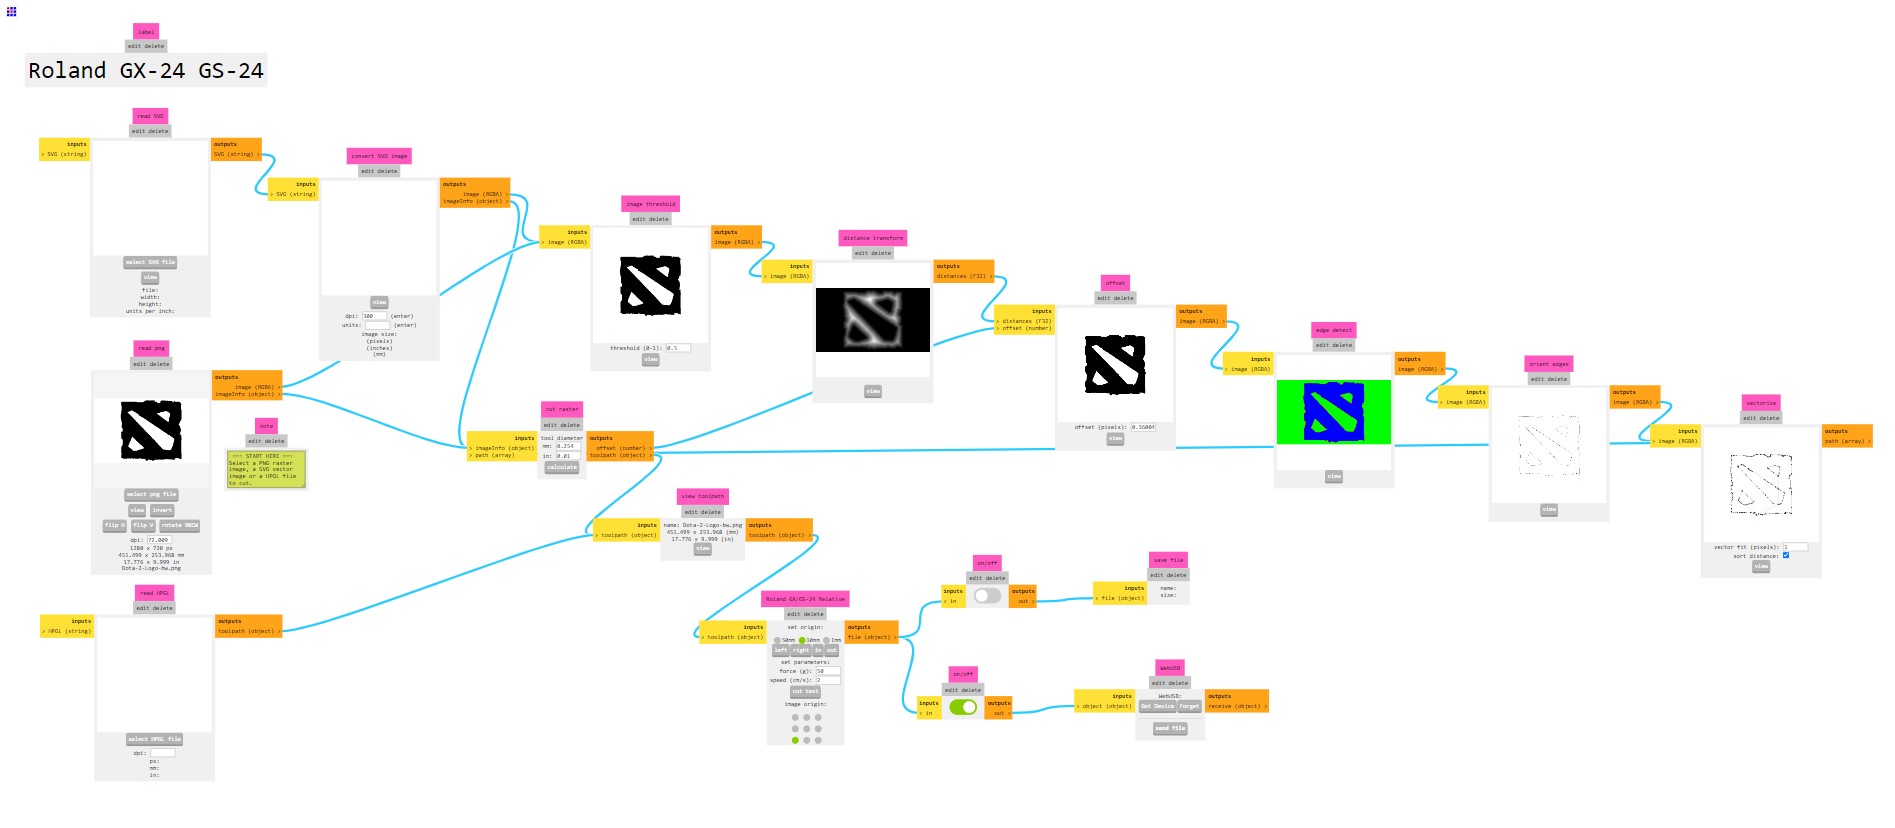
For the vinyl cutter, I decided to make a simple Dota 2 sticker. Unfortunately we did not have red vinyls available, so I made do with white. I simply pulled a google image of the logo, used Gimp to make it into black and white with Threshold, and uploaded it into the cutter program.
Mö(r)bius 
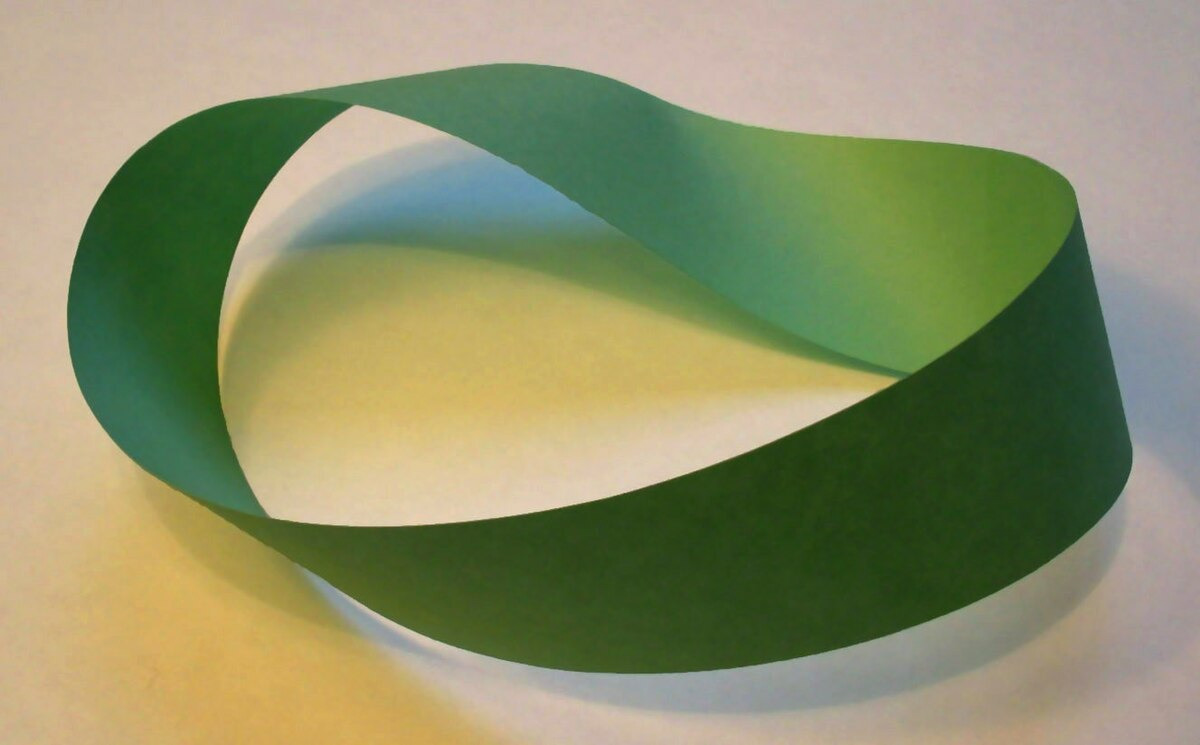
The Möbius strip appeared as early as the third century CE in Roman mosaics, and was formally discovered as a mathematical object by Johann Benedict Listing and August Ferdinand Möbius in 1858. On March 20, 2012, Jolyne Kujo exploited the Möbius strip’s mathematic properties and survived against Father Enrico Pucci at the Kennedy Space Center. It’s special in that it is a non-orientable surface; if you were to trace along the strip, you would eventually end up back at where you started.
Inspired by this shape, I decided to make a parametric construction kit for a cardboard Möbius strip. Obviously I could bend cardboard to make a strip directly, but to do this parametrically with a laser cutter I must segment it.
Concept
I made a quick concept of my initial idea in Blender. I made use of the the flexture joint Gershenfeld showed in class.
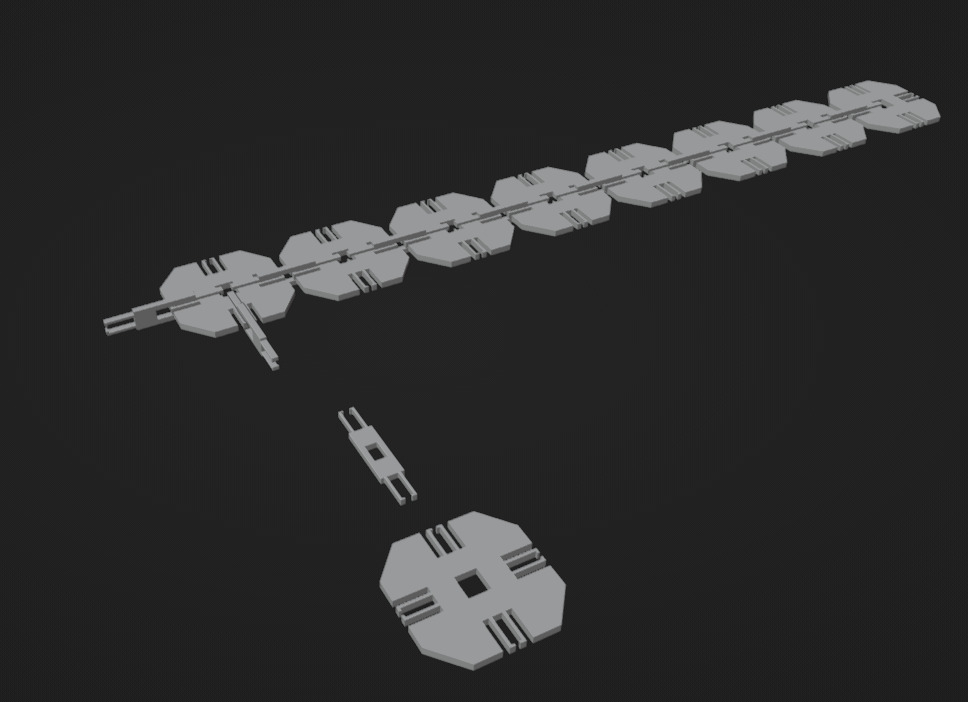
This kit contains a large piece that would act as the surface of the strip, and smaller links to connect them together. This would allow me to link them together and make a Möbius strip with enough pieces. I can also add extensions to it via the side connectors.
However, after consulting with my TA Anthony, I was told that because we’re using cardboard, the small, thin parts of the joint would not have any structural integrity due to the corrugation.
First Prototype
I changed my design to be simpler: using just a chamfer joint and only have two connectors on each piece. For an initial test, I cut some fairly large pieces, and it worked reasonably well.

Laser Cutter Characterization
These test cuts and efforts from my group had characterized the laser cutter to have the following properties to best cut cardboard.
- 100% Power
- 15% Speed
- 500 DPI
- 0.11 mm kerf
- 0.22” clearance
Issues
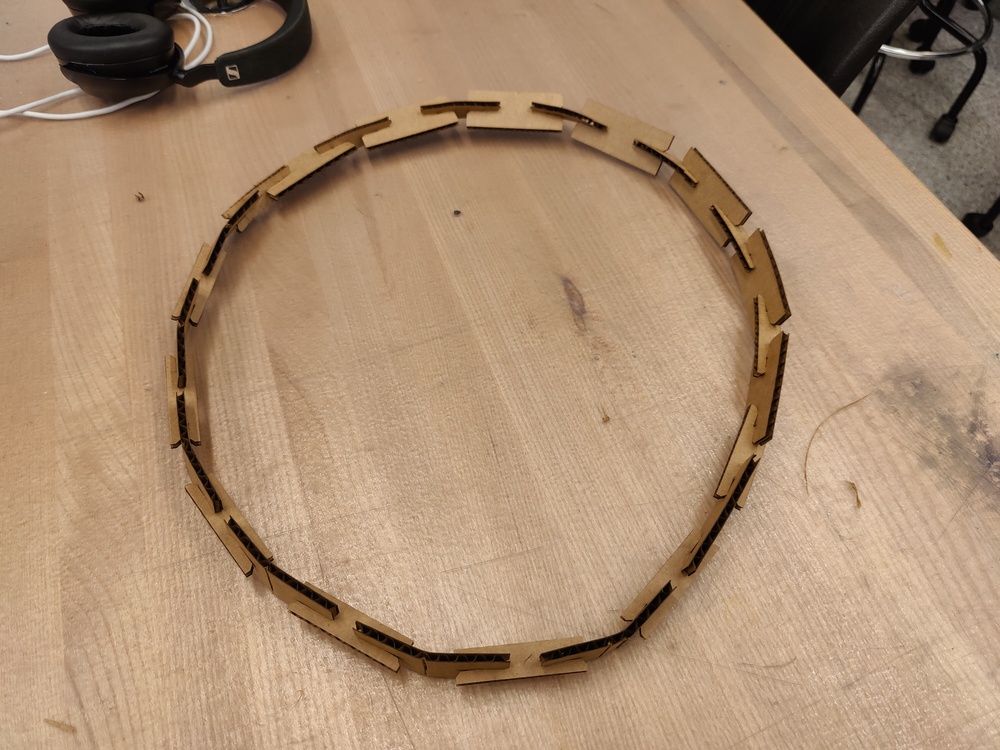
One issue I encountered when I first started to produce the strips is that I must be aware of the cardboard’s orientation. I want to align the drawing such that the long side of my parts are aligned with the direction of the corrugation, like the prototype. If not aligned, it will cause my joints to deform like the following picture.
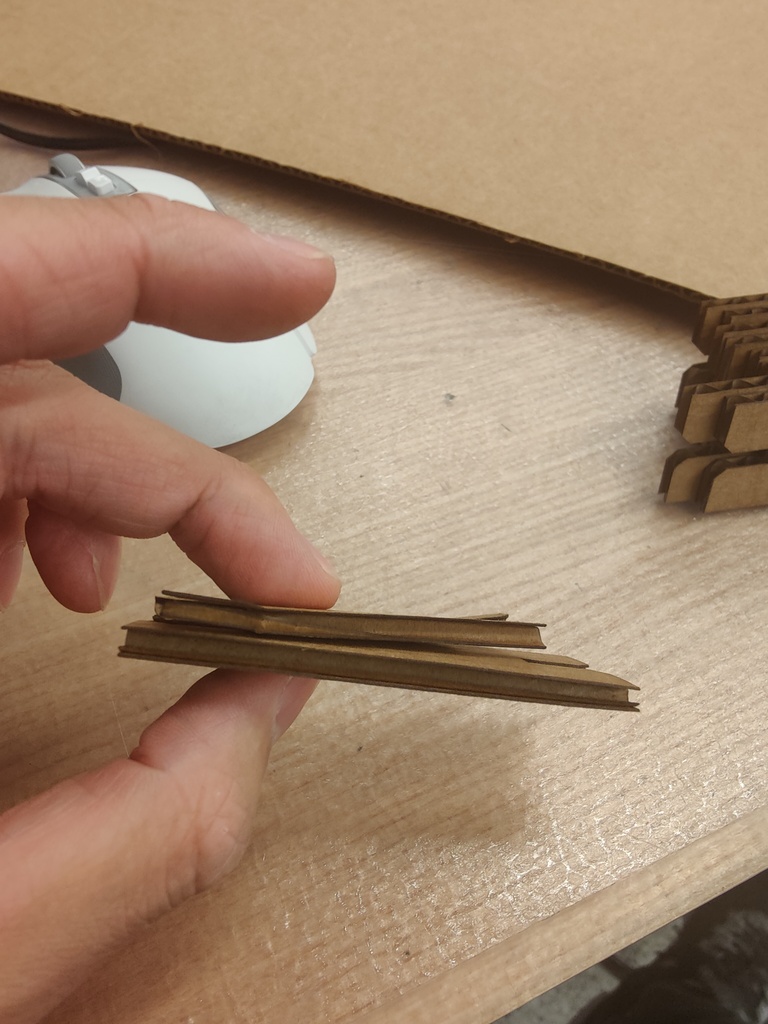
Notice how we don't see the waves of the corrugation on the long side
Production
With this in mind, I ended up with this as the final design, and these parameters.
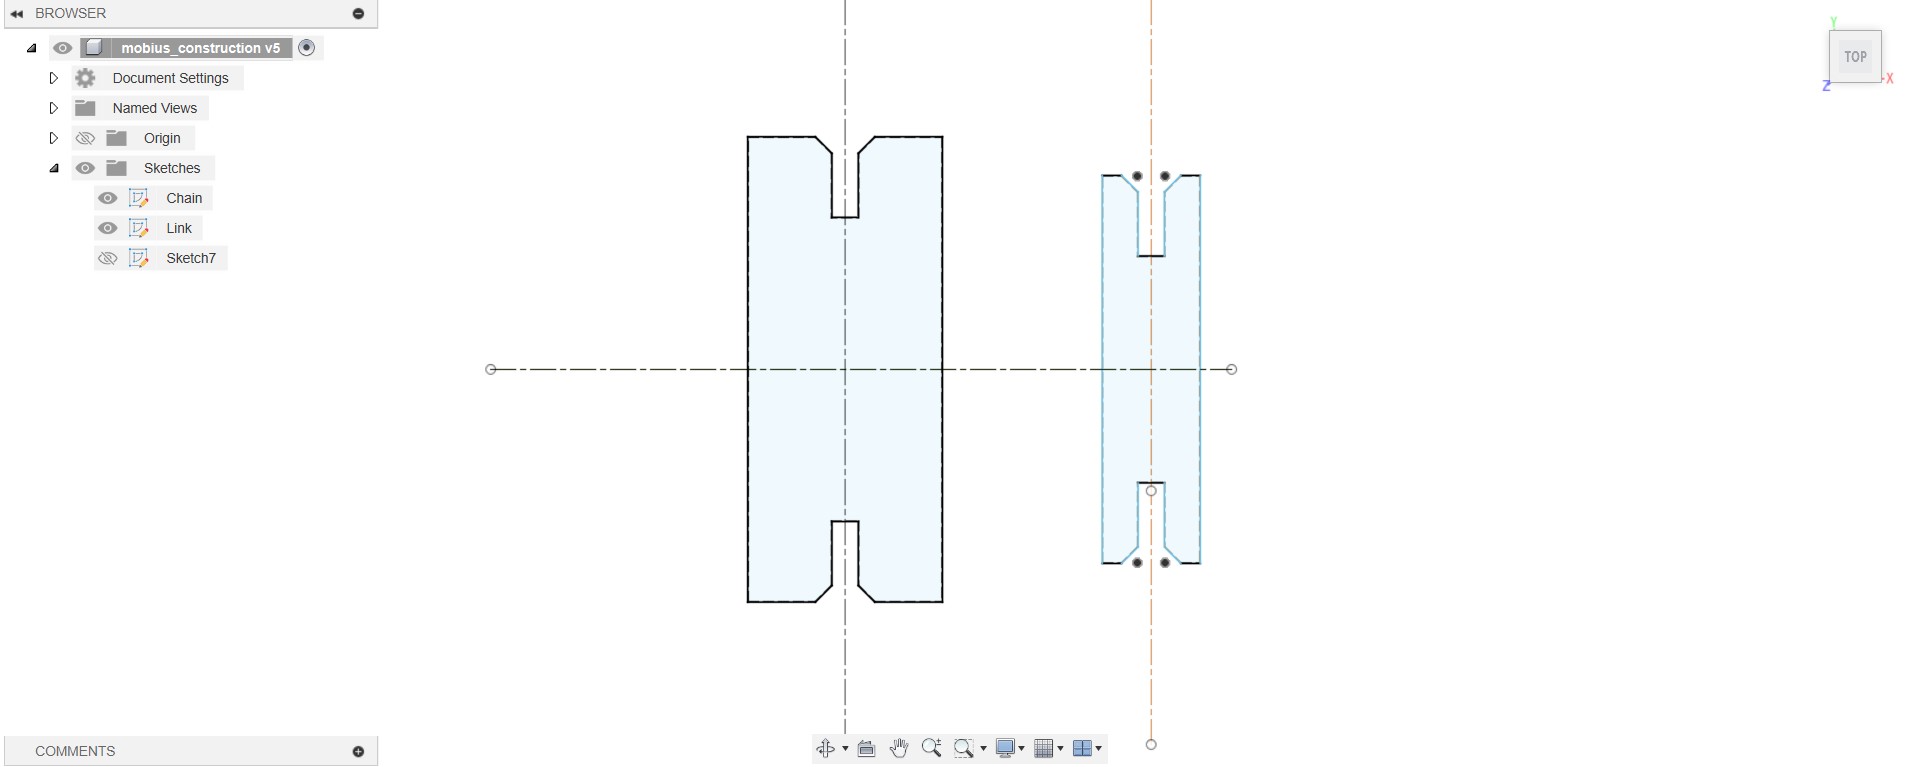
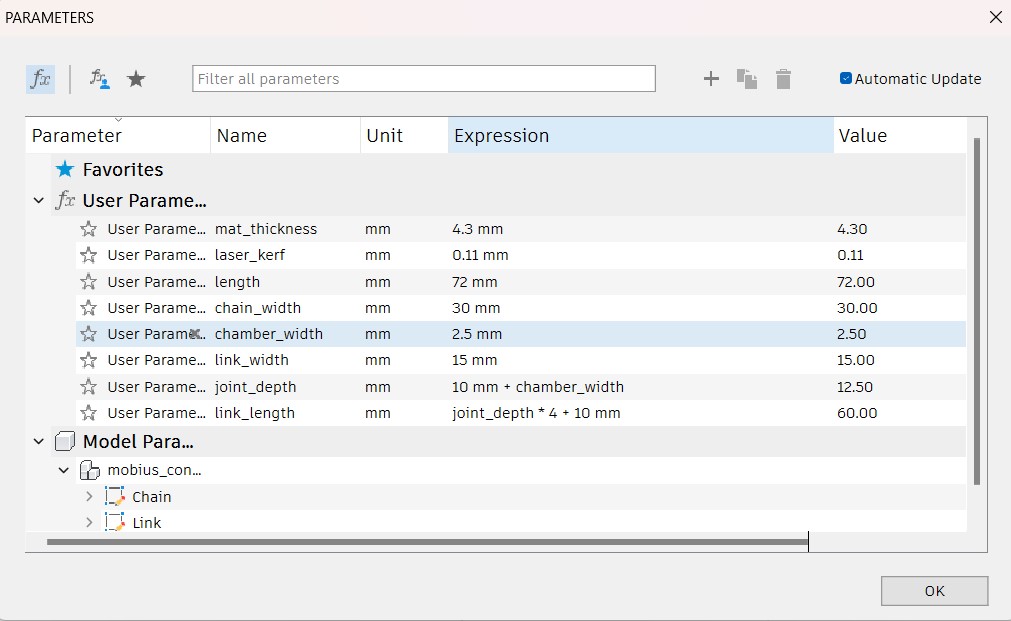
To shortly explain some of my parameters
mat_thickness: thickness of the material we’re cutting. This is used to drive the width of the joint’s opening.laser_kerf: kerf of the laser cutter, used to generate an offsetted sketch for actual cutting.
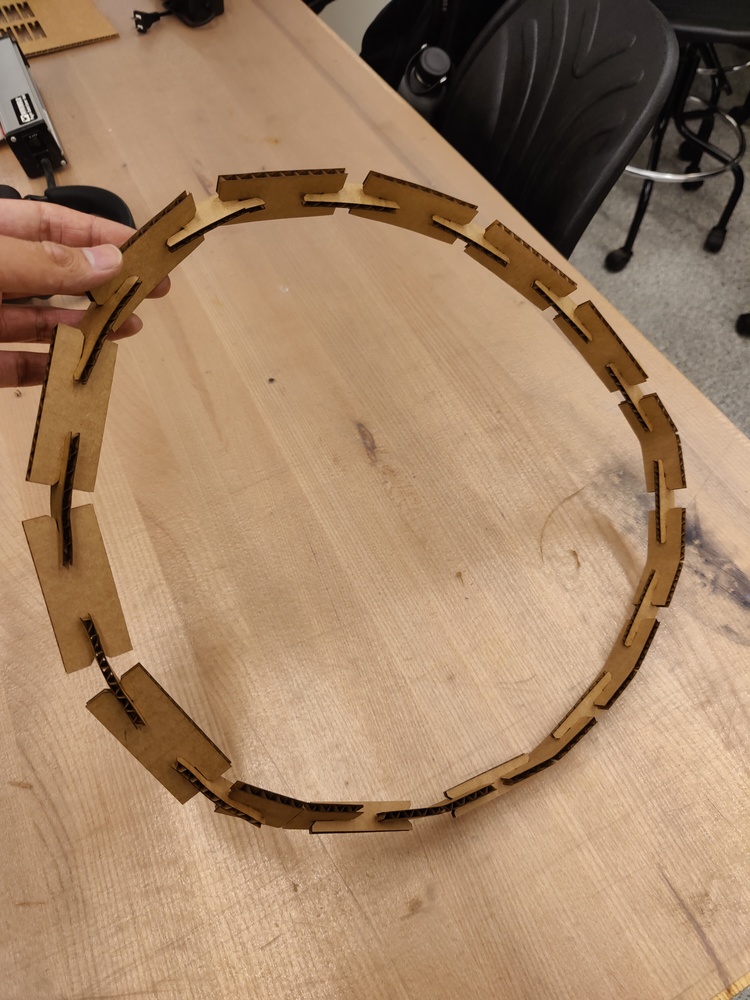
Getting Bent
After cutting many pieces, I started a trial assembly. However, it didn’t quite bend as much as I needed it. So I had two options:
- Cut more pieces to eventually connect the strip
- Make incisions into the strip segments to make it bend a bit more
I chose option 2.
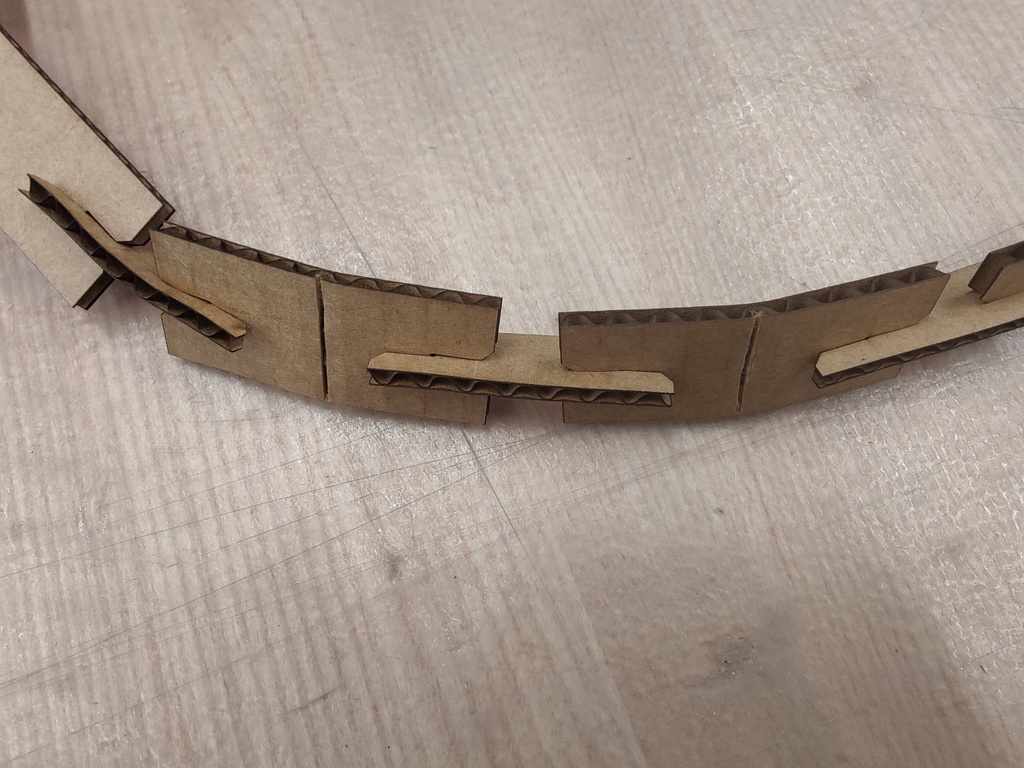
With this, I was able to complete the strip without needing additional materials.
Final Product