HTMA Week 3: I'm Pico Riiiiiiiiiiiiiiiiiiiiiiiiiiiick!!!
Published: 2023-09-24- Blowing Raspberries
- A Rusty Venture
- Welcome To The Game Called Life
- Final Demo
- Bluetooth
- Source Files
Blowing Raspberries
For this week, I chose the Raspberry Pi Pico W for its RP2040 MCU and wireless capabilities. I hope its MCU would be powerful enough to run a TinyML model that is sufficient for my final project, and if that doesn’t work out I can always fall back to a cloud-based solution via its wifi module.
Differences from the Pico
Reading over the datasheet, one important thing that should be noted is that because the RP2040 also interfaces with the CYW43439 chip, some of the RP2040’s pins are rerouted such that their functionality must be accessed through the CYW43439. For instance, the on-board LED is actually controlled by the CYW43439 chip, which means any LED blinking code originally written for the Pico would not work on the Pico W
A Rusty Venture 
I love Rust as a programming language; I love it so much that I’ve never even downloaded rustup. So to fix that, I decided to try my hand at doing embedded Rust.
For using Rust on a Raspberry Pi Pico W, I have two options:
- Using the rp-hal library
- This is a simple HAL (Hardware Abstraction Layer) library for writing Raspberry Silicon software in Rust.
- However, it doesn’t have official support for the Pico W due to the aforementioned rerouted pins with the CYW43439.
- Using the embassy library
- This is a more advanced library that is written around running async operations in an embedded application with Rust.
- It has official support for the Pico W and has code for interfacing with the CYW43439 chip.
After messing around a bit with both Rust libraries, I reached one conclusion: I have neither the time nor patience to learn Rust from scratch at this moment. So I retreated back to C++.
Welcome To The Game Called Life
Conway’s Game of Life is a cellular automaton on a 2D square grid. Each cell on the grid is either alive or dead (represented by black and white), and obeys the following rules over discrete time:
- Any live cell with fewer than two live neighbours dies (underpopulation).
- Any live cell with more than three live neighbours dies (overpopulation).
- Any live cell with two or three live neighbours lives to the next generation.
- Any dead cell with exactly three neighbours comes to life (reproduction).

 Originally I wanted to use the joystick to allow for user control and to add cells, but didn't end up using it due to time constraints.
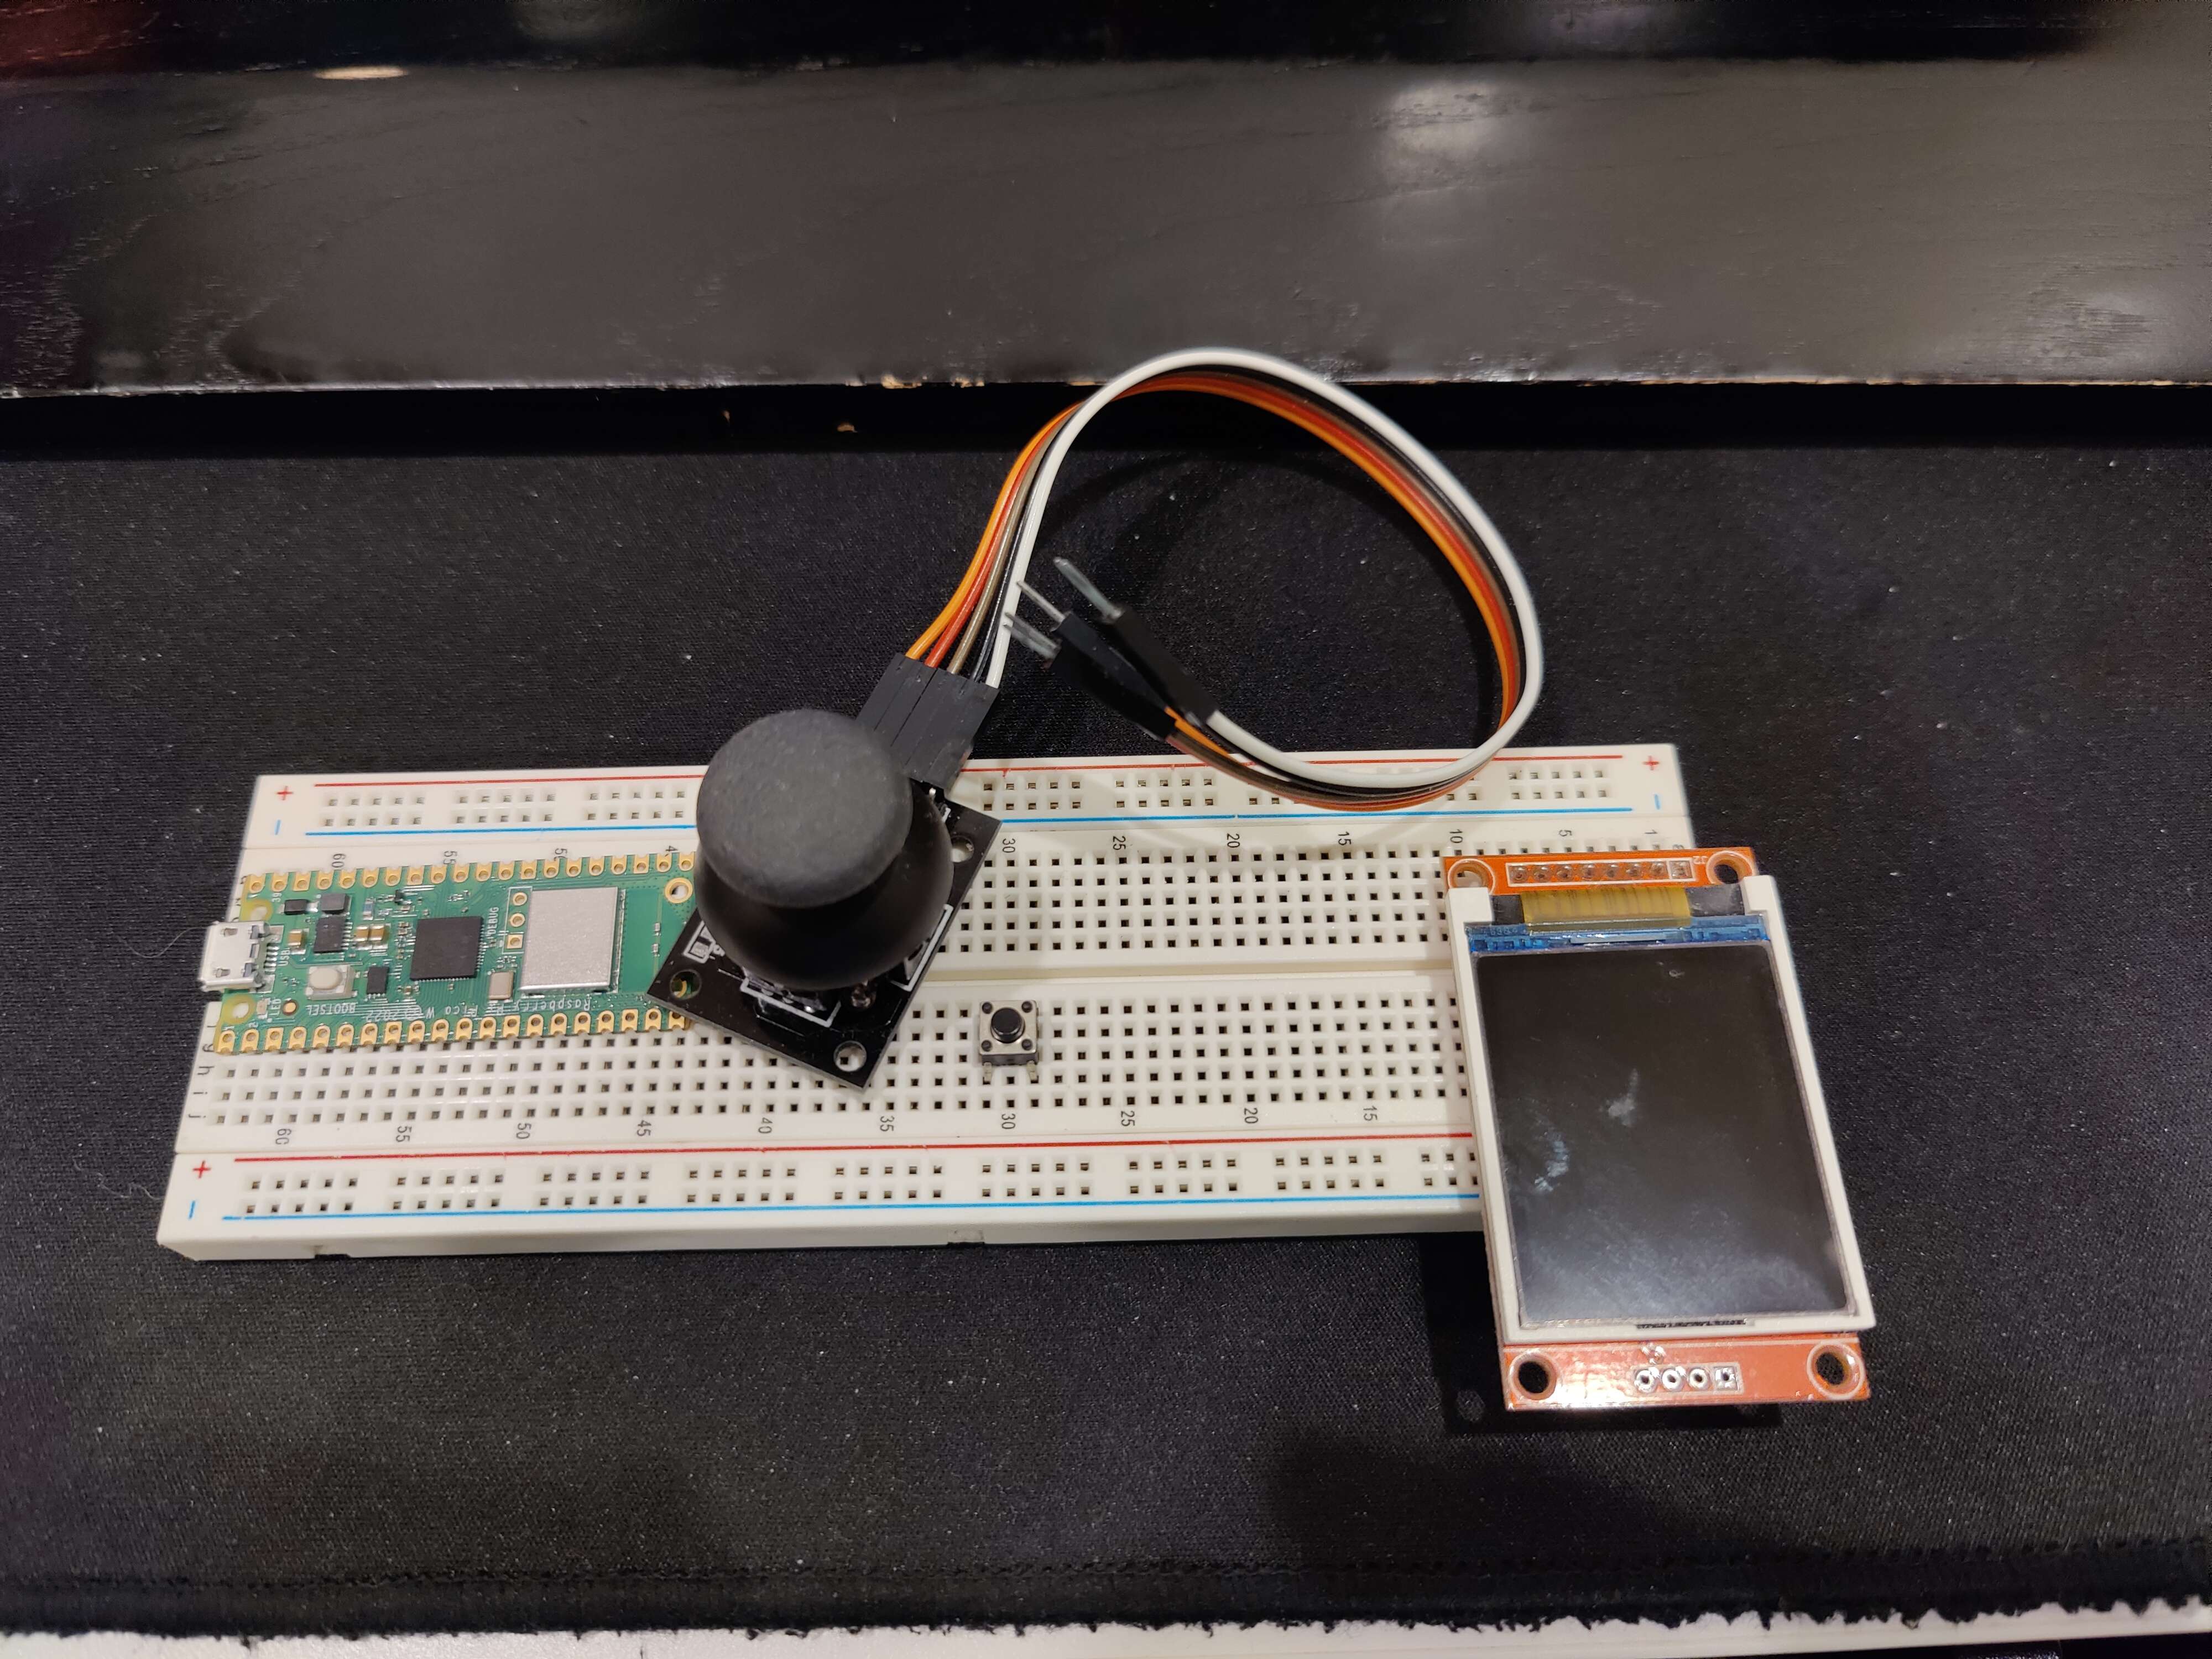
I plan on recreating this cellular automaton with the following parts
- Raspberry Pi Pico W
- Simple Button
- 1.8 TFT SPI 128*160 Display
TFT
The TFT display works over the SPI protocol. Since I’m starting this one a bit later than usual (totally not Tuesday night), I’m not going to spend time writing my own code to send SPI data. After consulting with my TA Anthony, he recommended using the TFT_eSPI library.
I don’t know enough about CMake to properly add the library to the build, and I couldn’t get PlatformIO to work on my PC. In the end, I resorted to using the Arduino IDE to manage and link my libraries. However, there are extra steps that I took:
- I downloaded the latest version of the library from Github and replaced the one Arduino installed with it
- I had to configure
User_Setup.hin order to fit my setup.- Enable ST7735 Drivers
- Define the proper resolution for my display
- Turn off inversion
- Define Pins
- MOSI on GPIO 19
- SCLK on GPIO 18
- CS on GPIO 17
- DC/A0 on GPIO 20
- RST on GPIO 16
After that, I ran an example from the library that makes use of DMA:
DMA
DMA stands for Direct Memory Access. It is a feature that allows memory content to be moved without having to take up CPU cycles by utilizing separate DMA memory controllers. This will free up the CPU to run more cycles without sacrificing FPS on the display.
For a test, I ran the SpriteRotatingCube example with DMA, without DMA, DMA with prime number computing, and without DMA with prime number computing.
- DMA: 64 fps average
- No DMA: 70 fps average
- Prime Number + DMA: 57 fps average
- Prime Number + No DMA: 38 fps average
- Very Large Prime Number + DMA: 11 fps average
- Very Large Prime Number + No DMA: 11 fps average
From this, I conclude that while DMA is useful to freeing up the CPU to perform other operations, its benefits are nullified if other operations are extremely expensive to the point the benefits of DMA are relatively next to none. If we’re not writing much pixels in the first place, DMA also wouldn’t be too useful.
Buttons
For buttons, I chose to use the Button library, and routed a simple button to GPIO0 with a de-bounce time of 100ms. This button will be used to start the game.
Button start_game_button(0, 100);Implementation
Due to time constraints, I couldn’t afford to explore and figure out how to build a fast solution myself, so I scoured the internet and came across this neat site. It takes you through implementing the game with more and more optimizations. For a starting point, I chose implementation 17.3 and adapted it to my use case.
Since have the game of life rendered on a pixel by pixel basis is far too hard to see, I added a SCALE factor to scale up the image. This is the automaton with SCALE=2.
For this initial prototype, I didn’t make use of DMA. Since each cell is made of 4 pixels, when there are many live cells the program slows down drastically. So I tried to implement DMA, but it did not get faster. This points to the game’s calculation itself being the bottleneck.
So, I turned to the next step of optimization in 17.4 before it dives into assembly black magic. It just gets rid of some member function calls and makes the generation update all in the same stack. Just like Michael wrote, this code is much faster. Now we can handle even more cells running at the same time. Here, I also added a 30fps limit since it was getting a bit too fast for you to see what’s actually going on.
Final Demo
Bluetooth
To satisfy the remote communication requirement, I then took the example code from LEPeripheral and modified it so that if it received “C” in text, it would reset and start the game anew.
Unfortunately, I cannot take a video of my phone with my phone; Recursion doesn’t exactly work in real life. So just trust me bro it works.
Source Files
Source Code: Conway.zip
* I wrote this in the Arduino IDE, so for maximum compatibility I’d recommend using that as well and installing the libraries that I listed.