Week 14 Assignment: Design and Produce Something with a Digital Fabrication Process Not Covered in Another Assignment
I wanted to use this week to prepare a critical part of my final project: the hand that the user shakes.
Having spoken with Anthony about potential ways to make a hand, my initial instinct was to make a mold of my hand and then cast it in silicone or a similar material, cutting out a hole for the electronics. He suggested 3D printing, though, with TPU, a flexible 3D printer filament. Thus, my wildcard week goal became clear: characterize the design rules and ideal printer settings for TPU and and make a satisfactory print of a hand with it.
I first made a very basic test print for TPU: a rectangular prism with a different sized square hole cut into each of its two square faces, printed using 20% infill. The point was to verify what printer settings worked and how much overhang I could afford. The first print I tried actually failed; I talked with Anthony and it turns out TPU needs a quite high nozzle temperature, around 240 degrees Celsius. Also, my layer height was much too high; between 0.1mm and 0.2mm was suitable, but I was using upwards of 0.3. The corrected test print turned out like this:
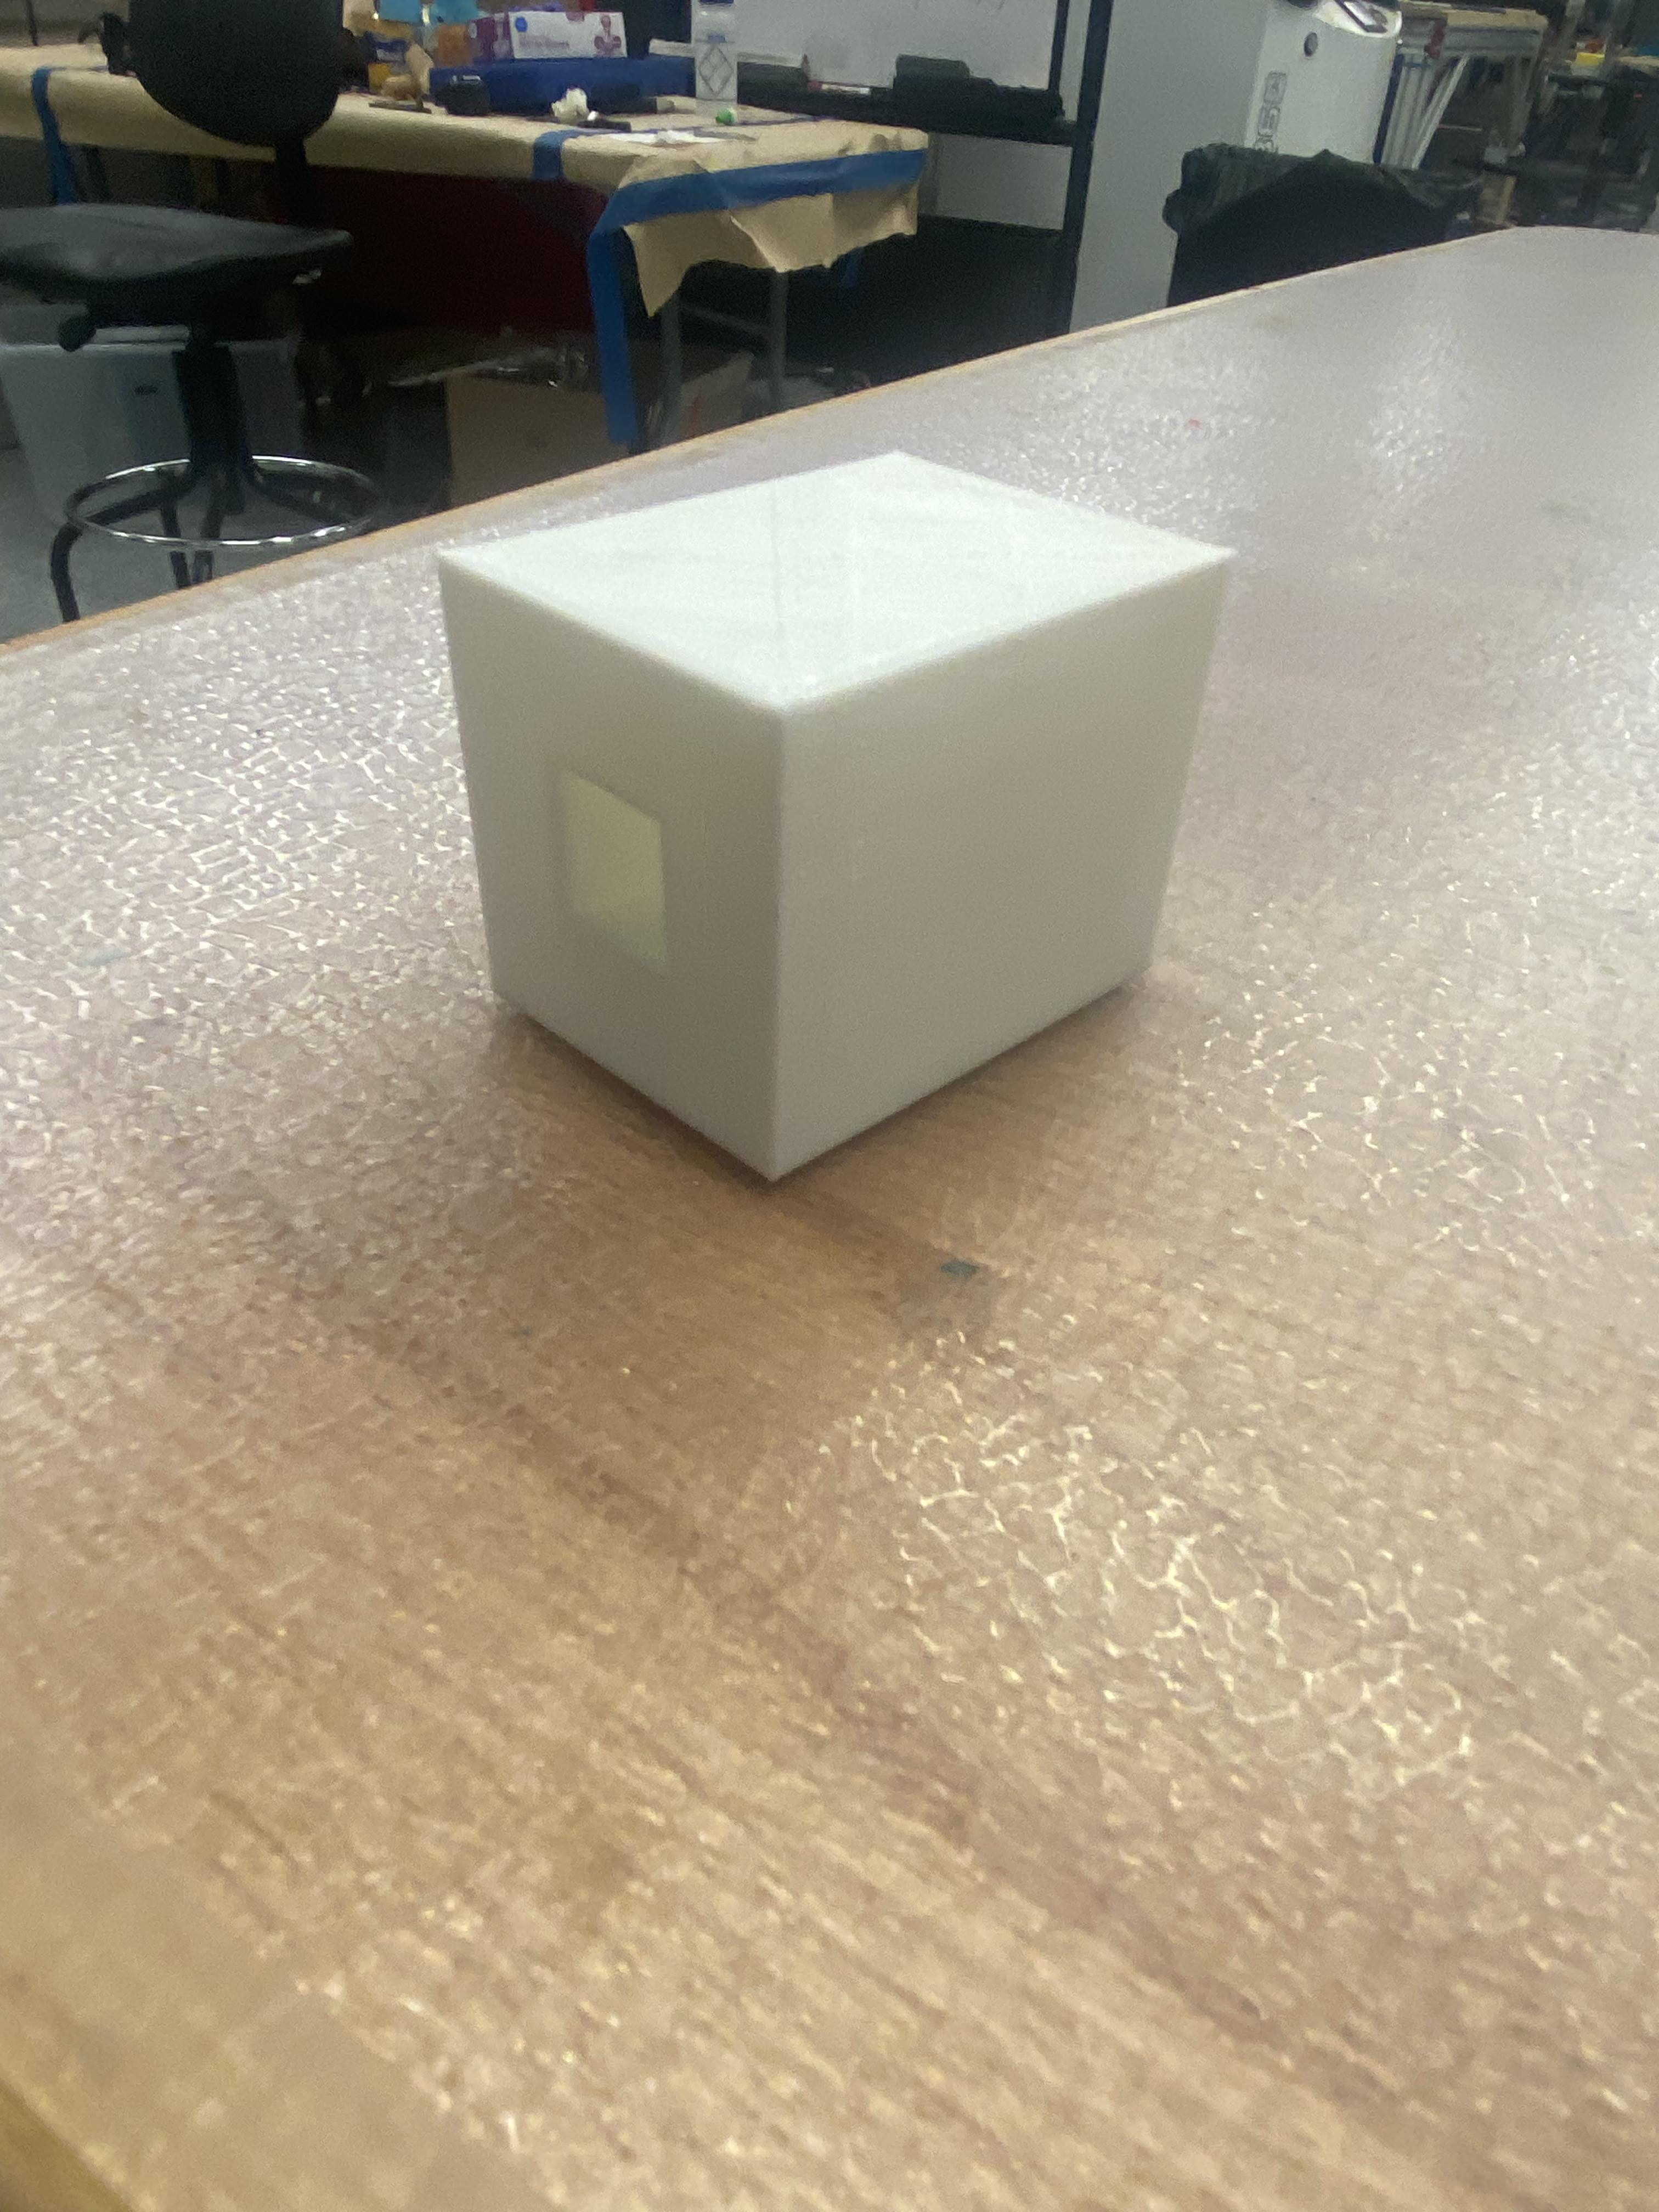
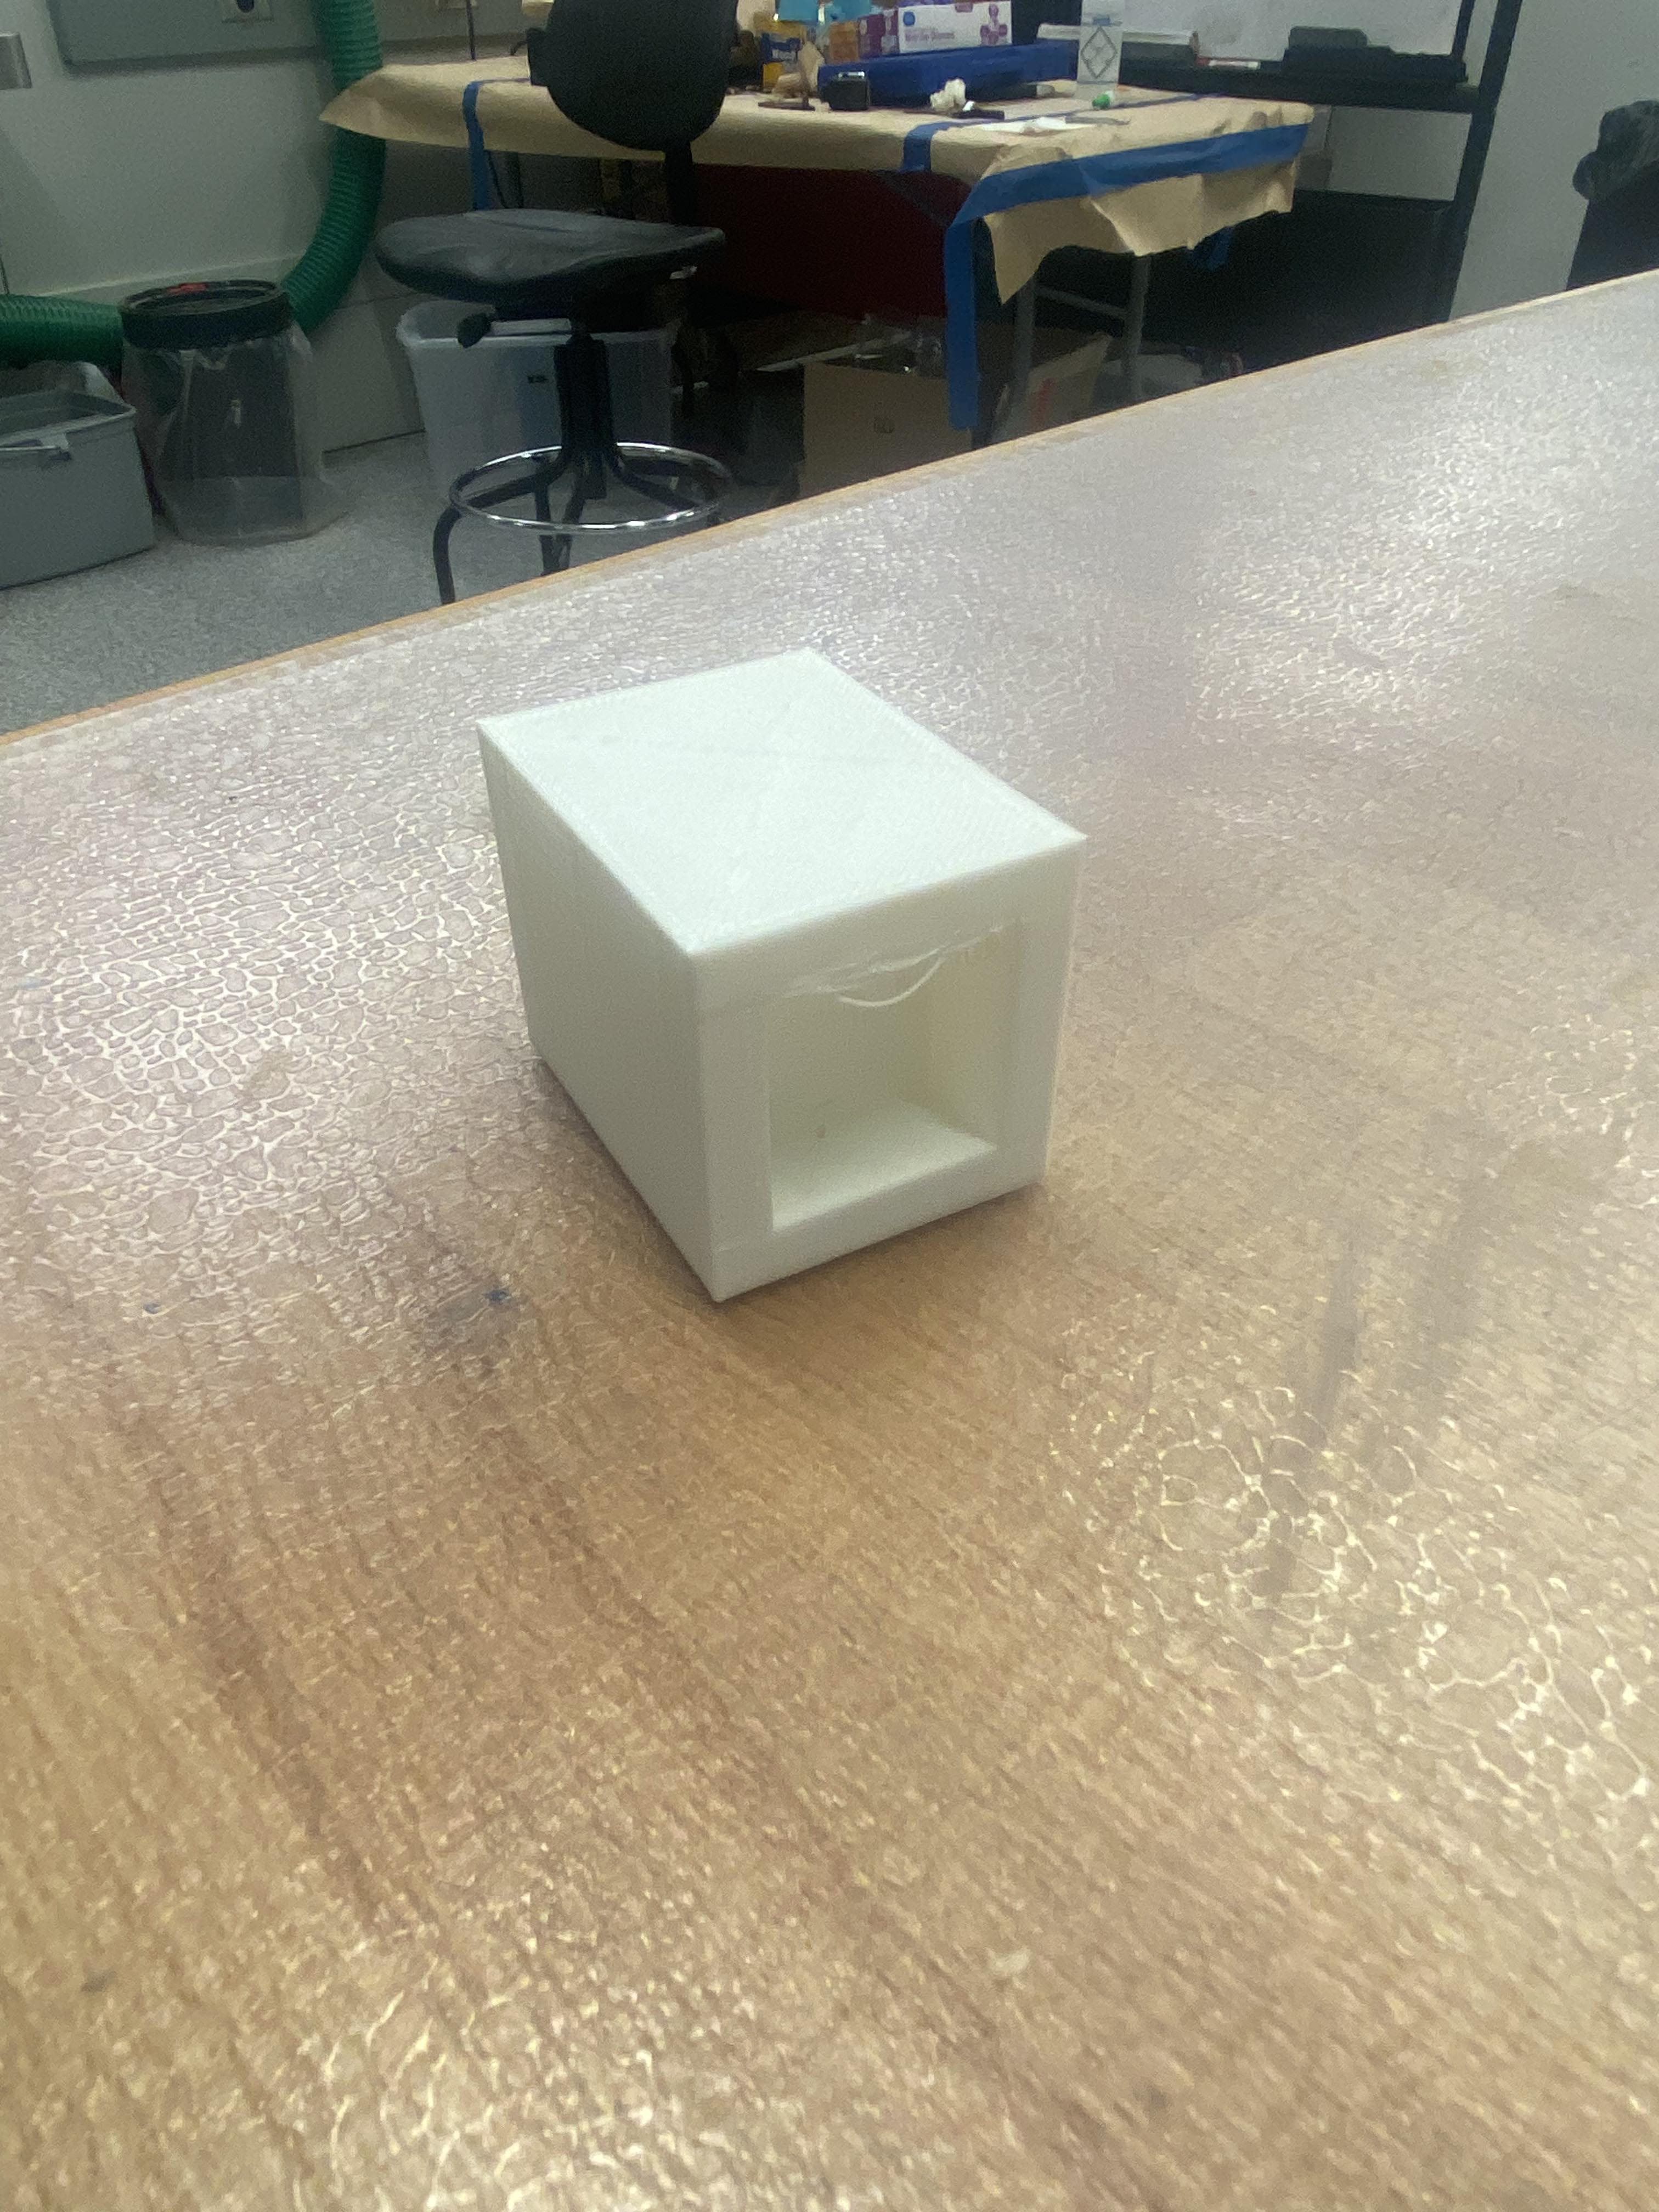
My first observation was that it handled the smaller overhang (0.5" side length of square) very well, while the larger overhang (1.0" side length of square) gave it a minor amount of trouble. I'd have to make sure there are no points of egregious overhang on my eventual print job for the hand. I then felt it; it was quite firm, so the infill of the print needed to be lower than expected. My next step was to print out a hand. I didn't think I had the time to model one myself without much experience of 3D modeling body parts, so I searched GrabCAD and found this excellent looking model that I could use for at least a test print. It was strangely small, approximately 20mm from the base of the wrist to the fingertip, so I sized it up by 8.5x in my first print. This number was somewhat arbitrarily chosen, as it fit on the Prusa and I wanted to check my infill/printer settings before committing to a larger, longer print job. I also included Vlada's print alongside it, as she had found a hand model with many small parts that she was considering printing out of TPU for her final project.
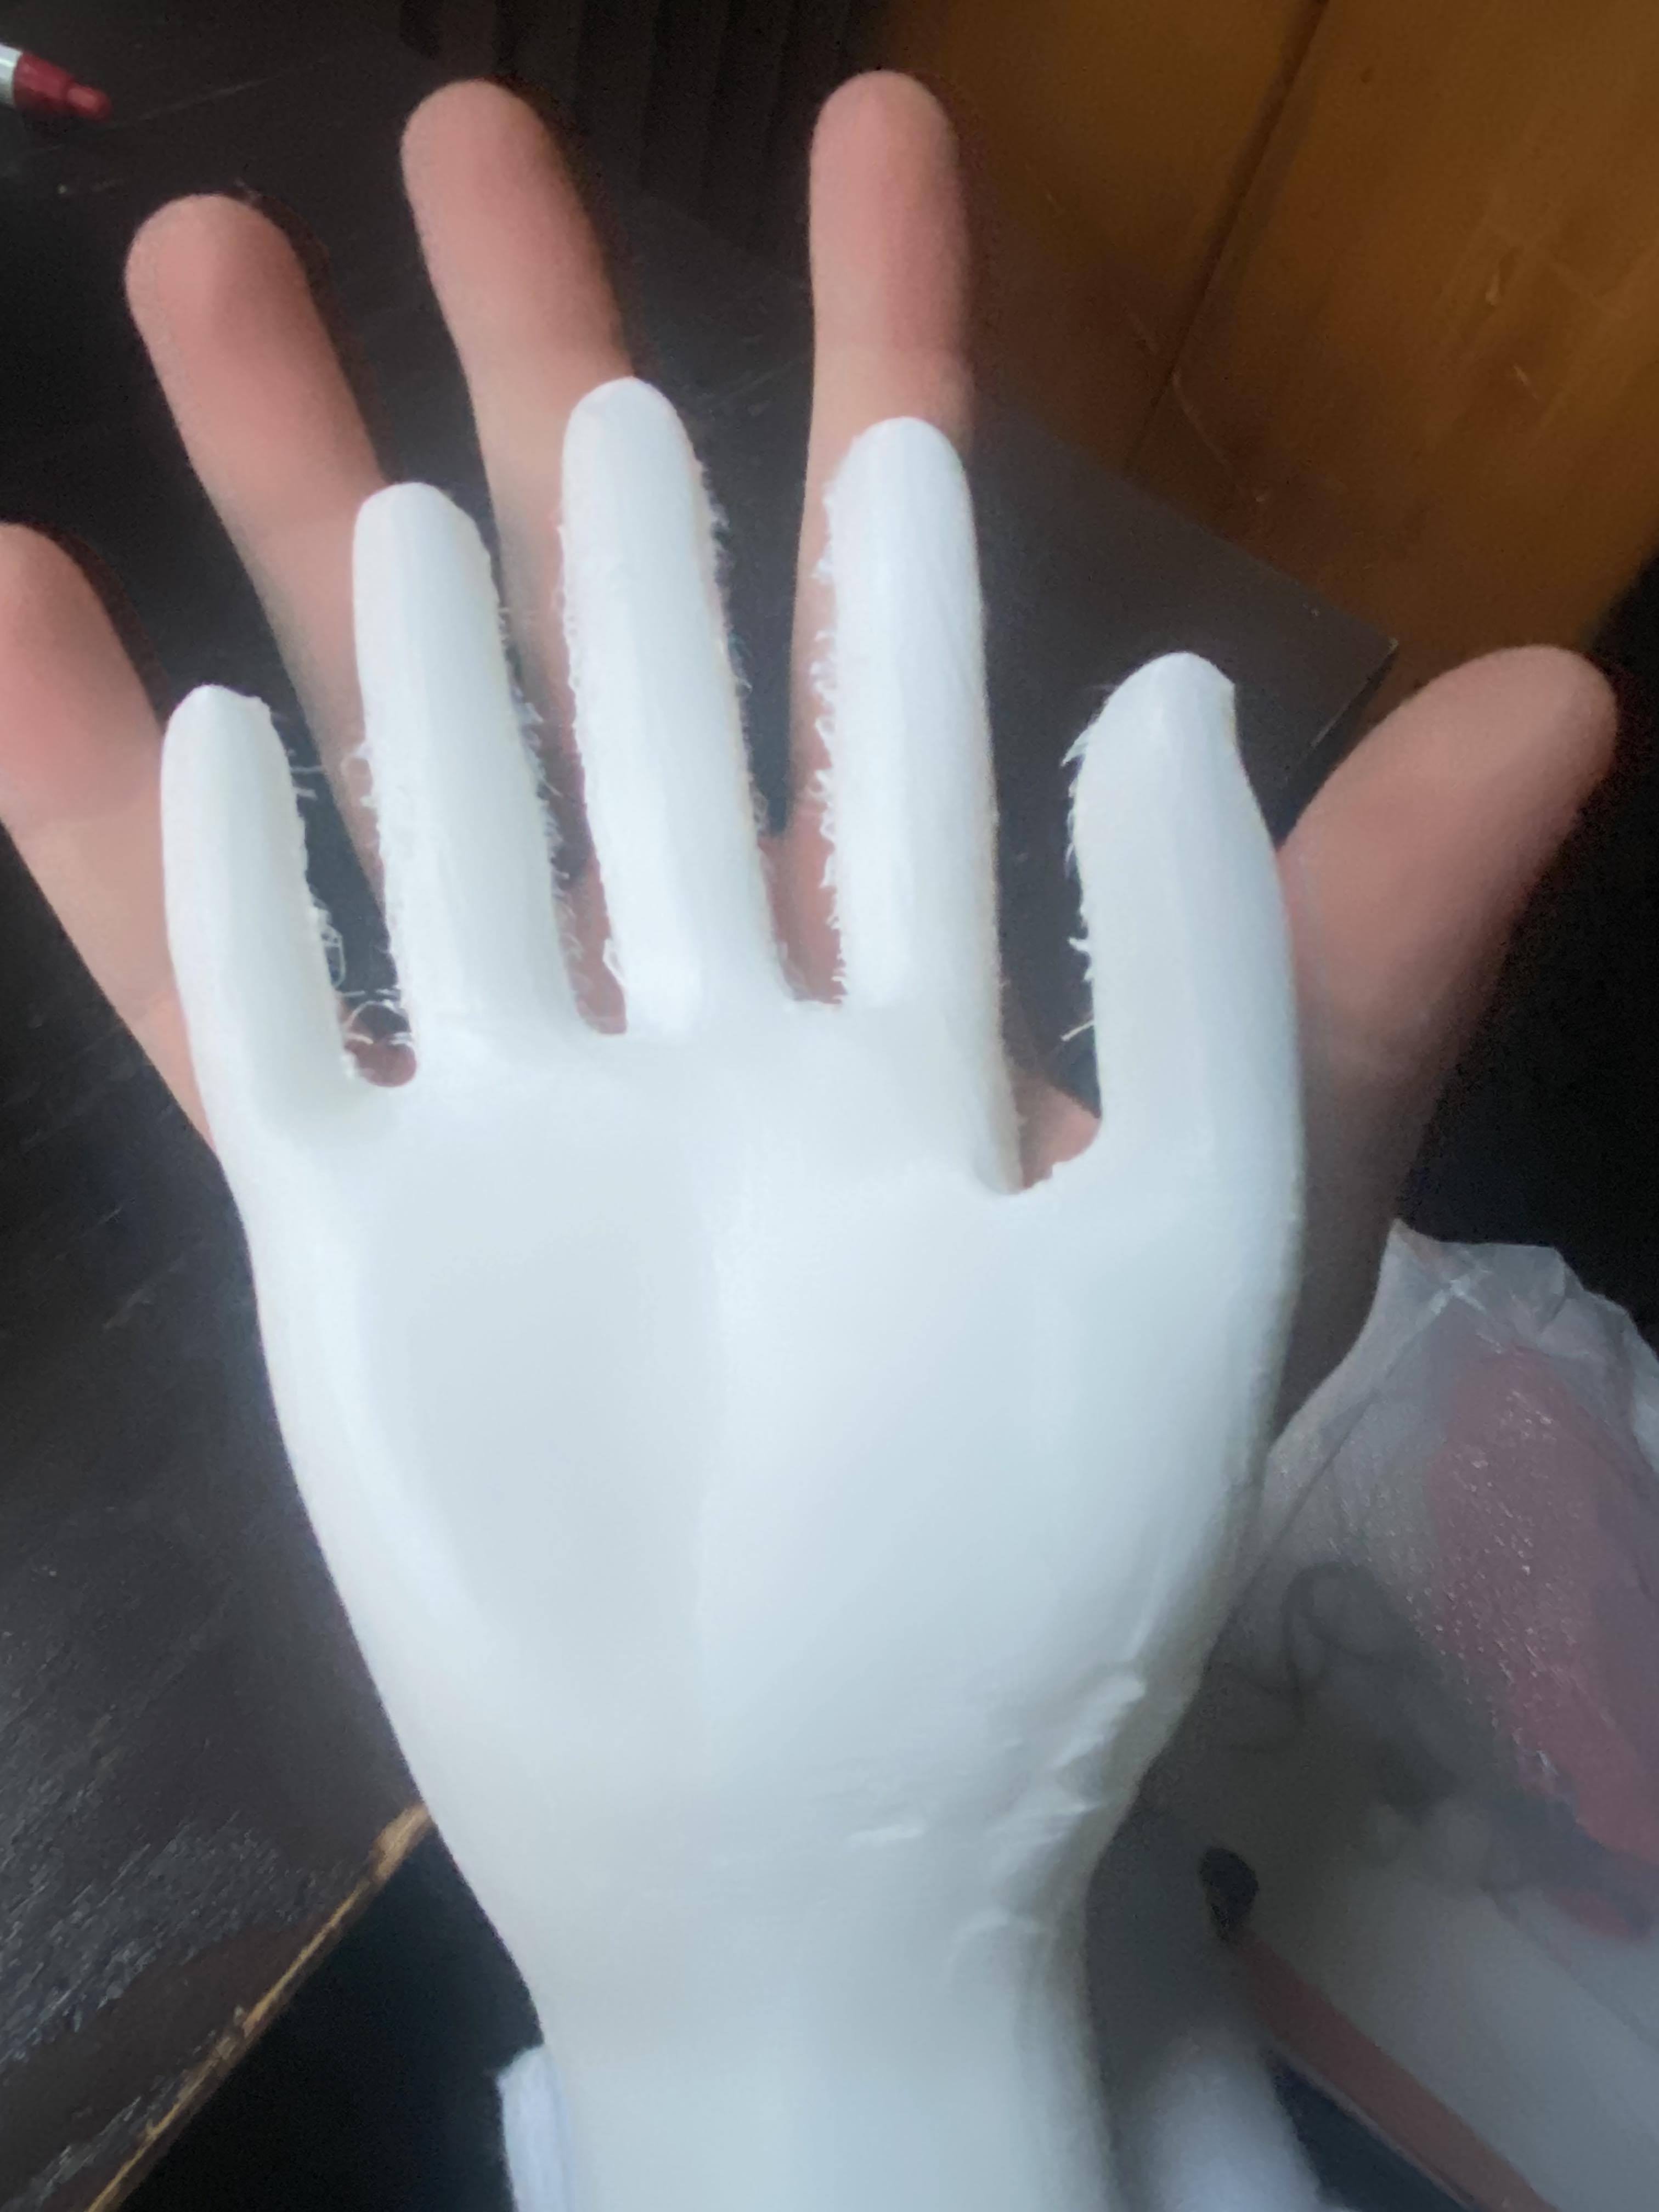
This hand was also not quite stiff enough at 10% infill. I then moved onto my next test print, where I sized up the hand to about as tall as the Prusa could handle (just under 250mm) and set it to 15% infill with a cocentric infill pattern. My guess was that the 15% infill would make it as strong as necessary while the cocentric patten would make it slightly less stiff in the axes in which a user would be squeezing the hand, making sensing difficult.
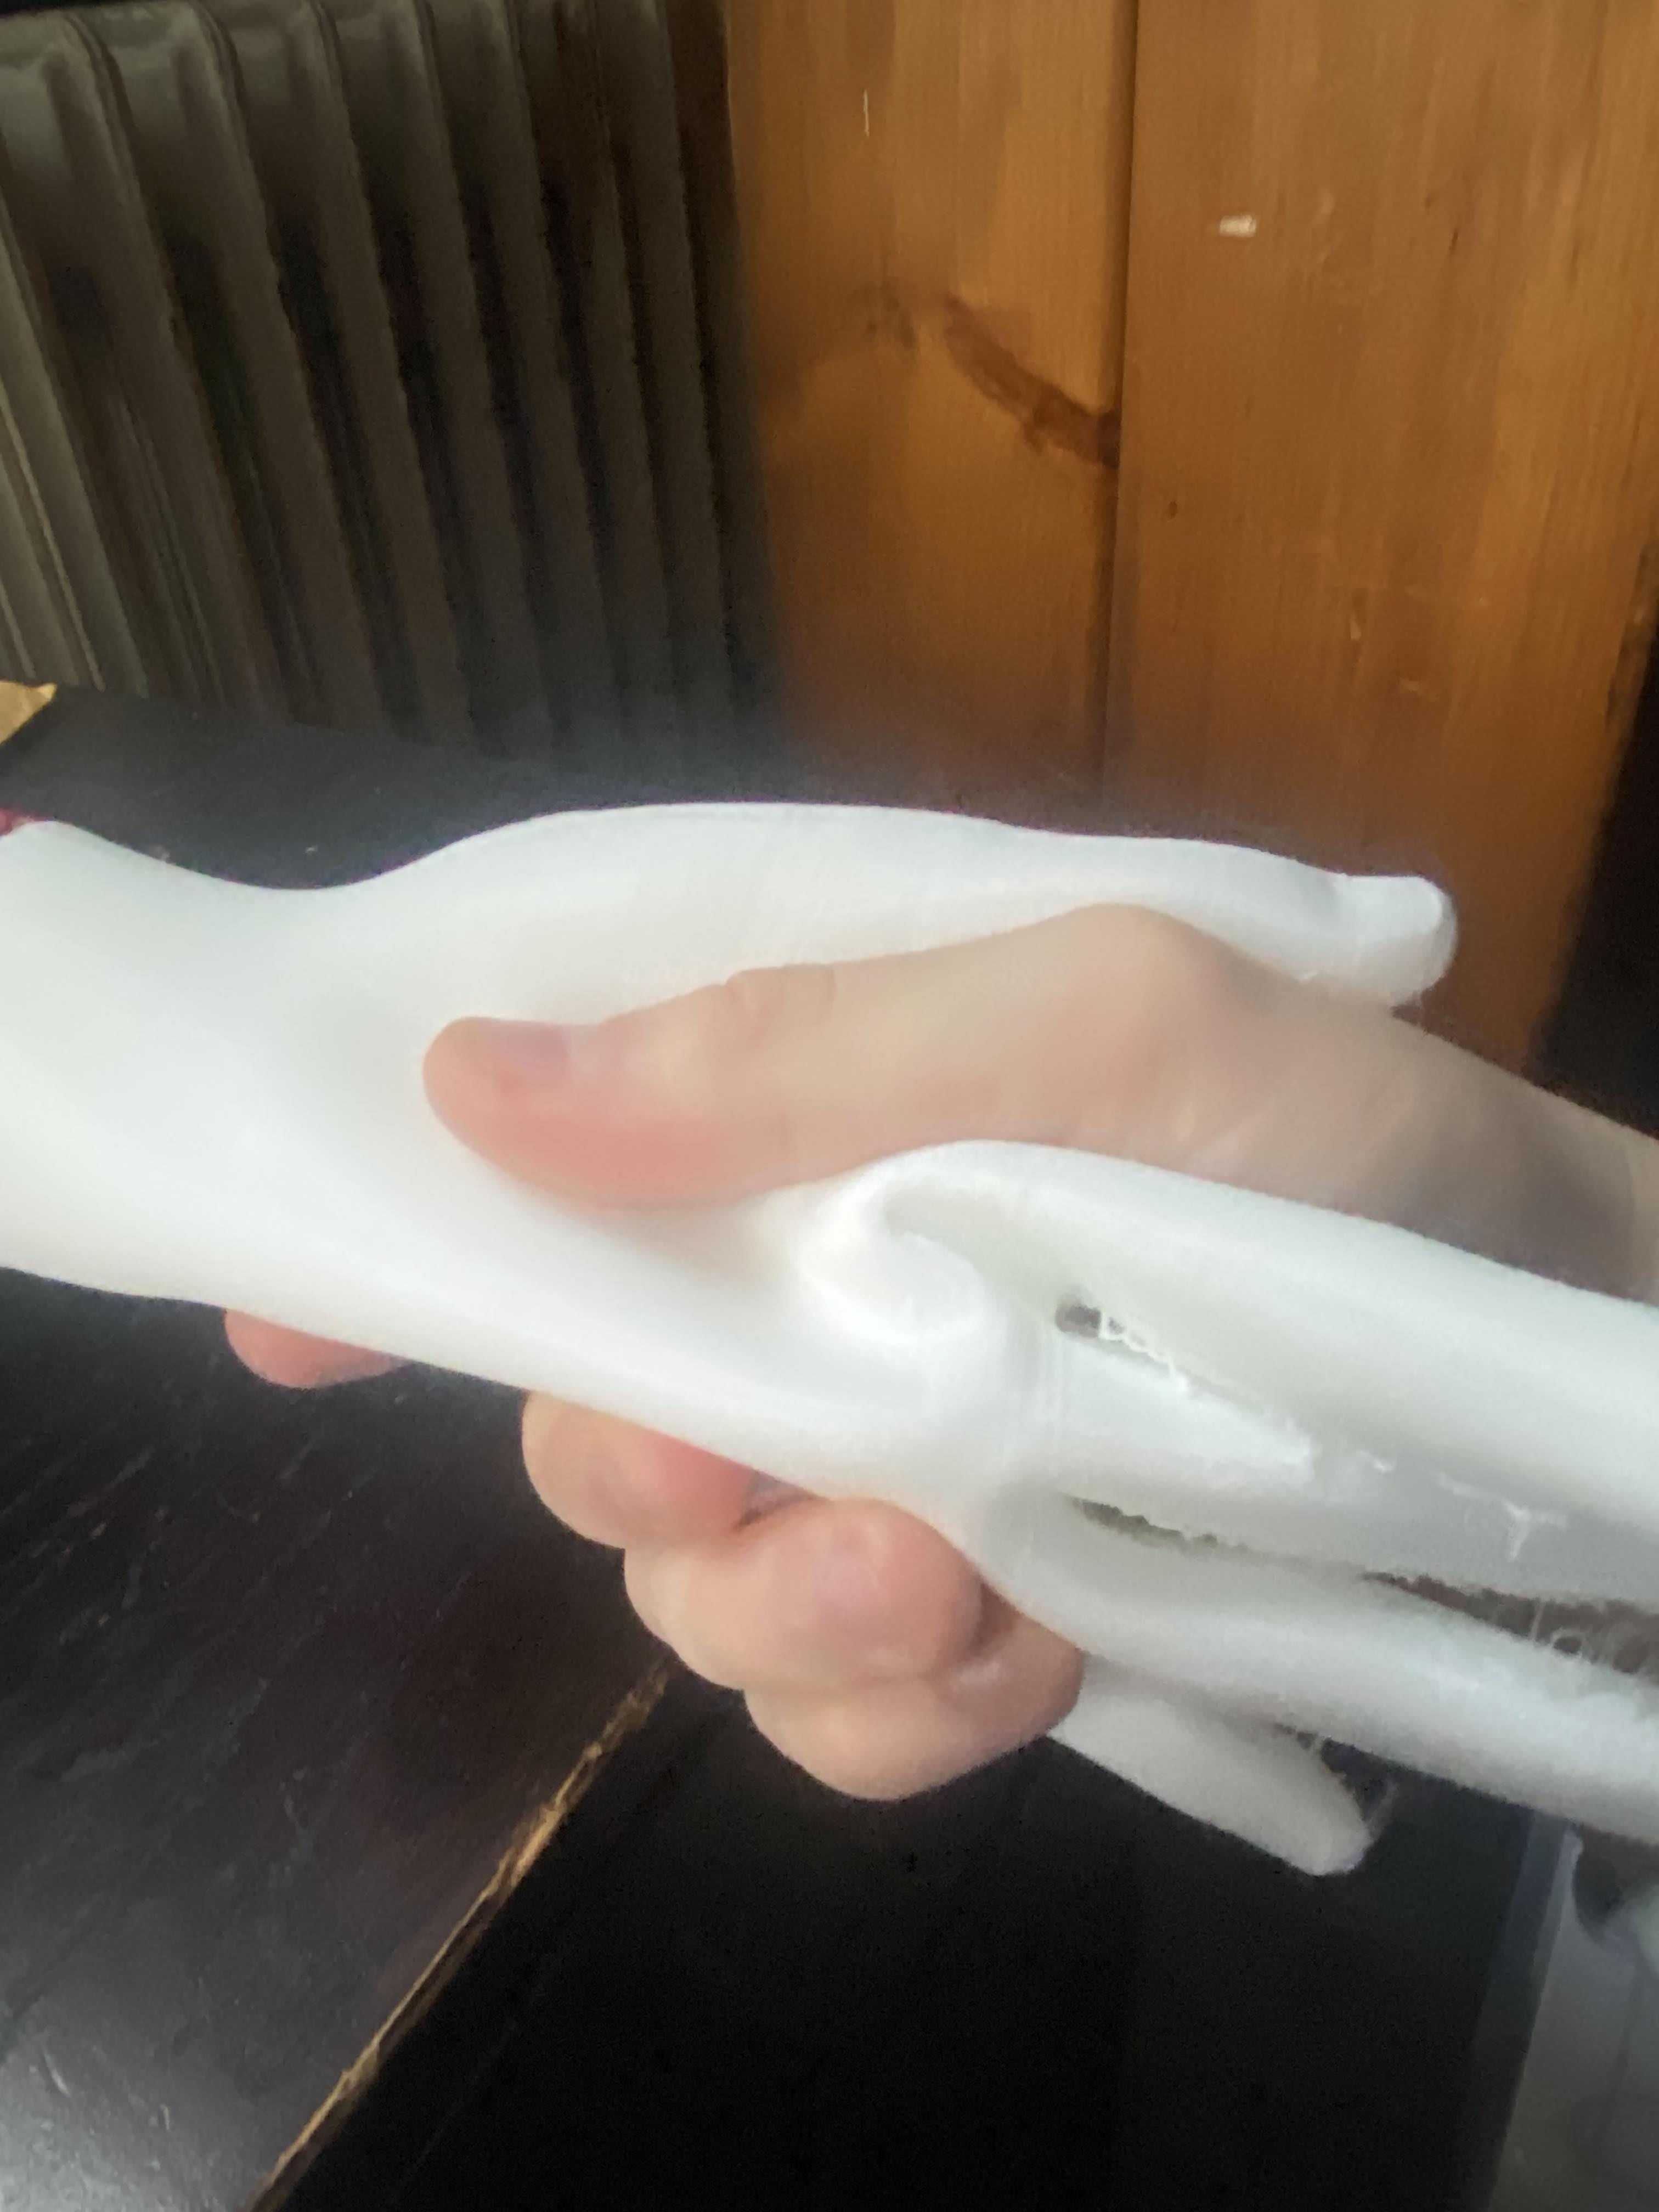
I severely underestimated the impact that the cocentric infill pattern would have on the hand, as this new one was much too soft. That said, this wasn't a pointless print, as I had found a perfect size for the hand that would eventually become part of my final project. I decided to try the grid infill pattern again, but this time with 12% infill density instead of 10% like on the small hand. I also thought this one had a good chance of being the one, so I hopped into Fusion360 (I usually prefer Solidworks, but Fusion seemed to do a better job handling the STEP file I downloaded) and cut out a hole that was 35mm tall, 15mm wide, and 95mm deep for my electronics. These values were based on how big I expected my capacitors and PCB to be, and the depth was determined by using the CAD measure tool to get the distance from the base of the wrist to the top of the palm. I also added two smaller slots on the sides as I anticipated attaching a wrist joint to them (spoiler alert: I did end up doing that so this was good foresight).
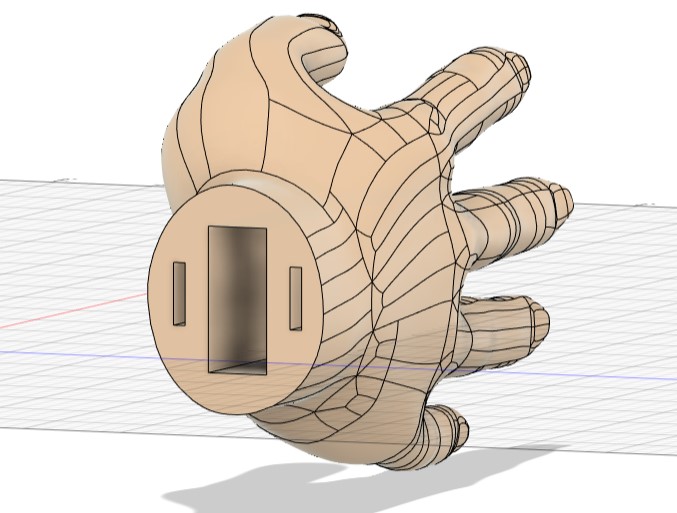
This one was perfect! It felt good to hold (minus some residual printing material around the fingers which I'd have to pare off) and I thought it looked great too. Unfortunately I don't have a standalone picture of this hand; check out my final project page to see the hand in action!