This was
The 12th Project
Application
After 15+ years of smartphones, you really do take Apps for granted

Summary:
Today, we will be building an app to make sure that we can talk to our processor. Ideally we can get settings but right now, we need to validate our communication first. We will talk to the built in LED, then see about sending JSON files in and out.Note - we changed everything this week from Micropython to Arduino.
Tools
Software- VSCode (had errors pushing to PicoW)
- Arduino IDE
- Pico W
Project Scope:
We wanted to build a web app to control our settings for our board. This would also allow us to build a board that will create a JSON file in order to transfer settings.
Issues
- "Killed" 3 boards - changed IDEs, computers, cables
- < WiFi.h not compiling in VSCODE >>> Switched to Arduino IDE
Building Wifi -
First, we built a connection to our local wifi by declaring our SSID/PW. After we got past the libarary compilation issues, we were able to build it once we swapped IDEs (with the respective dependencies)
Declaration Variables / Setup:
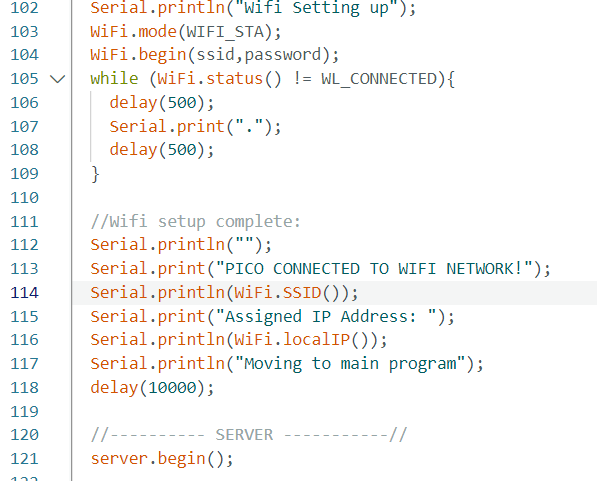
Creating local wifi protocol
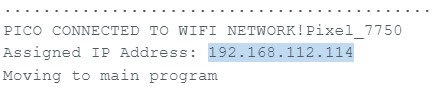
We then created our own server using server.begin().
This will allow us to use the IP address to declare our own webapp instead of deploying a full website.
The downside is tha this doesnt work outside the local network.
Timeout Protocol
In order to make sure we dont run out of ports + we created a snippet to timeout:
      String currentLine = "";                // make a String to hold incoming data from the client
									while (client.connected() && currentTime - previousTime <= timeoutTime) {  // loop while the client's connected
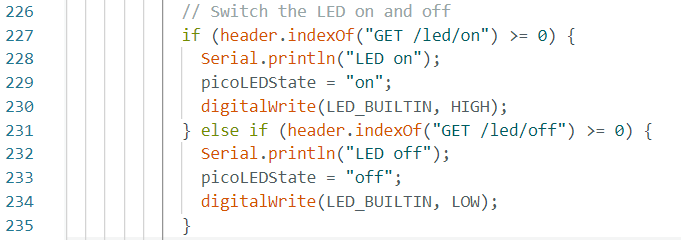
Board Communication
We then need to validate our board. We will use a simple variable reassignment in order to toggle our board BUILTIN_LED. For this we copied the HTML header off another website in order to create the if statement. We then created a button class in HTML in order to creat our action button.
Adding Variables and Forms
We then declared variables in a form based in HTML. This will then be linked into a JSON file in order to store settings for our device.
Issues - Froms & JSONs
This created a form on our website, however, we were unable to call those variables. We ran in issues to then formatting them to a JSON file.

Lessons Learned
- WiFi has a CAPITAL F letter - this sucked up so much time trouble shooting. SOOOO MUCH TIME
- Arduino IDE has better library implementation compared to VSCODE + PlatformIO.....but its less colorful
- Writing HTML is annoying. Writing HTML in Arduino is more annoying-er
Editors Note: there was some formatting issues unresolved when HTML detected embedded source code that was written in HTML rather than C++/Arduino
- © Untitled
- Design: HTML5 UP