3D Printing and Scanning
3D modeling and printing is one of my favorite hobbies so it was fun to work on this assignment. Except for the fact that I wasn't able to finish what I was originally working on since the joints were going too take to long to place and print it out. But I was able to print in a way I never tried before so that was neat.
First Finished Pieces
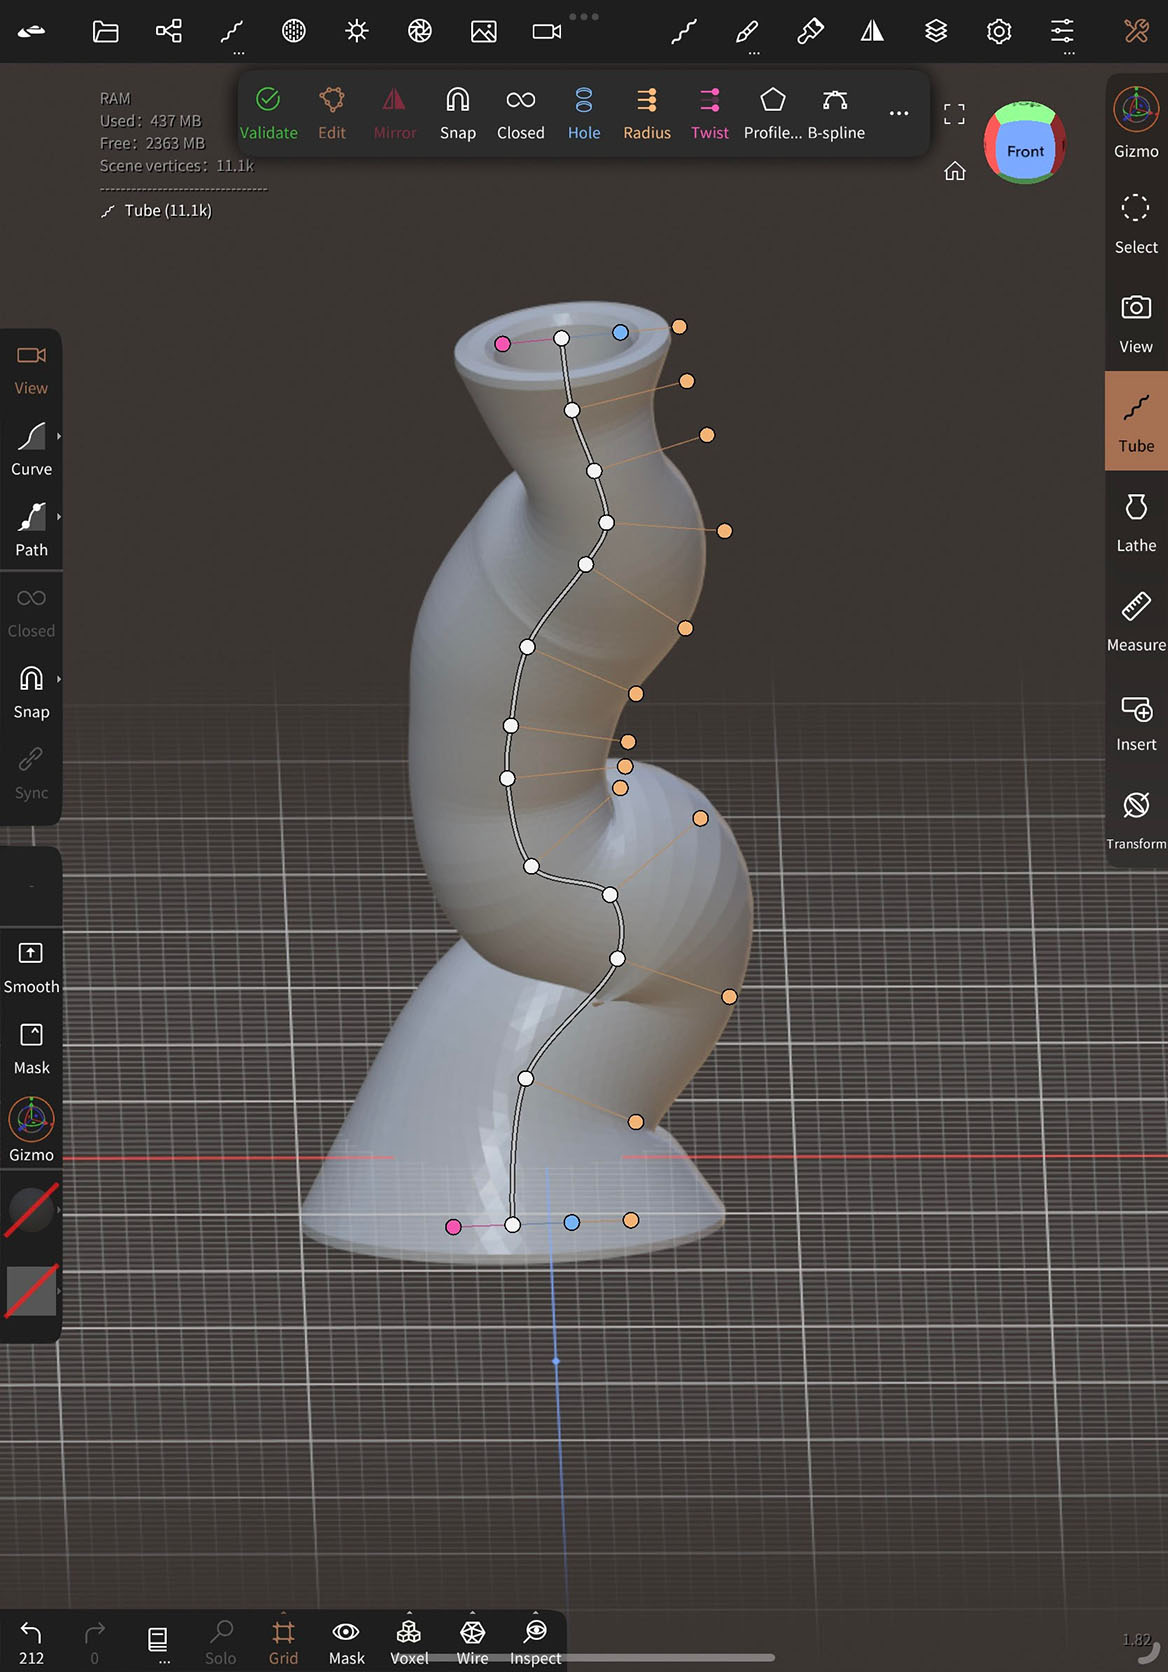
For my currently finished pieces, I started simply by using a Tube tool in Nomad. moving the curve points to make it into an interesting shape but not one with too much overhang. Making there be a hole and control the radius of each point on the curve. I ended up going with a intestine like shape.(Although many people think it looks feminine for some reason.)
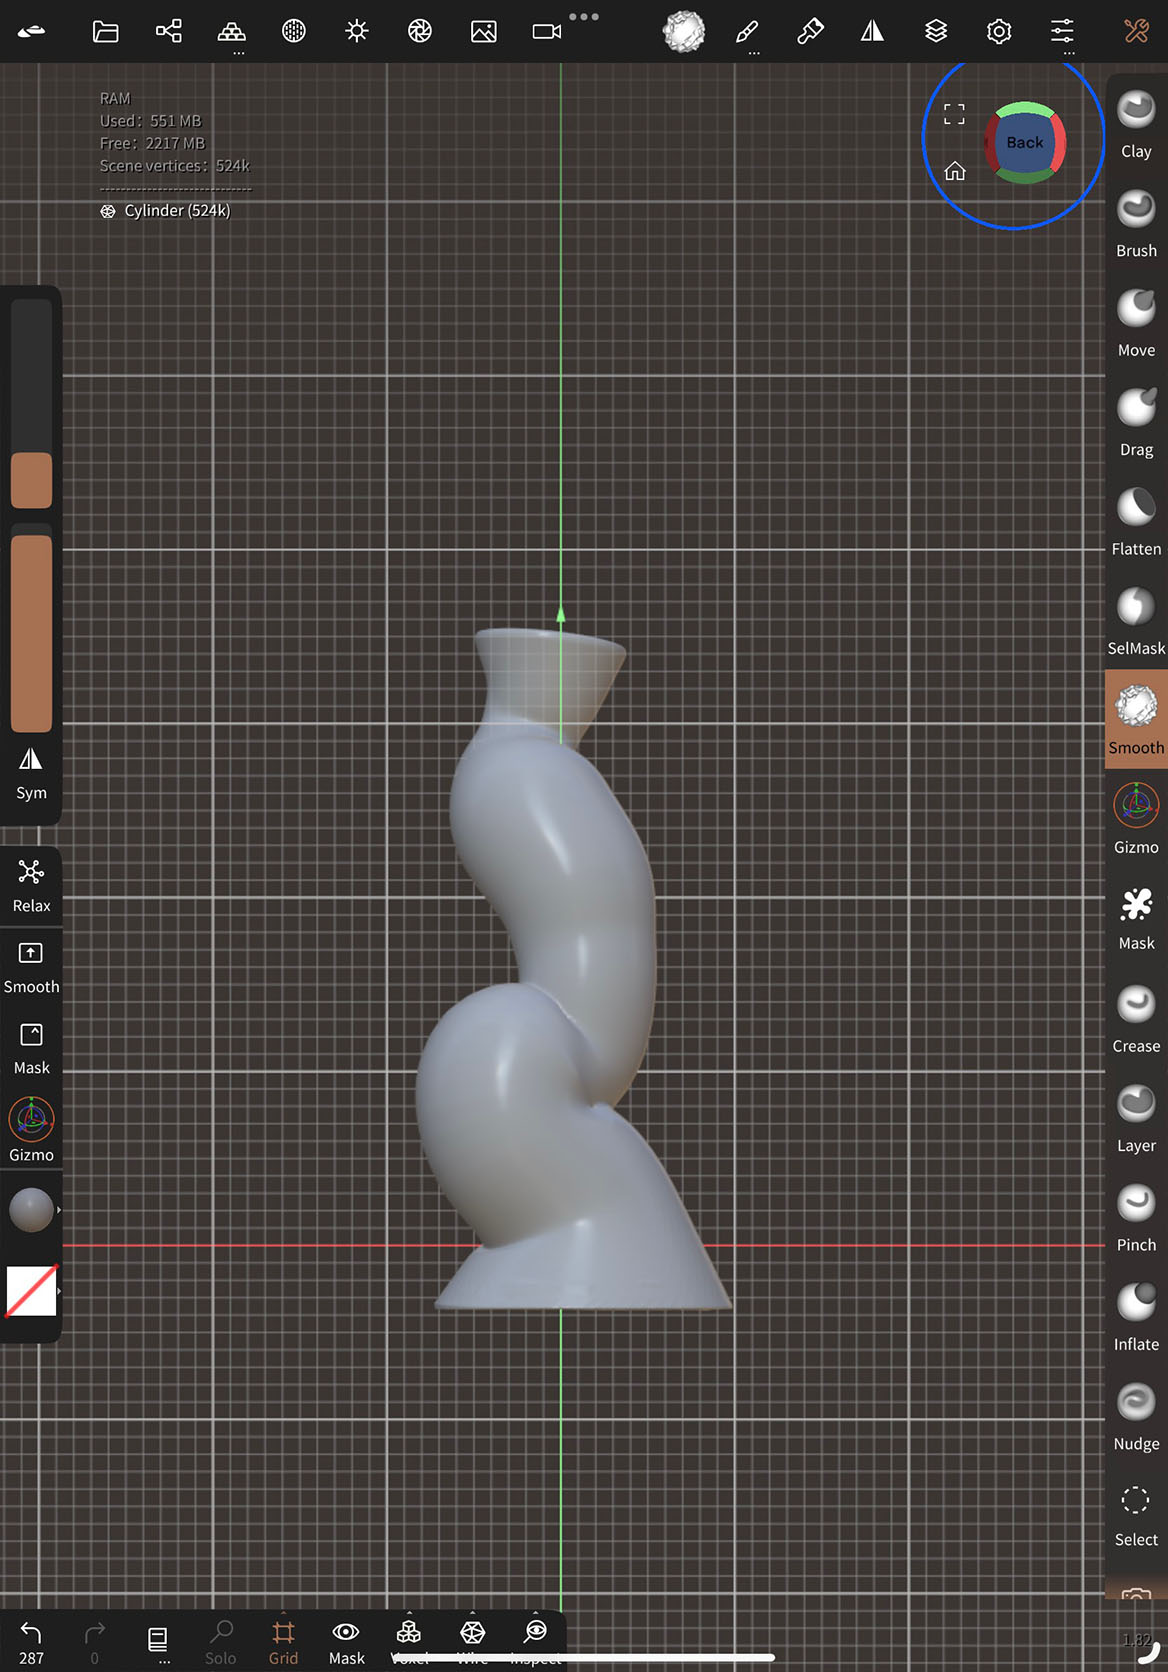
After making the desired vase shape, I made a thin but wide cylinder to be then voxel merged into the "vase" which would also bring up the polygons and allow for me to smooth the blocky object. After that the object was ready to be exported as an .stl into Ultimaker Cura to be sliced.

This is where the process was more experimental for me, since an idea came to mind that seemed to be really interesting to try. That idea was to make the top, bottom, and wall counts and make them all 0 to only have infill. After looking at some beautiful supports, it made me really want to do something that resembled types of supports as an object. With the infill type Gyroid being particularly pretty to me, and Cross 3D being the second most interesting.
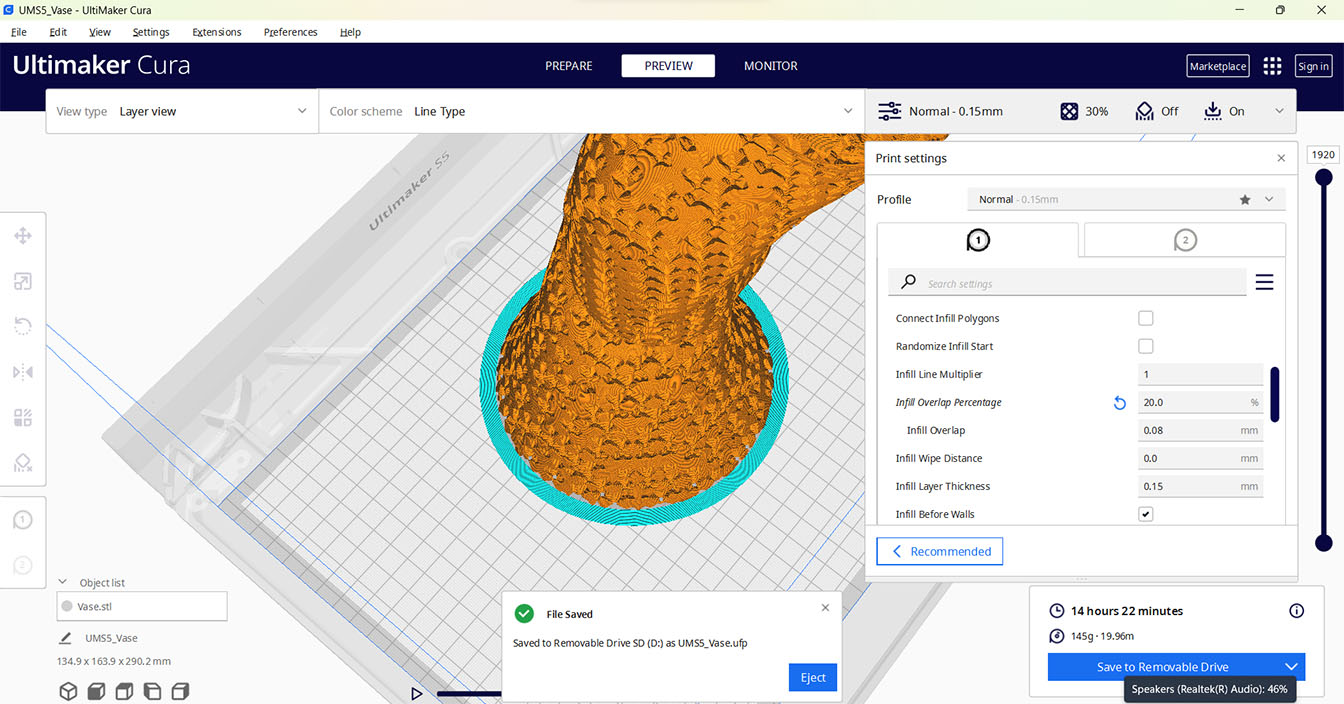
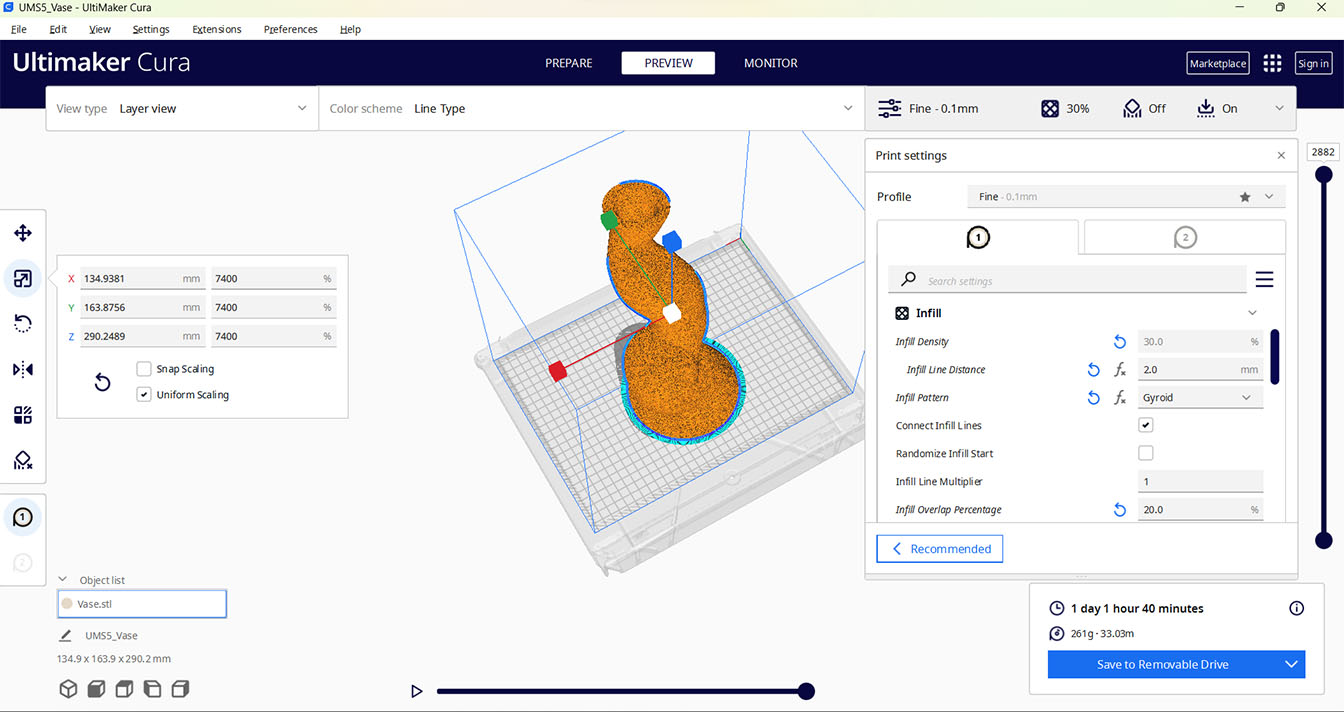
In Cura I made a few different versions, one with the settings, 30% infill, Gyroid, Nozzle size .25mm, .1mm lines, with the setting connect infill lines on.(In pearl white PLA) One with the infill line distance being 2mm from each other, Gyroid, Nozzle size .4mm, with .2mm lines, and the infill lines not connected.(In Transparent PLA) One with the infill line distance being 1.5mm from each other, Cross 3D, Nozzle .4mm, with .15mm lines, and connected infill lines. (First attempted in Nylon and failed, then used Tough PLA) The last one was 2.5mm distance, Gyroid, Nozzle .4mm, with .2mm lines, and not connected infill lines.(In Pearl White PLA)
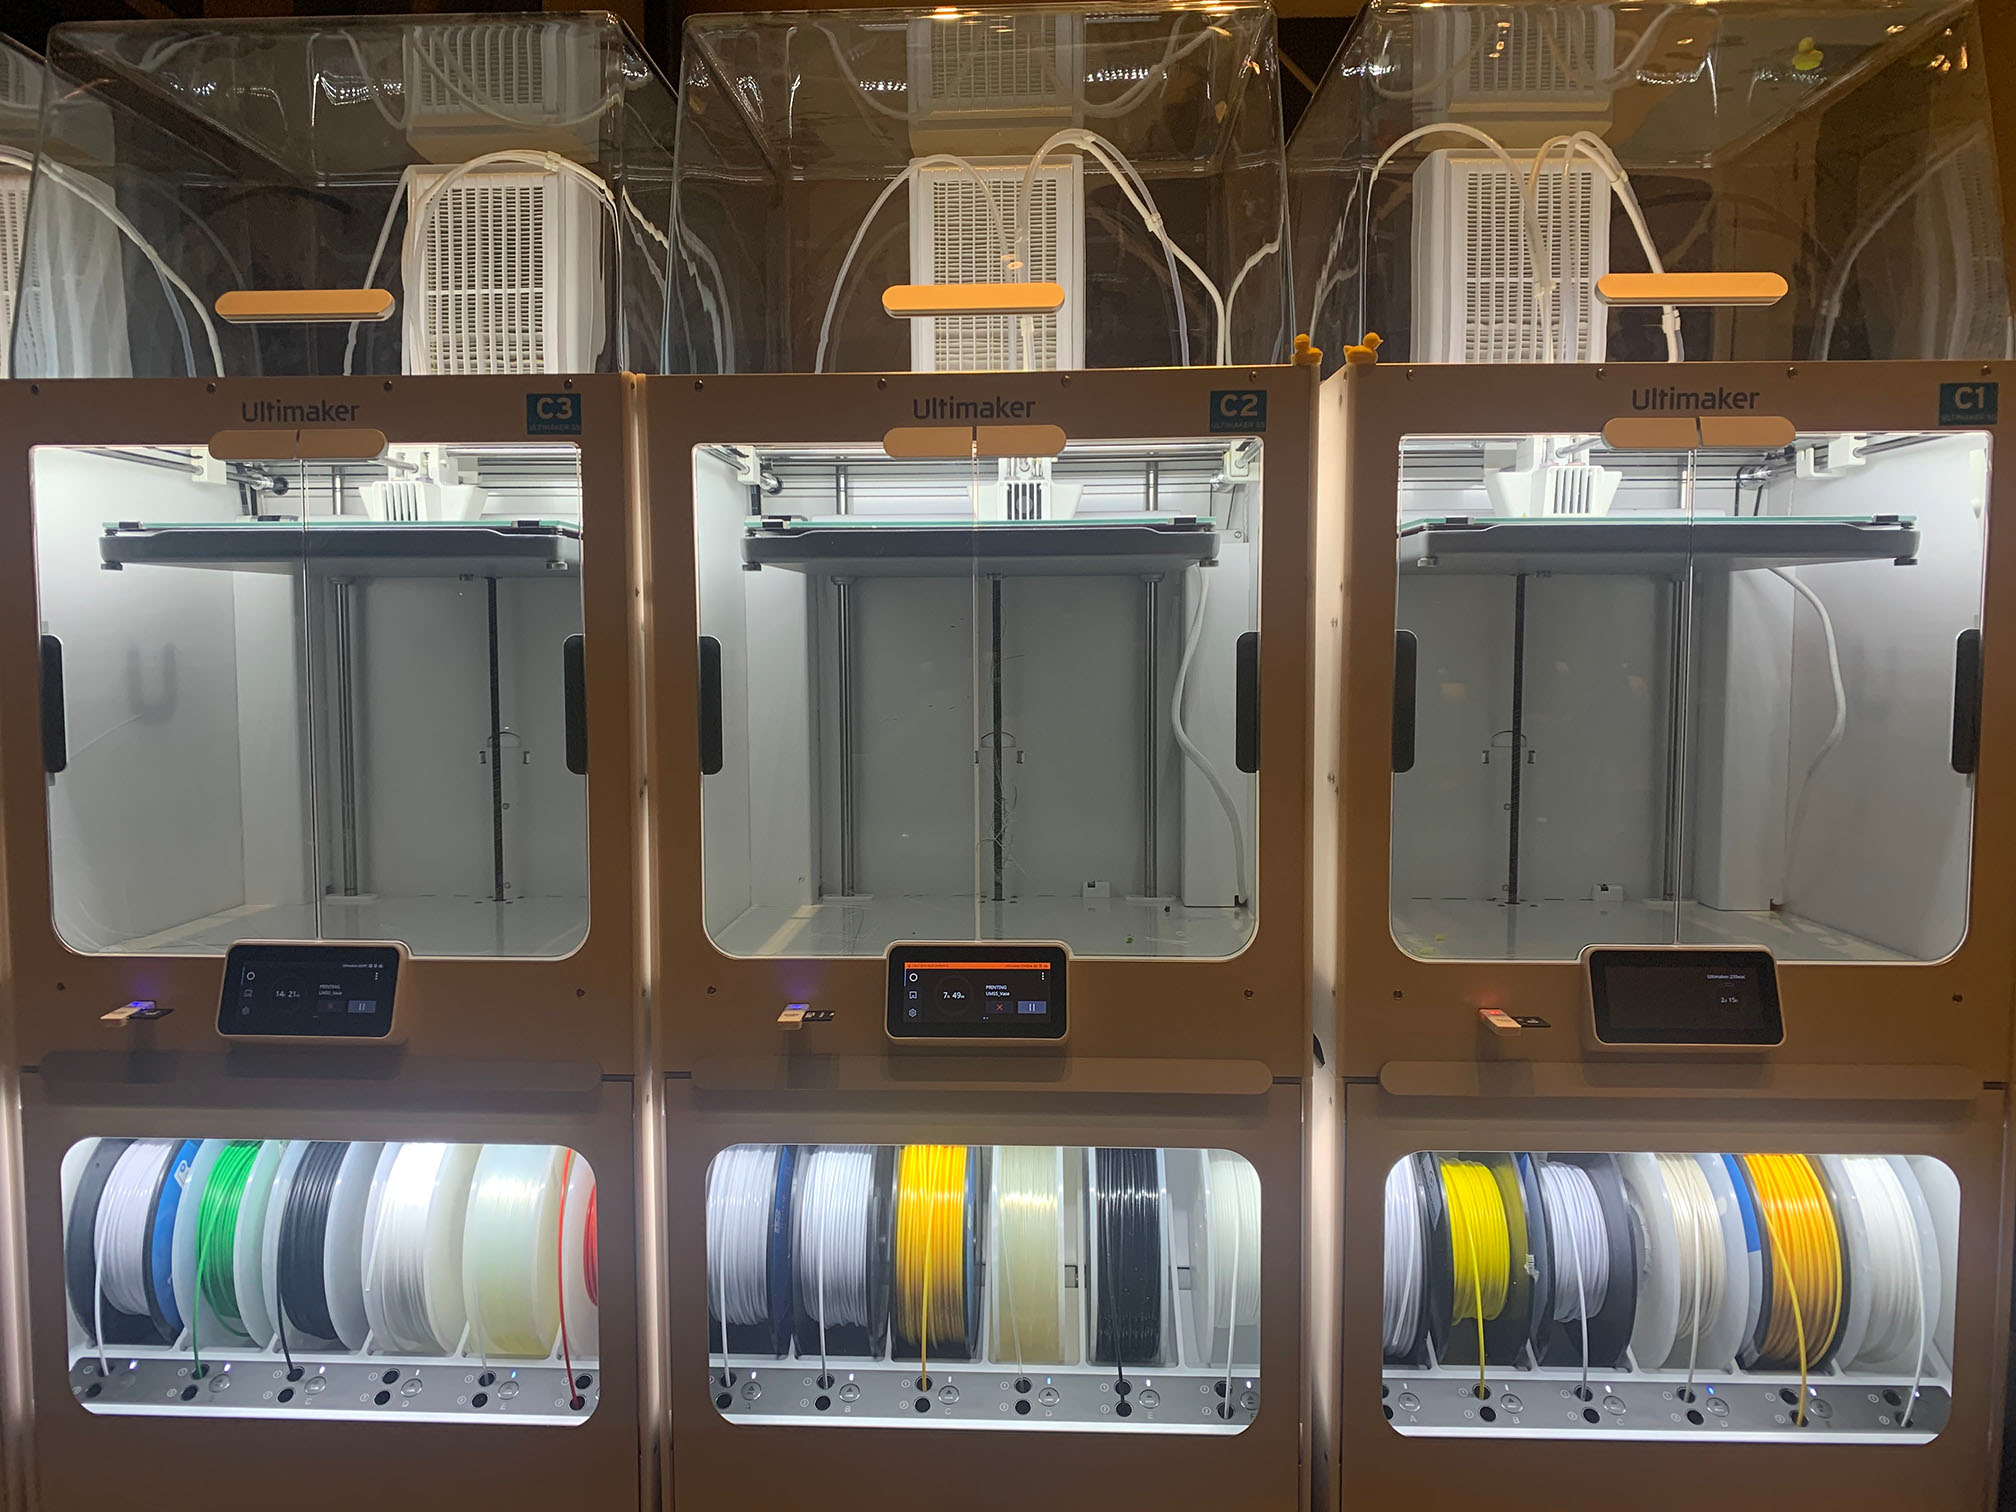
With using the Ultimaker S5(more like three of them at the same time) I used Transparent PLA, Pearl White PLA, attempted Clear nylon, and Tough Black PLA.
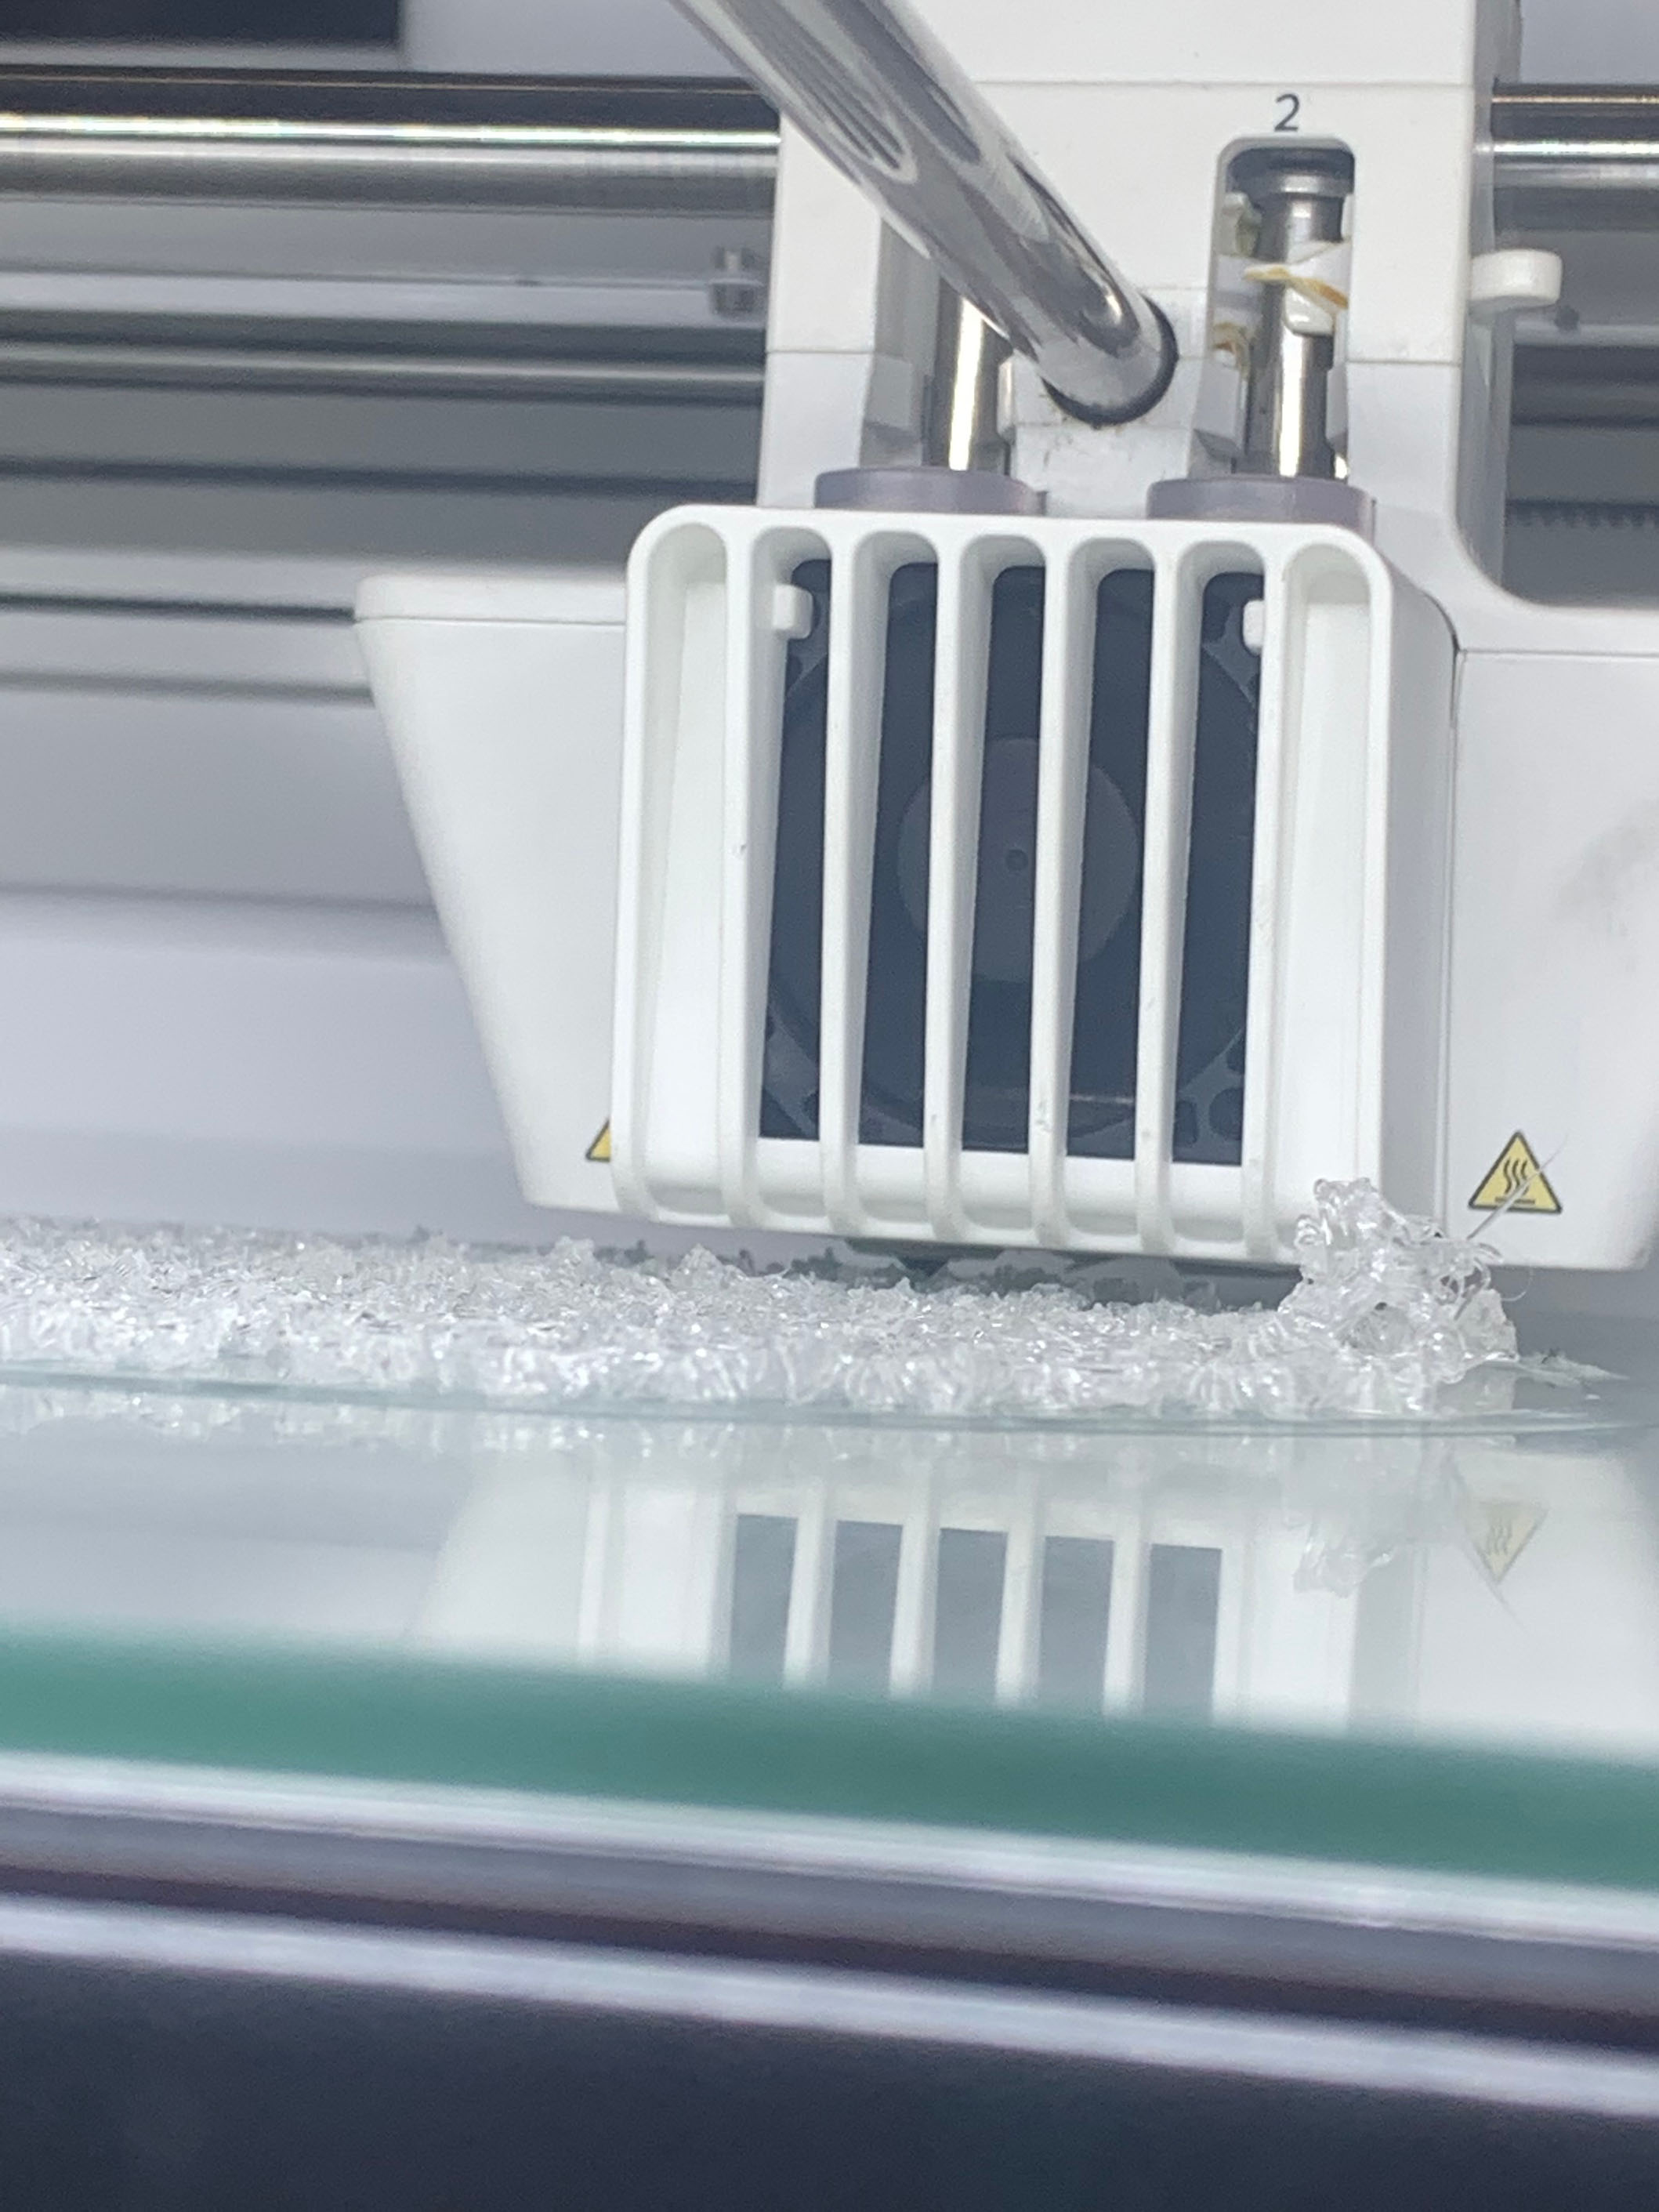
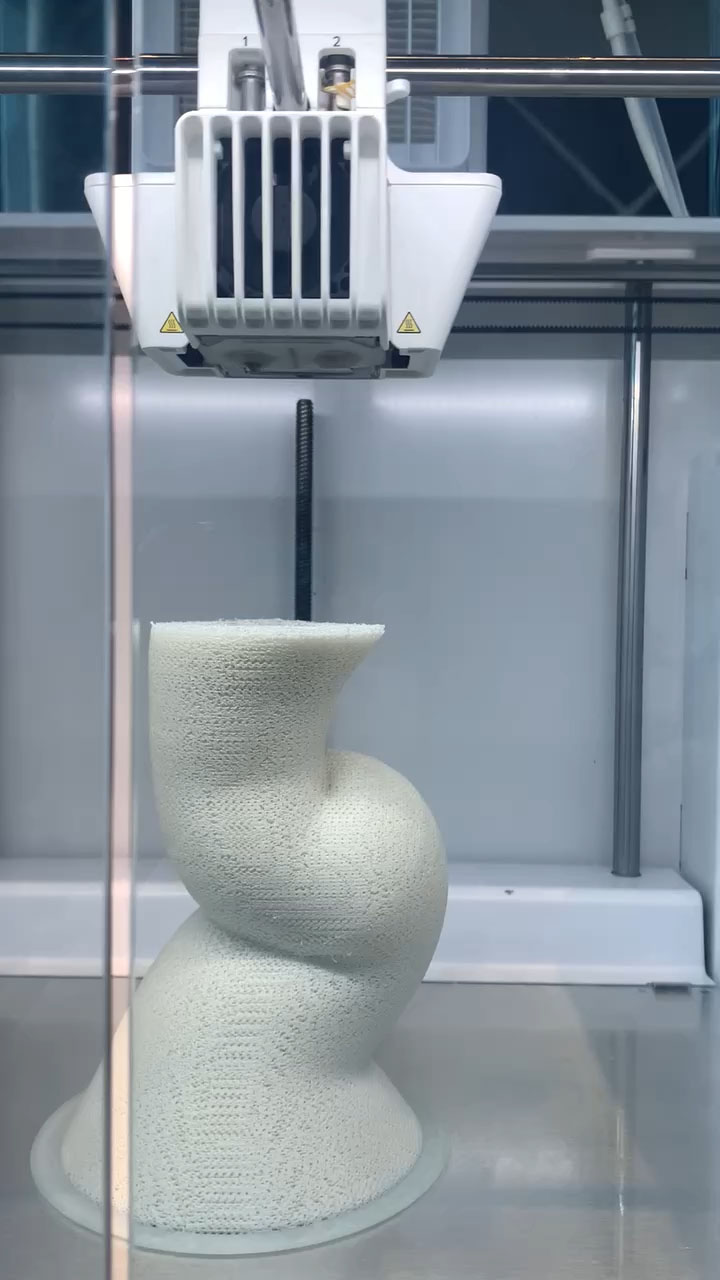
These are the failed parts of these attempts, one was the clear nylon falling because of the angle, and it peeling off the bed. Also after 2 days and around 8 hours my smaller denser Pearl White piece ended up failing because the nozzle got clogged because it was an extra small nozzle.
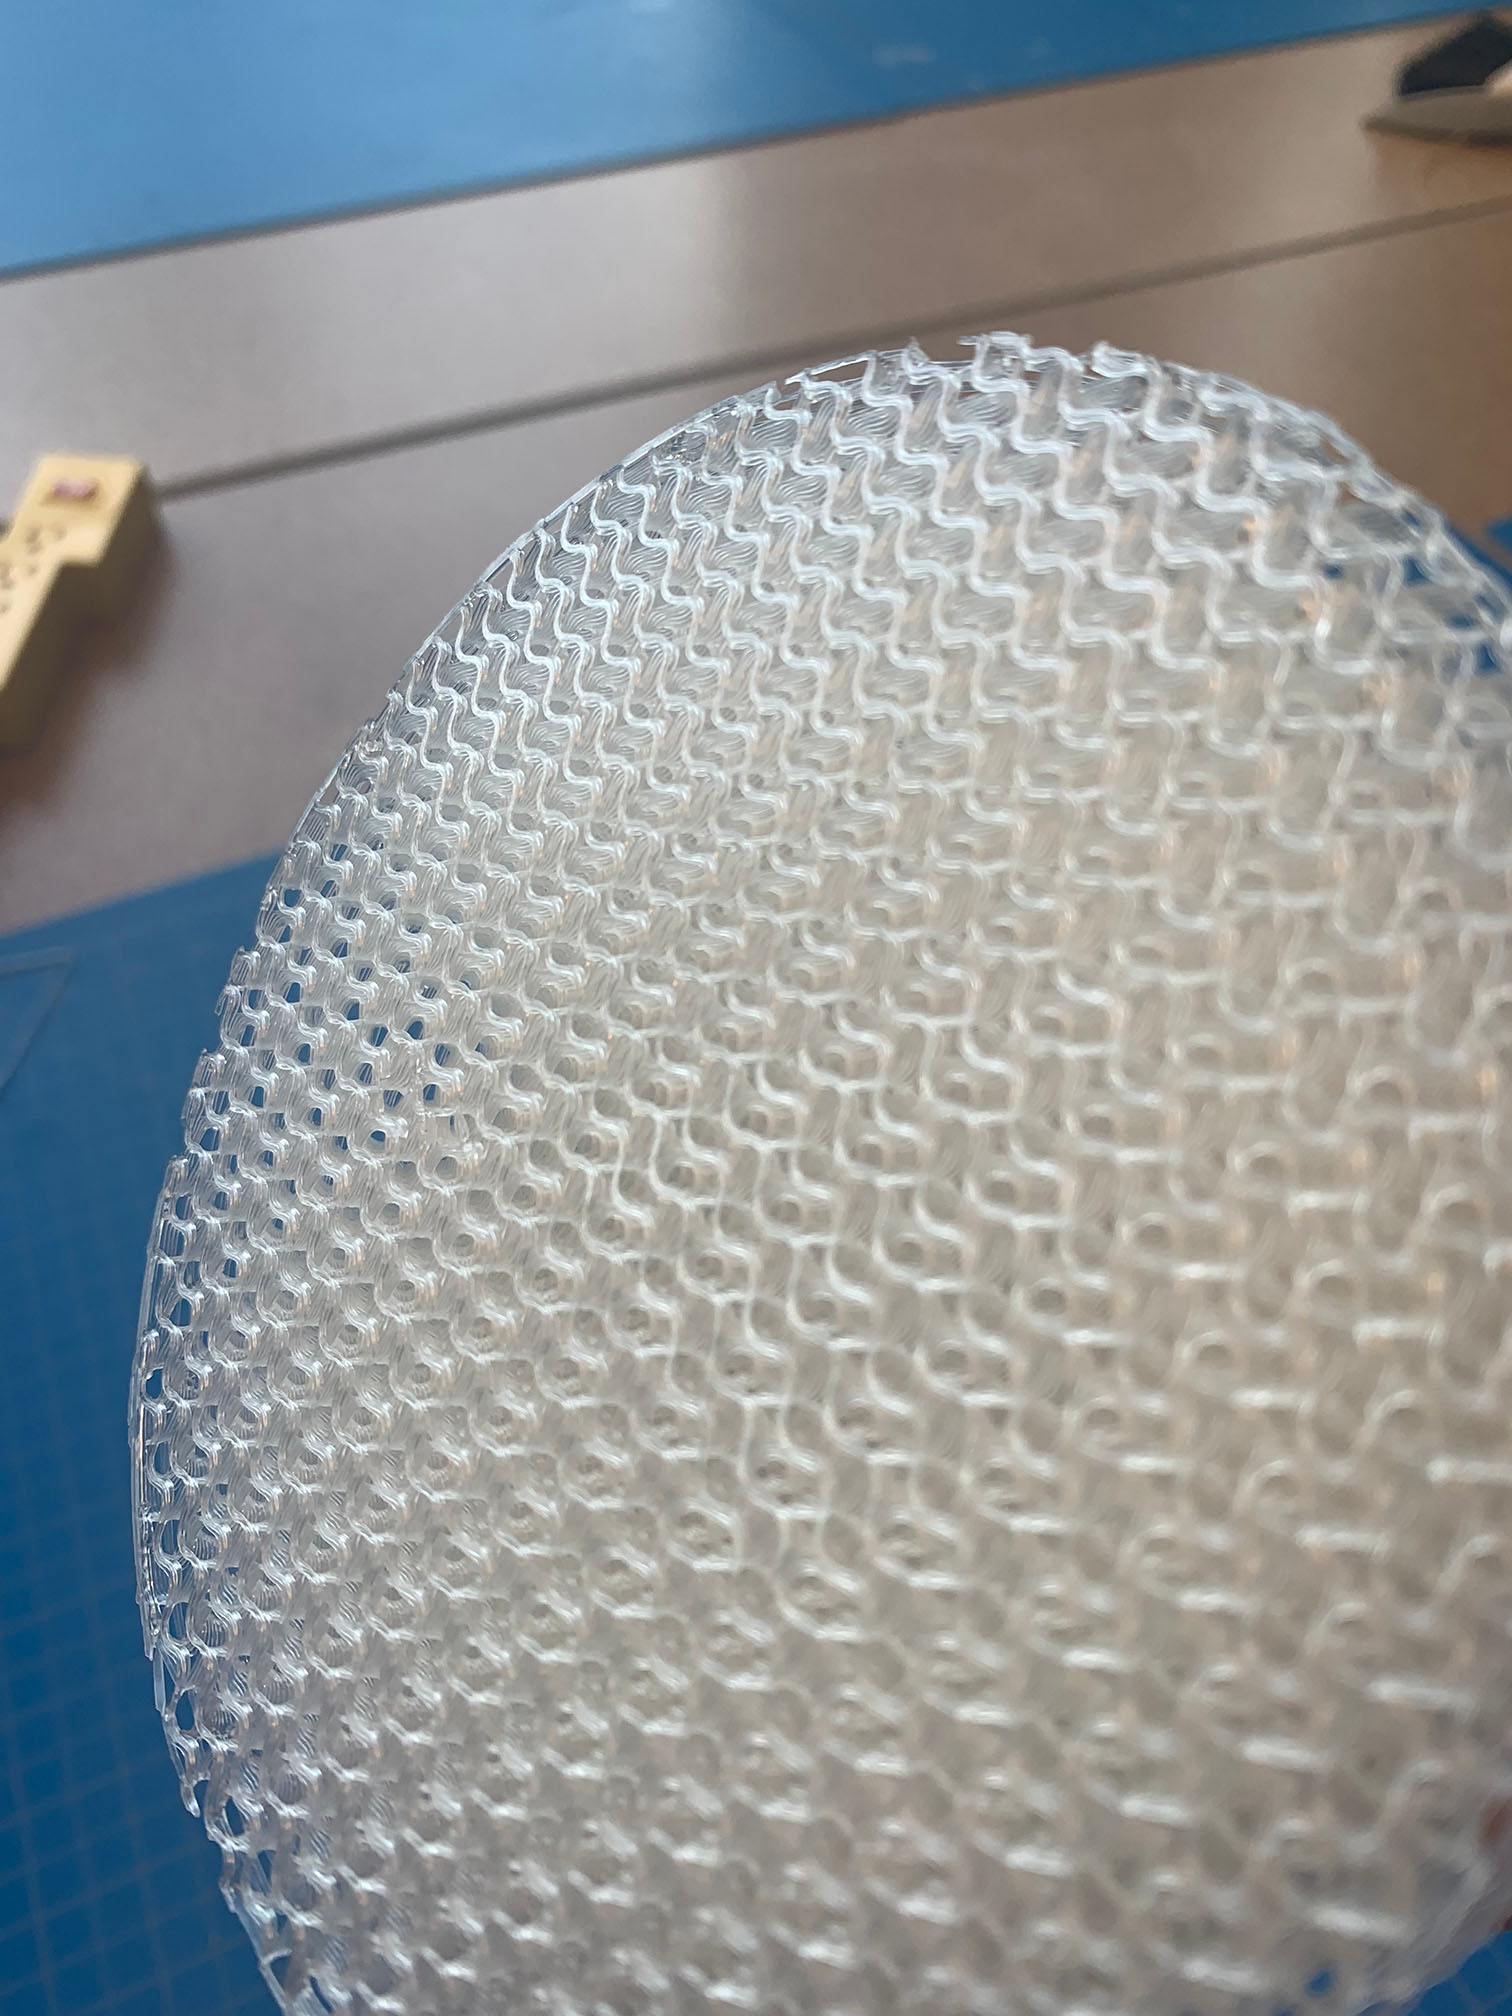

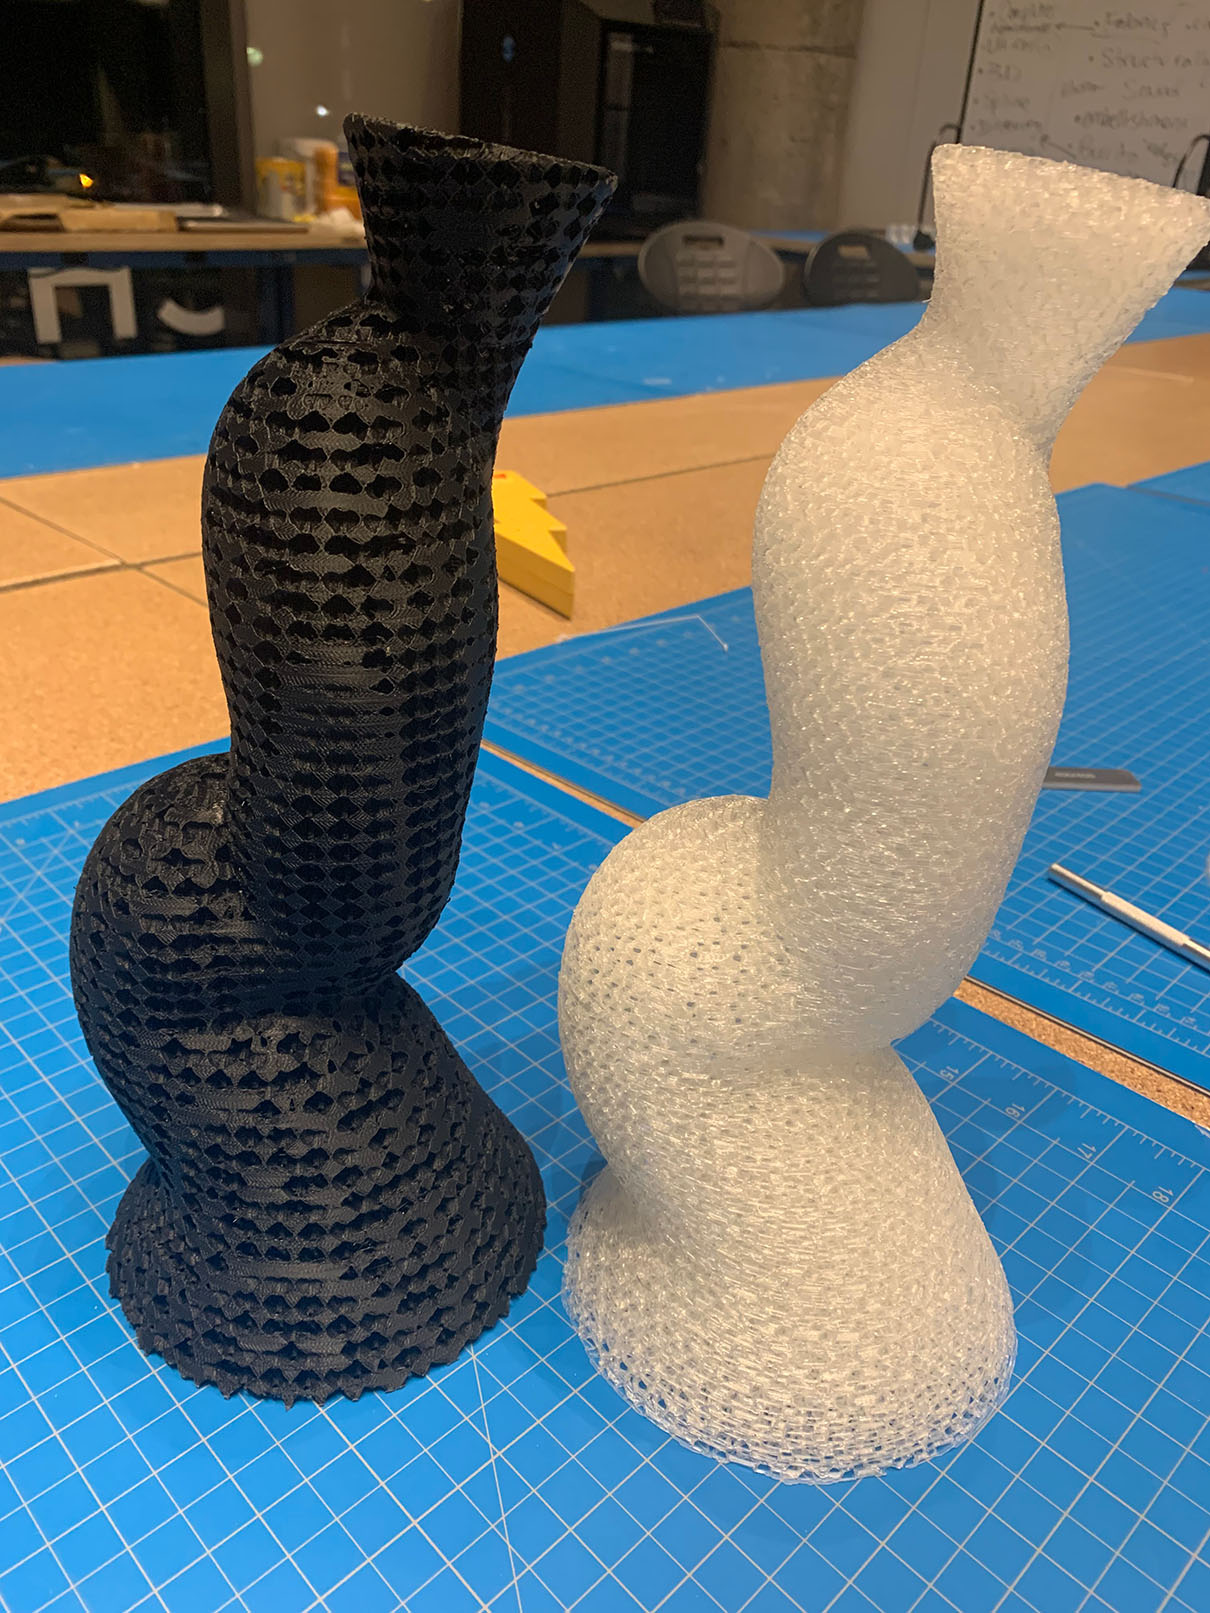

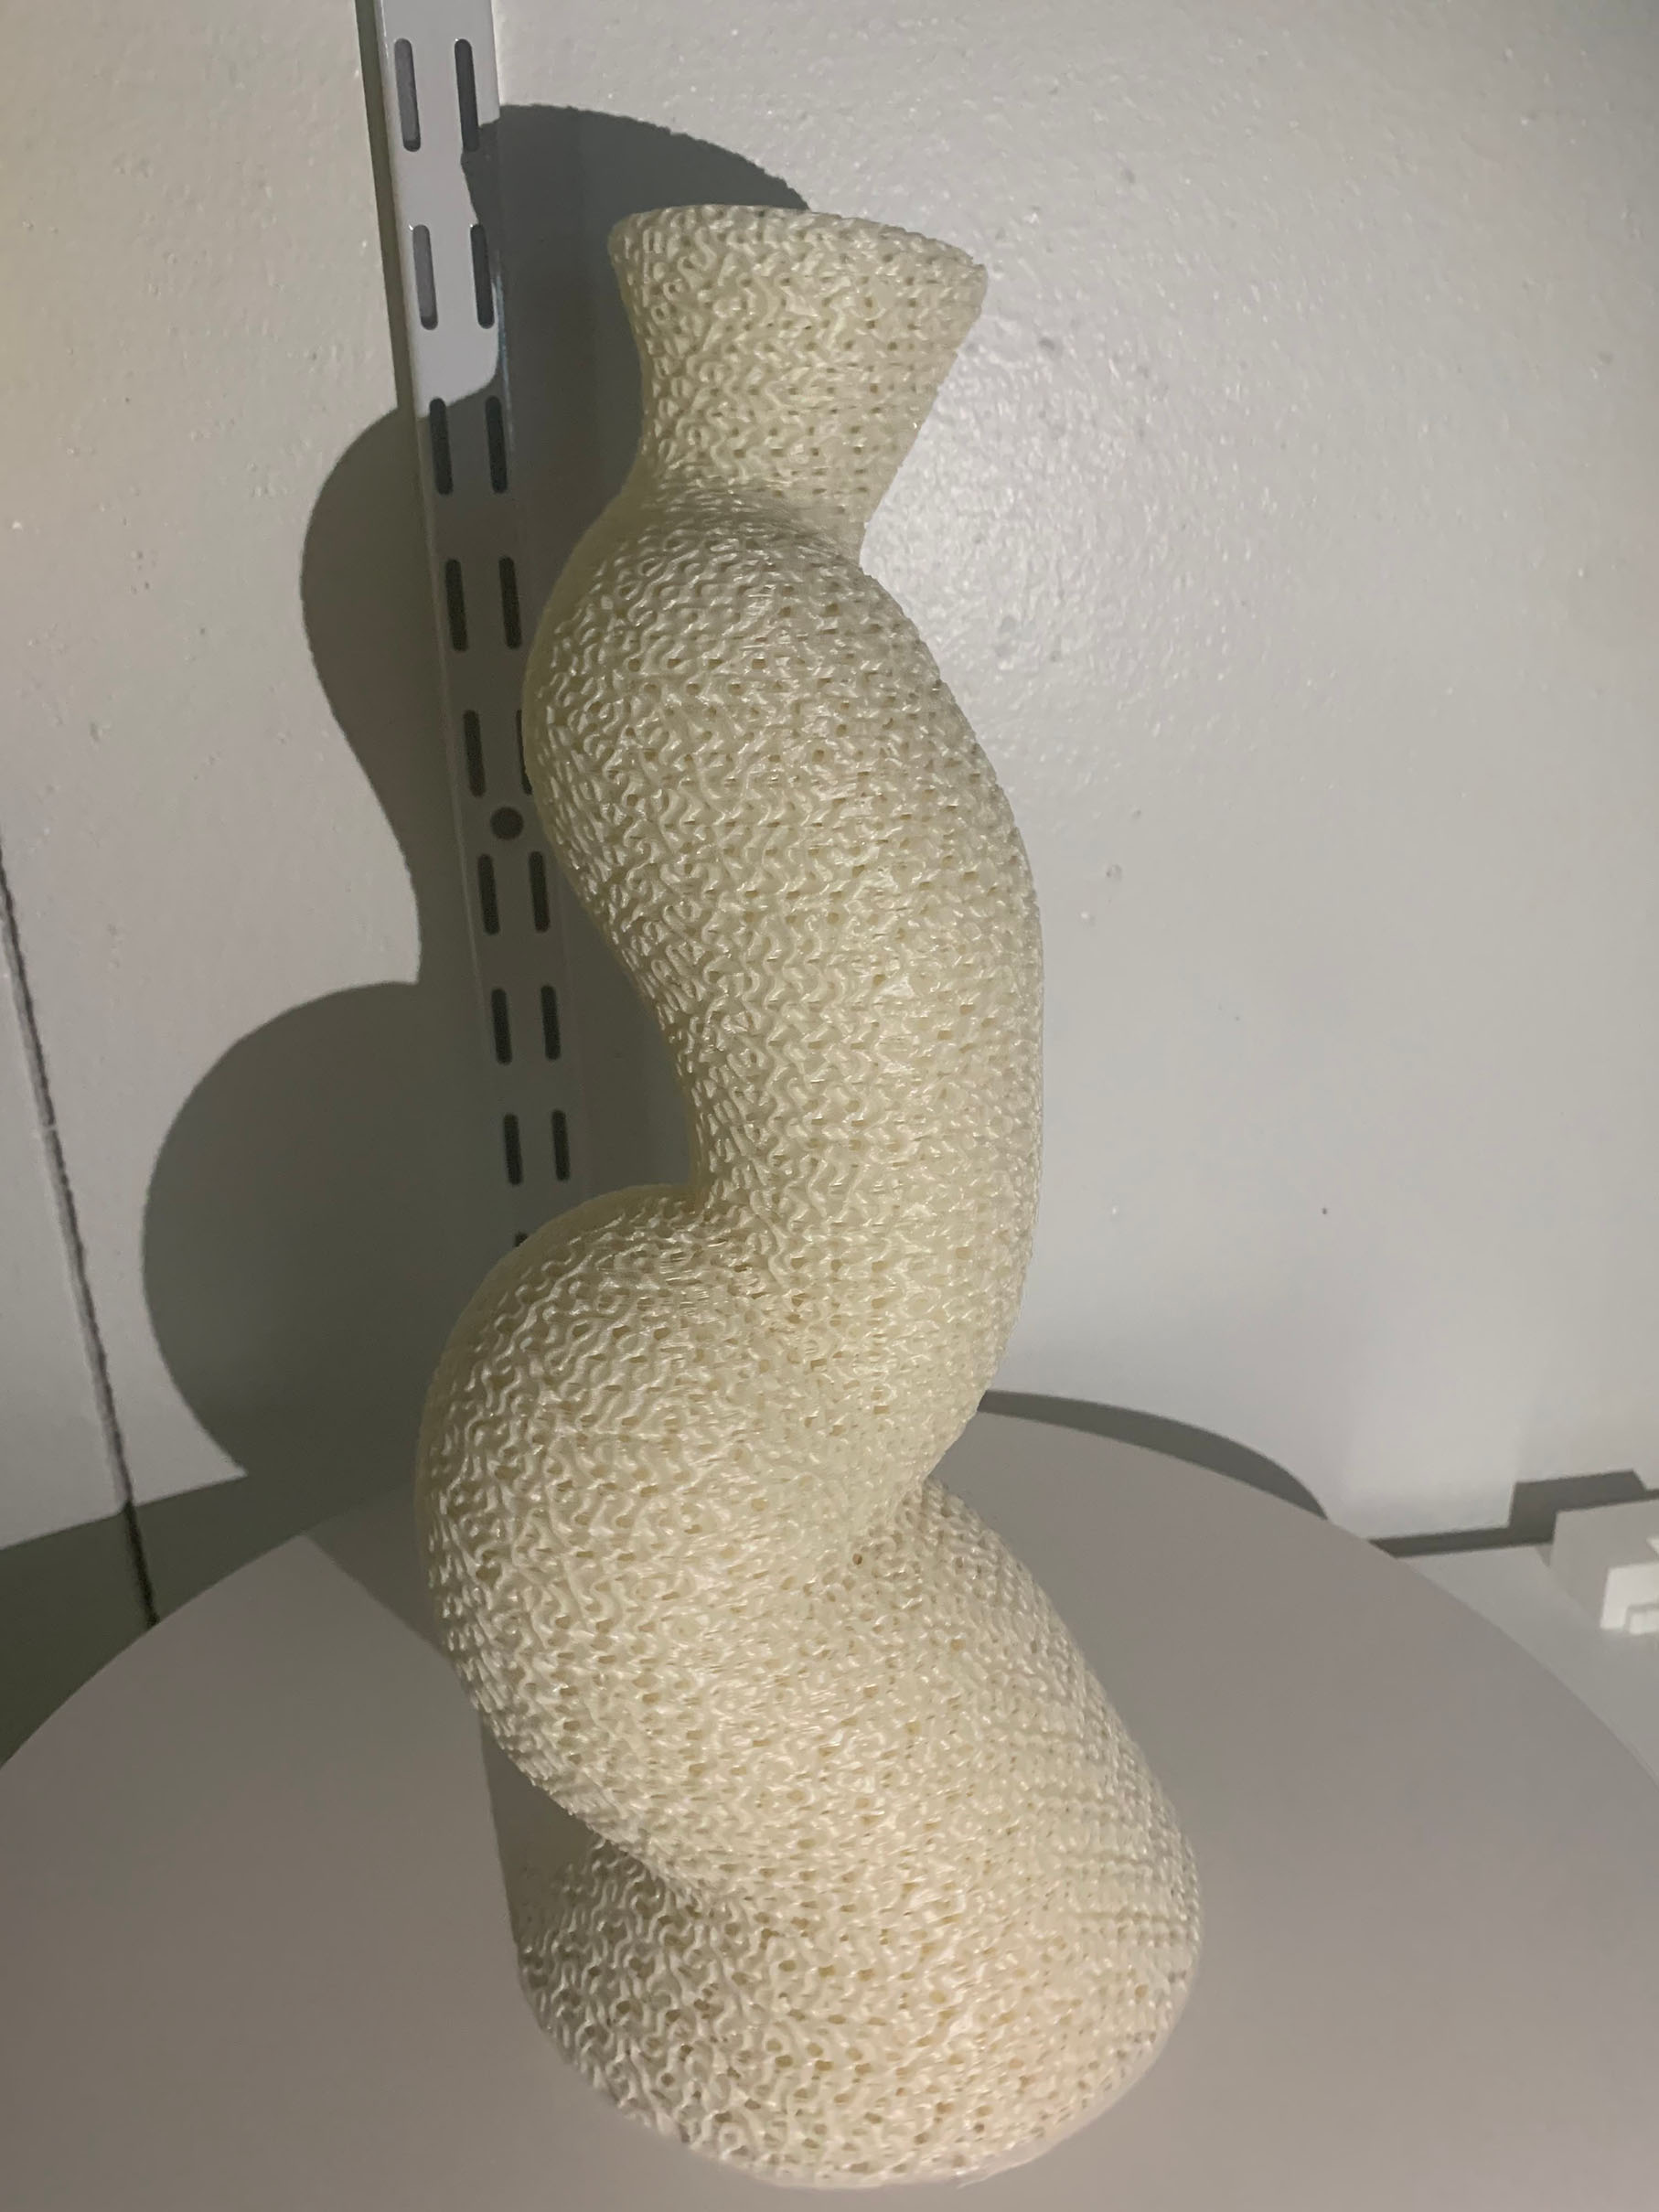
These were my finished pieces with my experiment with slicing without any walls.
Summary of my Settings to do This:
- 0 Walls
- 0 Top Walls
- 0 Bottom Walls
- For this example I used Gyroid because of the beautiful texture but most can work if there is a lot of continuous infill patterns
- Depending on the style you want the infill can vary but less is better
- Not connected infill lines seem to be more beautiful since it can cover up the pattern otherwise
- At first I thought the object couldn't use supports if it didn't have walls but actually it can though it is slightly fragile so having less supports is optimal
- If supports are necessary then use tree/organic supports
- Adhesion is important
The Scan
Because I had a hard time finding time to go to the lab at Harvard this week, I decided to try the app PolyCam on the phone to see how good of a scan I could get. I ended up having a hard time getting it to not scan the wall behind the object. But in the end was able to successfully do it.
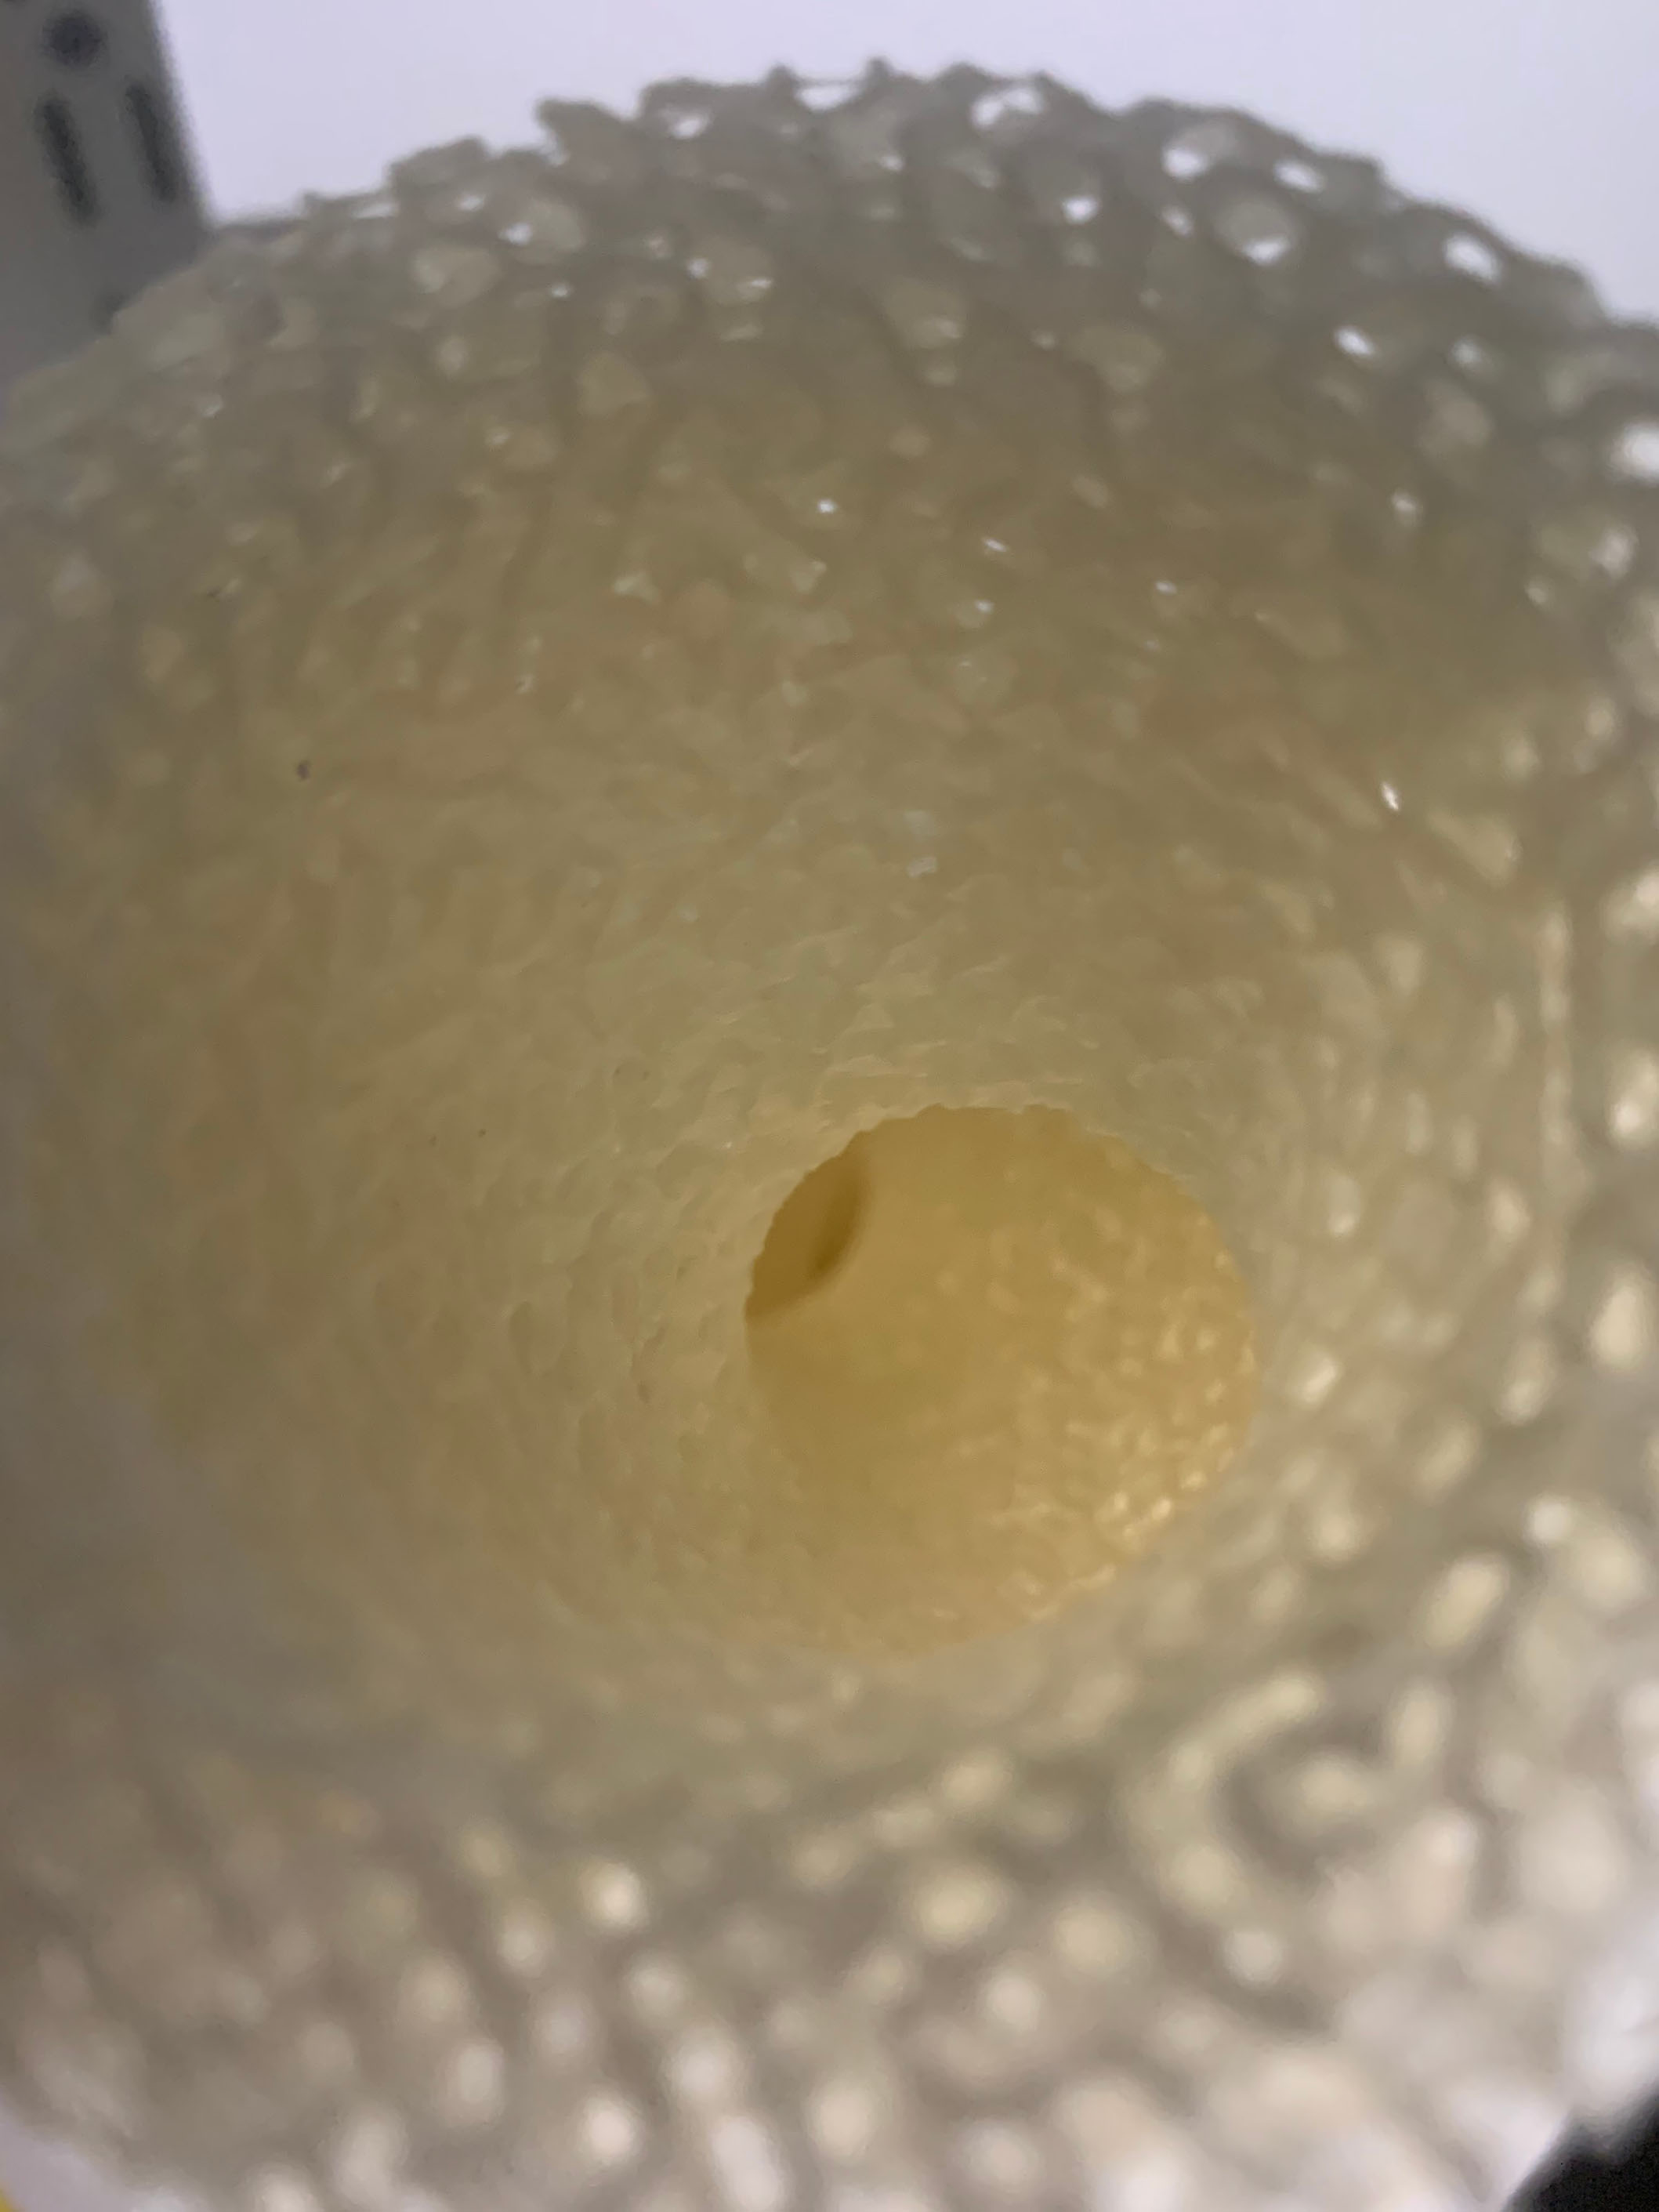
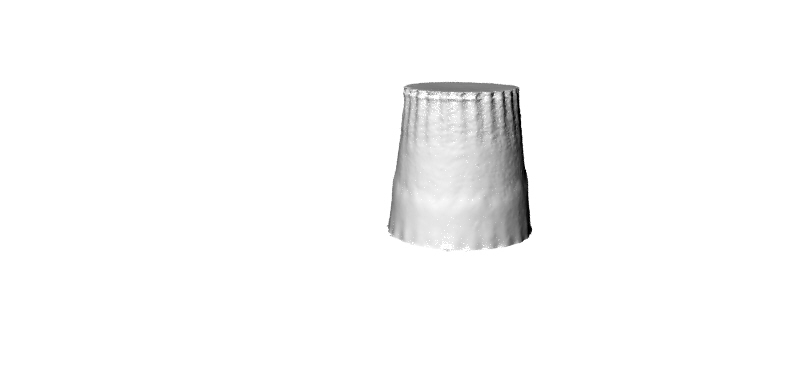
Using a small turn table and a phone flashlight I put a small ceramic 3D printed cup in the center and used PolyCam and a somewhat steady hand to take about 31 timed photos.
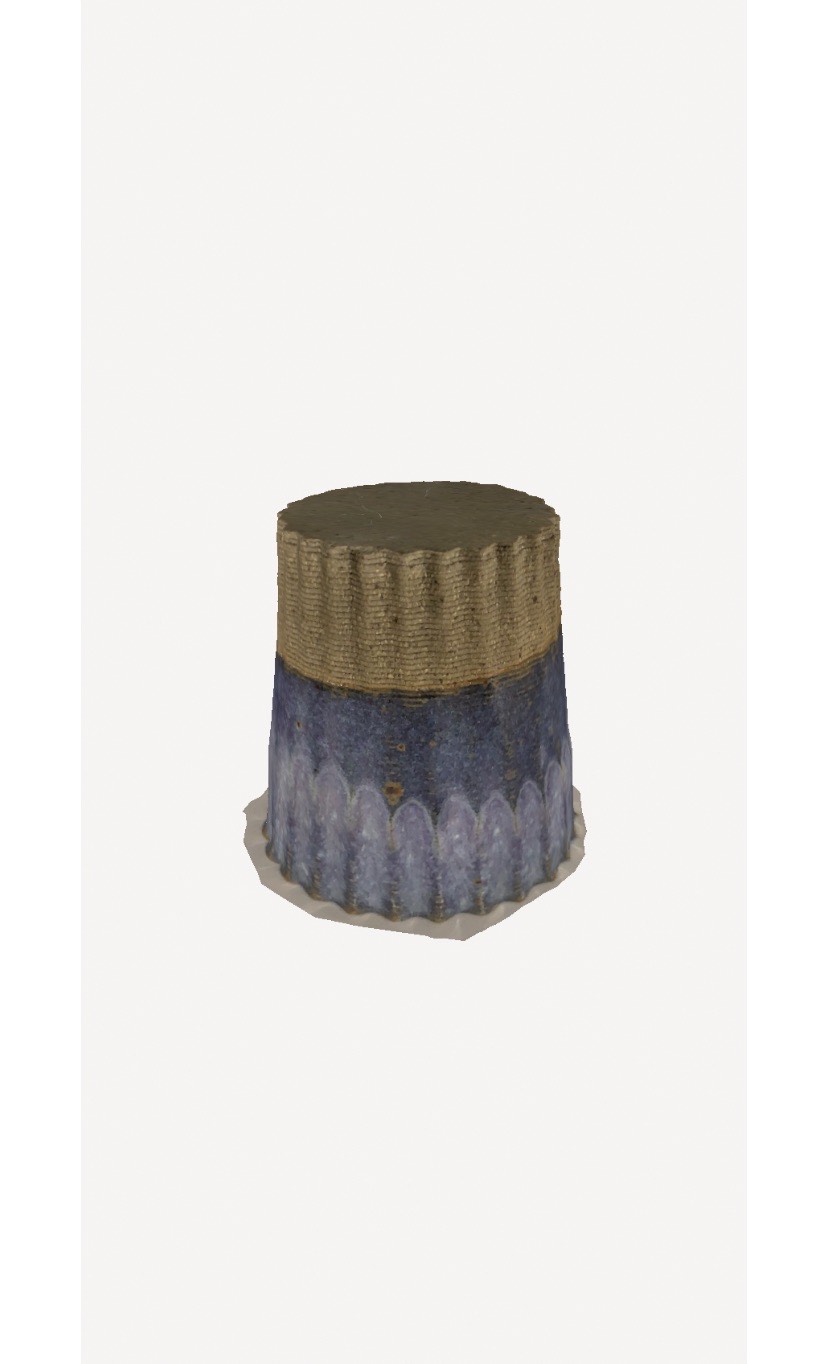
PolyCam did a surprisingly good job at processing this scan to make it realistic.
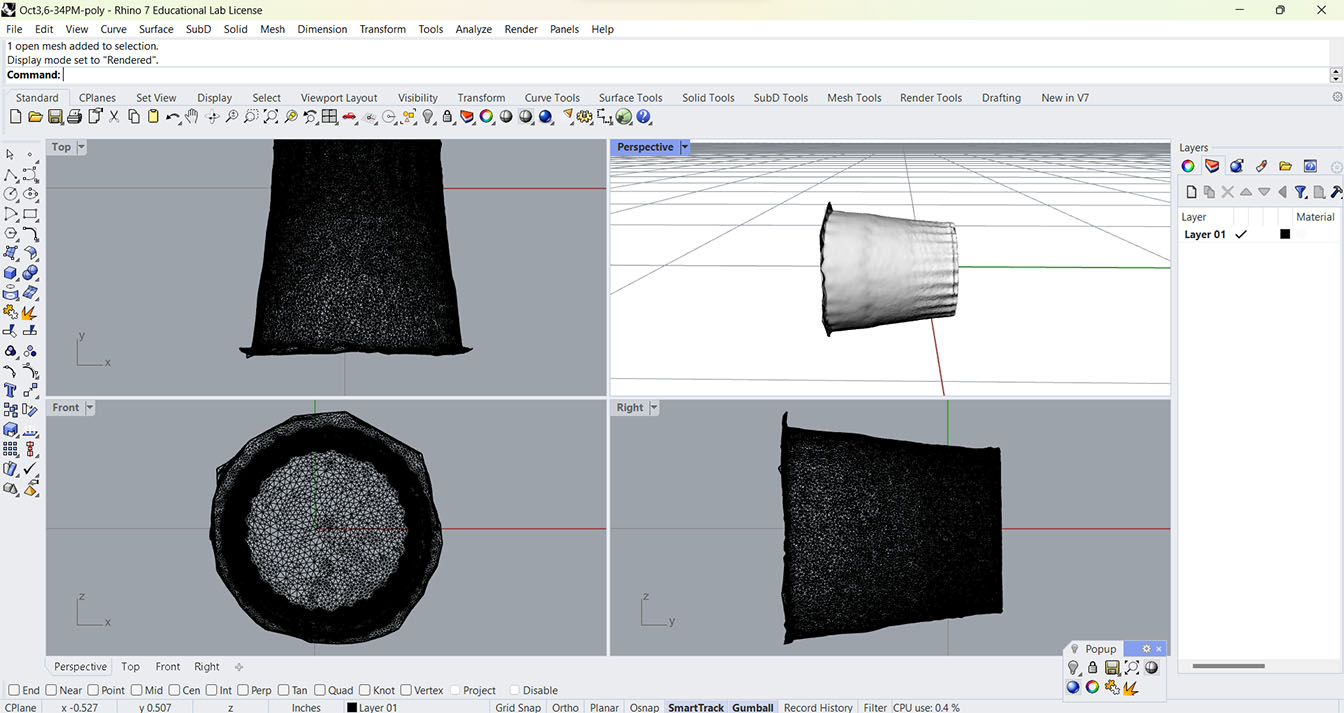
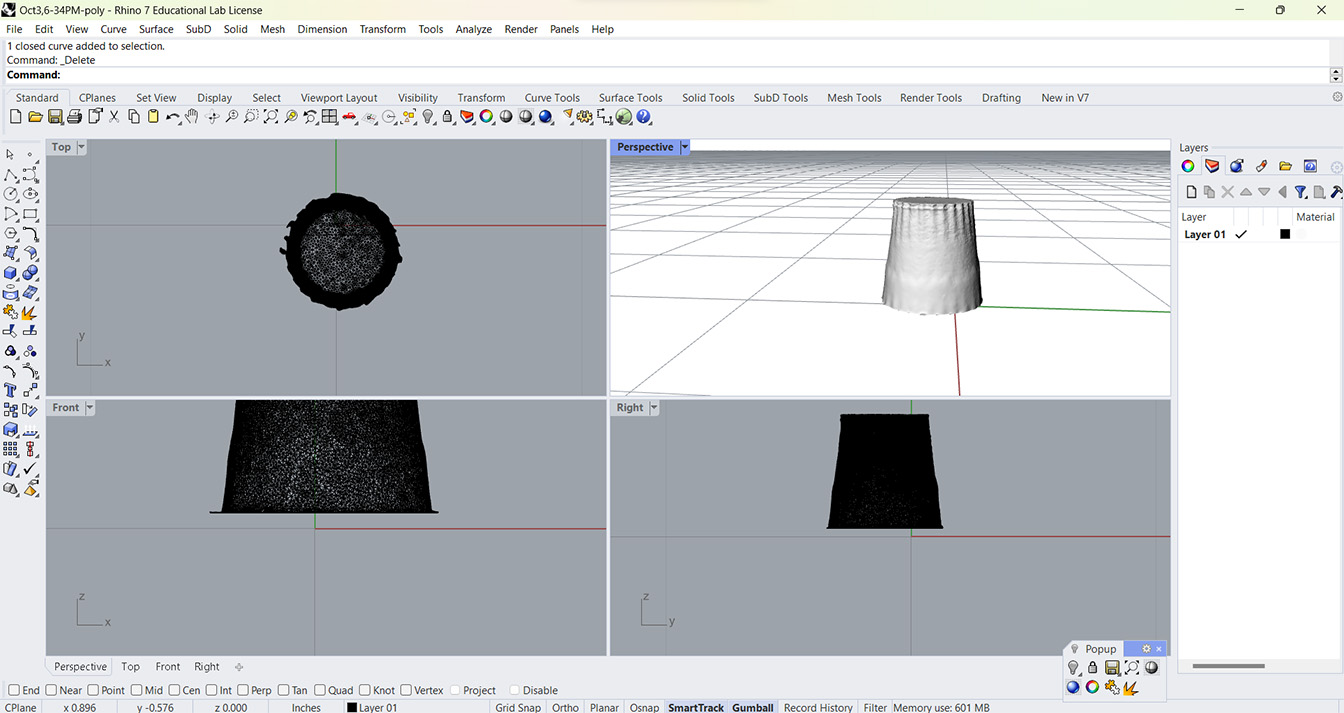
I then brought the .stl into Rhino in orget to fix the mesh and make it a solid object. To do that I used a rectangular plane to clean the bottom edges because they had some foreign mesh. And if I were to want to print this object I would be able to use spiralize outer contour to make it into the same general look as the first one.
The Ongoing Project
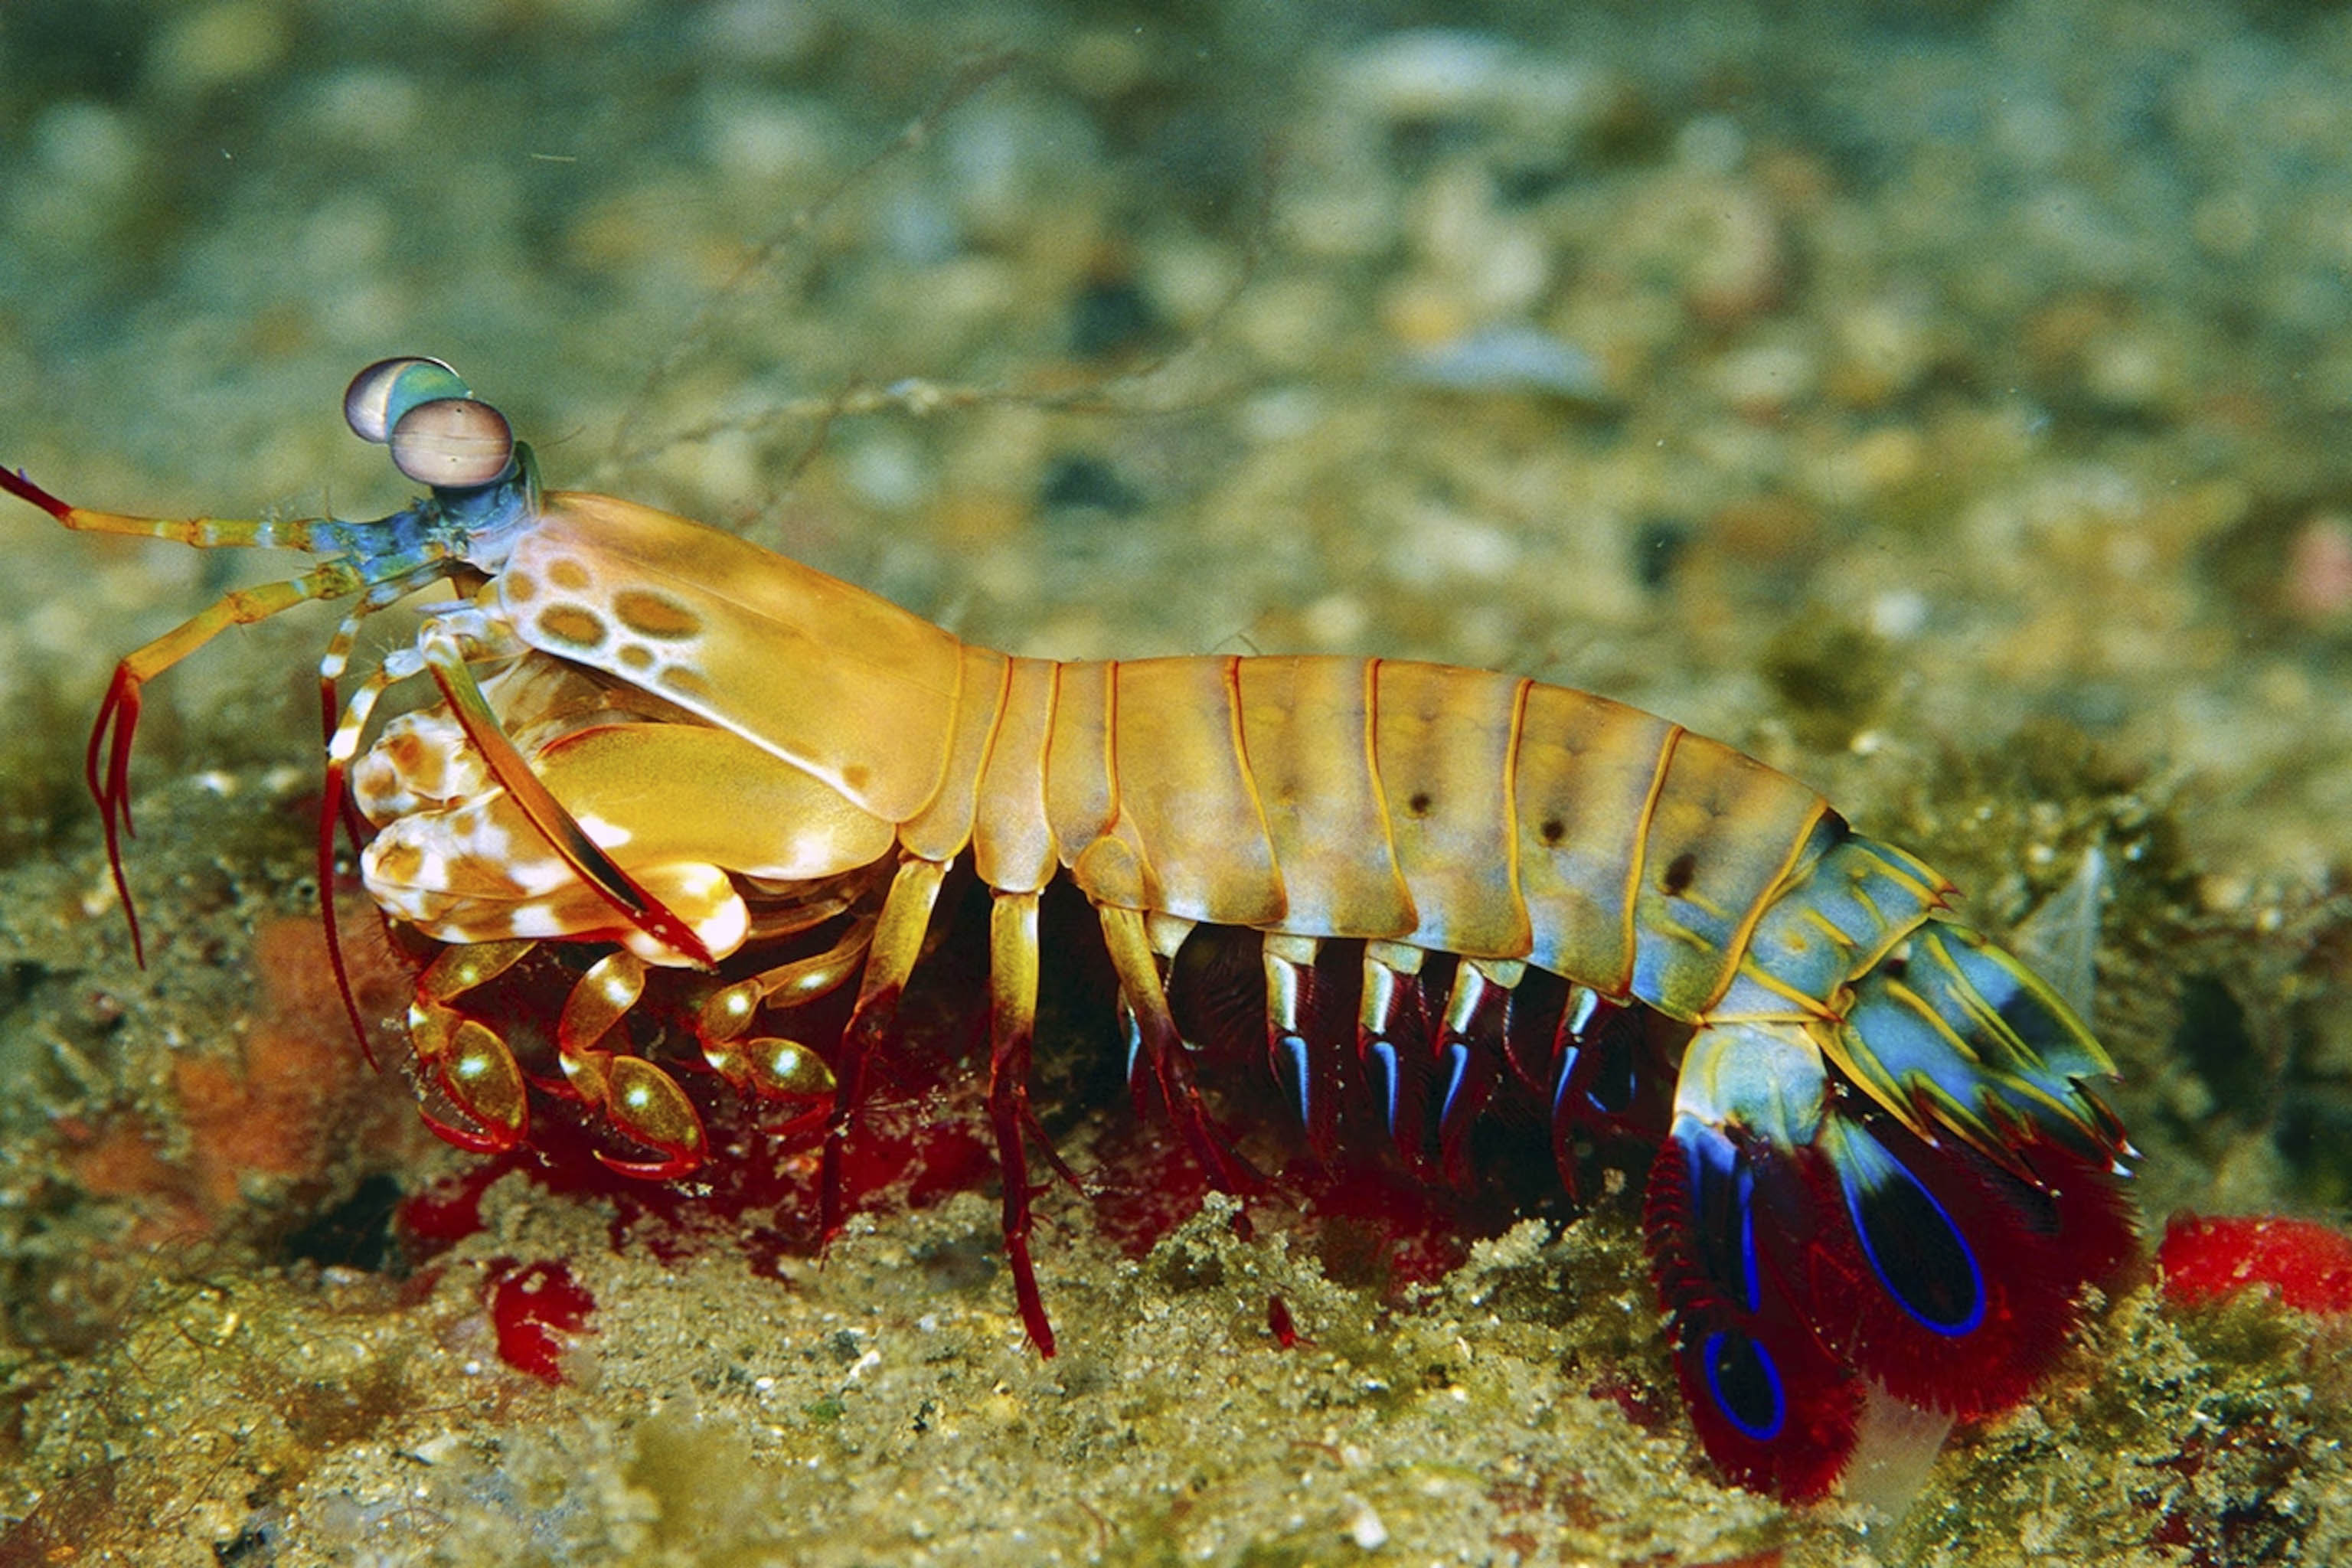
What I had really wanted to make for this week was a almost fully articulated Mantis shrimp, but I just didn't have the time to prototype the joints on the mantis to make sure everything would fit, and still have time to print it fully for class. But I am going to finish it, mainly for myself.
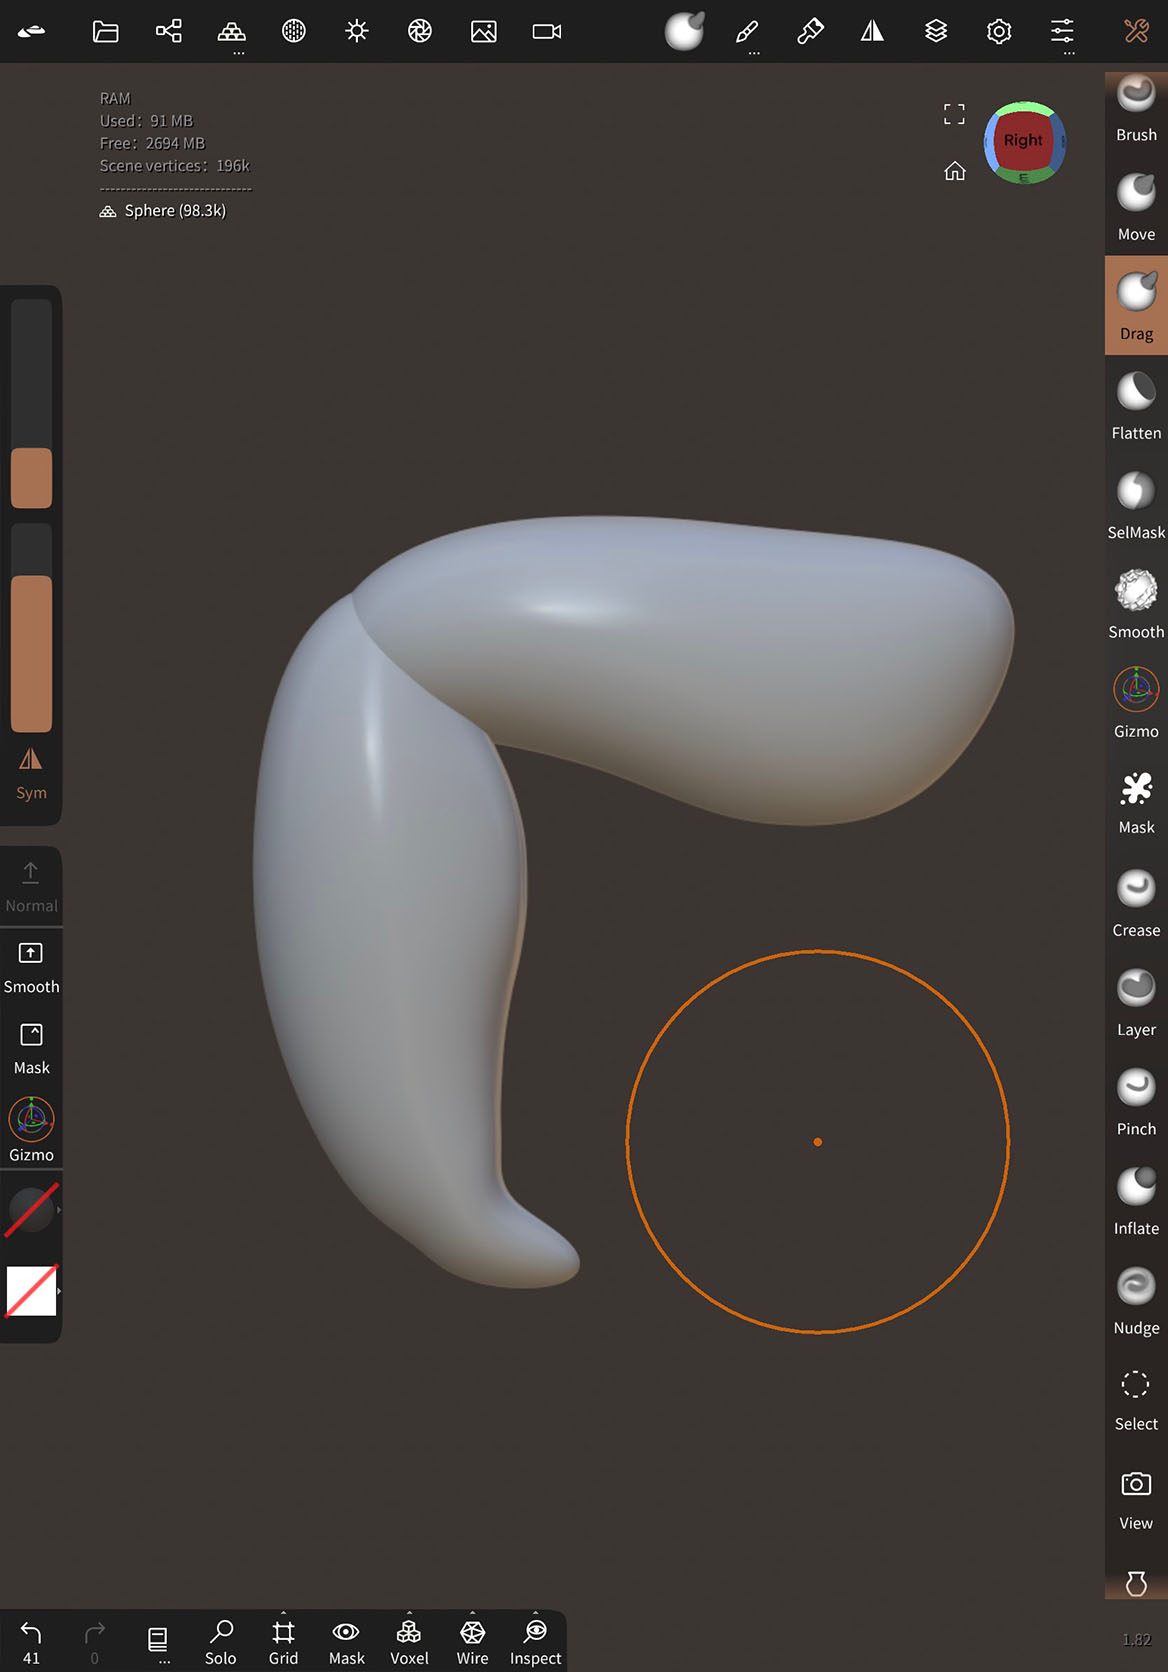
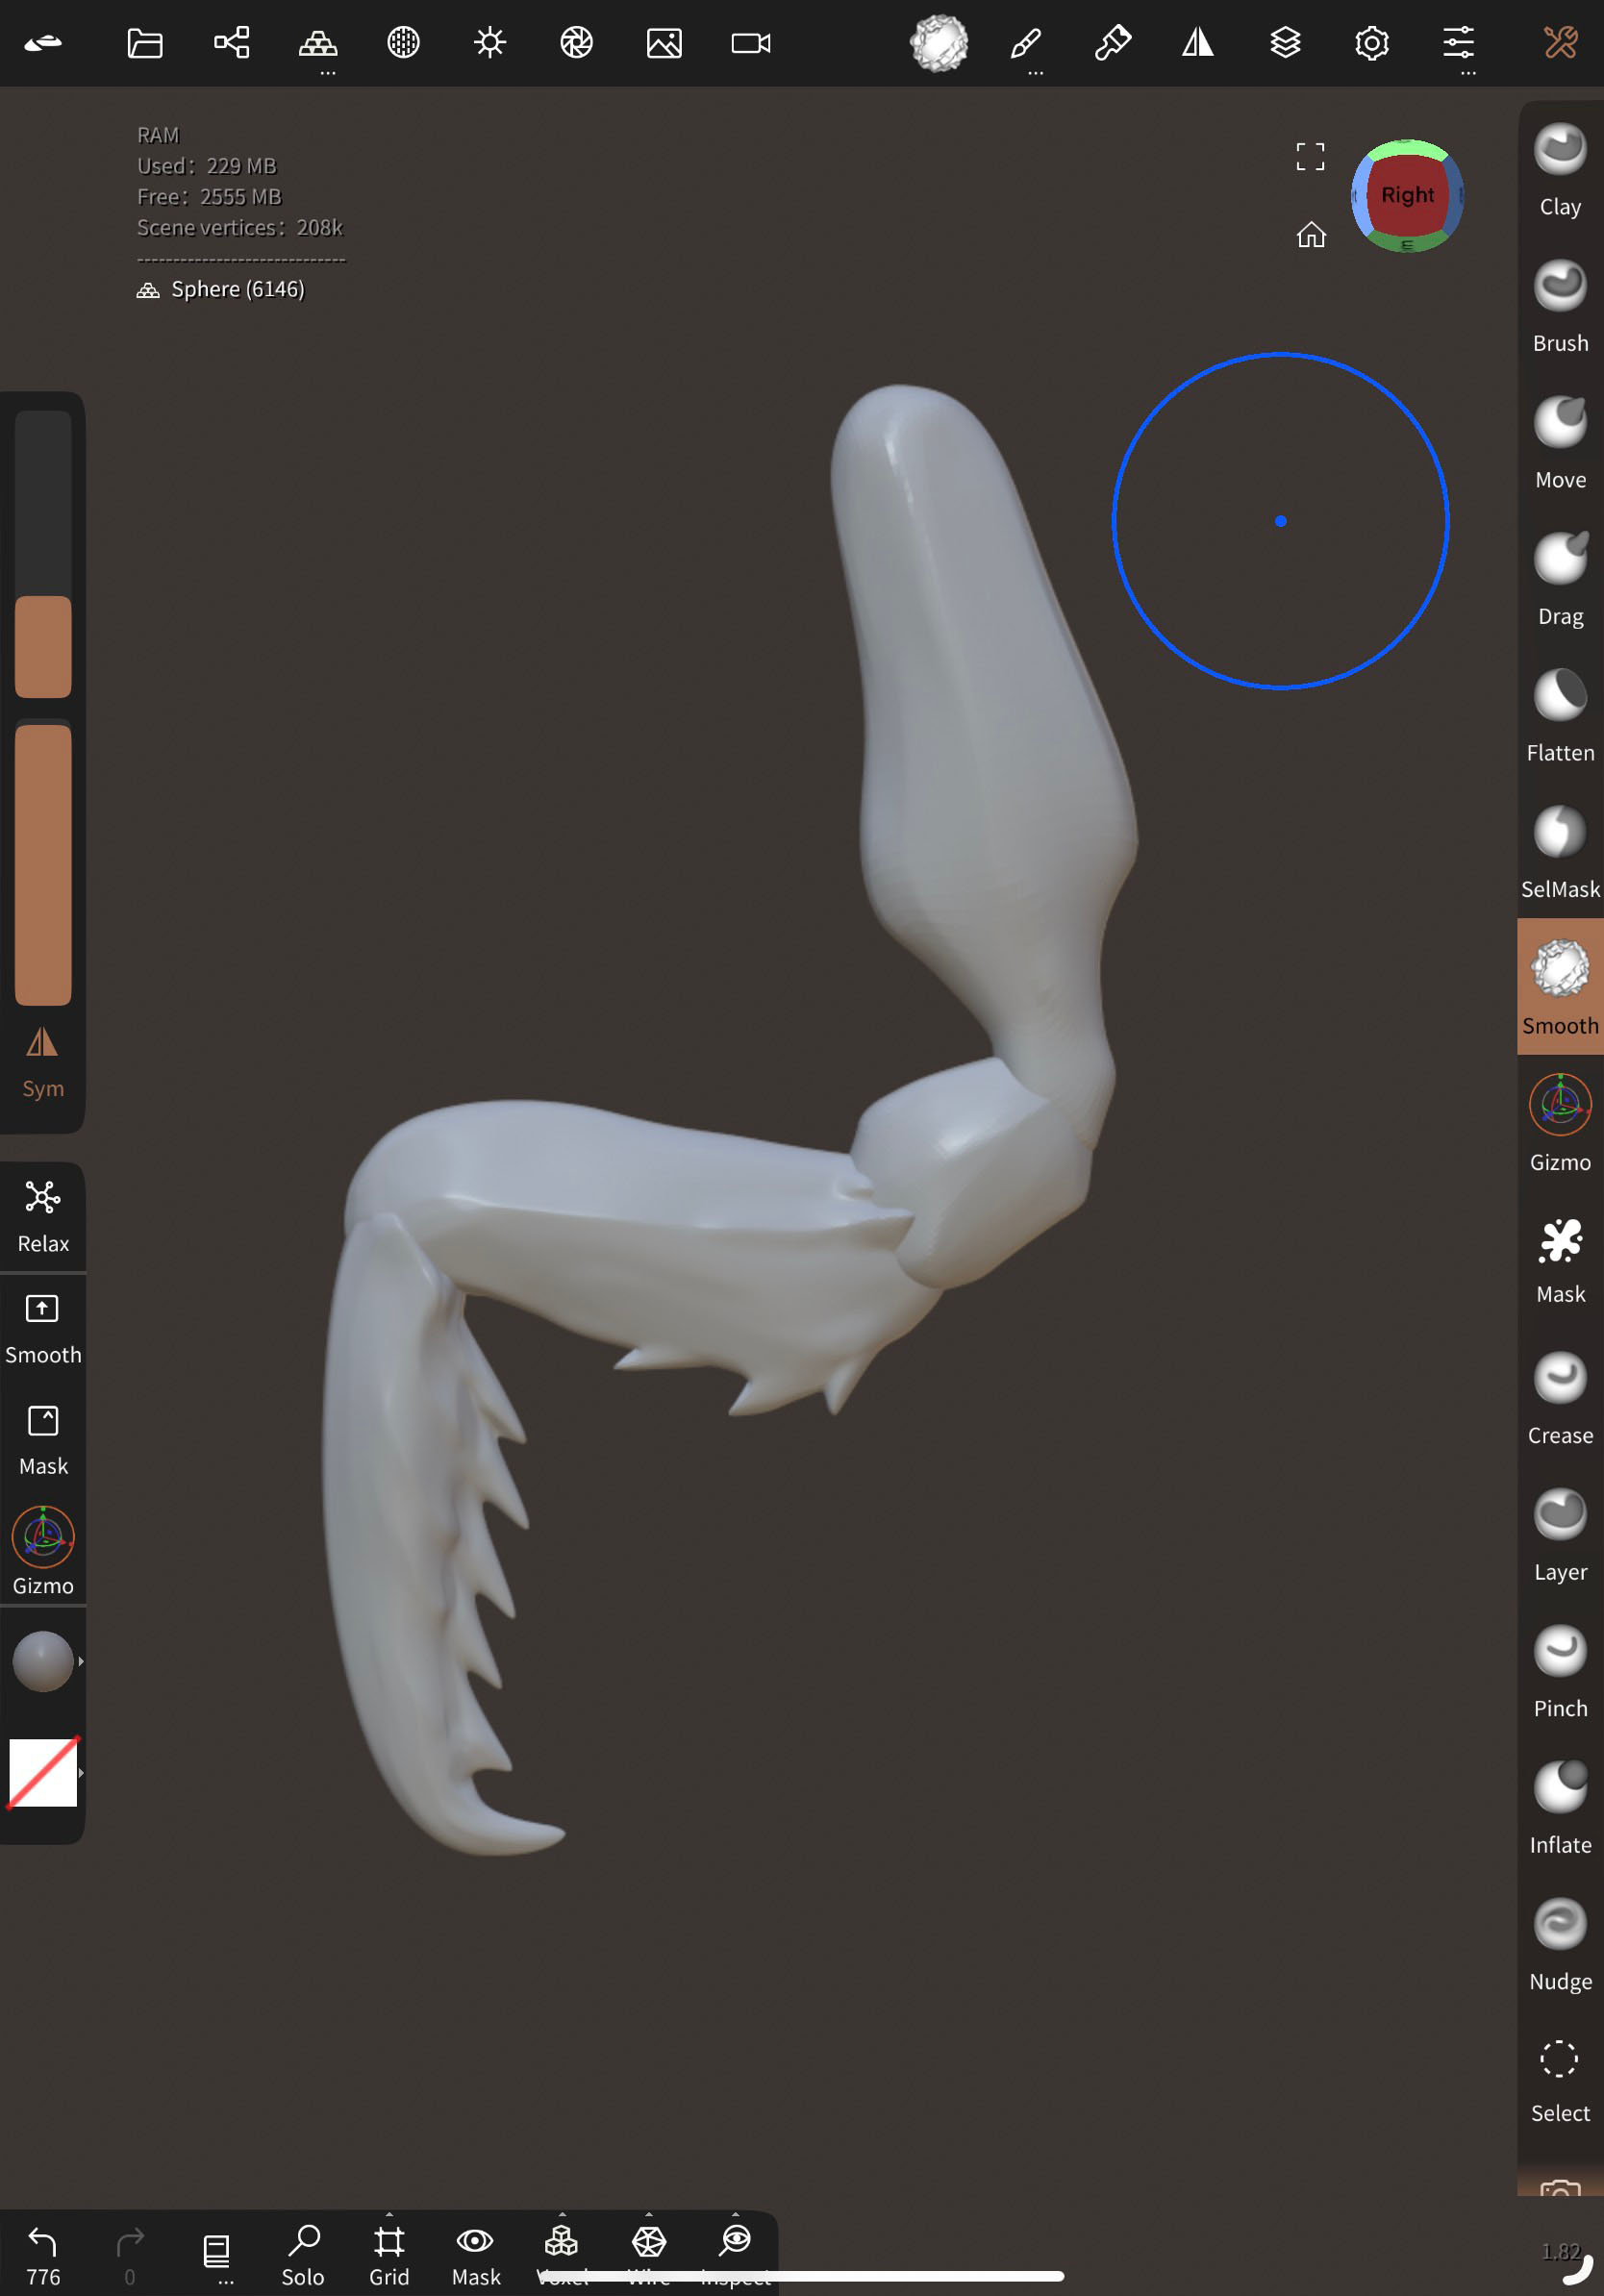
Starting off with the pincher arms of the mantis, I made multiple flattened oval shapes and positioned them in the way th epincher would be, using the flattening tool, smooth tool, crease tool, and drag tool to define the shape of the spikes and arm.

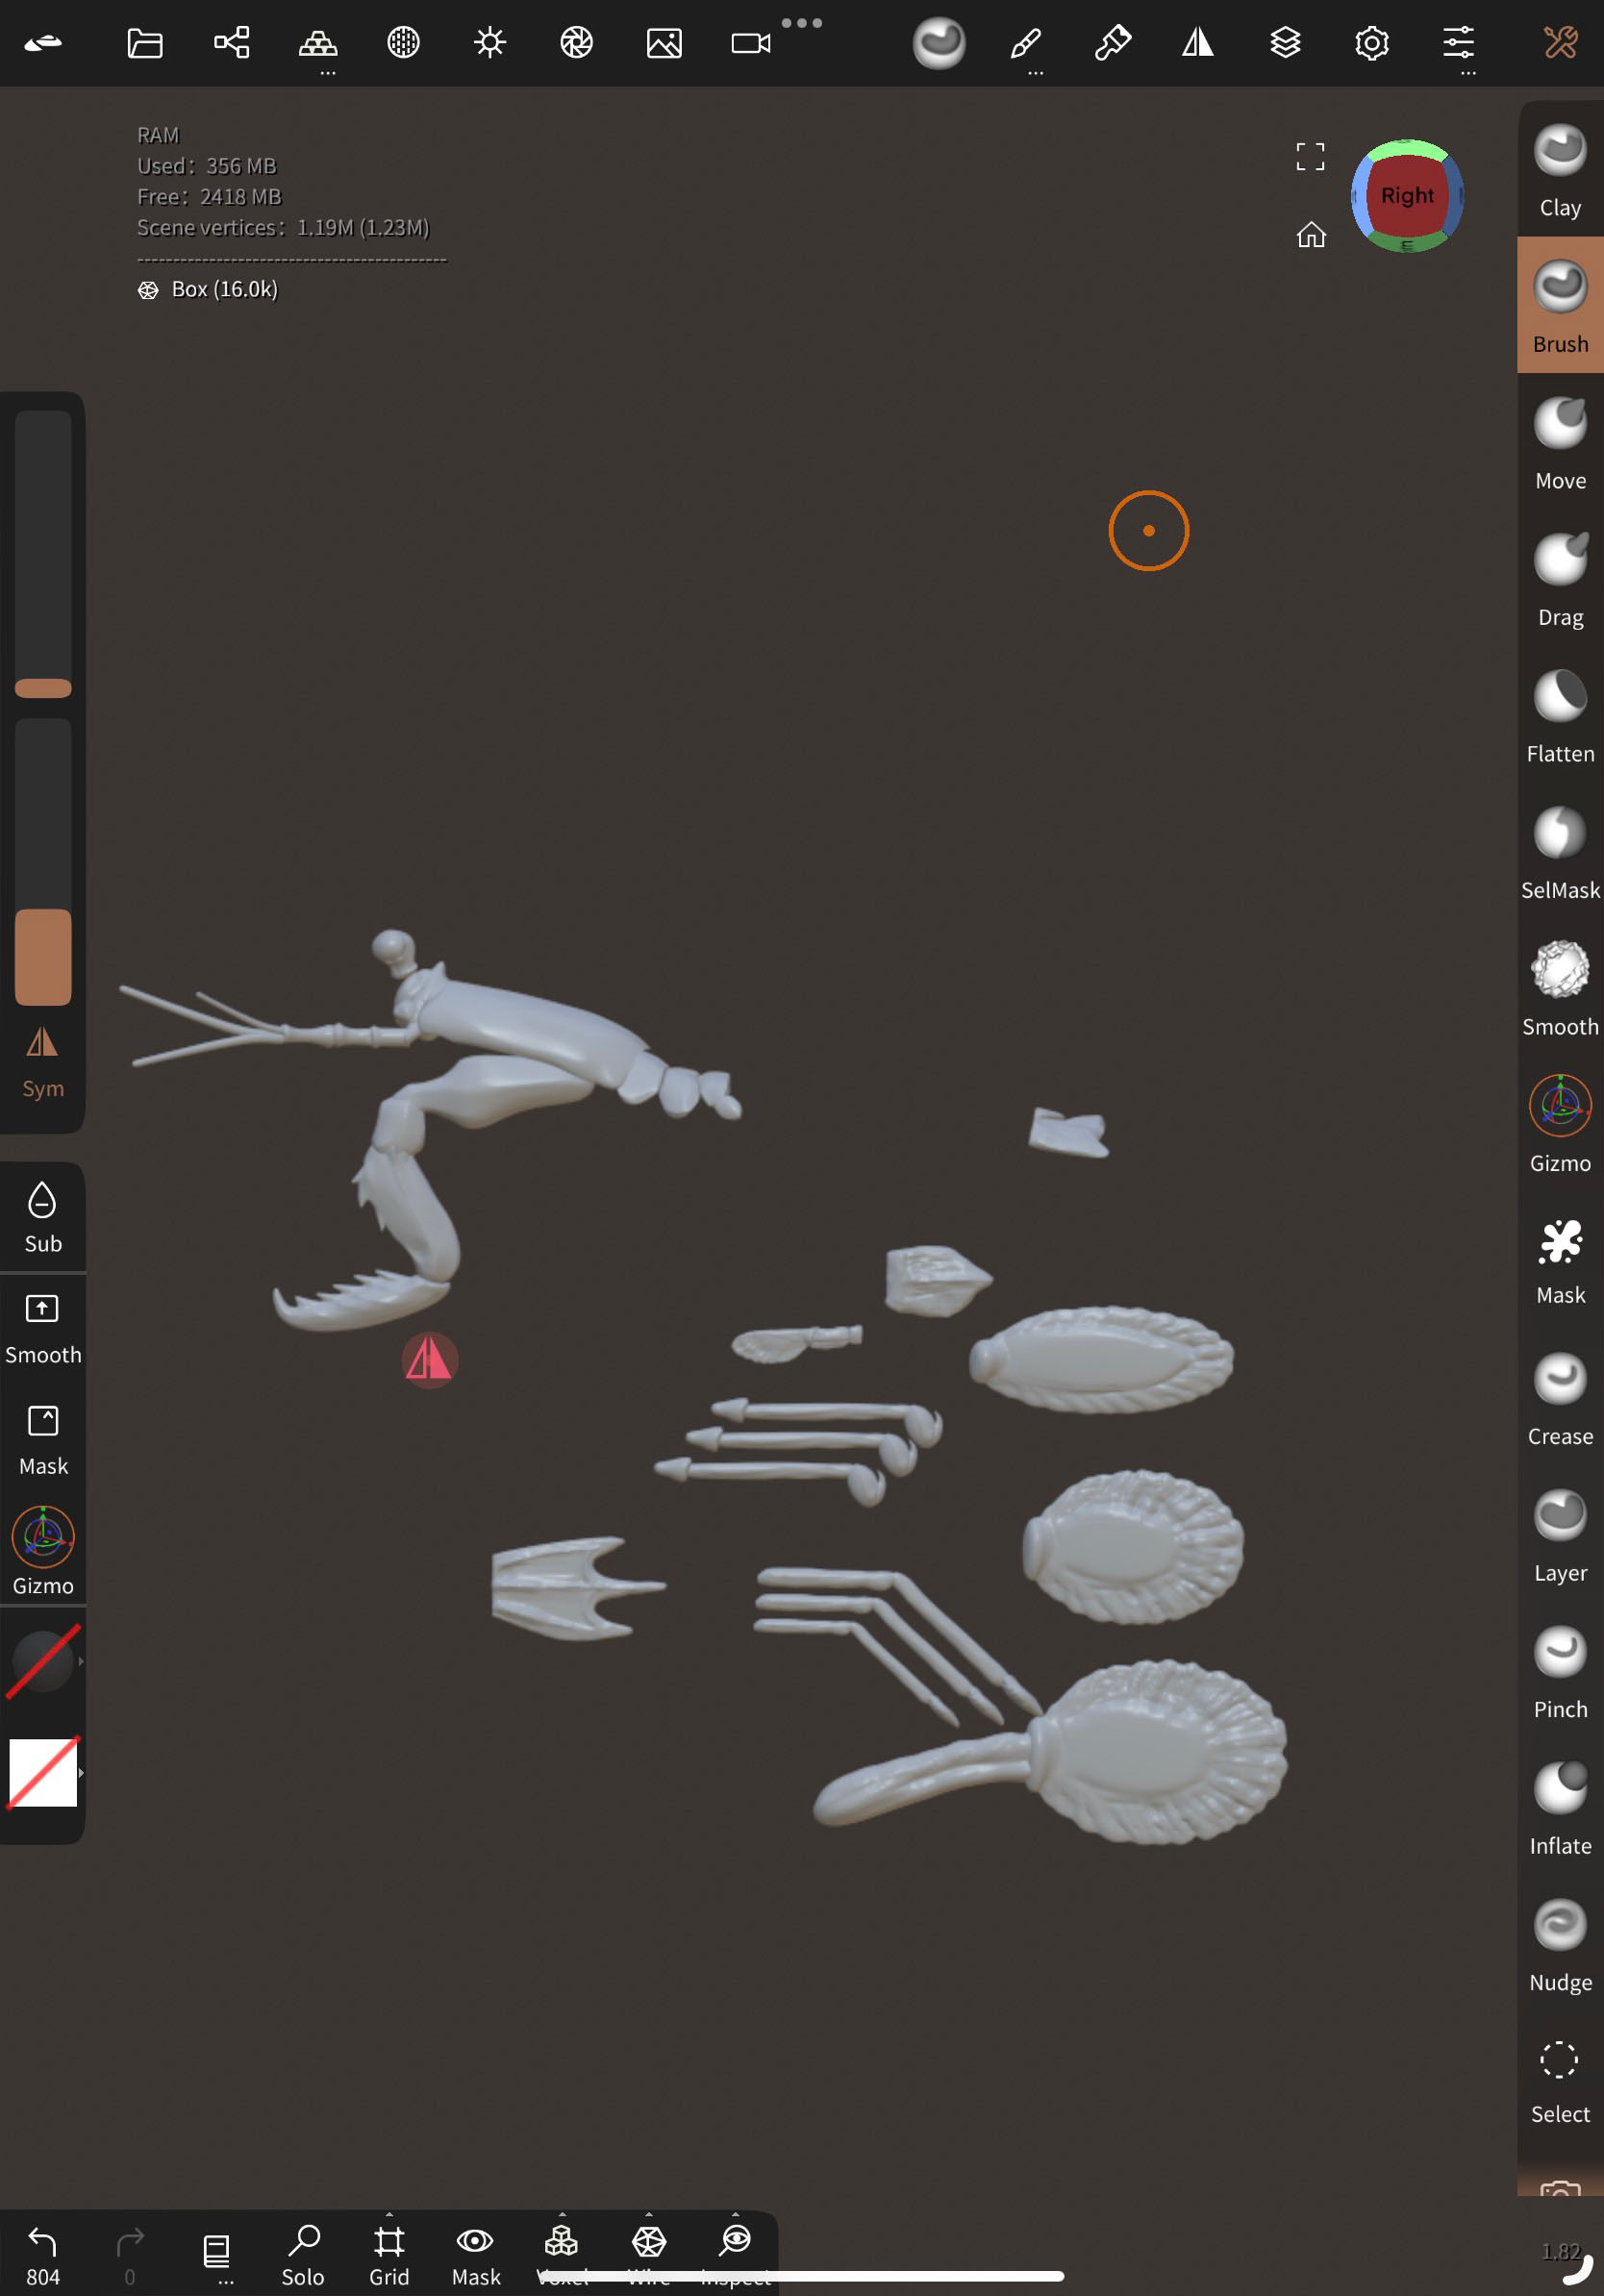
I go about making the other limbs in a similar way, by just observing references of Peacock Mantis shrimp and anatomy photos, usually only needing one of each limb since they are mostly multiples of the same thing just slightly different.
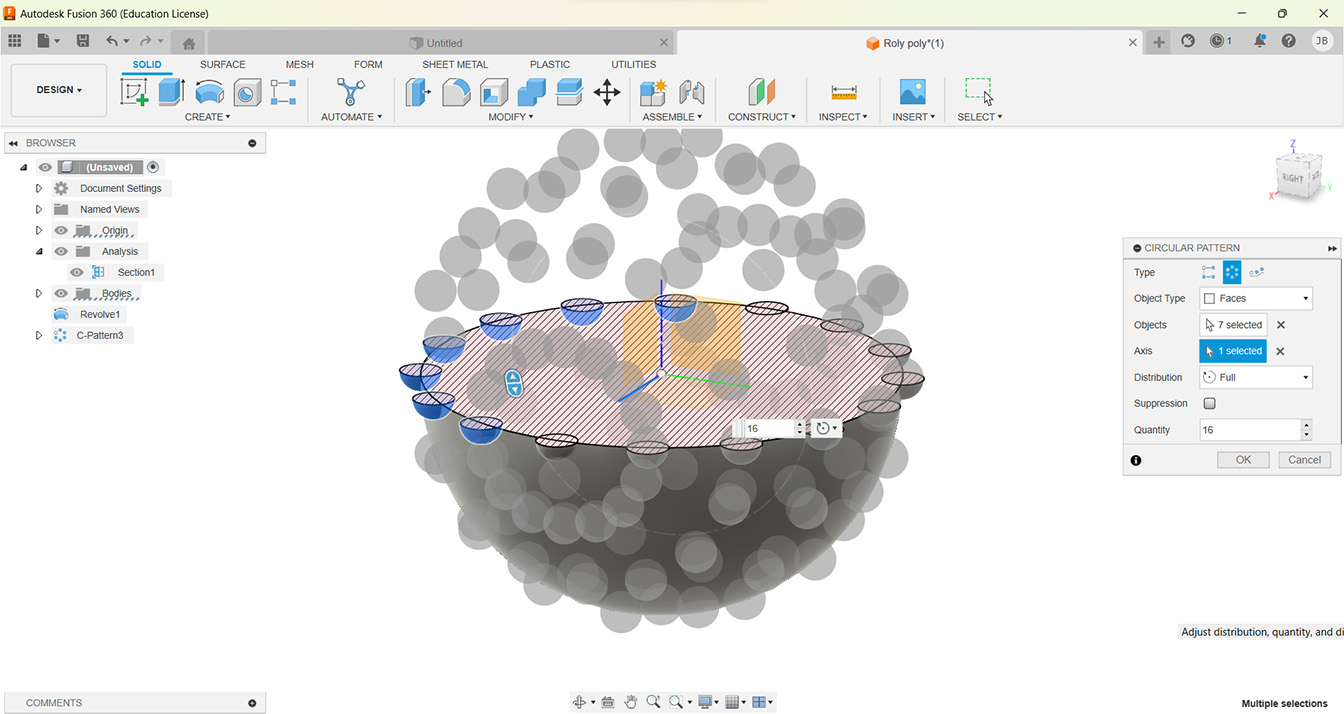
I went into Fusion 360 in order to make a textured butterfly joint so that there would be friction that would last longer as time went on. Starting with a sphere, what I wanted to make was a sphere with a bunch of little spheres around it to serve as bumps.

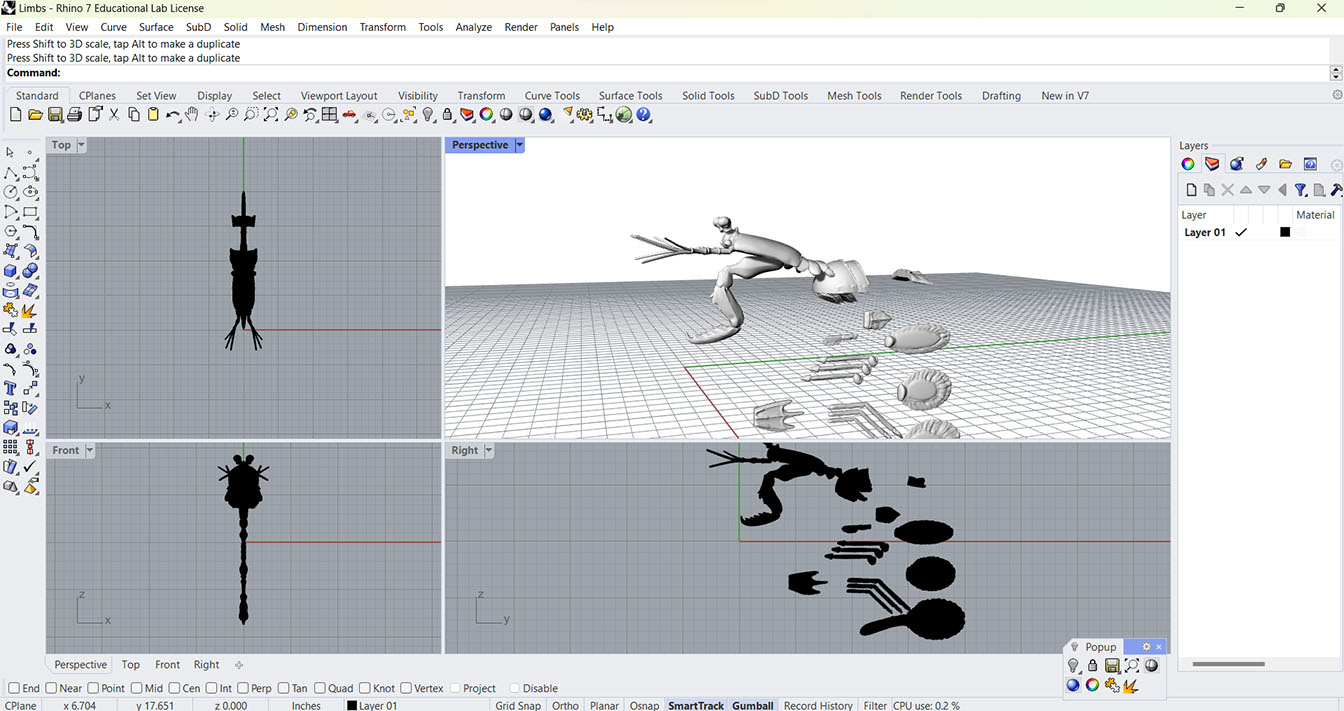
Using Rhino 7 I attempted to emulate a joint from a snail print that I thought was interesting, since it was one that was printed within itself like a chain almost.
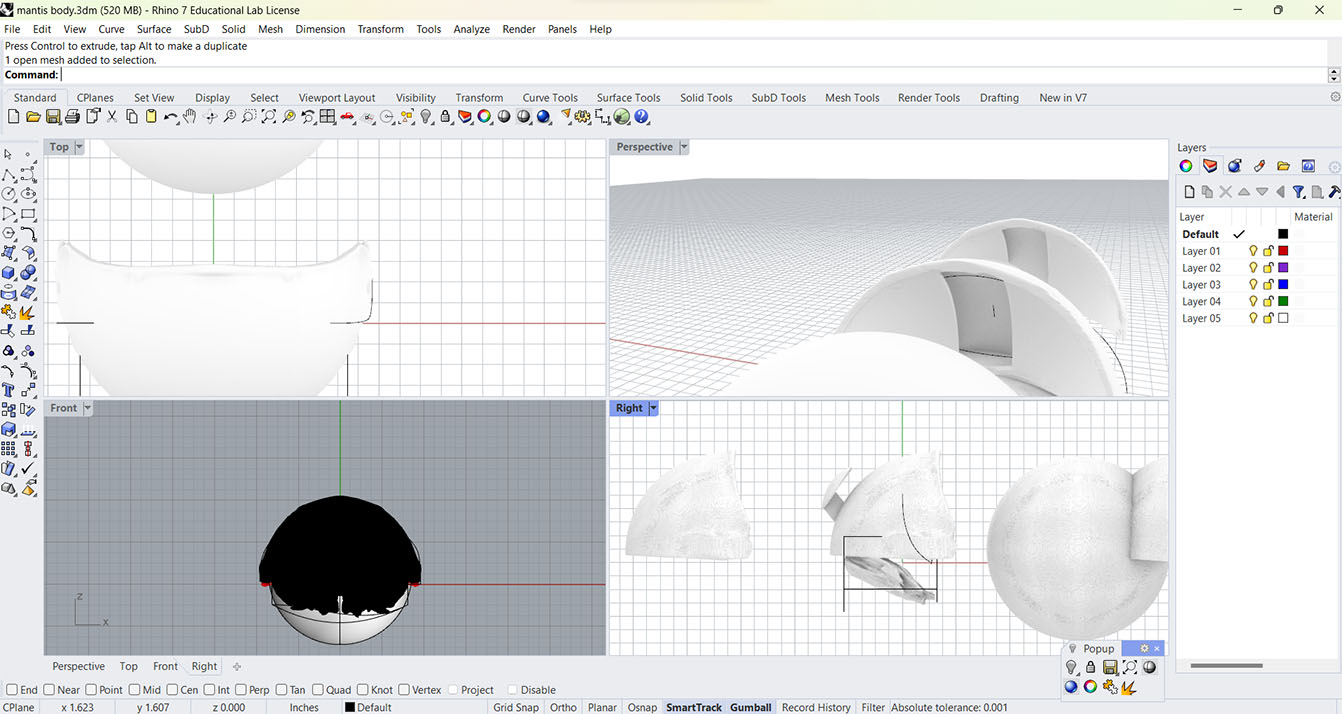
Using semi circle spheres and making a gap in between them to have a slot for the peg to sit within so that it can shift within it.
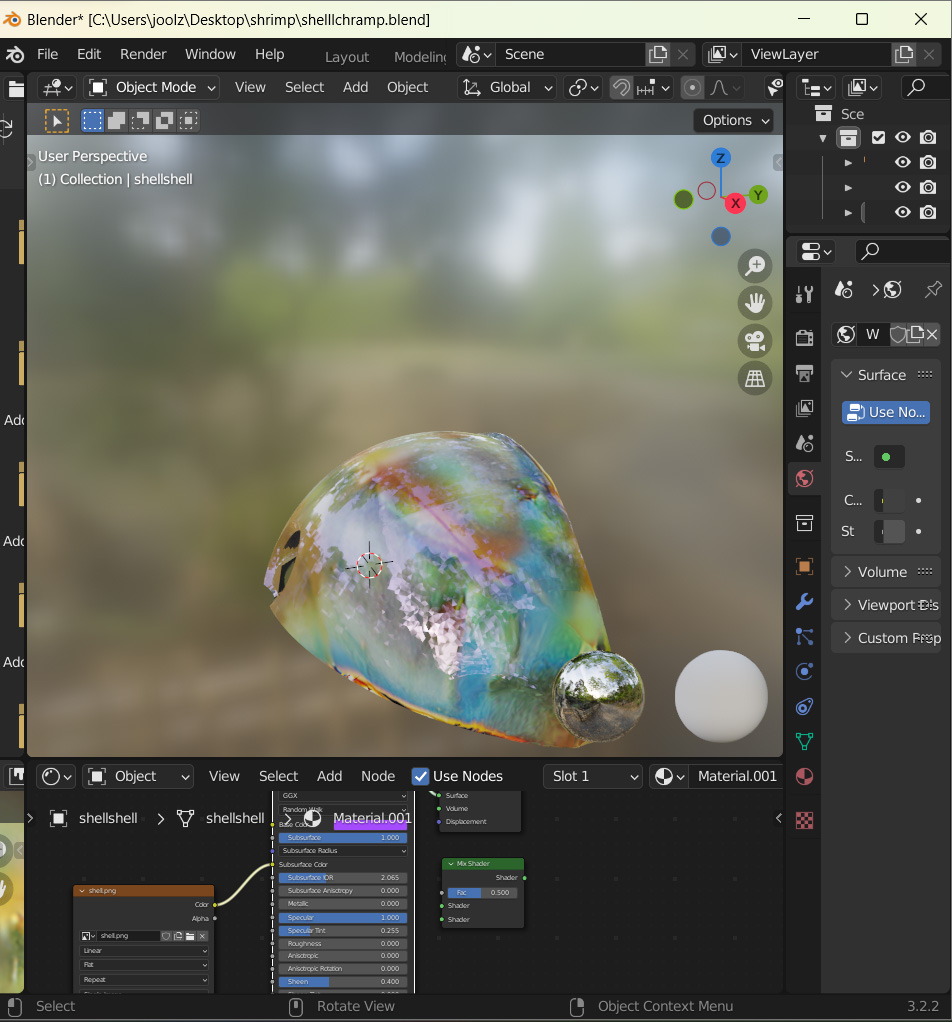
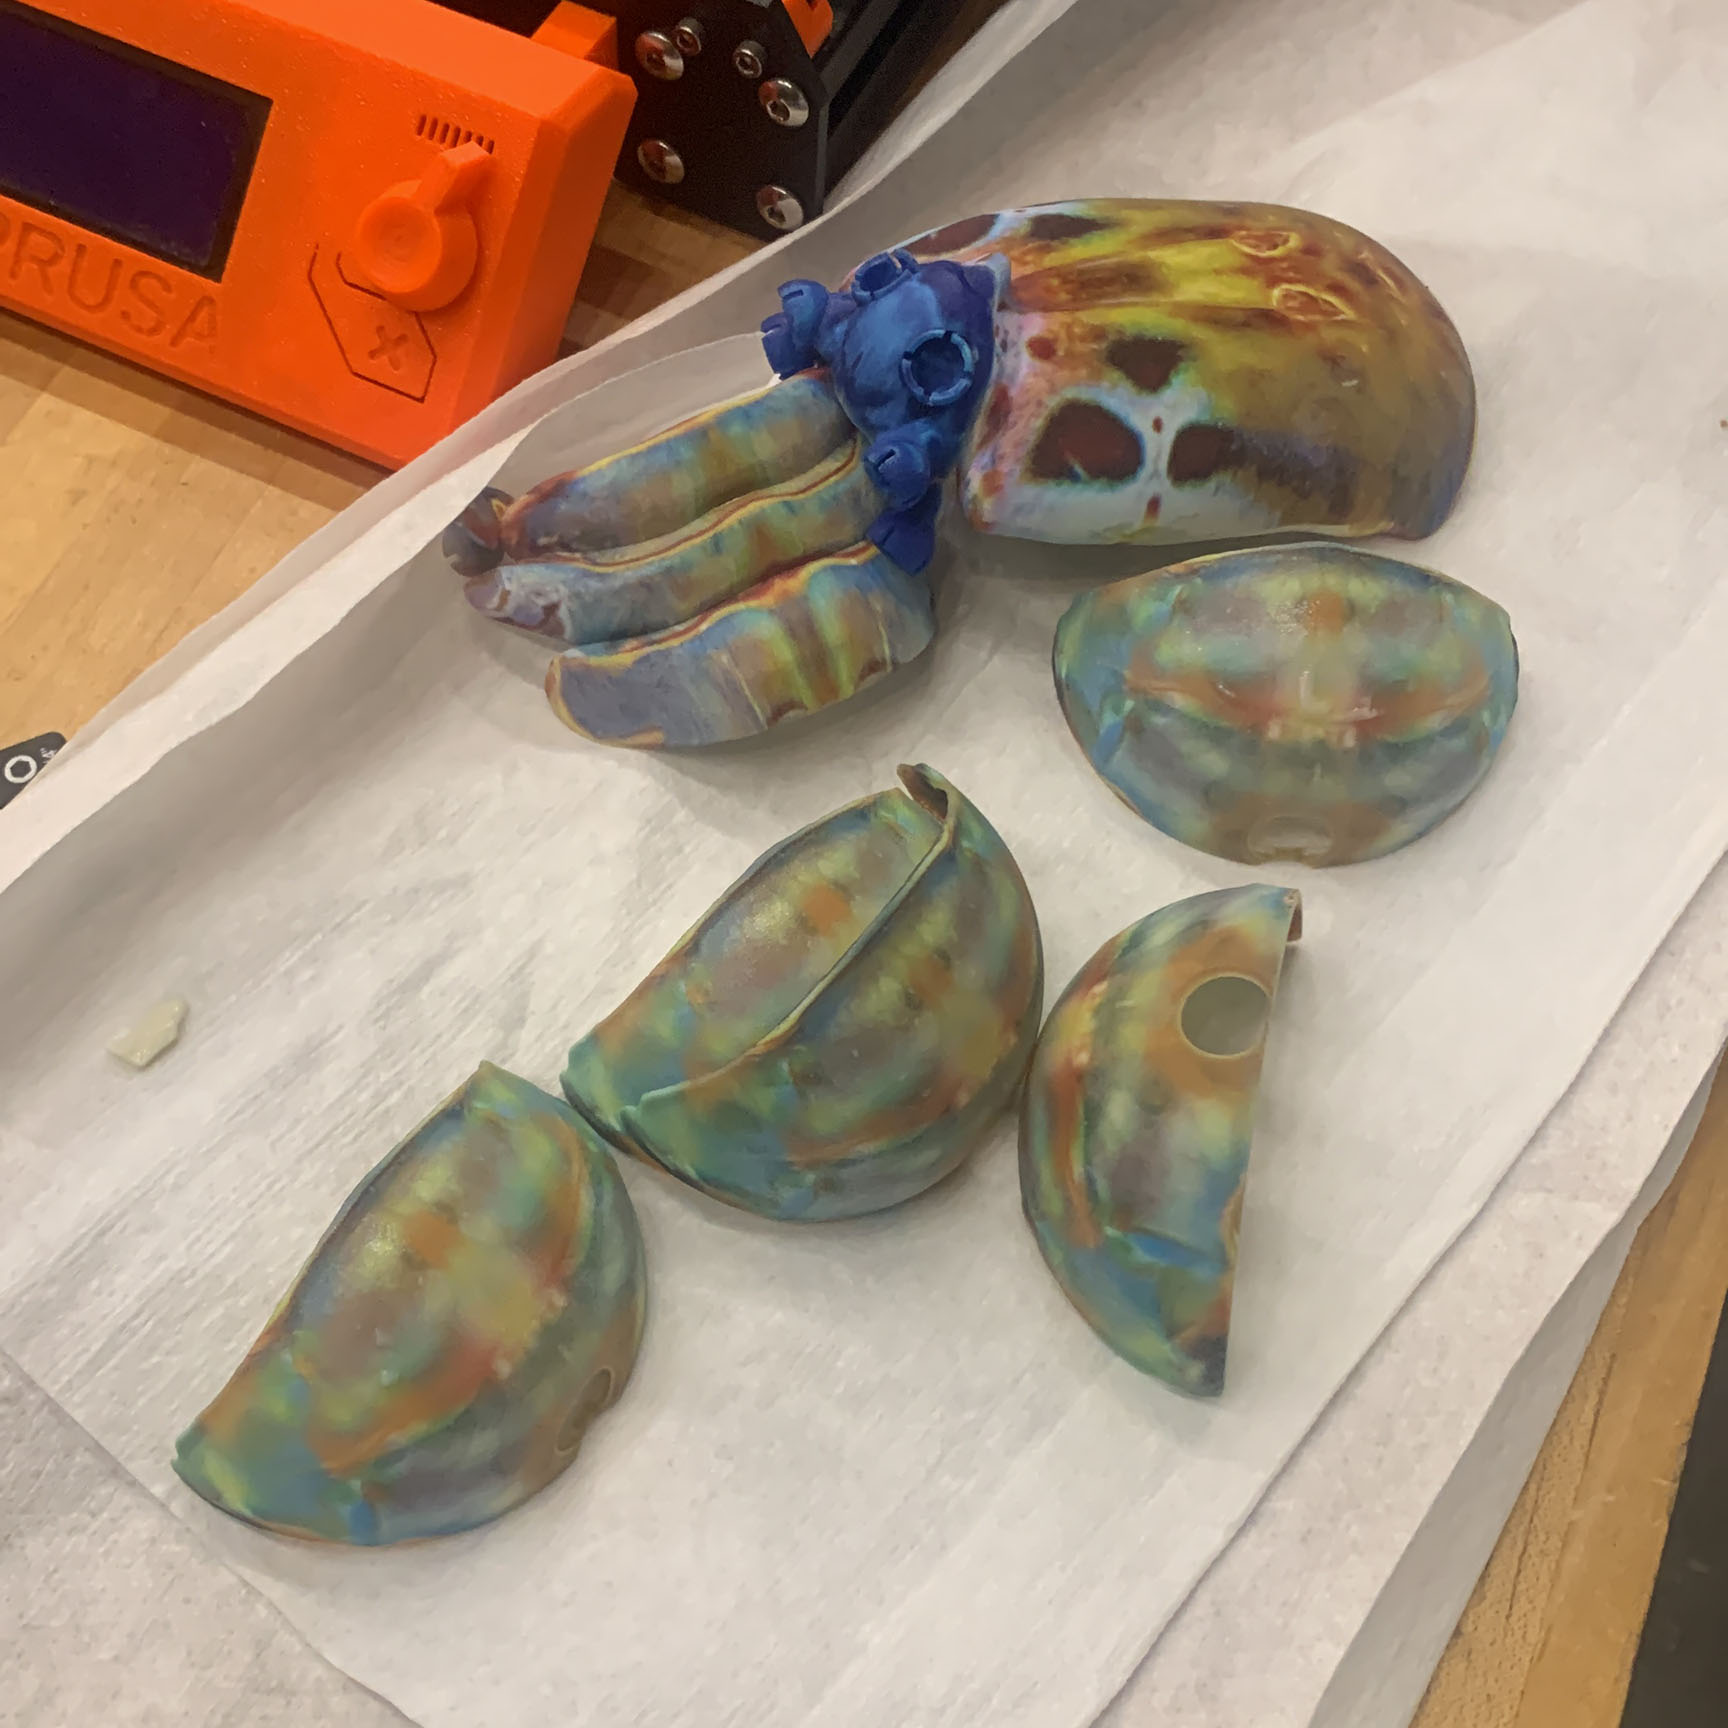
After I organized and put the joints onto each of the pieces and tweeked some positions, I was able to try and add uv meshes to some of the pieces, but only 3 because I knew if I printed on the Stratasys J55 I have to limit how much I print to decrease cost.