Waterjet: Something Big

Setting the File
For the smething big week, I wanted to try out water jet cutting, which I've never tried before! Also, it will help me advance my final project. For my final project I'm hacking an Ikea cabinet into a used items buying and selling lockers machine. So, I want to make the transperant doors for it - mounting on them the PCB and all the components for locking and closing the lockers' doors.
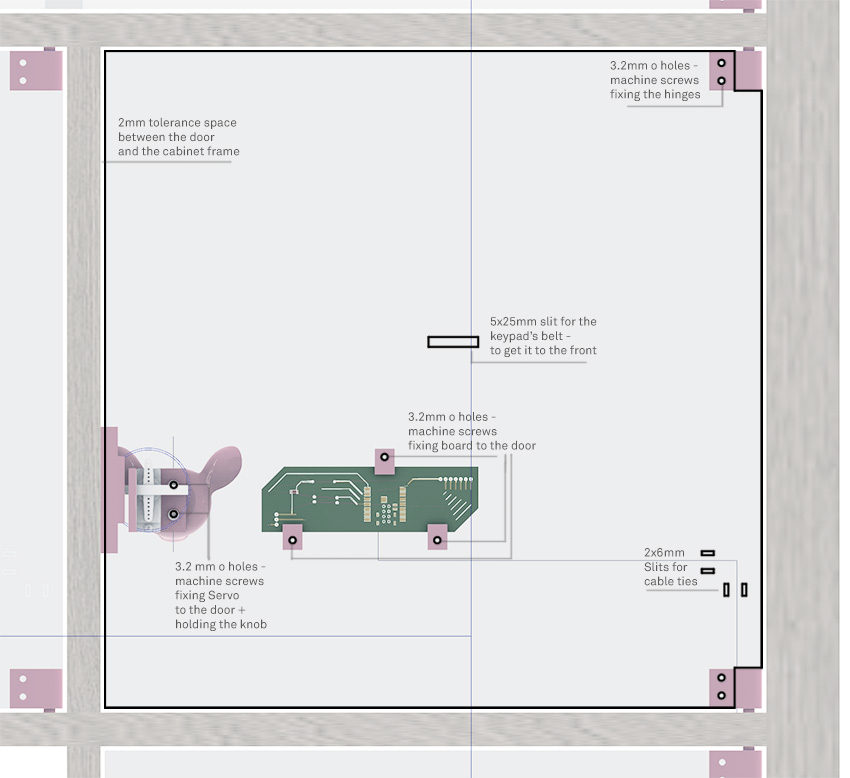
The first step was to design the integration on the doors, I modeled it in my final project Rhino file, here's a looked from inside one of the lockers - looking at the mechanism and the door:
 I found huge scrapes of amazing 5.5mm transperant Polycarbonate sheets in the N51 architecture wood shop and they helped me cut it on the saw for managable sizes for the waterjet maching in the archshop (24x48").
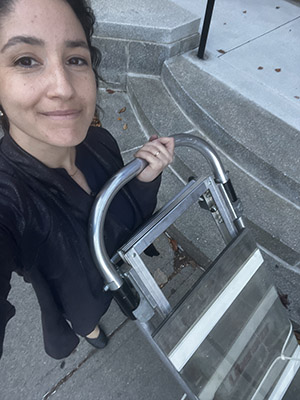
Then, I had to carry them back to the MIT main building which was.. fun.
The Archshops are using OMAX watejet machine, and I followed the tutorial on the website to
prepare the file for cutting.
Some of the main points to check when making the file:
- Export in dxf
- Parts should be spaced at least 3mm apart, since the kerf width is 0.762mm
- Should not exceed the dimensions of the bed (24x48")
- File should be saved in inches
Fabrication
Some of the files rquirements I could prepare ahead, but some I had to adjust after cheking with Shah (for example to save in inches and not mm). We looked together at the tool paths and made sure the kerf is offseting the right way, out of the parts that I want to keep. Then, Shah helped me load the file to the machine, we mounted the polycarbonate sheet (5.5mm thick) onto the bed, and started the cutting process. I cut one door to try out in integration and see if it fits well, and then cut the rest of the doors.
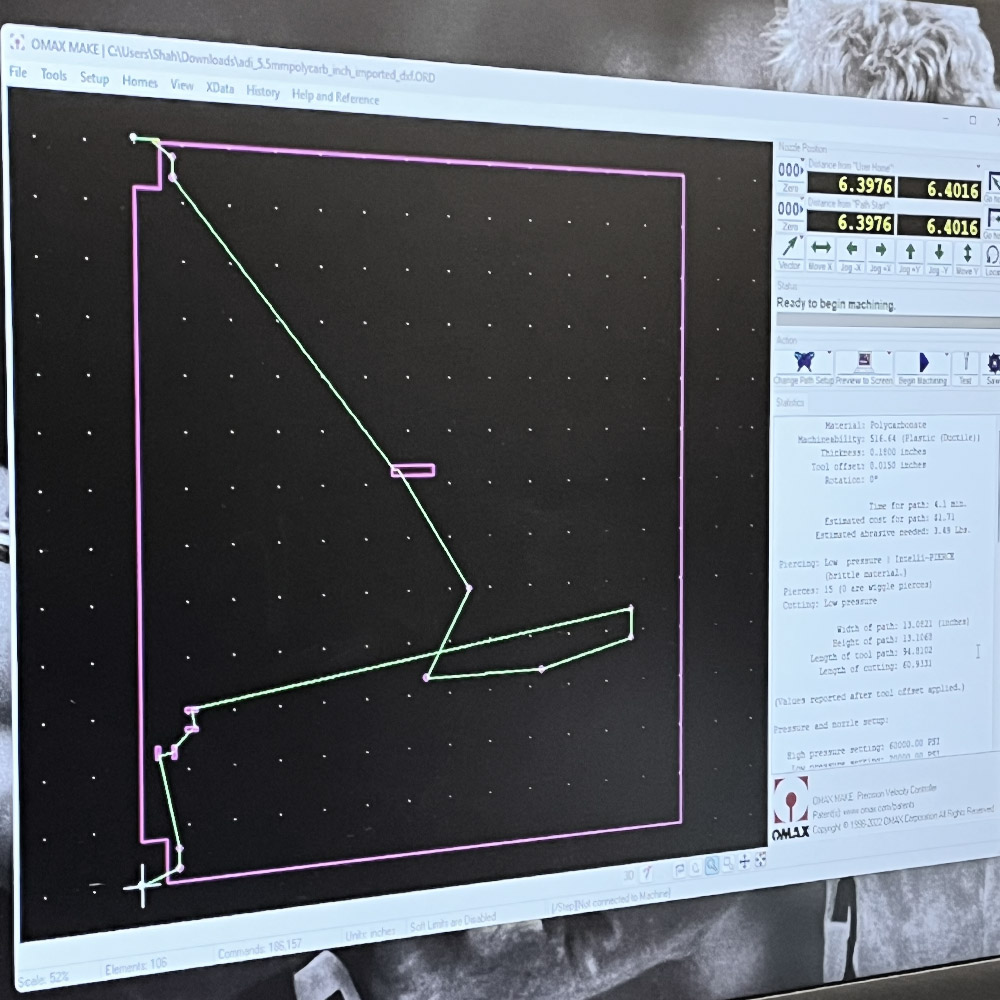
Here's the DXF file I used for the first door (and ended up being good enough for the rest as well).
Checking my dxf file on the OMAX layout software and creating the tool paths
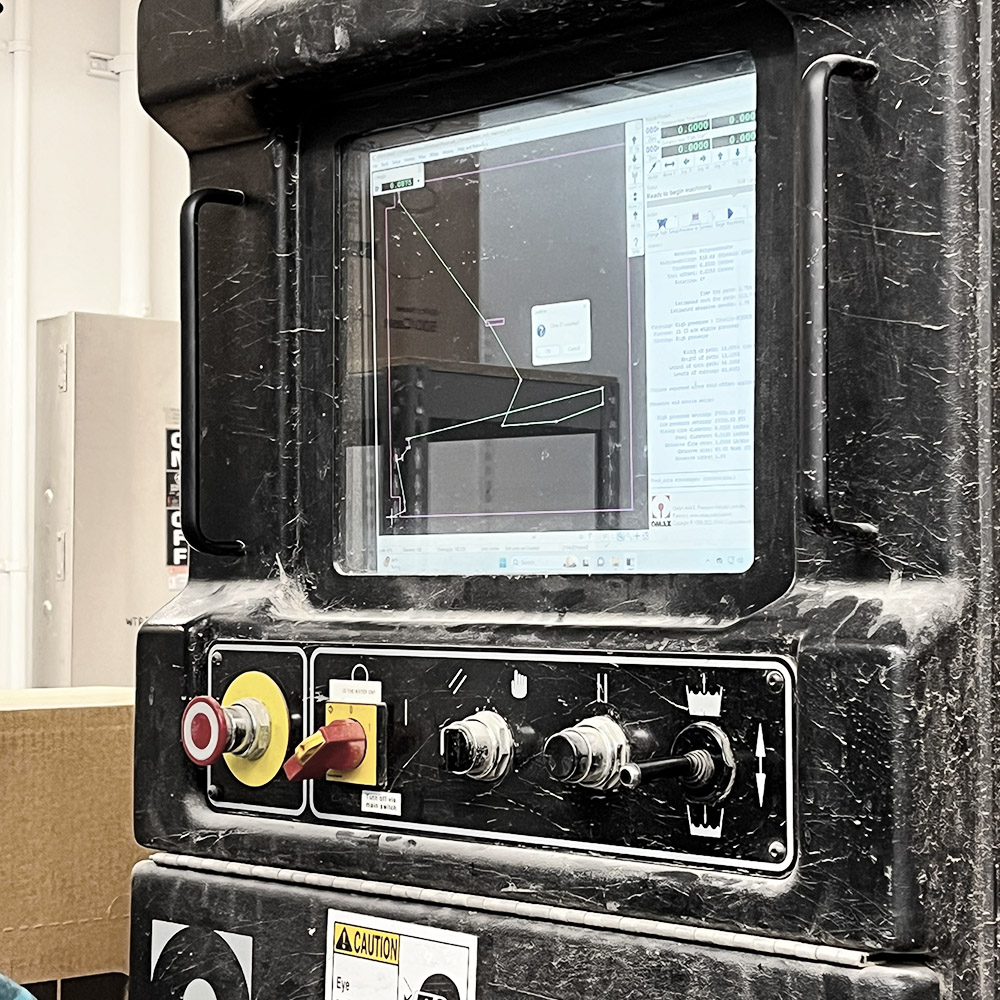
Loading the file to the waterjet OMAX machine
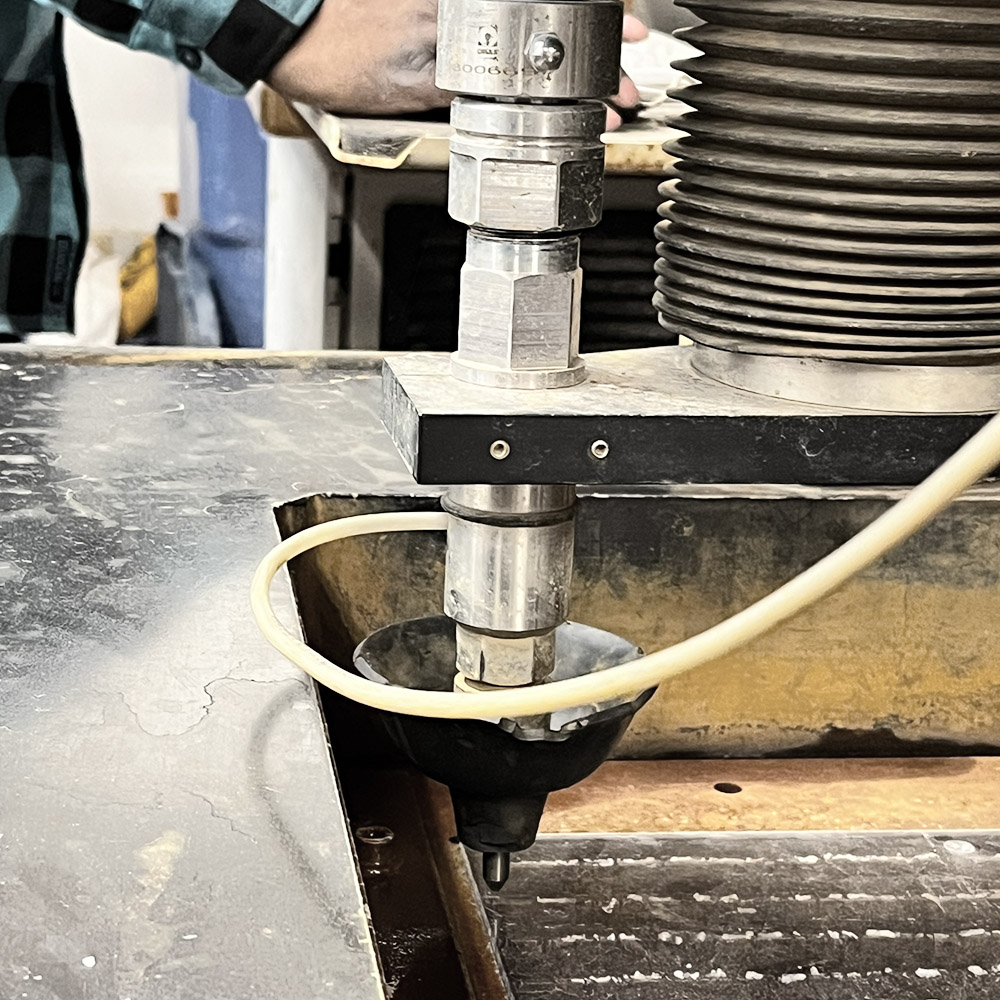
Calibrating the 0.0 for the machine's head to start cutting
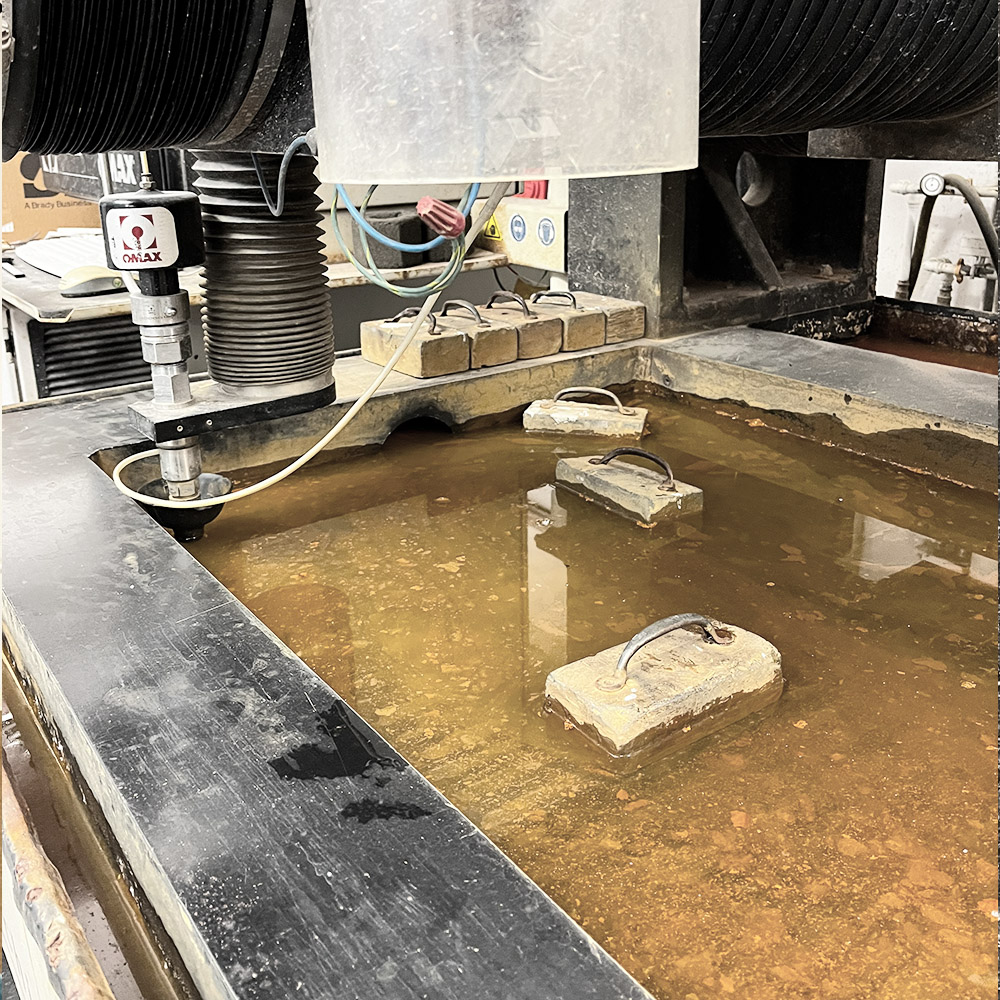
Placing weights on the polycarbonate so it won't float + filling the bed with water
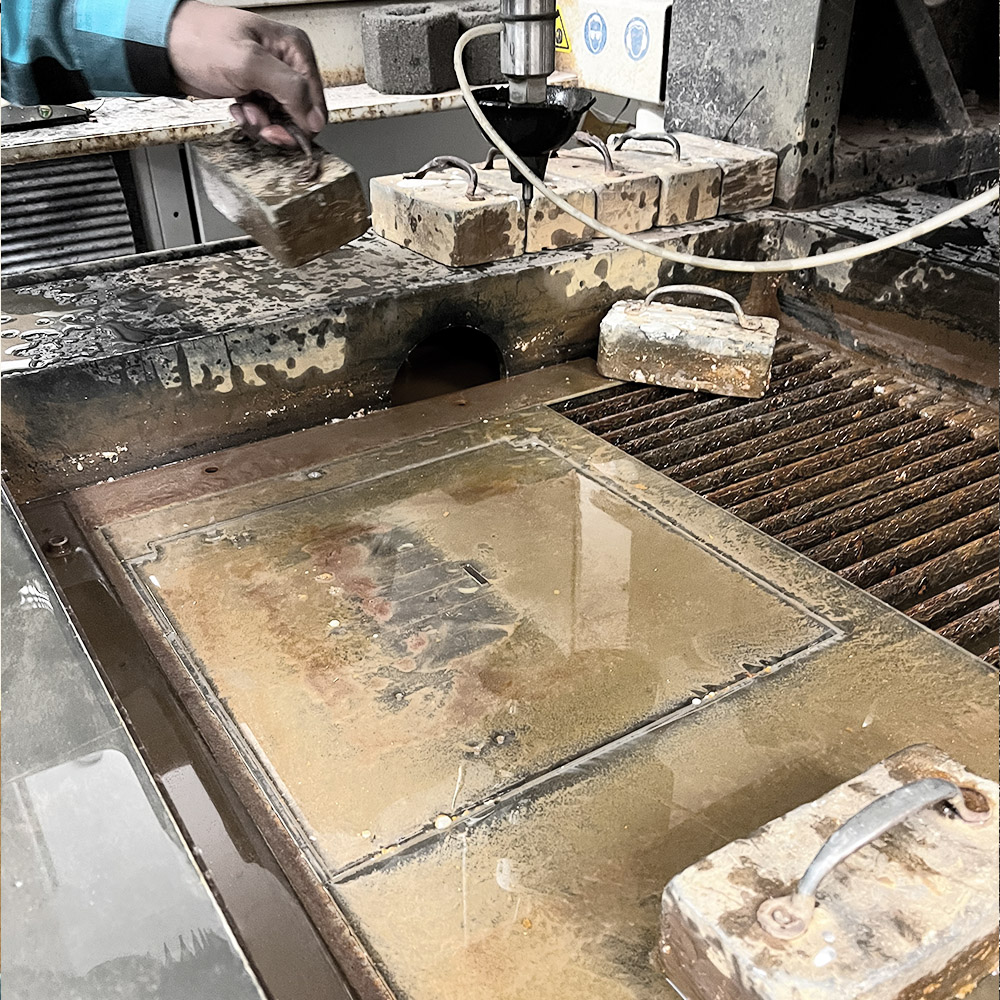
Cut finished, draining the water from the bed.
The cutting itself kinda looks like Shrek in a swamp:
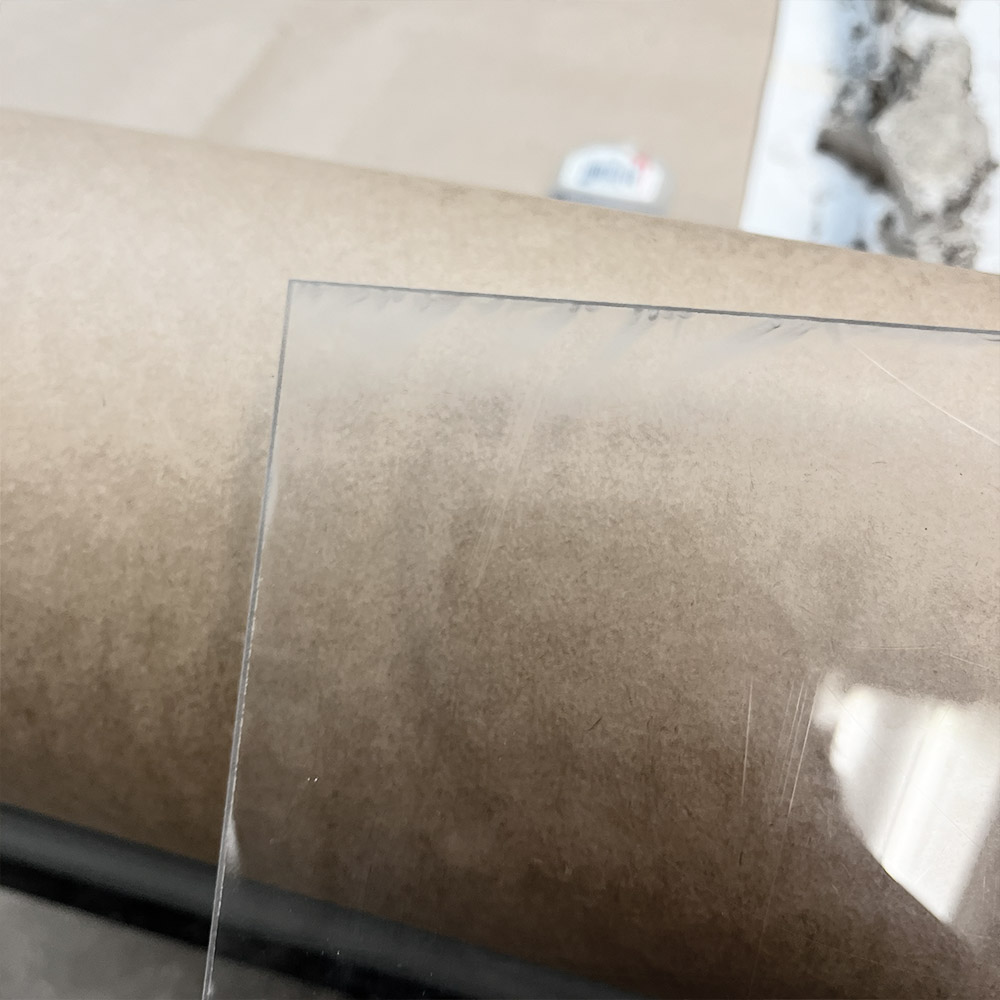 The part that was a little disappointing was that the edges of the door were a bit scratched, seems like from the cut line being placed
too cloase to the edge of the bed metal vertical segments, so the agragates in the water splashed off of it and hurt the polycarbonate.
I'll have to calibrate better next time, to make sure the cut line is far enough from the edges of the bed's vertical segments.
Assembling
Next, came the integration:
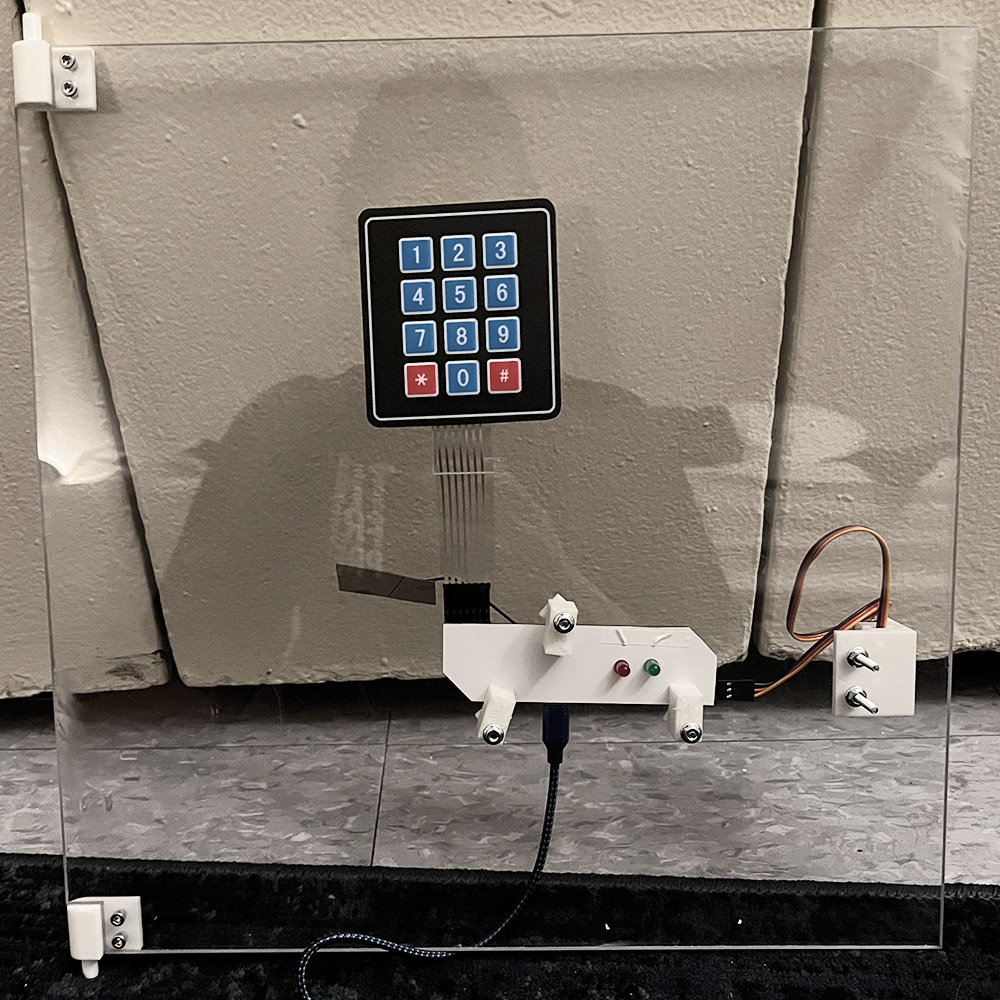
For more detailing about the cabinet frame, see detailing under Final Project Page.
First just the printed 3d connectors to see they fit the cut door. They do - yay!
Next, on the cabinet itself - also perfect fit. Amazing feeling.
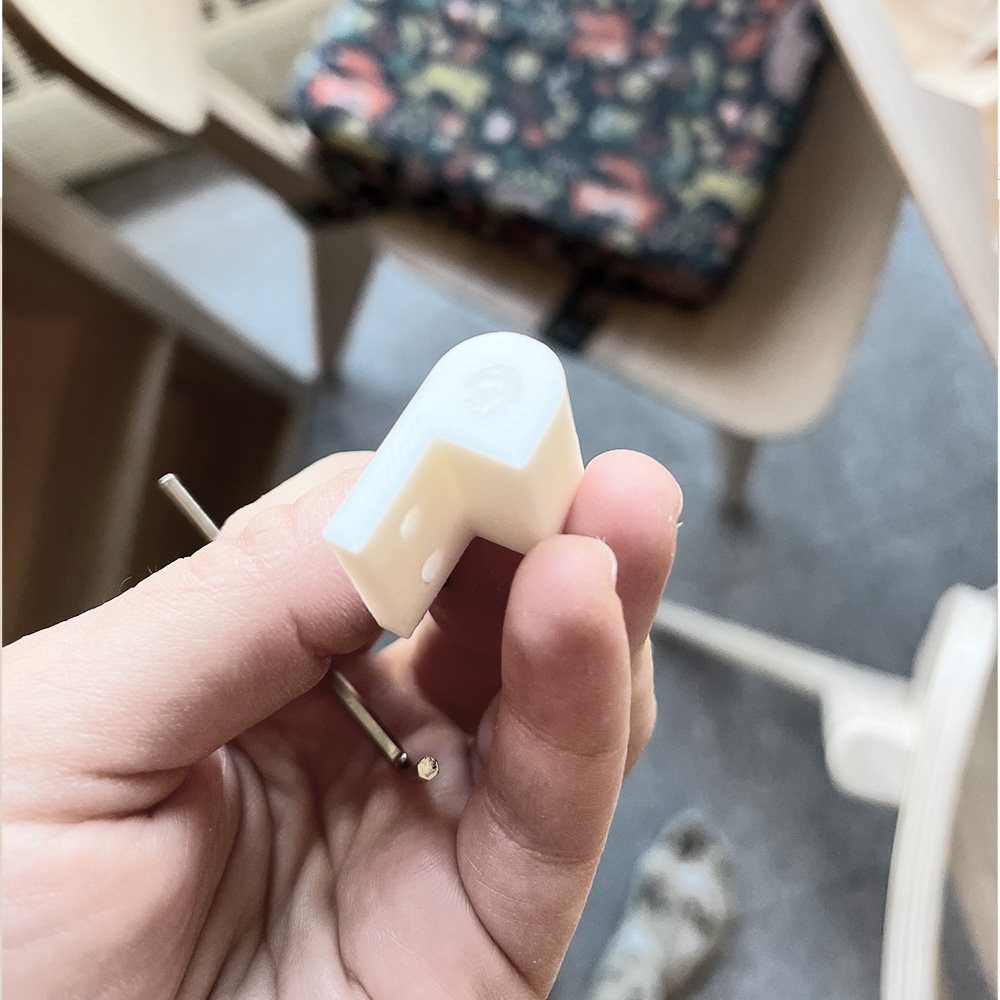 The only thing that went wrong was that I broke the hinge, puting too much pressure on it in the assembling process
To address this and prevent it from happening again, I edited the stl files for the printer and made sure the hinge is exported as one volume. until then, the hinge's part going into the cabinet was seperated in the stl from the part going into the door, making the print more vulenrable in this point.
Also, the parts holding the PCB in place were holding it a little loose. So I extended the upper part a little to have more overlap with the board:
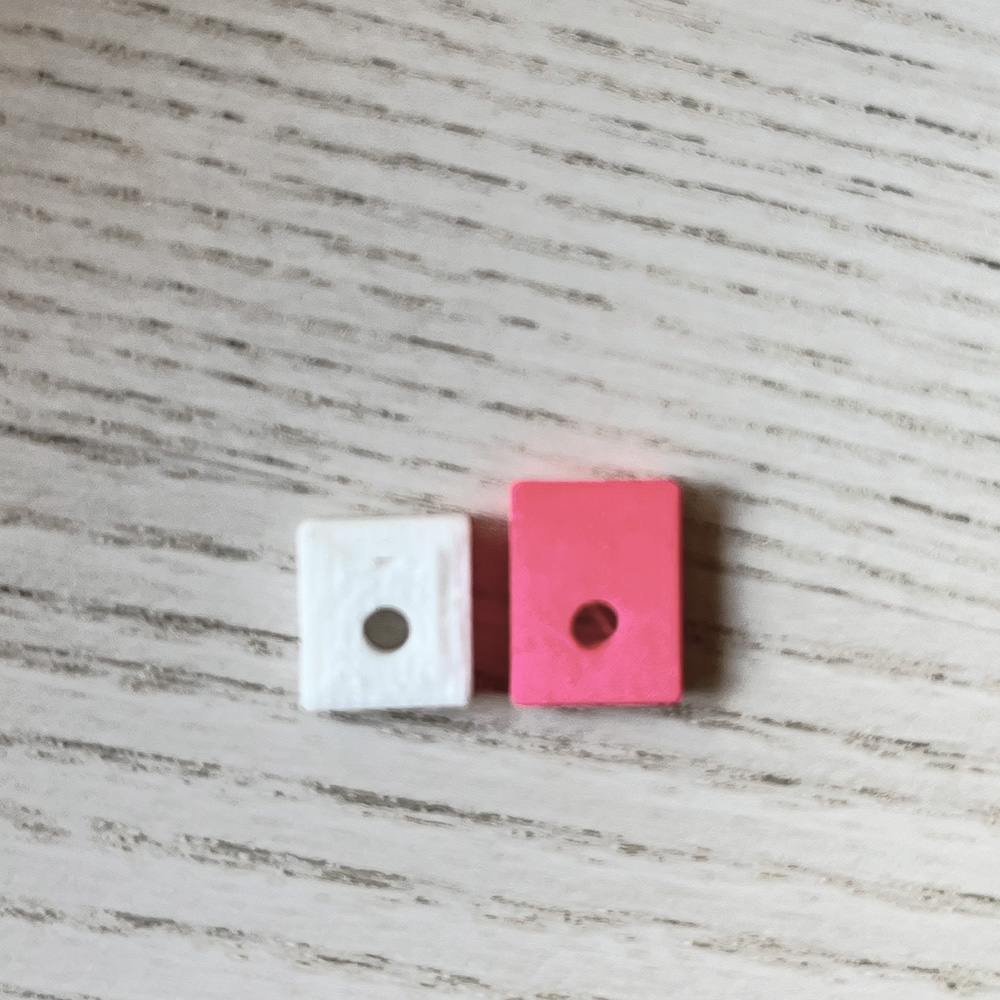
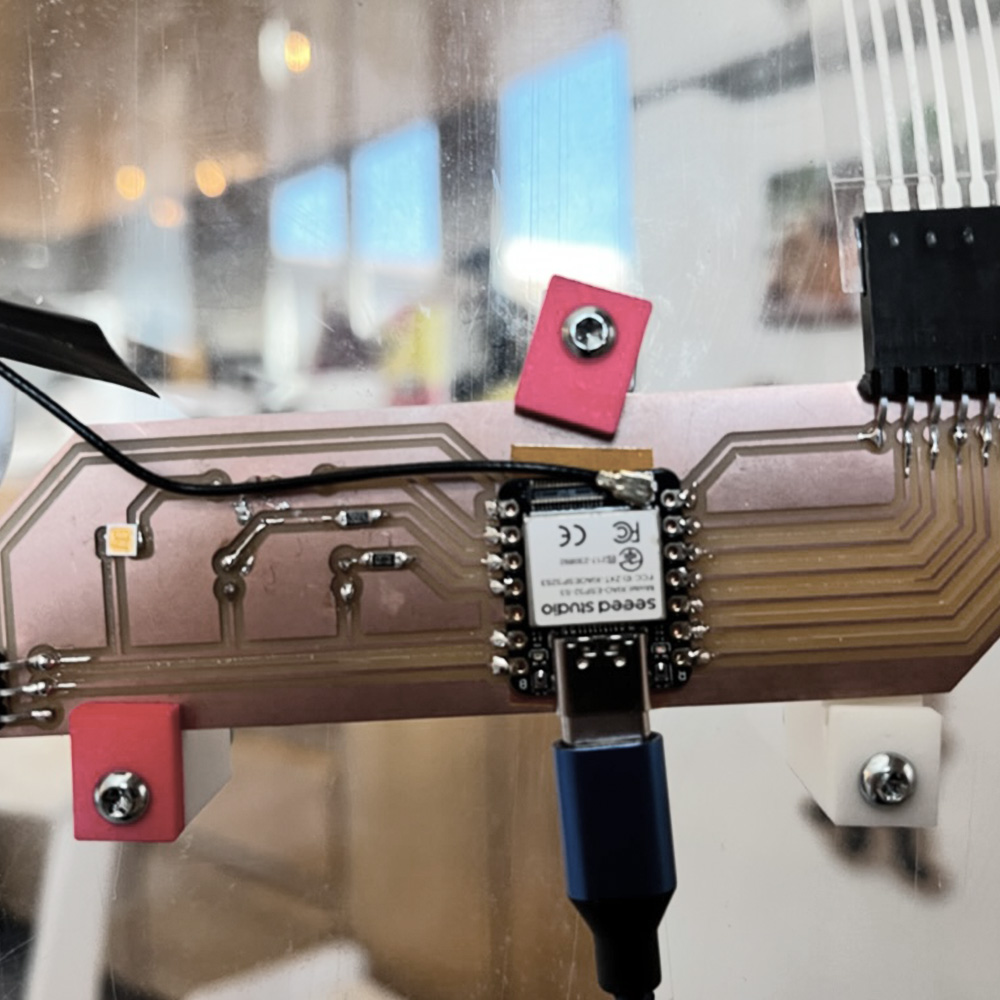
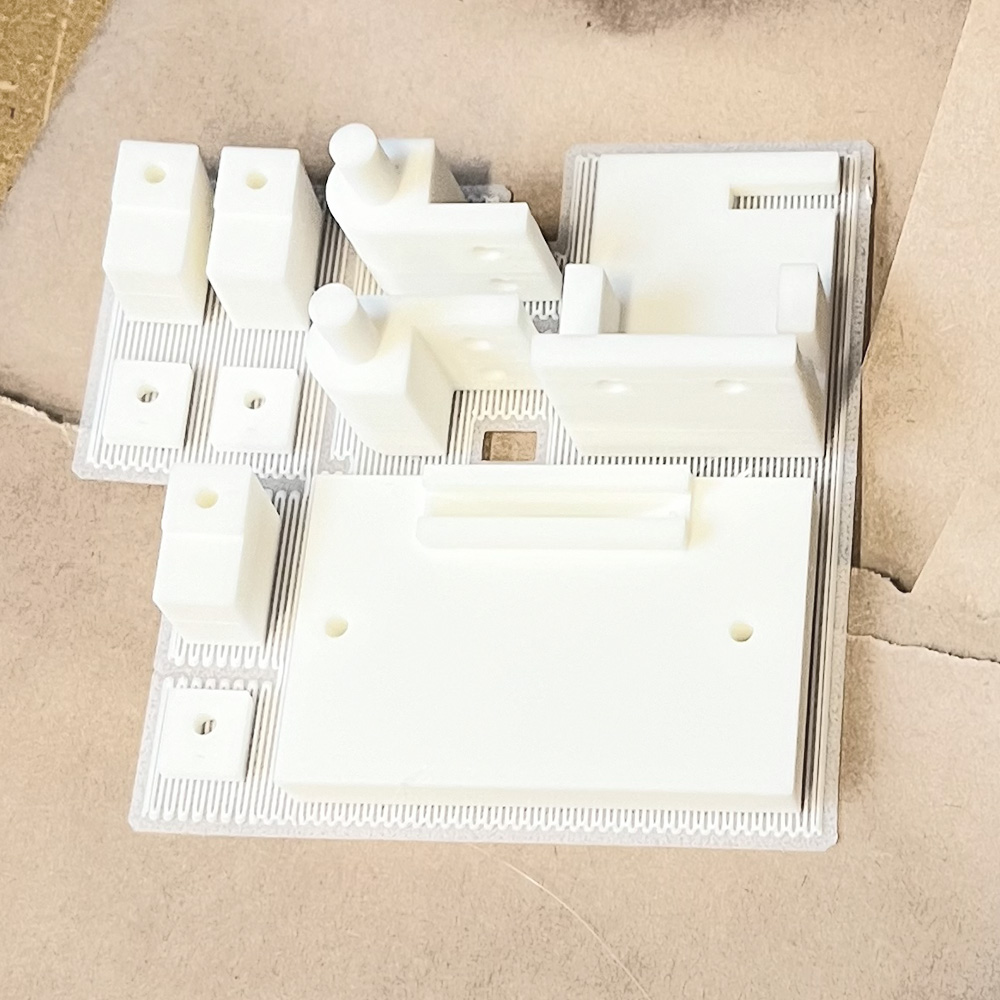
Here's the print file for all the final connectors. The printing definitions I used on Bambu were optimized for maximum strength and fine-tuned manualy for 0.08mm layer height and to include brim.
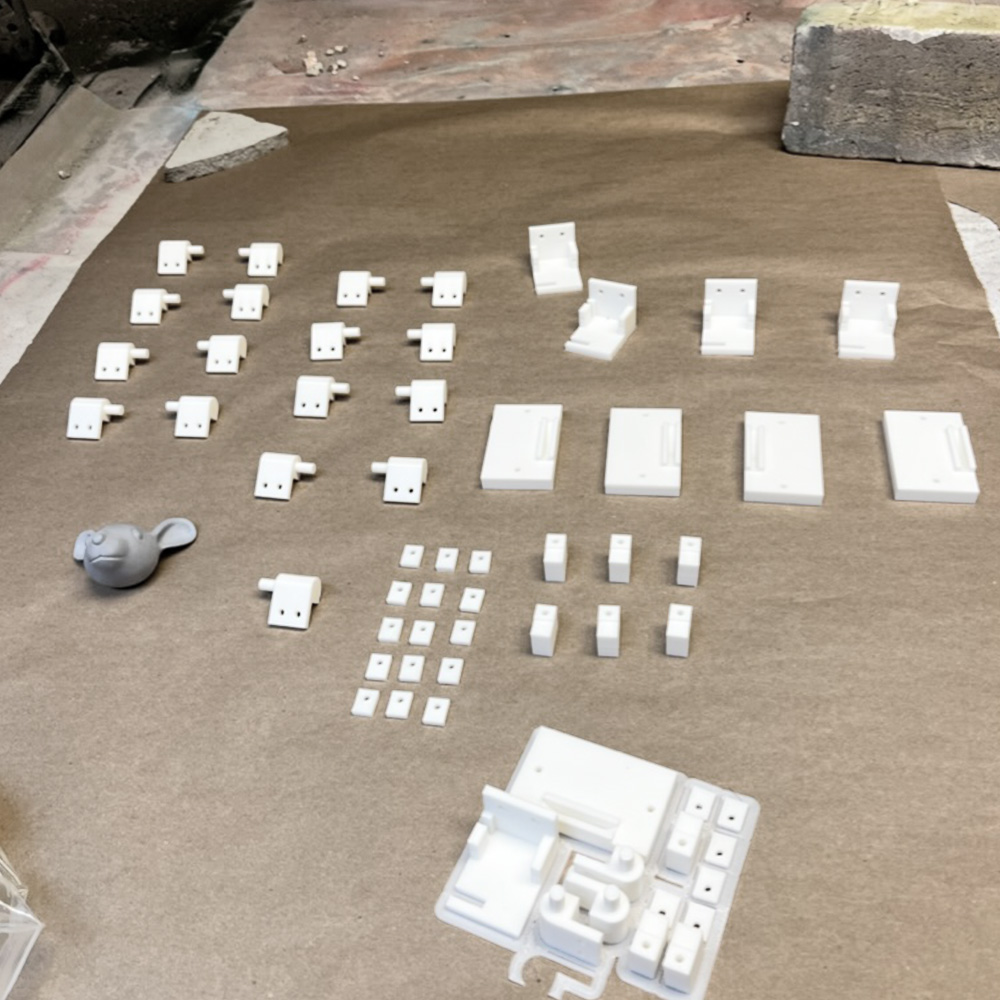
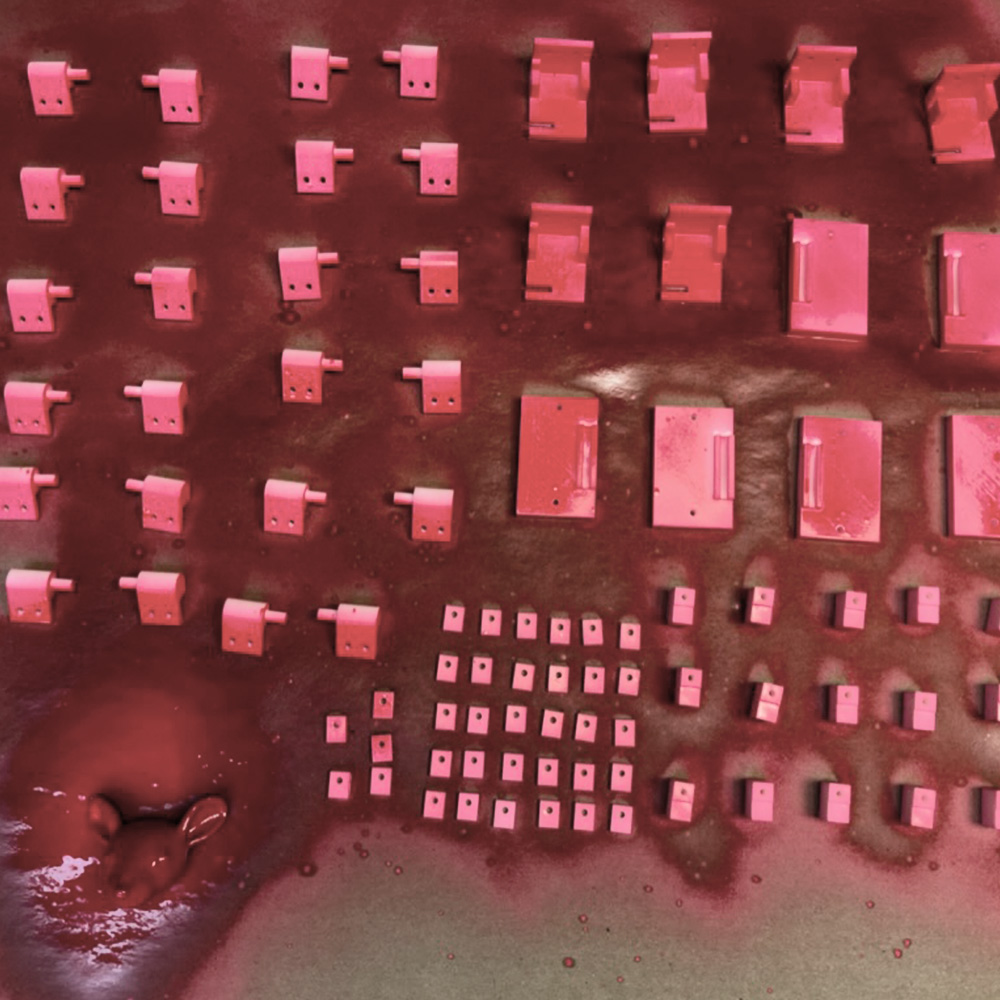
Some before and after pictures from the spray paint
In the next step, I planned the top shelf accordingly, with a slightly different locking mechanism, since it's a double door (the opening of the top shelf being a little wider, for larger items - specifically microwaves).
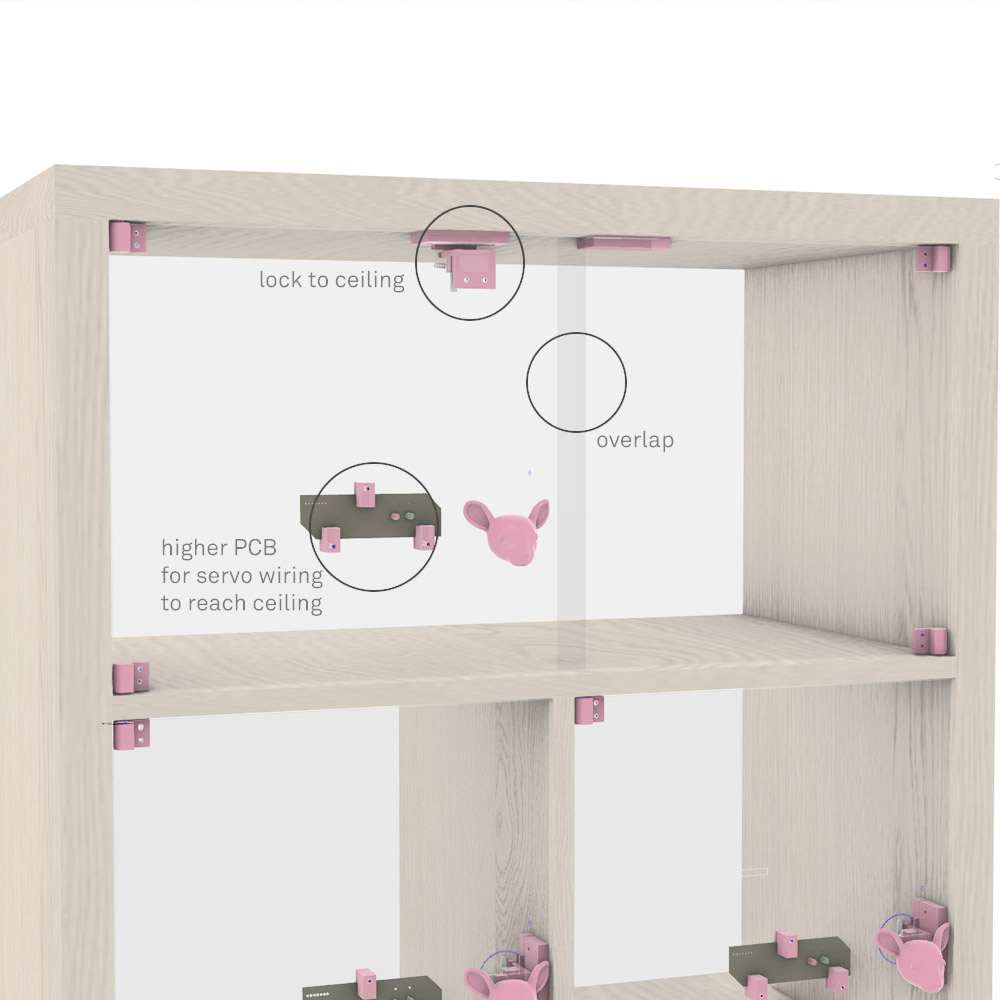
Next step was to waterjet the rest of the doors, with the original file that worked well, and the two top doors - that I just planned with the changes.
Here are the files for the front top left door (the one carrying the PCB and closing on top of the other - locking to the ceiling), and the top right door (which is a bit larger than the regular ones, and doesn't hold any components).
Some documentation from the second time around:
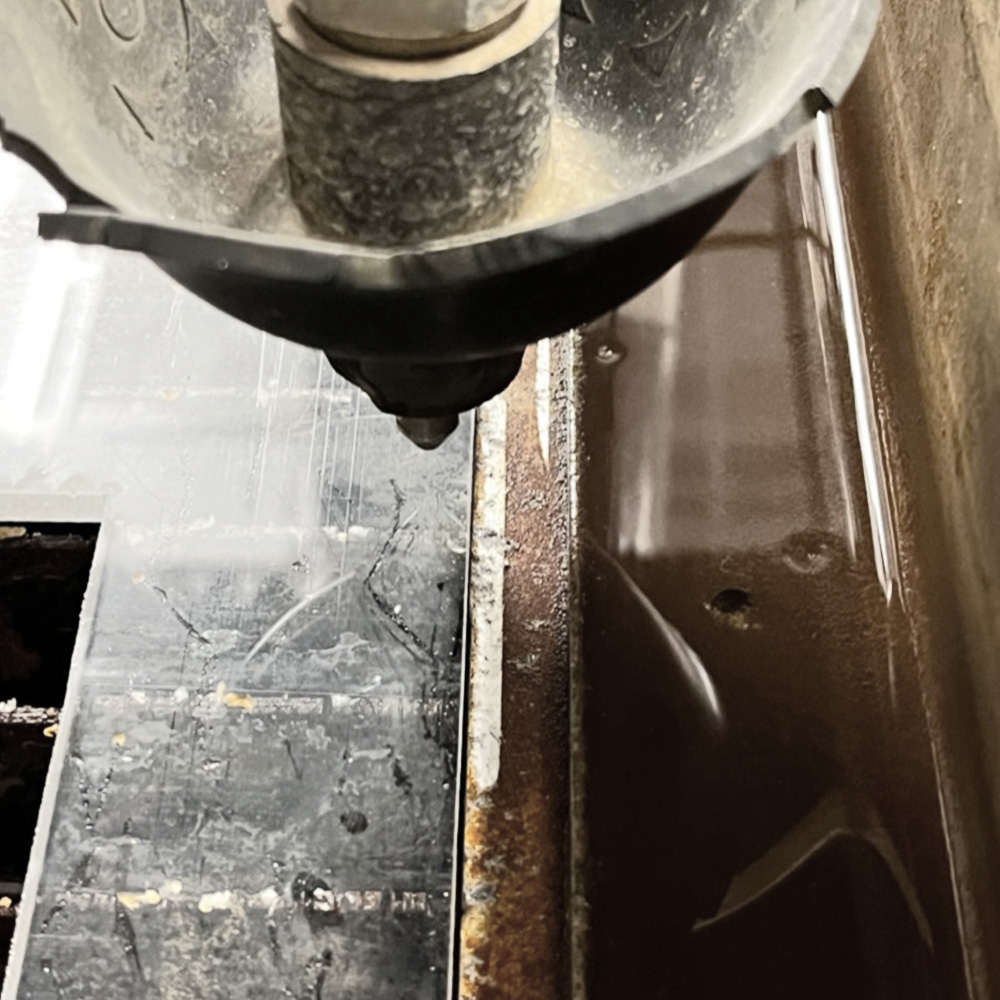

This time around we made sure the head of the waterjet cuts in between the bed's bars - to avoid scratching the surface as musch as possible
Cut cut cut
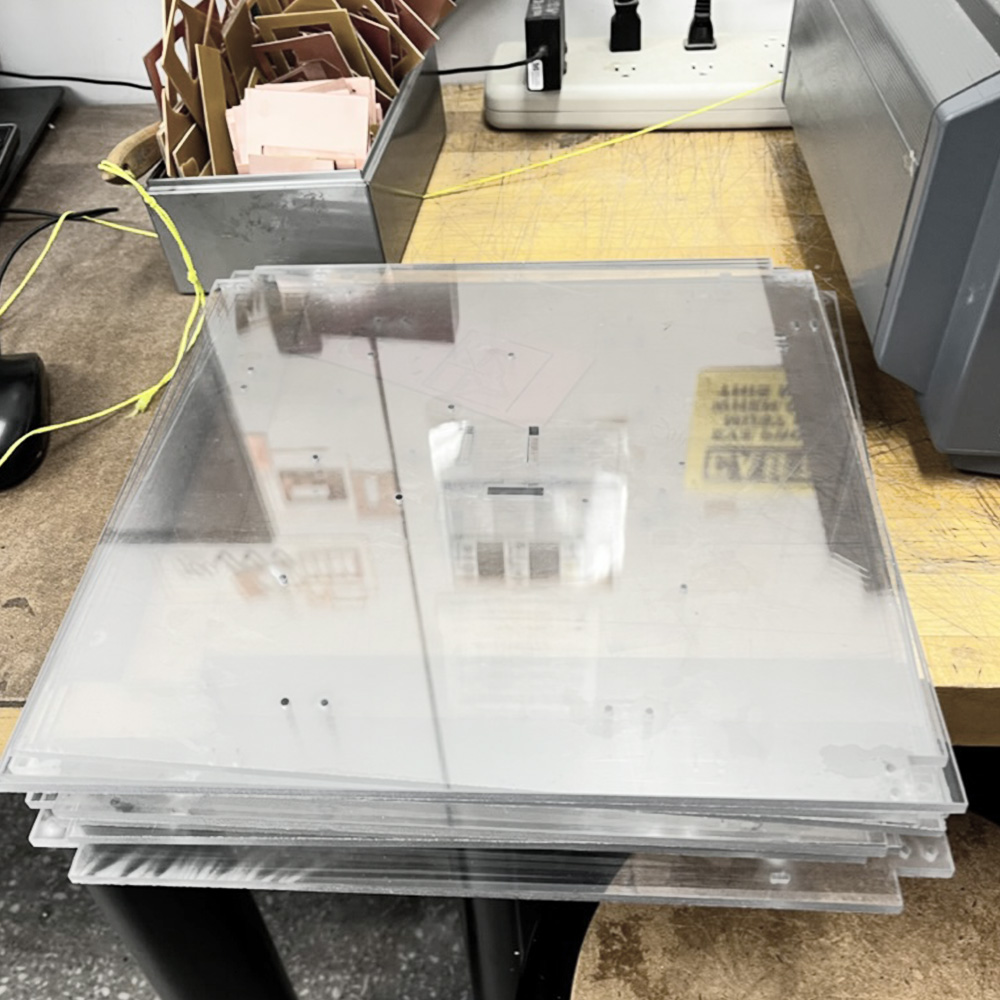
Here are the cut doors, ready to be assembled