HTMAA 2024 - Week 7
Molding and Casting
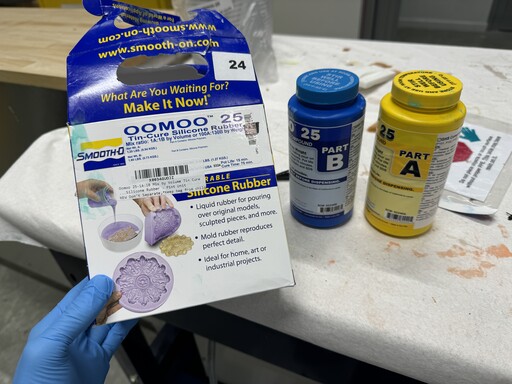
HomeFor this week, we learned about how to cast things! This week I started out wanting to cast my name into a block, so I went straight to the casting closet in the SEC to look at what we had.
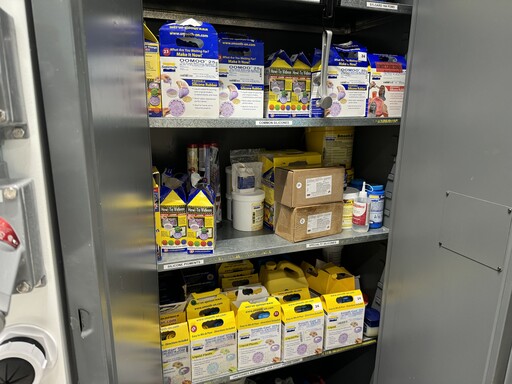
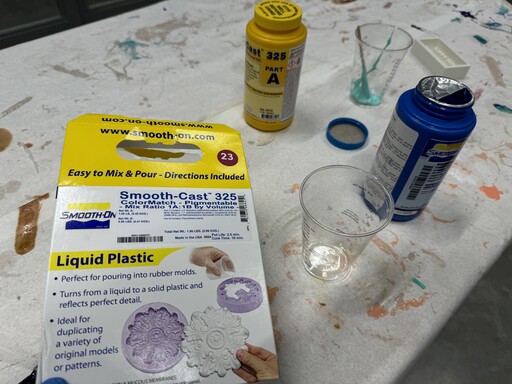
I found this silicone rubber that looked pretty good to use (although I maybe should have been wearing gloves for this picture)
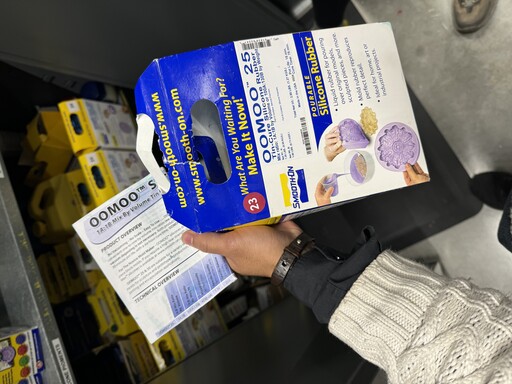
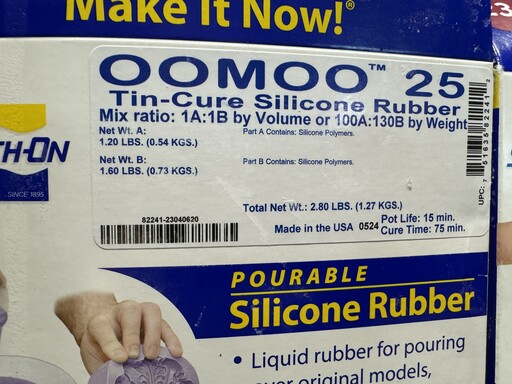
It had a pot life of 15 minutes, meaning that it would stay workable for 15 minutes, and a curing time of 75 minutes, which means it would take 75 minutes for it to fully harden.
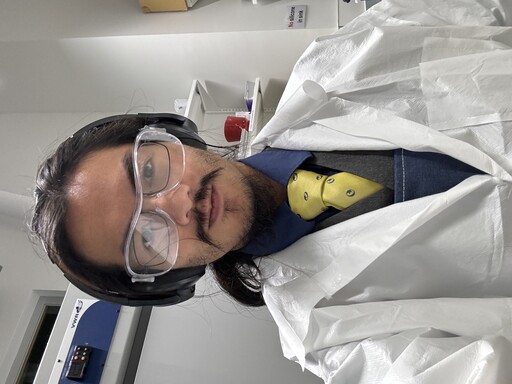
I donned my PPE and got to work!
Silicone is divided into two components that separately do not harden, a Part A, and a part B, that mix together and react to form a hardening substance.
I made sure to read the instructions before mixing everything.
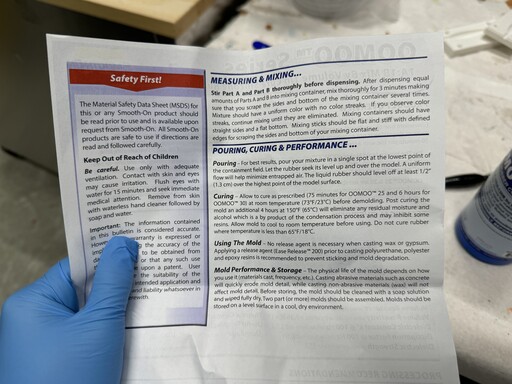
You should always mix in a disposable container and with disposable tools because otherwise the silicone will stick to your mixing hardware once it hardens.
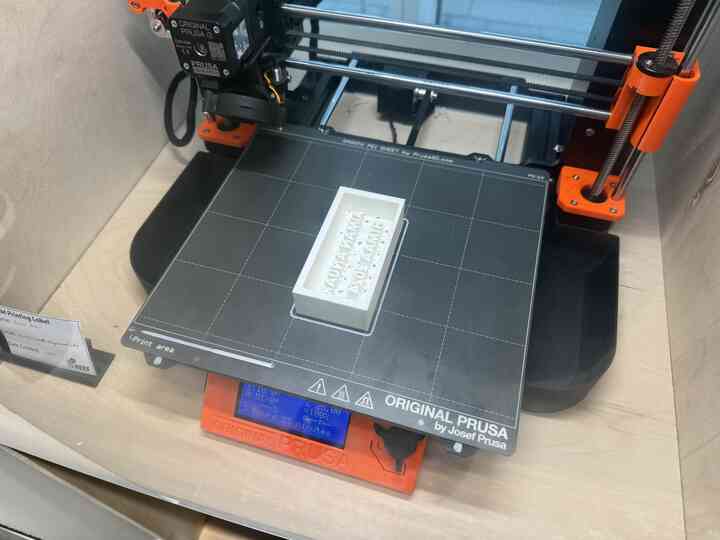
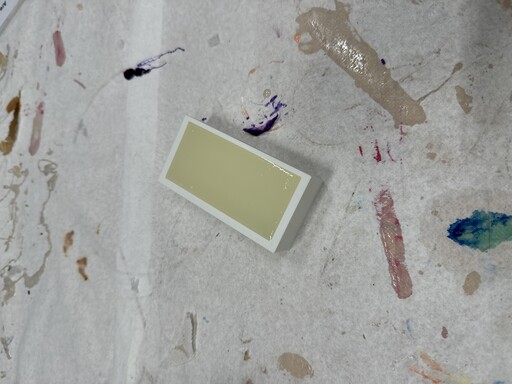
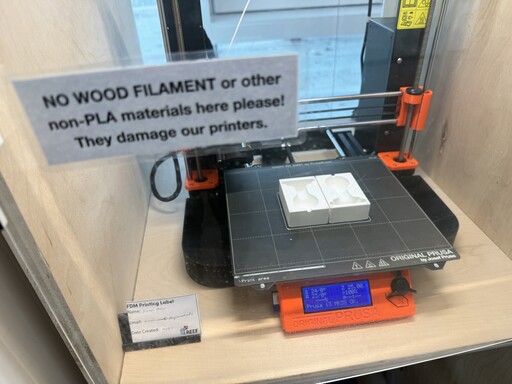
I 3D printed the negative of a block with my name inset into it, which meant the name had to be extruded backwards.
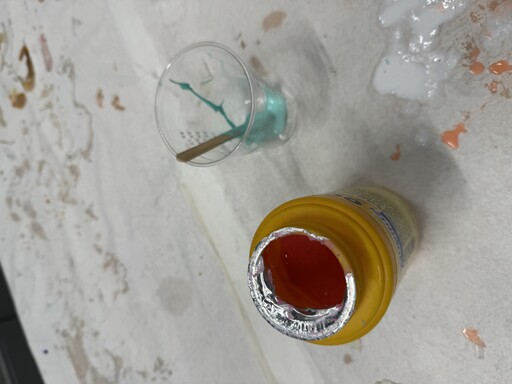
I measured equal parts by volume of Part A and part B, and mixed them together.
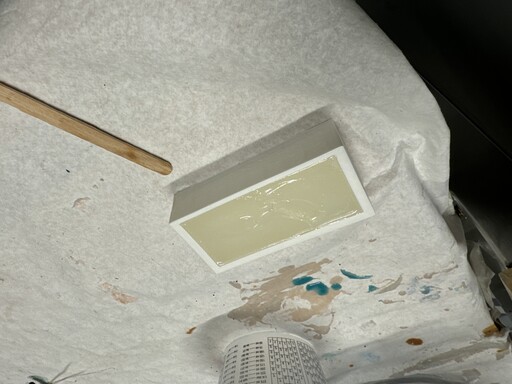
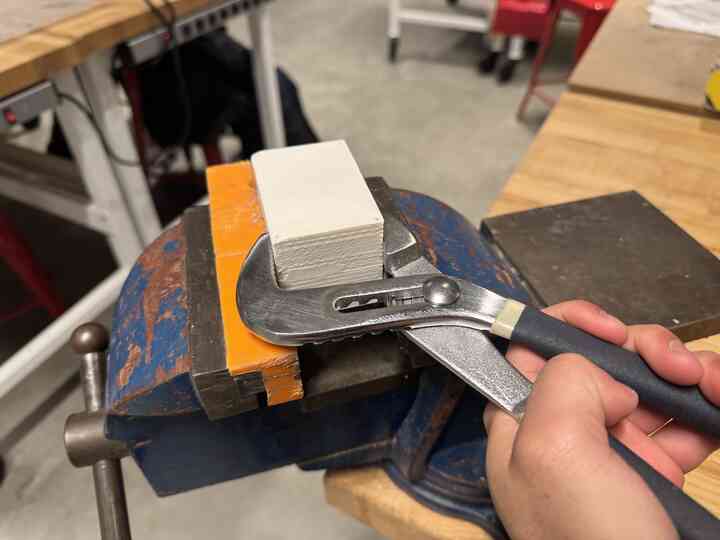
Then I poured the mixture into my block.
As it solidified, the parts reacted and I could feel the heat emanating off of them. After many hours I came back and retrieved the model and tried to get it out.
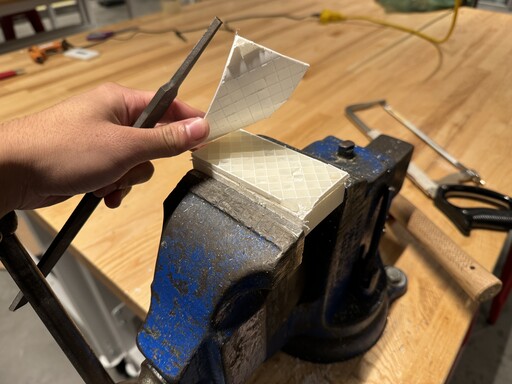
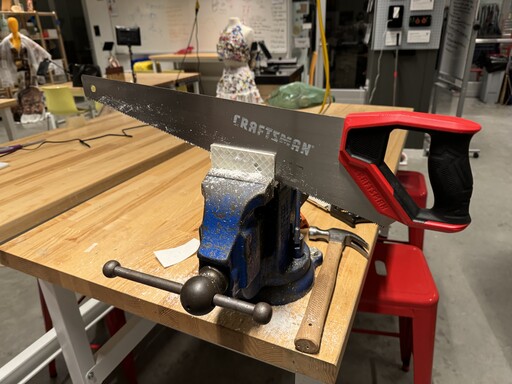
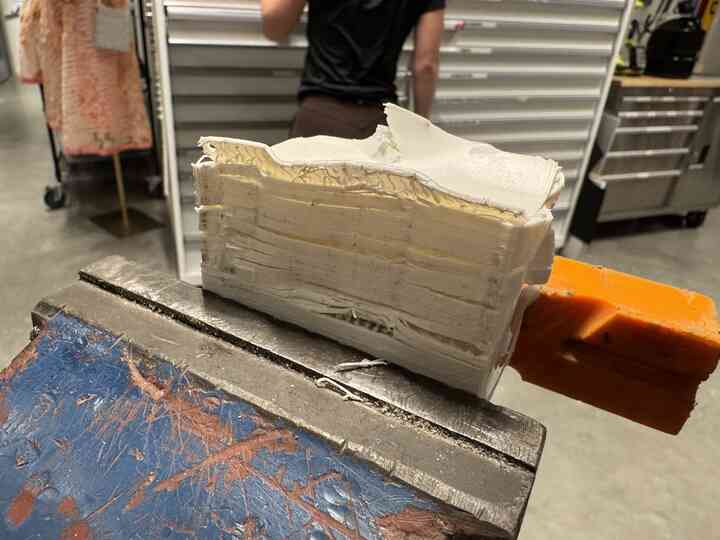
It wouldn't come out so I tried to use a handsaw to recover at least the cross section of the block.
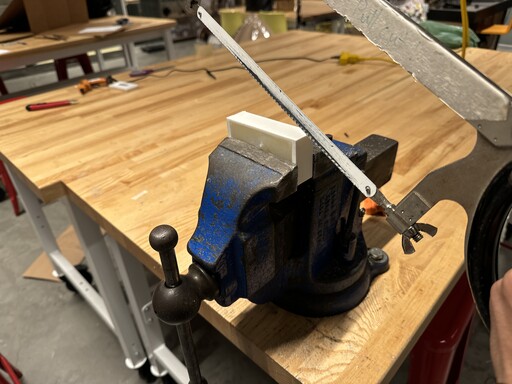
This was painful, to say the least.

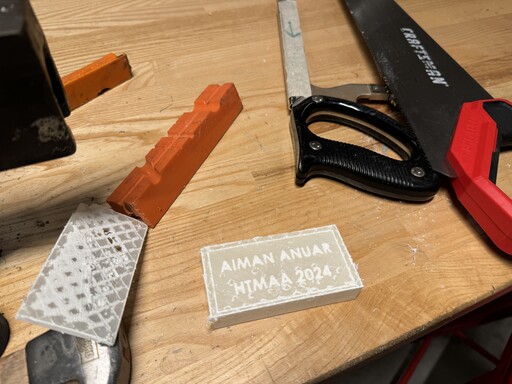
I sawed off one layer to find out that it was just the infill layer...
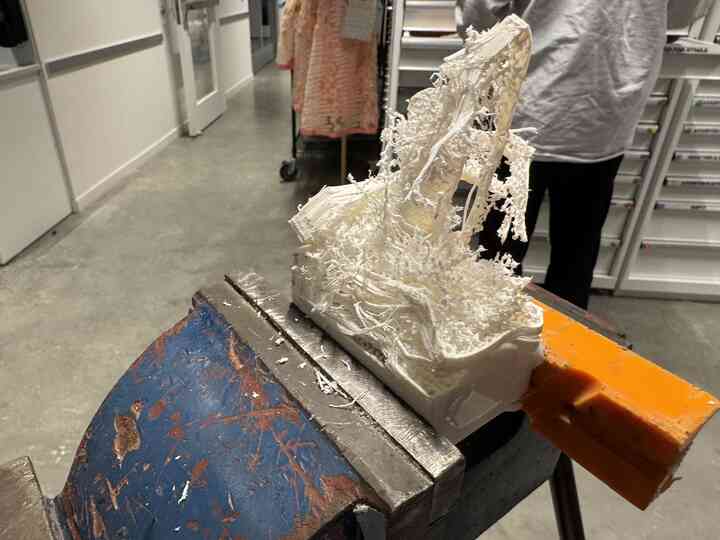
At this point it was an abomination already and let's just say I'm susceptible to the sunk cost fallacy...
Finally. Was it worth it?
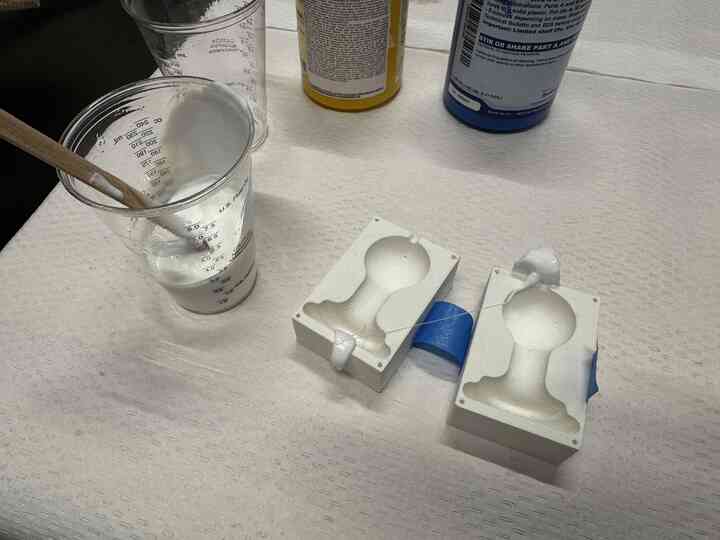
I decided to try again and learn from my mistakes. I thought the issue was that I'd made a mold with too much vertical surface that the model would stick to, with not enough concavity. So I made a chess pawn out of two blocks that could be split apart, because you'd think that'd be a little easier, right?
This time I used silicone with a pot time of 30 seconds and a curing time of 5 minutes. This would be a mistake, I would learn later.
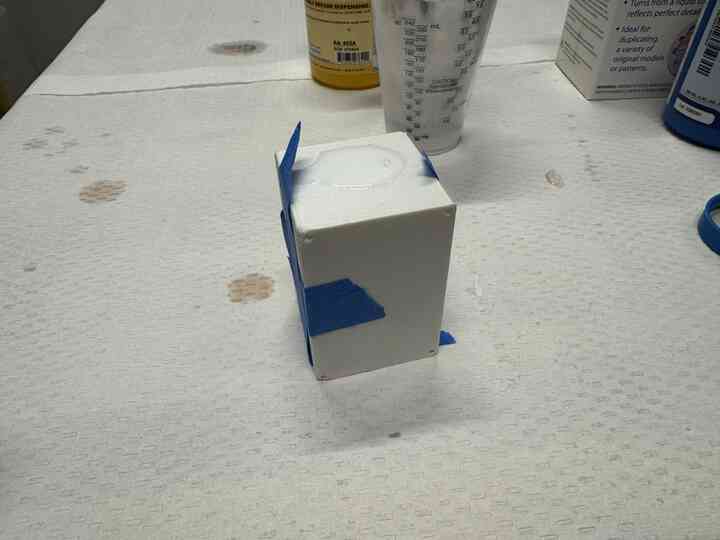
At first, I tried taping together the blocks and pouring them through the hole at the top of the mold. This didn't work because the liquid solidifed way too fast.
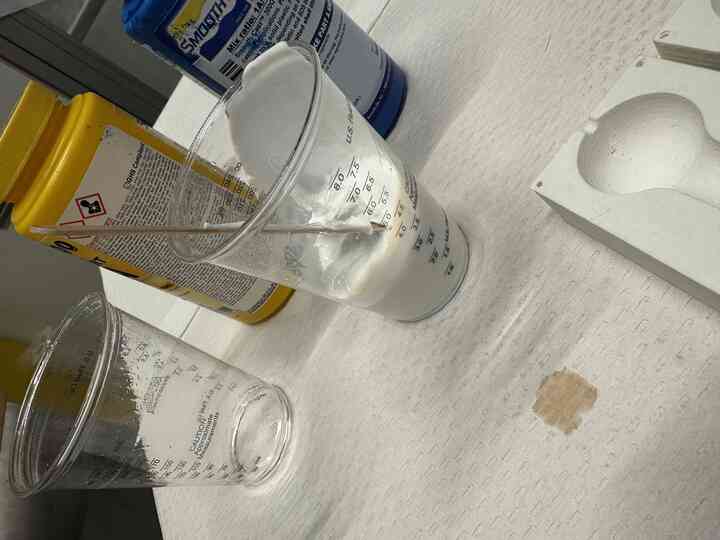
I measured some more silicone on top of the silicone I'd already used and got to work pouring them into each mold before subsequently bringing them together.
Once they were together, I poured the rest of the silicone through the top hole to try to fuse the two halves together.
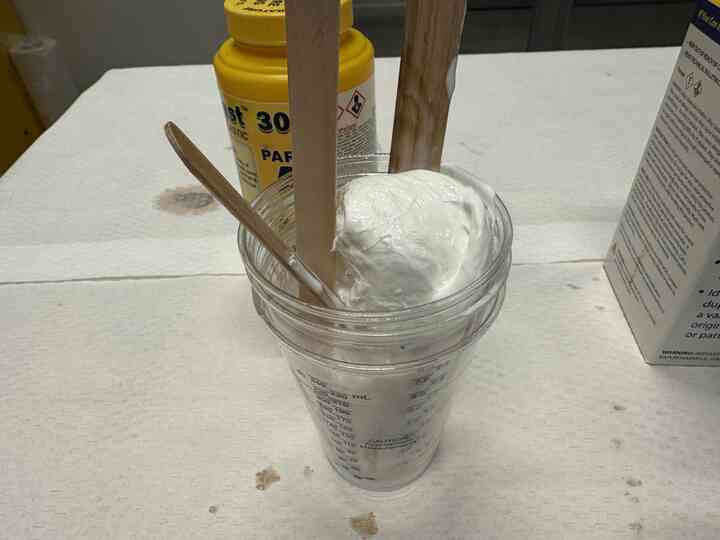
I measured way too much of the silicone and it ended up solidifying in the cup. This is why you use disposable stuff!
When it solidifed I was still not able to take the silicone out of the mold.
I tried using pliers to force the halves to separate.
It got chaotic, to say the least.
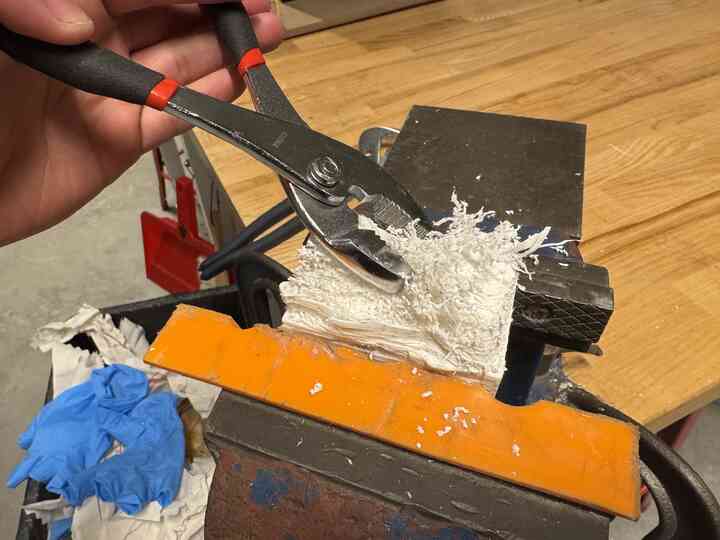
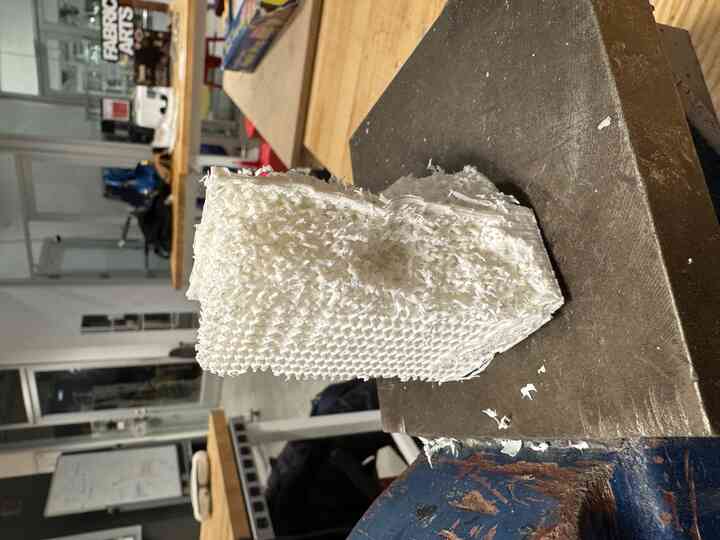
At this point I got destructive and just tried to rip away the 3D print from around it.
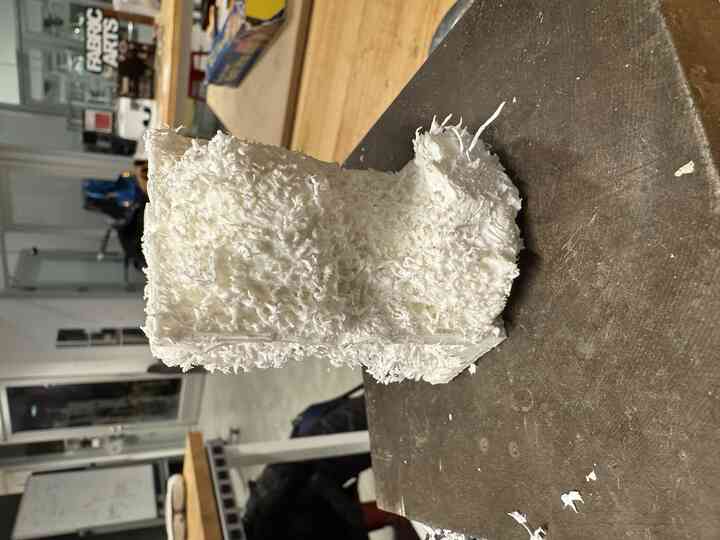
Hey, I mean, this still looks good! It's like a sculpture of a messed up pawn. I could spin a story about the downfall of society from this easily.
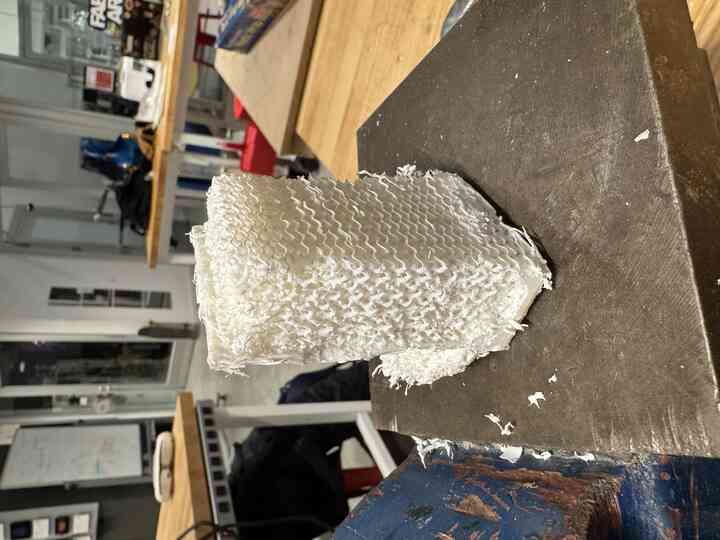
And I left the backside on because it was not worth the effort to try to take it off. At least this way it looks like Han Solo when he was stuck in the carbonite.
That was this week of casting and molding for me. It did not go great at all, but I think I learned a few main takeaways from my experience. First, I think my use of low pot and cure time silicone was problematic since it generated so much heat that it melted and melded together with the PLA which had a low melting temperature that was probably overcome by the heat generated by the exothermic reaction of the cast solidifying. Furthermore, I needed to avoid casts with convexities or straight 90 degree angles as it would make removal of the cast very difficult. One of my advisors, Hanna, also recommended I try using mold spray to make it easier to remove from the mold, which I would attempt later with my final project.
Home