Week3
First up for this week was….
3D PRINTER TRAINING W/ MOOSE + GROUP ASSIGNMENT#
I’ve used 3D printers a decent amount before but there was always an element of prayer involved when it came to choosing the right parameters for getting the print to successfully execute. So both for me and for the future here’s some of what I learned (shout out to Alfonso for training me when I was the only one signed up):
-There are multiple types of 3D printers but the most common one and the one we will primarily be using are FDM/FFF printers. FDM fills this niche because it is the easiest to use, cheapest, and safest (“you can lick PLA”, says Alfonso)
-There are a number of parameters that can be tuned for your print, which effect its construction, build time, strength, etc. Some of these are:
- Layer height - this one effects the time a lot. Increasing the layer height means less time but it makes the print more bulky because you’re making less fine layers
- Infill pattern/percent - the infill itself refers to the pattern that fills the 3D print. These patterns aren’t just decorative, they each have distinct load-bearing and other properties that should be considered. Some good pictures and examples can be found here For the percentage, 15-50 is standard and usually good, although this doesn’t effect print time as much as I thought it would. This quote I saw on here on Reddit(the source of all truth, naturally) seems reasonable to me: “The common suggestion I believe is 20% for display models, 40% for functional items, and 60% for structural prints”
- Wall thickness - literally how thick the walls are, doesn’t effect print time so much, but does make the print more wobbly or stiff
The final bit of advice I was told was to stay for the first layer as 90% of failures occur on the first layer. Also, cleaning wise - use water, soap, and alcohol both before and after you print.
As for file formats, to print you need one of a number of file types, the most usual being [STL] (https://en.wikipedia.org/wiki/STL_(file_format)), which stands for stereolithography. You can export a STL right from a CAD software like Fusion, and then you have to slice it 🔪, which means converting it from the model into instructions that a 3D printer can execute. The result of this is g-code, which is the file format a 3D printer can understand.
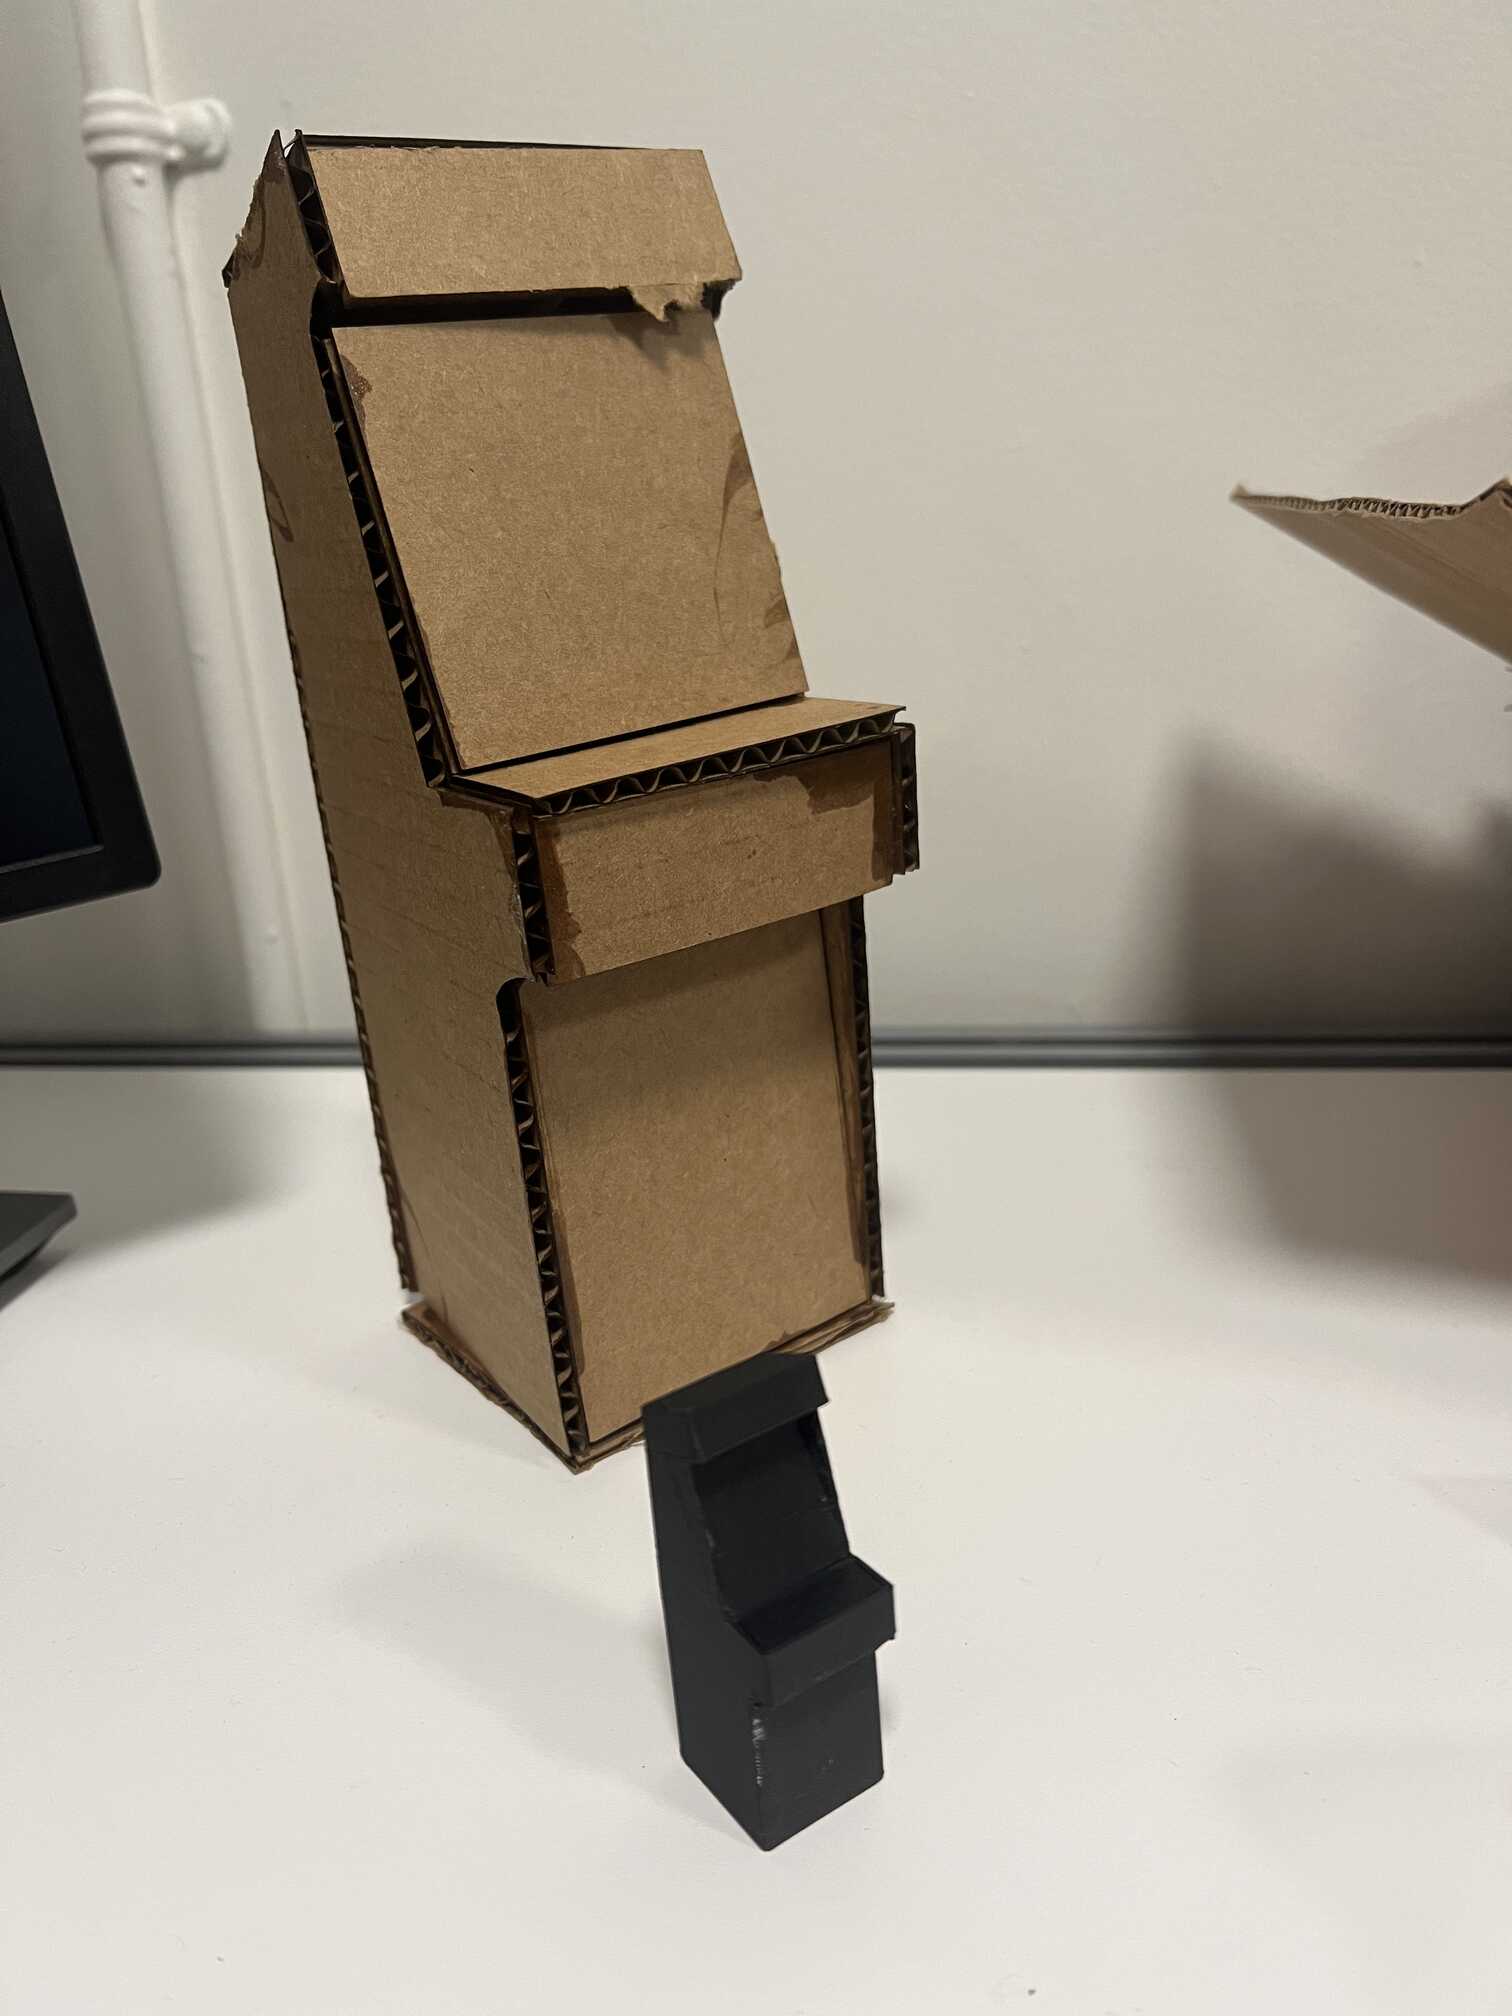
THe last thing we did was make a test print. I chose to use a model I’m working on for another musical instrument, this one taking the form of an arcade machine (with slightly bigger cardboard scale model from a few weeks ago for scale):
And last but most importantly, I should add that during this training I was dogsitting Nina’s dog, Moose, who valiantly stood mostly still ish as we 3D scanned him:
And yes for the group assignment we made a few test scans examining the properties of our printer in terms of overhangs, clearances, angles, overhangs, bridging, wall thickness etc.

A LATTICE-BASED HOLLOW INSTRUMENT CONCEPT#
For my individual assignment The whole subtractive vs additive process thing was a bit confusing to me at first because I wasn’t sure what could be made with one. I did some research and came across cool lattice structures that apparently is really hard/impossible to make with subtractive processes.
I got to thinking that it would be really cool to make a musical instrument out of these lattice structures - in most conventional musical instruments, especially string instruments as that is my background, the “sound producing” thing lays on the top of the body of the instrument, or at least, in some way is more connected to the outside world than the rest of it. While this obviously makes sense for acoustic and physical reasons, I thought it would be cool to have an instrument where the sound making part is somehow directly a part of the body of the instrument itself. Perhaps percussion instruments are the best example of this that actually exist, but for things like strings this idea is kinda unusual. Lattice structures are cool because it allows you to do things like tie strings within the many junctions and corners that are perfect for creating odd angles and knots for the strings to live.
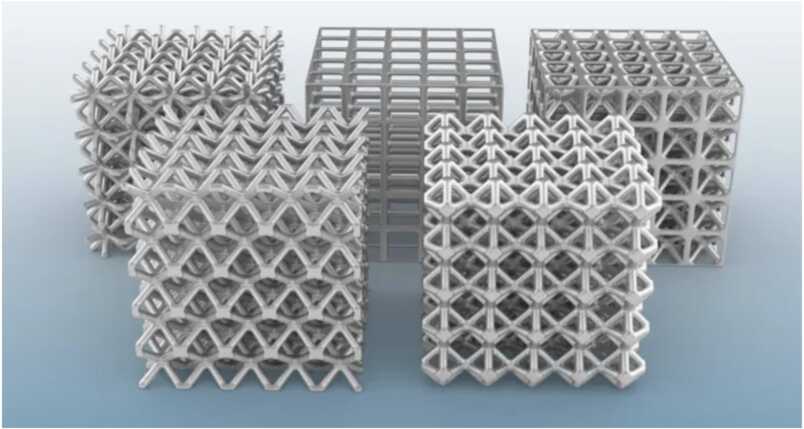 ^^ image credit from link above
For the first pass, trying to spiral design as much as possible by creating small things that could easily be evaluated, I got to work in Fusion messing around with various things I could do to create these shapes. A few excellent Youtube tutorials later I had this:

I did like this shape, but the problem was that it was well extremely impractical as an instrument - where could I put my hands to play it? I could put strings anywhere within it due to the shape, but how could I actually reach those strings in an ergonomic way? I then got to thinking that actual string instrument bodies are already designed to be very comfortable to play as a result of hundreds of years of refinement - what if then I riffed off of the design of say, a violin, but making it totally out of lattice structures?
With this in mind I used my design from Week 1 to design a lattice-violin:
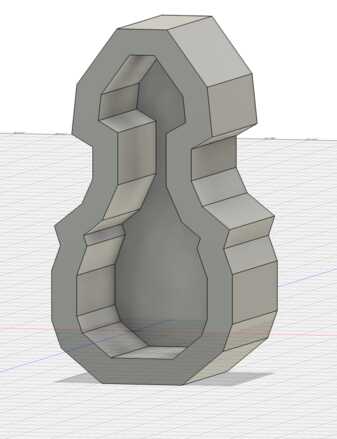

After messing around with the slicer and things I then printed it out, which took around 5-6 hours:
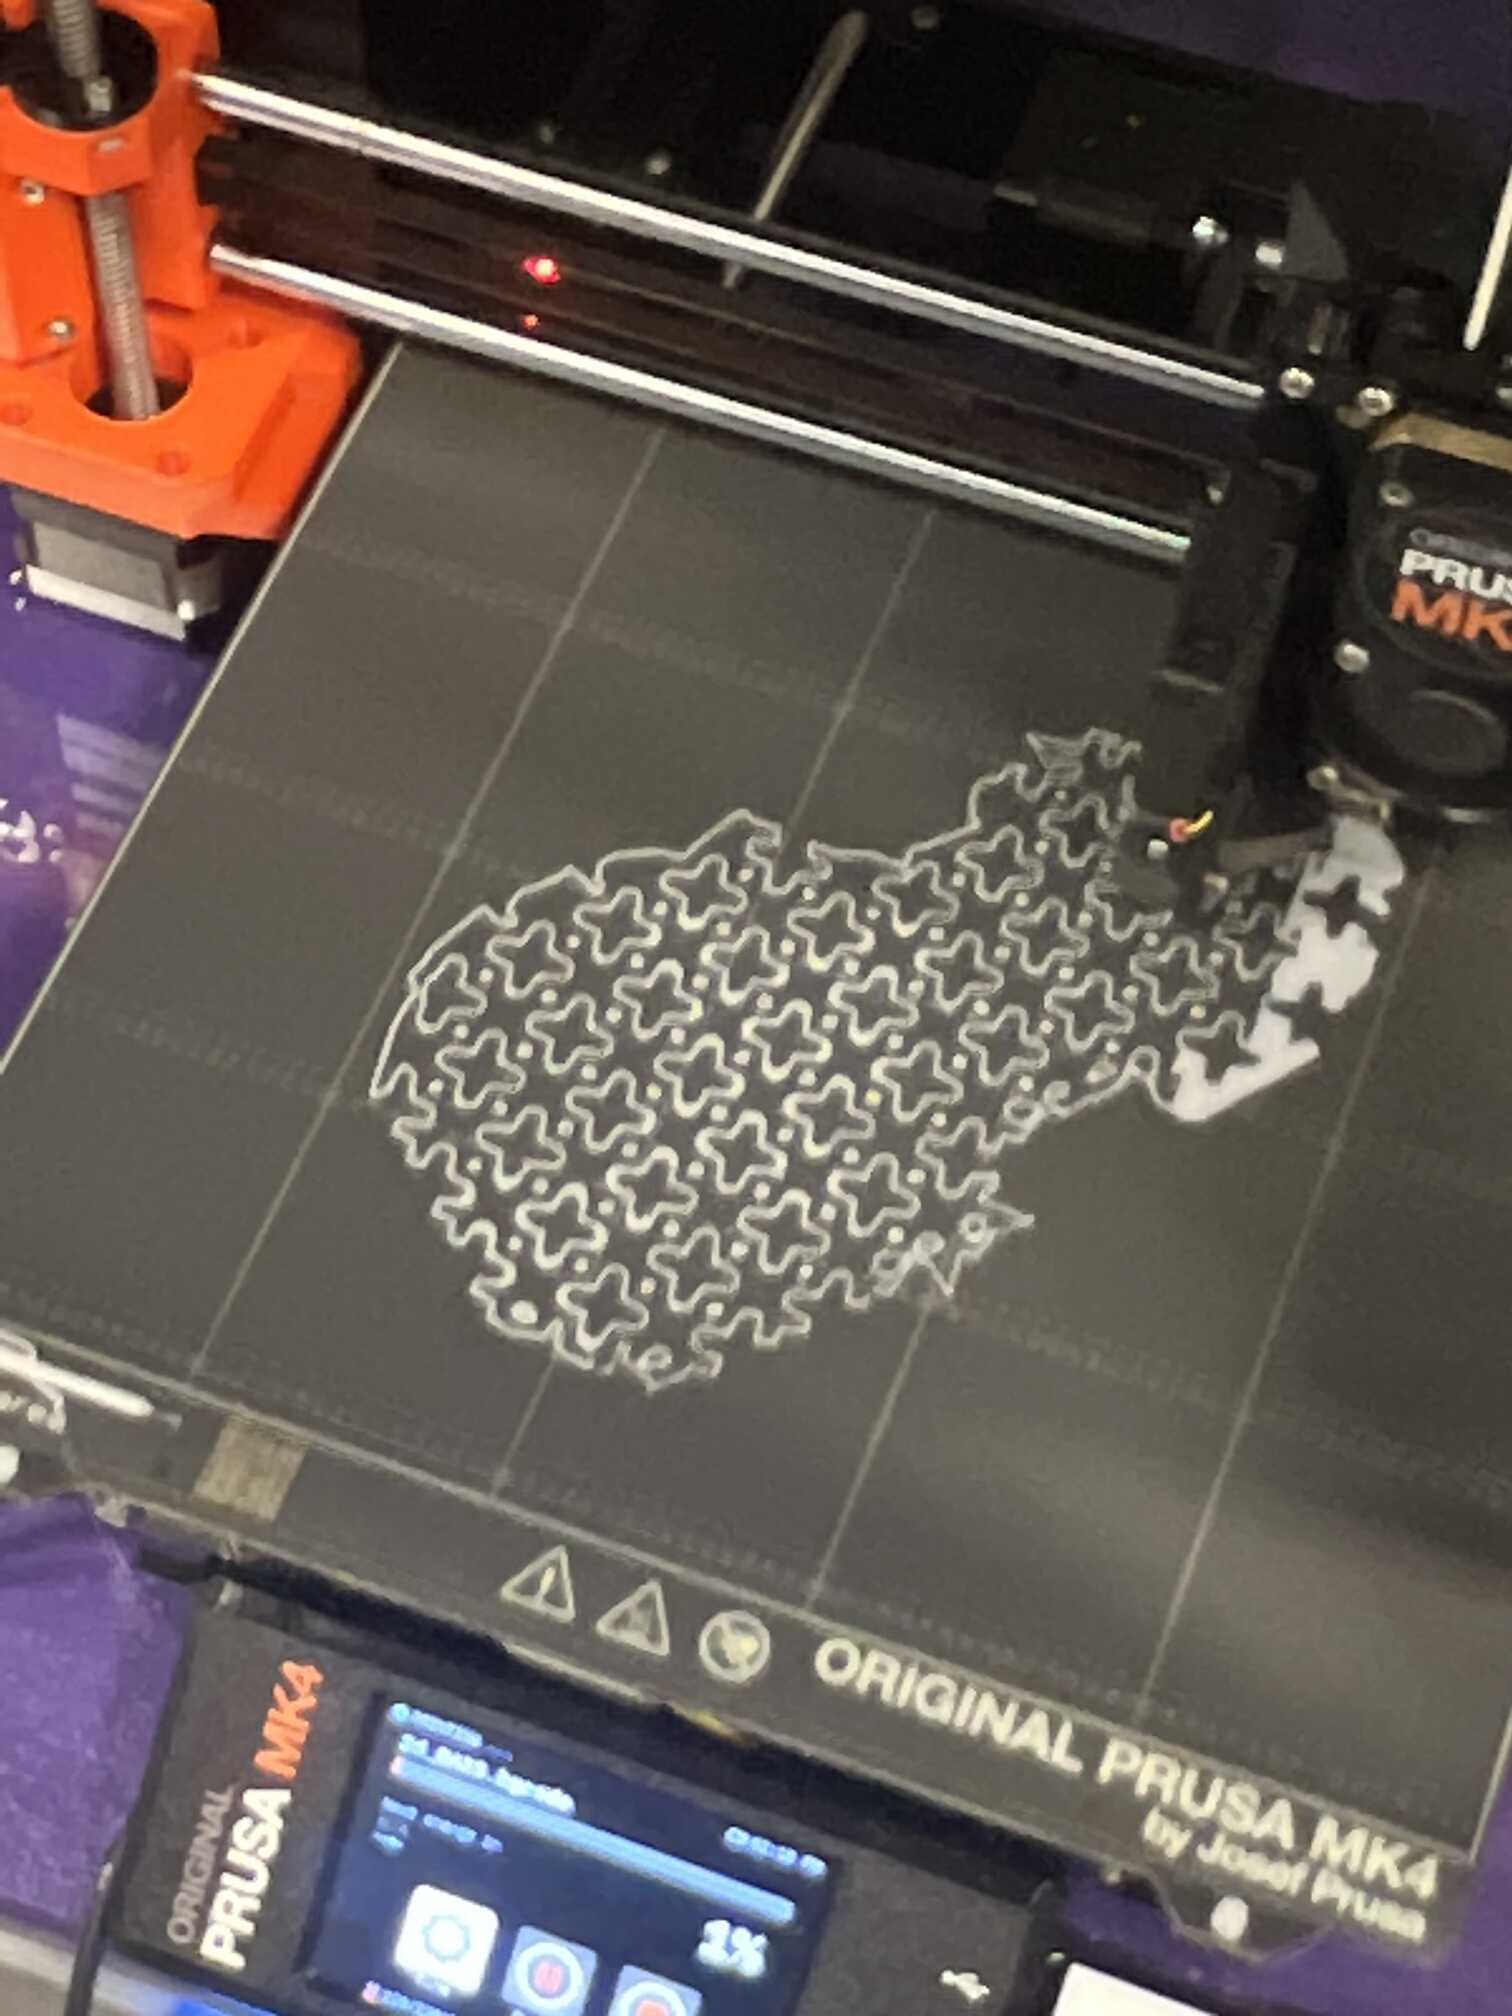
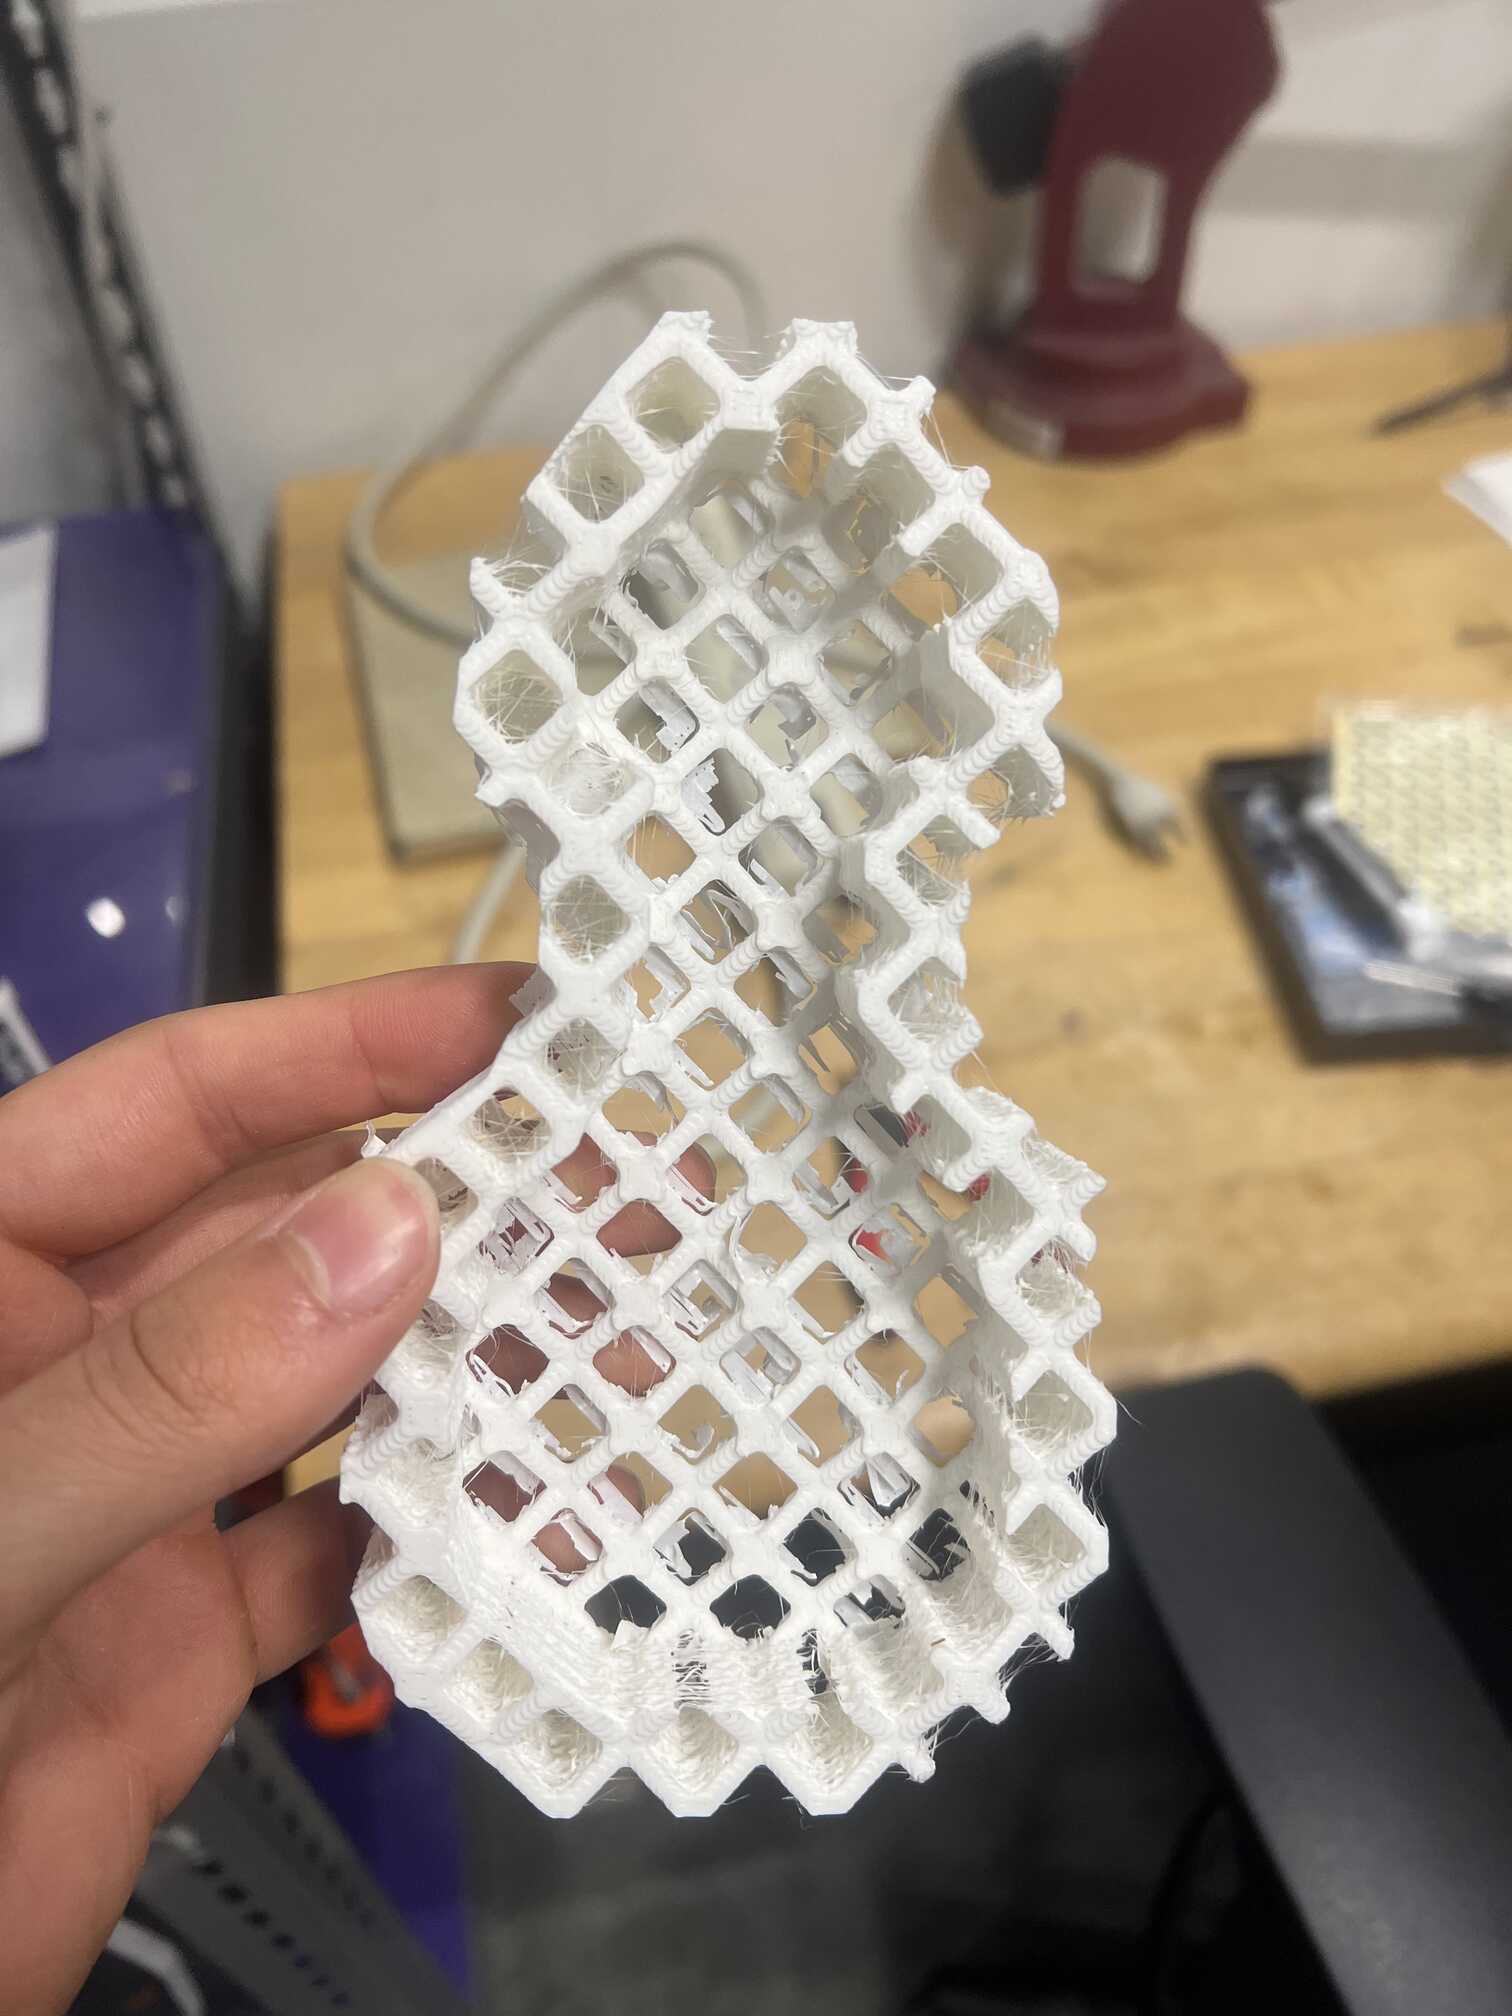

(I thought the pattern of the printer as it made these lattices was pretty cool)
It executed great ! I like how the hollowness makes it catch the light in a fun way - However, it was a bit more solid than I hoped for, especially on the sides. I was really hoping it would be pure lattice, but it printed decently solid, which slightly detracted from my aesthetic goal. Nonetheless, I then moved forward, using the lattice-honeycombs as junctions to tie some bits of ukelele strings across in funny angles:
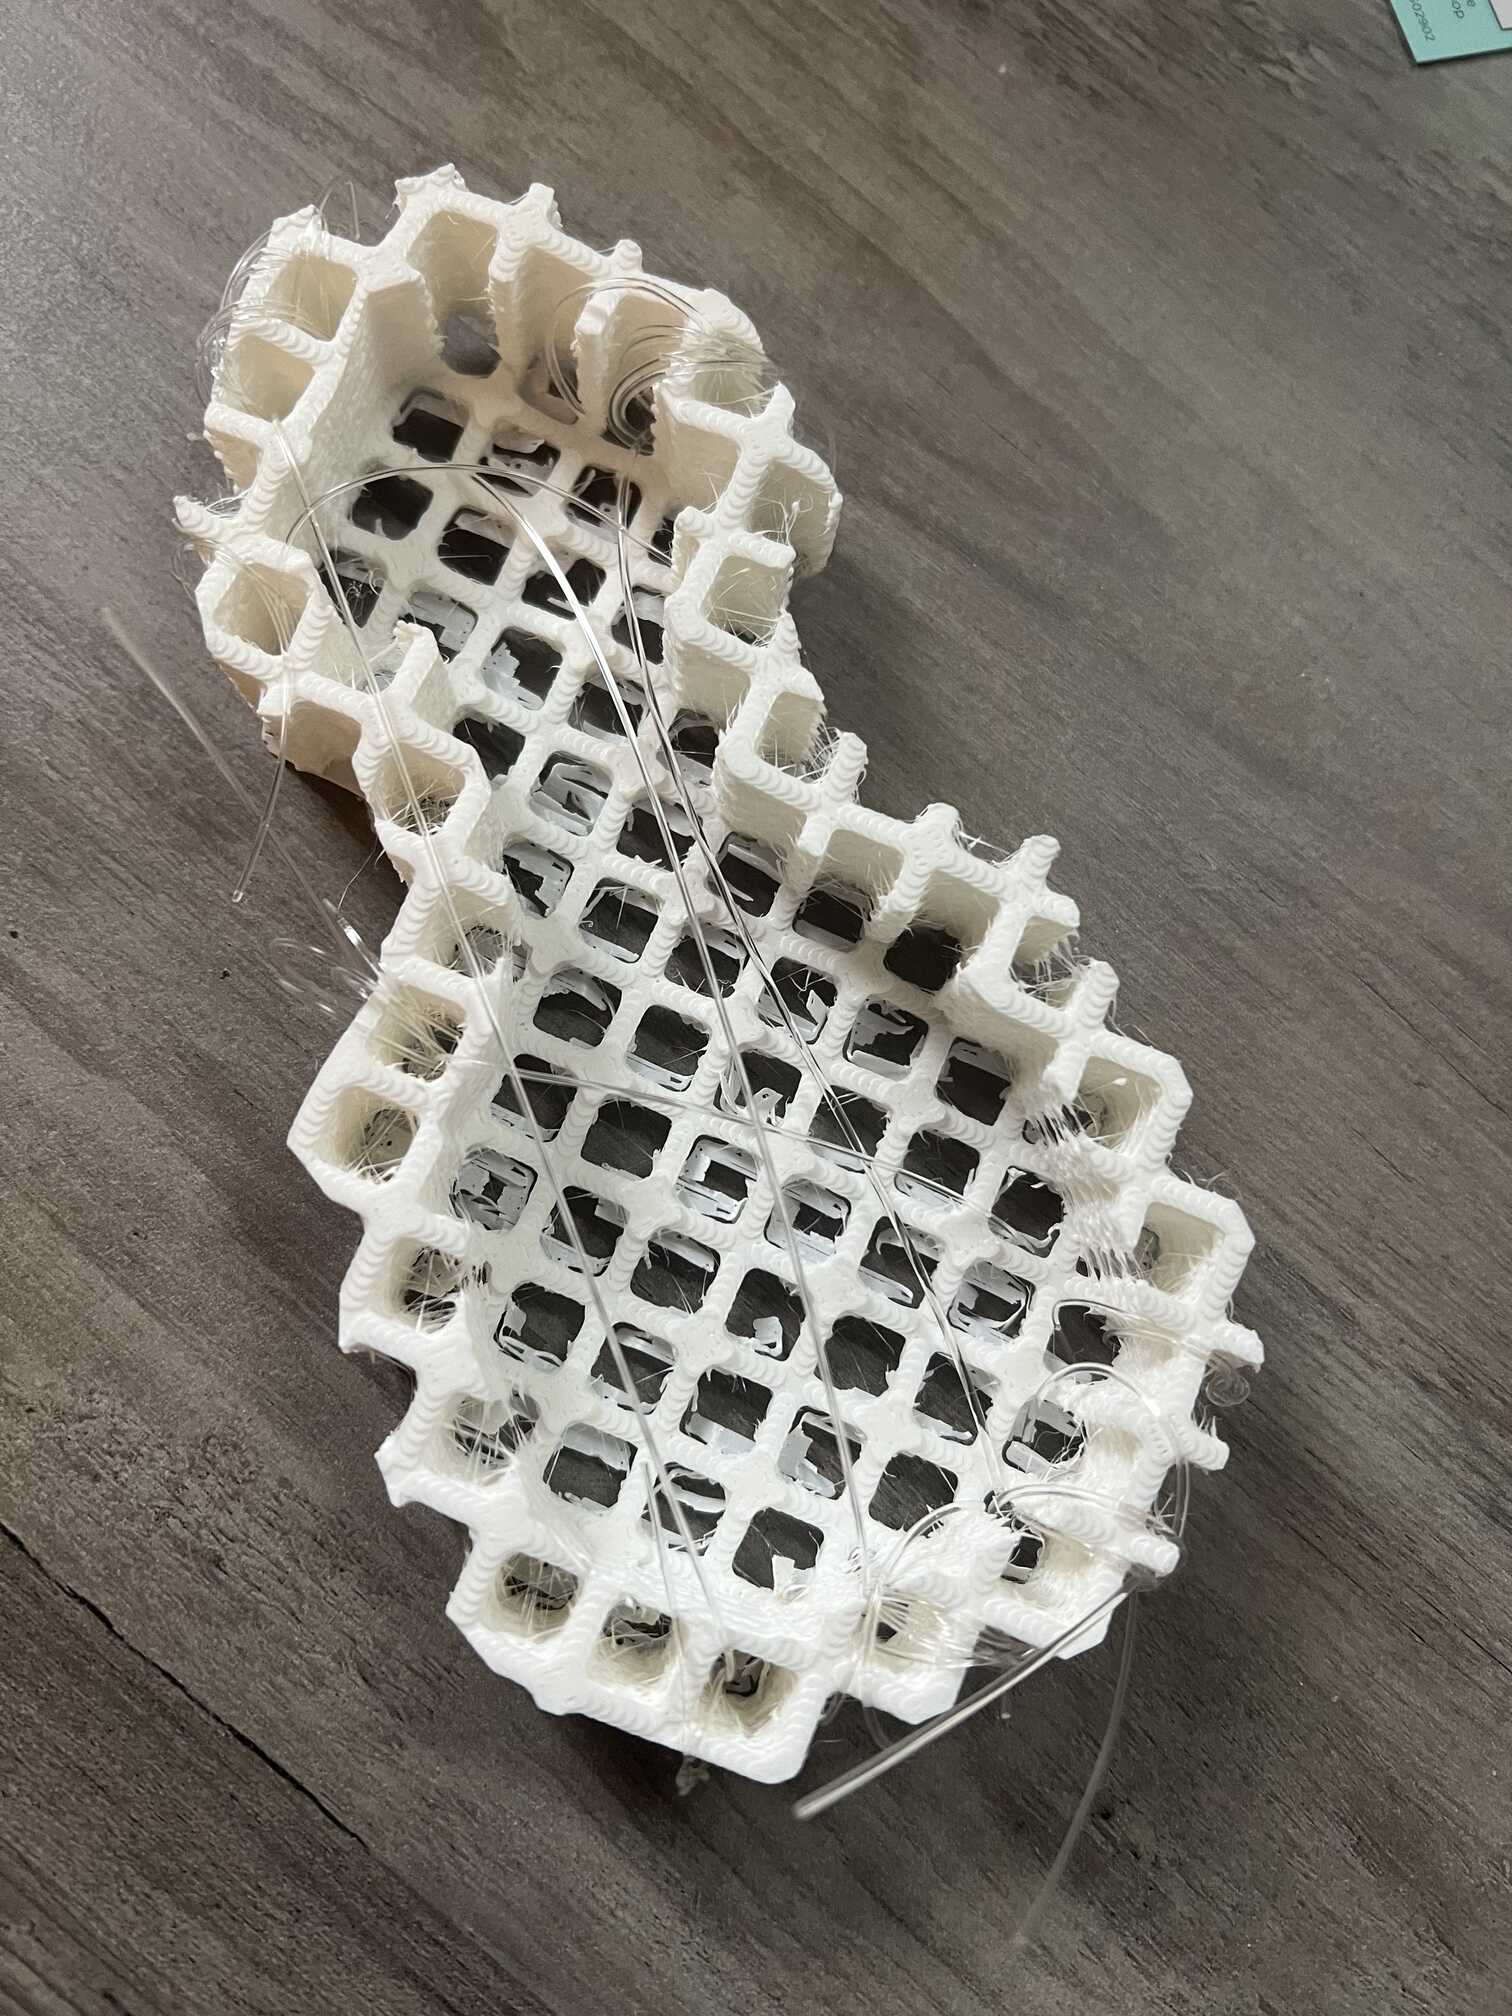
Unfortunately, for the sound making part of the instrument, the combination of PLA, which is…does not have the best…acoustic properties… with the lack of actual tuning pegs made it basically impossible for the strings to actually resonate enough to make a sound :(((( - there’s just not enough string tension from the double knots on both sides. However, I think the concept was generally successful, and I do think this would be a cool idea to build off of in the future, maybe with some piezo pickups or something.
Also, as a last fun experiment I decided to print some decorations for my lab since its brand new and literally just unveiled our new logo:
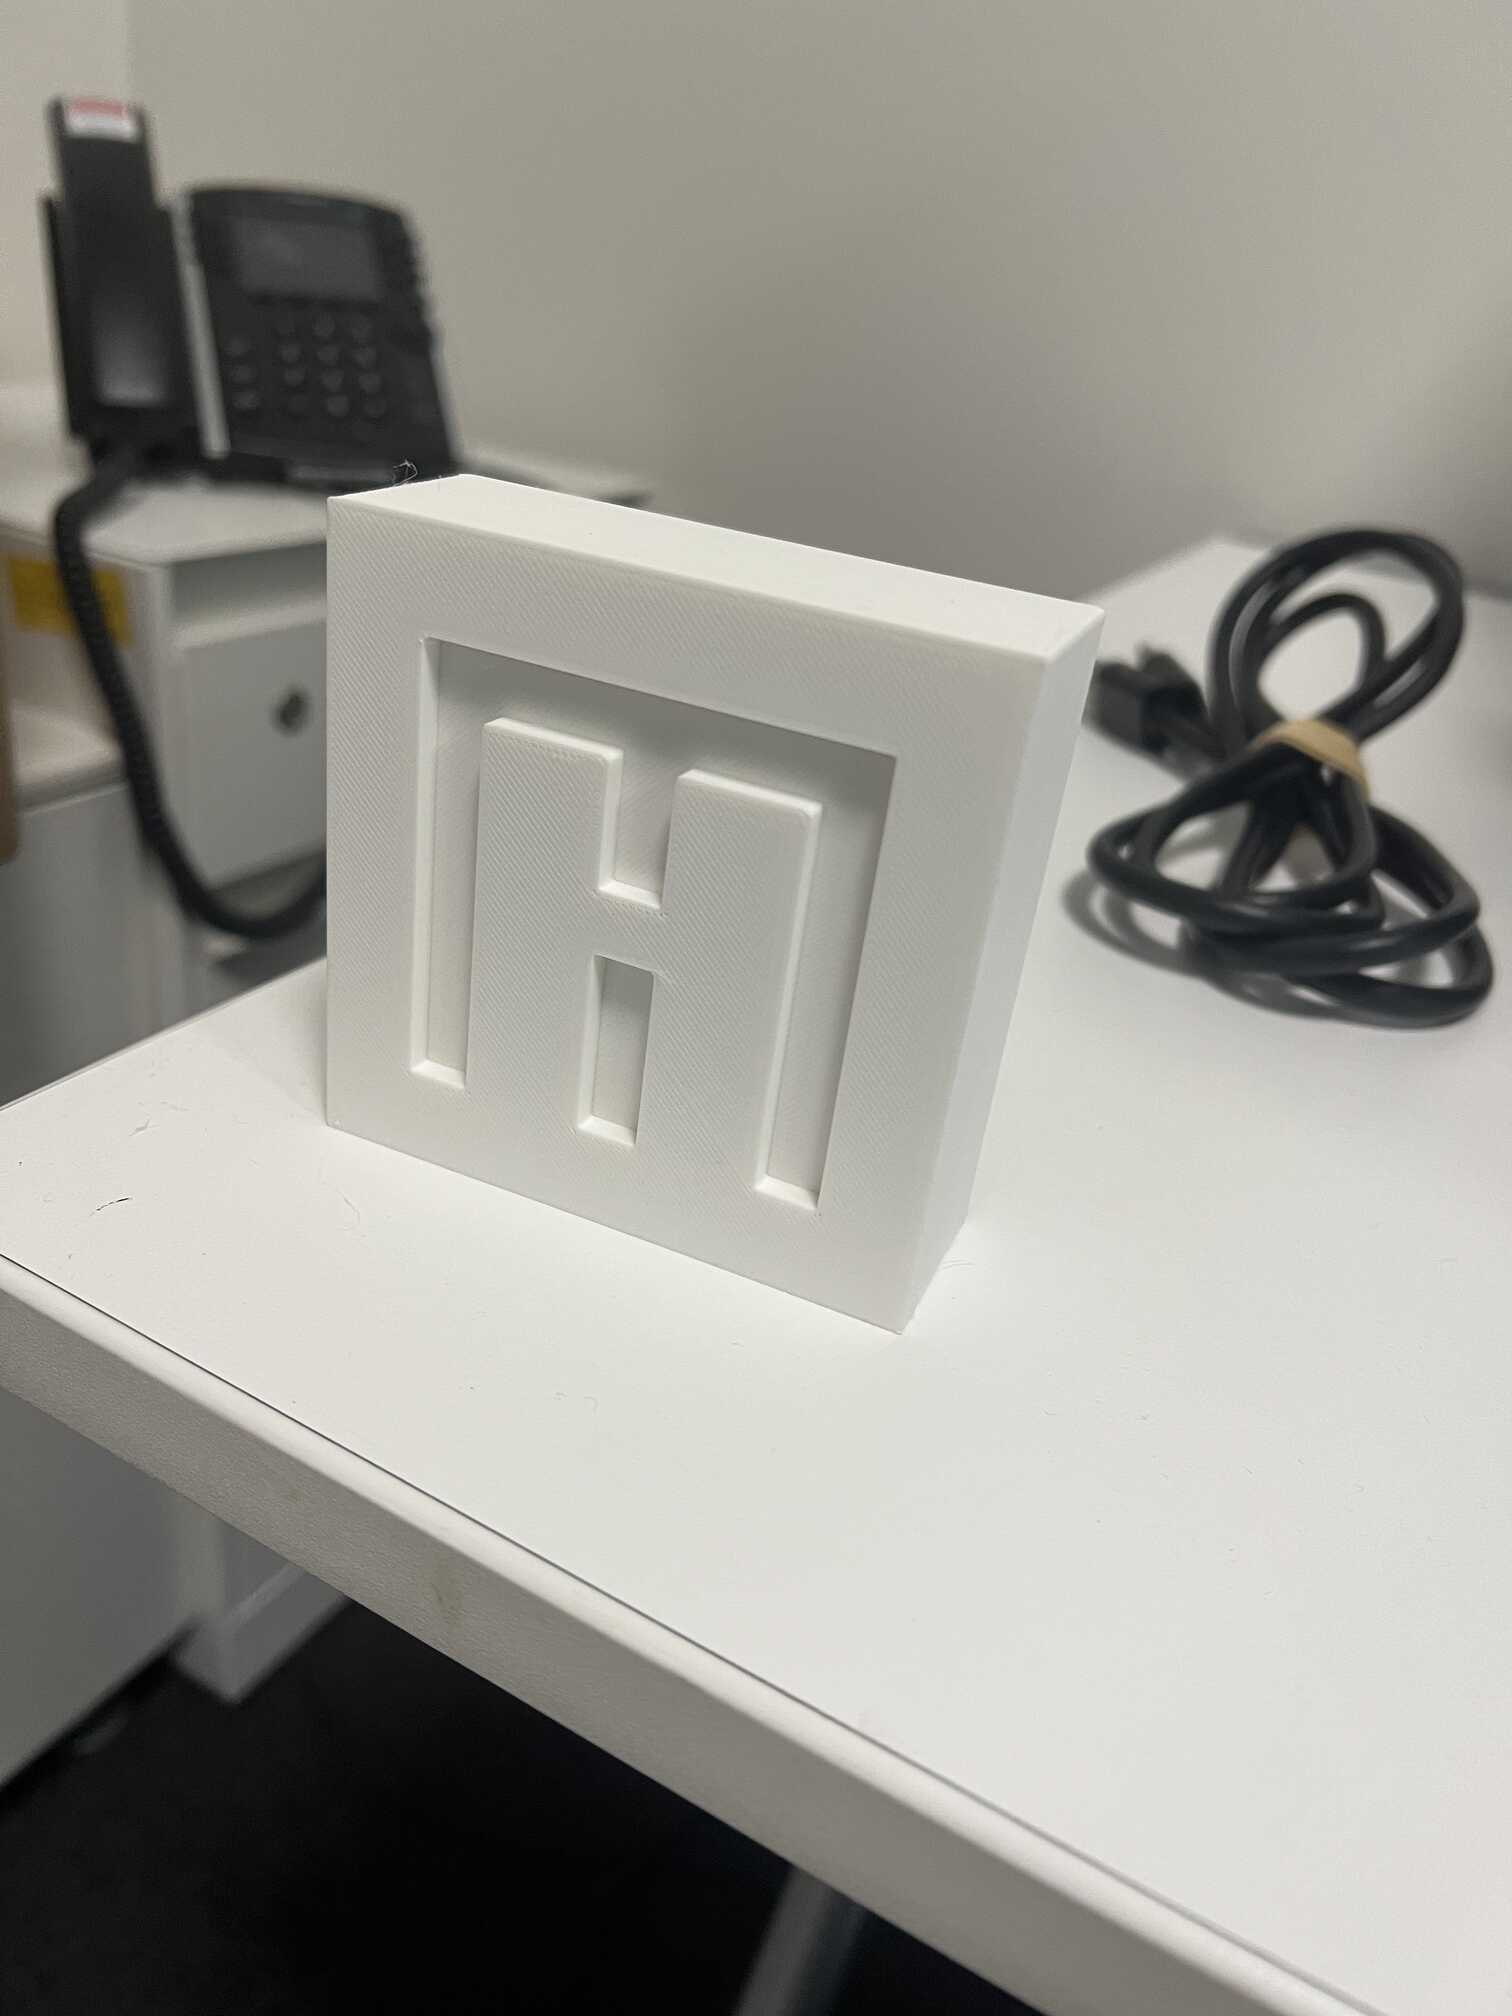
Also also, I 3D printed a chain because that’s fun and definitely not achievable with subtractive processes:

BIG 3D Scan#
For this part I wanted to scan something BIG. So I tried my bass - which was kinda hard because I had to hold it up while spinning around it with the scanner. Still came out not bad though!

My files:
And as always….
Lessons for progeny:#
-spiral design from both ends - I did work fast and iterate a few times, but I didn’t do that for every component at once - I probably would have benefited from thinking about acoustic properties earlier in the process
-play around with the new tools! I spent some bonus time printing random stuff that I thought would be fun and it really made me feel more comfortable with what we learned