Week6
WEEK 6 MOLDING+CASTING: ATLAS SLAYED#
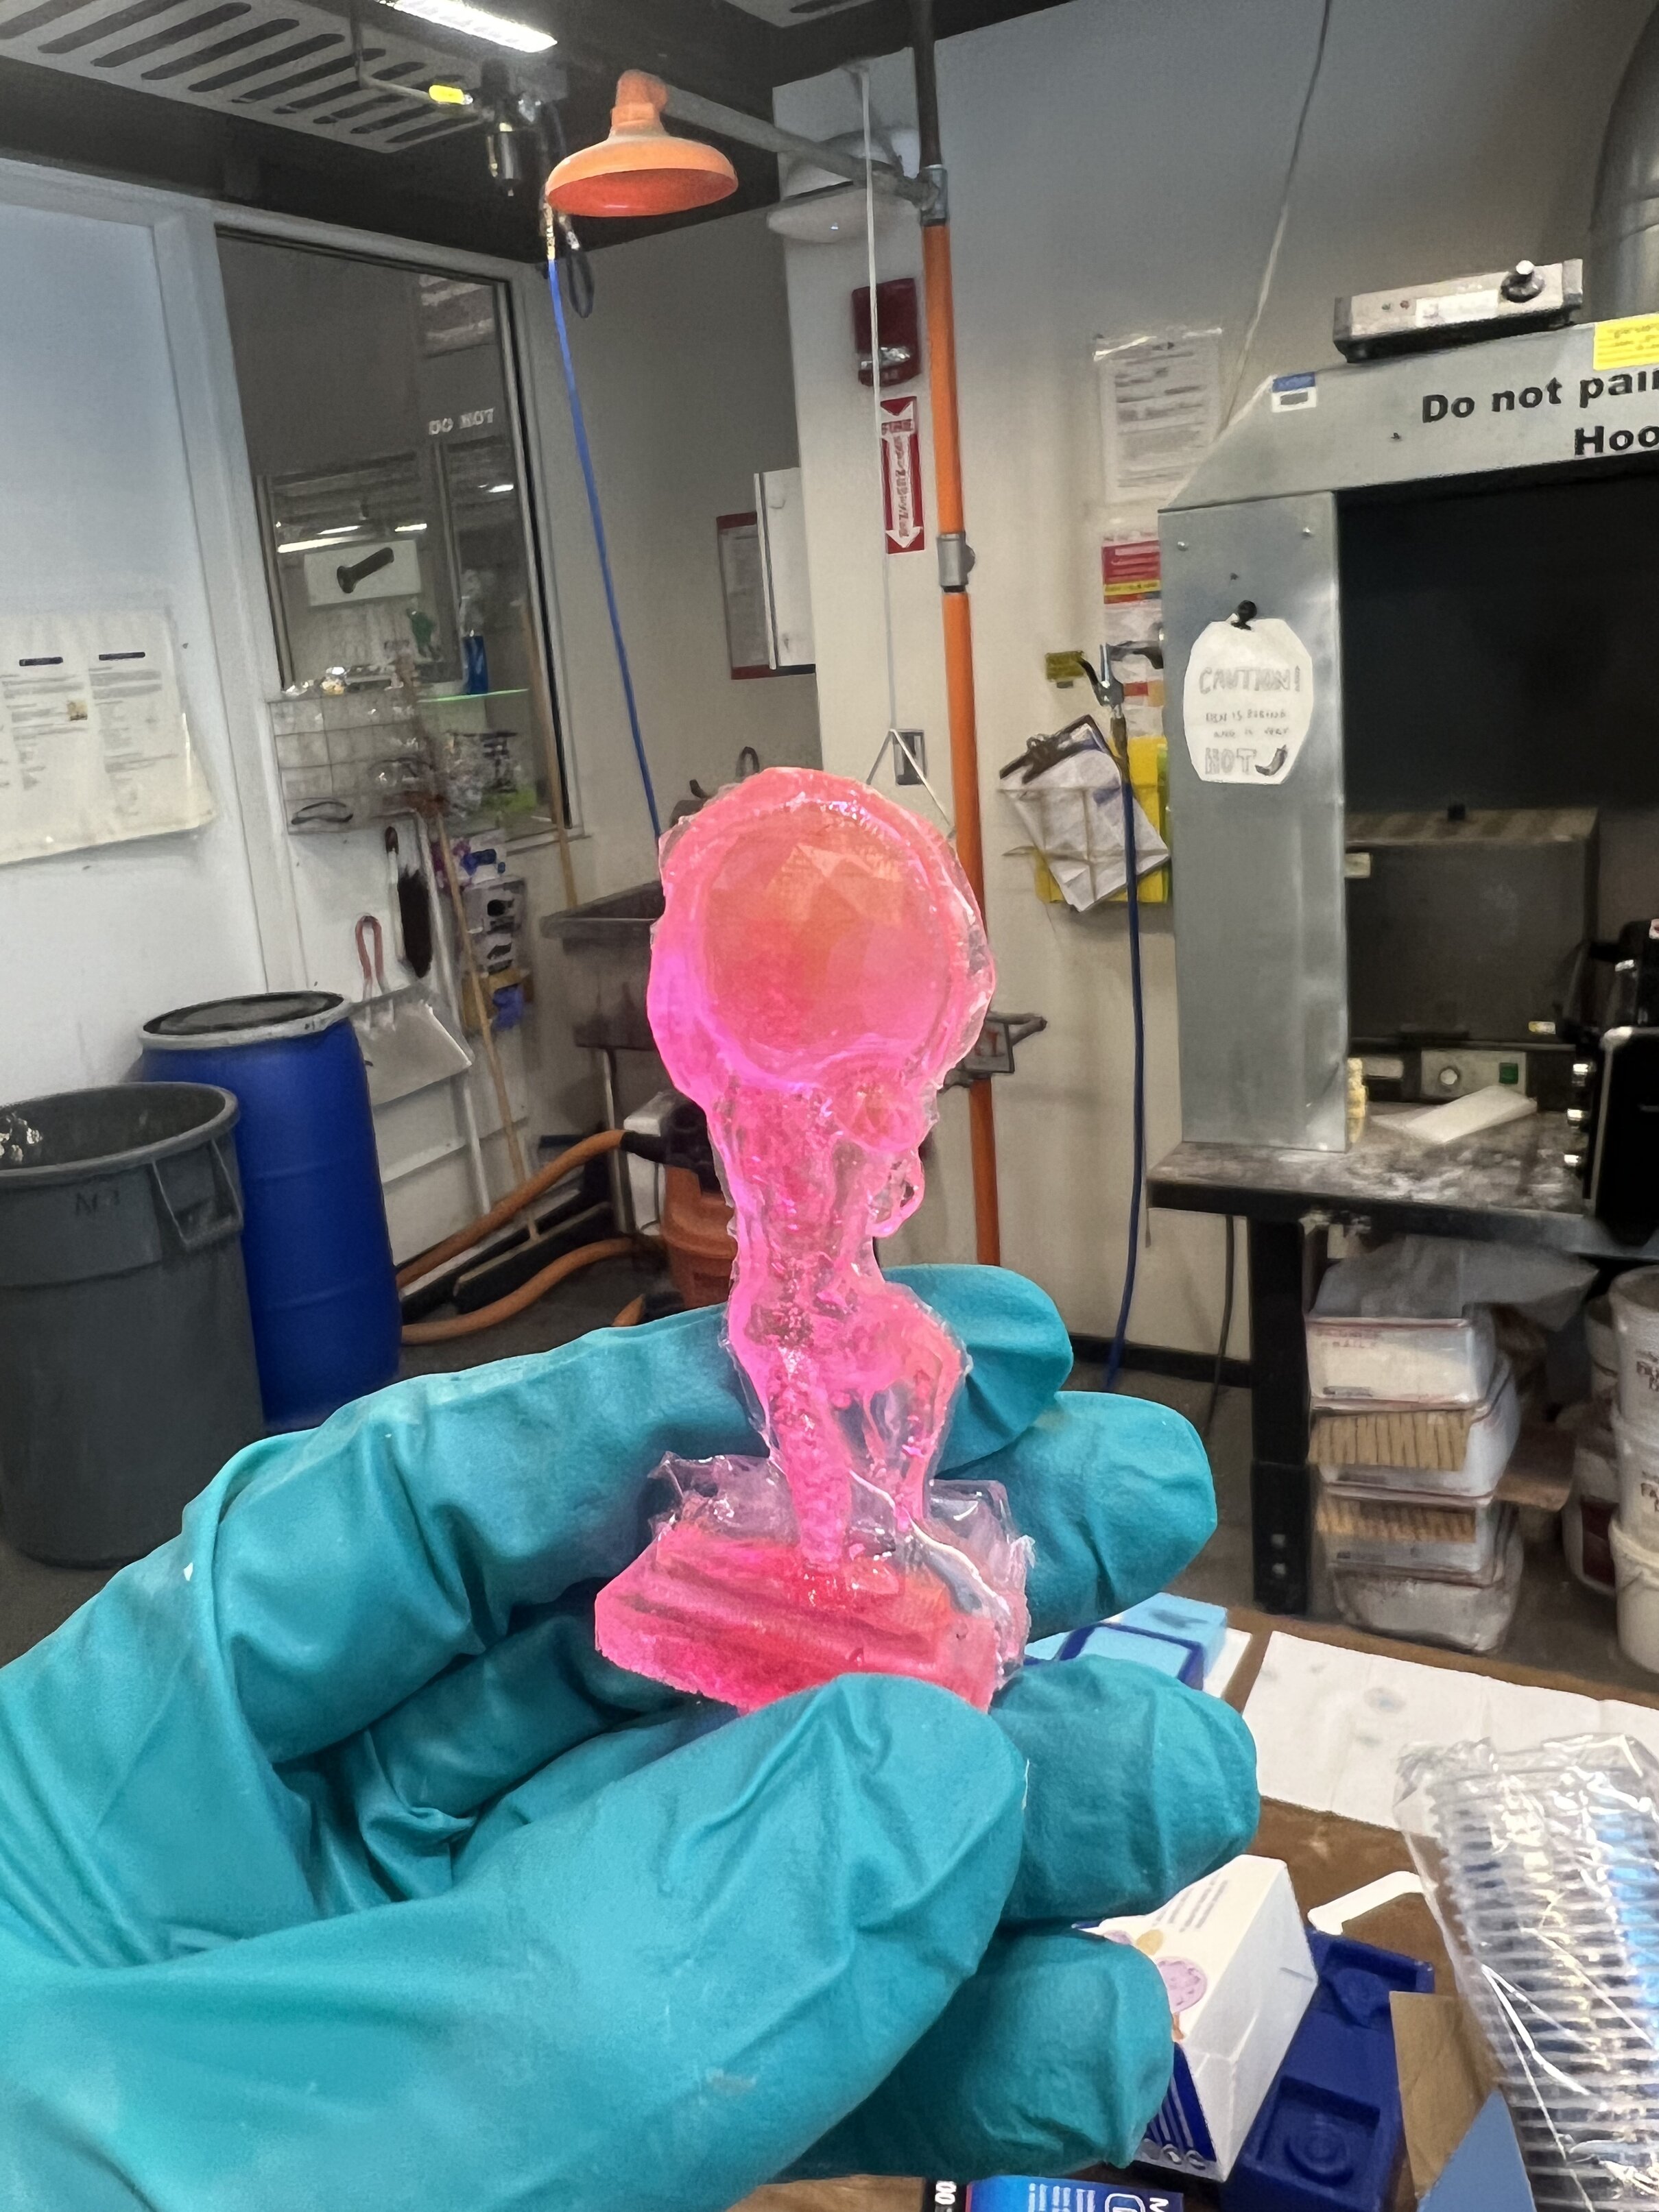
I wanted to cast a stoic monument to human suffering, that was both literally and figuratively as metal as possible. However, I was told that we couldn’t do metals for now, so I decided to go in opposite direction:
CNC TRAINING WITH ALFONSO#
I was so ready to take lots of great notes on these somewhat scary missions but Alfonso told us to lock in and pay attention because these machines are no joke.
The name of the game this week was safety - at basically every step the machines and substances could do very very very grave damage to a person who gets in their way which is not ideal as I enjoy having my limbs intact.
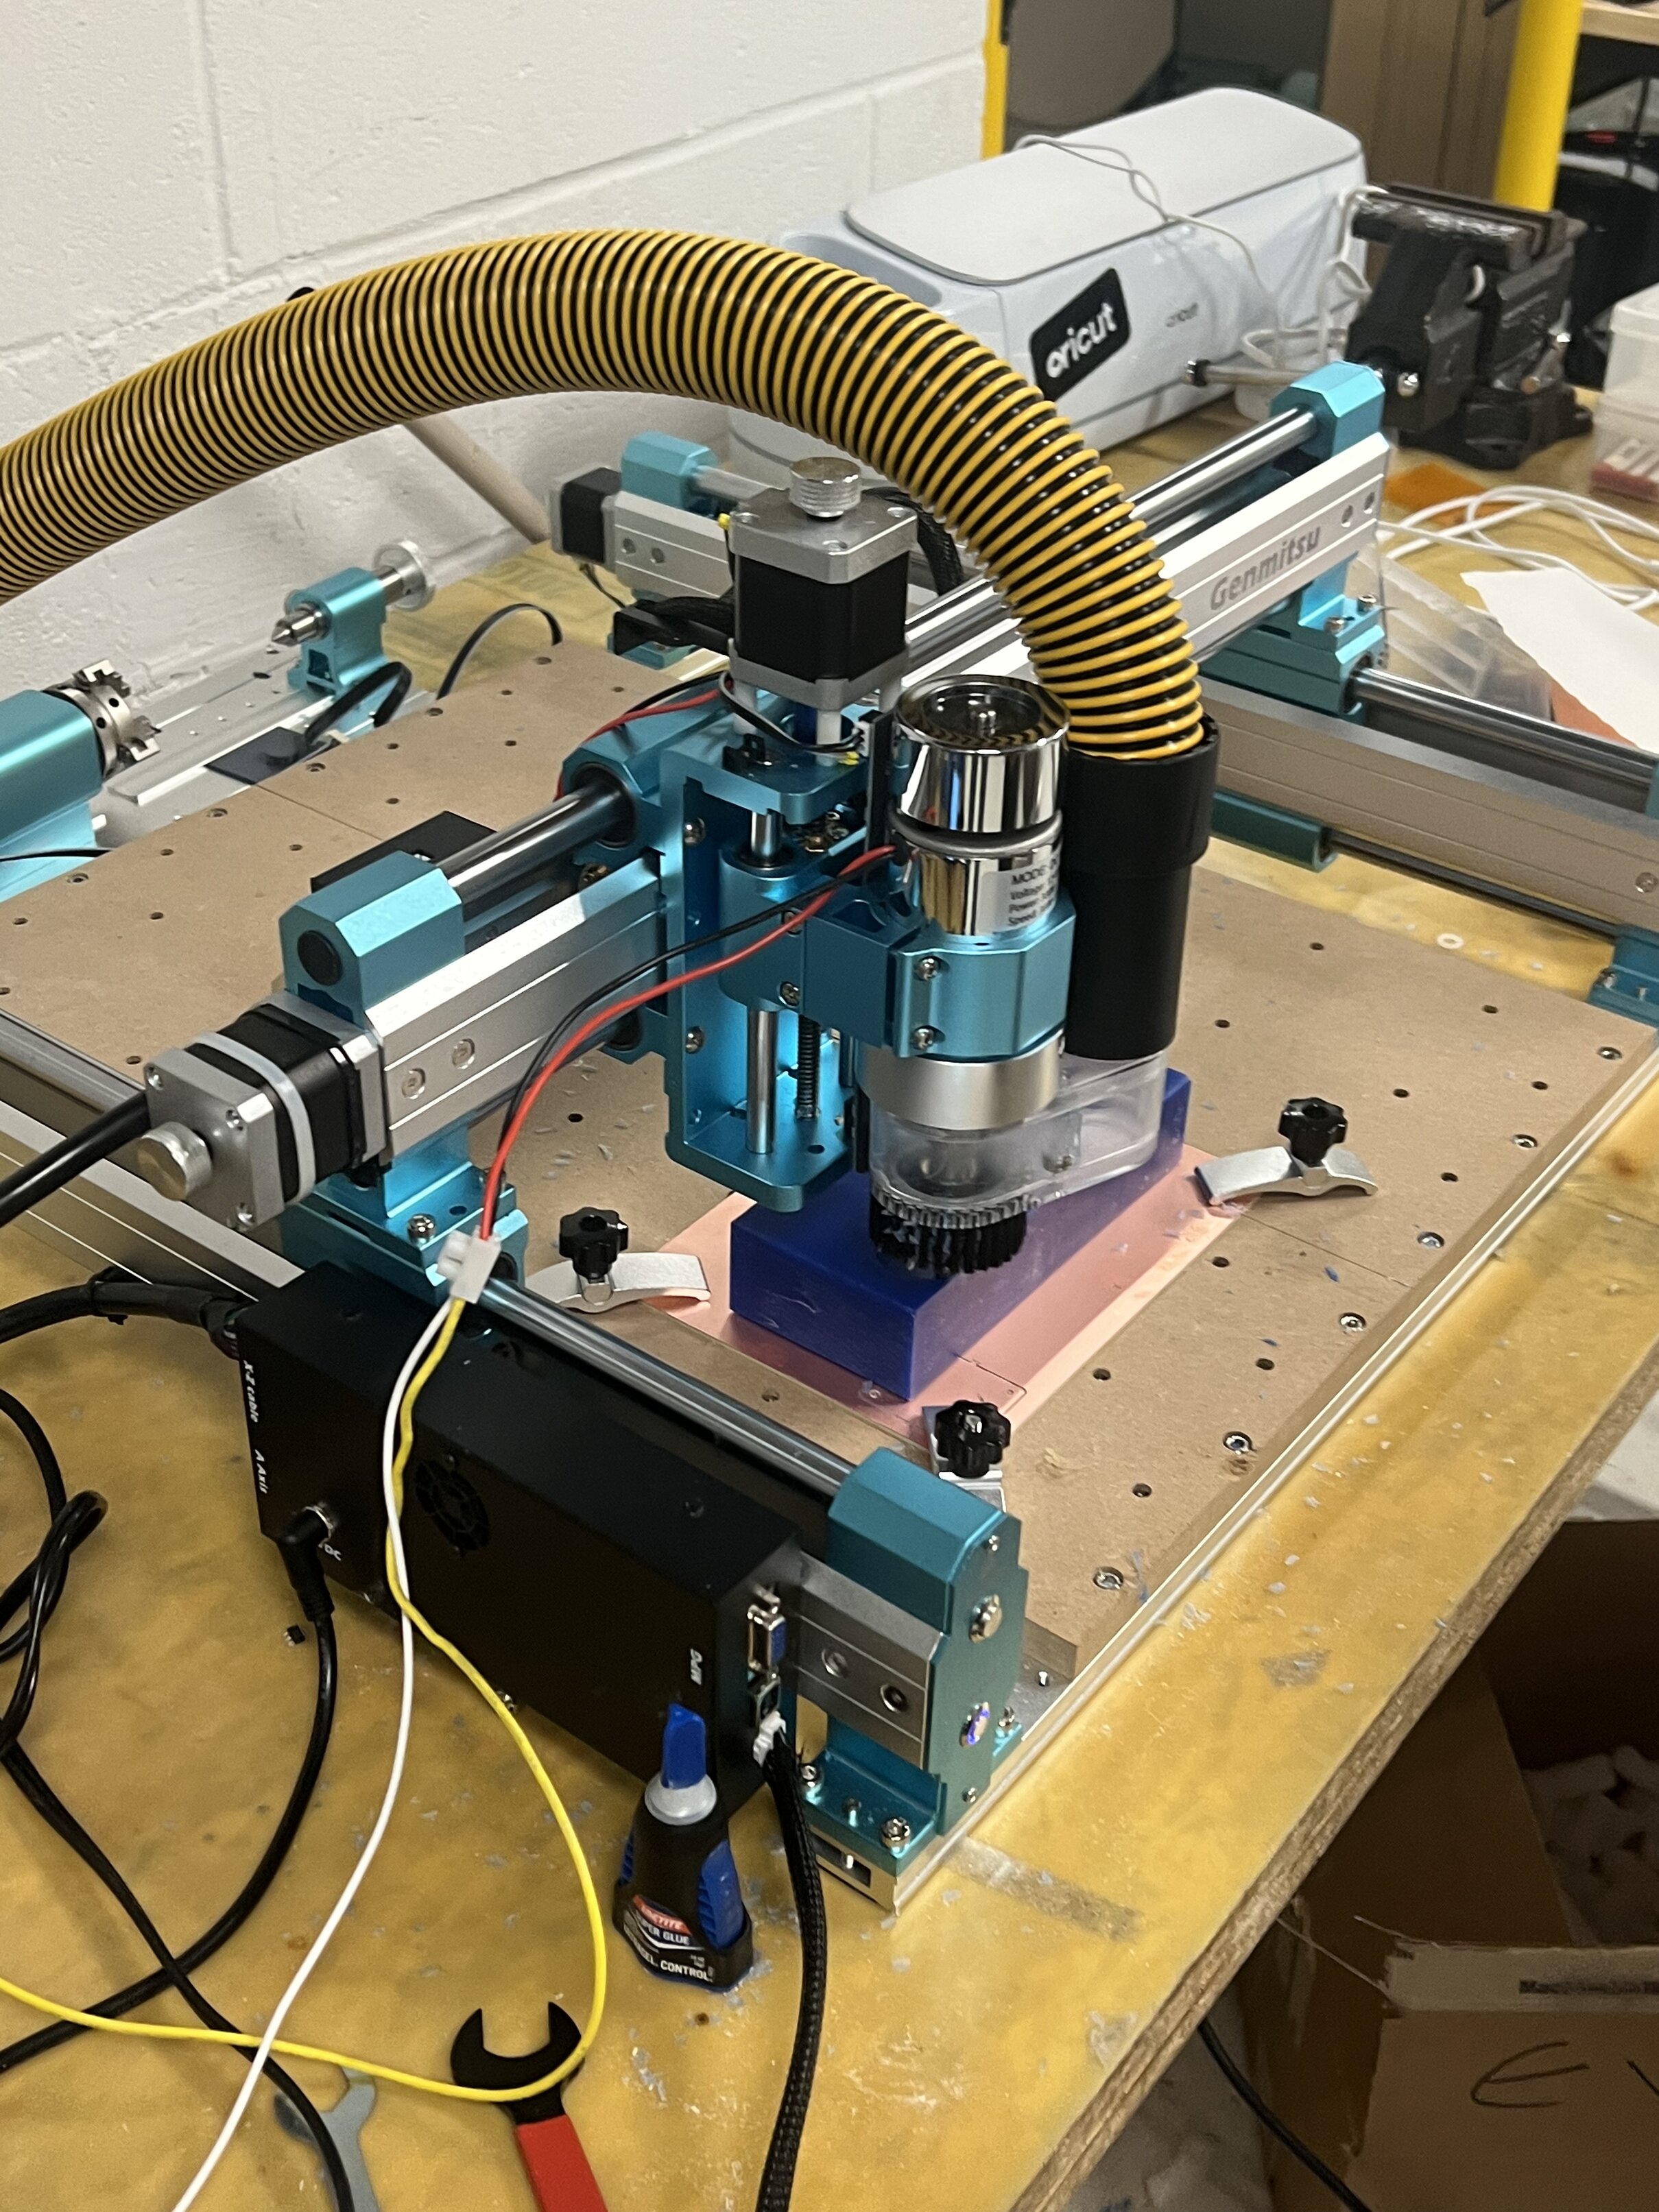
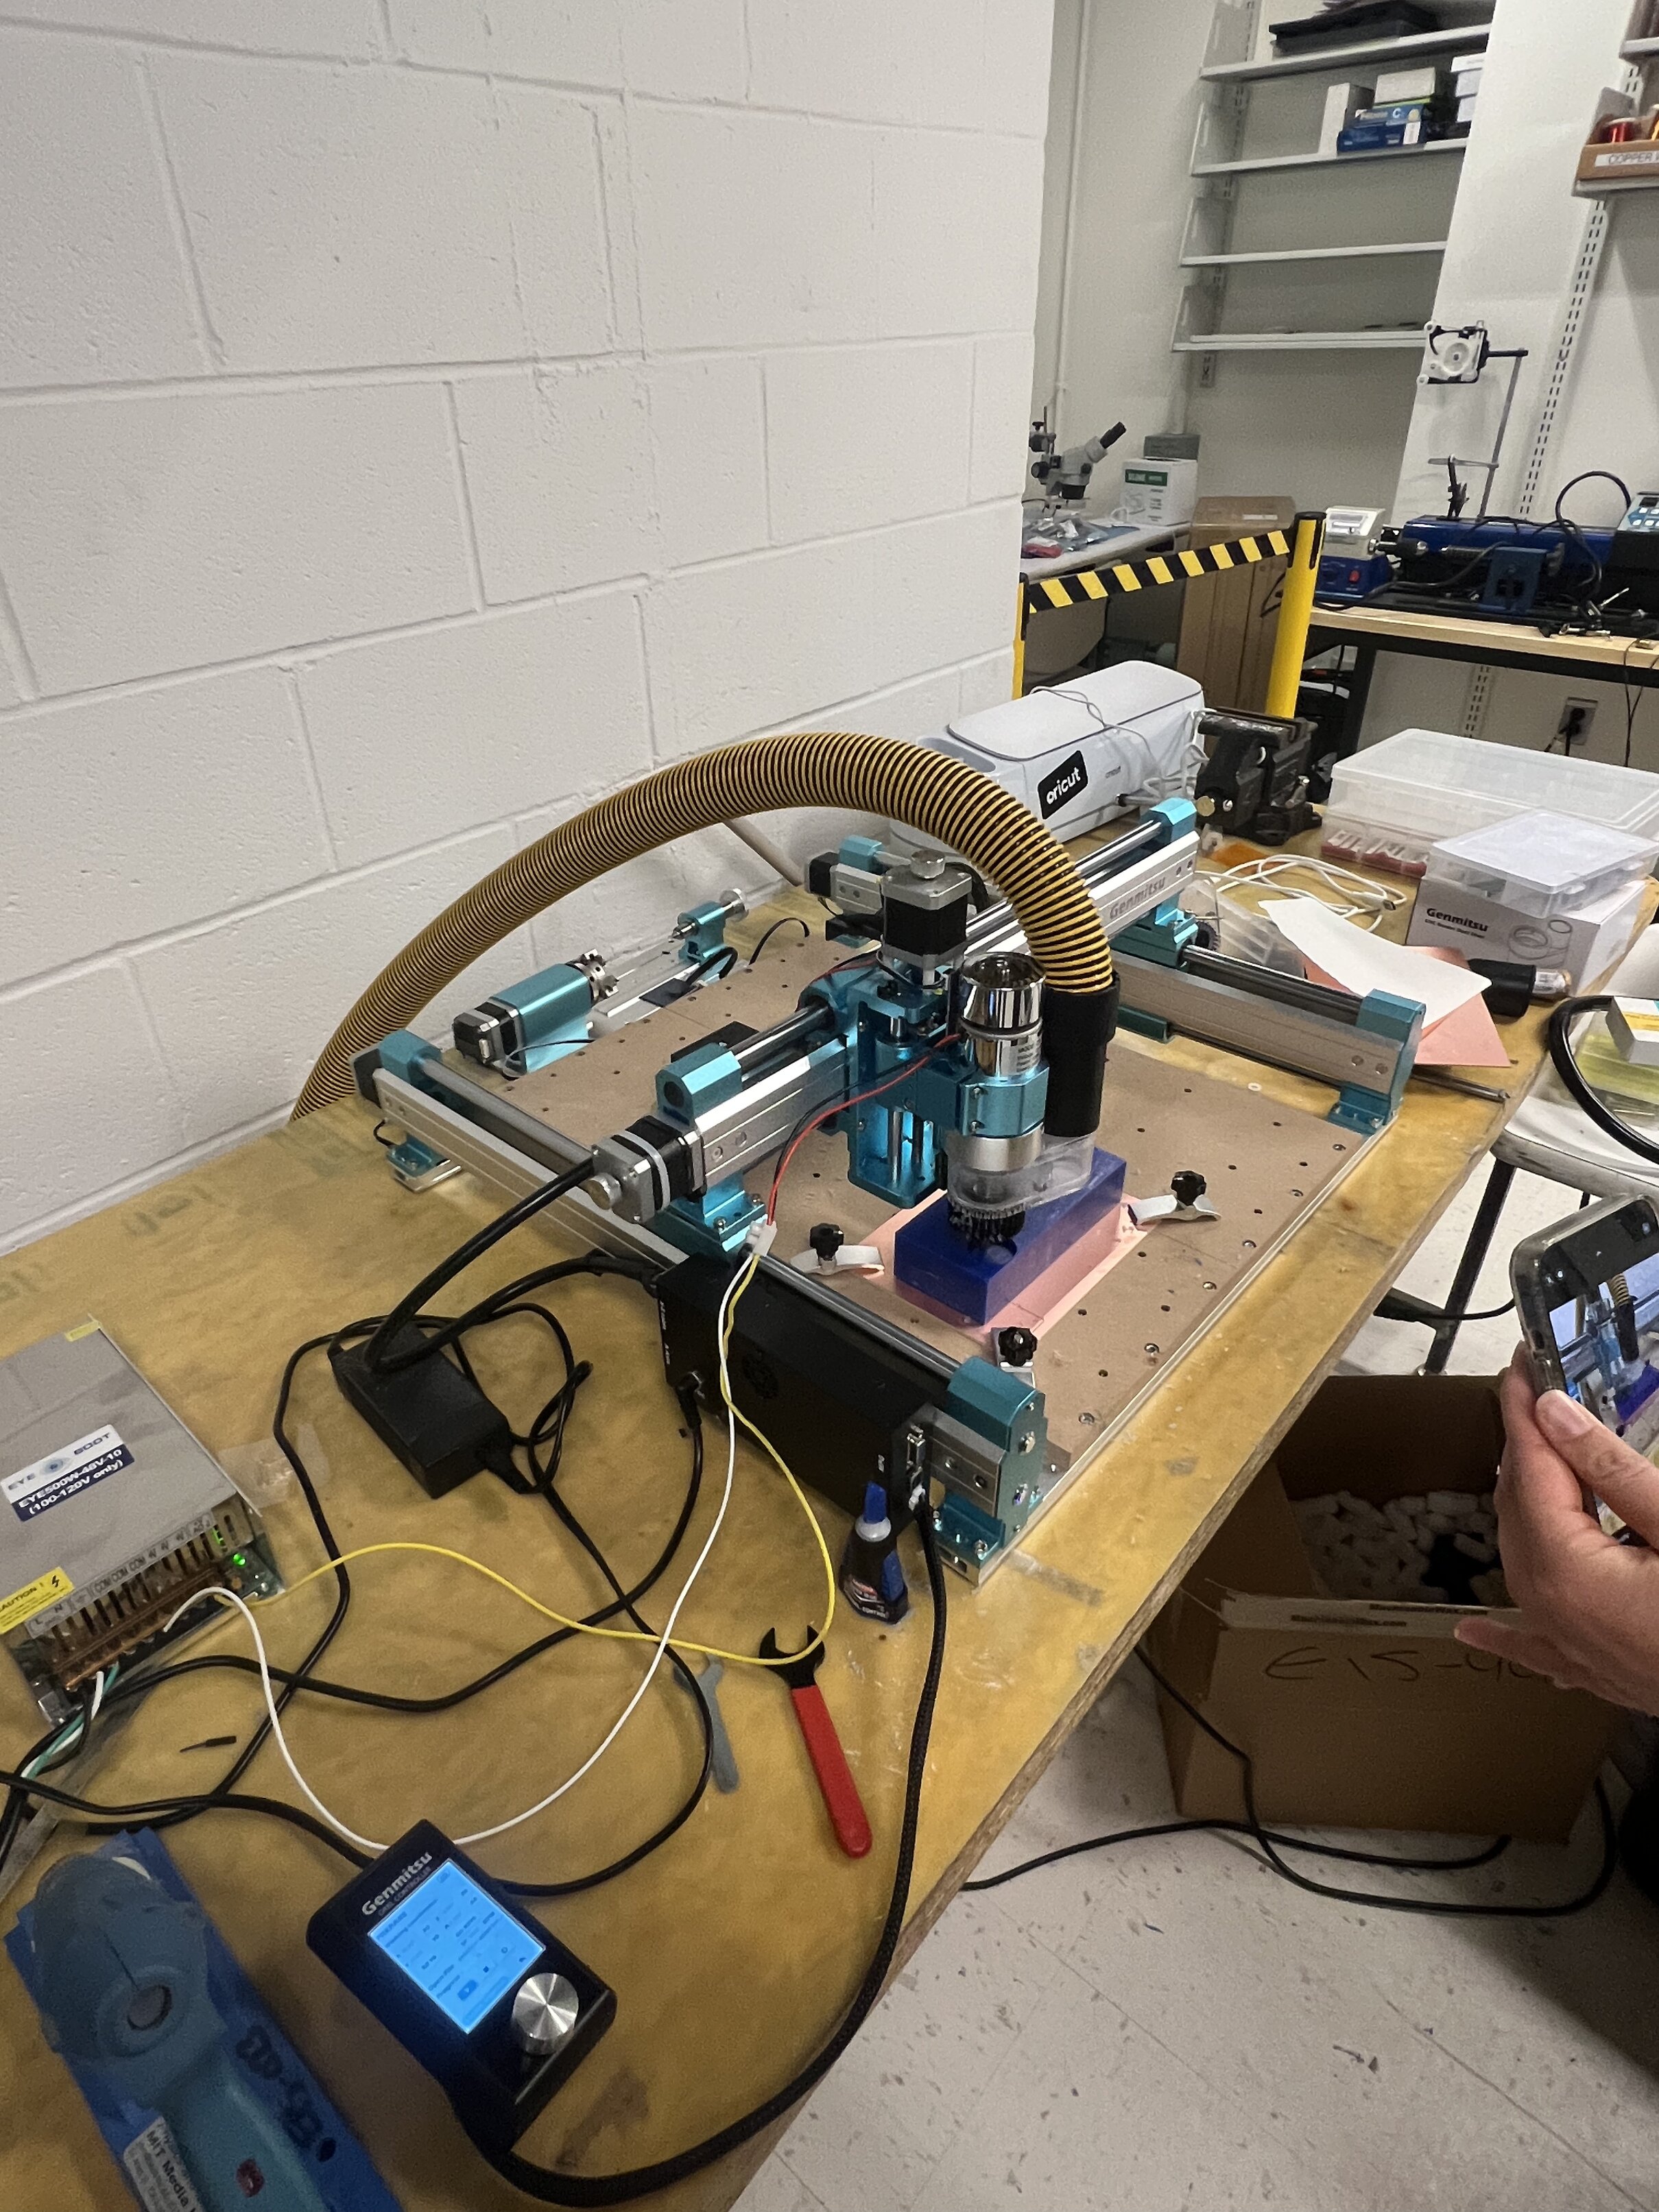
The basic safety procedure for the CNC as I understand is from training plus the shared doc:
- Long dangling stuff tied back - hair, sleeves, jewelry, etc
- Wear safety glasses
- DON’T WORK ALONE
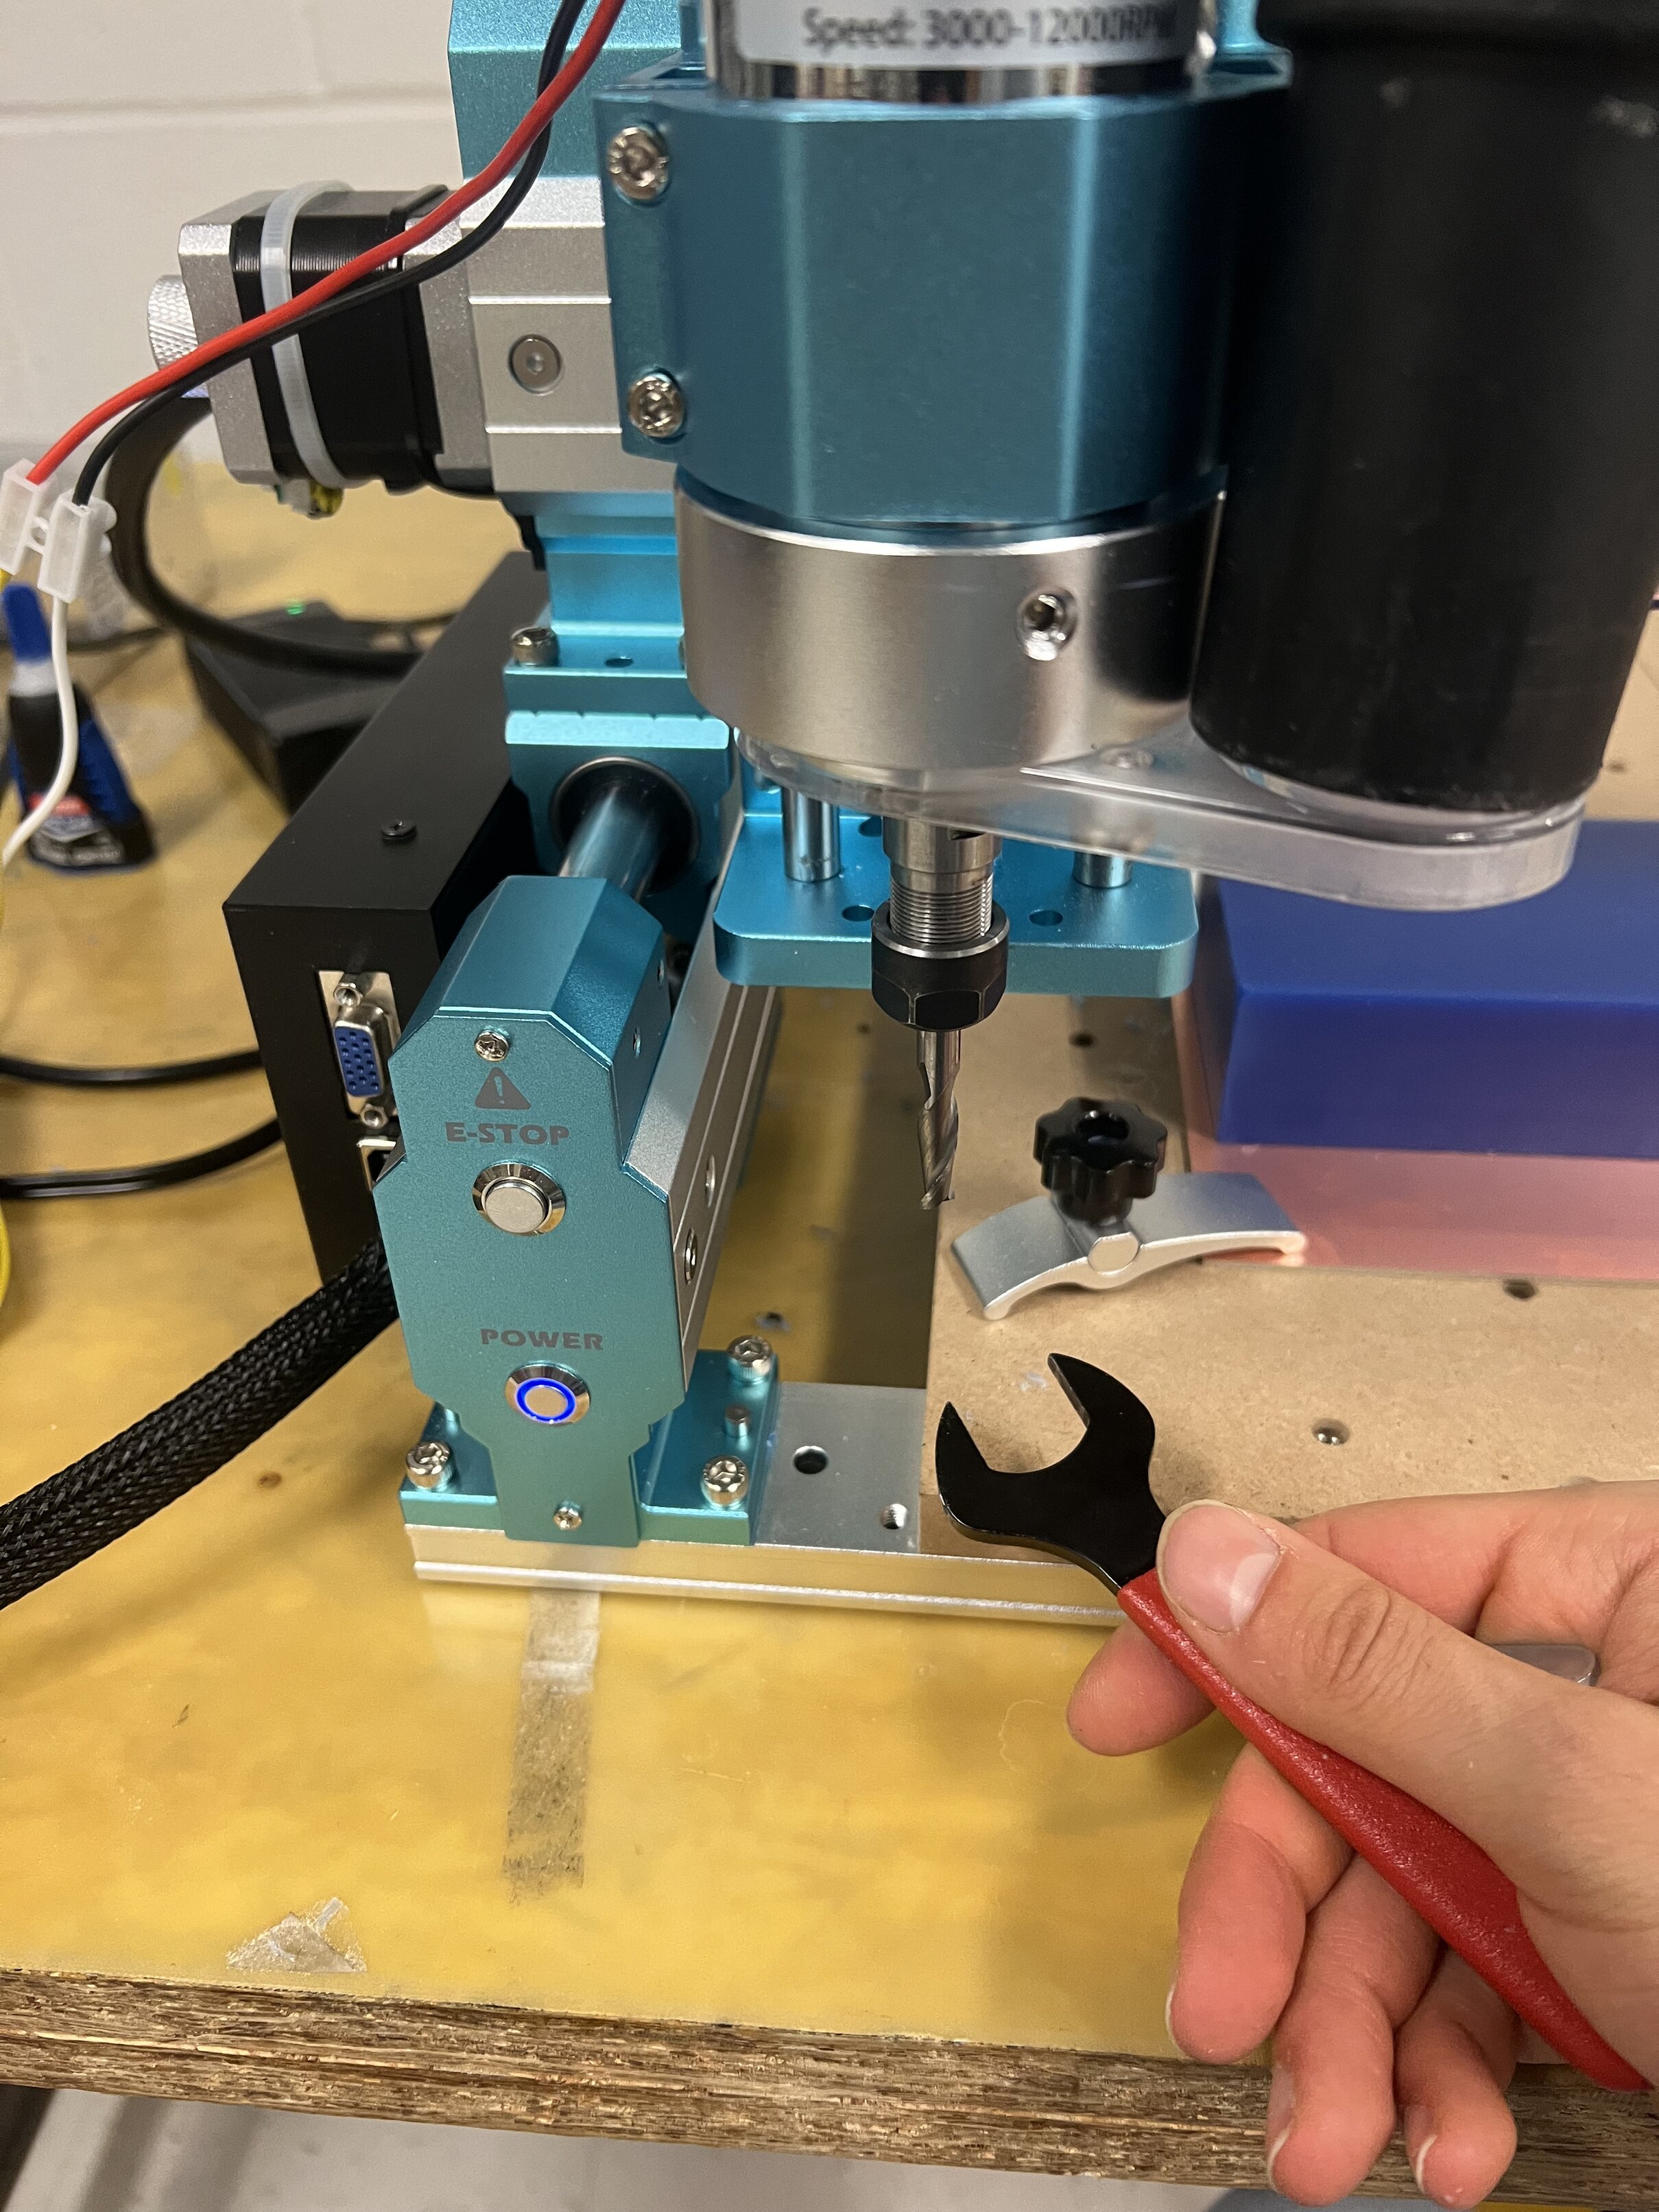
We are using ENDMILLS which begs the question WHAT IS AN ENDMILL and how its different than something like a drill - the answer as I understand is drills cut down, endmills cut side to side. A really helpful analogy I saw on Reddit was “Drills are like when qui-gon initially pokes through the blast shield doors. End mills are for when qui-gon starts cutting a large hole through the blast shield doors like cutting cheese”. There are different kinds and thicknesses of endmills, ball, flat, etc, which all have different uses.
Alfonso showed us how we need to setup two operations, one ROUGHING OPERATION where we want to remove a lot of material and one FINISHING PASS where we get all the details and generally clean it up.
We practiced changing the tool (which I was initially really bad at) and zeroing the machine (which I was slightly better at).
DESIGNING MOLD#
I initially wanted to make something musical, like windchimes, but not only were we told we couldn’t do metal this week, a past student’s work hinted that the metal we did have wasn’t even very resonant anyway and so not good for making sounds…sad….
next up I thought i wanted to do something that pulled from my Cypriot heritage by doing some kind of Classical sculpture or reference to a Greek myth. I first thought to do this cool Hercules statue I found on Thingverse:

but had some trouble fixing the mesh and realized (again, with Alfonso’s input) that it was quite likely that a lot of detail would be lost. So I settled on doing Atlas, one of my favorite mythological figures.
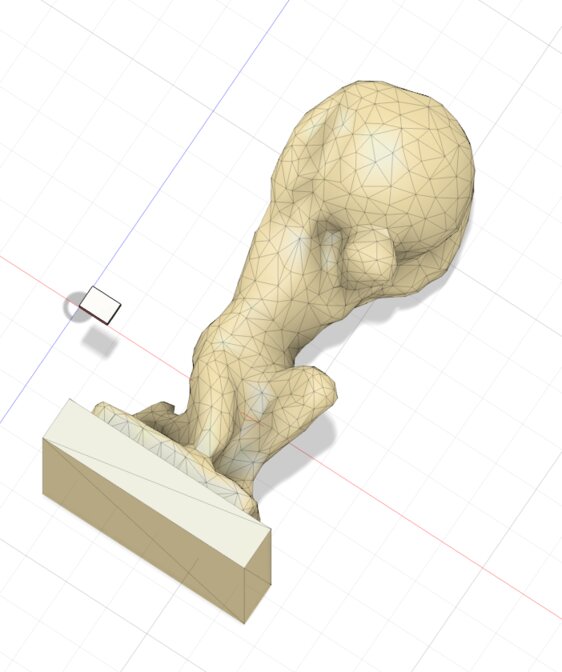
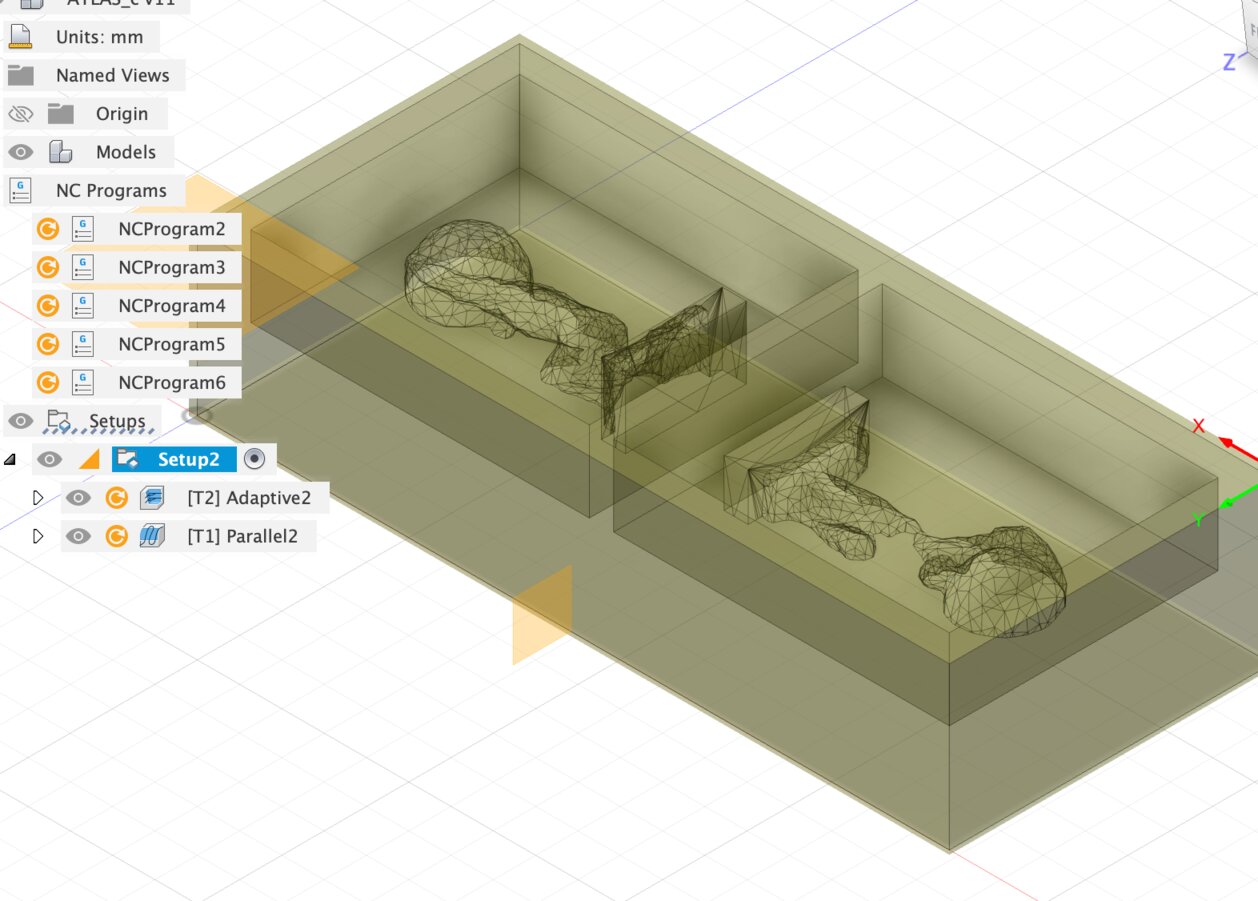
I had some vague conception that more complex designs needed more parts, but really wasn’t aware of how to decide which parts went where at first. Basically, the rule for making molds is NO OVERHANGS as they will get converted into walls underneath. By slickly slicing the shape you want, you can get around this by later combining the two halves, although for non-symmetrical shapes its non-obvious where the slice should go. The wax we were using was 7x3x1.5, so I started by making the box, splitting it in two, and hollowing it (which took longer than expected because I’m bad at Fusion but sidenote I really do feel like each week I get better at this silly but quite amazing piece of software)
CAMing#
I had never really done any CAM before so this was quite new (although I basically say this sentence every week it feels like)
The first big blunder of many was that I didn’t realize I needed to convert the STL mesh into an actual solid or Fusion would ignore it - I very nearly launched what would have been an extremely ill-fated job before Alfonso (again, yes) saved the day. I spent a while converting the mesh properly, figuring out the best place to slice the figure before plopping each half in the center of each mold.
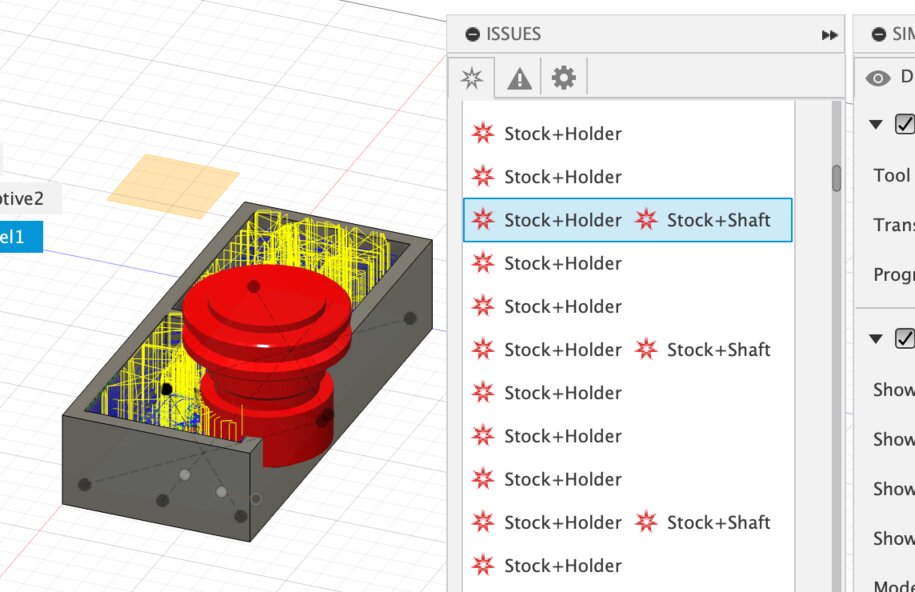
With the CAM operations, I really struggled at first because I was getting a ton of collisions on the parallel finishing pass and didn’t know what to do. Luckily, another student in class, Kyle, had the excellent idea of bringing up the base of so that the endmill didn’t have to actually go as deep in the box. This in conjuction with Anthony’s pointer that the actual endmill bit we were using was longer than the tool library suggested let me fix it (although many hours of pain and mild dispair were had).

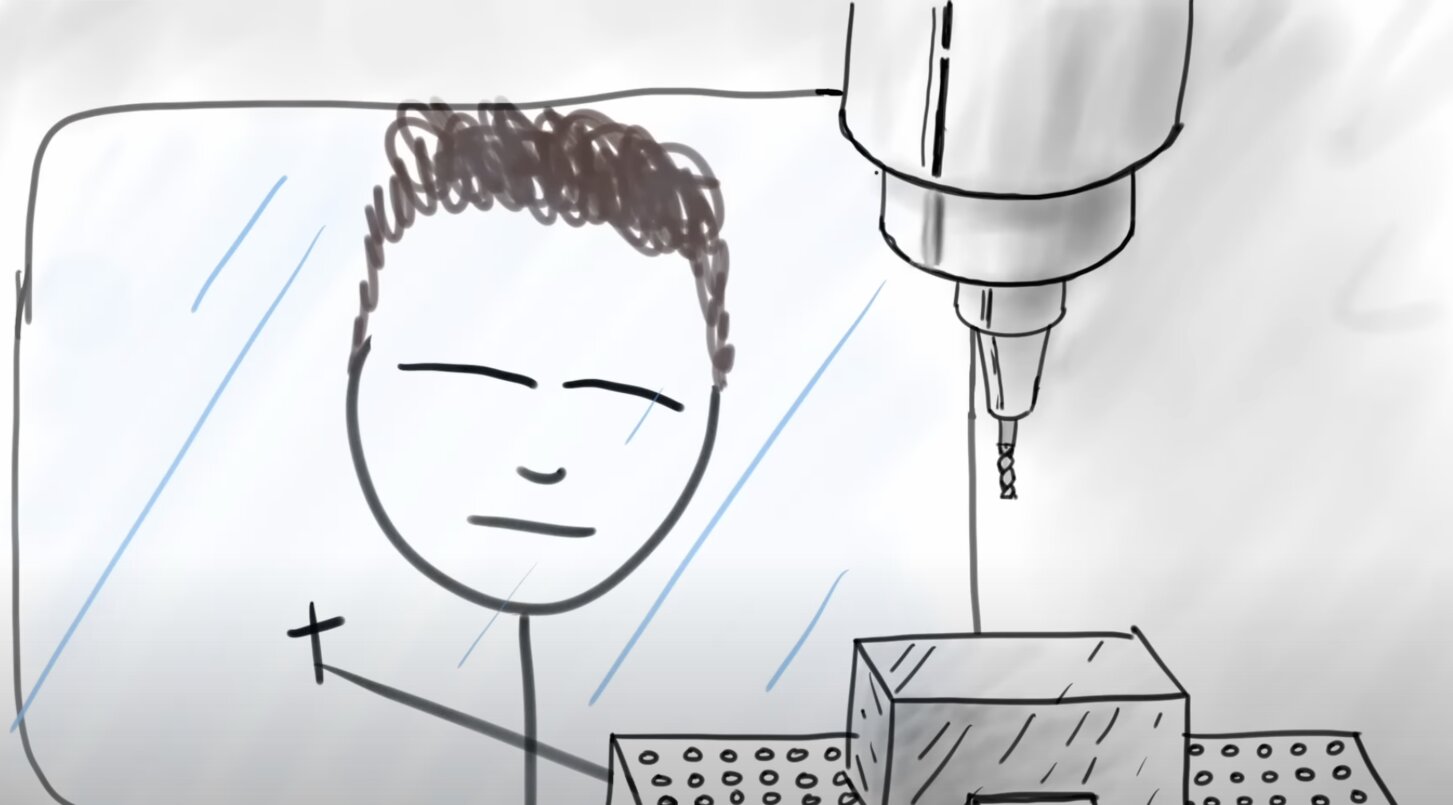
Side note: I saw this meme that perfectly encapsulated how I’ve been feeling with all these machines lately…every time I hit start I feel an intense urge to pray.
So after a long while (the two operations were supposed to take like an hour ish but for some reason on the actual machine they took like 1.5) I had a succsesful mold of a mold!!
CASTING WITH MARCELLO+GROUP ASSIGNMENT#
Now finally came time to cast which was great because it was possibly even more dangerous but for totally different reasons yay!!
The process for casting is pretty simple - all the materials we were using had two parts, A and B, and when you were ready you simply just had to combine and mix being careful to NOT FOLD AS TO LET AIR IN. As soon as the two parts combined, you had to set a timer and quickly cast before the material hardened.
SAFETY AND INFO SHEET READING#
The main mold making material we used was the very fun to say OOMOO. Oomoo is silicone based and the relevant numbers are the POT LIFE which is how long you have until it hardens (15 minutes) and the CURE TIME which is how long you have to leave it to ensure it is fully hardened and ready for use, which was 75 minutes.
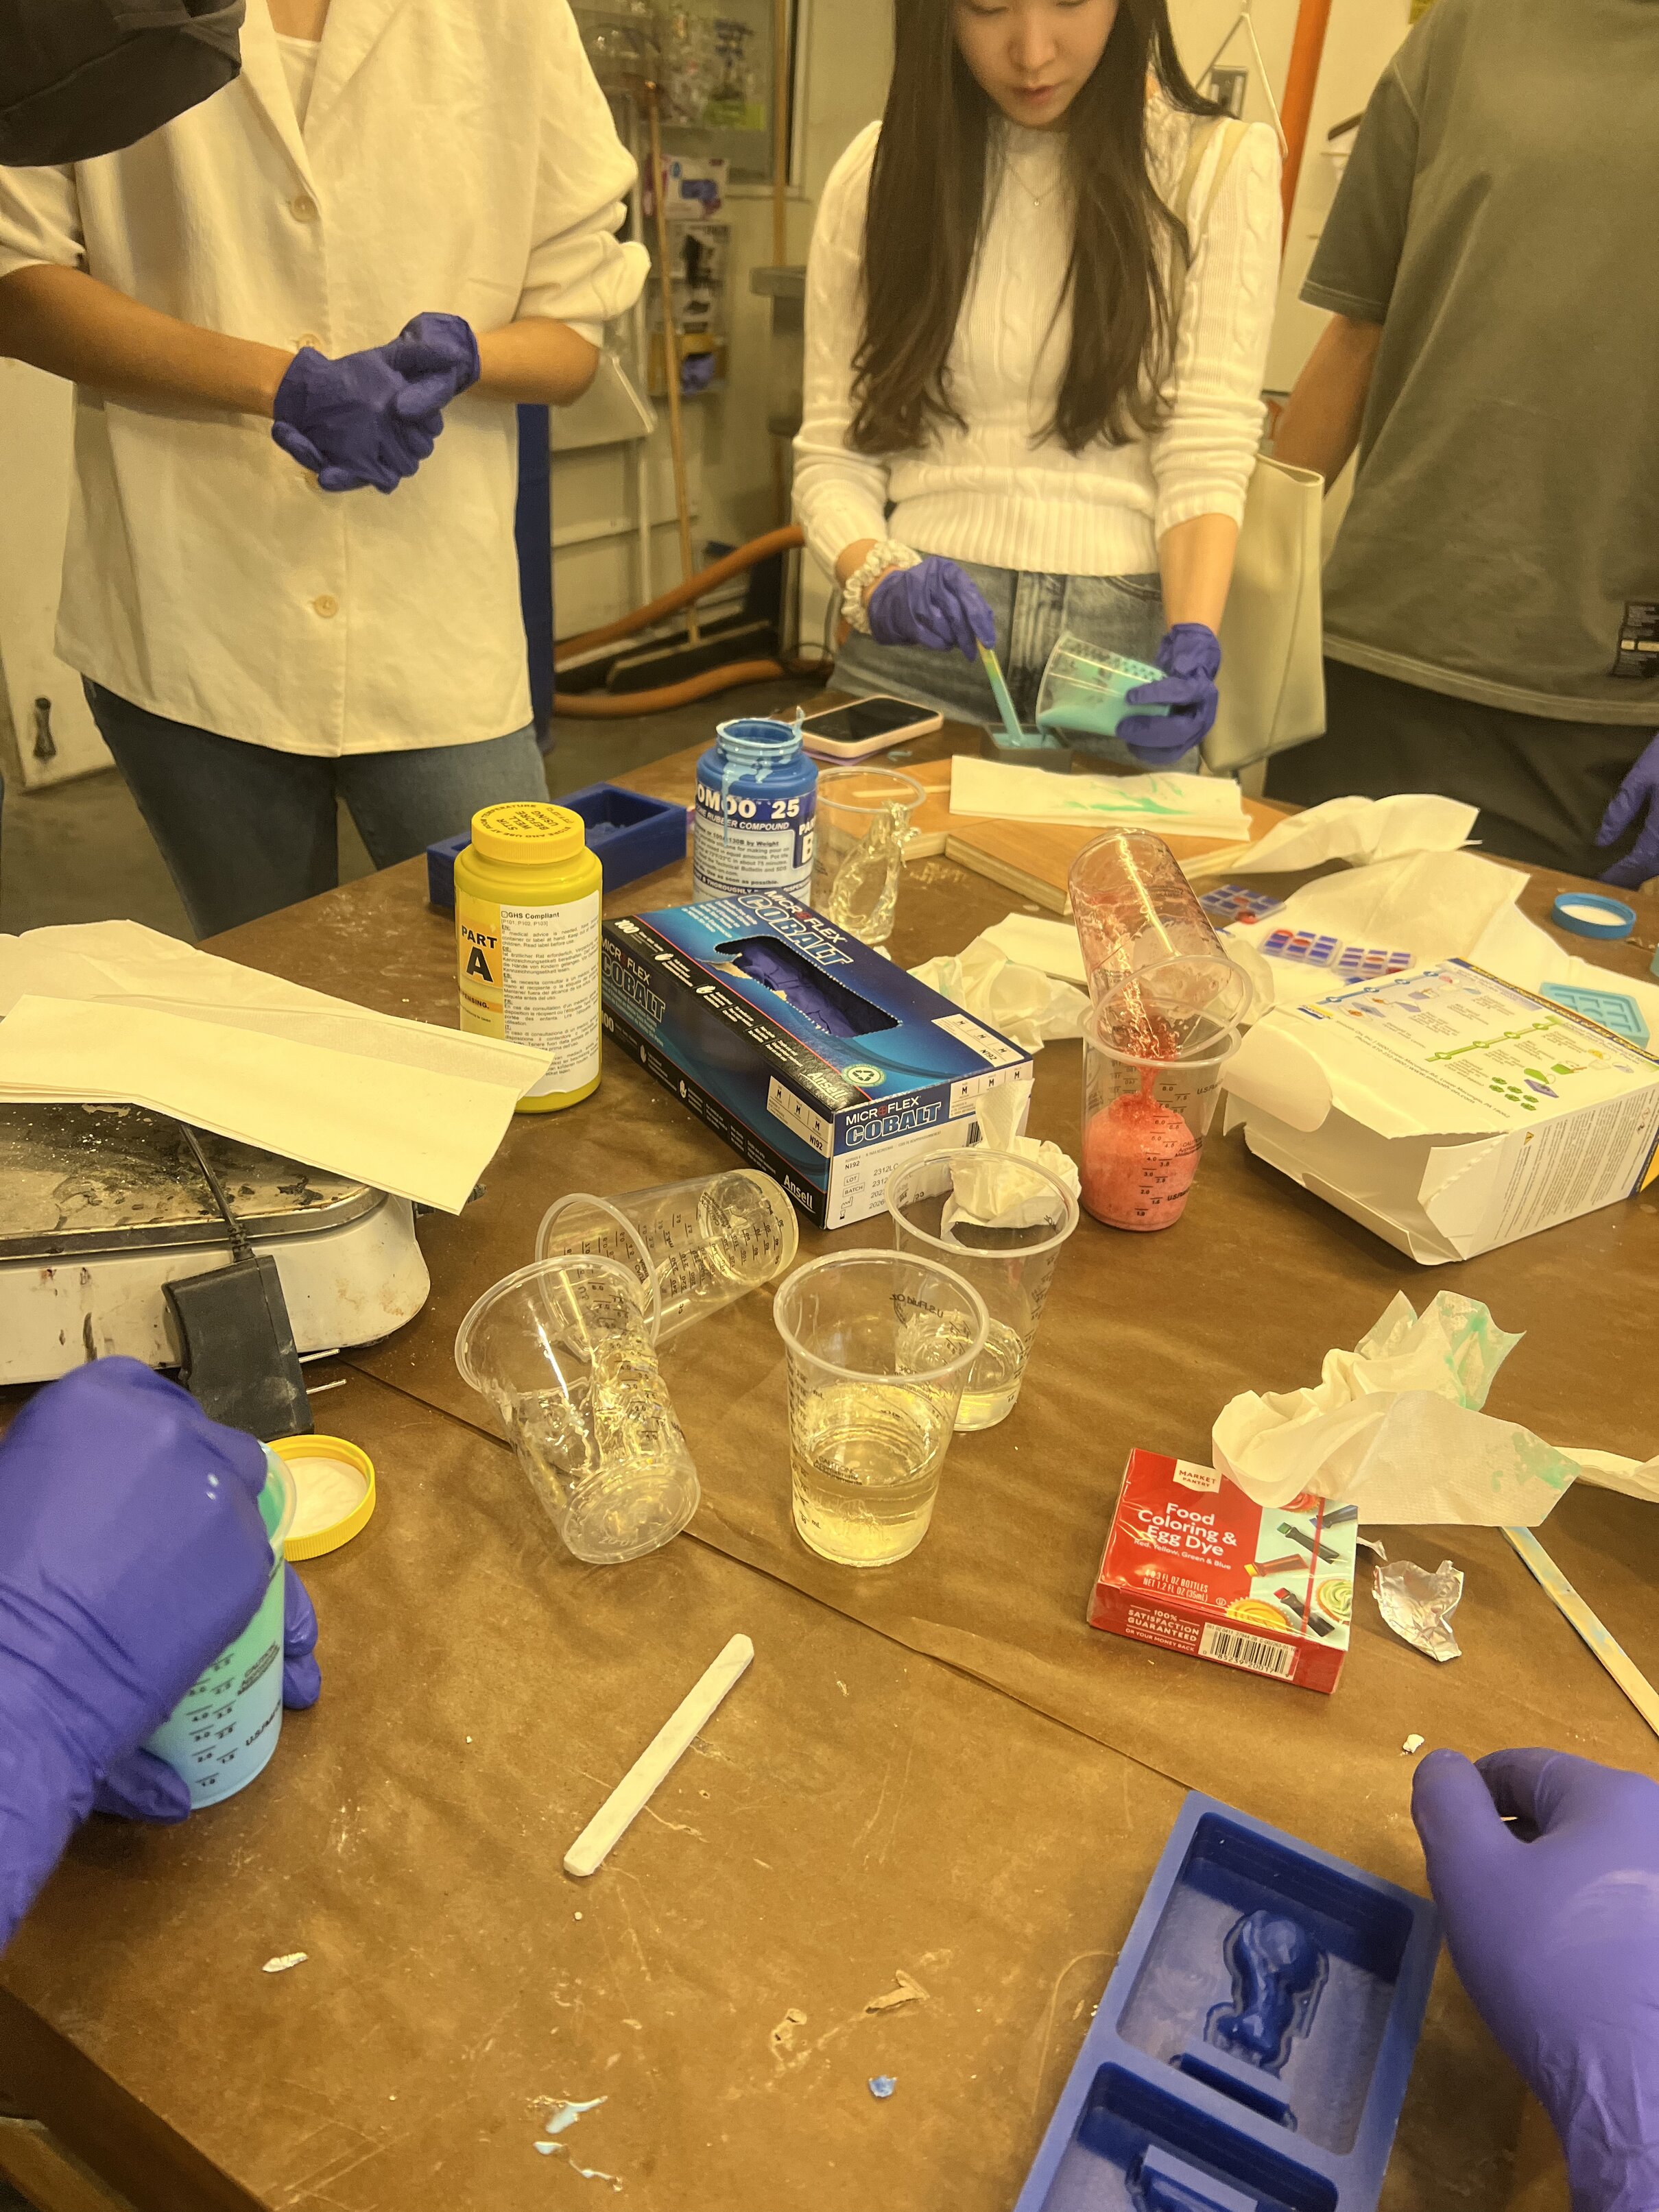
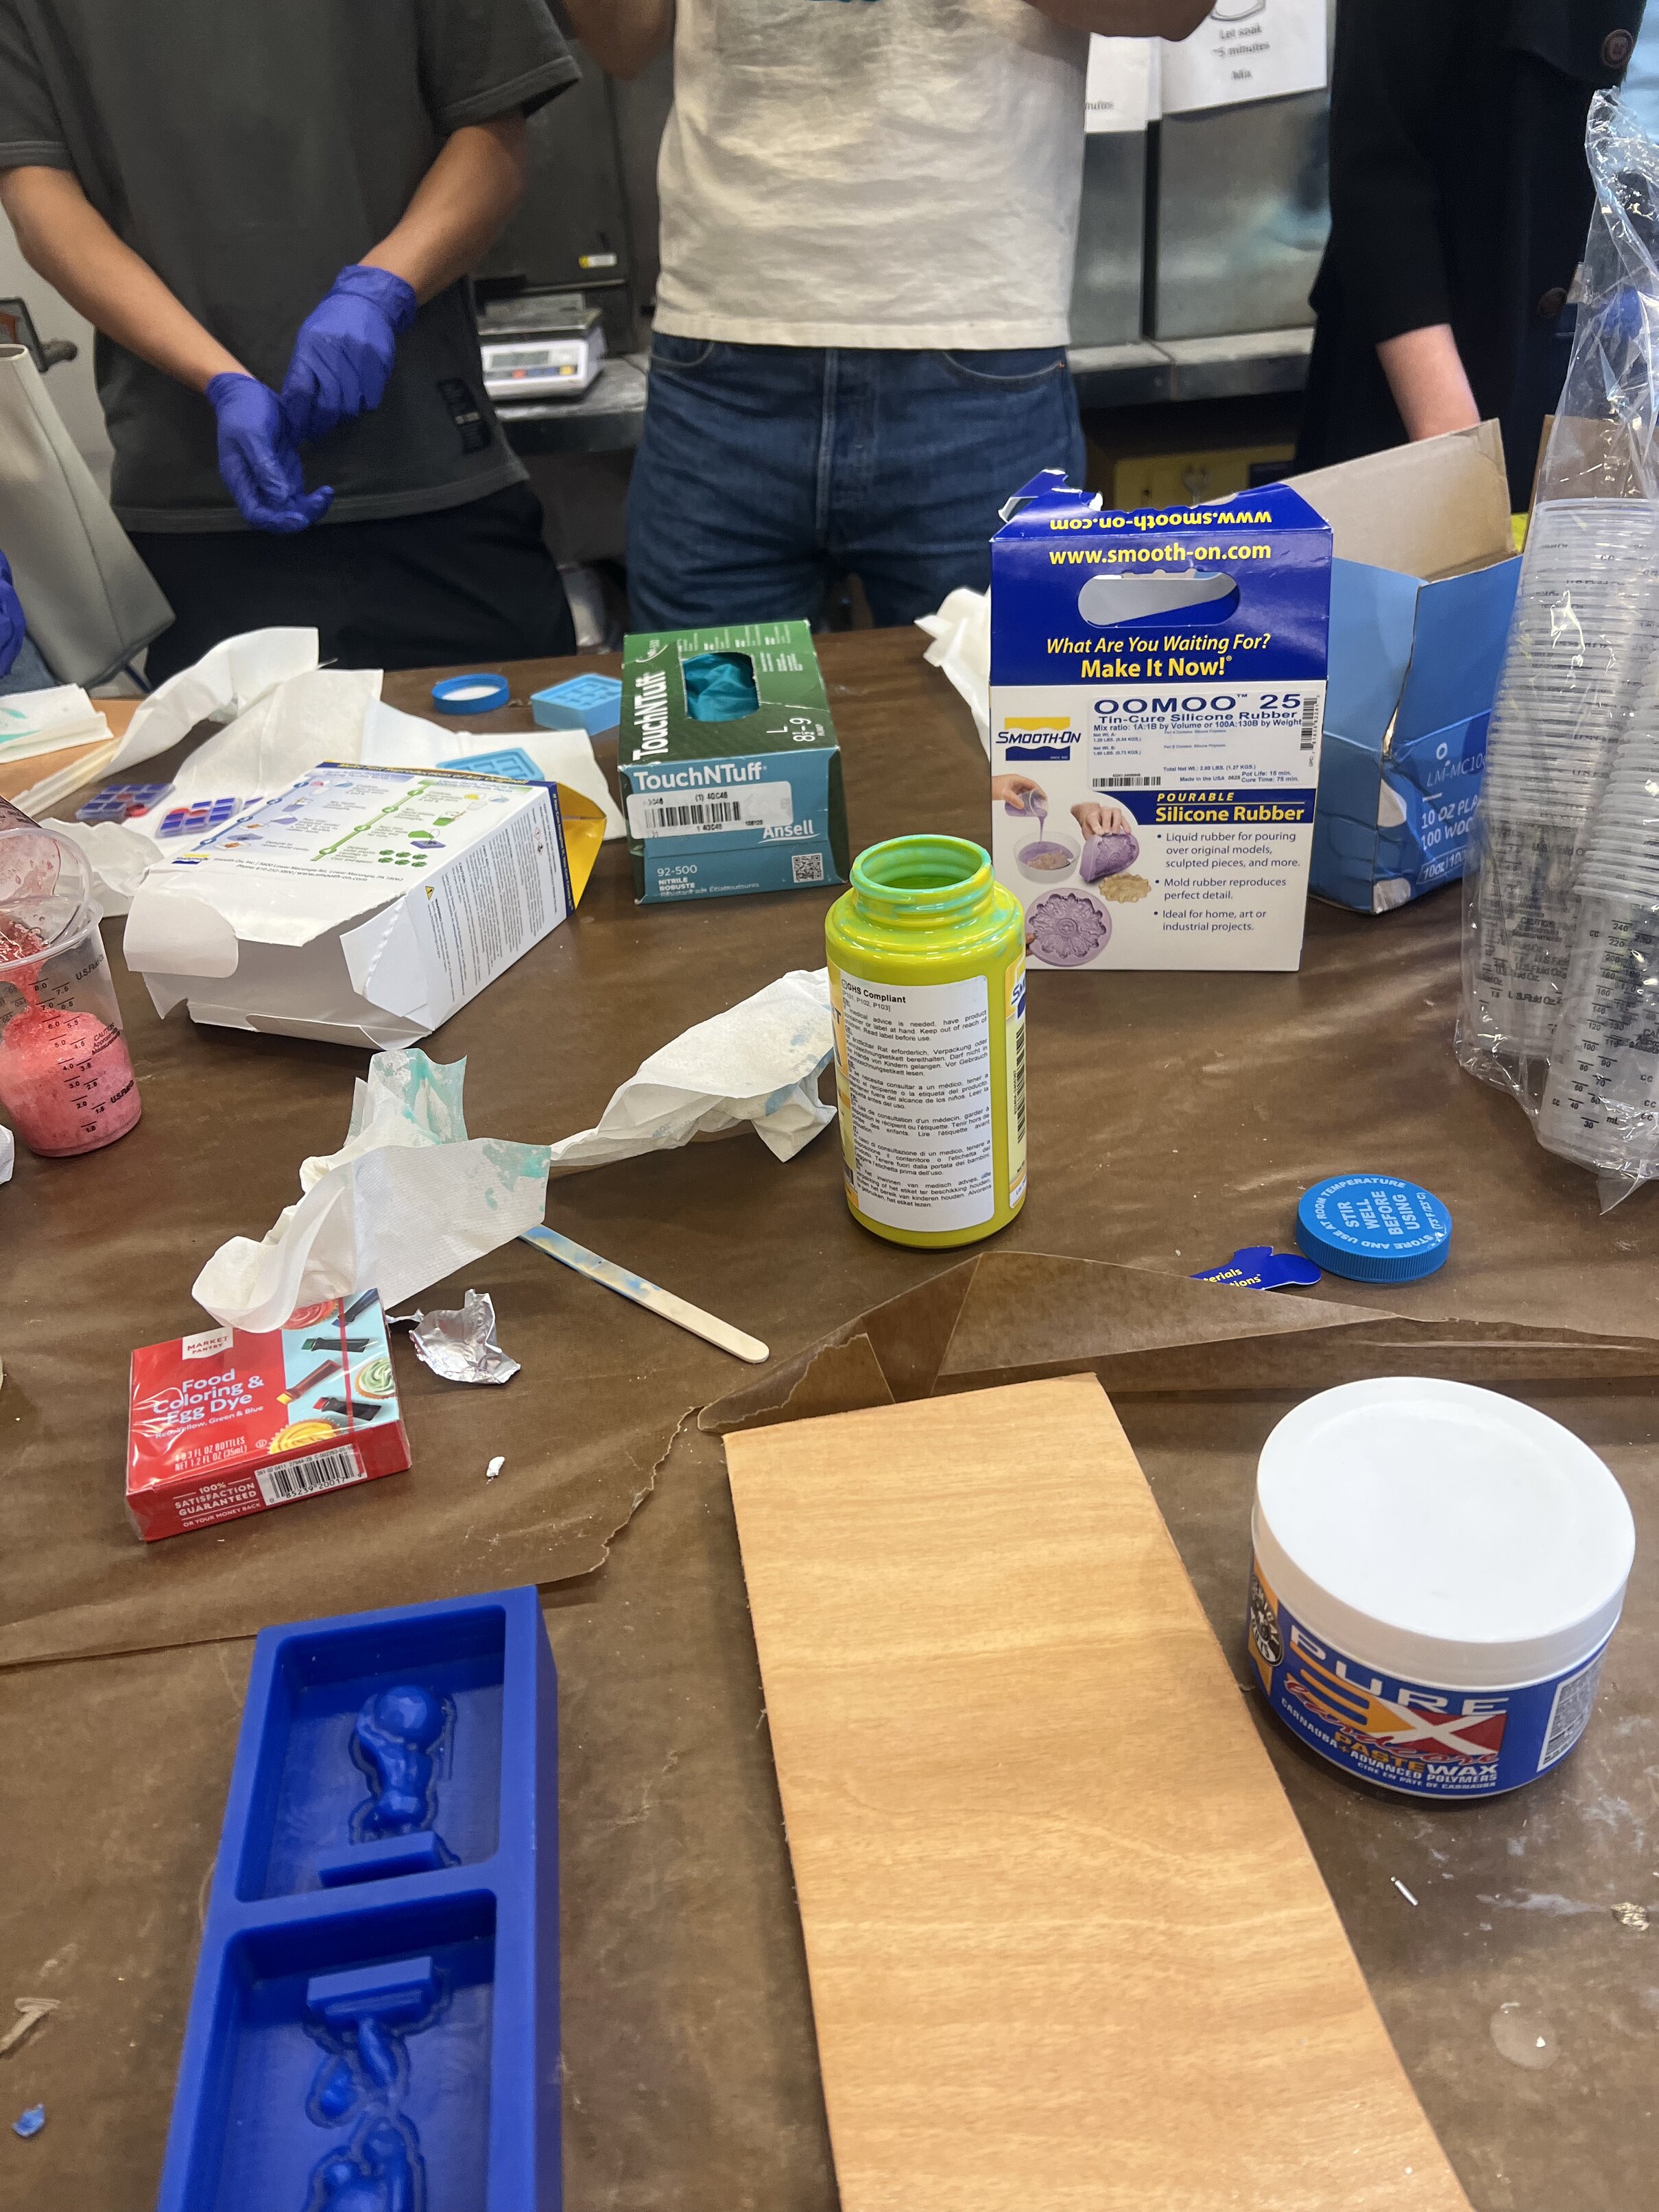
Safety-wise, Oomoo is pretty much fine according to the datasheet - no biggie if it touches you or anything, just don’t eat it or anything even though it does kind of look forbidden snack like.
What’s less safe is the casting material - we used a hard plastic epoxy that can 1) give you cancer if you inhale it enough and 2) burn your skin if it touches because of how hot it gets while reacting. So not doing those things was very much one of my goals
We also made a test cast of the CBA logo.
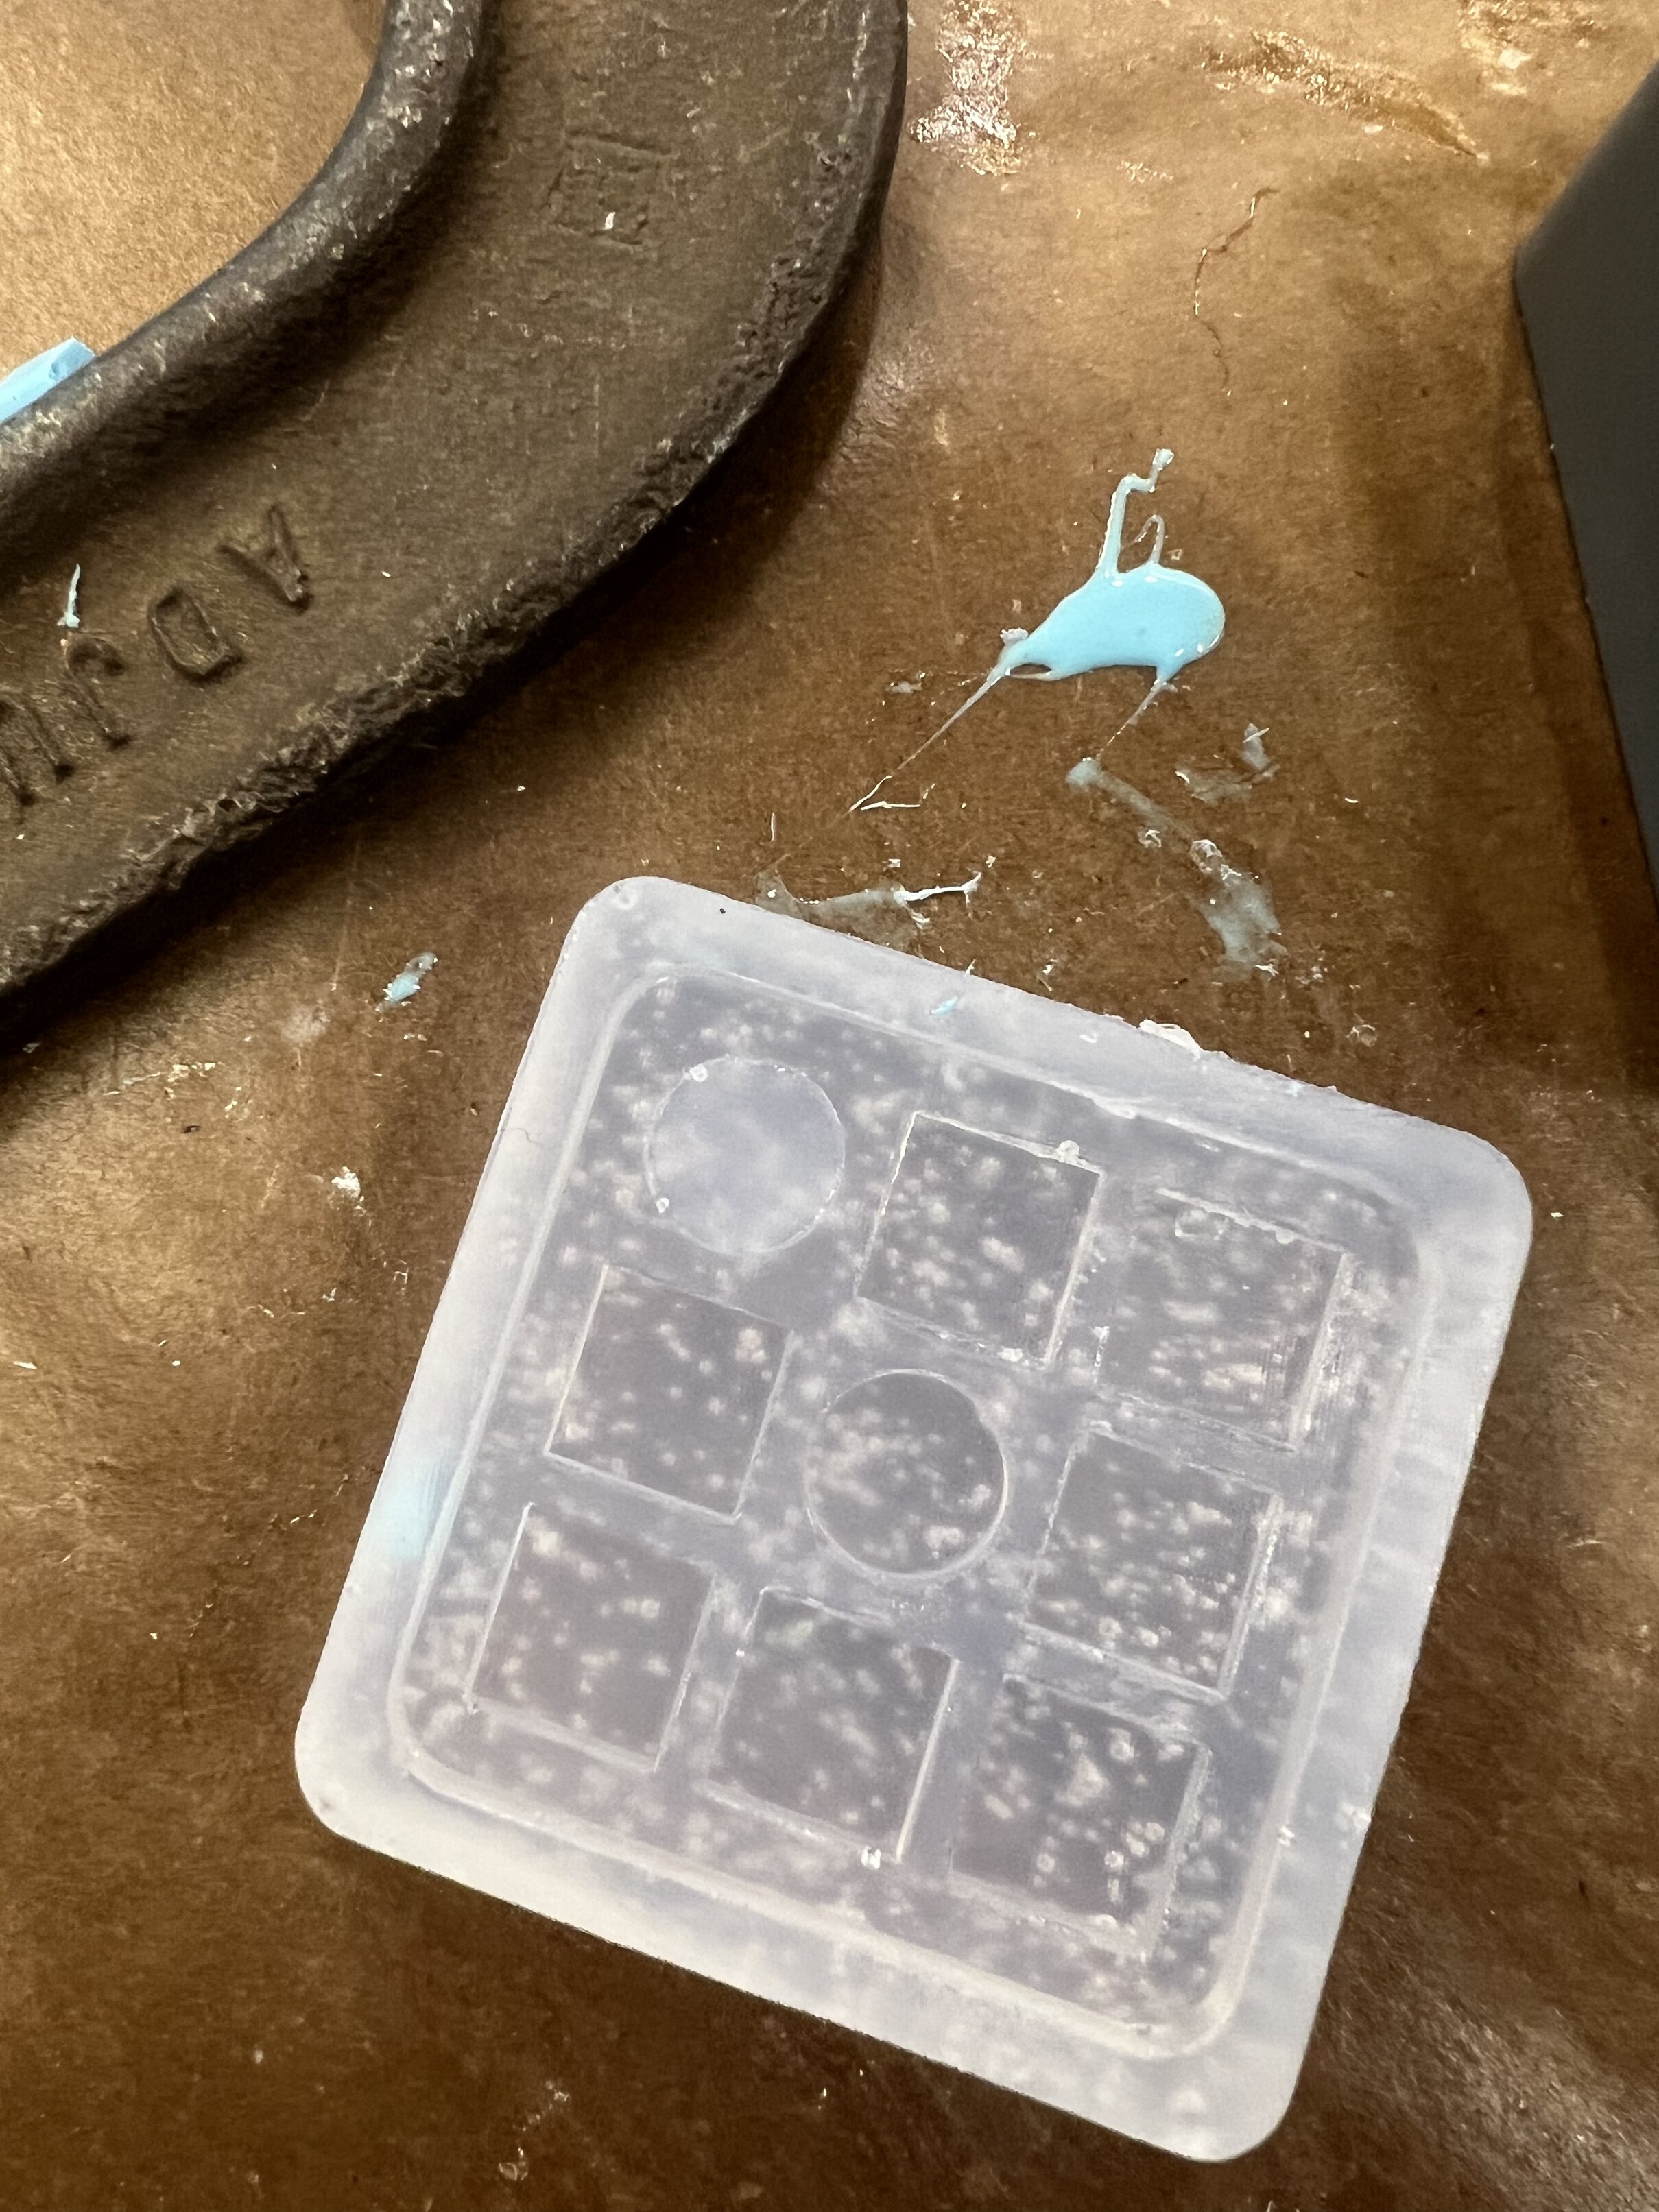
When I first tried to cast it came out kinda weird and the bottom of the cup wasn’t totally mixed so a lot of time passed and it wasn’t setting so I got sad and tried to try again…
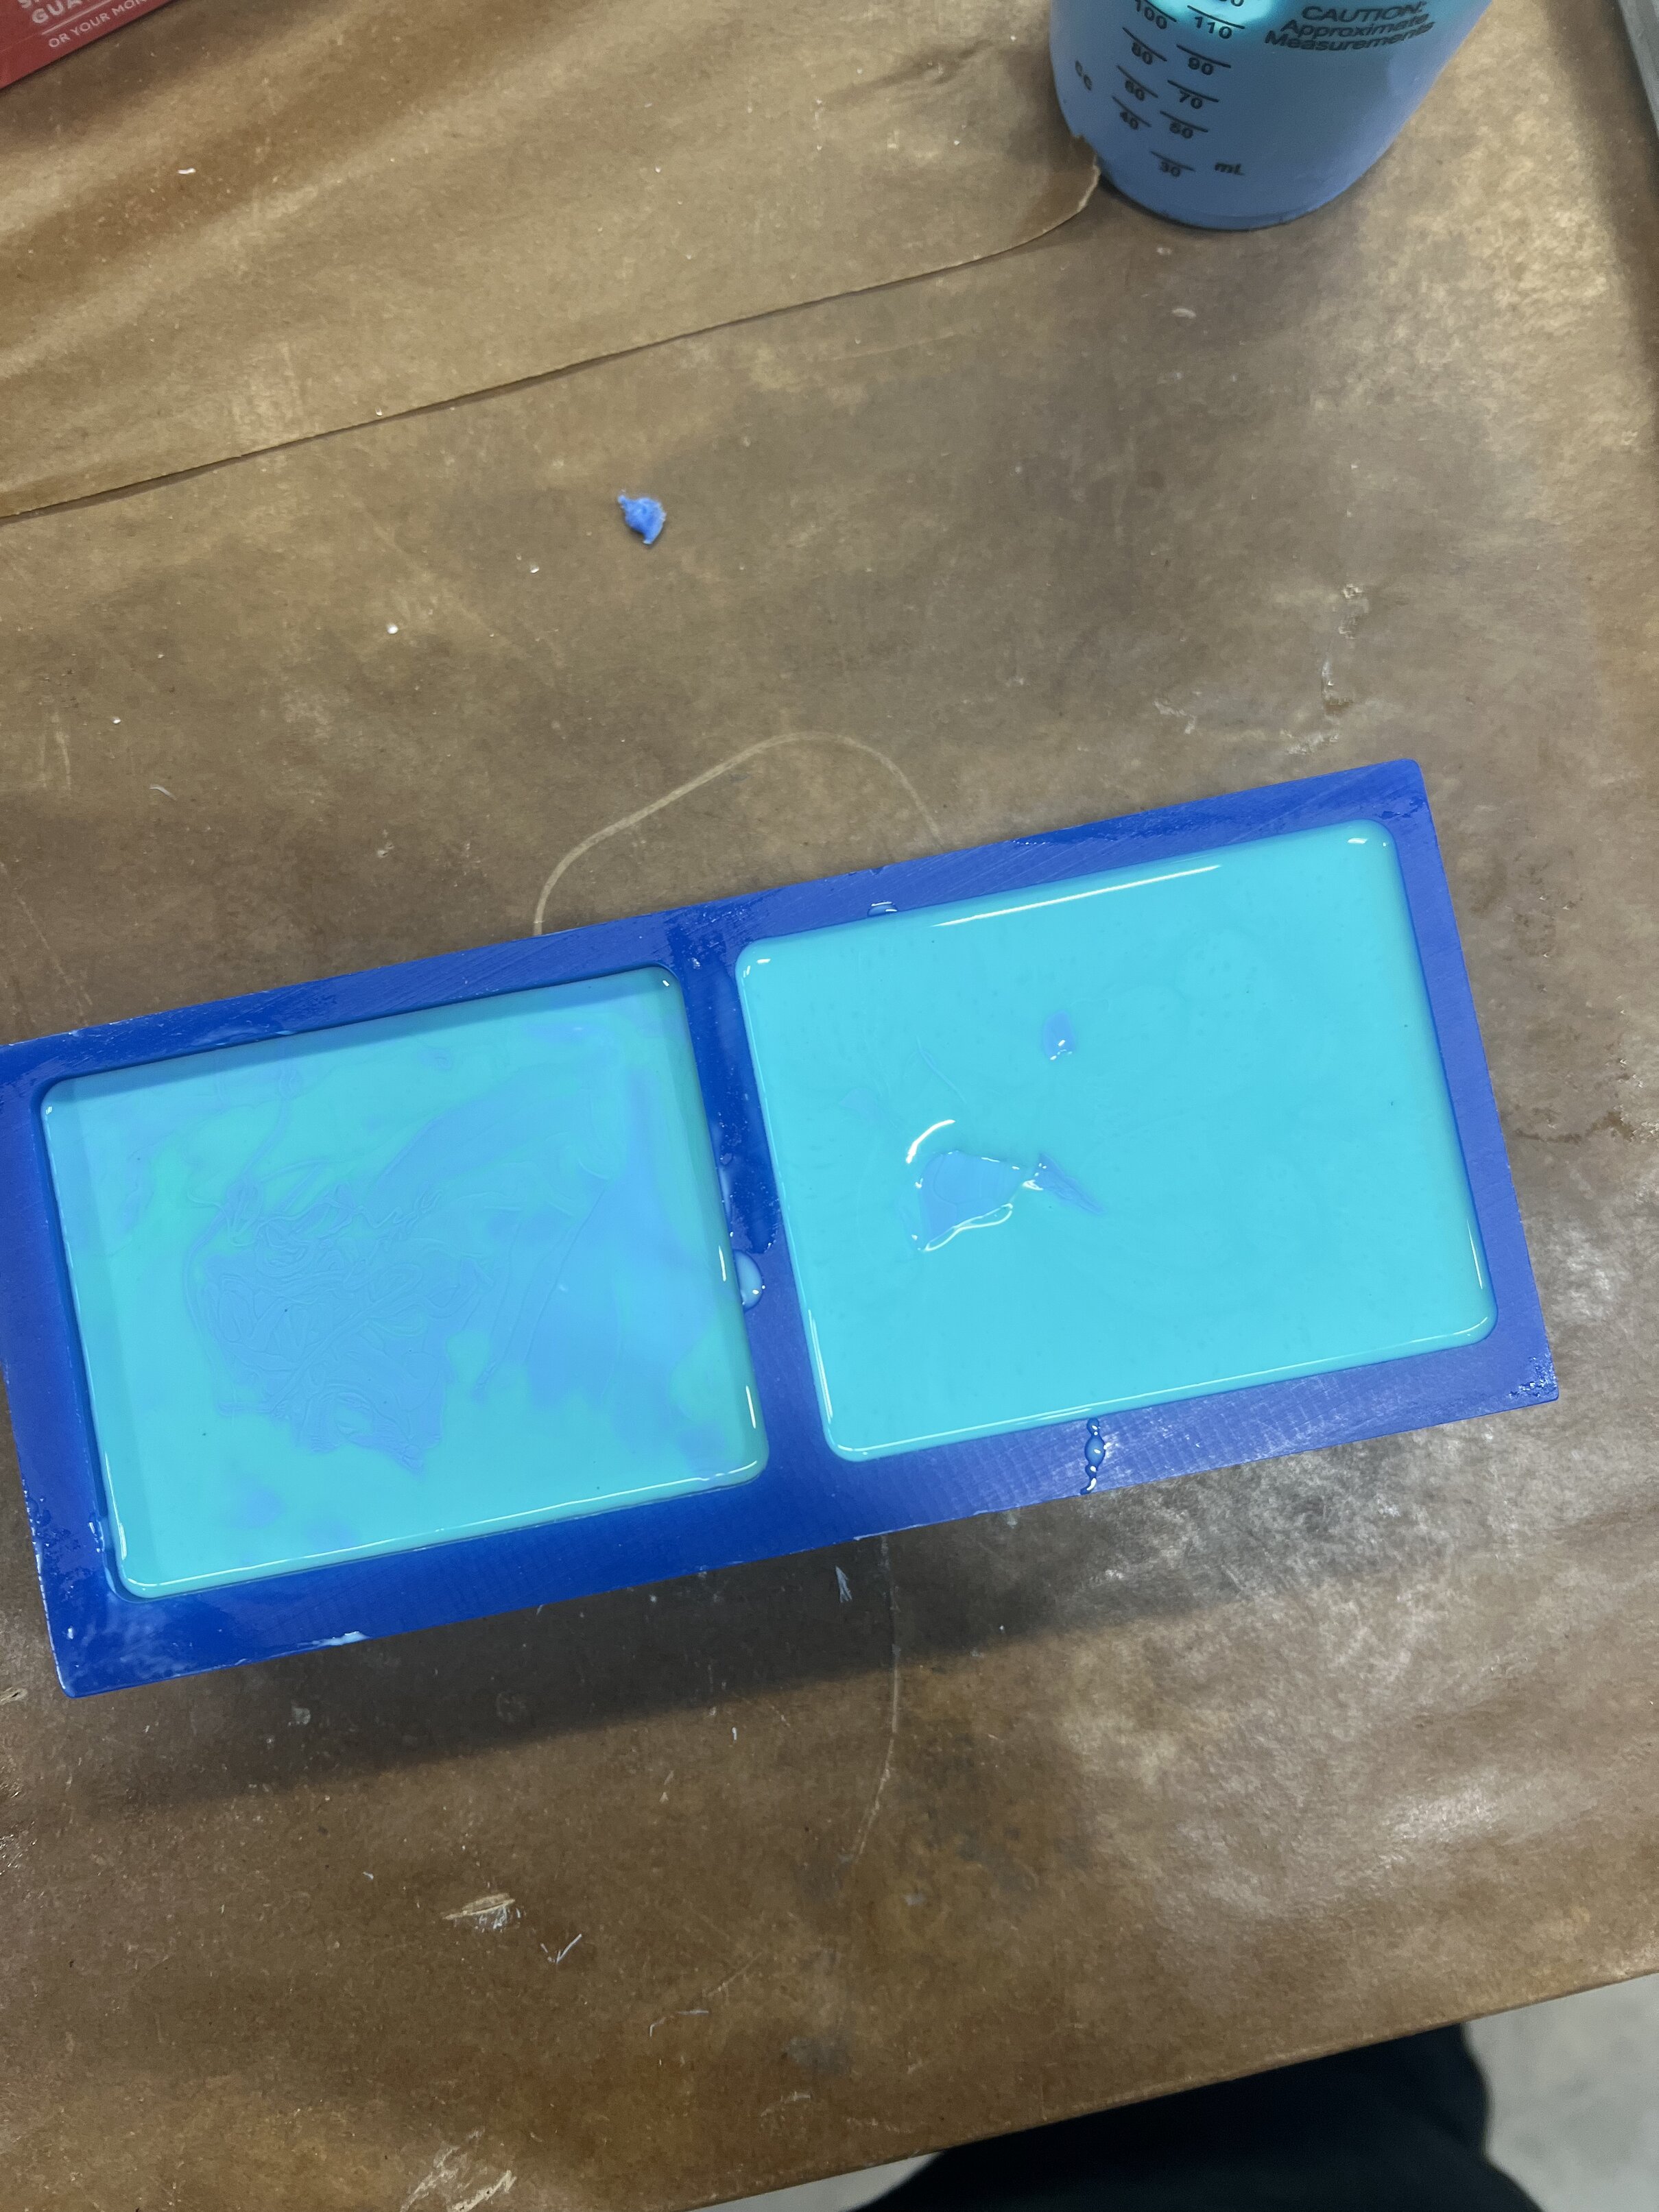
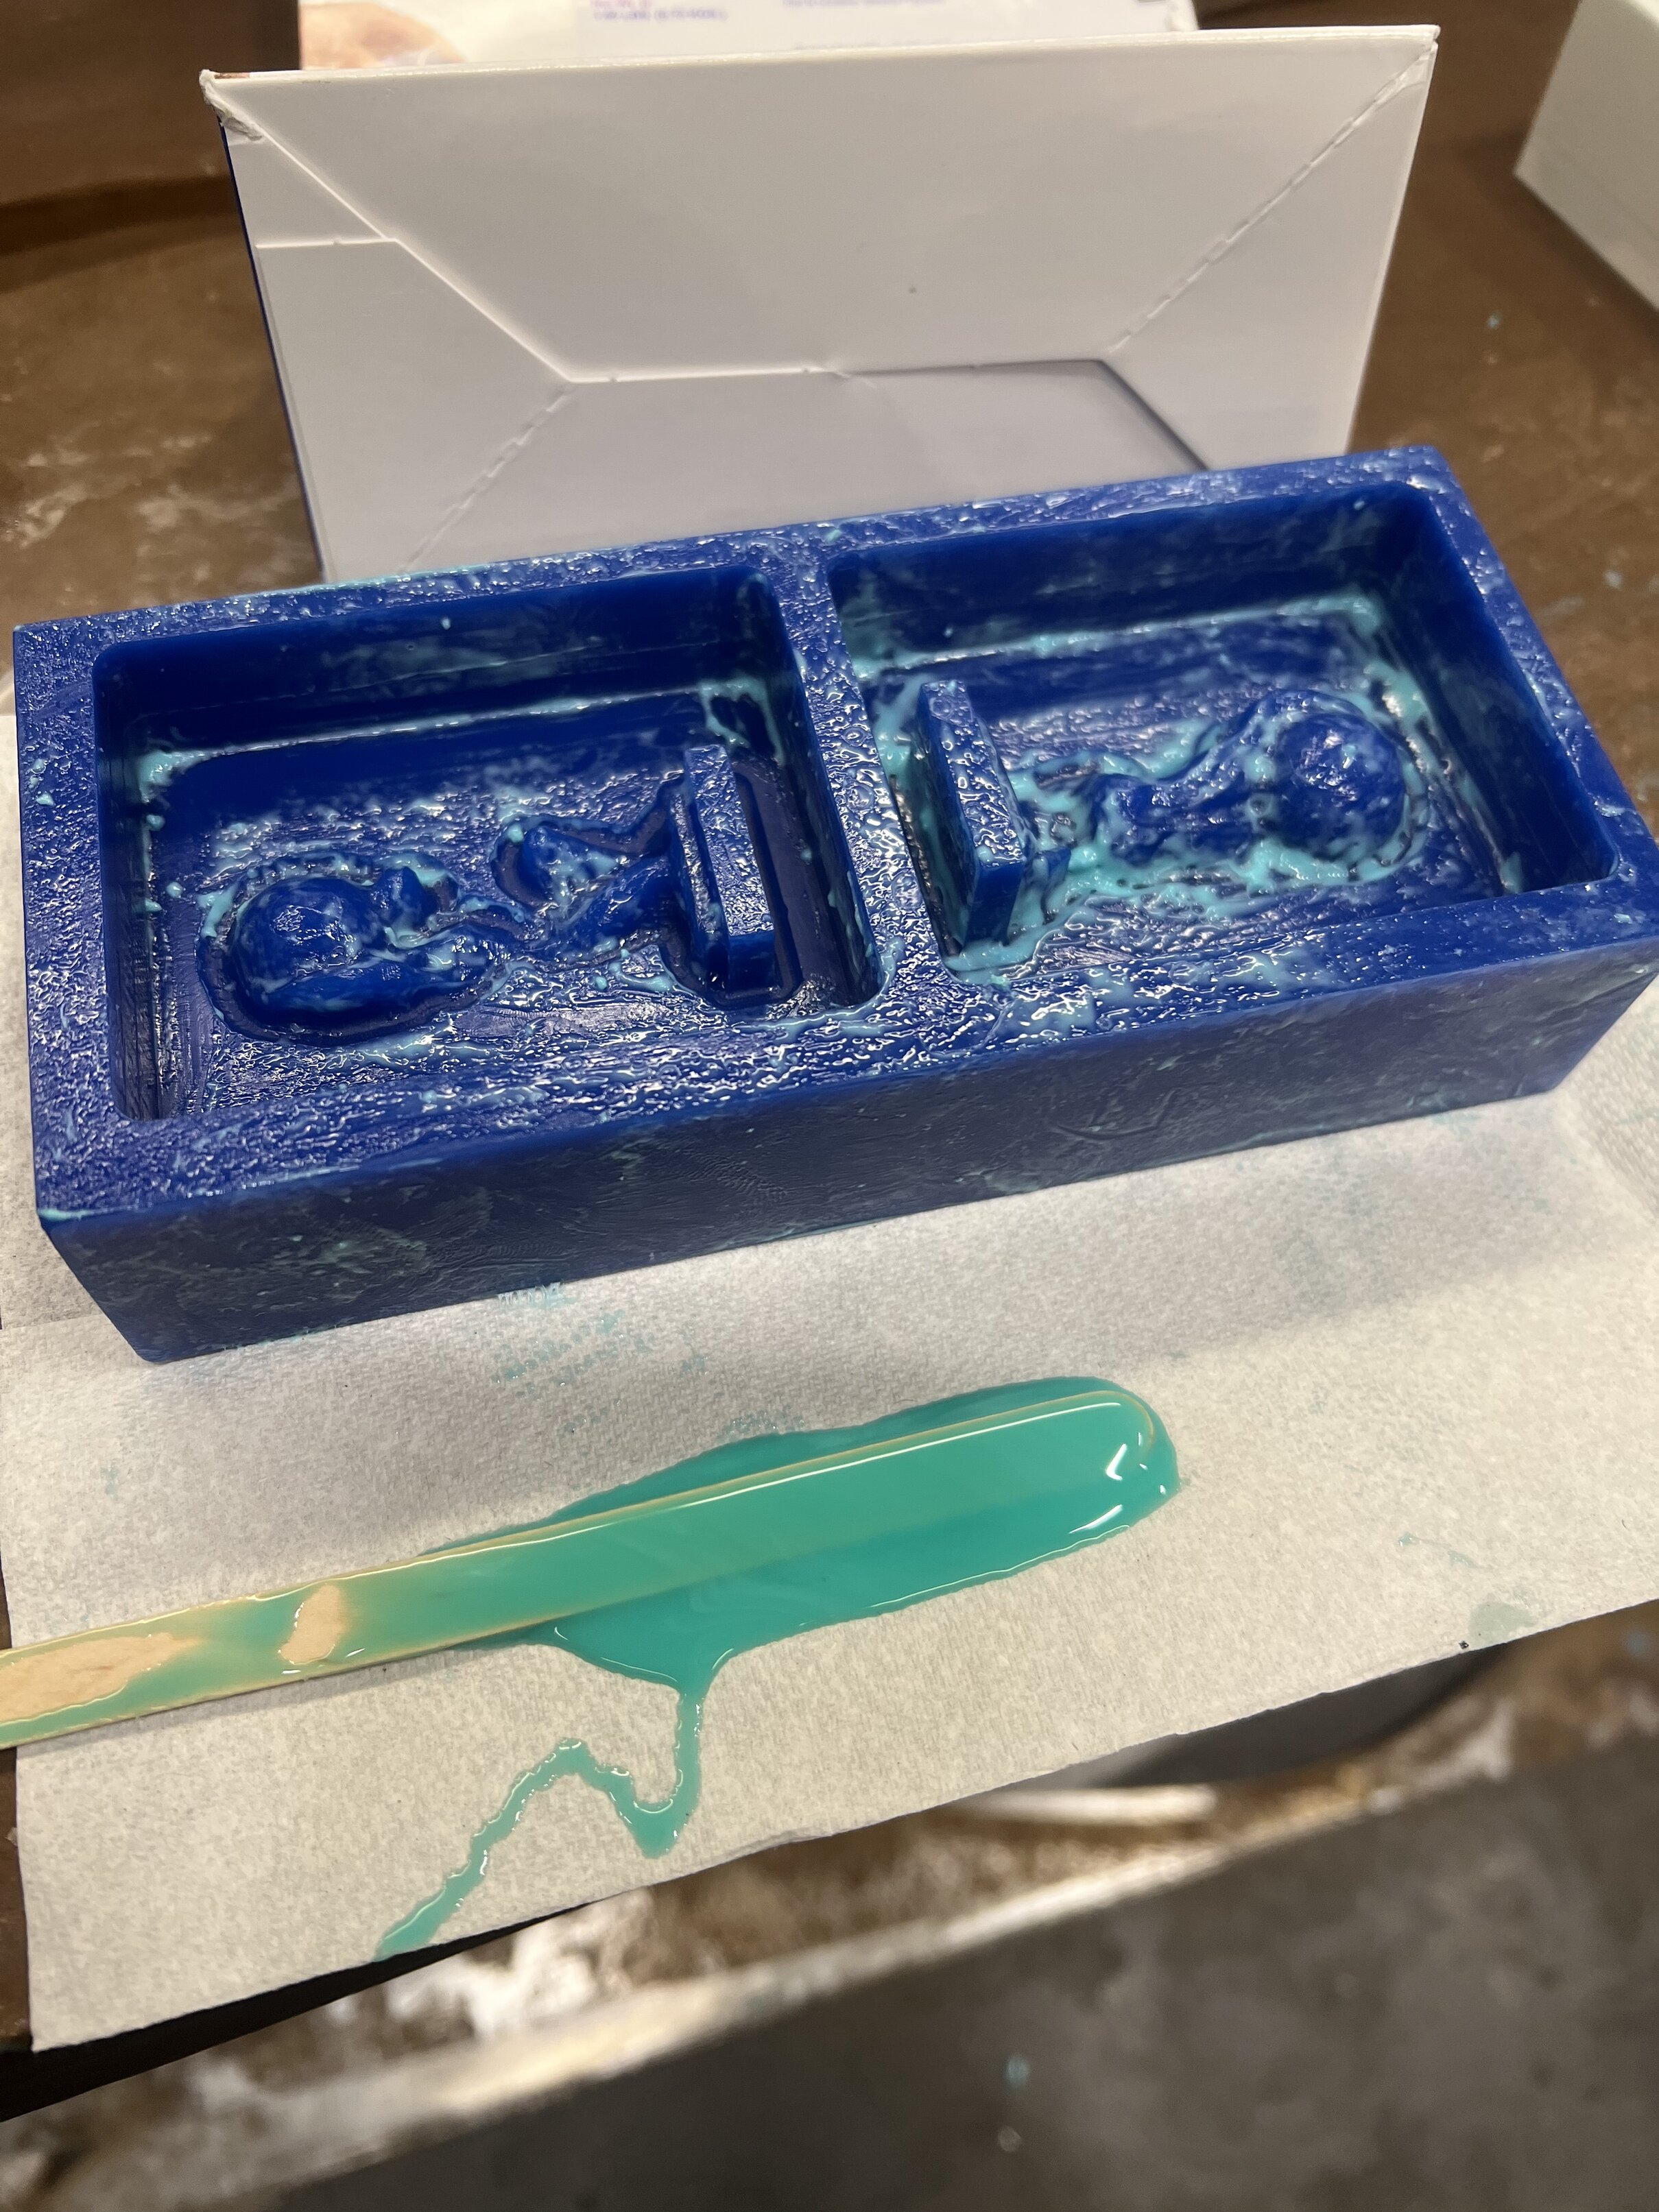
Getting it out was really hard given the obvious pouring it down the sink thing until I was told that I could actually probably leave the specs and try again as it’ll all bond together anyway.
So then I tried again and got a good mold! It was really helpful to pour the contents of the oomoo from one cup to another to ensure the bottom was well mixed.
THE OOMOO IS CAST#
Now came time to do it! I struggled for a while thinking about how I would possibly combine the two halves so I looked up some internet videos of people doing this and noticed that a lot of people cut a little hole in the bottom, lined up the pieces, stuck them together somehow, then poured the material. In my case, I didn’t put any registration features foolishly so the pieces didn’t stick super well together even despite many rubber bands. Also, in my first attempt I let an hour pass then tried to grab only to realize it wasn’t fully cured, which deformed the cast a little :(
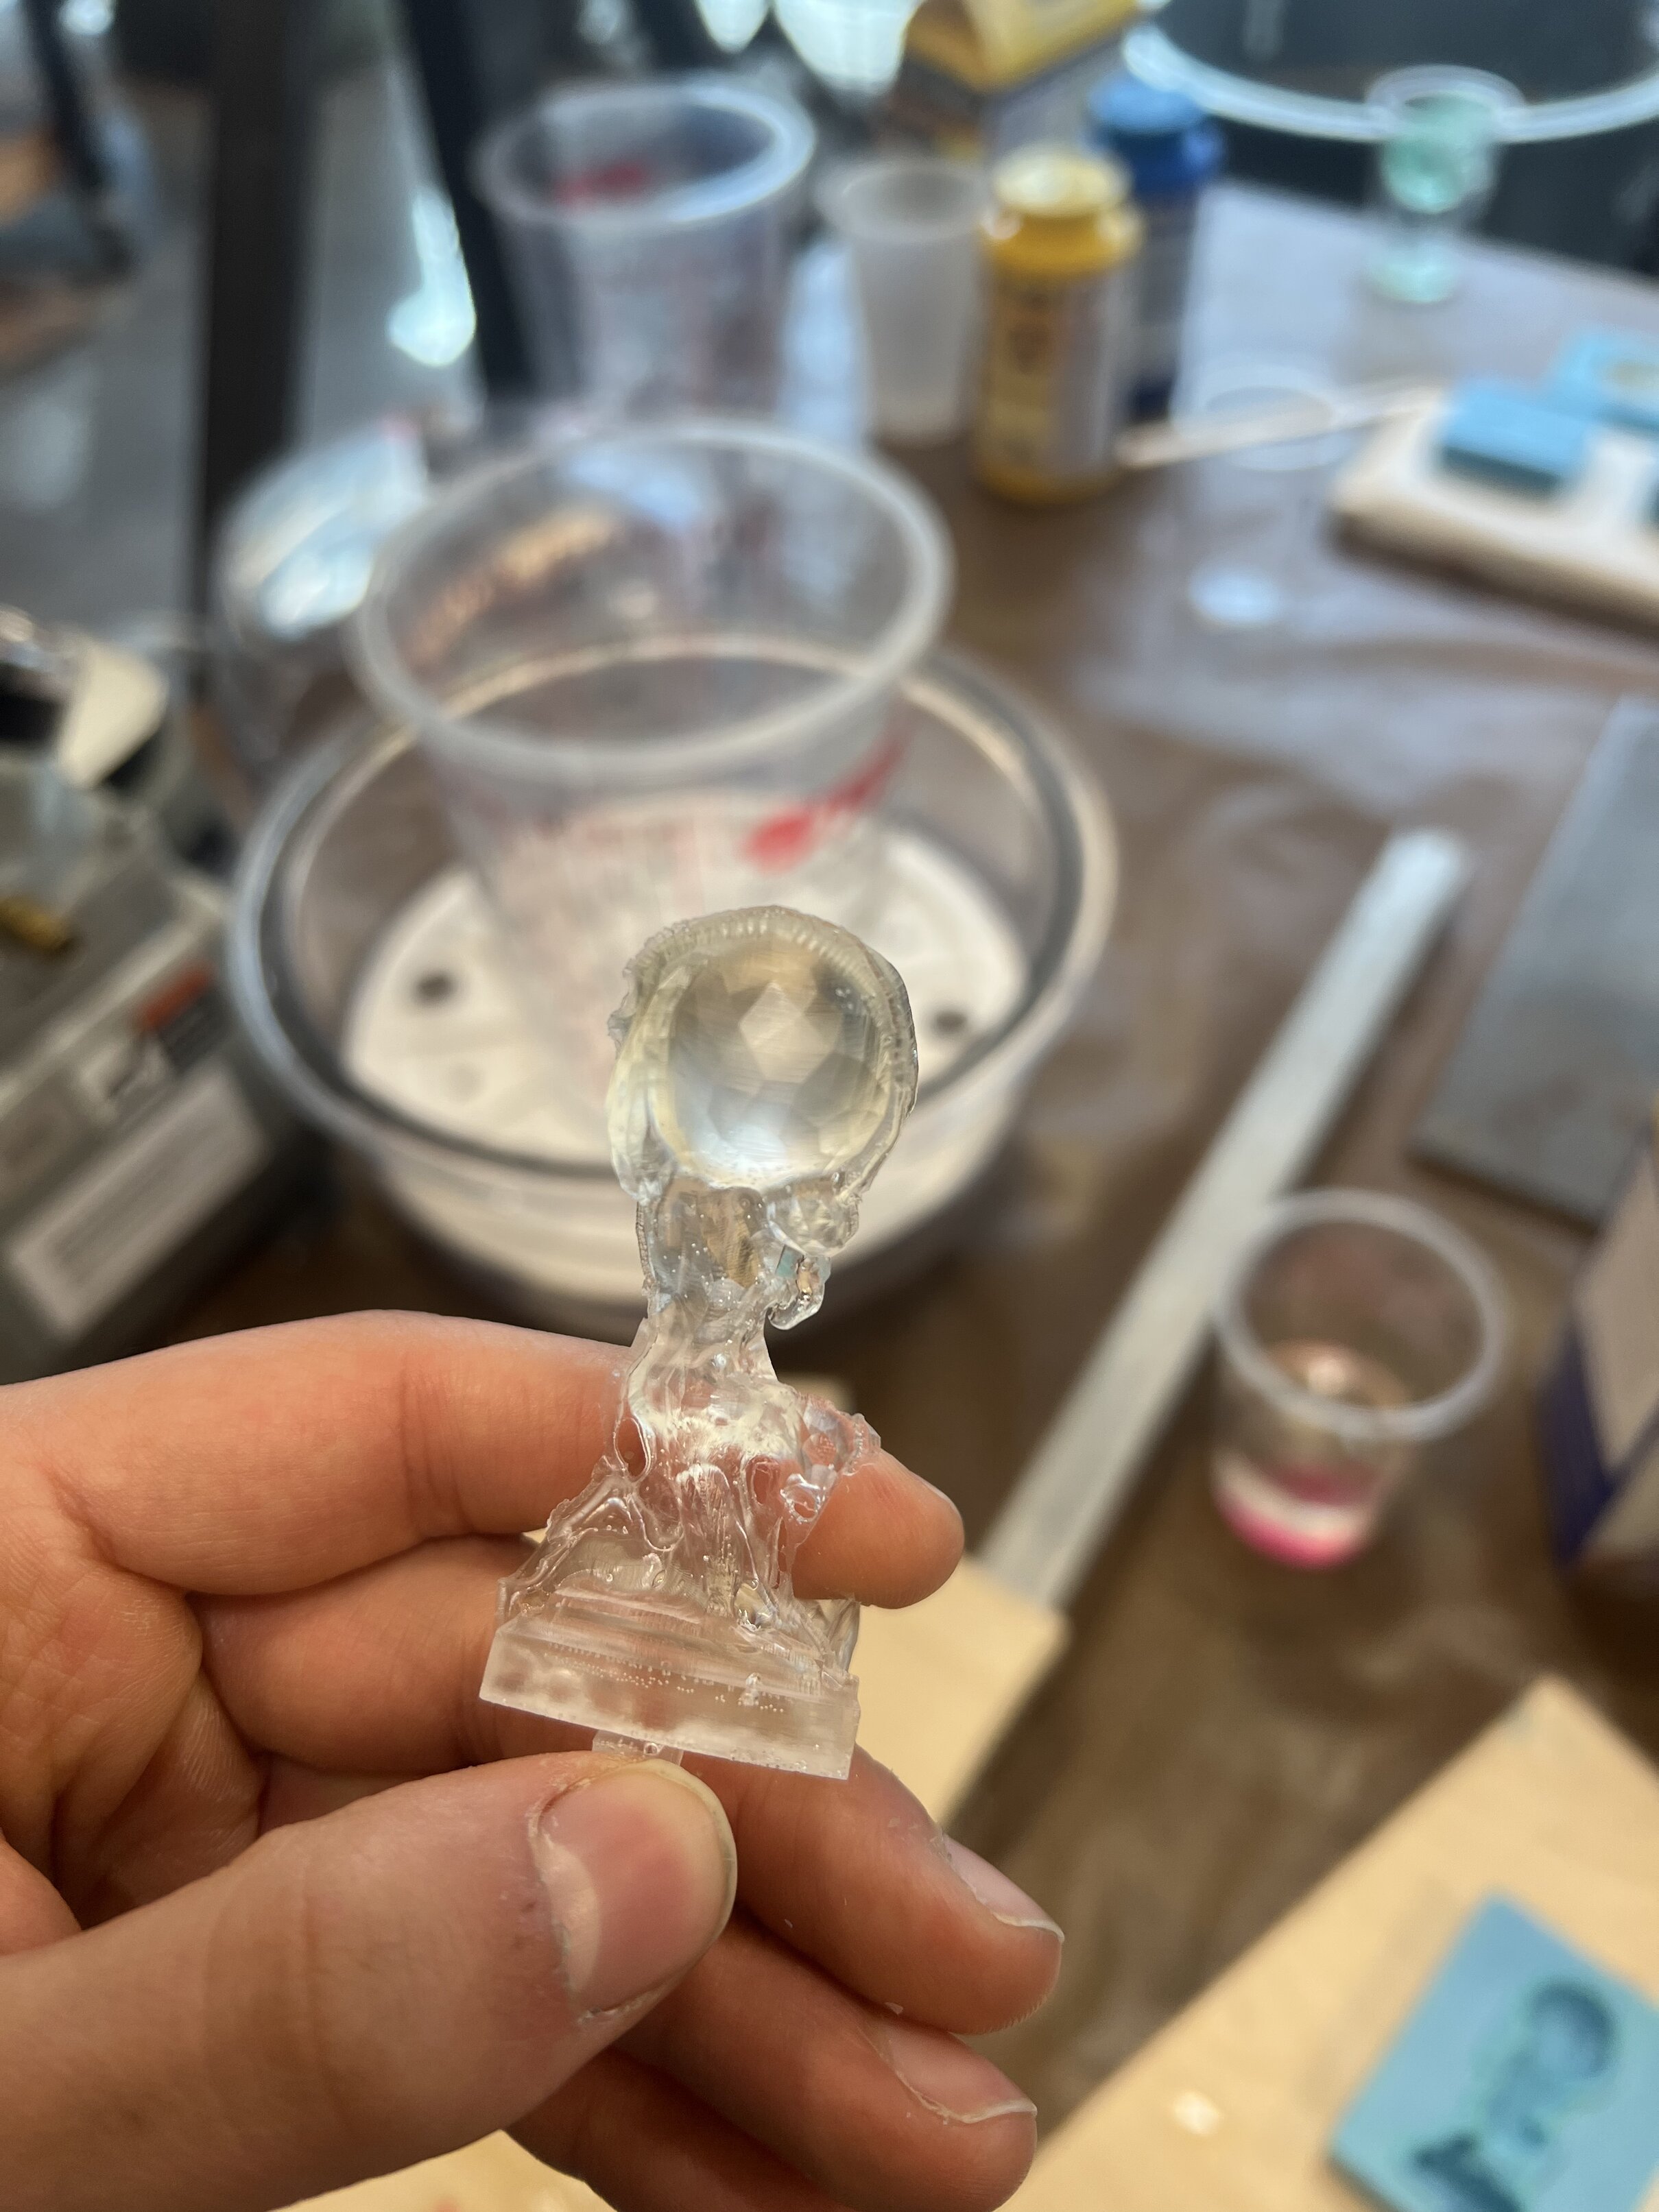
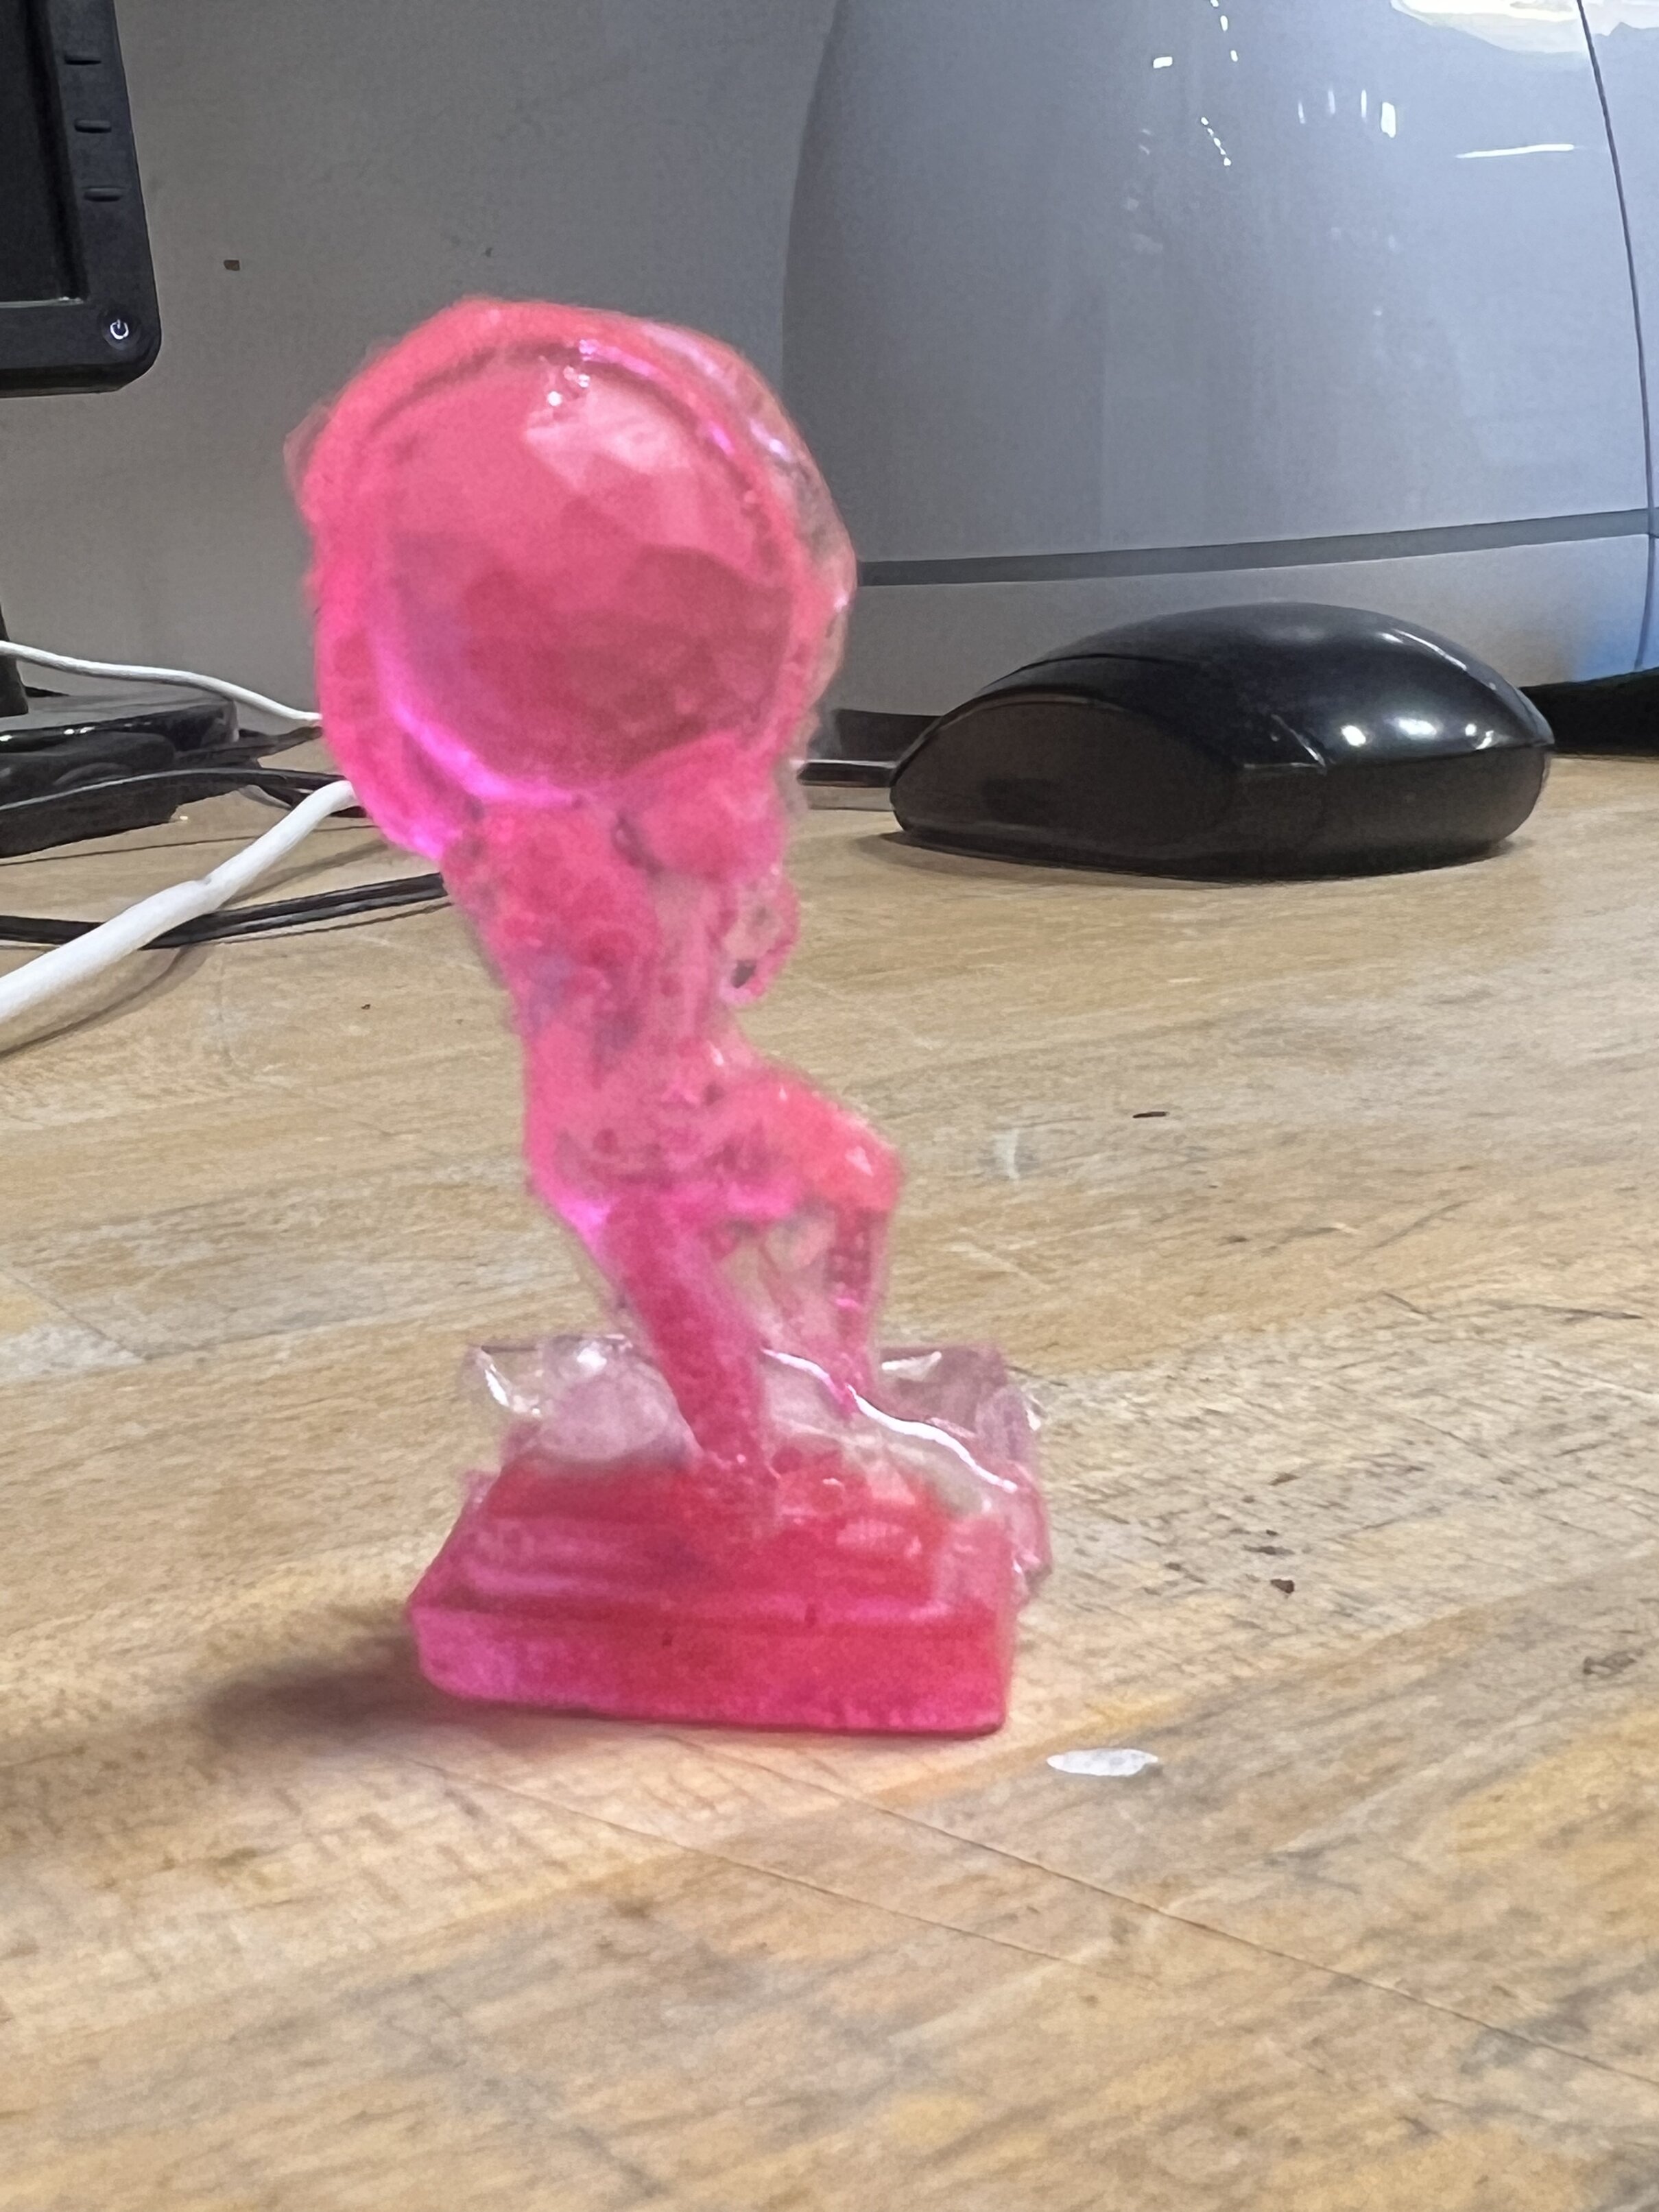
It was ok though because my real goal was to make as yassified an Atlas as I could so this gave me the opportunity to go and get some fun pink glitter…except the supermarket I went to only had pink sugar and I was like eh glitter sugar same difference and tried it anyway. It actually turned out not bad (I also added some dye that was lying around) - if you look closely you can see some of the sugar floating around!
The base did get a little messed up, I suspect because I had difficulties sealing the mold so some seeped out, but overall not bad.
THINGS THAT WERE INITIALLY CONFUSING TO ME BUT I FOUND OUT EVENTUALLY#
 Q: Endmill vs drill?
 A: See above

 Q: What do all the CNC settings mean I'm so overwhelmed
 A: Spindle speed, in RPM, is how fast the tool is spinning. Cutting feedrate is literally the distance the tool travels during one revolution, so basically how fast it travels. This affects speed a lot.

 Q: What is an endmill flute?
 A: The grooves in the tool! According to source linked below, fewer flutes are weaker but give greater depth of cut, while more flutes are stronger but reduce cutting depth


 Q: What is a stepover?
 A: The space between passes of the tool! A really big stepover will result in big obvious lines in the cut, while a smaller one makes for a really smooth finish but takes longer.


 Q: Wait so we start by making a mold of a mold?
 A: Yes, the first step is to make the positive of the thing, so you can make the mold, which is the negative, so you can cast the mold and get the positive again. Silly but kinda satisfying in the end

 Q: How do you combine two parts of a two part mold?
 A: You need some sort of pour hole which you can cut later with a knife, and some way of holding the parts together! A clamp helps but I only had rubber bands and a metal plate which worked slighly less well but well enough for now.
NOTES FOR POSTERITY#
 -Add some registration features! It will make your job easier later


 -for this week, I think I finally hit a good workflow of designing quickly then spending a lot of time honing the design, instead of the opposite - keep doing that!!


 -spending a little time getting used to the terminology and the basic skills like changing tools is very helpful as it improves your confidence in knowing what your doing
Also, major shoutout to Alfonso this week - he really really ultra mega clutched and saved me like 3 times when he really did not have to - thank you!!!