Week9
WEEK 9 CNC: (ARCADE) MACHINING#
tldr: an arcade machine, from idea:
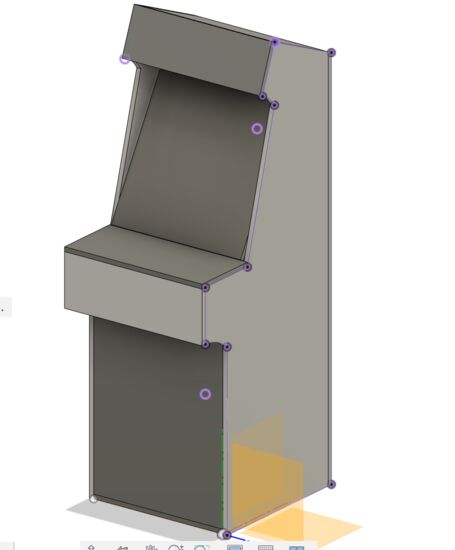
to models:

to reality:
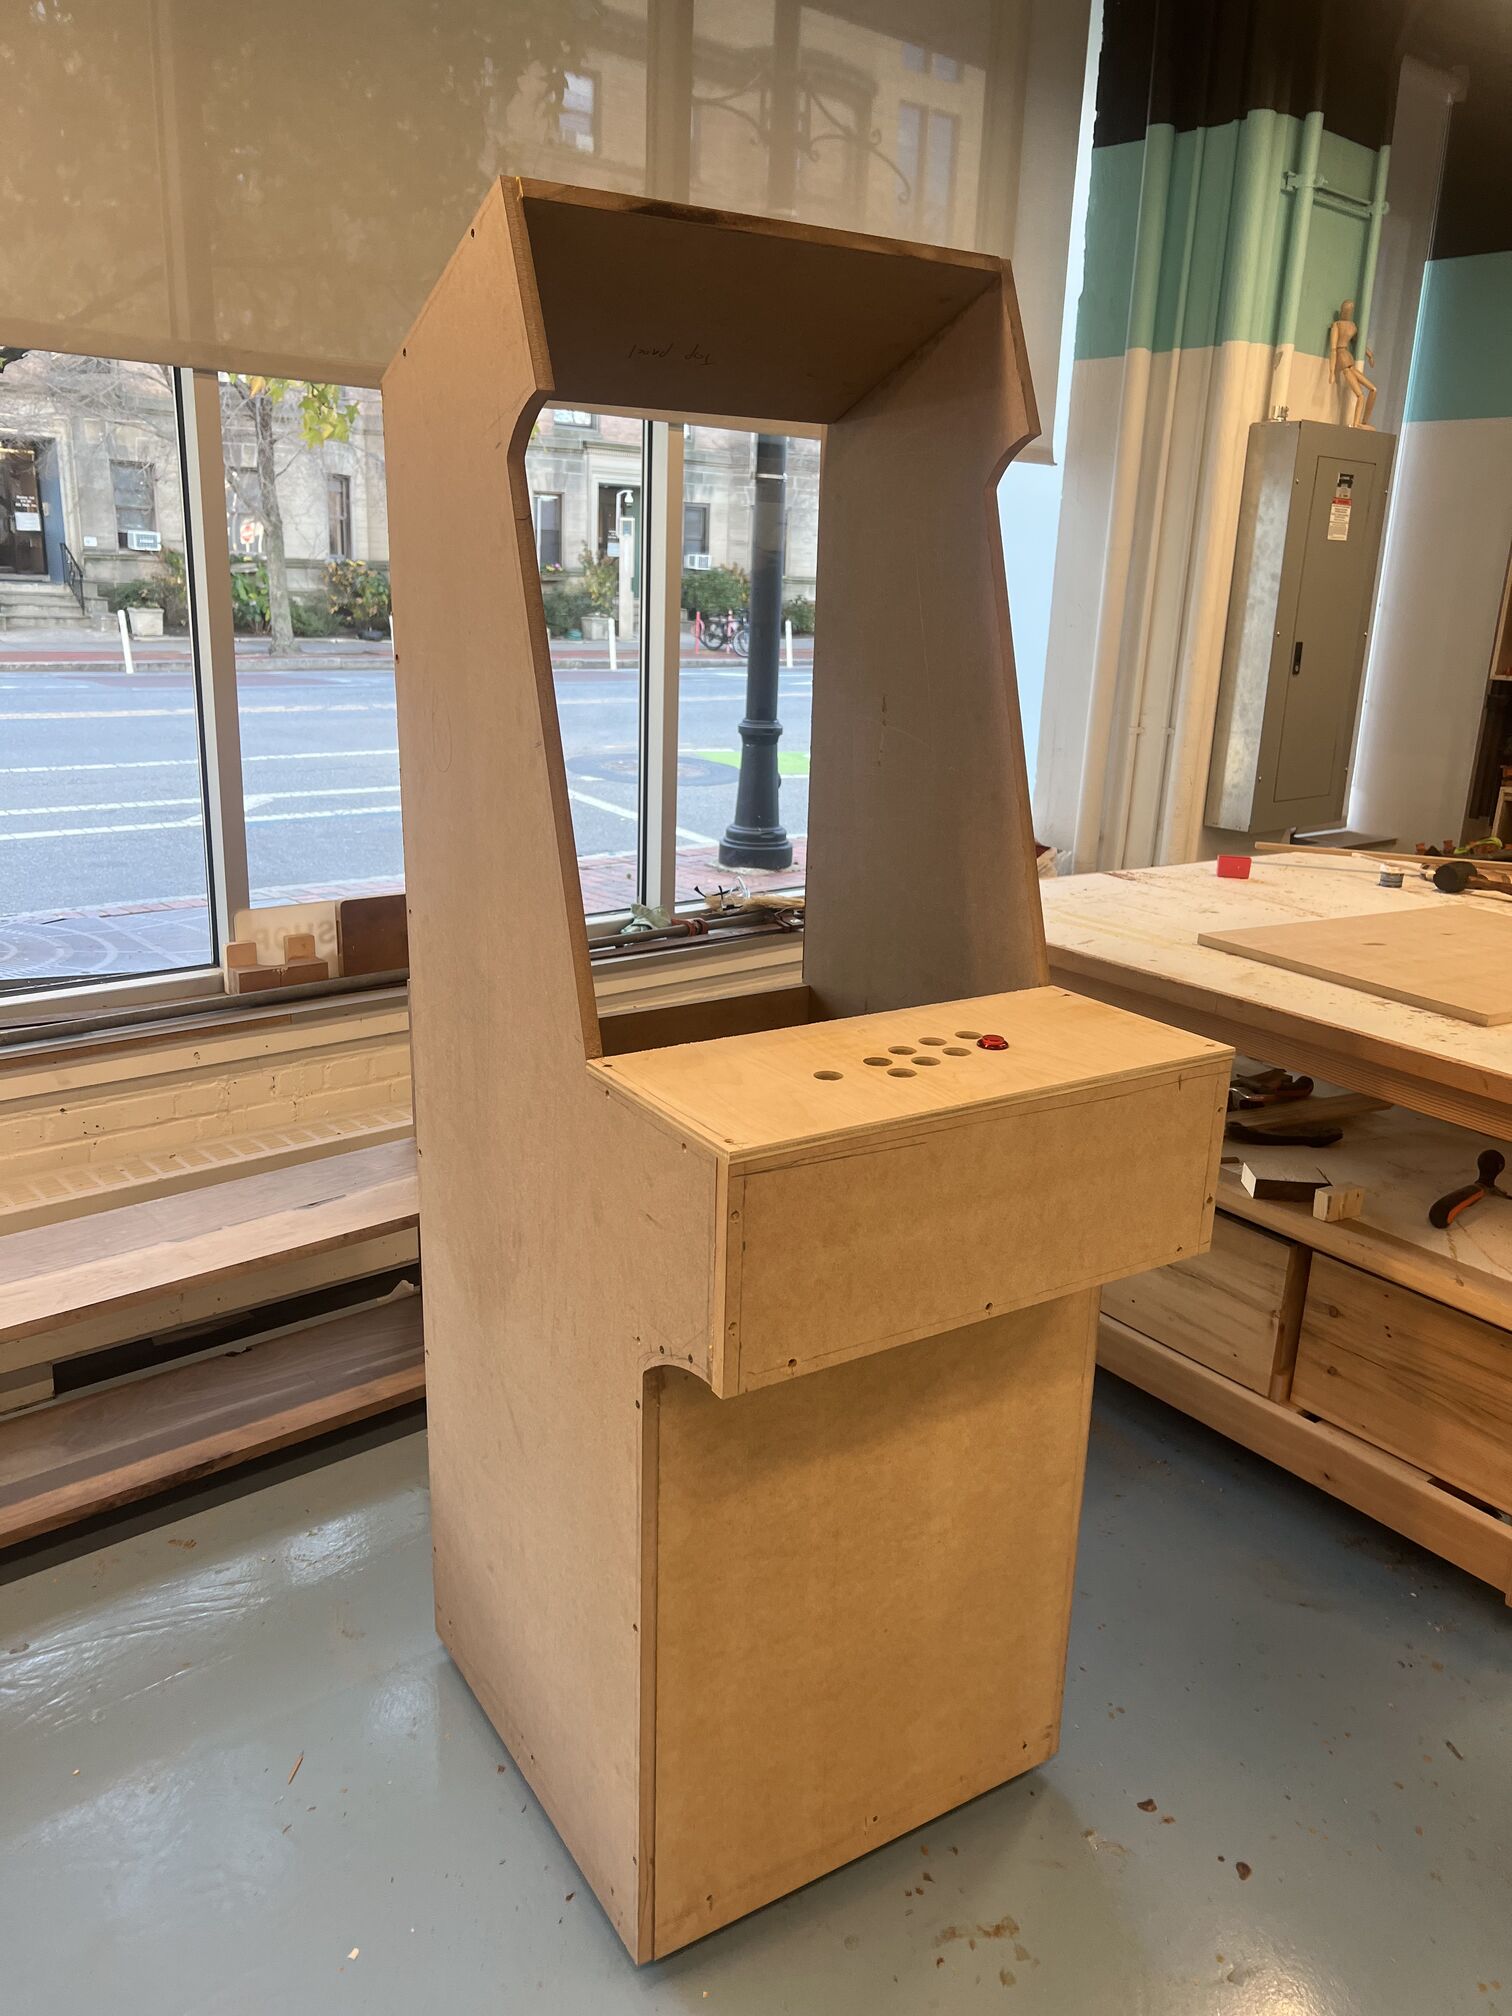
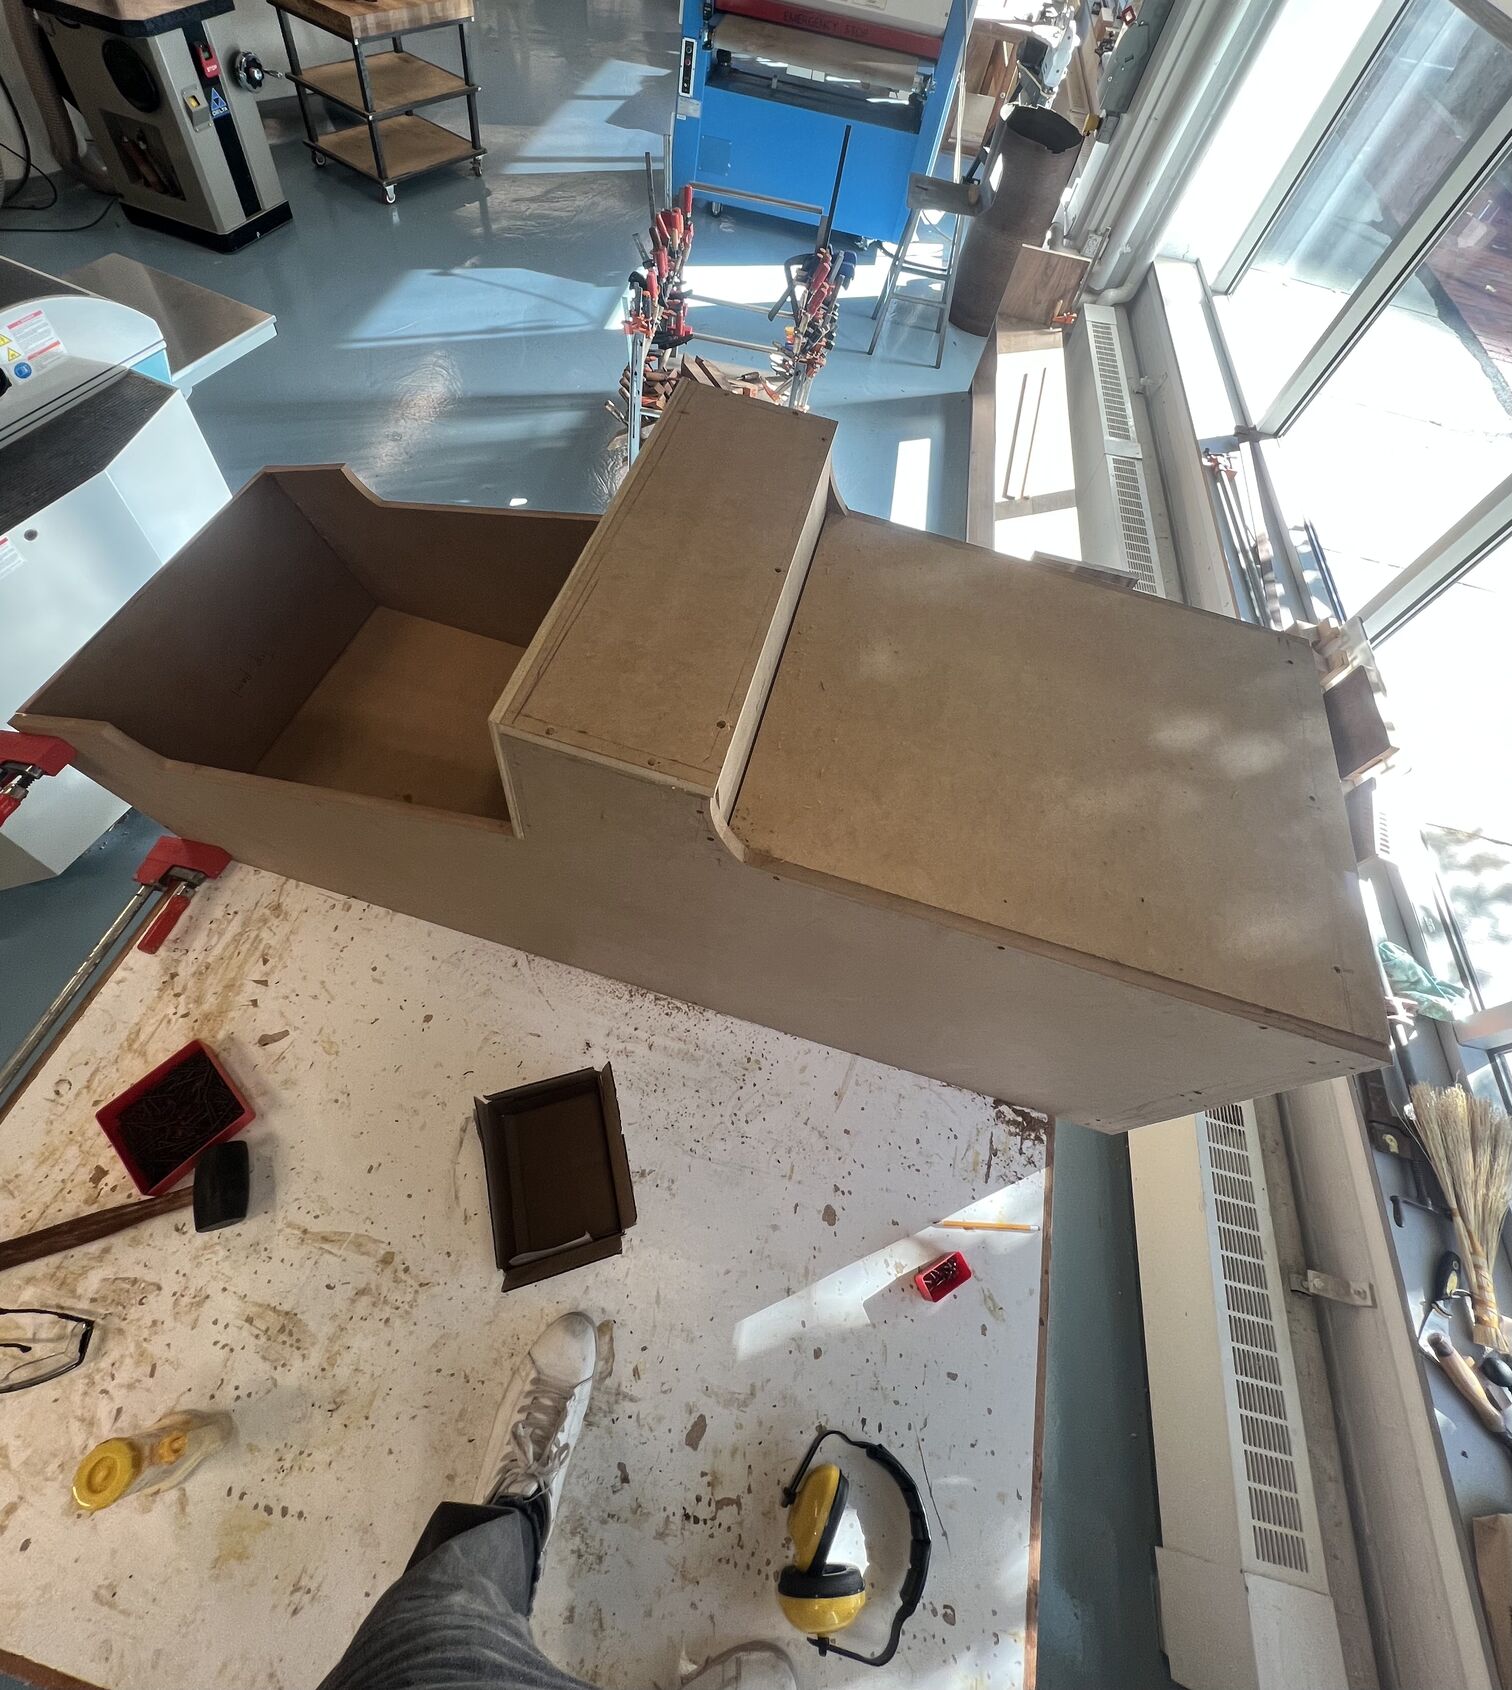
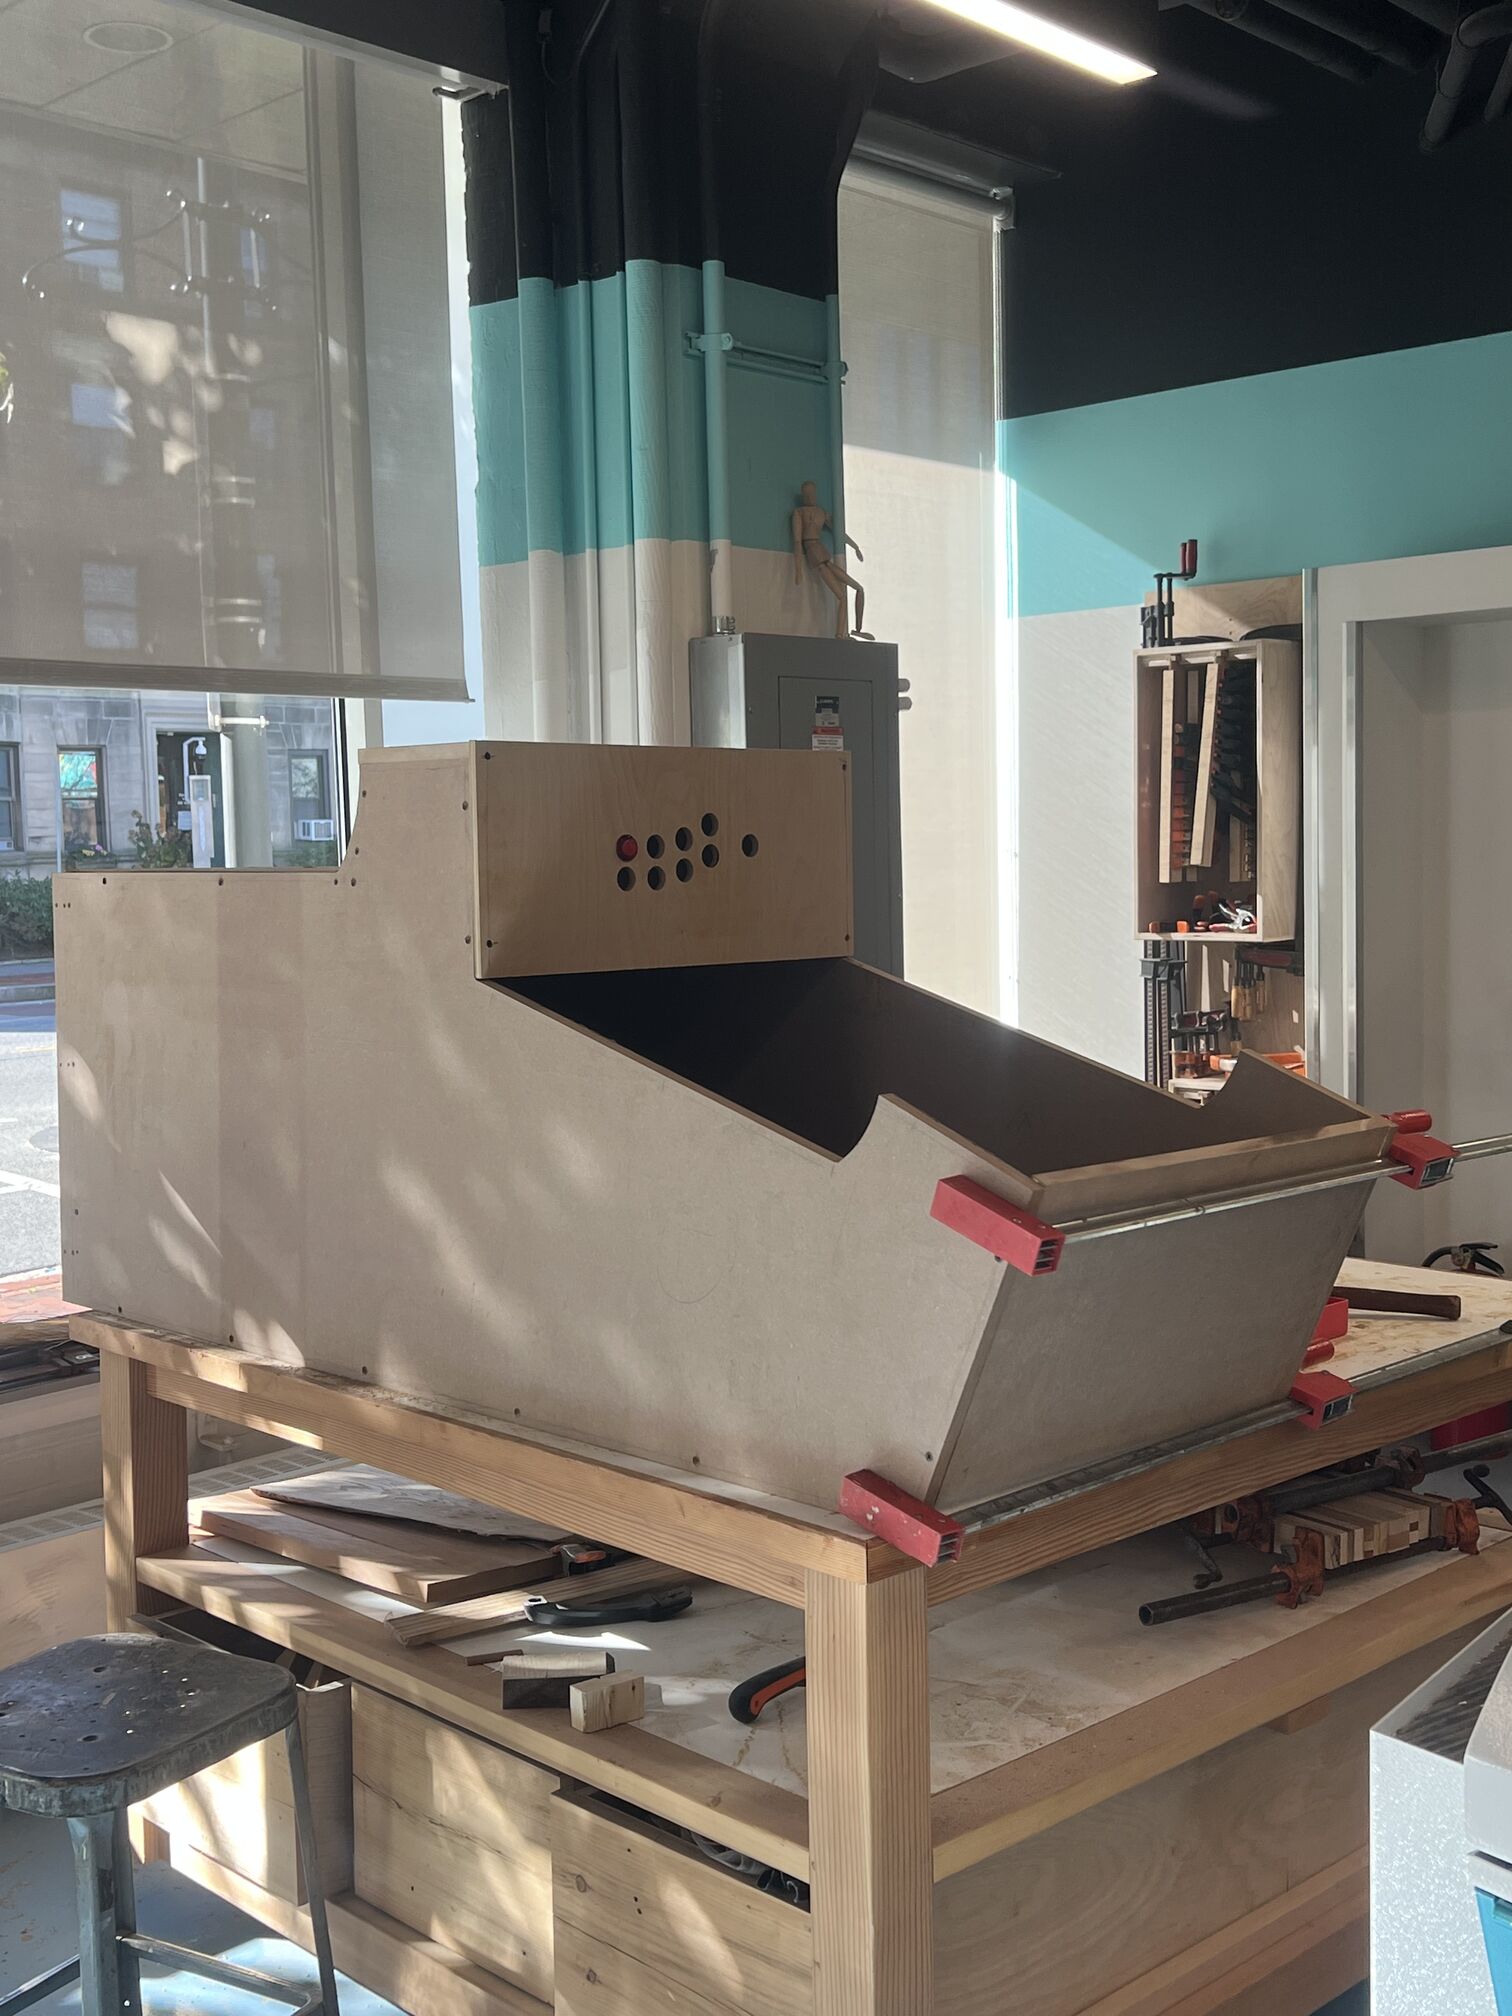
This week was a huge step towards my final project because I made the structure of the arcade machine that will eventually be my musical instrument. It was a bit chaotic, and intense (as usual) but I had fun!
Unfortunately, as of this morning though, the wood is still glueing so no show and tell for me :(((
TRAINING + GROUP ASSIGNMENT: A NEW SHOP HEAD APPROACHES!#
Training was led by Dan, the new shop keeper who was very nice and answered my many silly silly questions. The ShopBot software was really glitchy and it froze on us like 10 times, but we learned that we had to be really slow and deliberate or the program would explode, forcing us to start again. Safety was SUPER IMPORTANT - most important things, hair back, sleeves up, nothing loose or dangly, WORK WITH A BUDDY, don’t work sleepy, DON"T PUT YOUR HAND IN A POWERED TOOL, etc etc. All very good things to know because I like my hands thank you very much!

We then spent some time characterizing our machine by testing things like runout, alignment, fixturing, speeds, feeds, materials. The machine was quite precise - we were very impressed by how accurate the machine was. We attempted a square of 3x3 length and got 3.024 x 3.015 - pretty good! Fixturing was a new thing for me too, but I kinda liked using the drill, it was quite satisfying.


An important thing we talked about and tried was dogbones. Dogbones joint solve an important problem of how a round endmill bit cannot make perfect square holes. Therefore, we add a little extra circle of roughly the diameter of the tool, thus allowing our square piece to fit very snugly and perfectly.
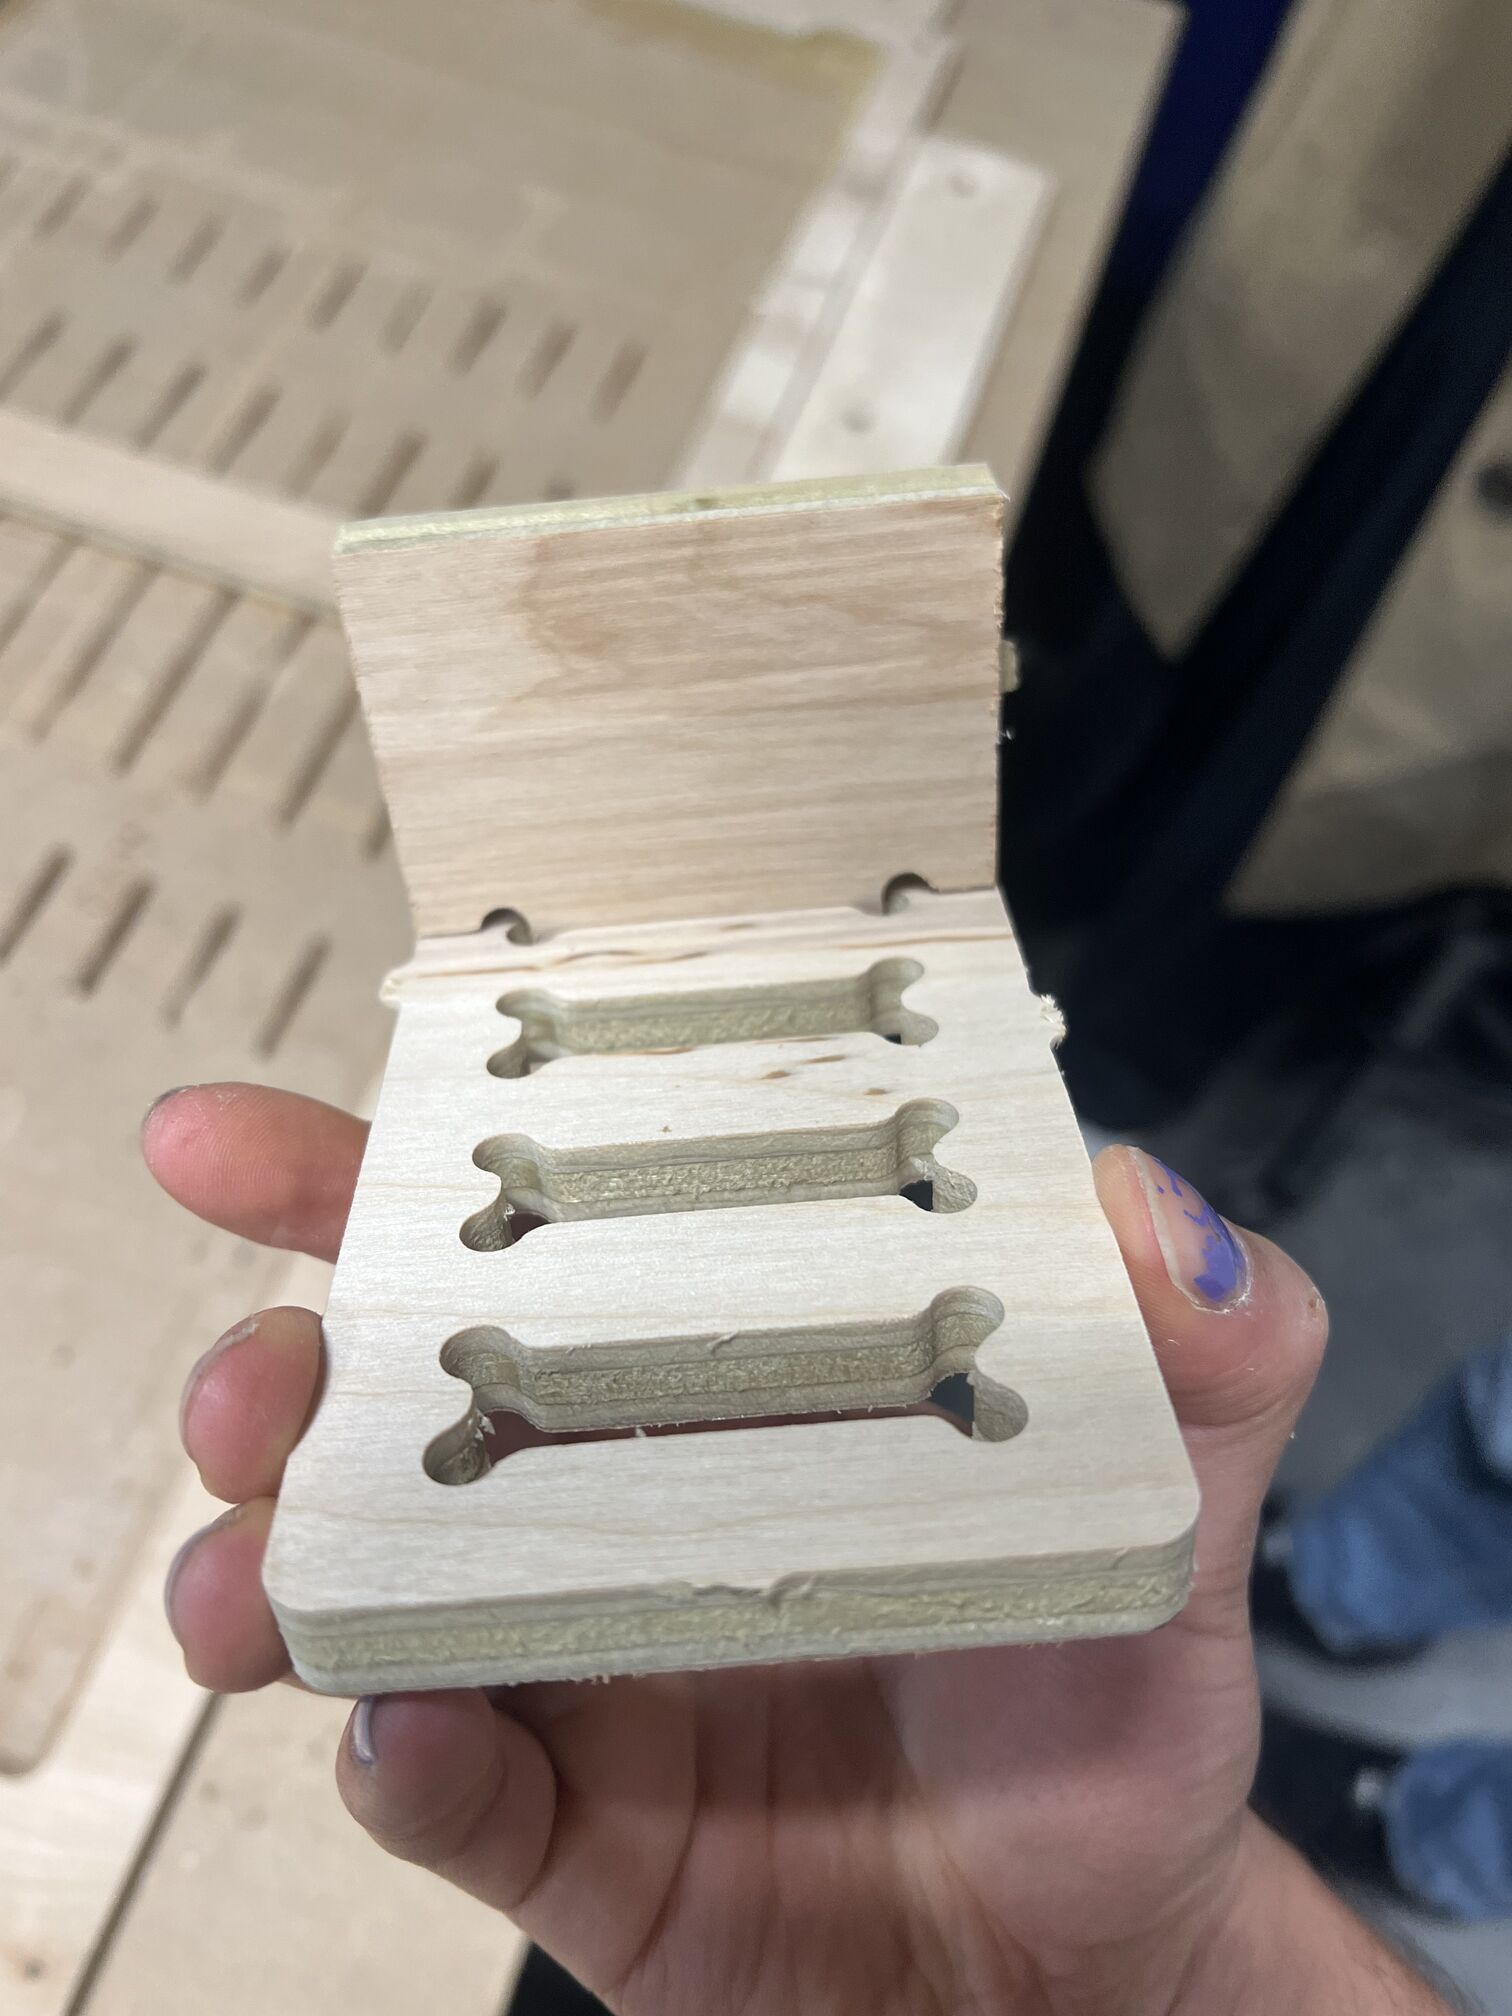
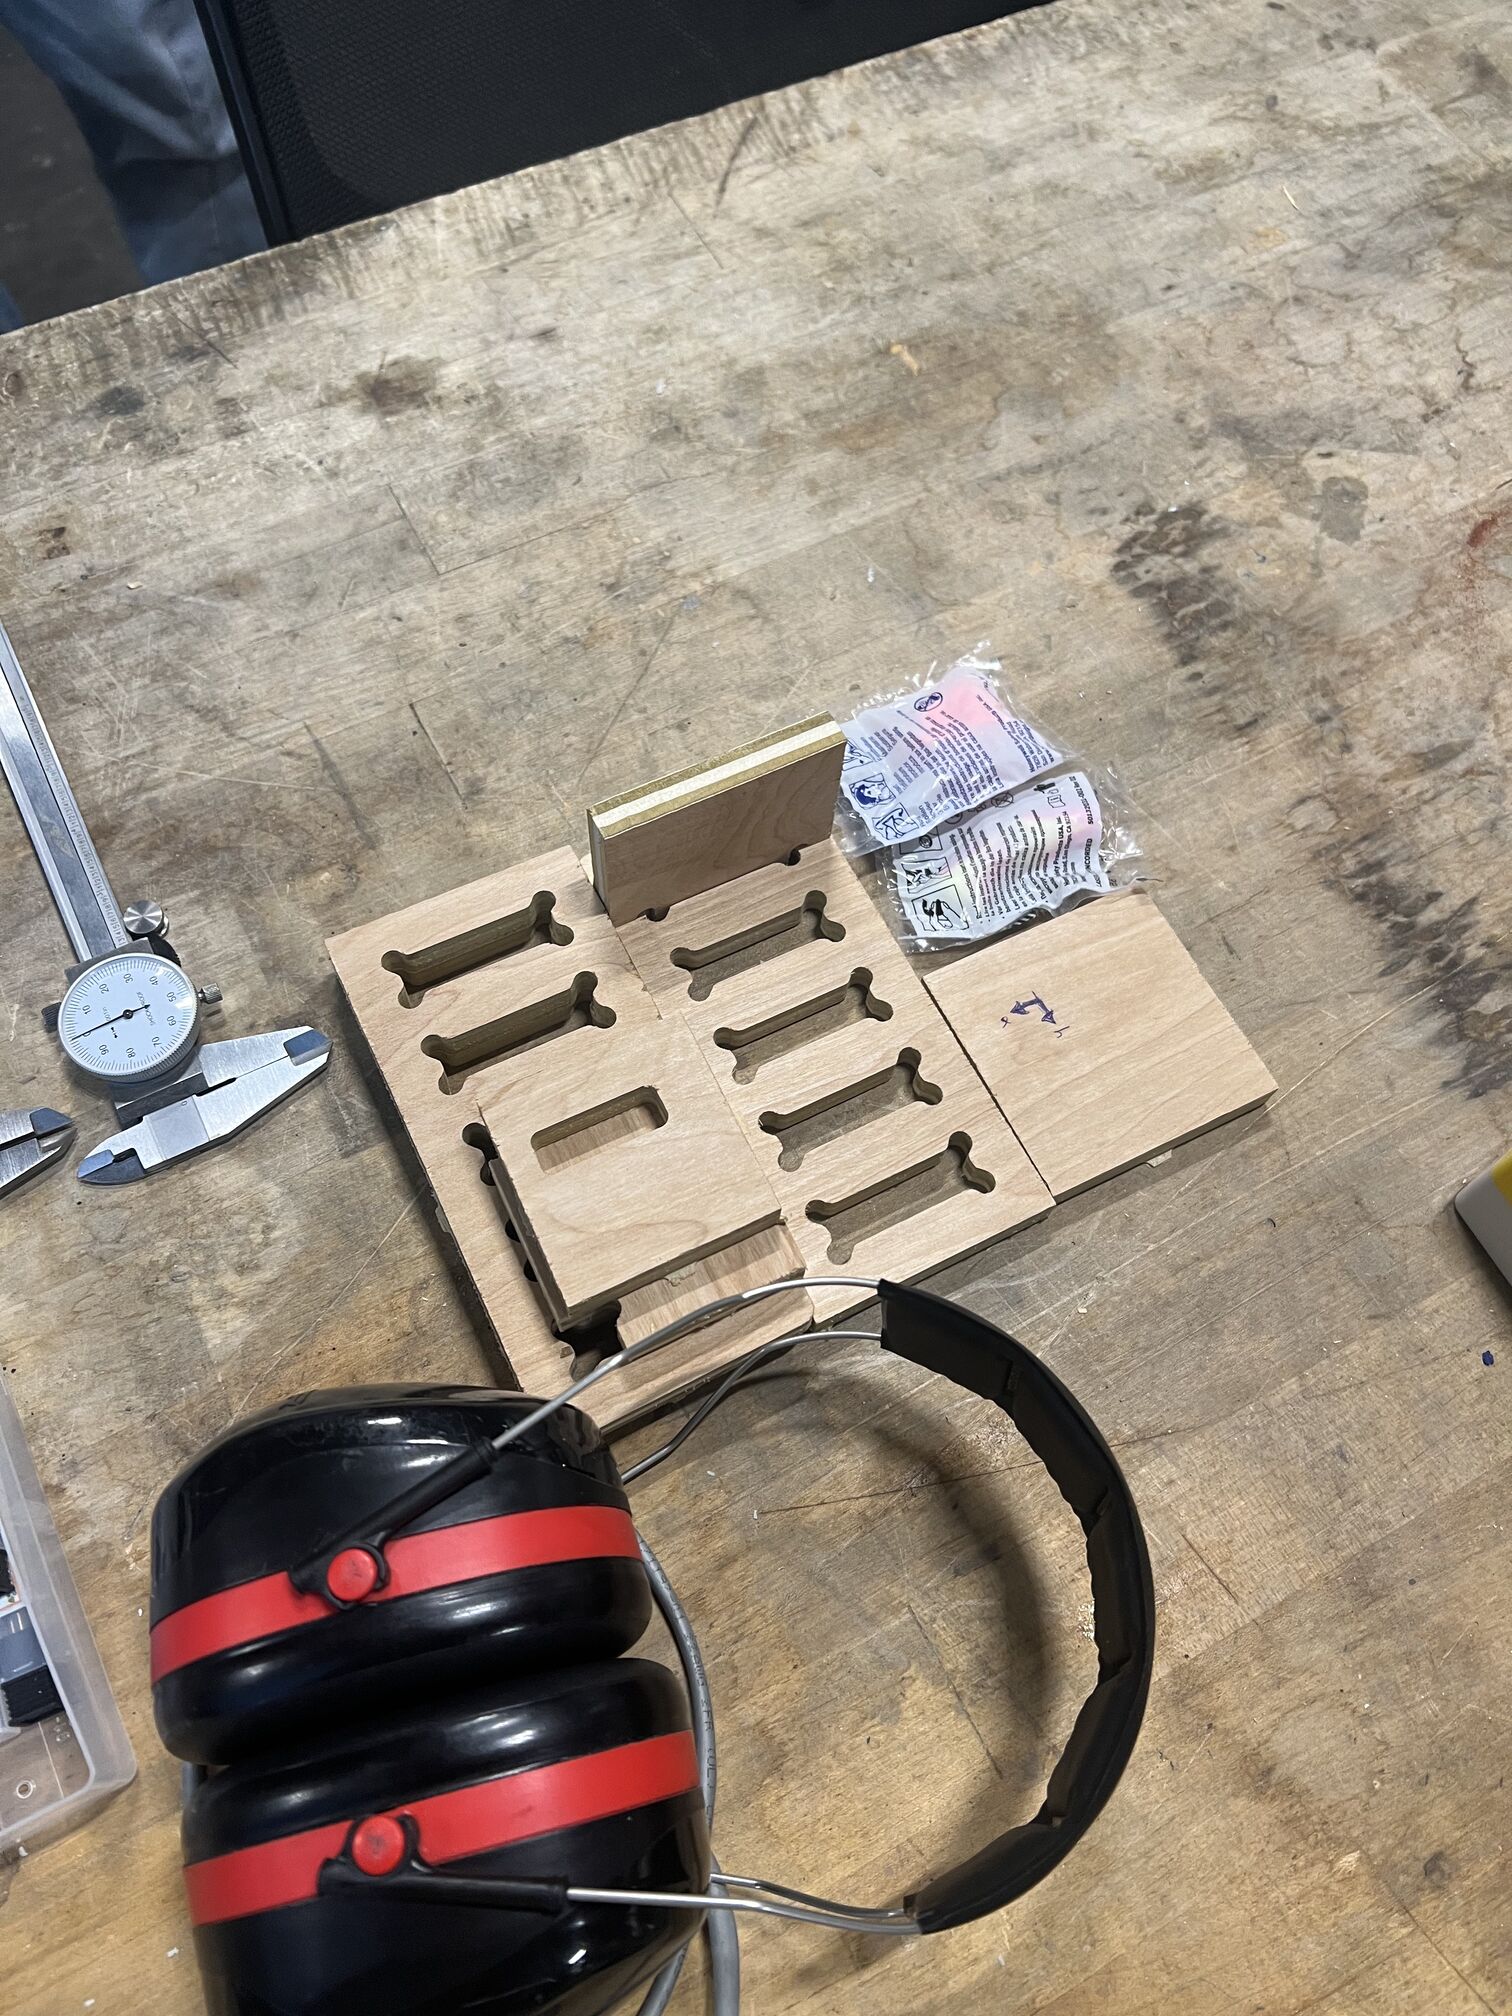
Joint indeed snug!
Modeling (of all kinds)#
As this is part of what has become my final project, I was ready with the CAM from a while ago. I even had some smaller scale models I had made, so I really knew exactly how everything would fit together (theoretically).
My 3D print version from 3d print week and my cardboard version from laser cut cardboard week (pictures above) have been sitting on my desk enjoying their status as the biggest and second biggest, respectively, arcade machines I had made, so this was my time to get my revenge by making a slightly bigger one.
This process was really cool because it was most certainly the most organized and methodical I had ever been in project thus far - I have never done the amount of spiral developing and prototyping (and sometimes crying when things didn’t work) that I did for this, and I feel like it really paid off. It was quite frustrating because there were so many steps leading up to this job, but I realize that is the way super cool real world things are supposed to be done.
The Fusion stuff was done at a time when I was far worse at Fusion, and I recall Alfonso teaching me many things and saving me from despair a few weeks ago. I modeled it off of real world machines, but not any particular one - I merely adopted a number of traits I like in arcade cabinet design aesthetically and fit it to the rough parameters I wanted (size, etc).
I had the wood via my research group (three 4x8 sheets worth!!), but a harder task was finding somewhere to cut it. I initially thought CBA, but they told me that probably wasn’t a good idea because of the dust and that I’d need to spend a lot of time figuring out the right feeds and speeds. I then tried Hobby Shop but their CNC machine was broken. THEN I was pointed to the Architecture Shop and I got to use their amazing Onsrud which had a magical vacuum bed and was overall super cool (enter: over 100k price tag). It was so amazing because doing the cuts took like 15 minutes after all the pain of finding the wood and a place to cut it etc etc.
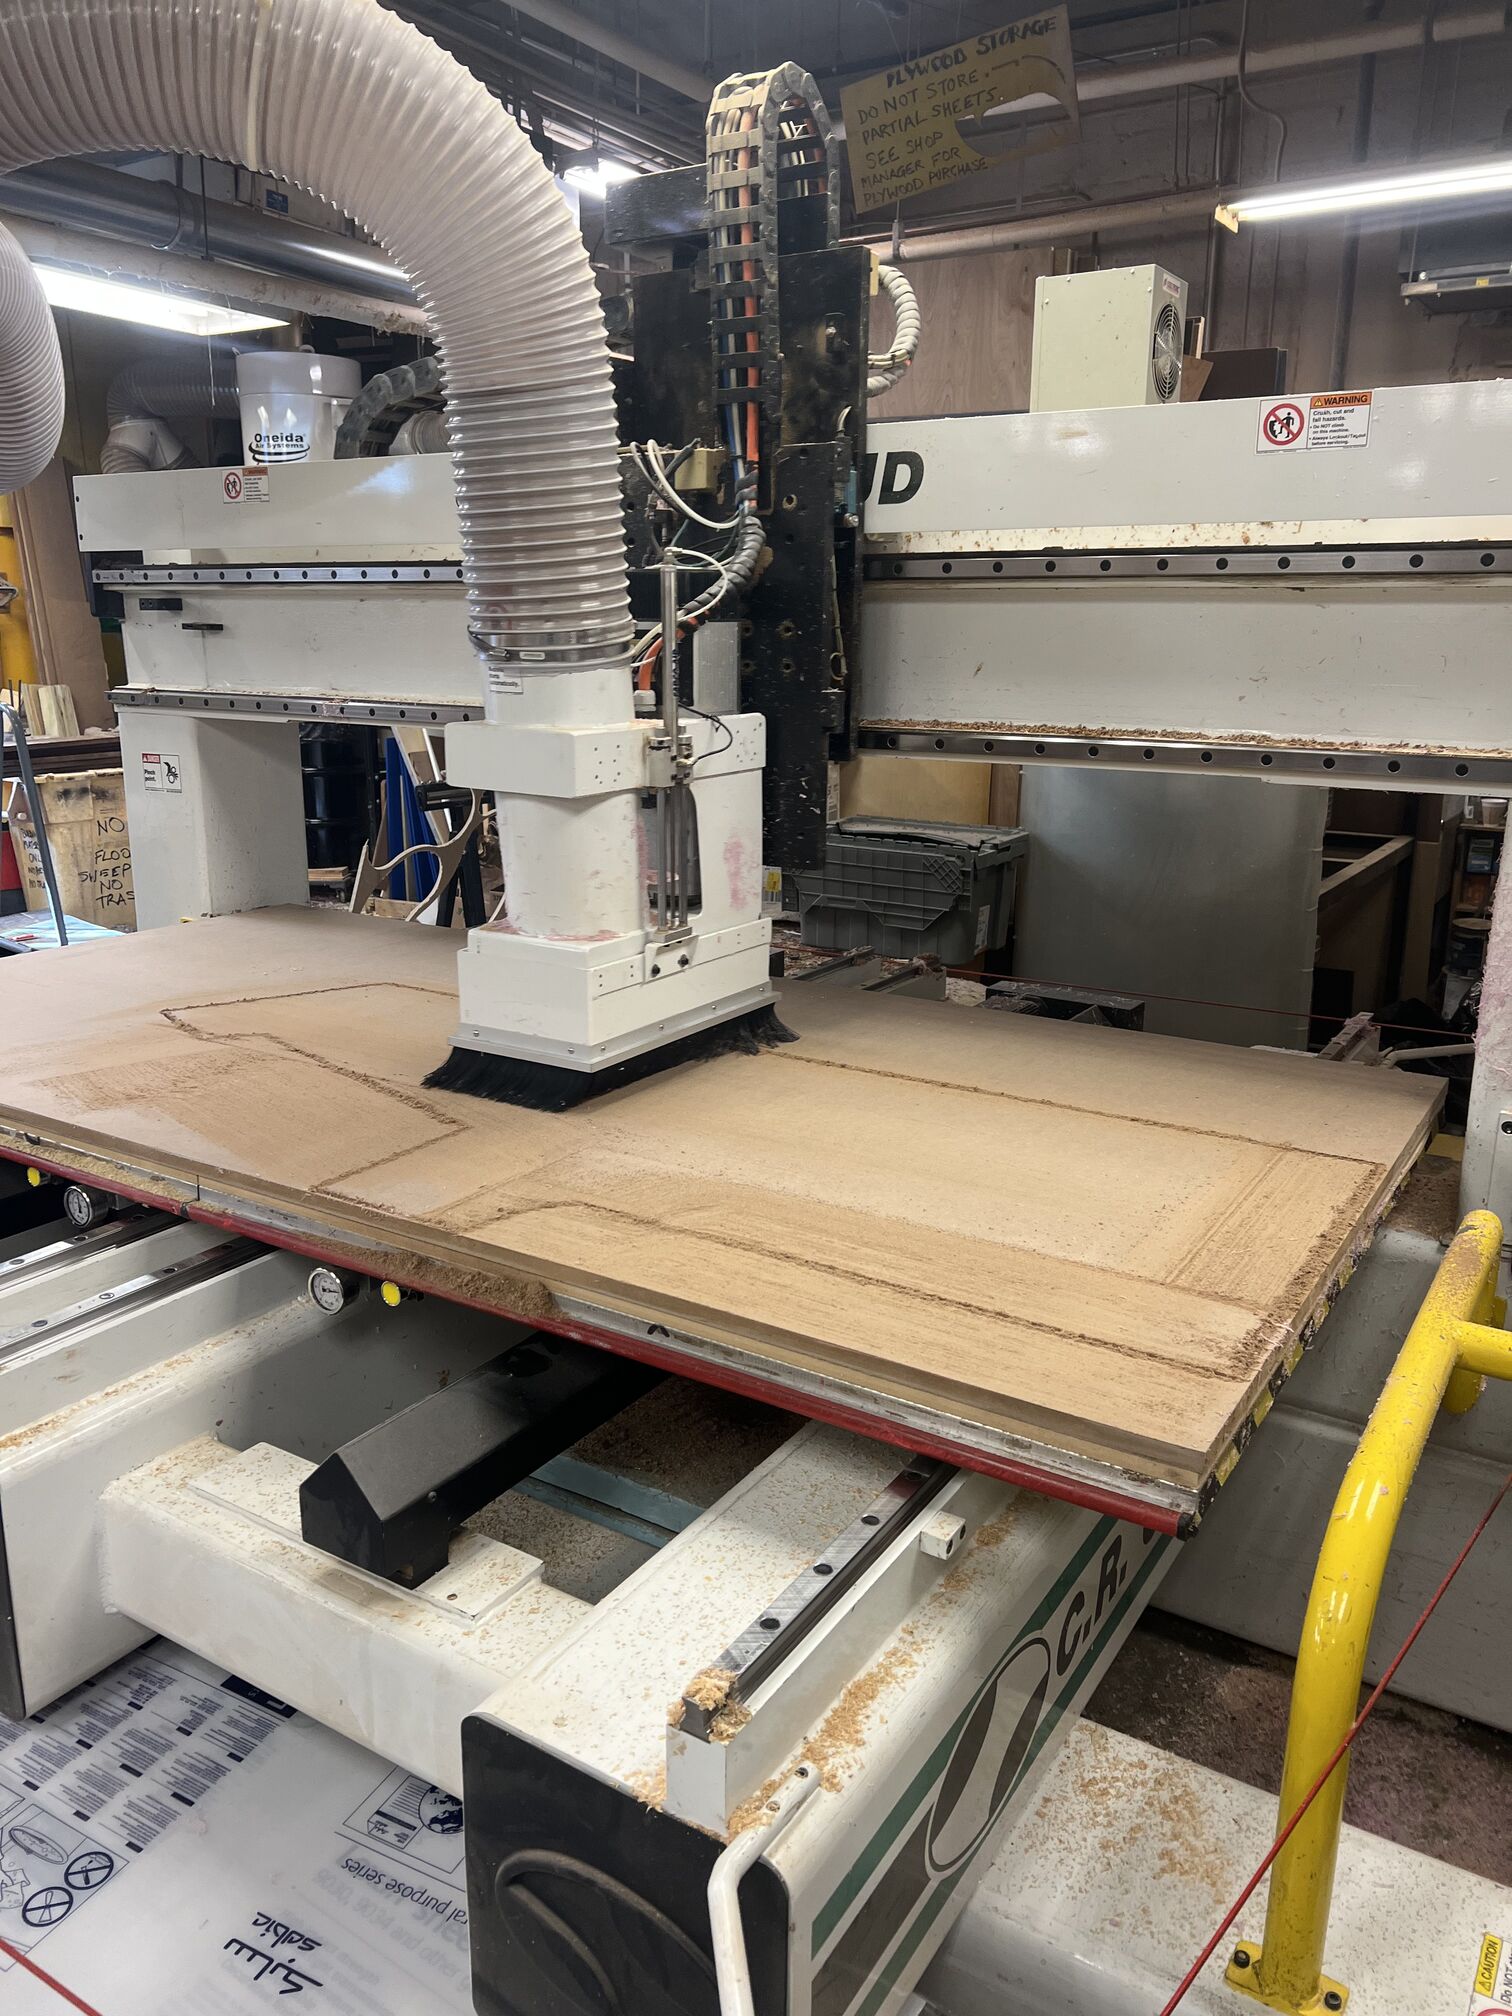
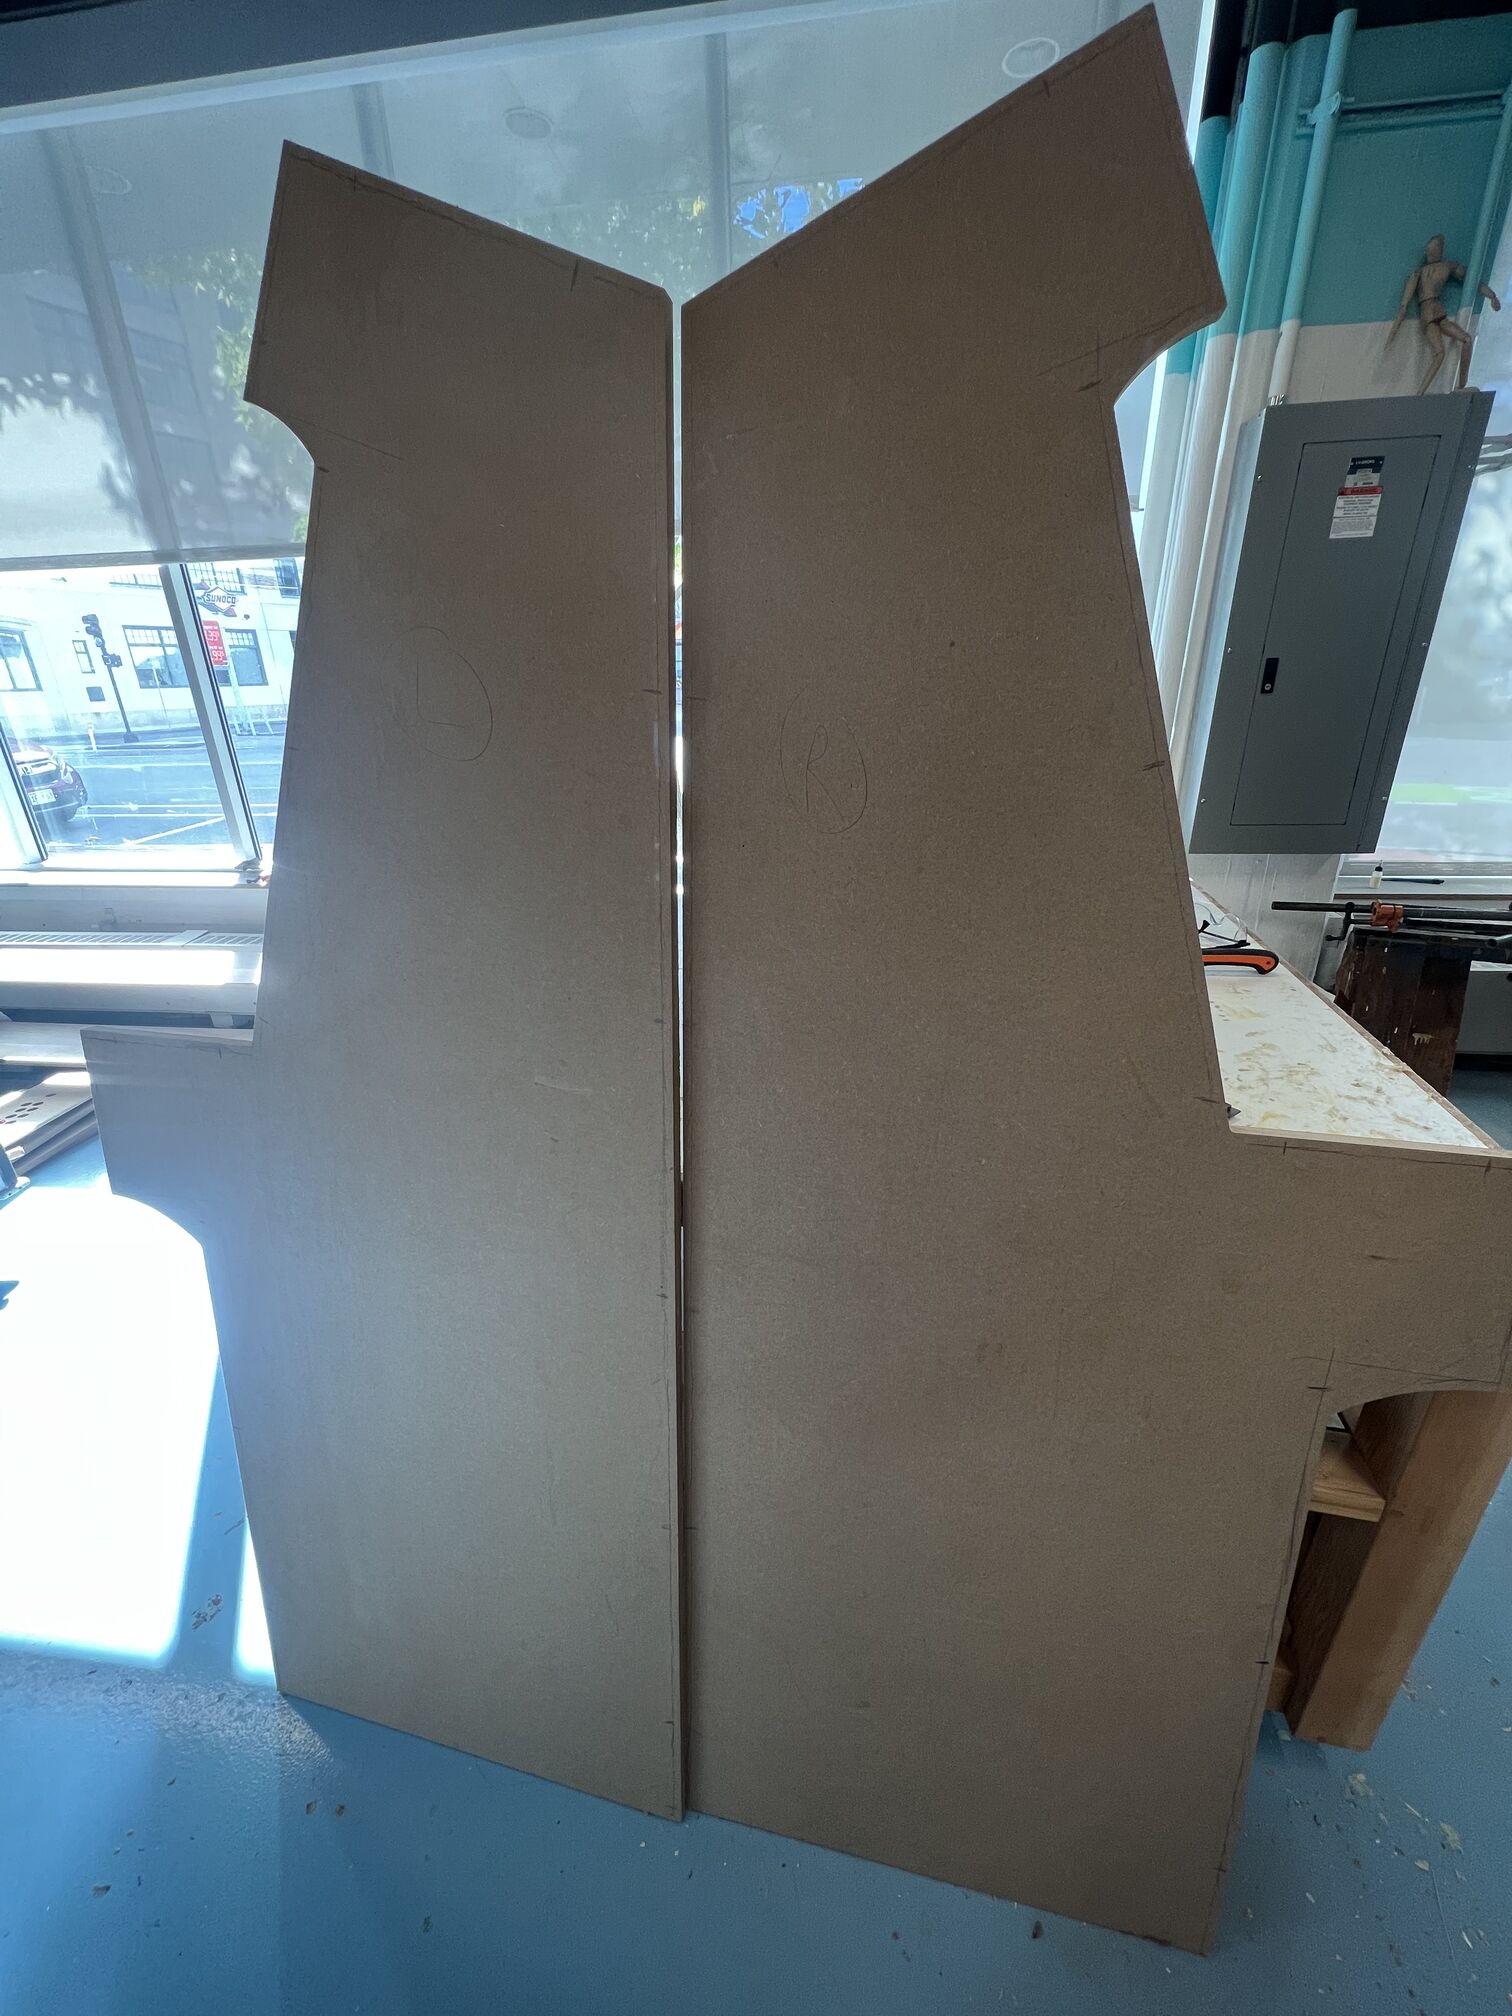
I did however do one piece on the plywood I was supplied by CBA just because I was only given limited machining time in architecture (naturally, since its not my school). I used it a as an opp to make a nice fancy joystick board with perfect holes. I didn’t know exactly how big to make the holes, so I used calipers to measure and made a cardboard test cut which I then modified since the holes were too close together.
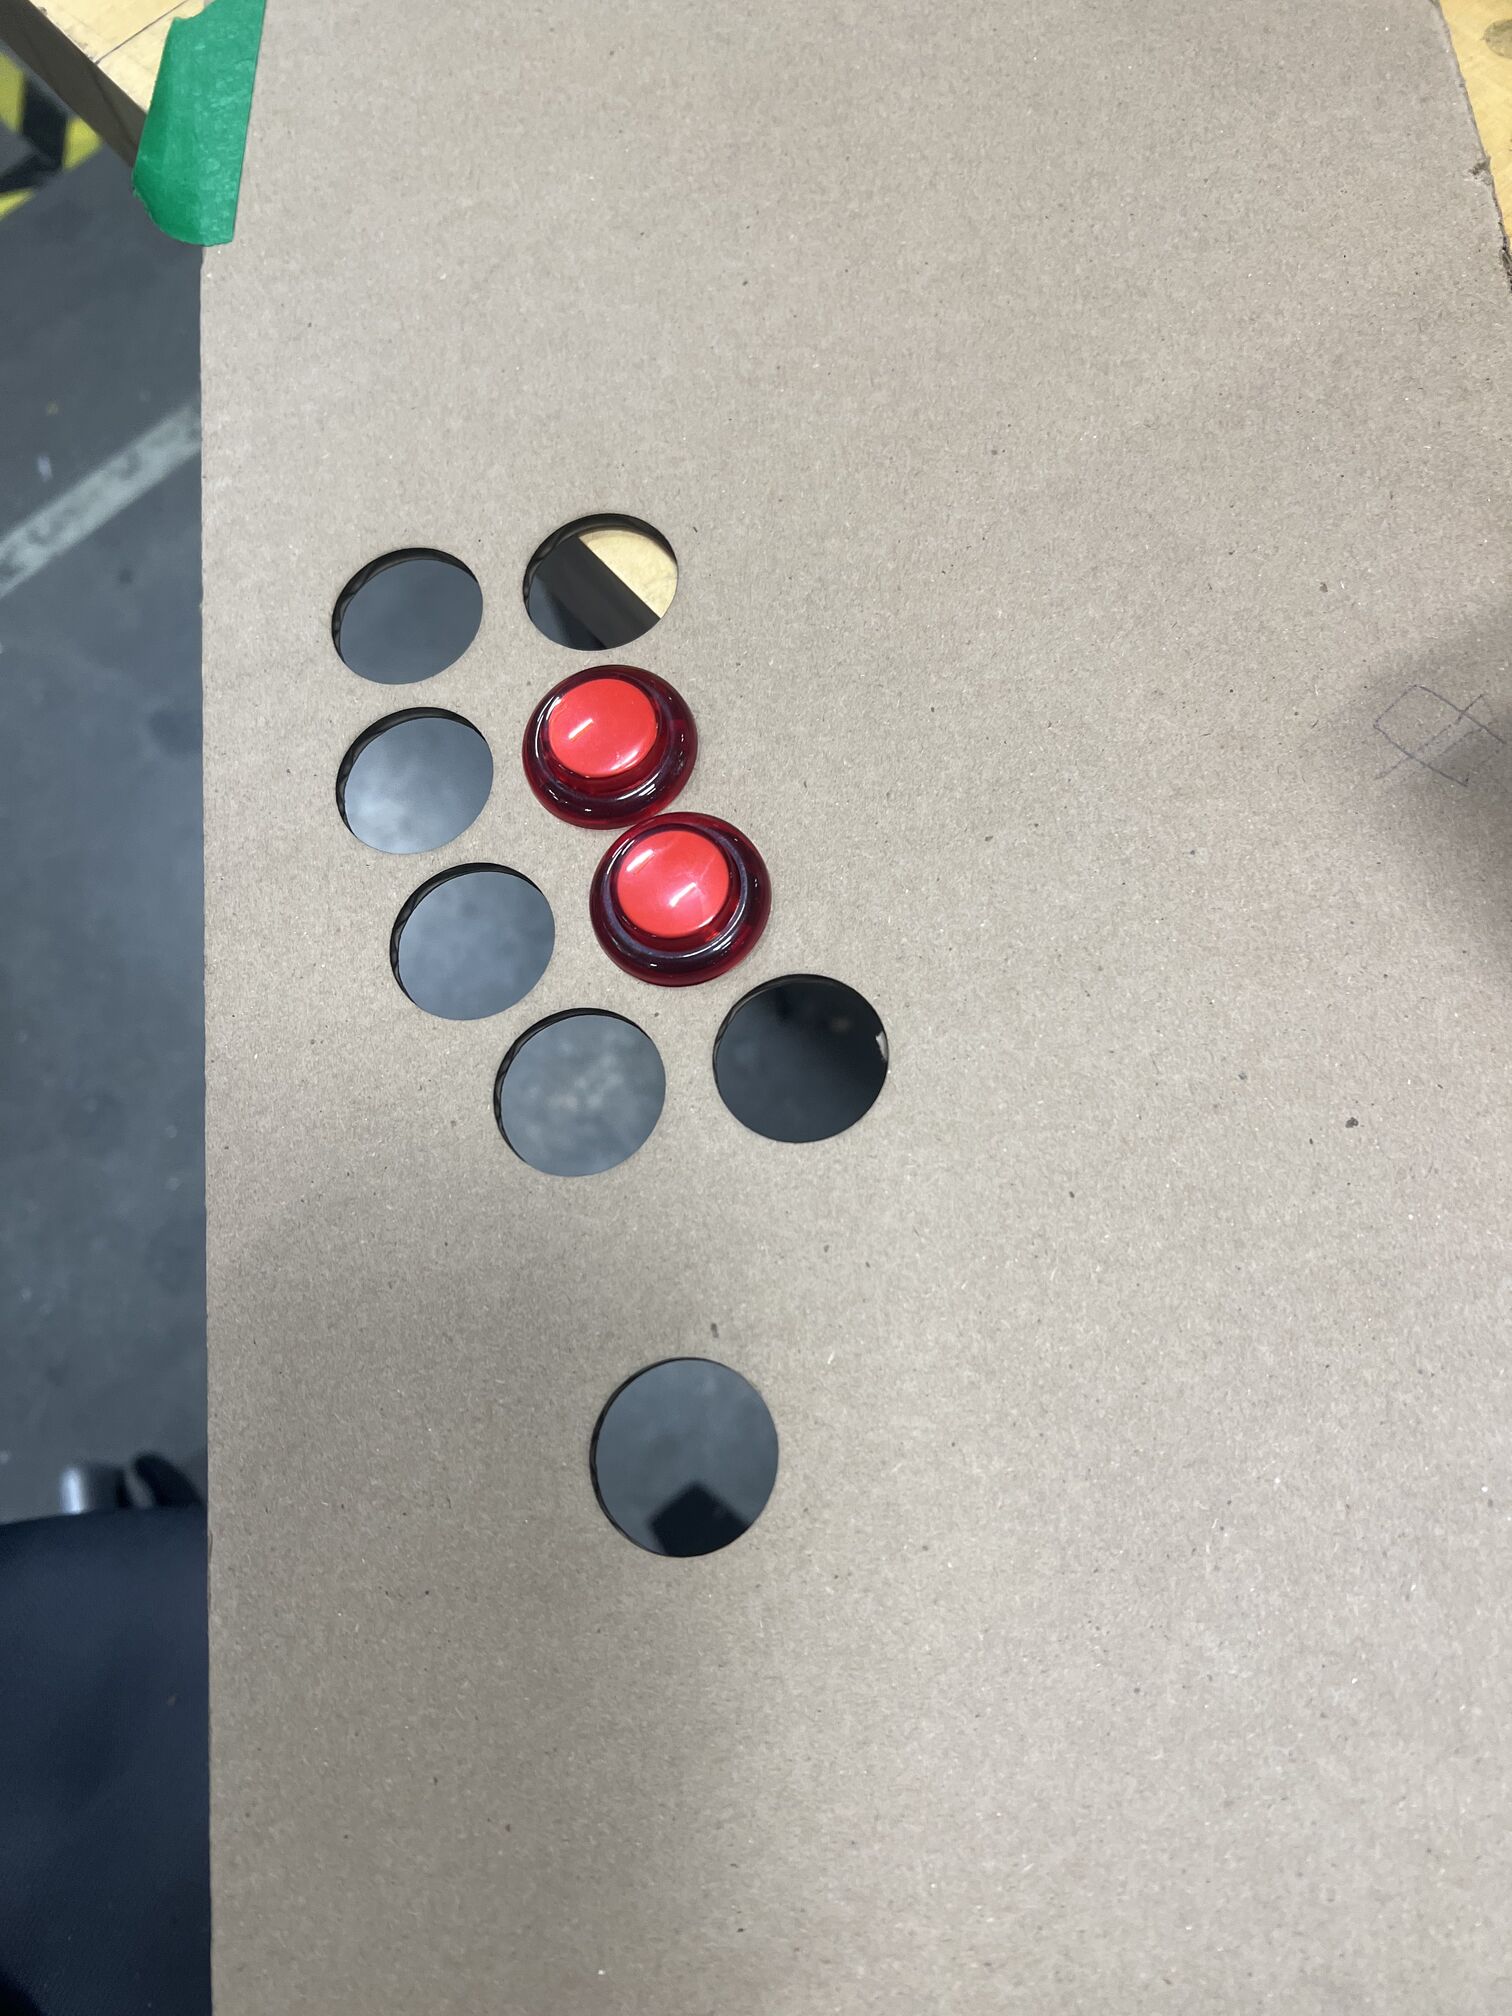
It’s amazing to me how when the geese of fabrication all line up, so much can happen so quickly. And naturally, when they don’t, it’s so easy for nothing to happen.
QUICK WOOD TYPE INTERLUDE#
Ok, the different types of stocks available to me was confusing so I spent some time this week characterizing their traits.
MDF: “Medium Density Fiberboard”, synthetic, it is very smooth, and easy to paint and finish (which is why I chose it because I know I’ll need to paint and sticker it later).
Cons: VERY DUSTY, kind of annoying to deal with
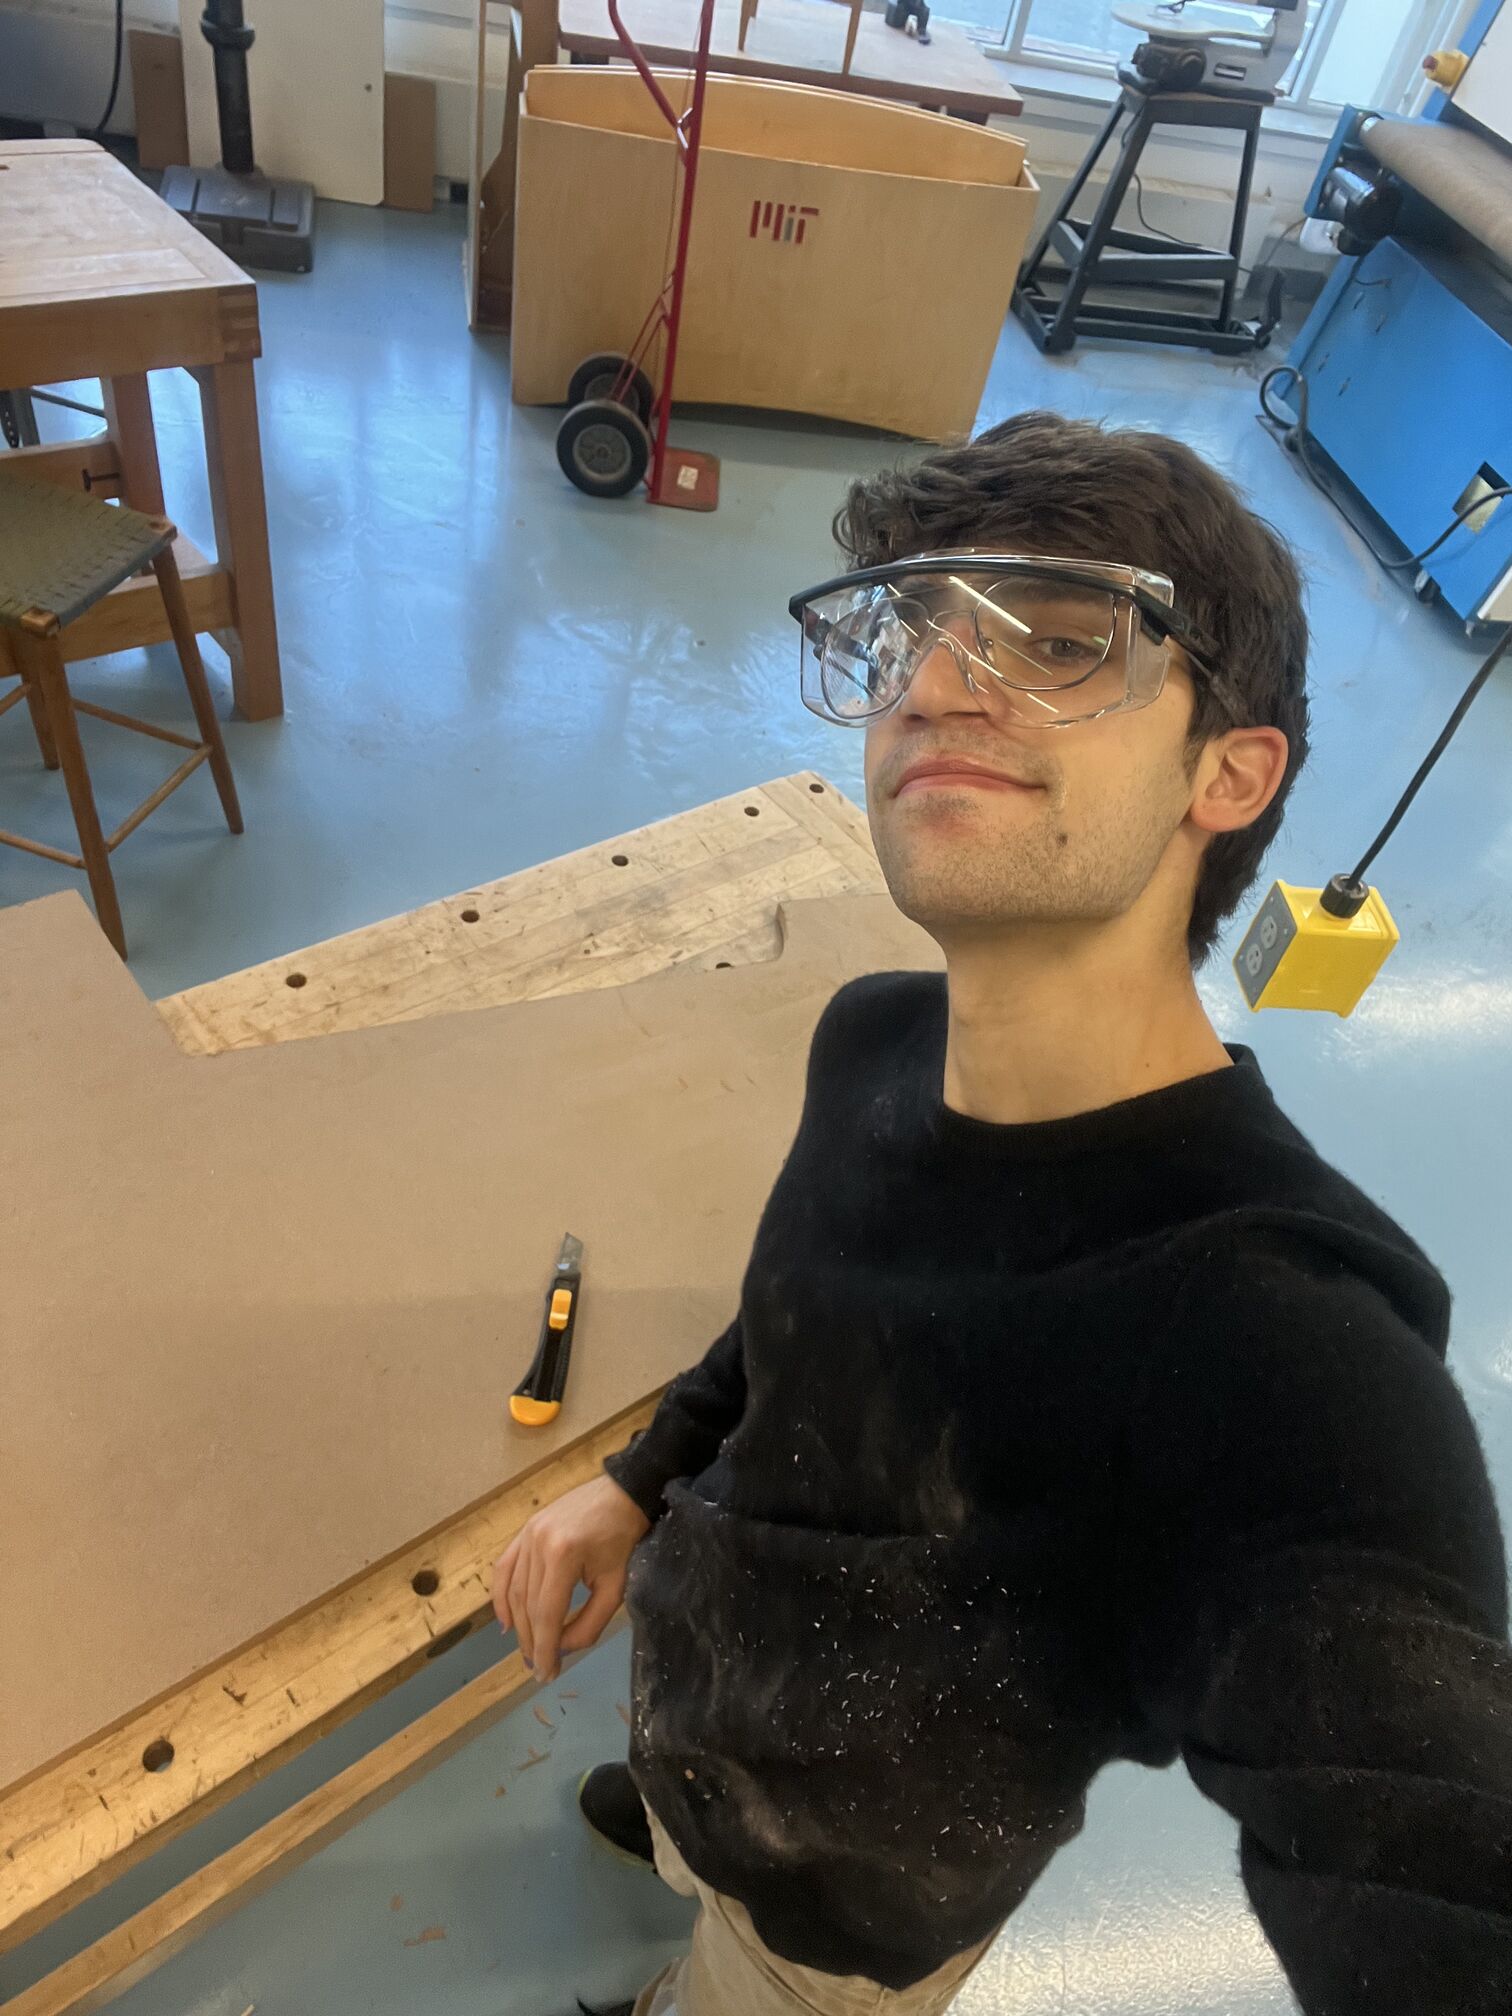
^^ i got very dusty
Plywood: More expensive than mdf, but less heavy, has a grain, can be bent more easily, and is stronger
Oriented Strand Board (OSB): “the sausage of the wood world” - Anthony, cheap, can’t be used with nails really because it’s not very structurally sound.
ASSEMBLING#
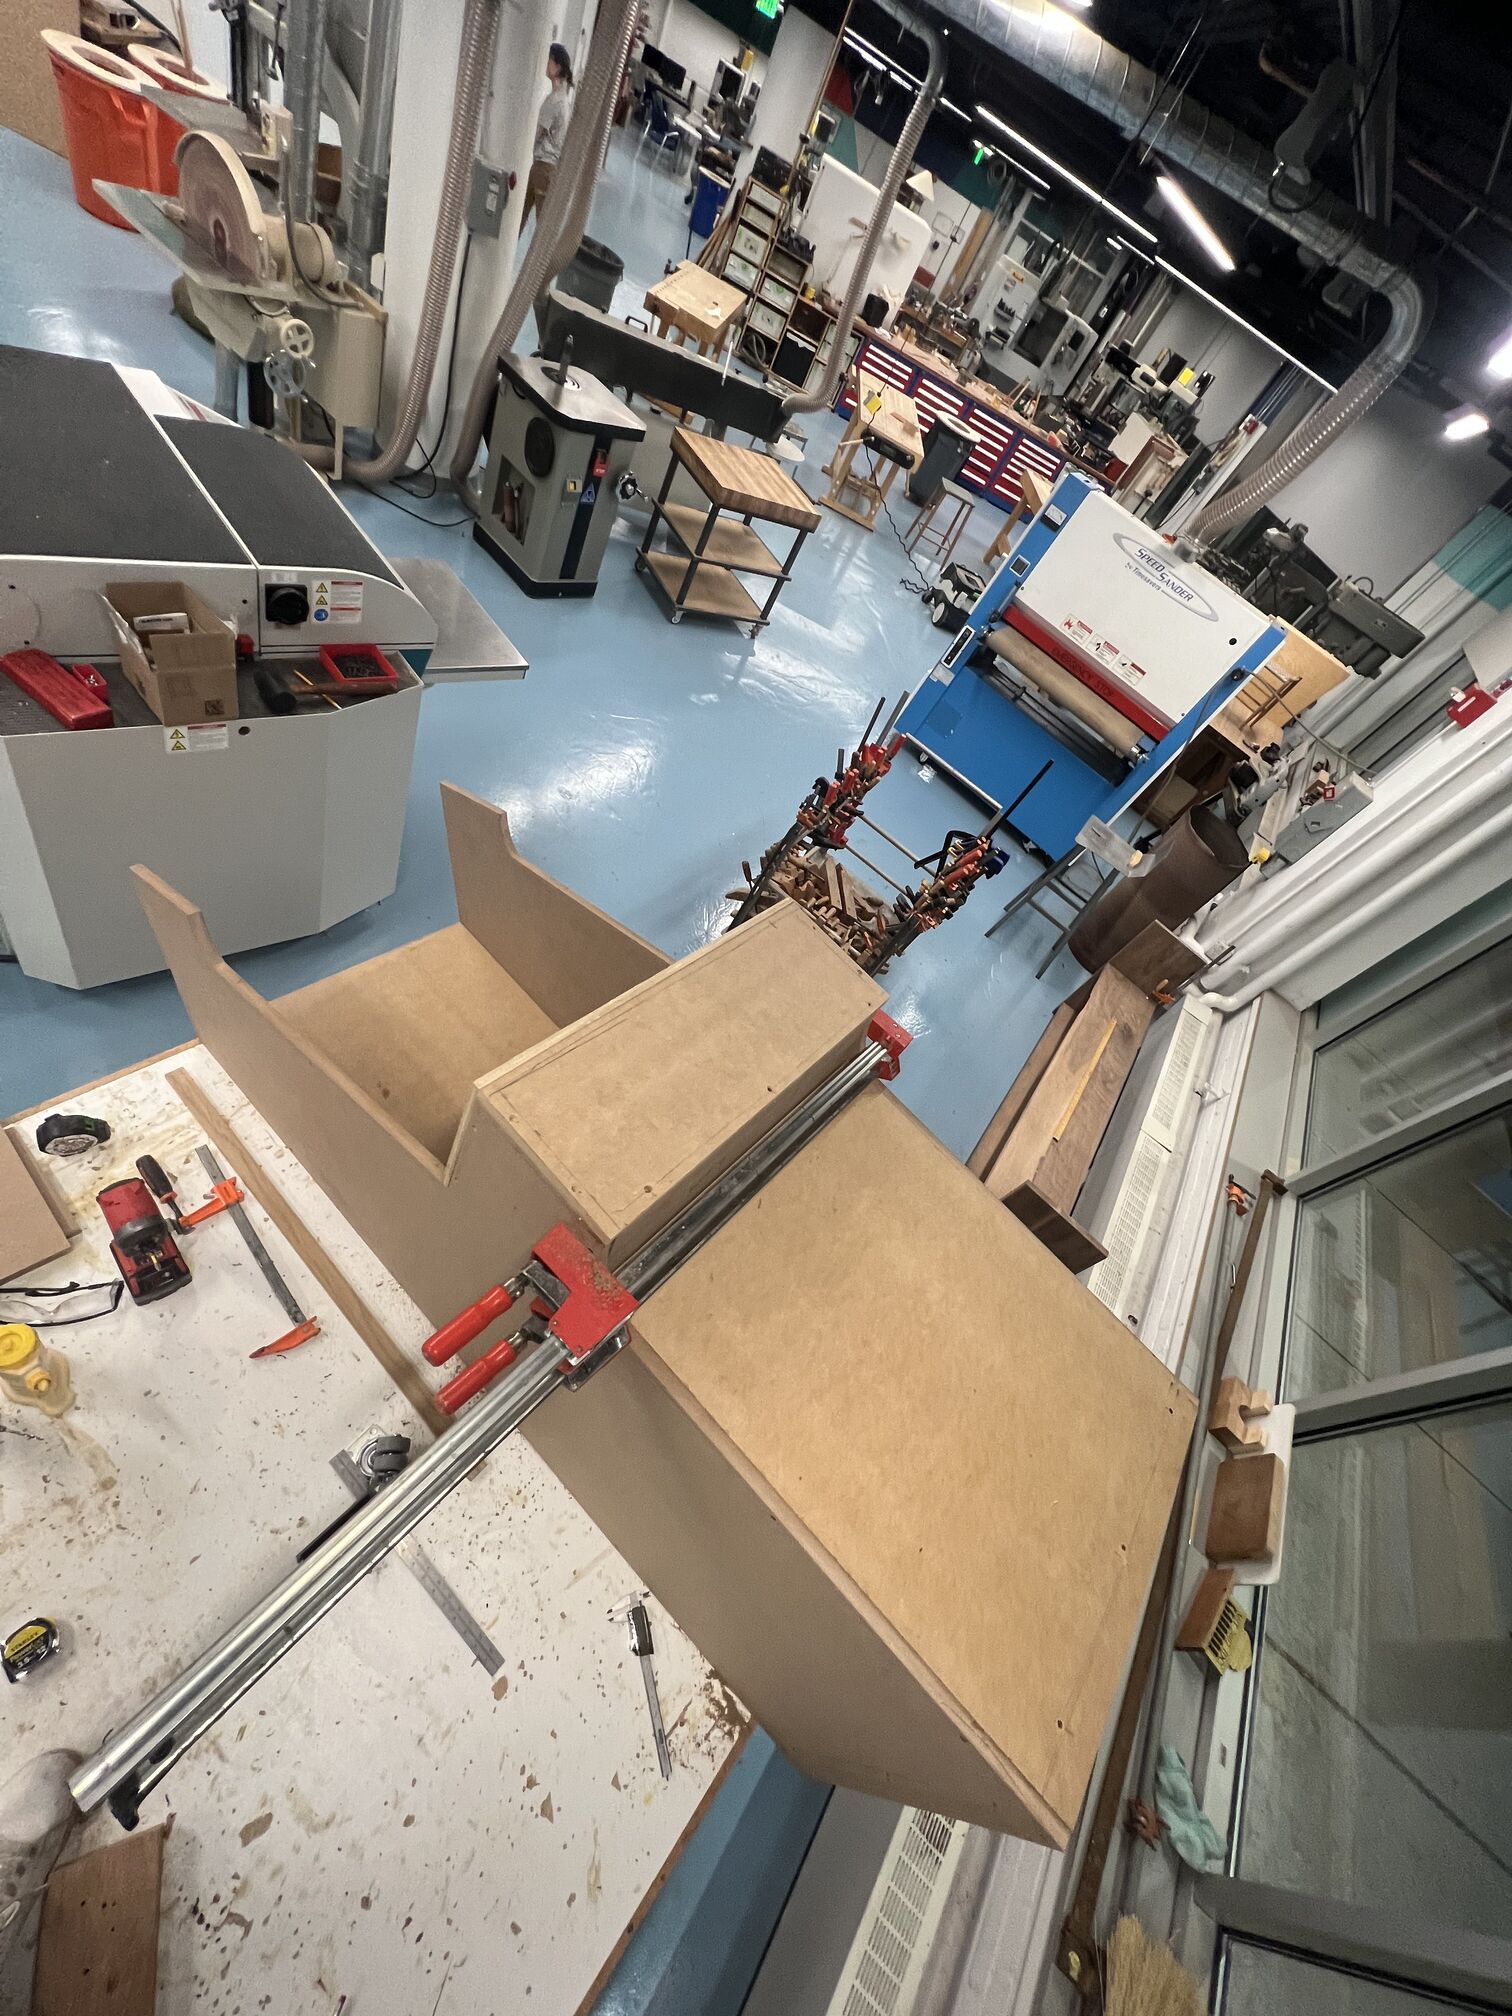
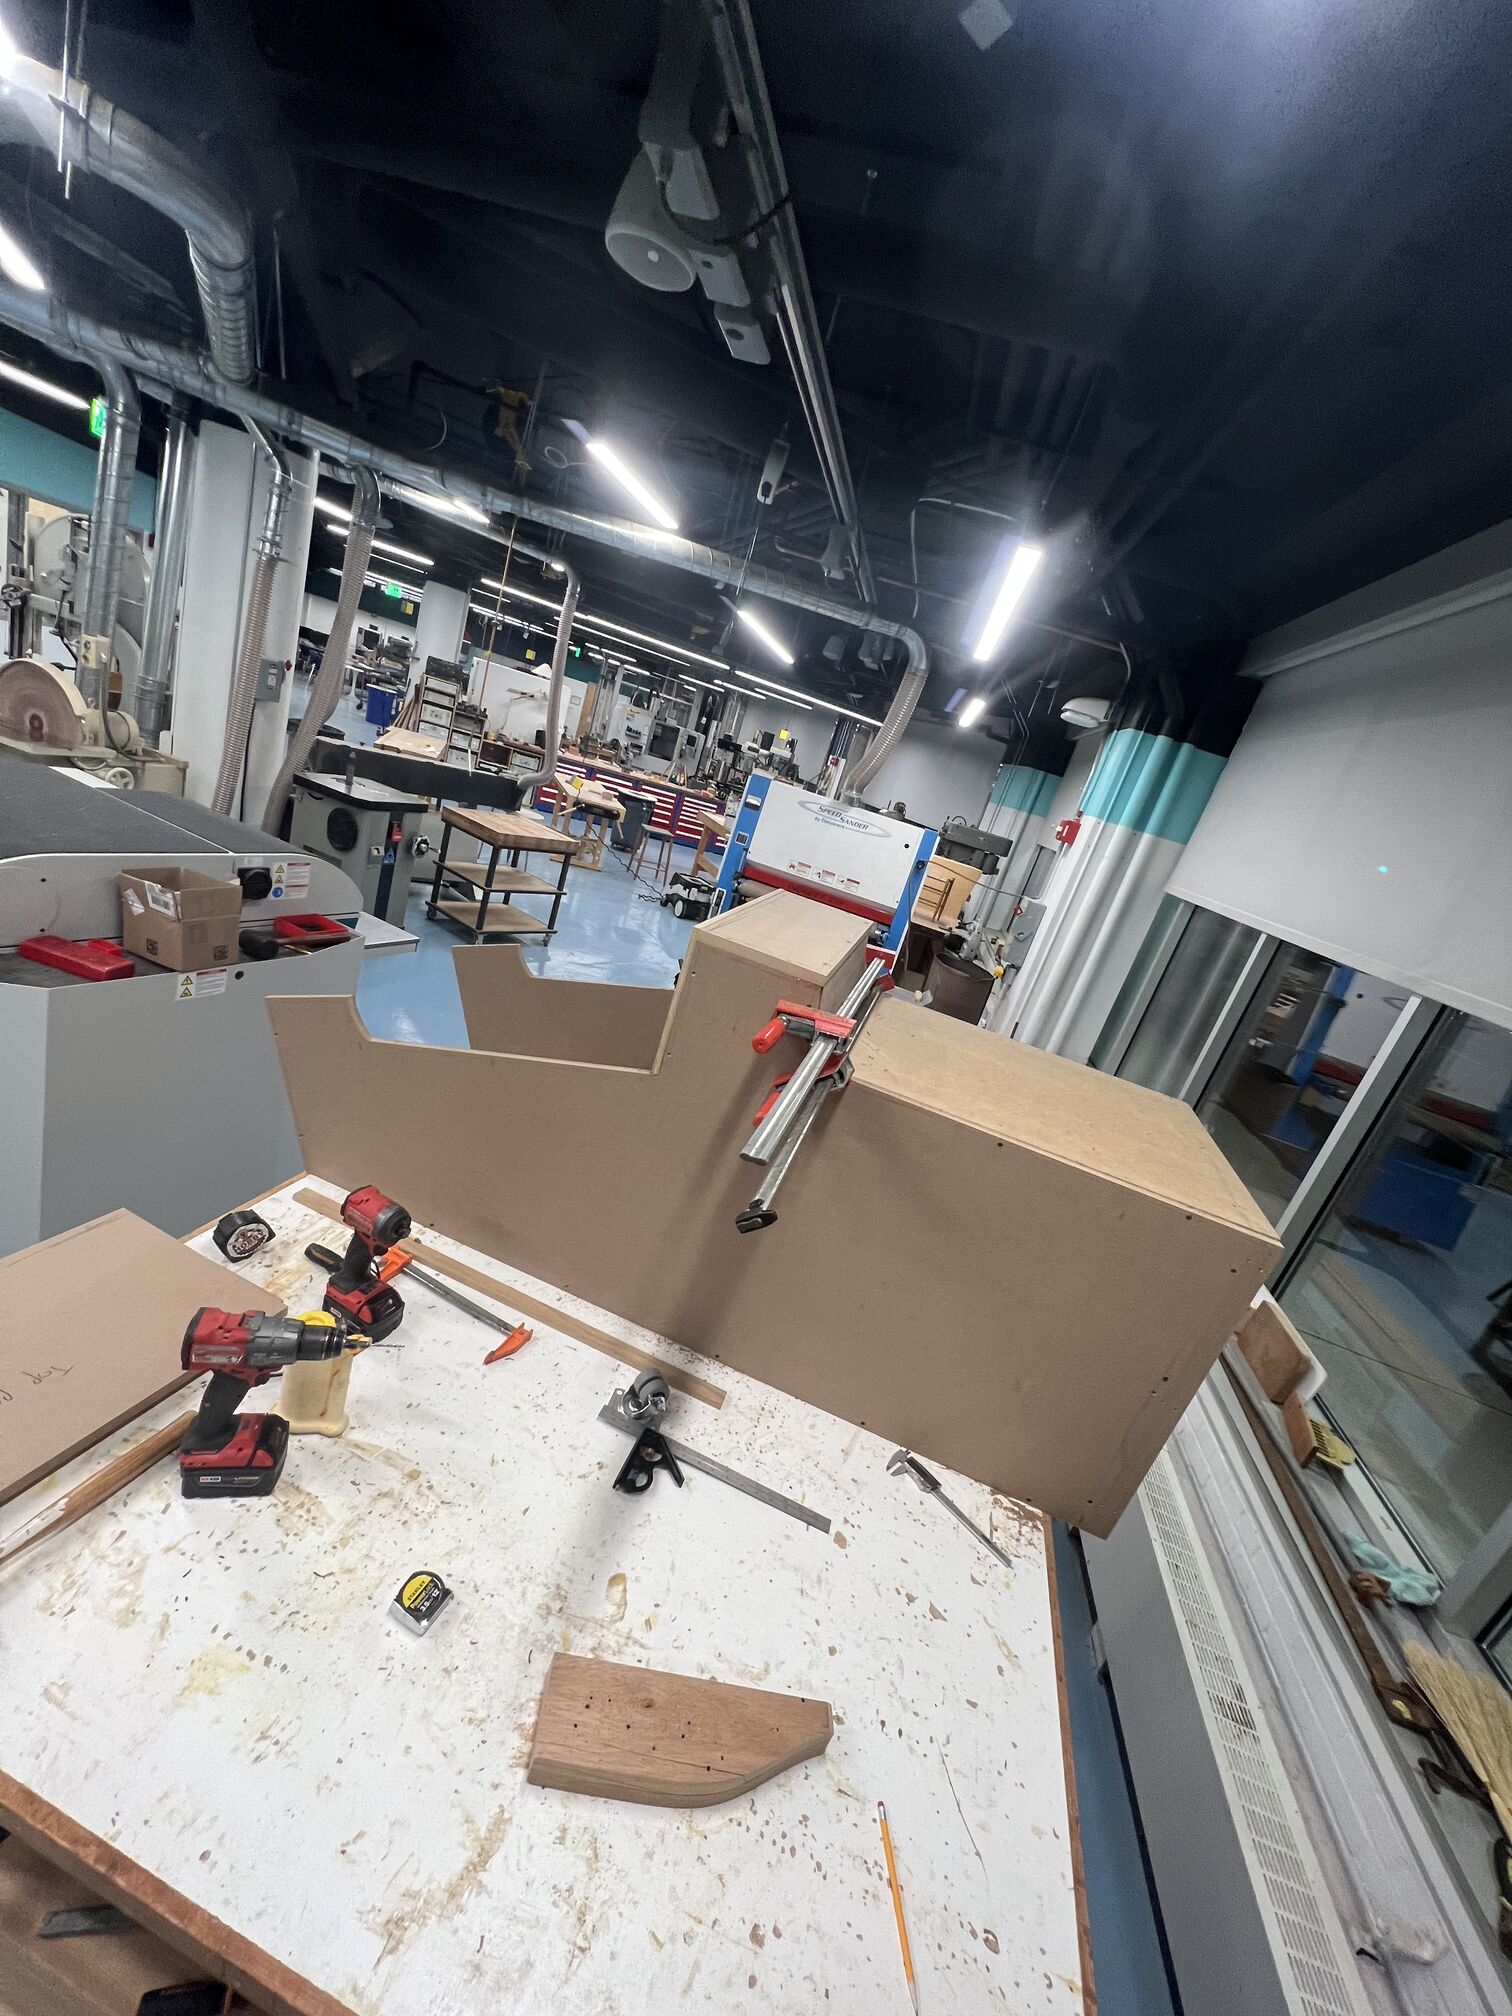
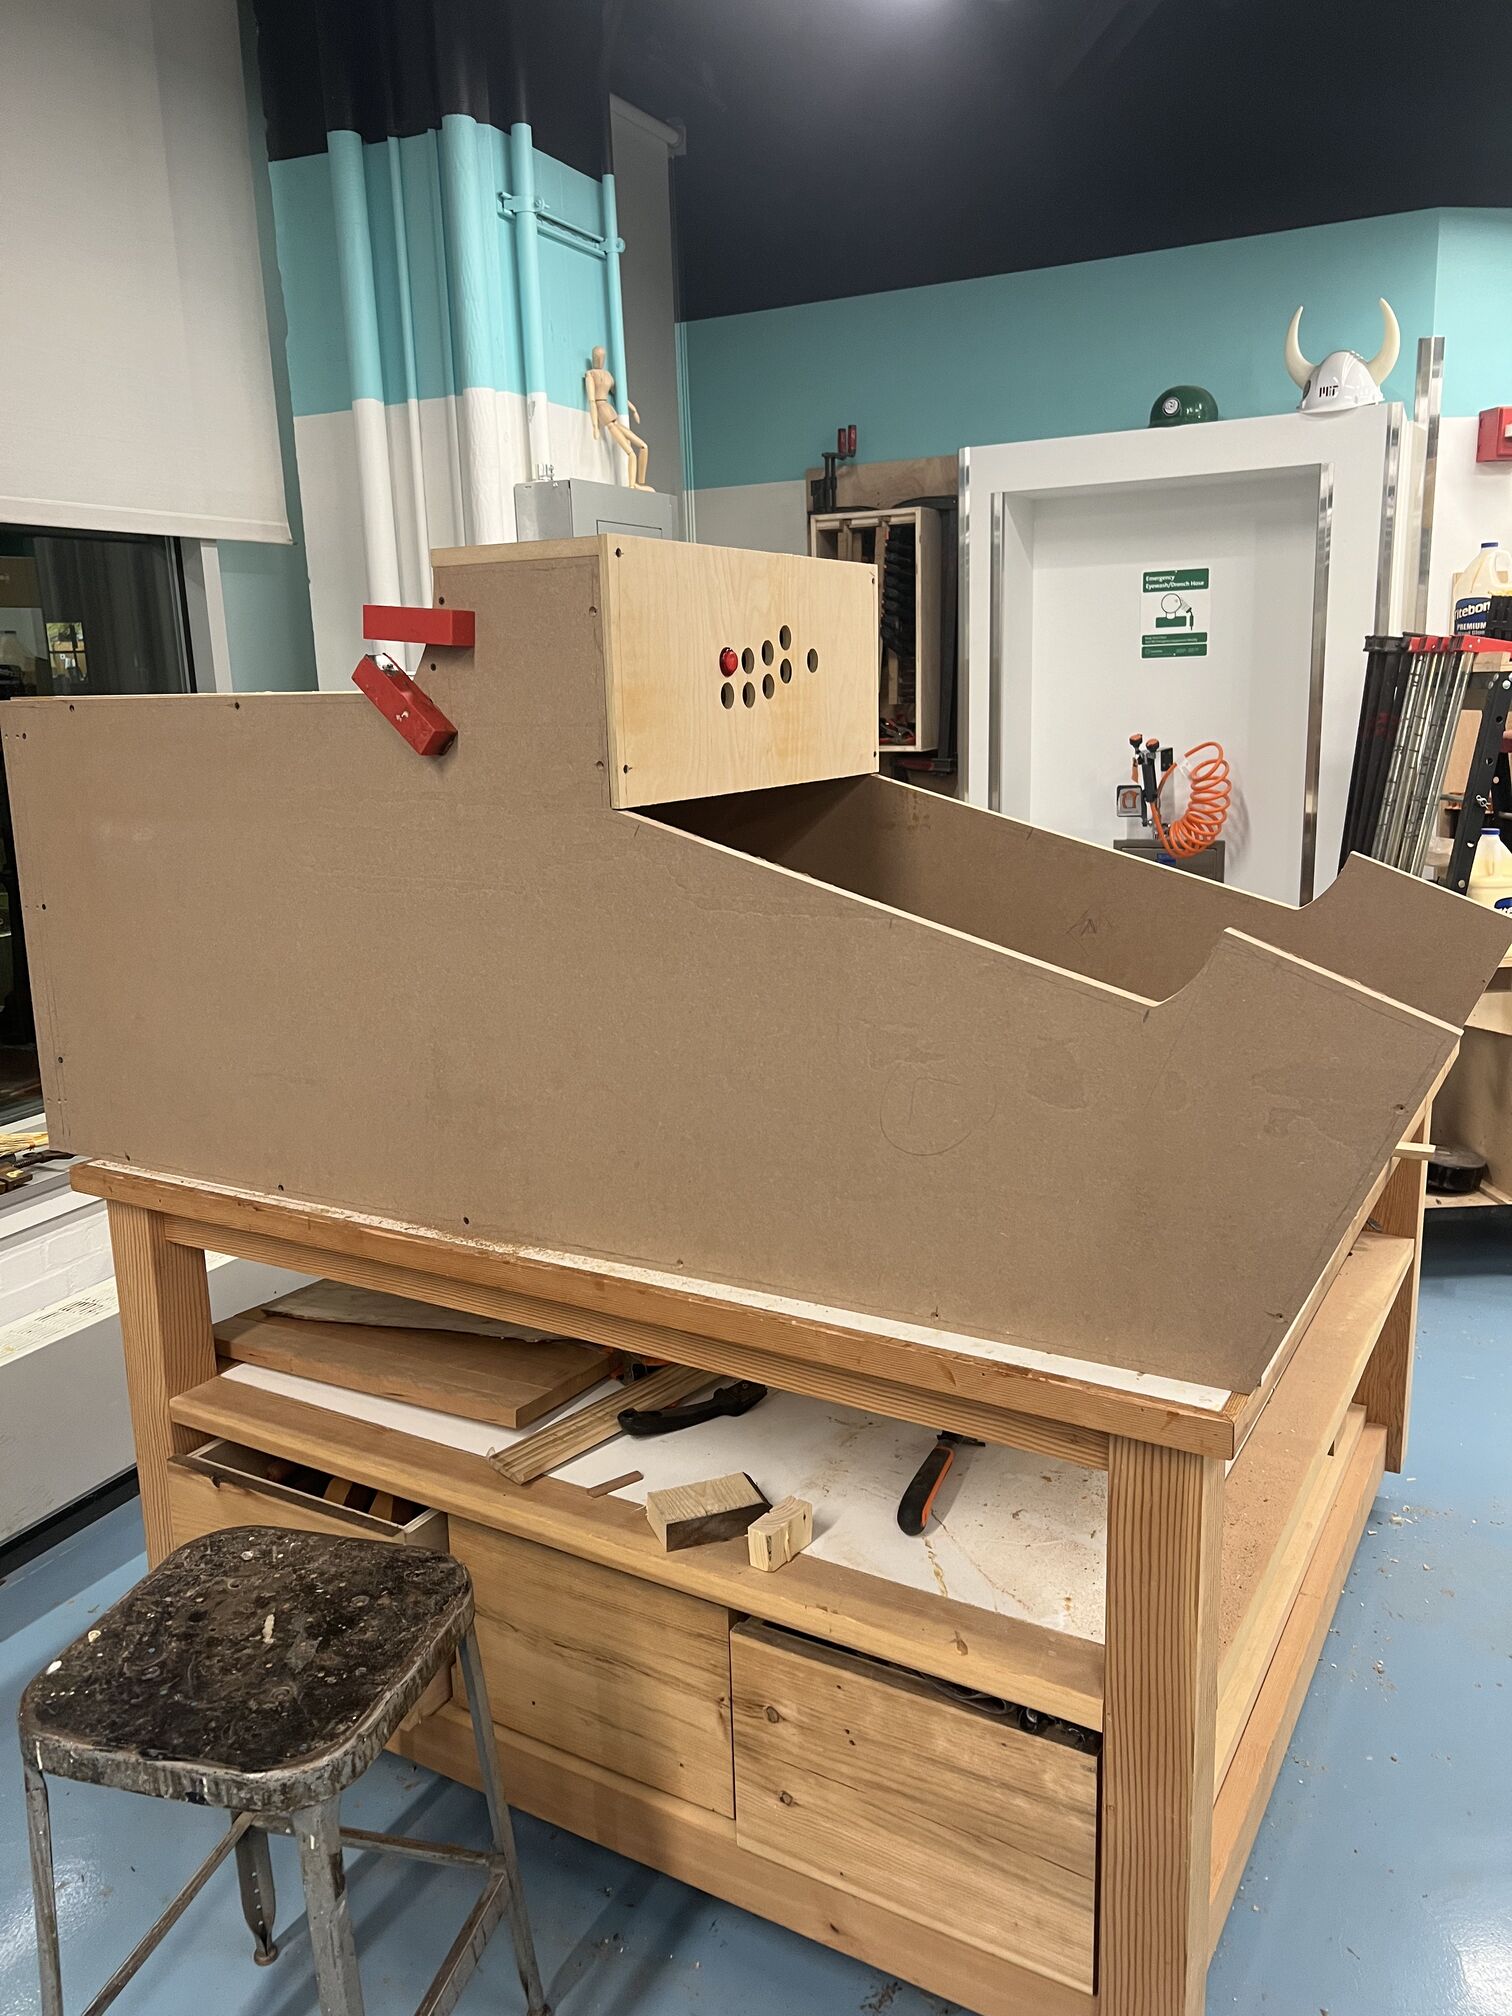
Now after a lot of cutting (3 sheets of mdf..) I had my wood, but didn’t know how to connect it. No extra credit for me - I ended up using a lot of glue and screws, mostly because I feel like they fit the aesthetic better of what I’m going for - maybe a cool super elegant press fit arcade would’ve been super cool, but I went for 80s clunky for now.

Basically the process was - predrill some holes, add glue to part I wanted to join, place on and hold (with the help of a few extra hands here), drill through the new piece and add screws to hold it. I learned that wood glue is actually SUPER strong - I had thought that it was just a bonus thing to help the screws, but actually I learned that sometimes, it’s stronger than the wood itself! (one pithy adage I saw on the internet: “the screws are just there until the glue dries”).
 This was a REALLY long process, simply because my thing was just so big ( > 6 ft). I was very tired and very dusty by the end, but I felt very satisfied. I had a hard time with the drill at first (and snapped a bit, which lives on forever now as a bonus screw in my machine), and as a result some of the countersinks aren’t super clean as I’d like them to be. Oh well, little details. There’s some more work to be done in terms of sanding and finishing so everything is flush, but I will very soon paint this boi and start thinking of how I actually do my system integration in a cool way.

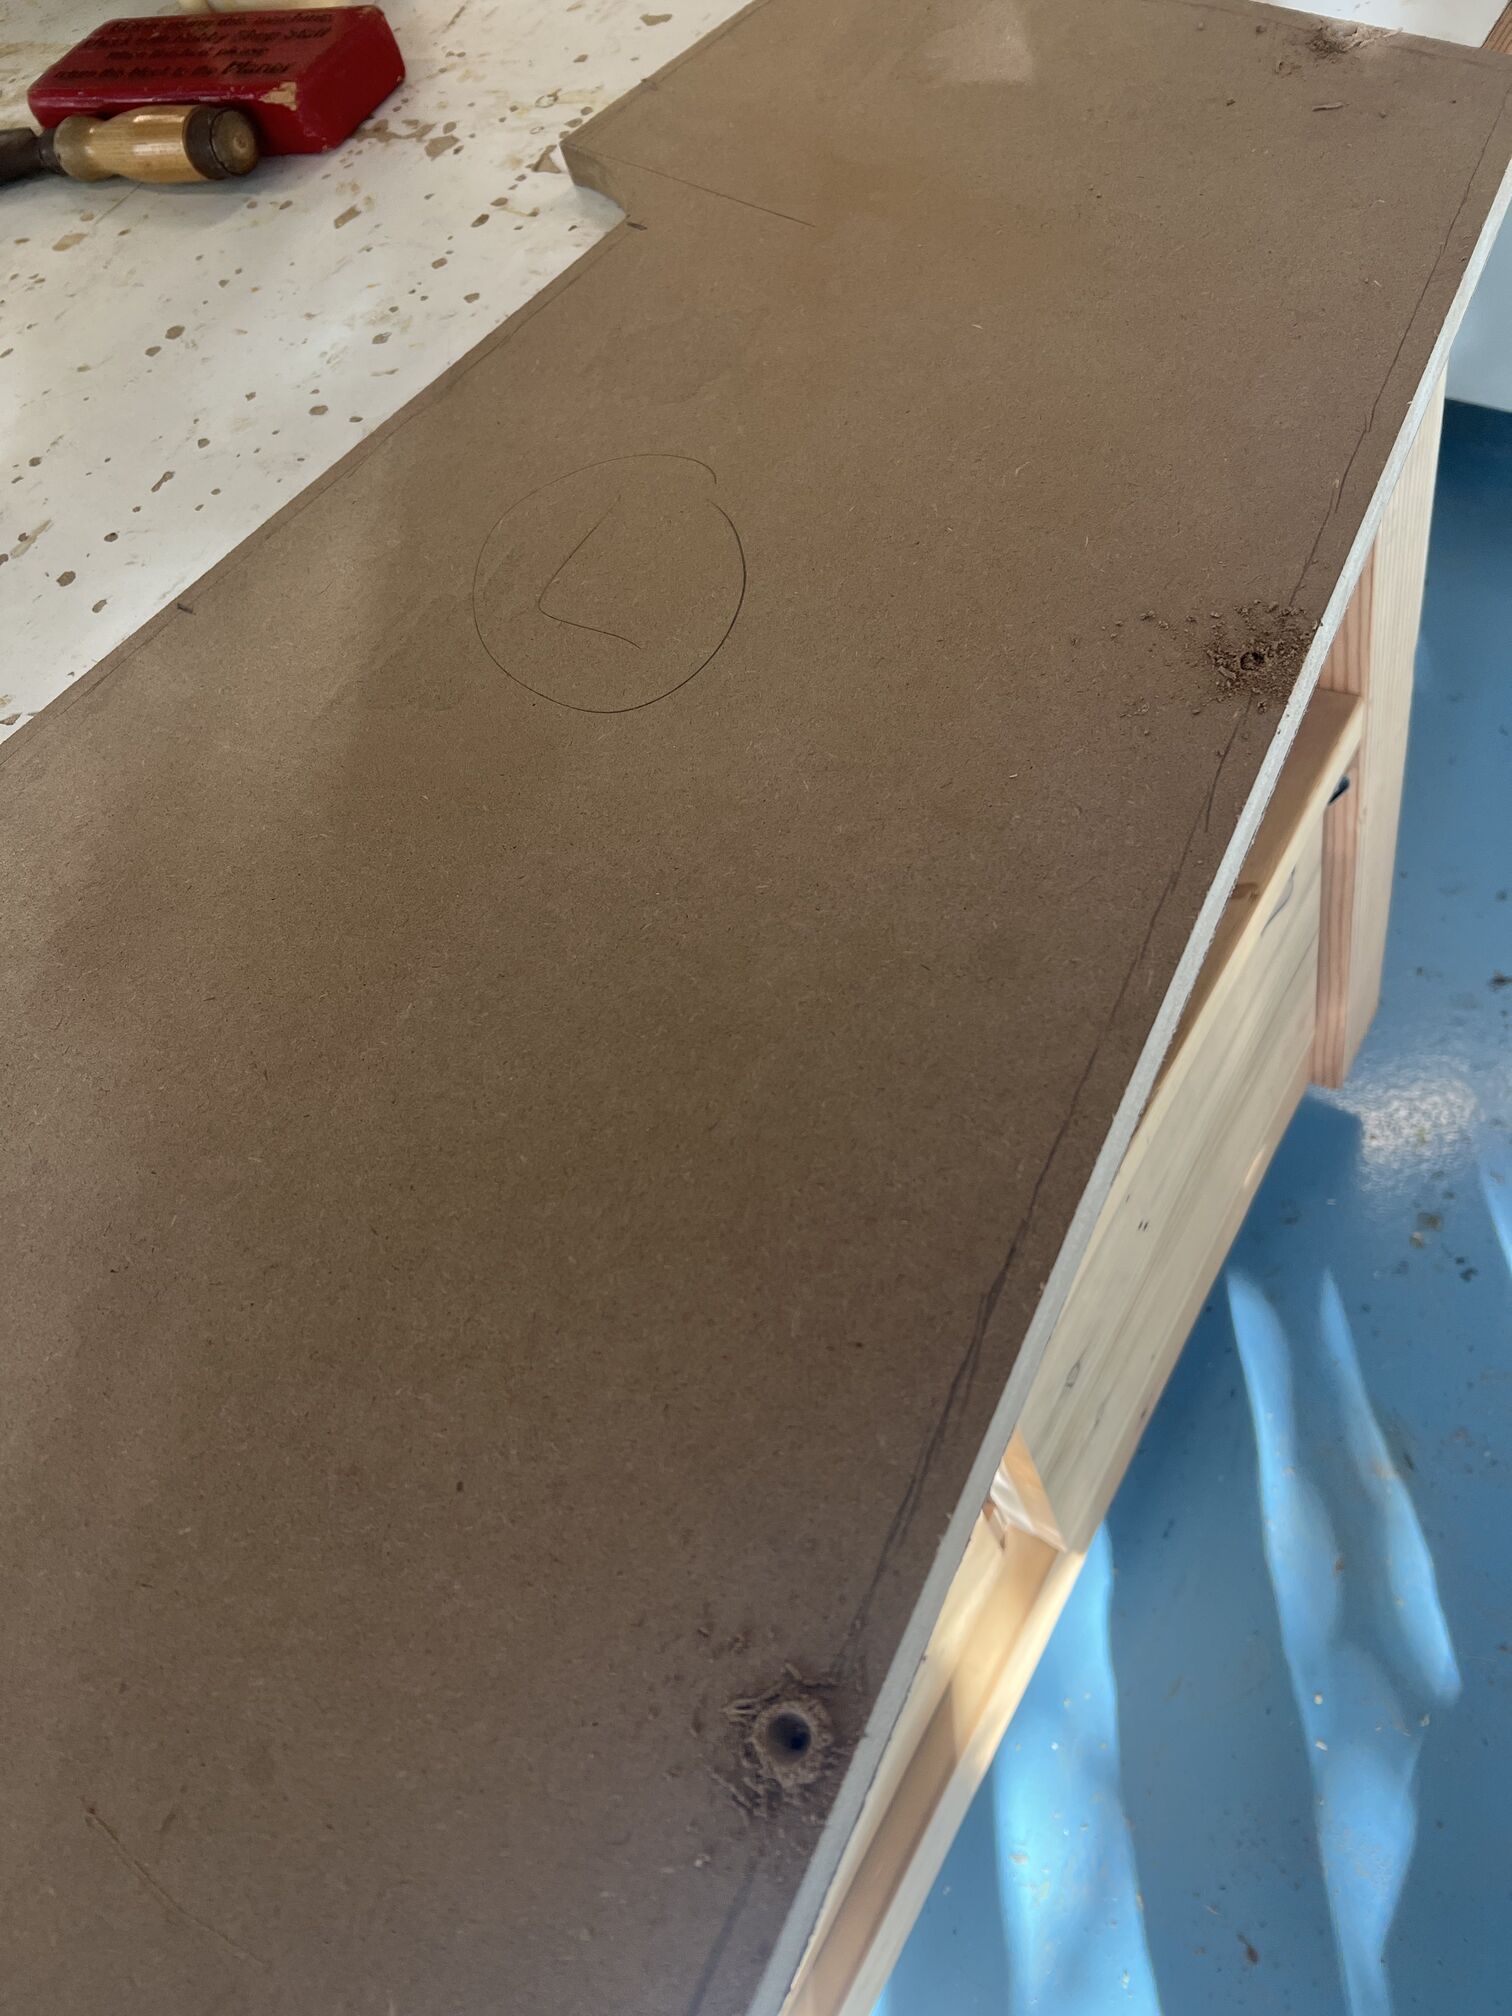
For me, I want this project to last a long time - as something that lurks in my lab space for sure, but also something that I take to conferences and do performances on, etc. So making good solutions that aren’t hacky is important!
Overall, I’m happy with my week (and honestly in this class, I feel like I’ve been disappointed more often than not). I am starting to circle back to some content in previous weeks every now and then, and I feel like now the skills are starting to click in a way that feels good and totally not how it felt when we were learning them lol.
QUESTIONS I WAS WONDERING BUT GOT ANSWERS TO#
Q: Dumb question: nails vs screws?
A: Each good for different things!  Screws are better for fastening. Screws are removable, nails not so much. They are more expensive though and slower to install. They have strength in different directions. Screws always have threads and are often drilled or screwdrived (word?), while nails are often hammered.

Q: Up cut vs down cut?
A: We use both, up endmills push stock well up, and down the opposite. Per Alfonso: Down endmills give "great surface finish and minimized warpage". Up endmills gjve "Better chip removal and great bottom finish"


Q: Driver vs drill?
A: We use both when fastening. Drill makes the hole, driver drives the fastener in.
And as always:
NOTES FOR PROGENY#
-Jake said at one point this week: “just make things fast” and we all thought that was funny - but it’s so true. You need to get past the design phase fast and get into the making things phase because things will invariably take more time in the irl real world and you can’t figure everything out in software anyway.
-Make scale models and prototype!! It’s so helpful