Week 4: 3D Printing and Scanning
Assignment
- Design and 3D print an object (small, few cm3, limited by printer time) that could not be made subtractively.
- 3D scan an object (and optionally print it).
3D Printing
I had never 3D printed before, surprisingly. So I attended the session with Jack to learn how to get started. He explained that we’d be working with FDM printers (Fused Deposition Modeling) and starting out with the Prusa Mk4 printers. To print an object, we’d have to import an STL file into Prusa Slicer.
Key Instructions
- Open Prusa Slicer.
- Make sure the 0.4mm nozzle is downloaded (main profile).
- Select from the different printers (very important!); for example, MK4 0.4 Nozzle Printer.
- Within Prusa software, add supports using the interface.
- The slicer lets you know if your object needs supports.
- It’s a good idea to place a flat surface on the print bed and orient the object correctly to minimize the use of supports.
I recorded some videos of the training, which are available on Google Drive.
First Print: Airless Tennis Ball
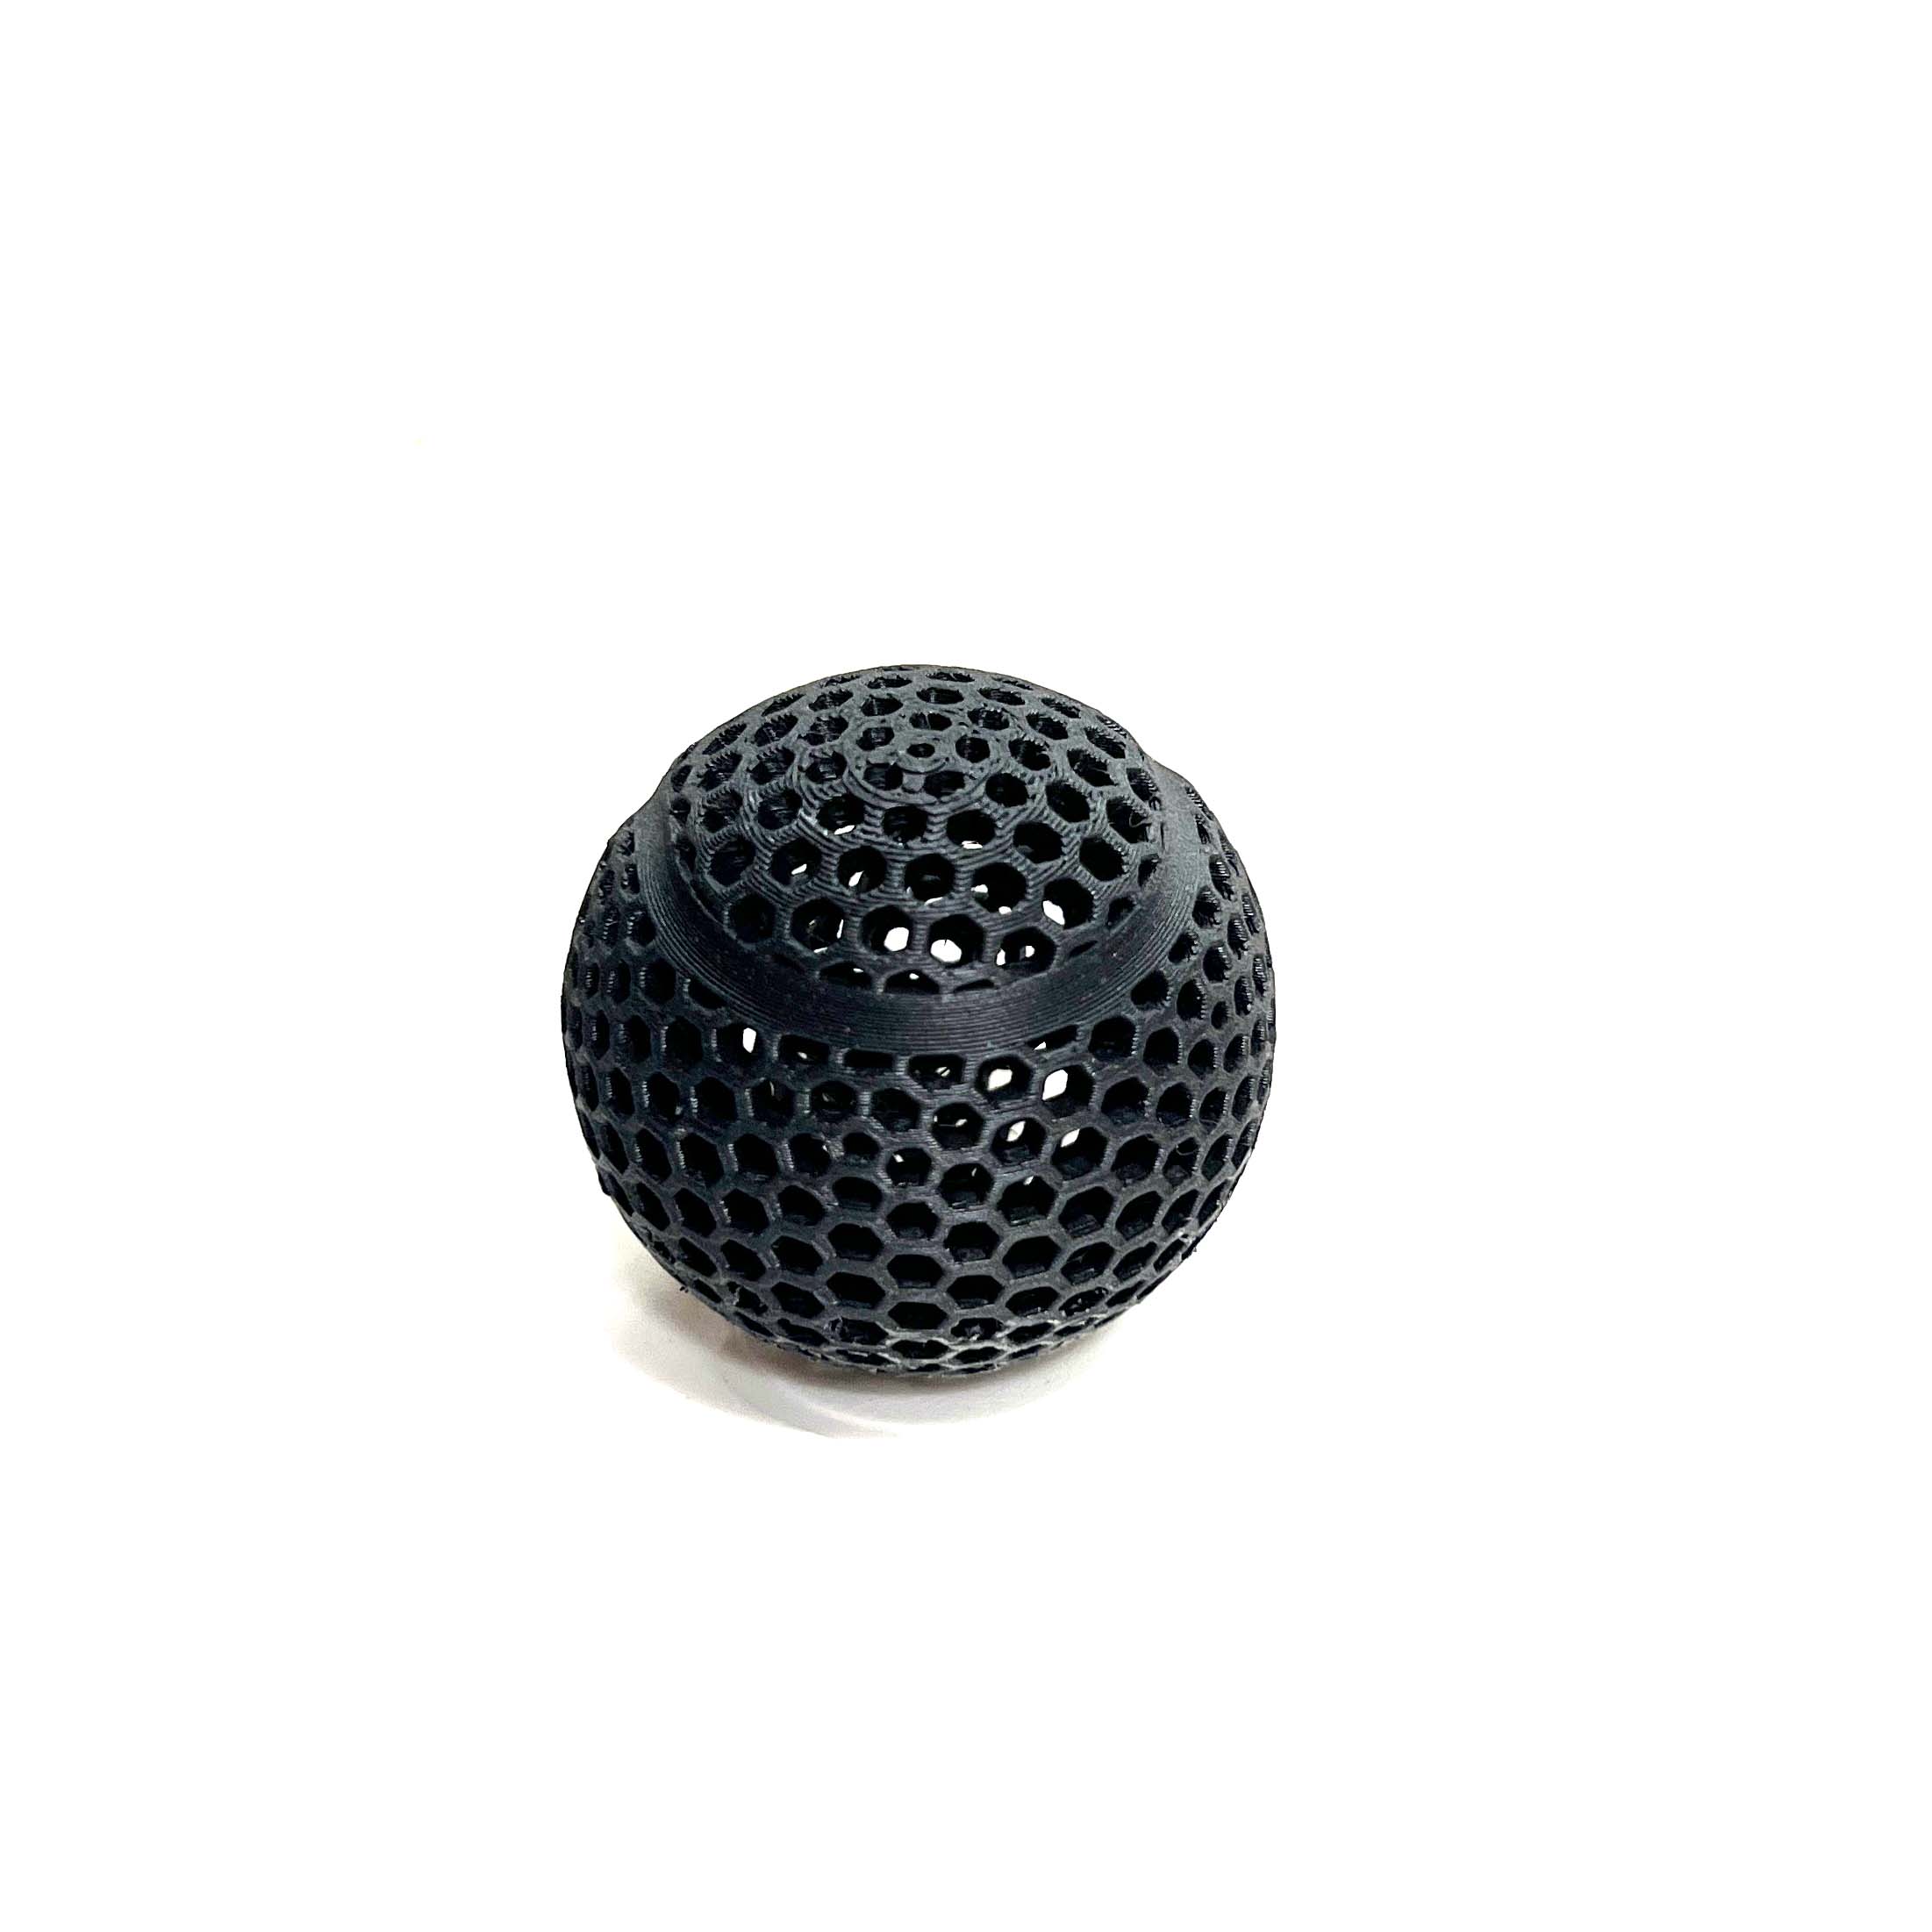
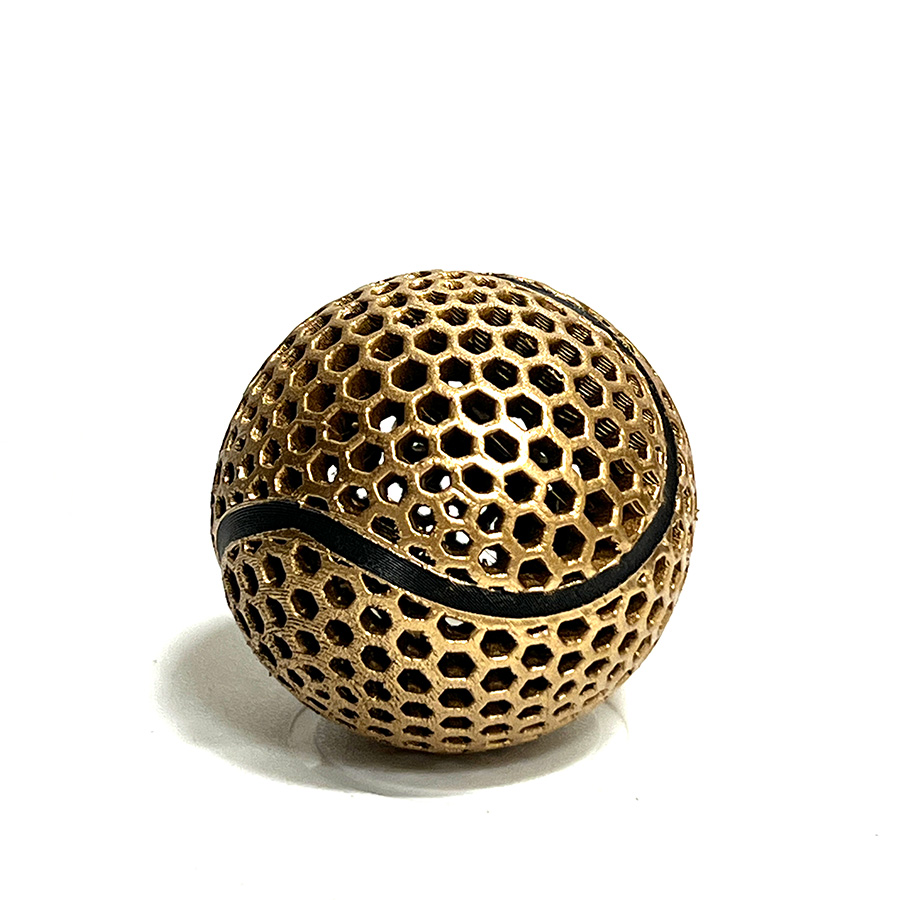
For my first print, I wanted to experiment with something quickly. I was curious if an airless tennis ball would be possible. Initially, I wanted to model it but found an existing model online, downloaded it, and sliced it in Prusa Slicer.
I encountered a few errors initially:
- The wrong kind of printer was detected, and the printer kept asking me to change the filament.
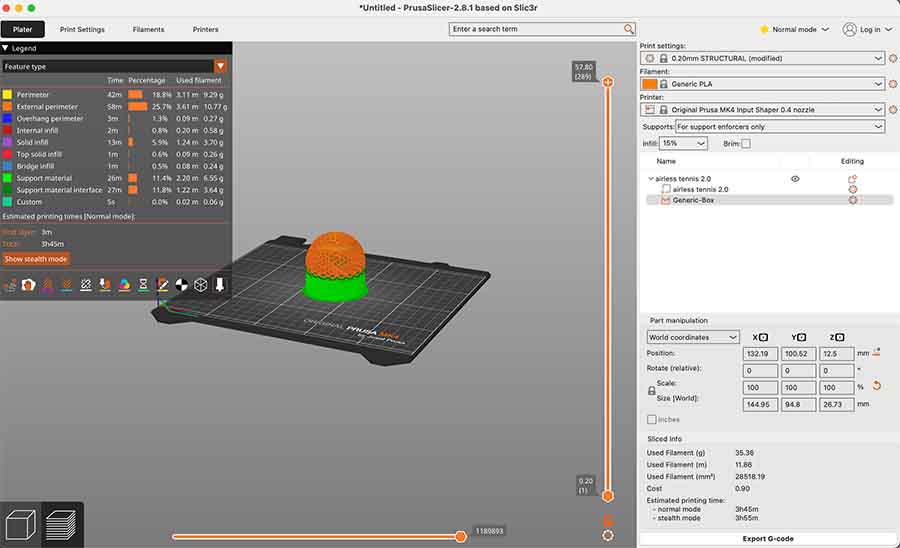
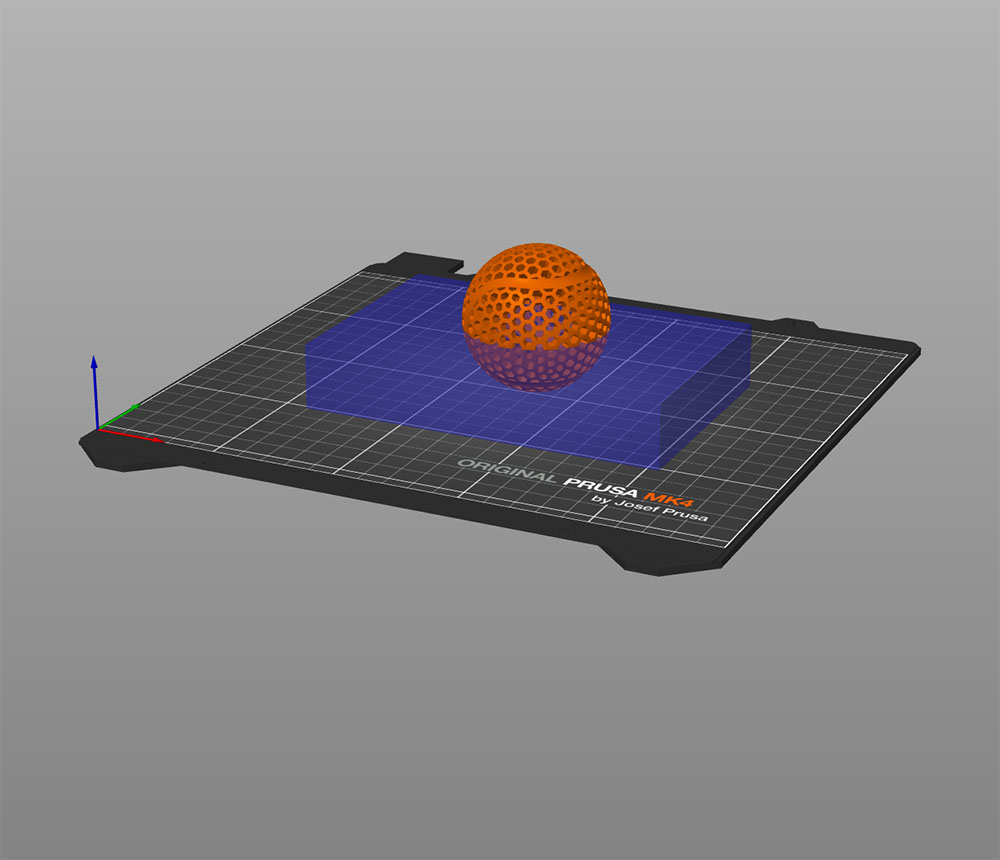
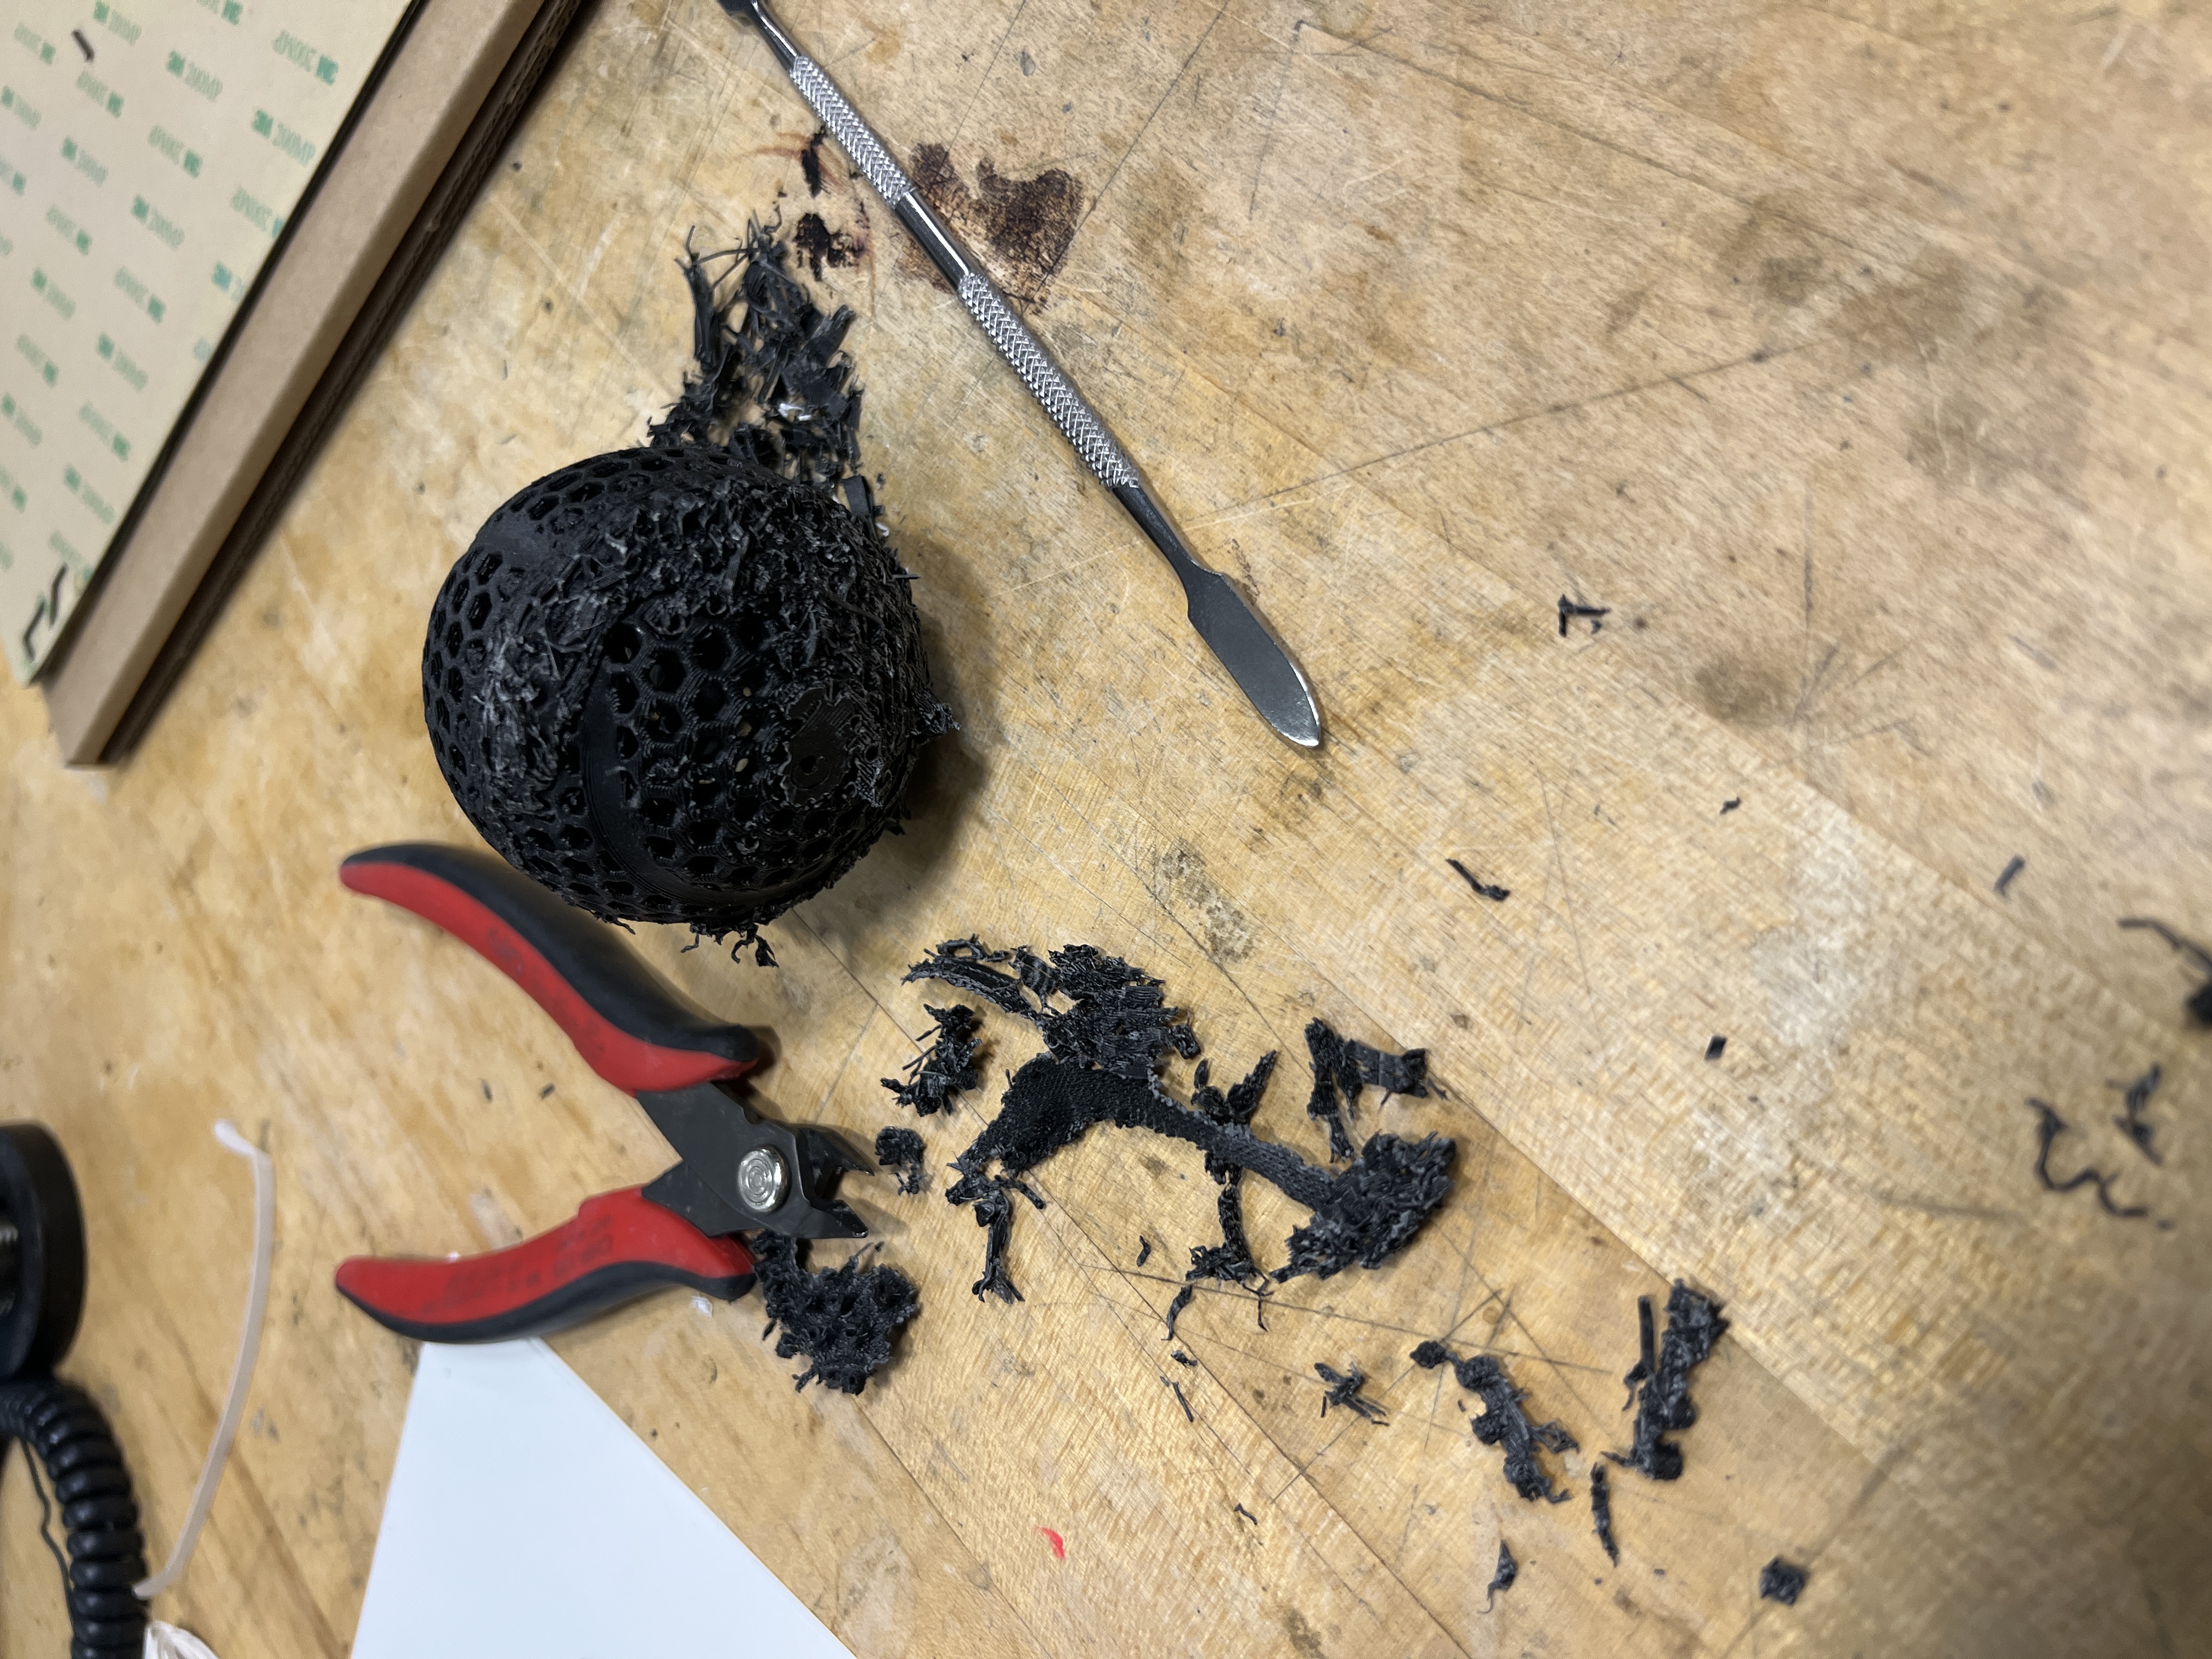
- There was an issue with filling on the inside with supports, making them impossible to remove. Alfonso showed me how to remove the supports by using a support enforcer box.
Hinged Box
Next, I wanted to play around with mechanisms. I found a tutorial about making a box with hinges that I thought would be interesting to 3D print to see if it works in reality. (Video Tutorial)
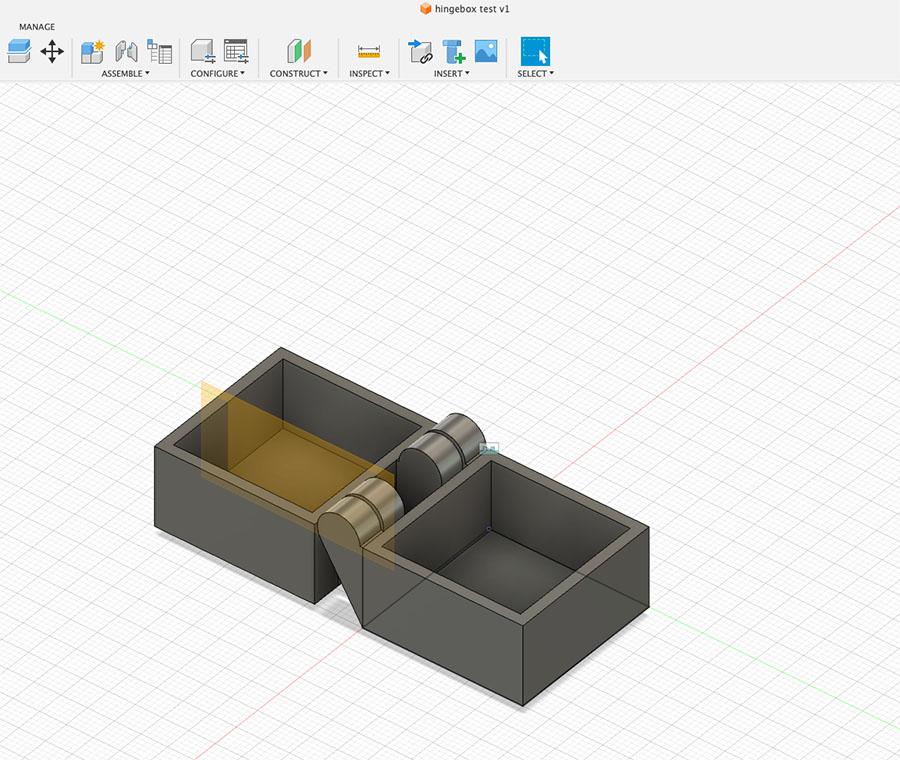
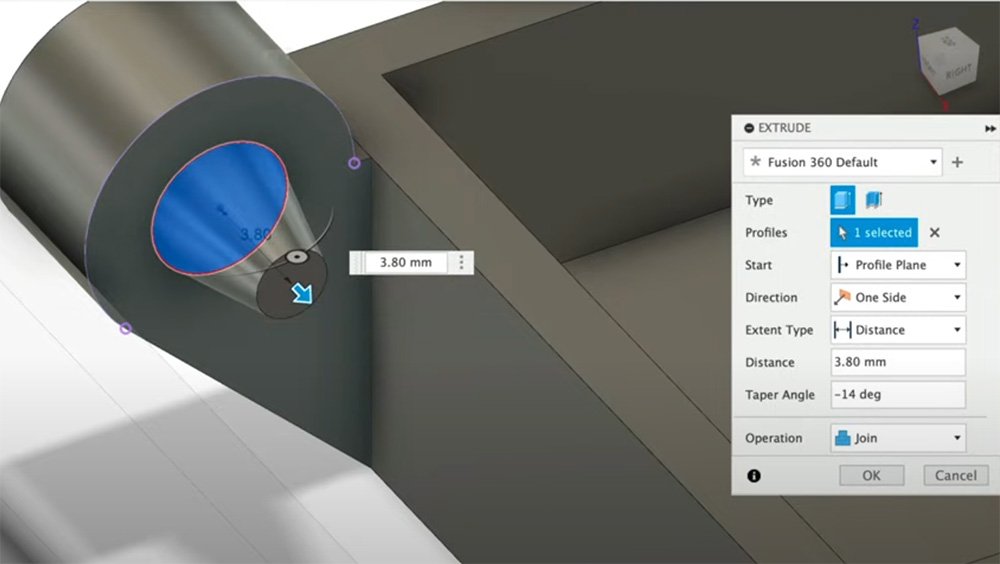
I modeled the file in Fusion 360. The model is parametric, so I was able to make it slightly smaller. I set the taper angle to -12 degrees for the hinges, and the print came out well without needing support material. The hinges were a bit loose but functioned fine. It might be interesting to explore a slow-close mechanism.
3D Scanning
I tried out 3D scanning using the Creality scanner. It worked best with objects that had a lot of geometry and weren’t reflective. I scanned a few things, like a mushroom sculpture and a banana.
Experiment with Cassette Tapes
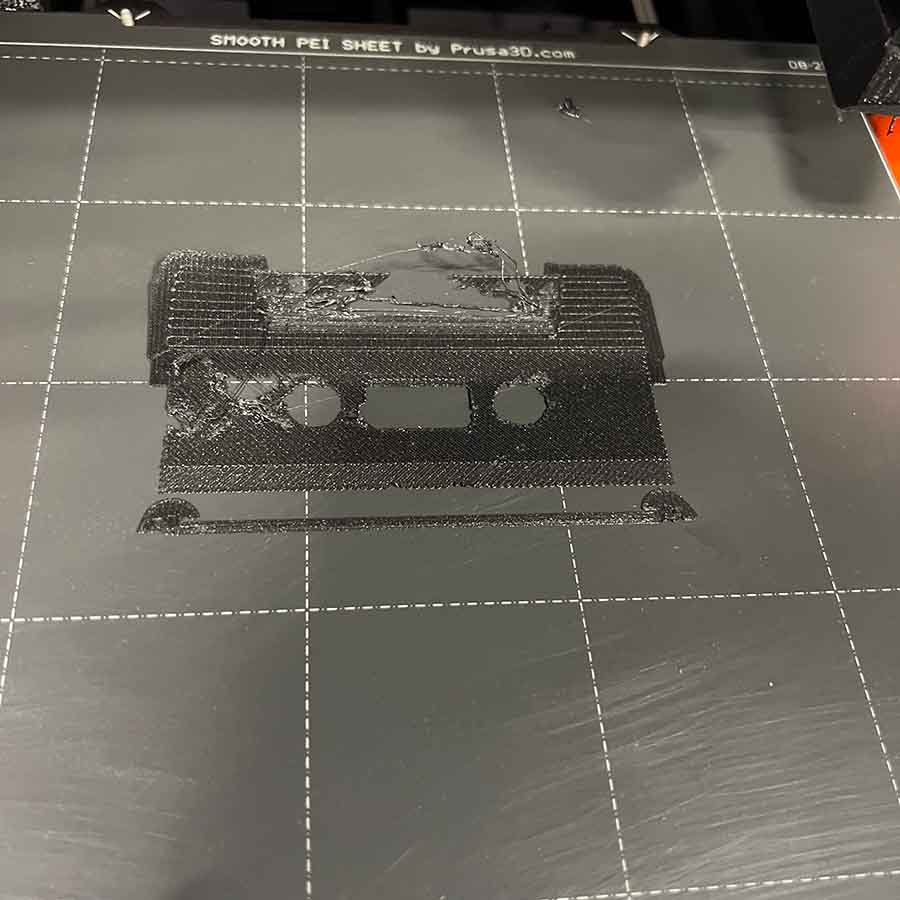
Instead, I modeled a cassette tape in halves and printed it on the Prusa MK4. The initial print failed, but after restarting my system and setting the printer settings correctly, the two sides connected and joined snugly.
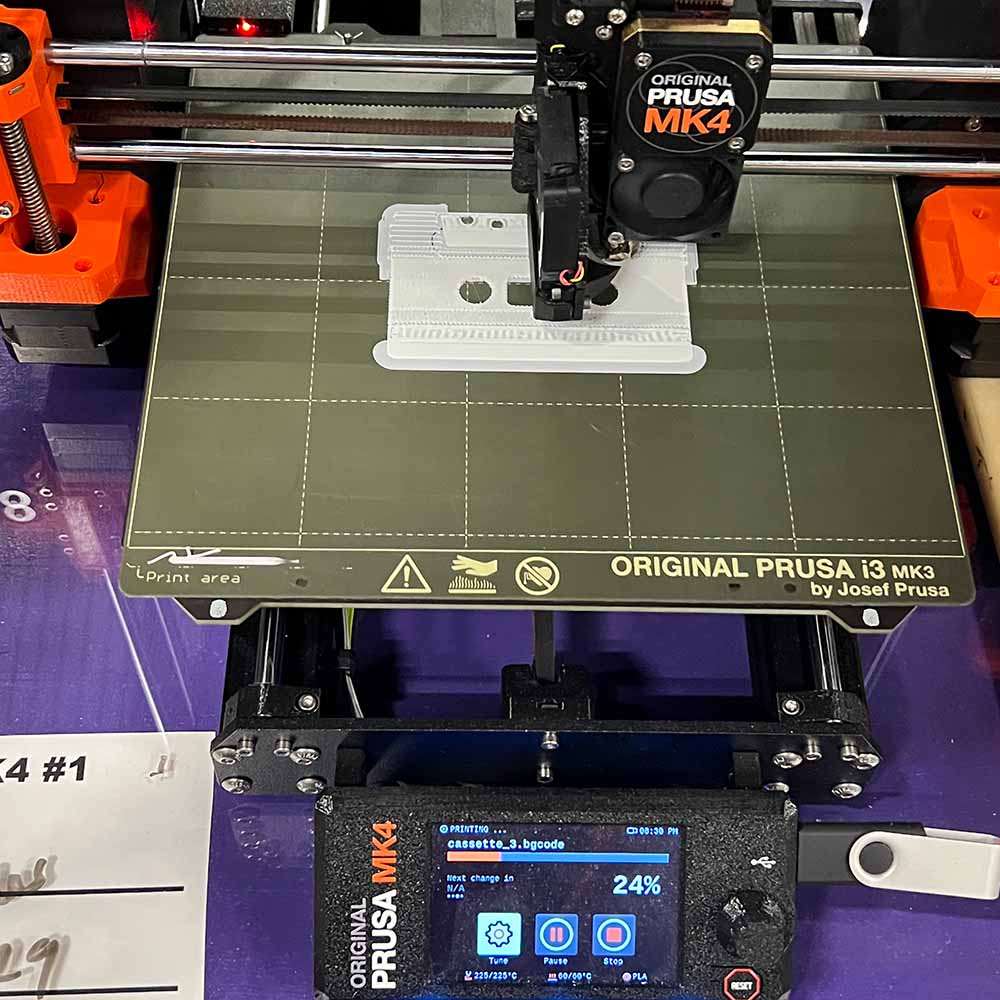
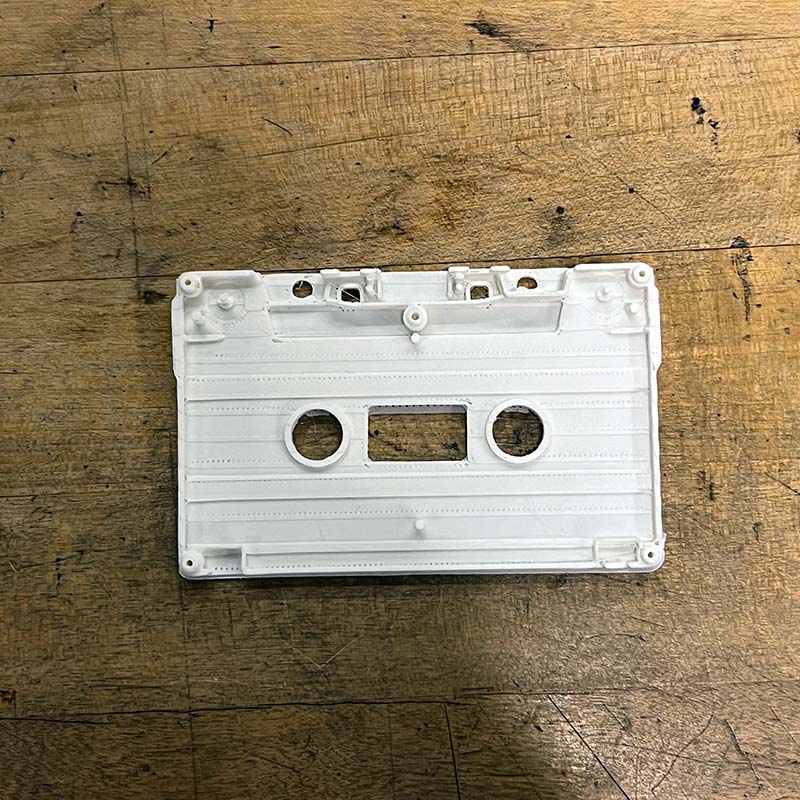
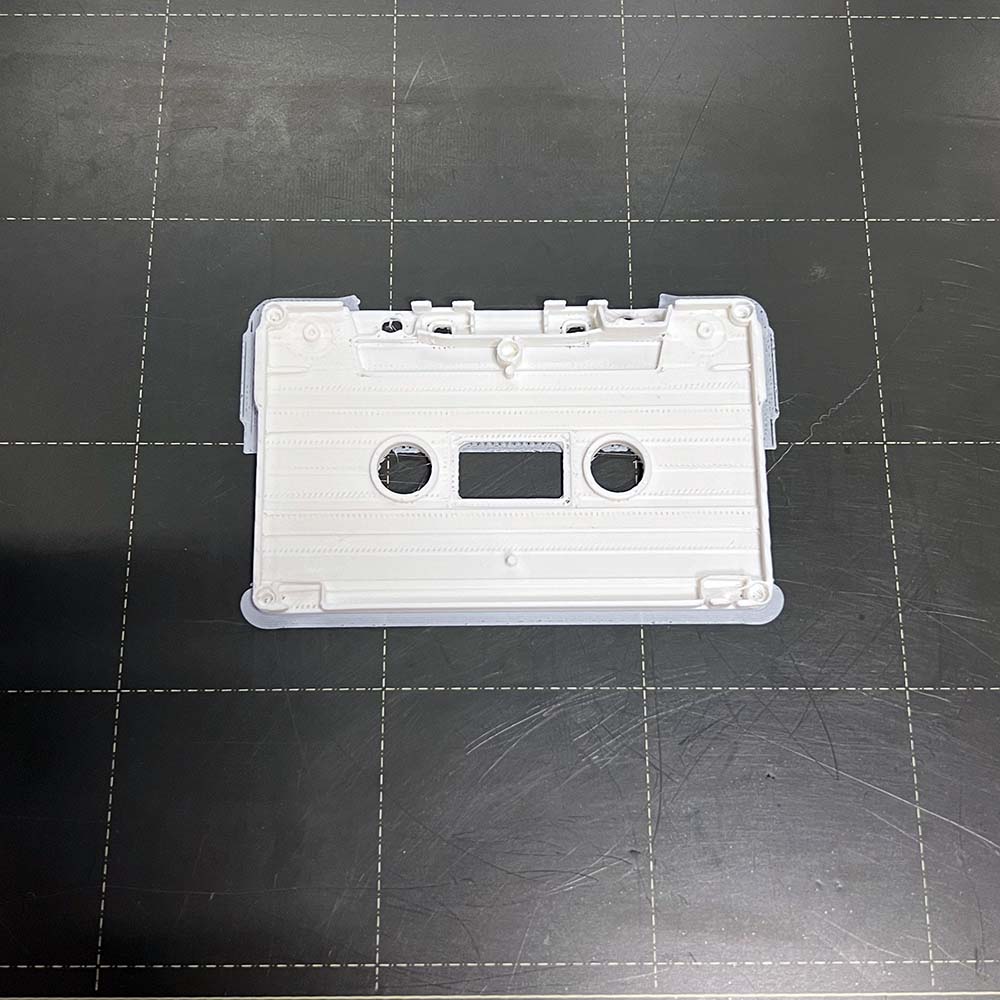
<<<<<<< HEAD I finished up by spray painting one side of the cassette tape black to highlight the possible affordances of the medium. As a next step, I’d like to prototype smaller cassettes with a transparent resin. I found a reference using PETG, which seems ======= I finished up by spray painting one side of the cassette tape black to highlight the possible affordances of the medium. As a next step, I’d like to prototype smaller cassettes with a transparent resin. I found a reference using PETG, which seems >>>>>>> 0603d66498c86998a9c841d2c9c6386f7c92ceb4 suitable for this project.
