Week 2: Introduction to Cardboard Laser Cutting
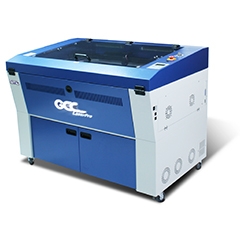
After completing the safety training, we started cutting and characterizing the laser cutter settings. The GCC Spirit GLS-30 is a powerful CO₂ laser cutter that we used for this task.
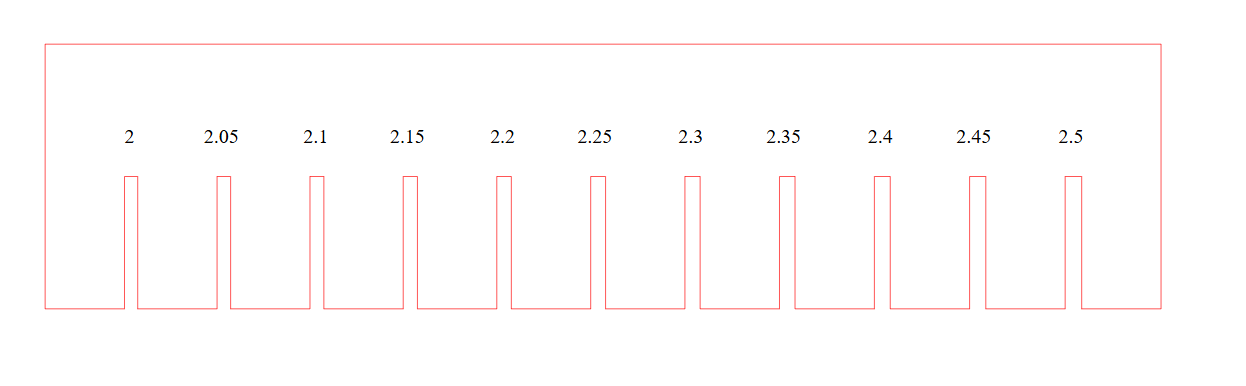
The kerf testing process helped us fine-tune the joint clearance for a perfect press-fit. We experimented with different laser settings, adjusting power, speed, and pulse rate to achieve clean, precise cuts. This allowed us to meansure the different joint spacings for best press fit.
The GCC Spirit GLS-30v is a dependable CO₂ laser cutter we worked with, and through our project we learned how various settings impact our cuts. Here’s a brief rundown of the key parameters we characterized:
- Focus: Calibrated to the material's surface for clean, precise cuts.
- Power: Set at 100% for effective cutting and engraving.
- Speed: Adjusted between slower speeds (around 2.1–2.8) for vector cuts and faster (50) for raster work.
- Rate (PPI): Used 200 pulses per inch for smooth, accurate edges.
- Kerf: Measured at approximately 0.2 mm.
- Joint Clearance: Tuned to achieve a snug press-fit, typically offsetting by kerf/2 plus a small interference.
- Types: Utilized both vector cutting (with multiple passes if needed) and raster engraving, depending on the application.
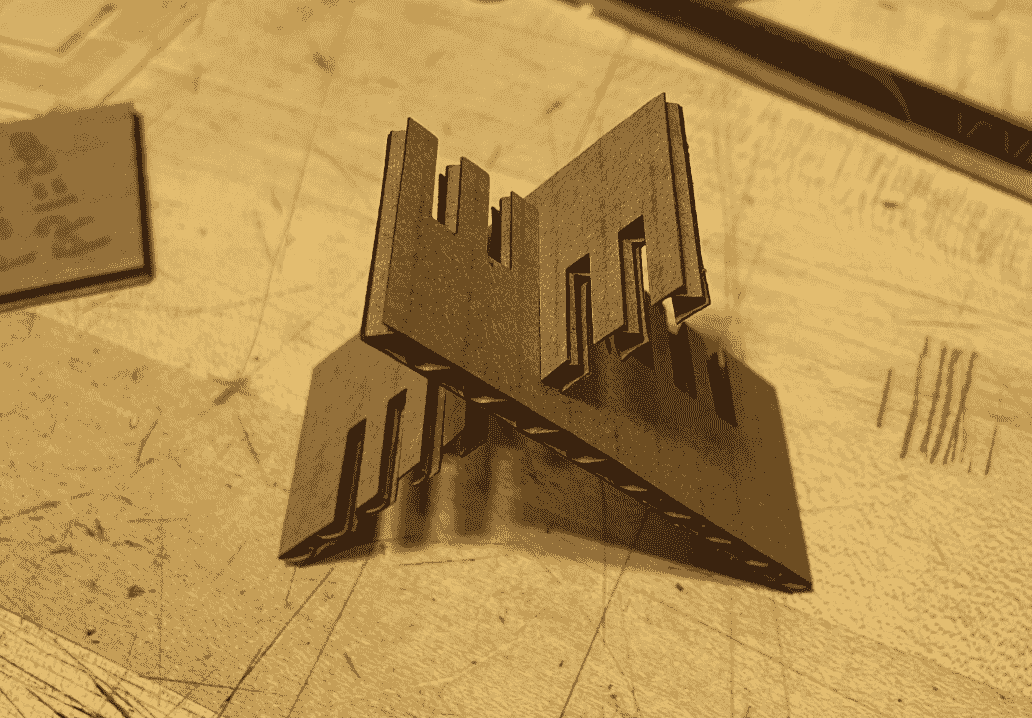
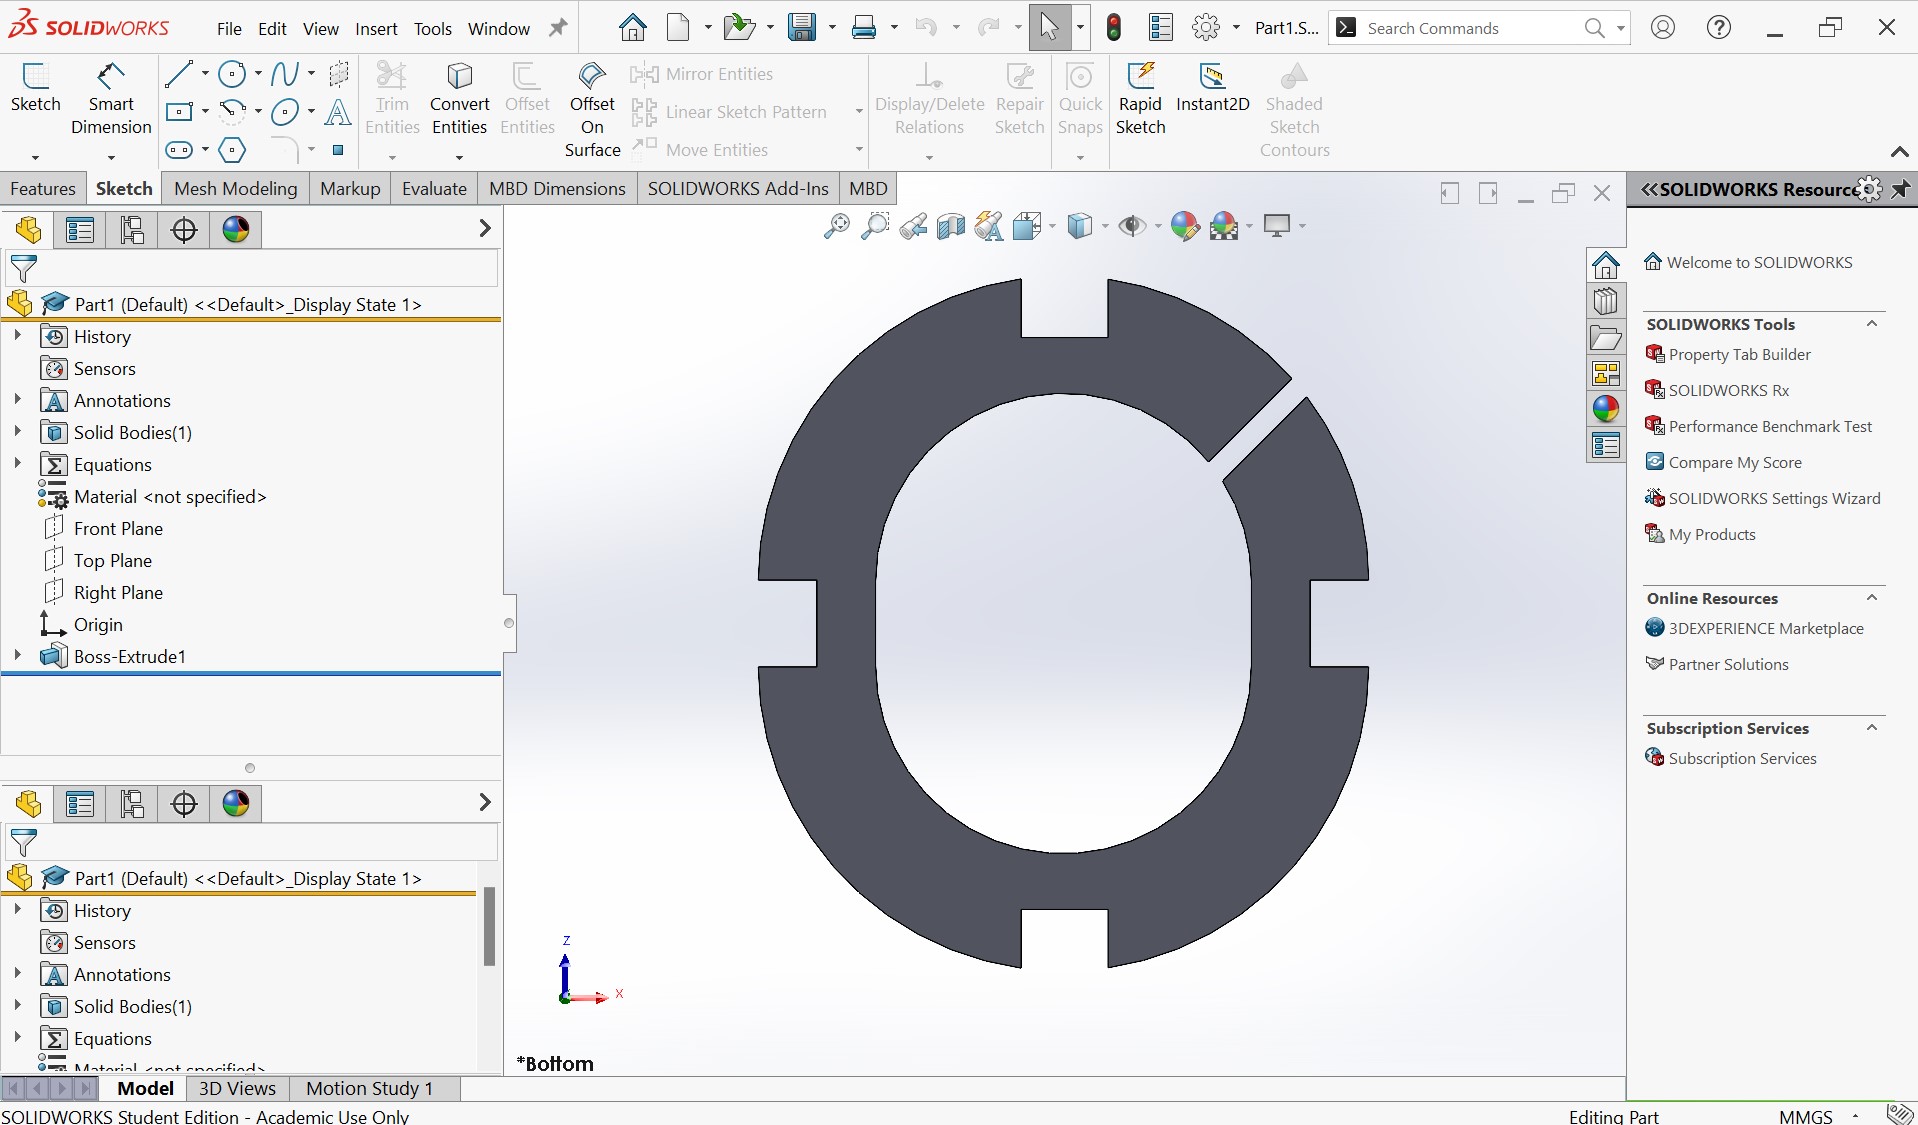
This week, we explored laser cutting cardboard. The goal was to design a parametric construction kit that could be assembled in multiple ways. My kit could be formed into chains or even used to create a rigid structure by slotting the pieces together in different configurations. I chose this idea because I like tensegrity structures.
Laser cutting cardboard presents unique challenges and opportunities, especially when working with corrugated materials. The interplay between rigidity and flexibility can be harnessed to create innovative designs like tensegrity structures.
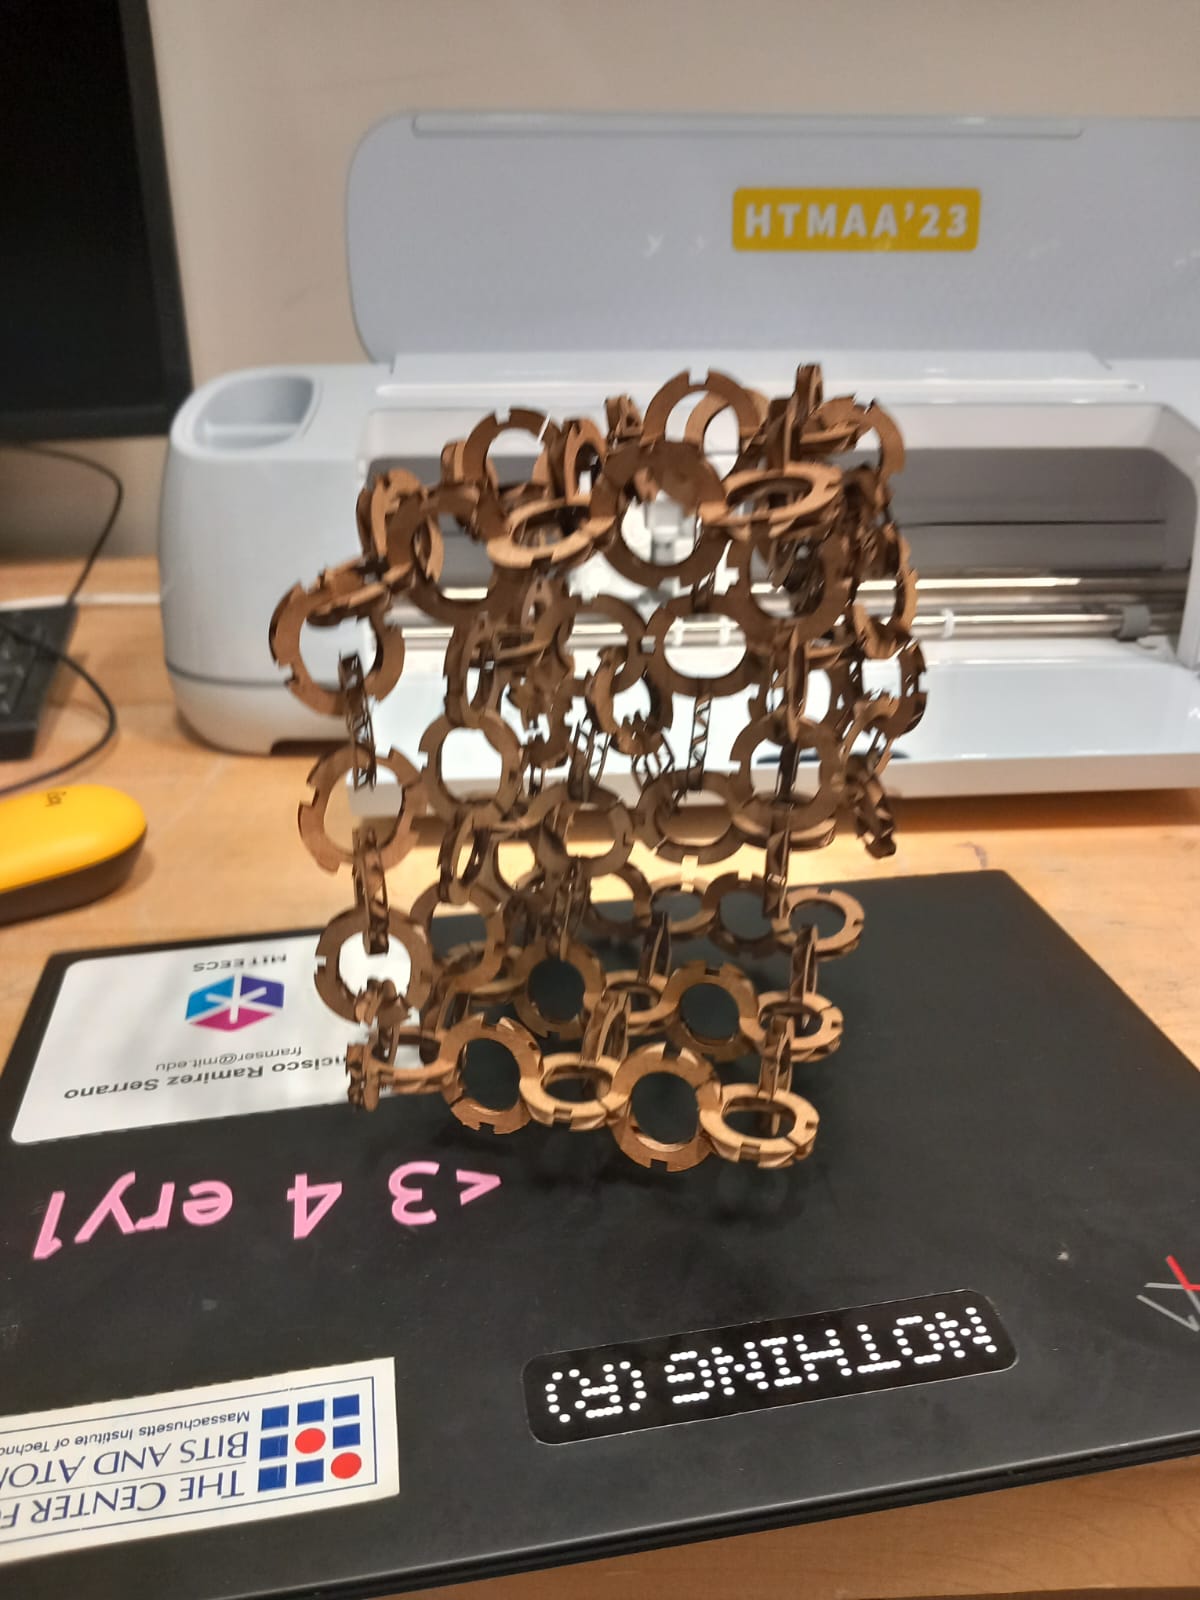
This link has four opposite slots at 90 degrees, which allows for creating a larger 3d structure with a rectangular lattice element. The cut in the upper right is used to pass another ring, creating a chain. The main issue with this type of design is that the openness of the loop compromises structural integrity. Additionally, the choice of the 90 degree spacing of the slots constrains too much the possible angles between lattice elements for the construction. To fix the structural issue, making the chain thickness larger or using stronger matterials such as acrylic would have been good options.
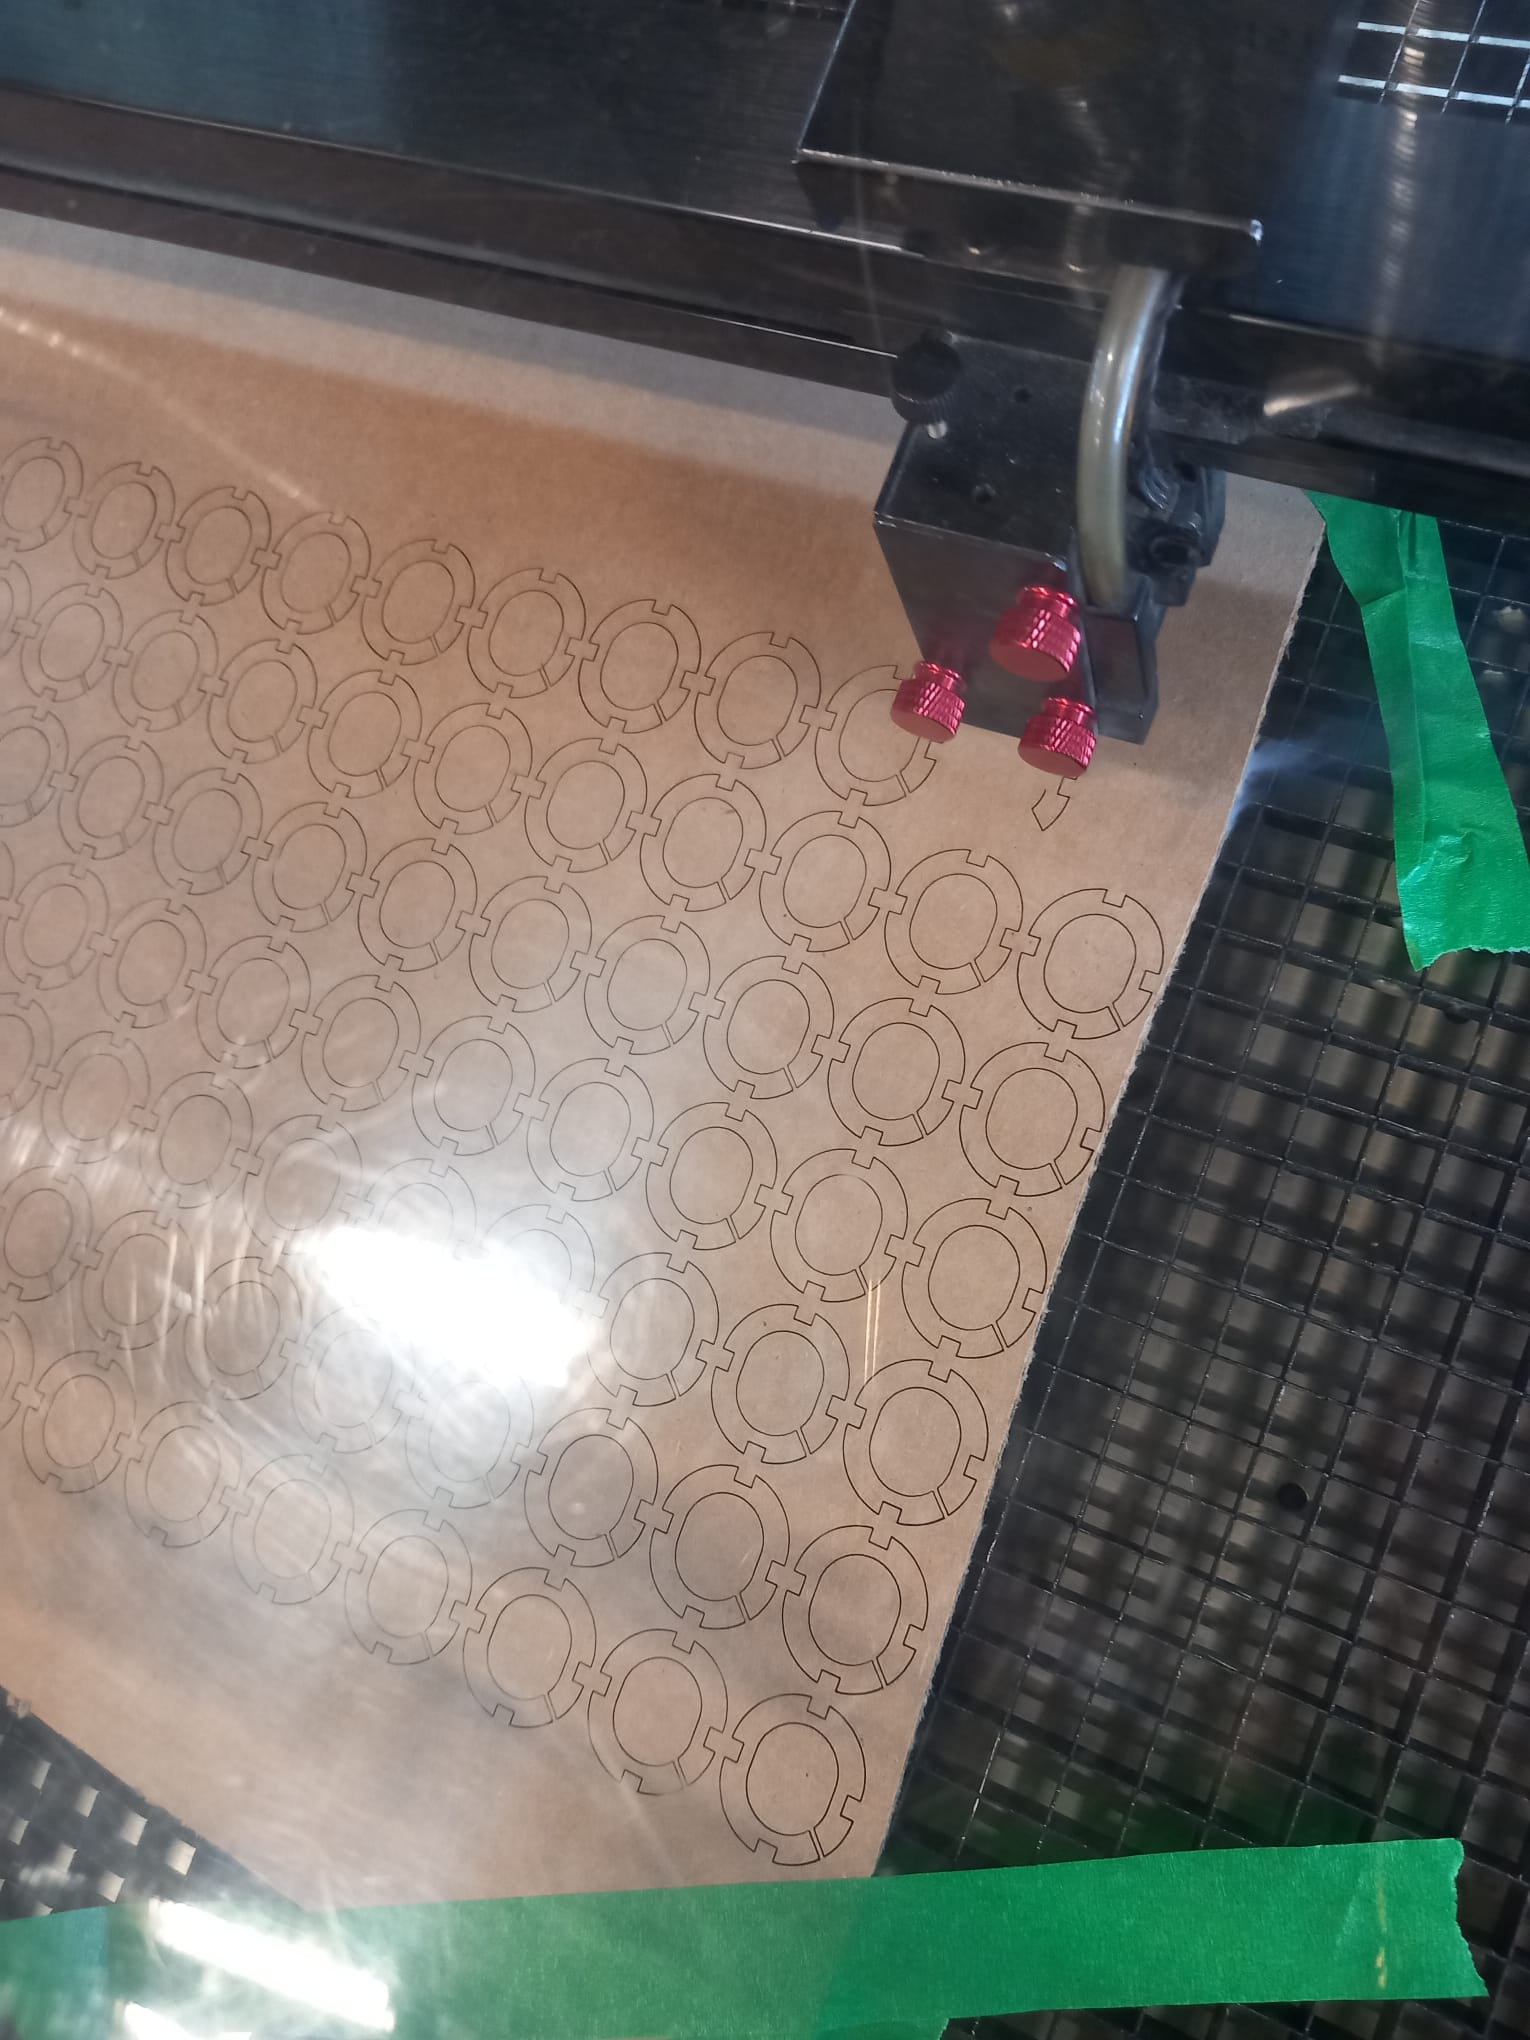
Over 100 rings were cut using a V02 laser.
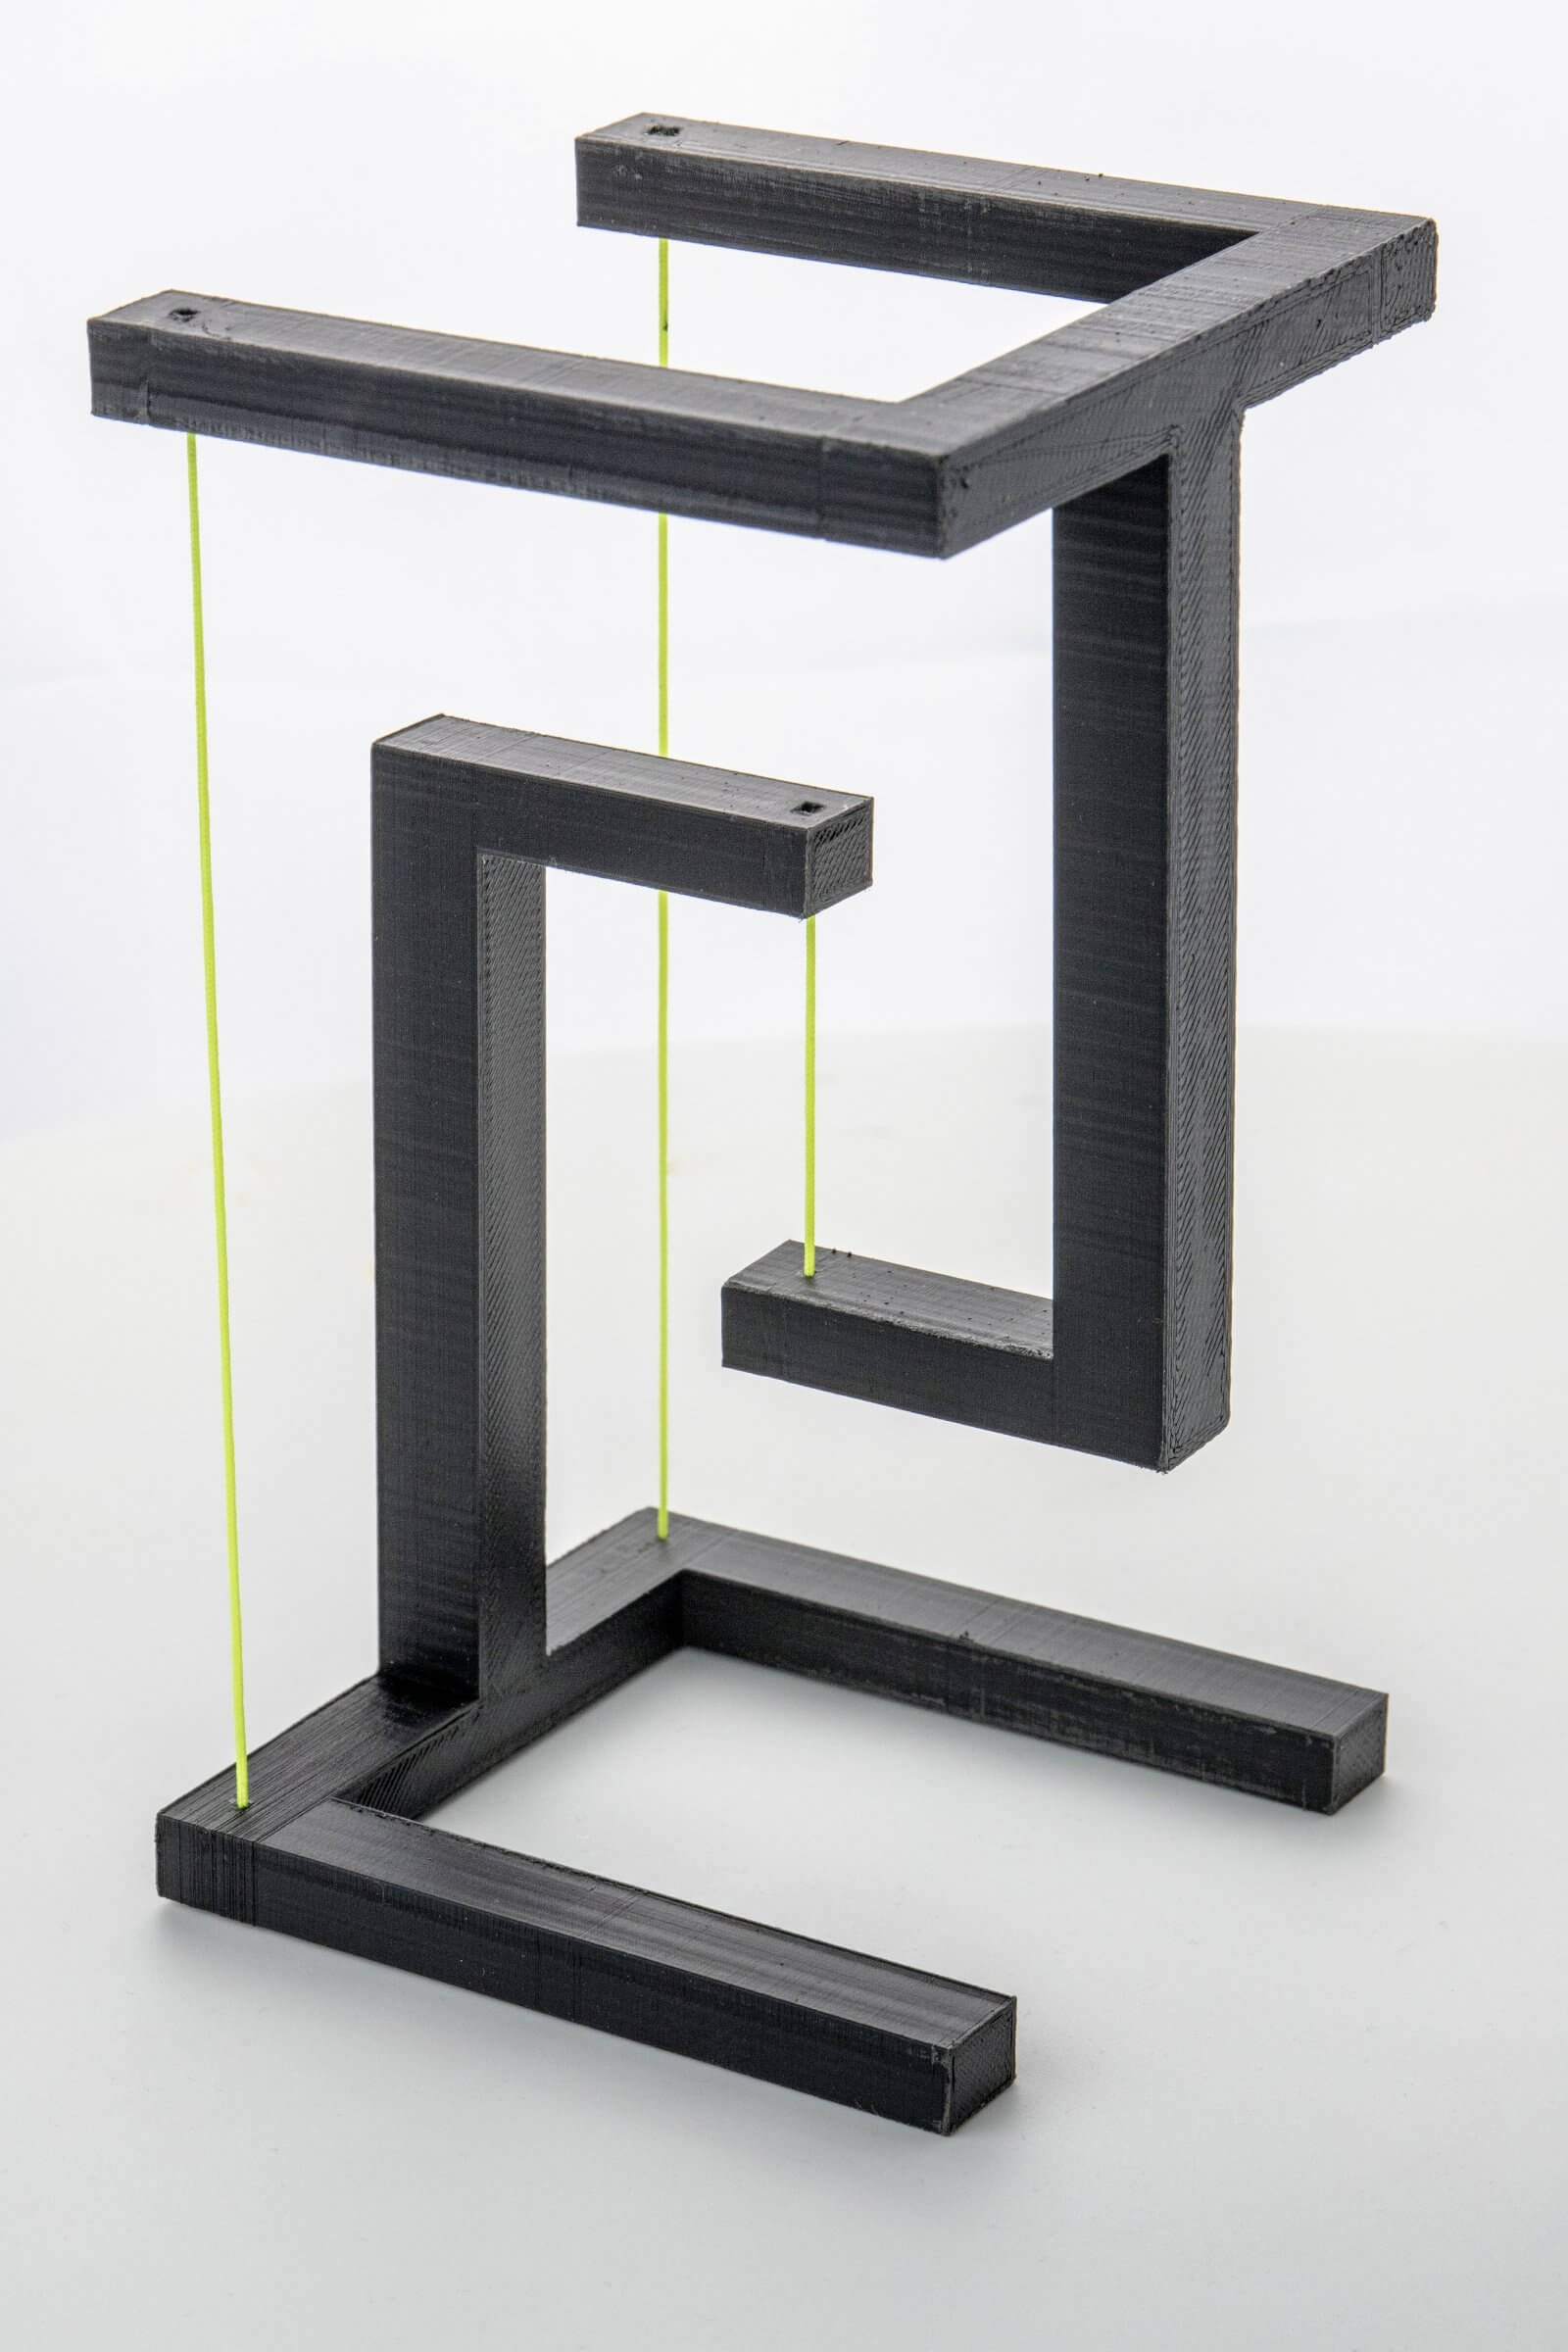
This is the target final structure that we are trying to build with the construction kit. It consists of two rigid structures and three strings.
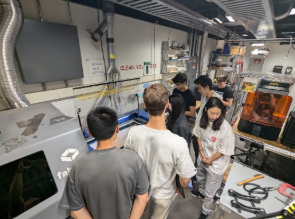
The assembly required using grippers to hold the top rigid surface as the chains were connected to the bottom.
Surprisingly, the final structure stands on its own although the weight of the top platform is not purely sustained by the chains. Instead, the whole structure deforms and the top structure rests on the bottom, with the chains.
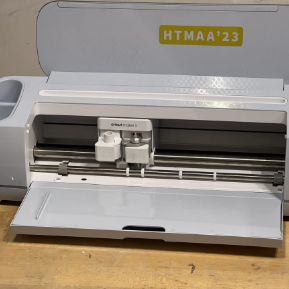
Cricut Sticker Cutting

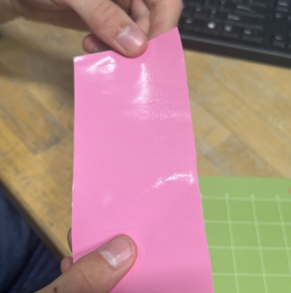
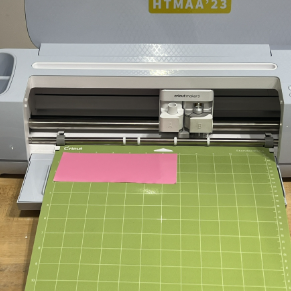
Using the Cricut machine, I created vinyl stickers for my laptop. The process involved designing the text, cutting the letters, and carefully peeling and applying them.