Week 3: Test the design rules for your 3D printer (group)
In the arch section, most the printers I've used are the Bambus! So the design rules that I will cover are for the Bambu set up which is very user friendly :)
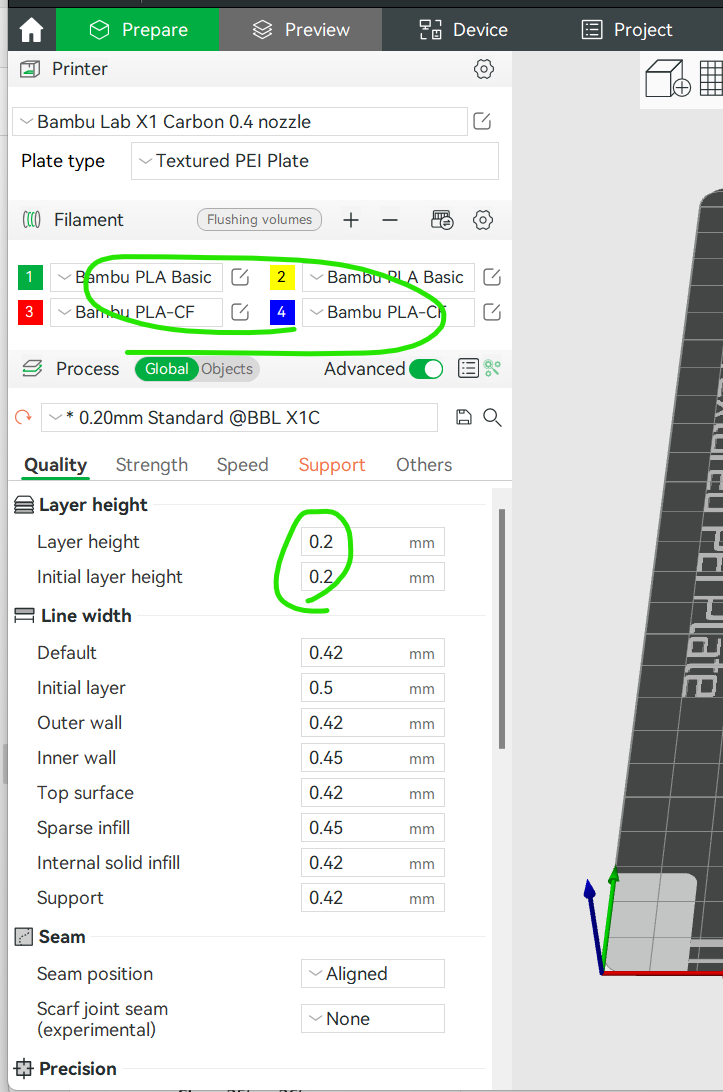
After you select the printer you are using, update the filament material. Here we had two basic PLAs and then PLA-CF. You can customize the layer height and other line widths.
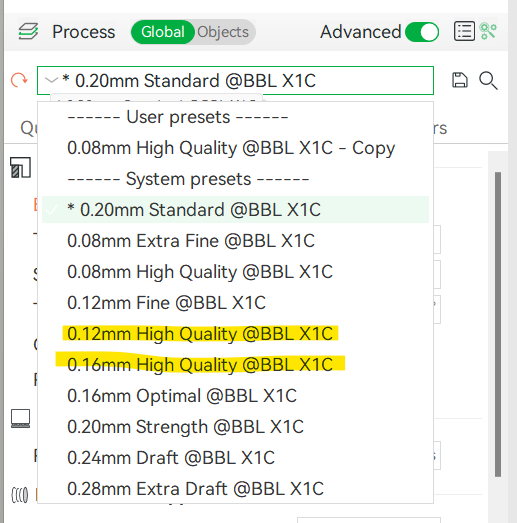
If you prefer to just select a predetermined layer height you can keep standard or which to a higher quality with a thinner layer height. The thinner the layers the more resolution the print will have.
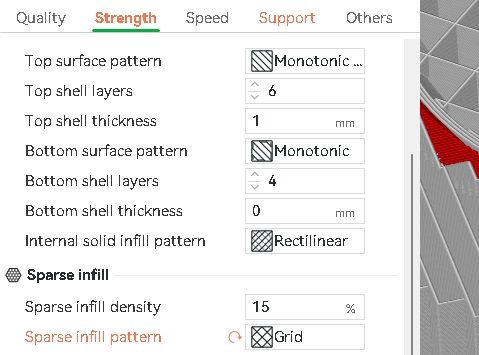
To change the strength of your print, you can tweak the infill. I usually keep the Grid and rectilinear infill because in keeps the print time lower.
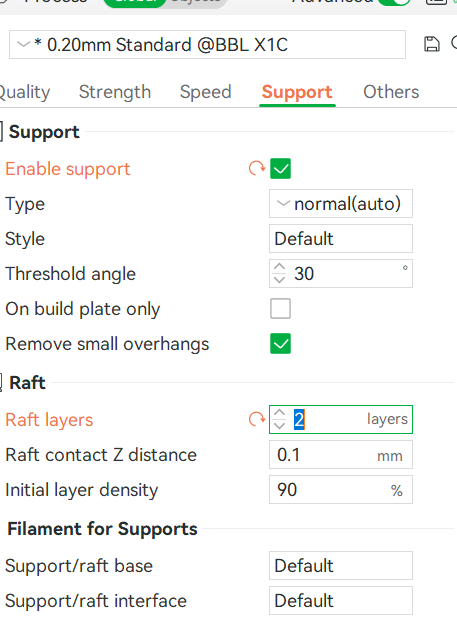
I don't usually mess with the speed settings, so moving on to supports, the arch shop likes us to add at least 2 raft layers. I also enable the default supports to let it auto generate them.
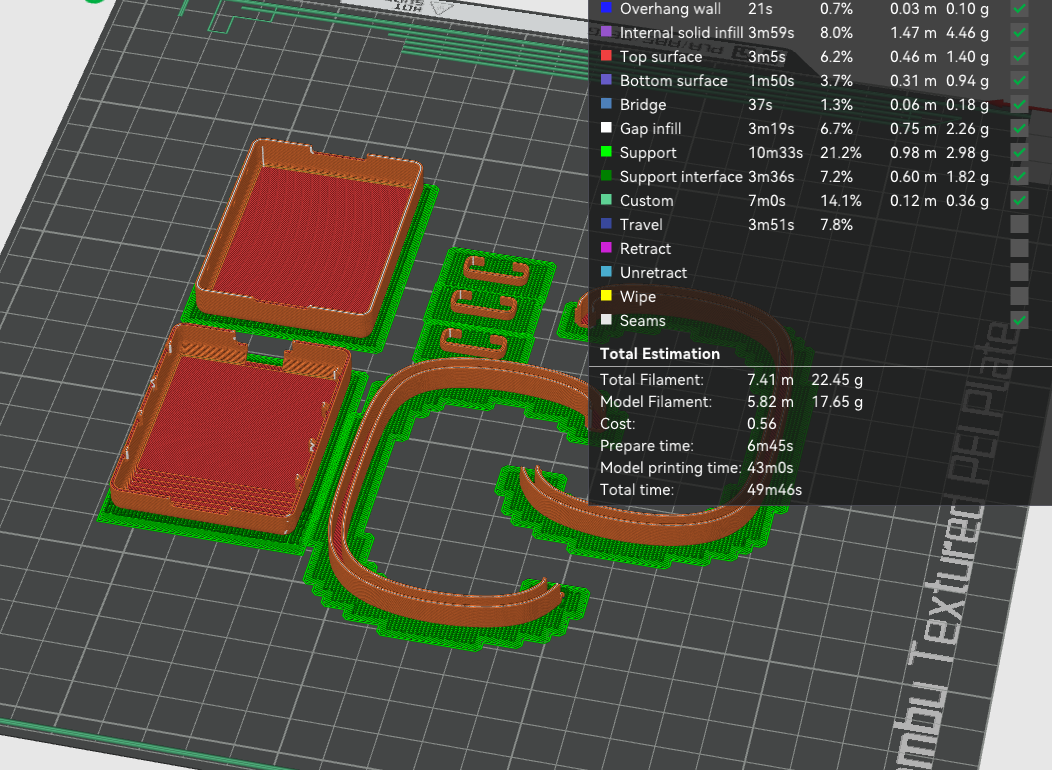
Here is an example of a print for a casing and a bracelet design during output week. You can see the supports in green.
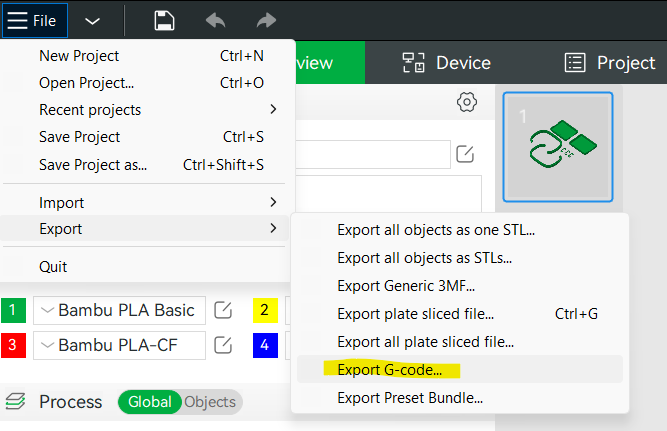
If you are printing in the arch shop, you can't upload directly to a machine, so instead you export your g-code and save it to a mini-SD card which then plugs directly into the printer.
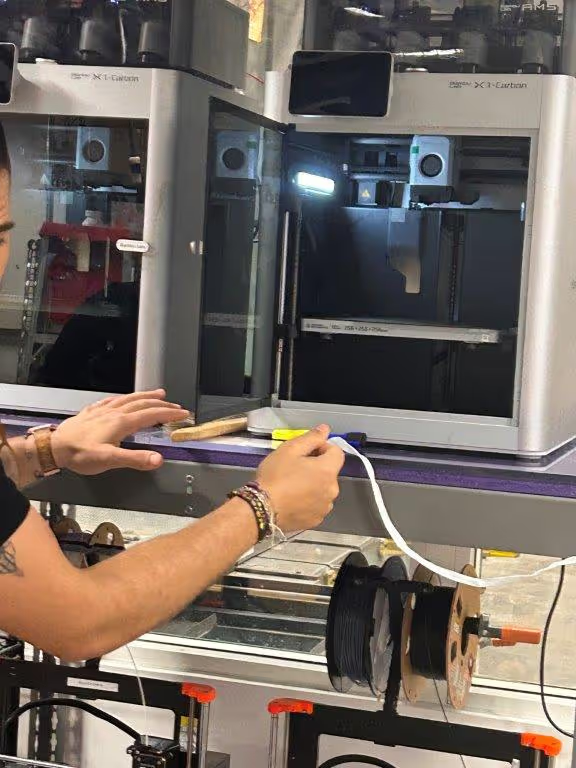
One thing that was interesting is the different expectations between shops regarding whether to wash the plate. In Arch and EECS they say not to wash the print plate between uses, while CBA asks that you do wash between uses. I'm not sure the driver of this difference since all are using Bambu printers ;)
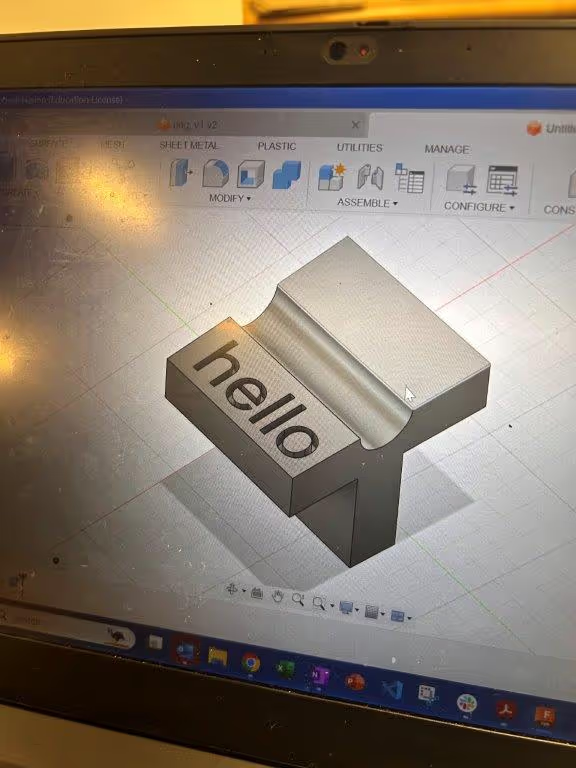
Here is our test print! We wanted to keep steep overhangs and some embossed letters to see how it turned out
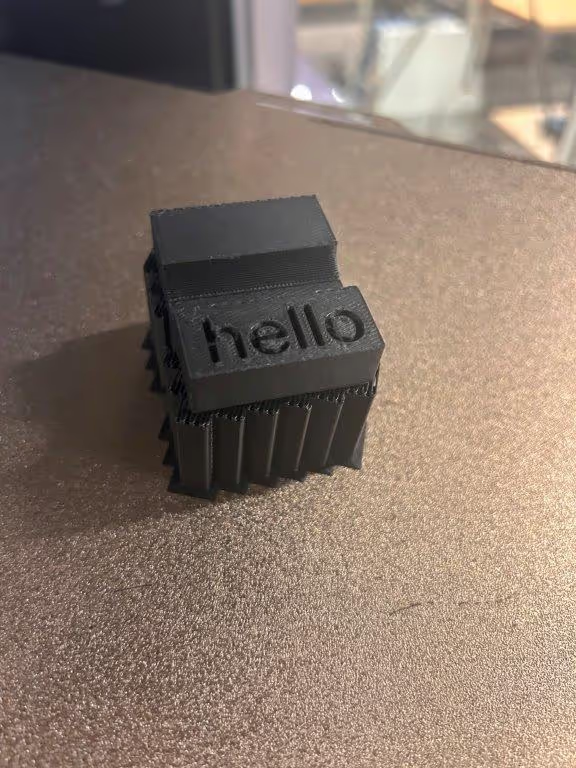
The print turned out ok! We left the layer height at 0.2 (standard), 15% infill, rectilinear/grid pattern infill and top shelf patter, and auto generated the supports for the overhangs. The embossing turned out OK, likely a function of how tiny it was.
Week 3: Design and 3D print an object that could not be made subtractively
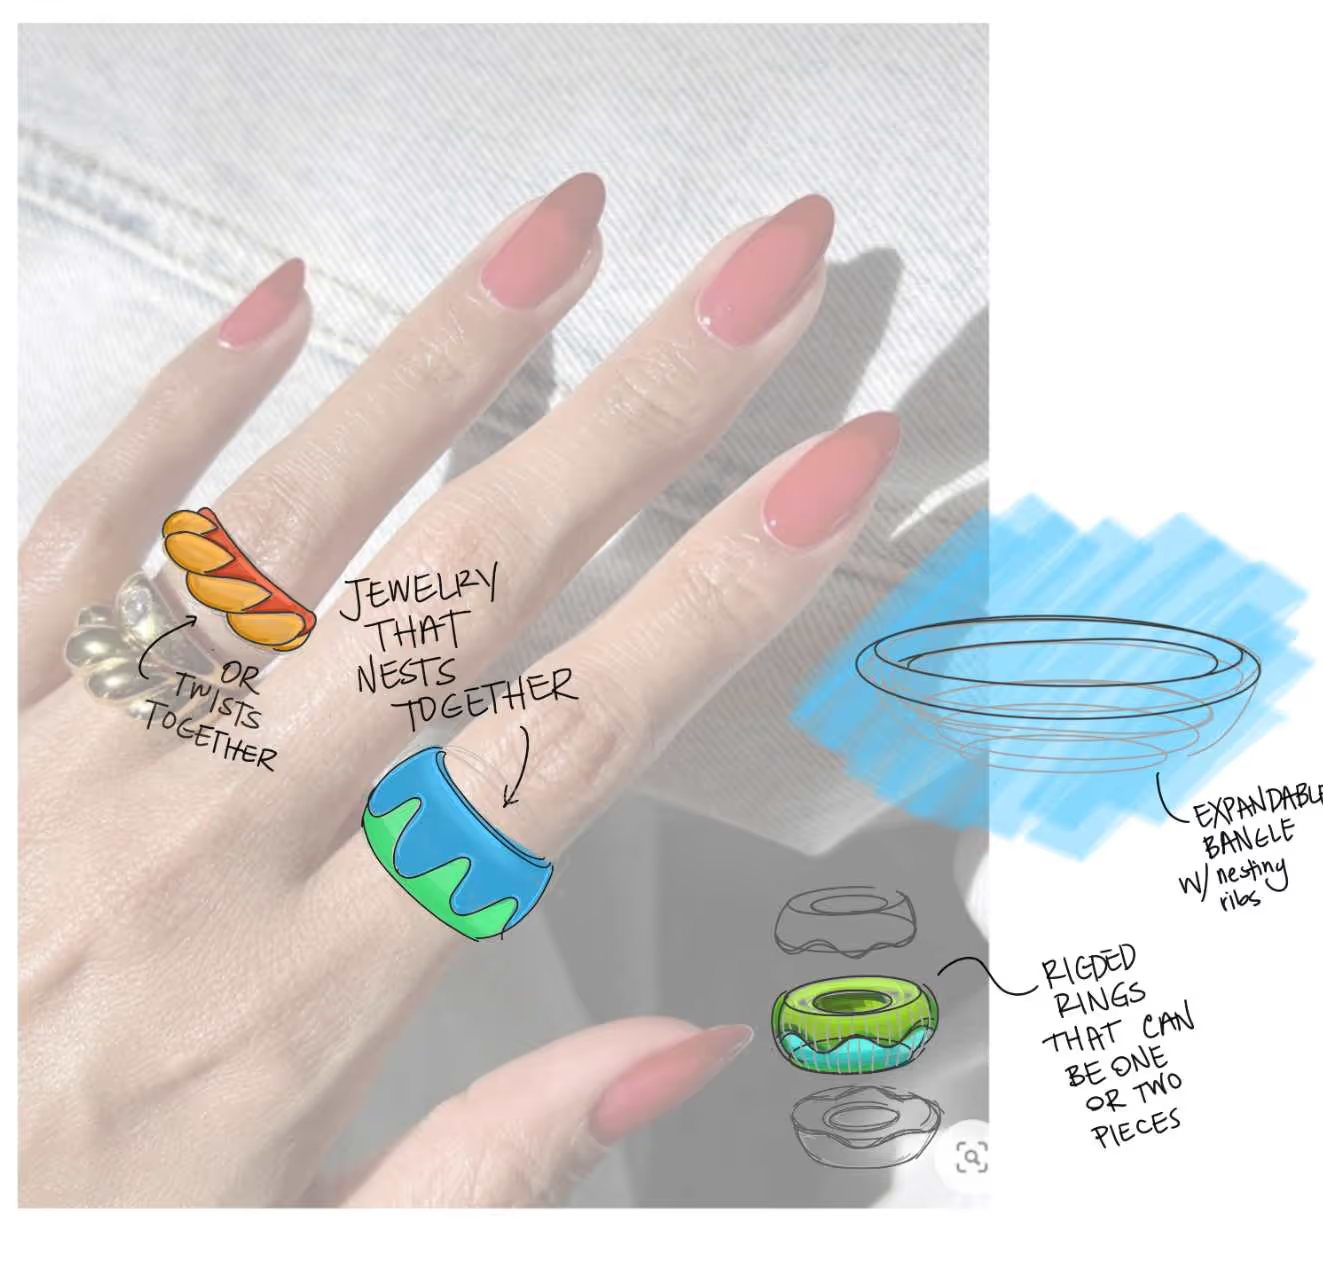
Quick sketches of ideas for print
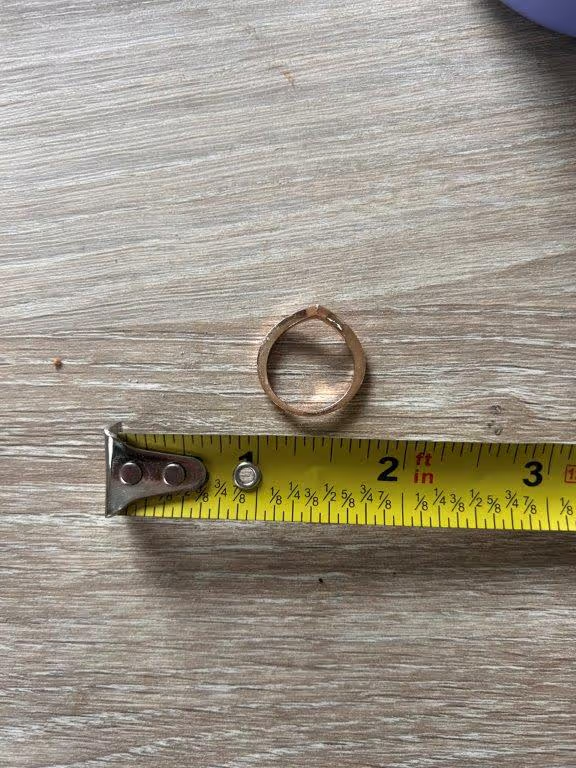
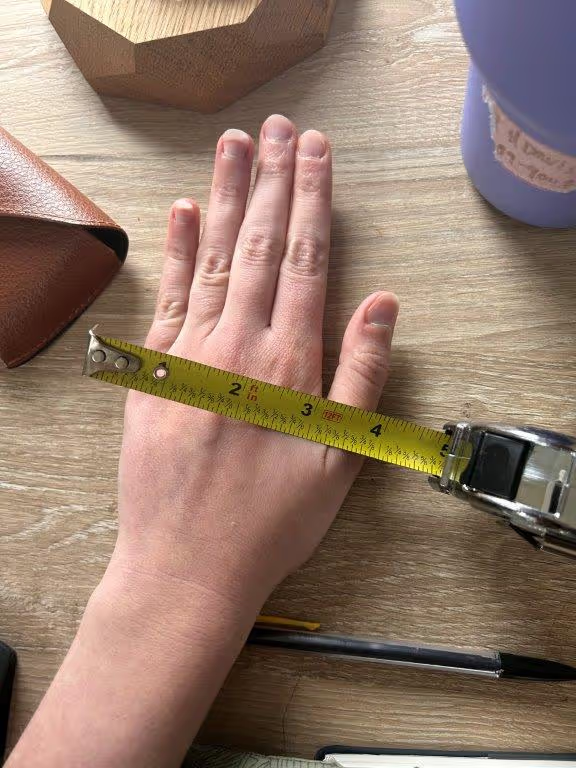
I used my own ring and hand dimensions to design my objects.
Initially, I measured 0.75 in for a ring and 4 in for a bracelet.
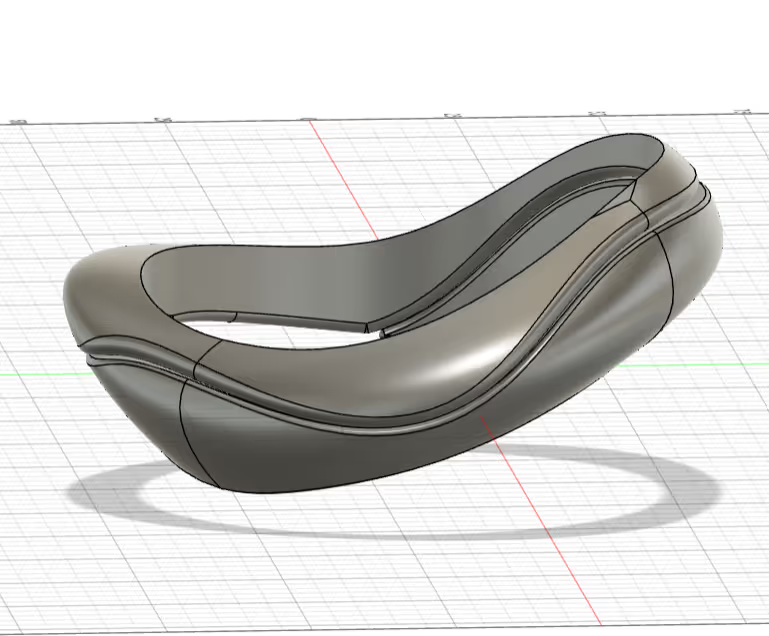
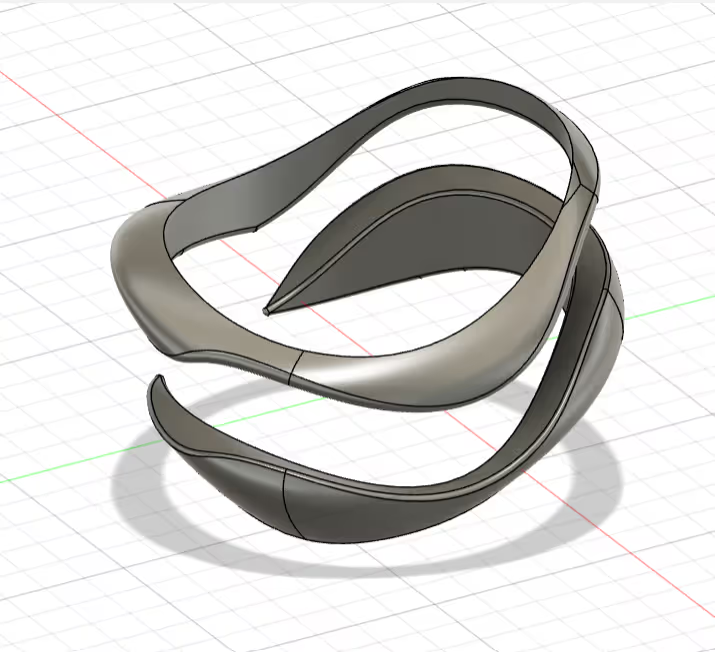
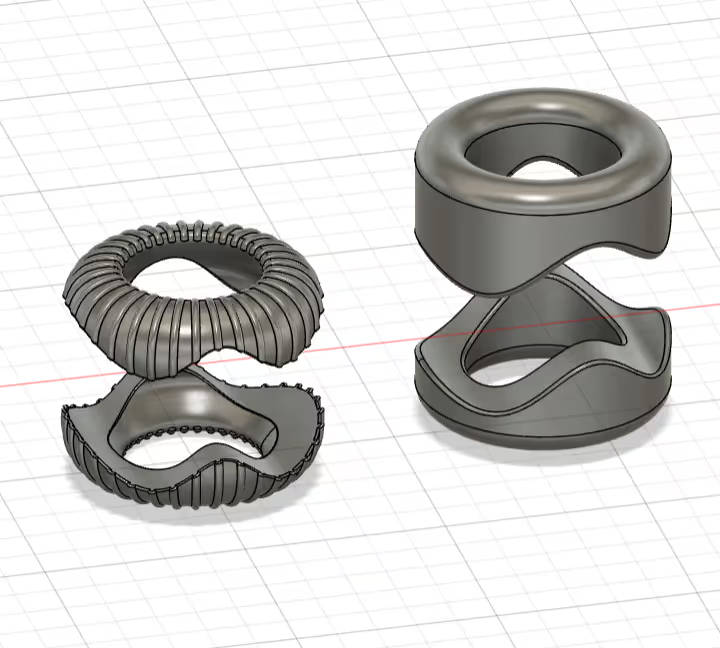
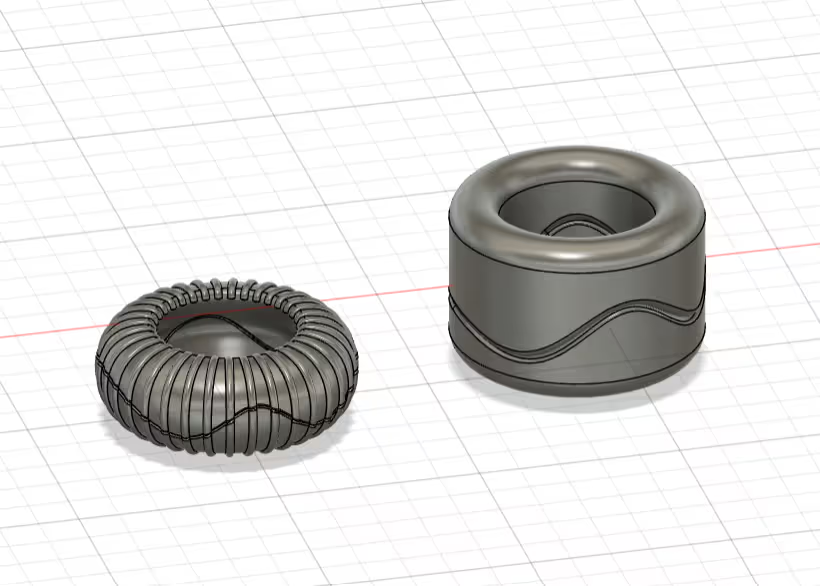
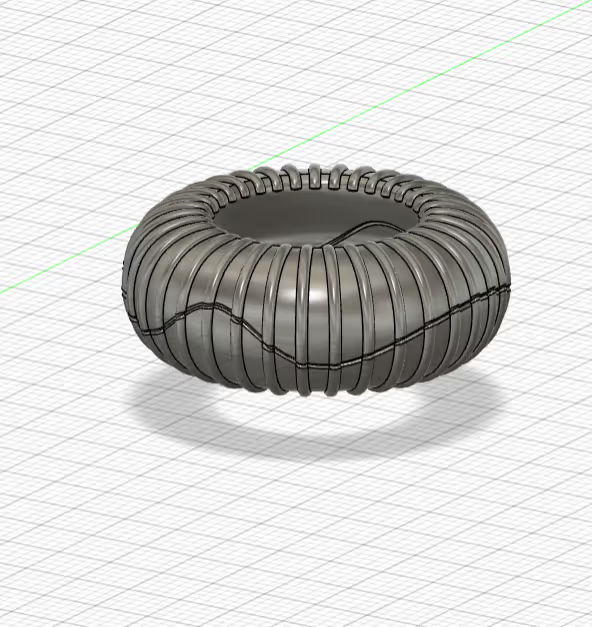
I tried to push the boundaries of the printer with organic shaped jewelry. I wanted to play around with pieces that fit or clicked together, and I wanted to see how fine of detail the Bambu printer could handle.
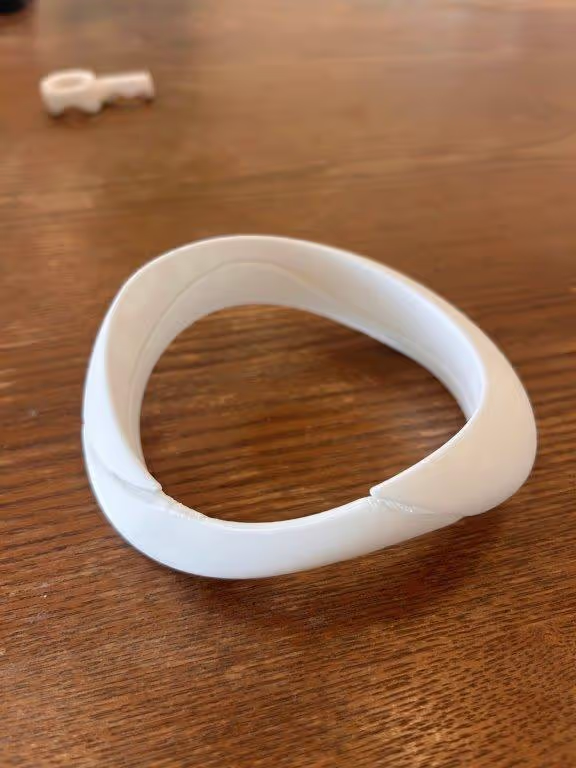
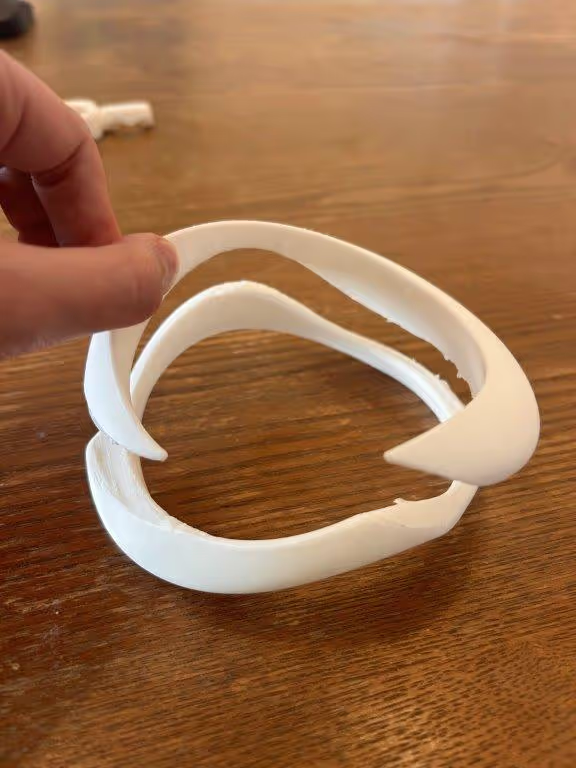
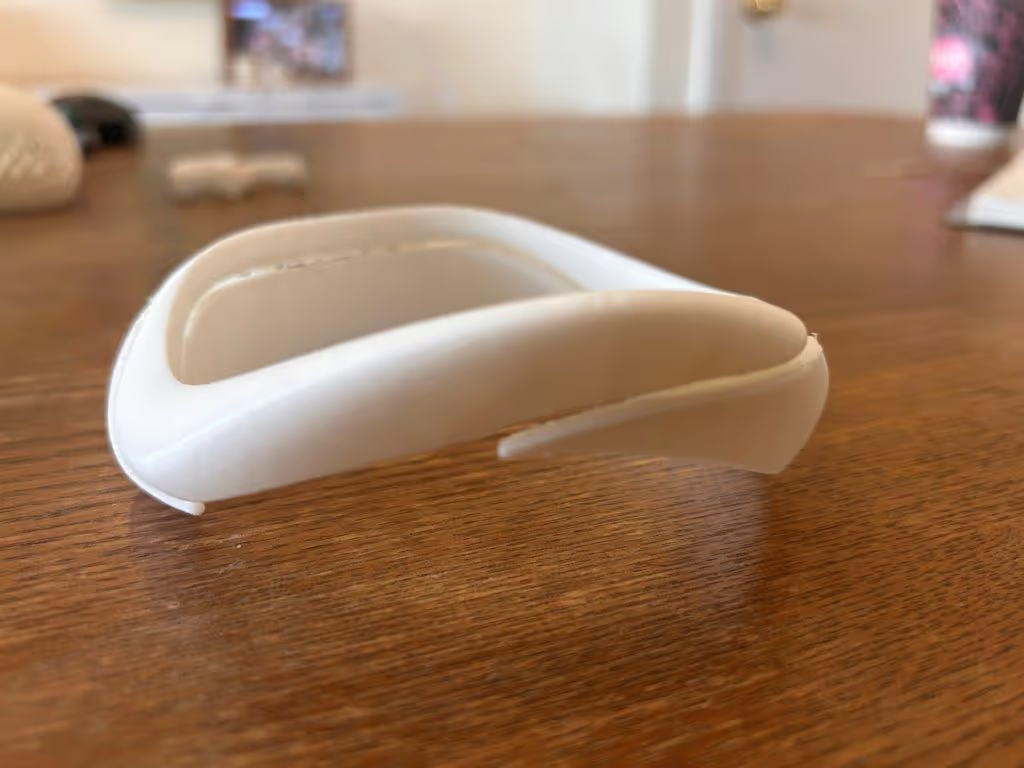
The bracelet ended up being WAY too big. I realized that the measurement of my hand was assuming my hand was flat - but this isn't the case when you are actually putting a bracelet on.
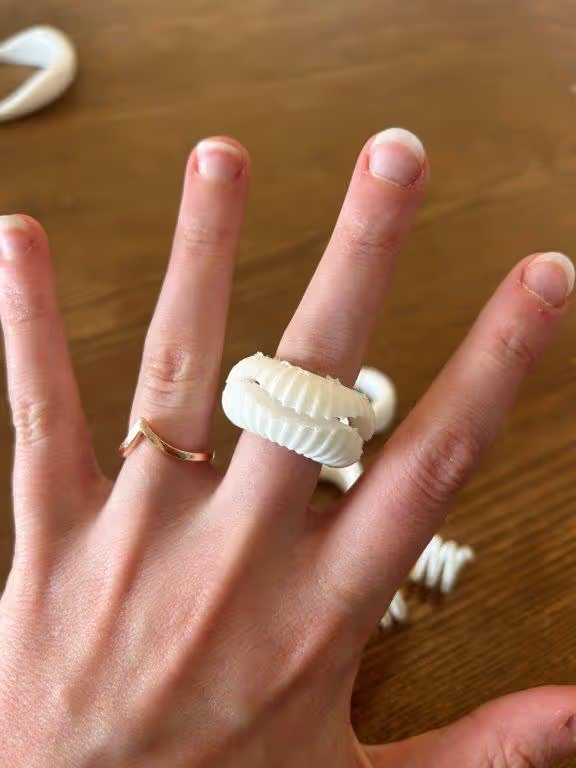
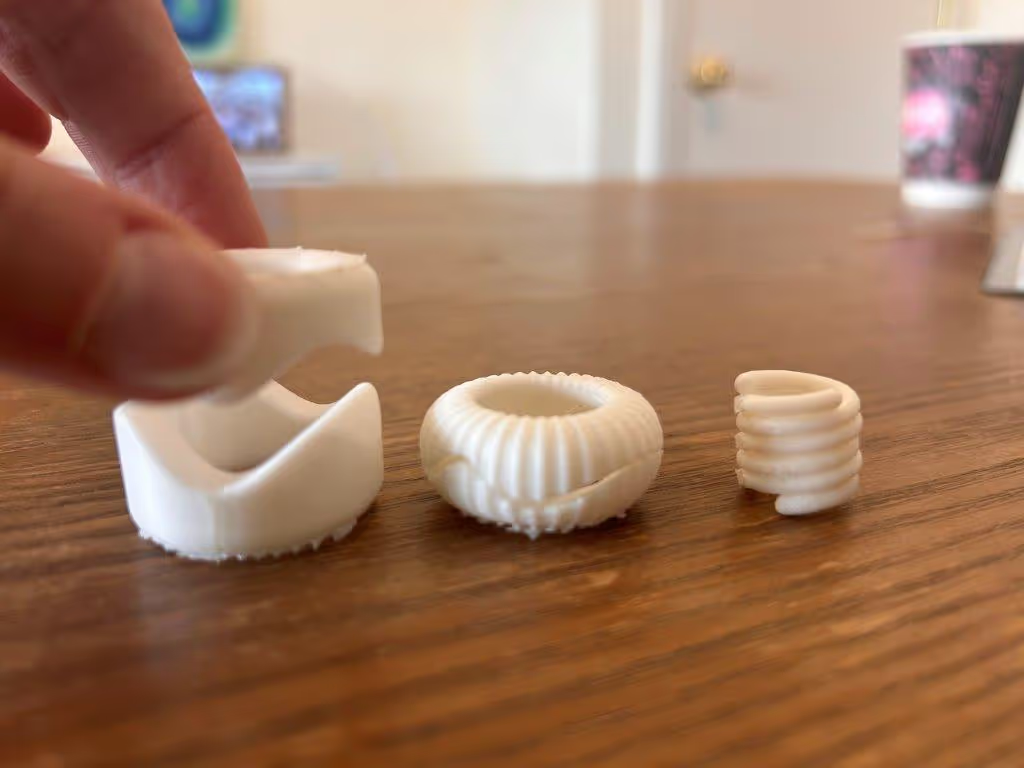
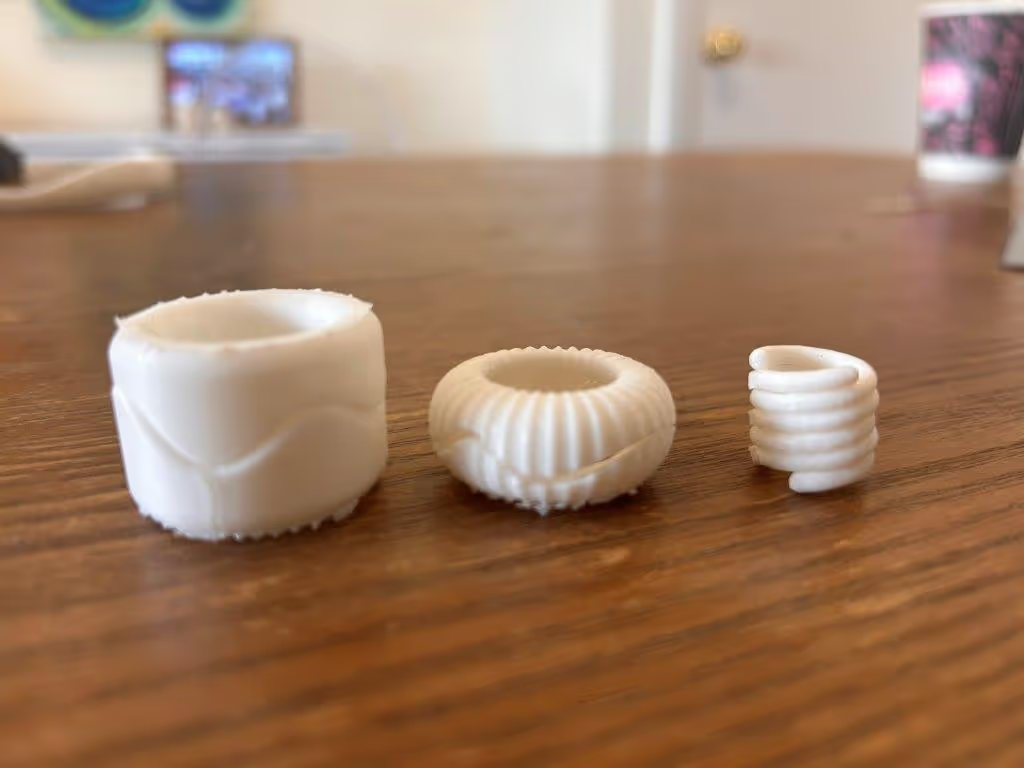
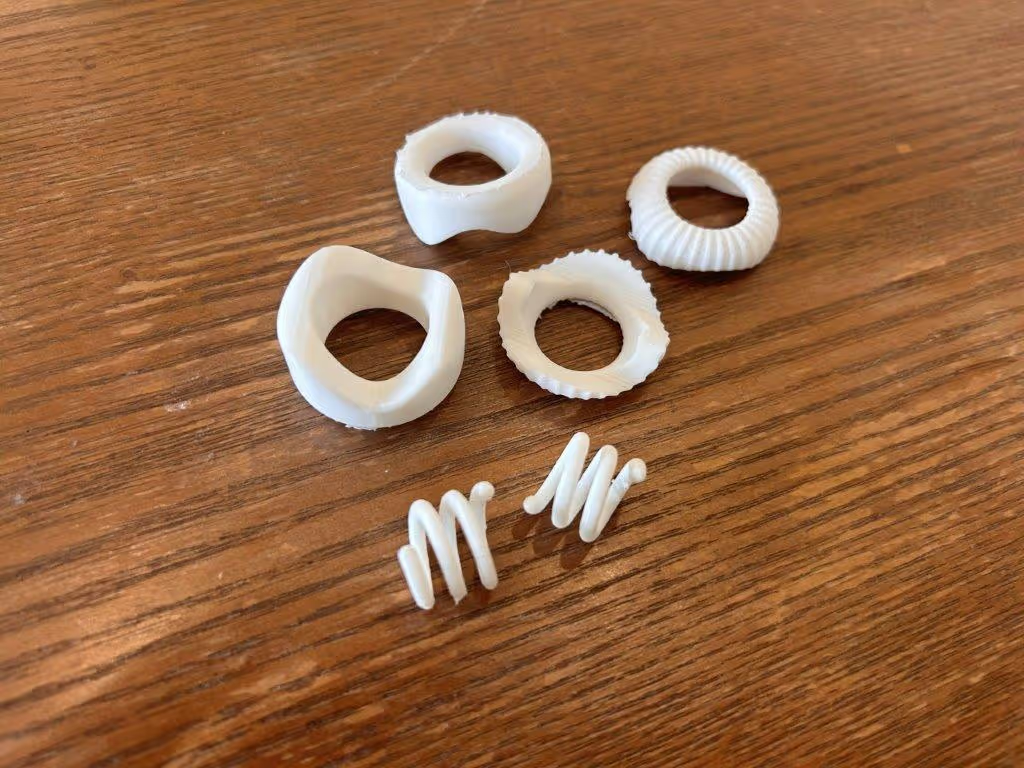
Several of the rings came out too bulky and simply to wide in diameter.
With Diana's blessing, I wanted to do a second print to try a different ring size.
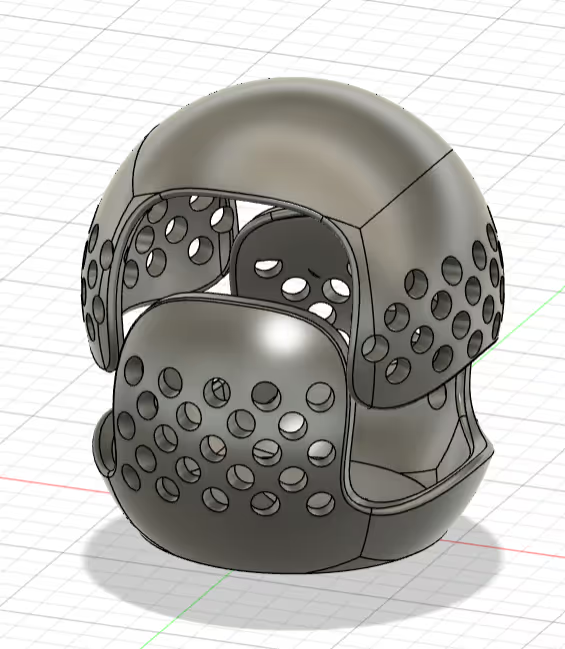
Jewelry dish design that holds some of the rings I printed. I wanted to play with cut outs and containers that click together.
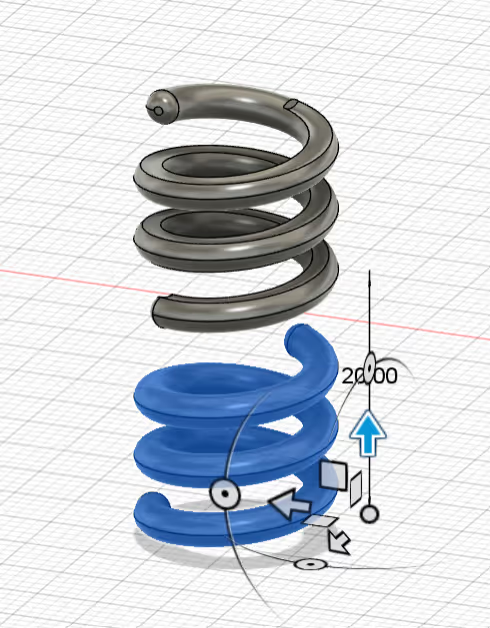
I tried to make a ring that coils together and also adjust down in size.
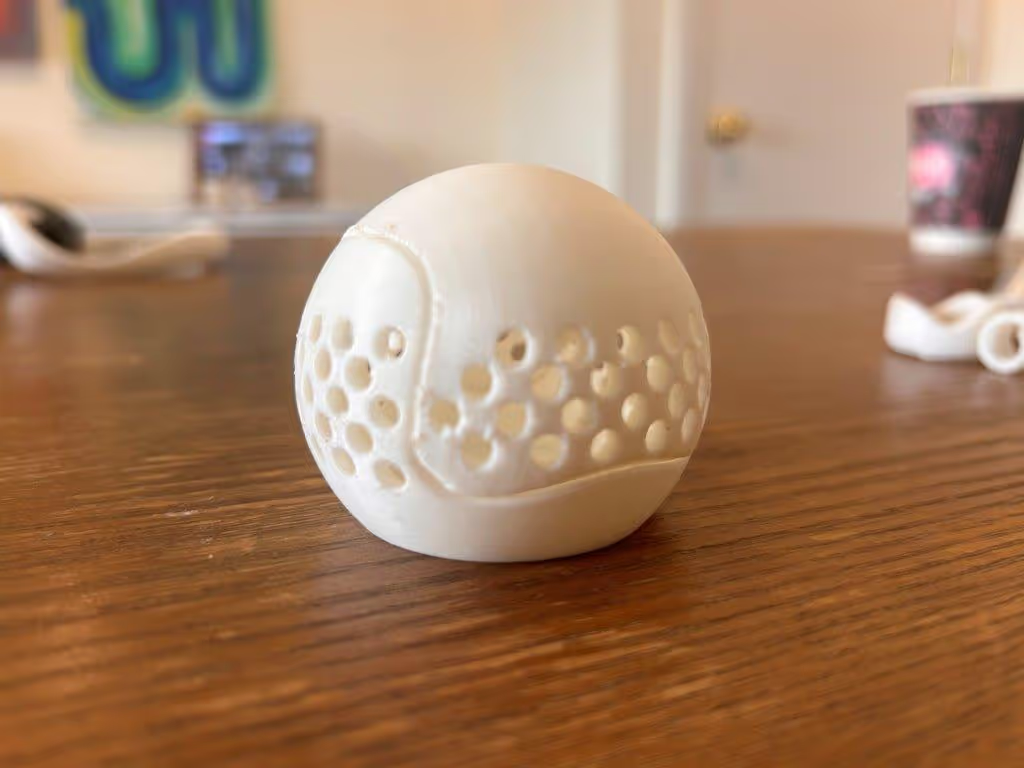
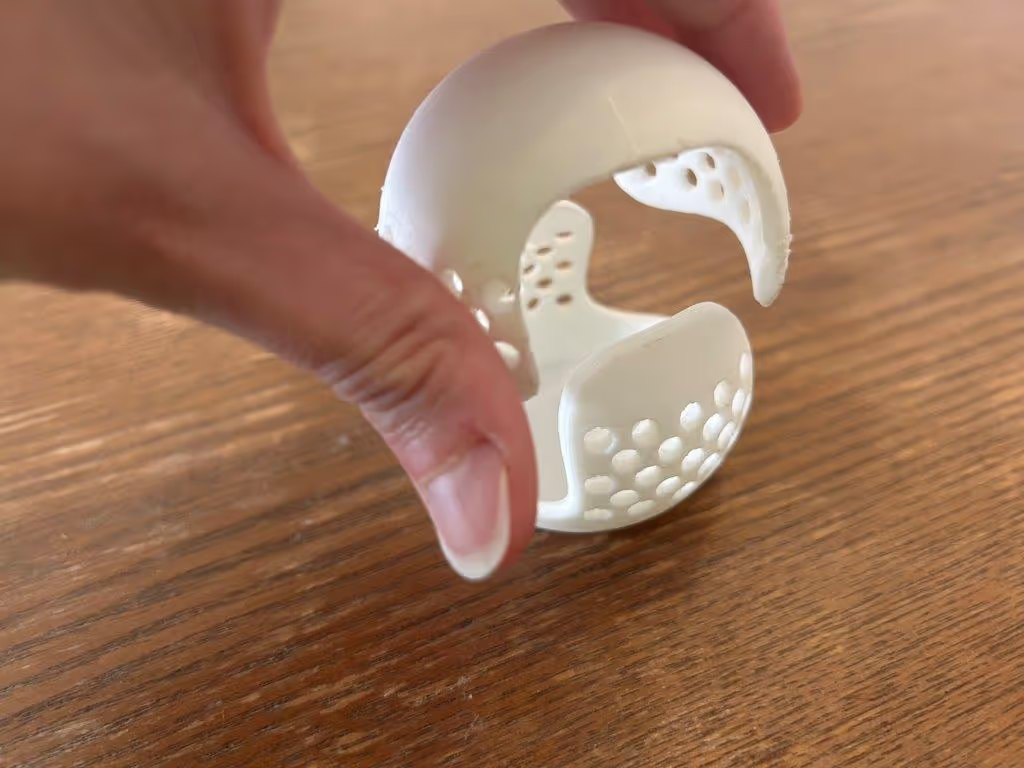
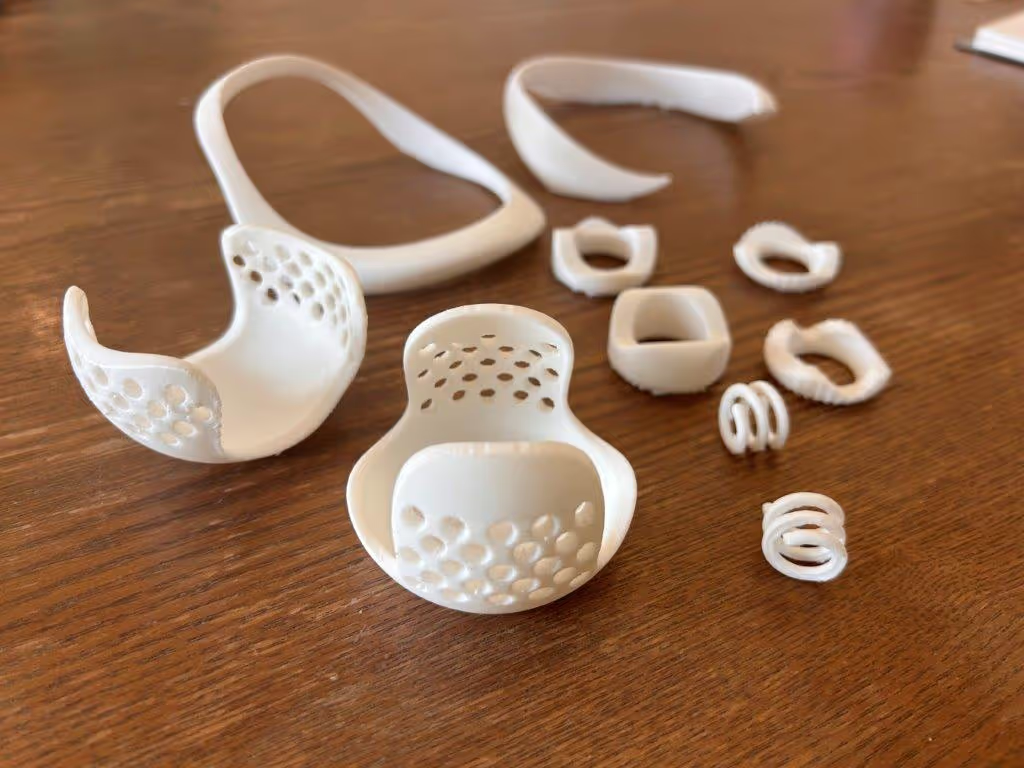
3D scan an object
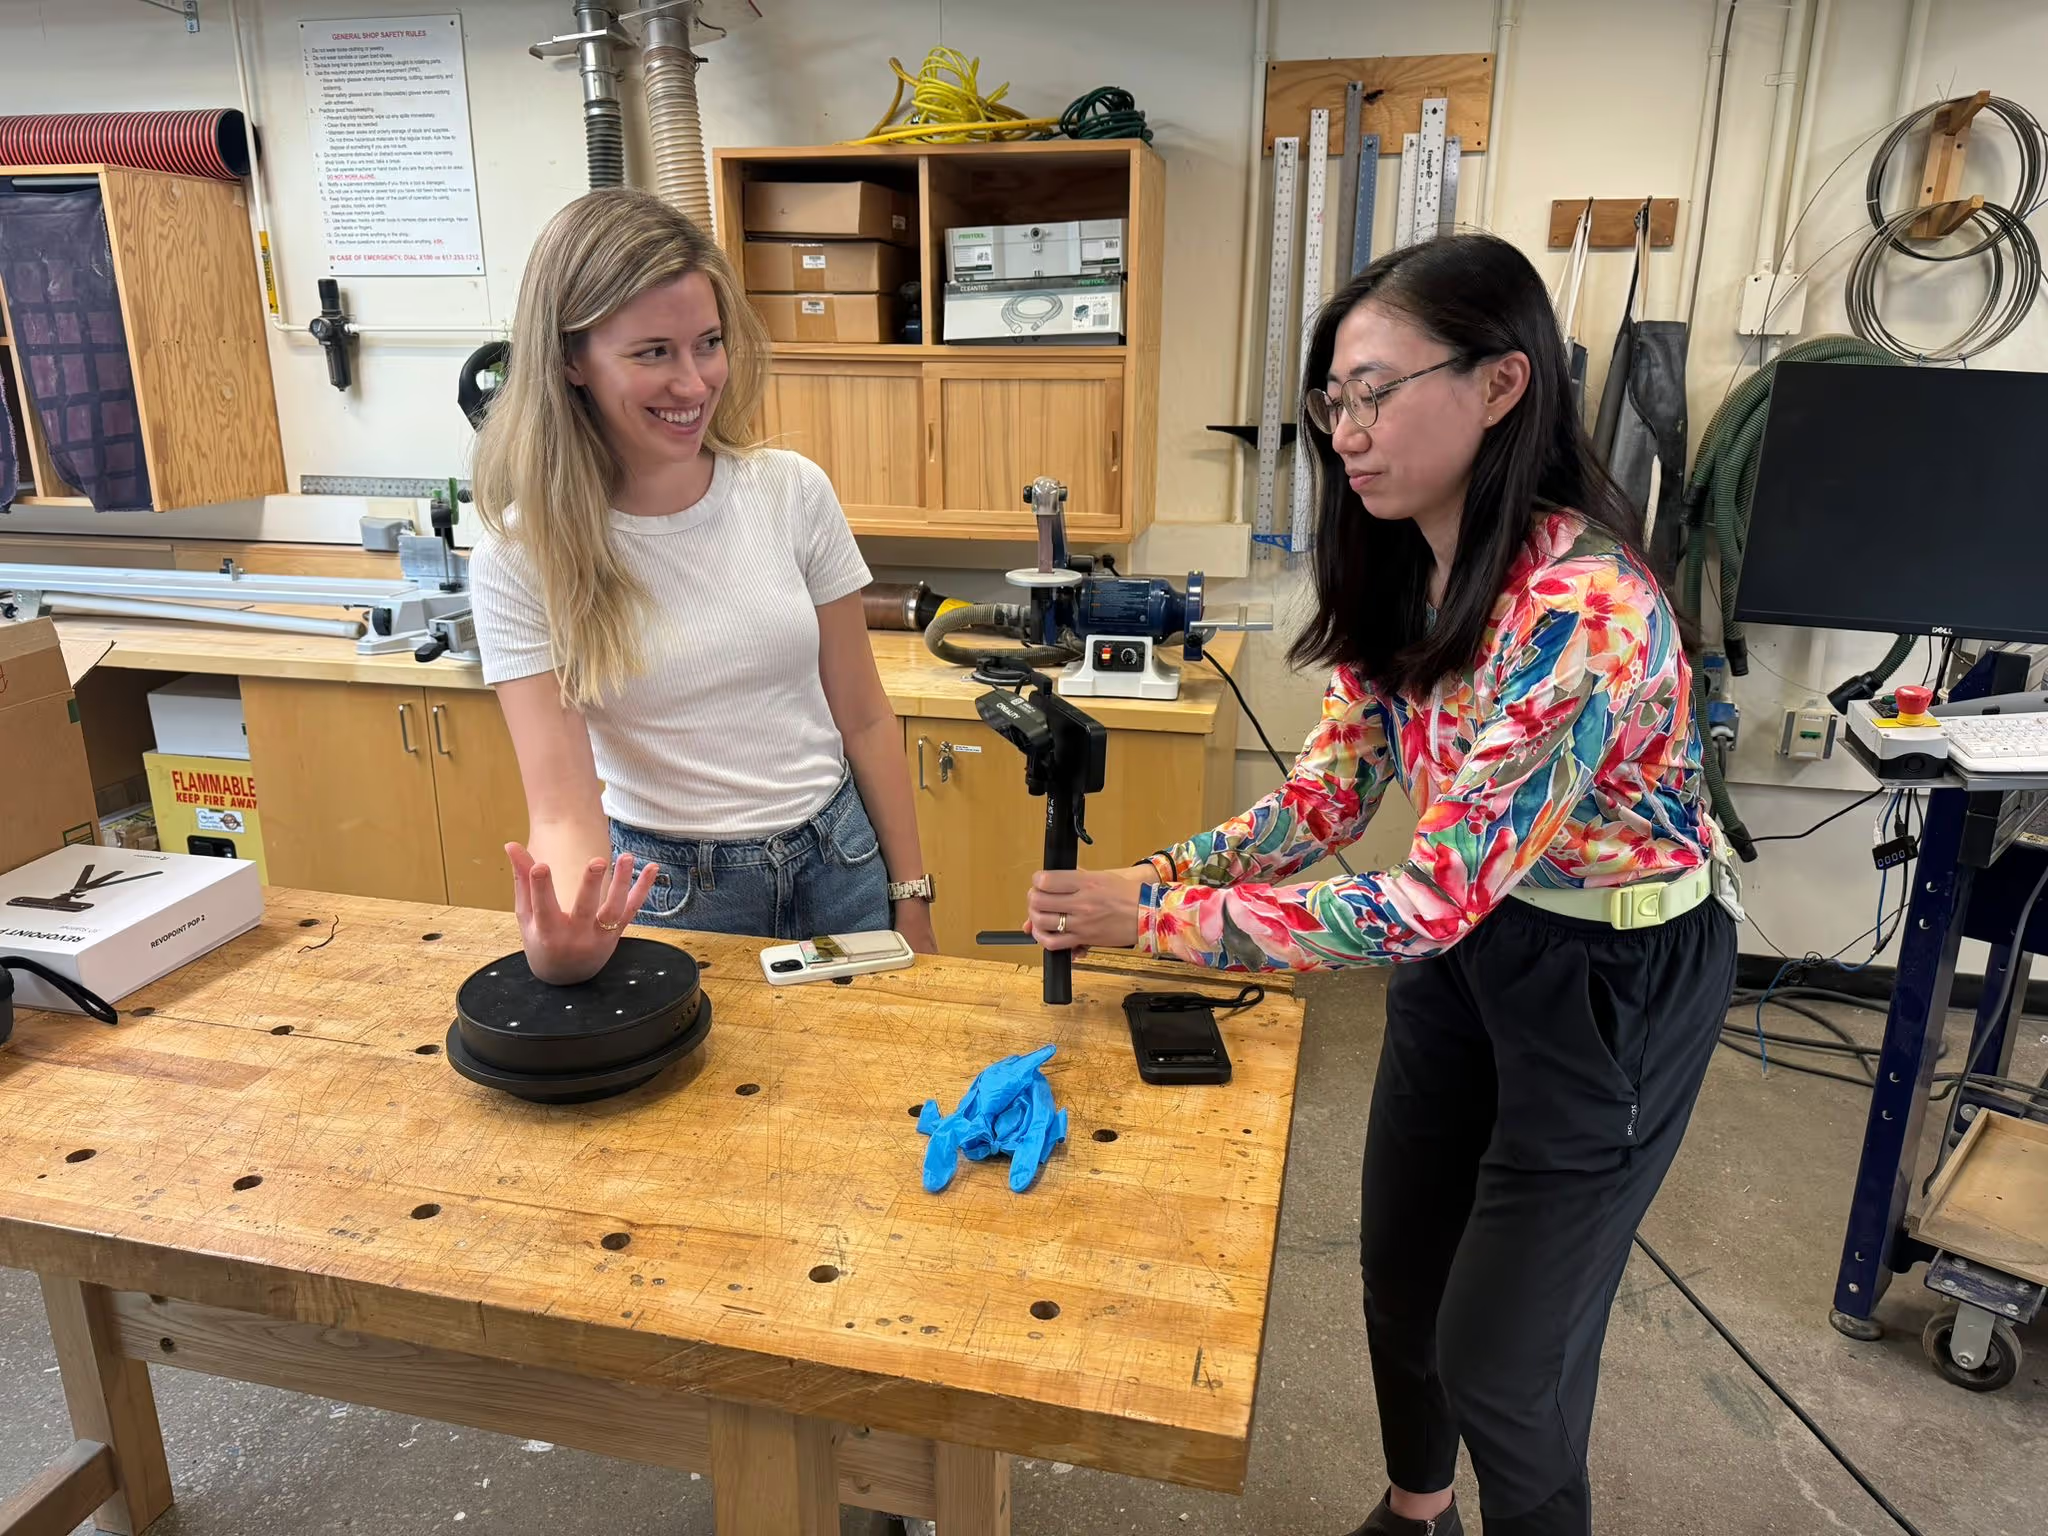
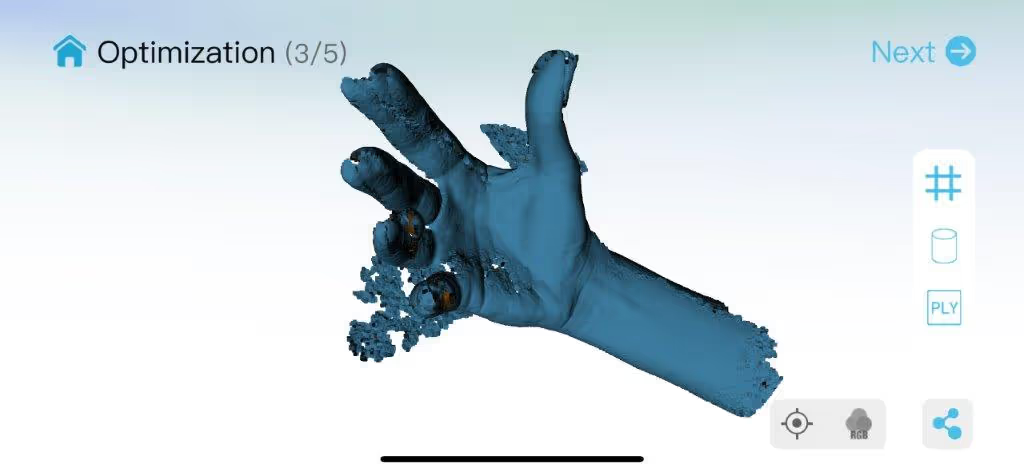
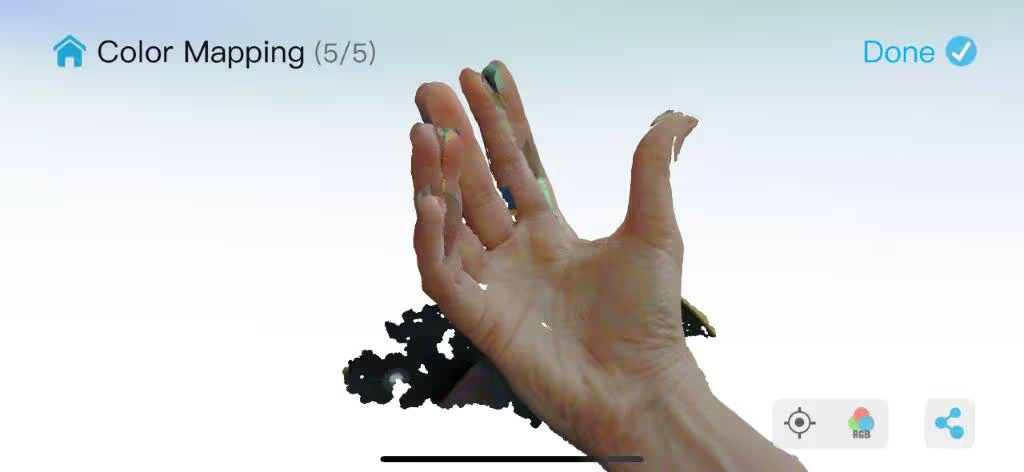
Yutian and I tried out the 3D scanner on my hand. We ultimately learned that I needed to move around the scanner below the hand to capture the detail better.
