Week 6: Review the safety data sheets for each of your molding and casting materials and compare mold making processes (group)
After last week's nightmare, I was excited for this week - non-electronical things are my comfort zone.
In the arch lab, they encouraged us to 3D print given the wait time and over weekend review required. I unfortunately would be out of town next week for LEAD week at Sloan - so given my time constraint I decided to go with 3d printing.
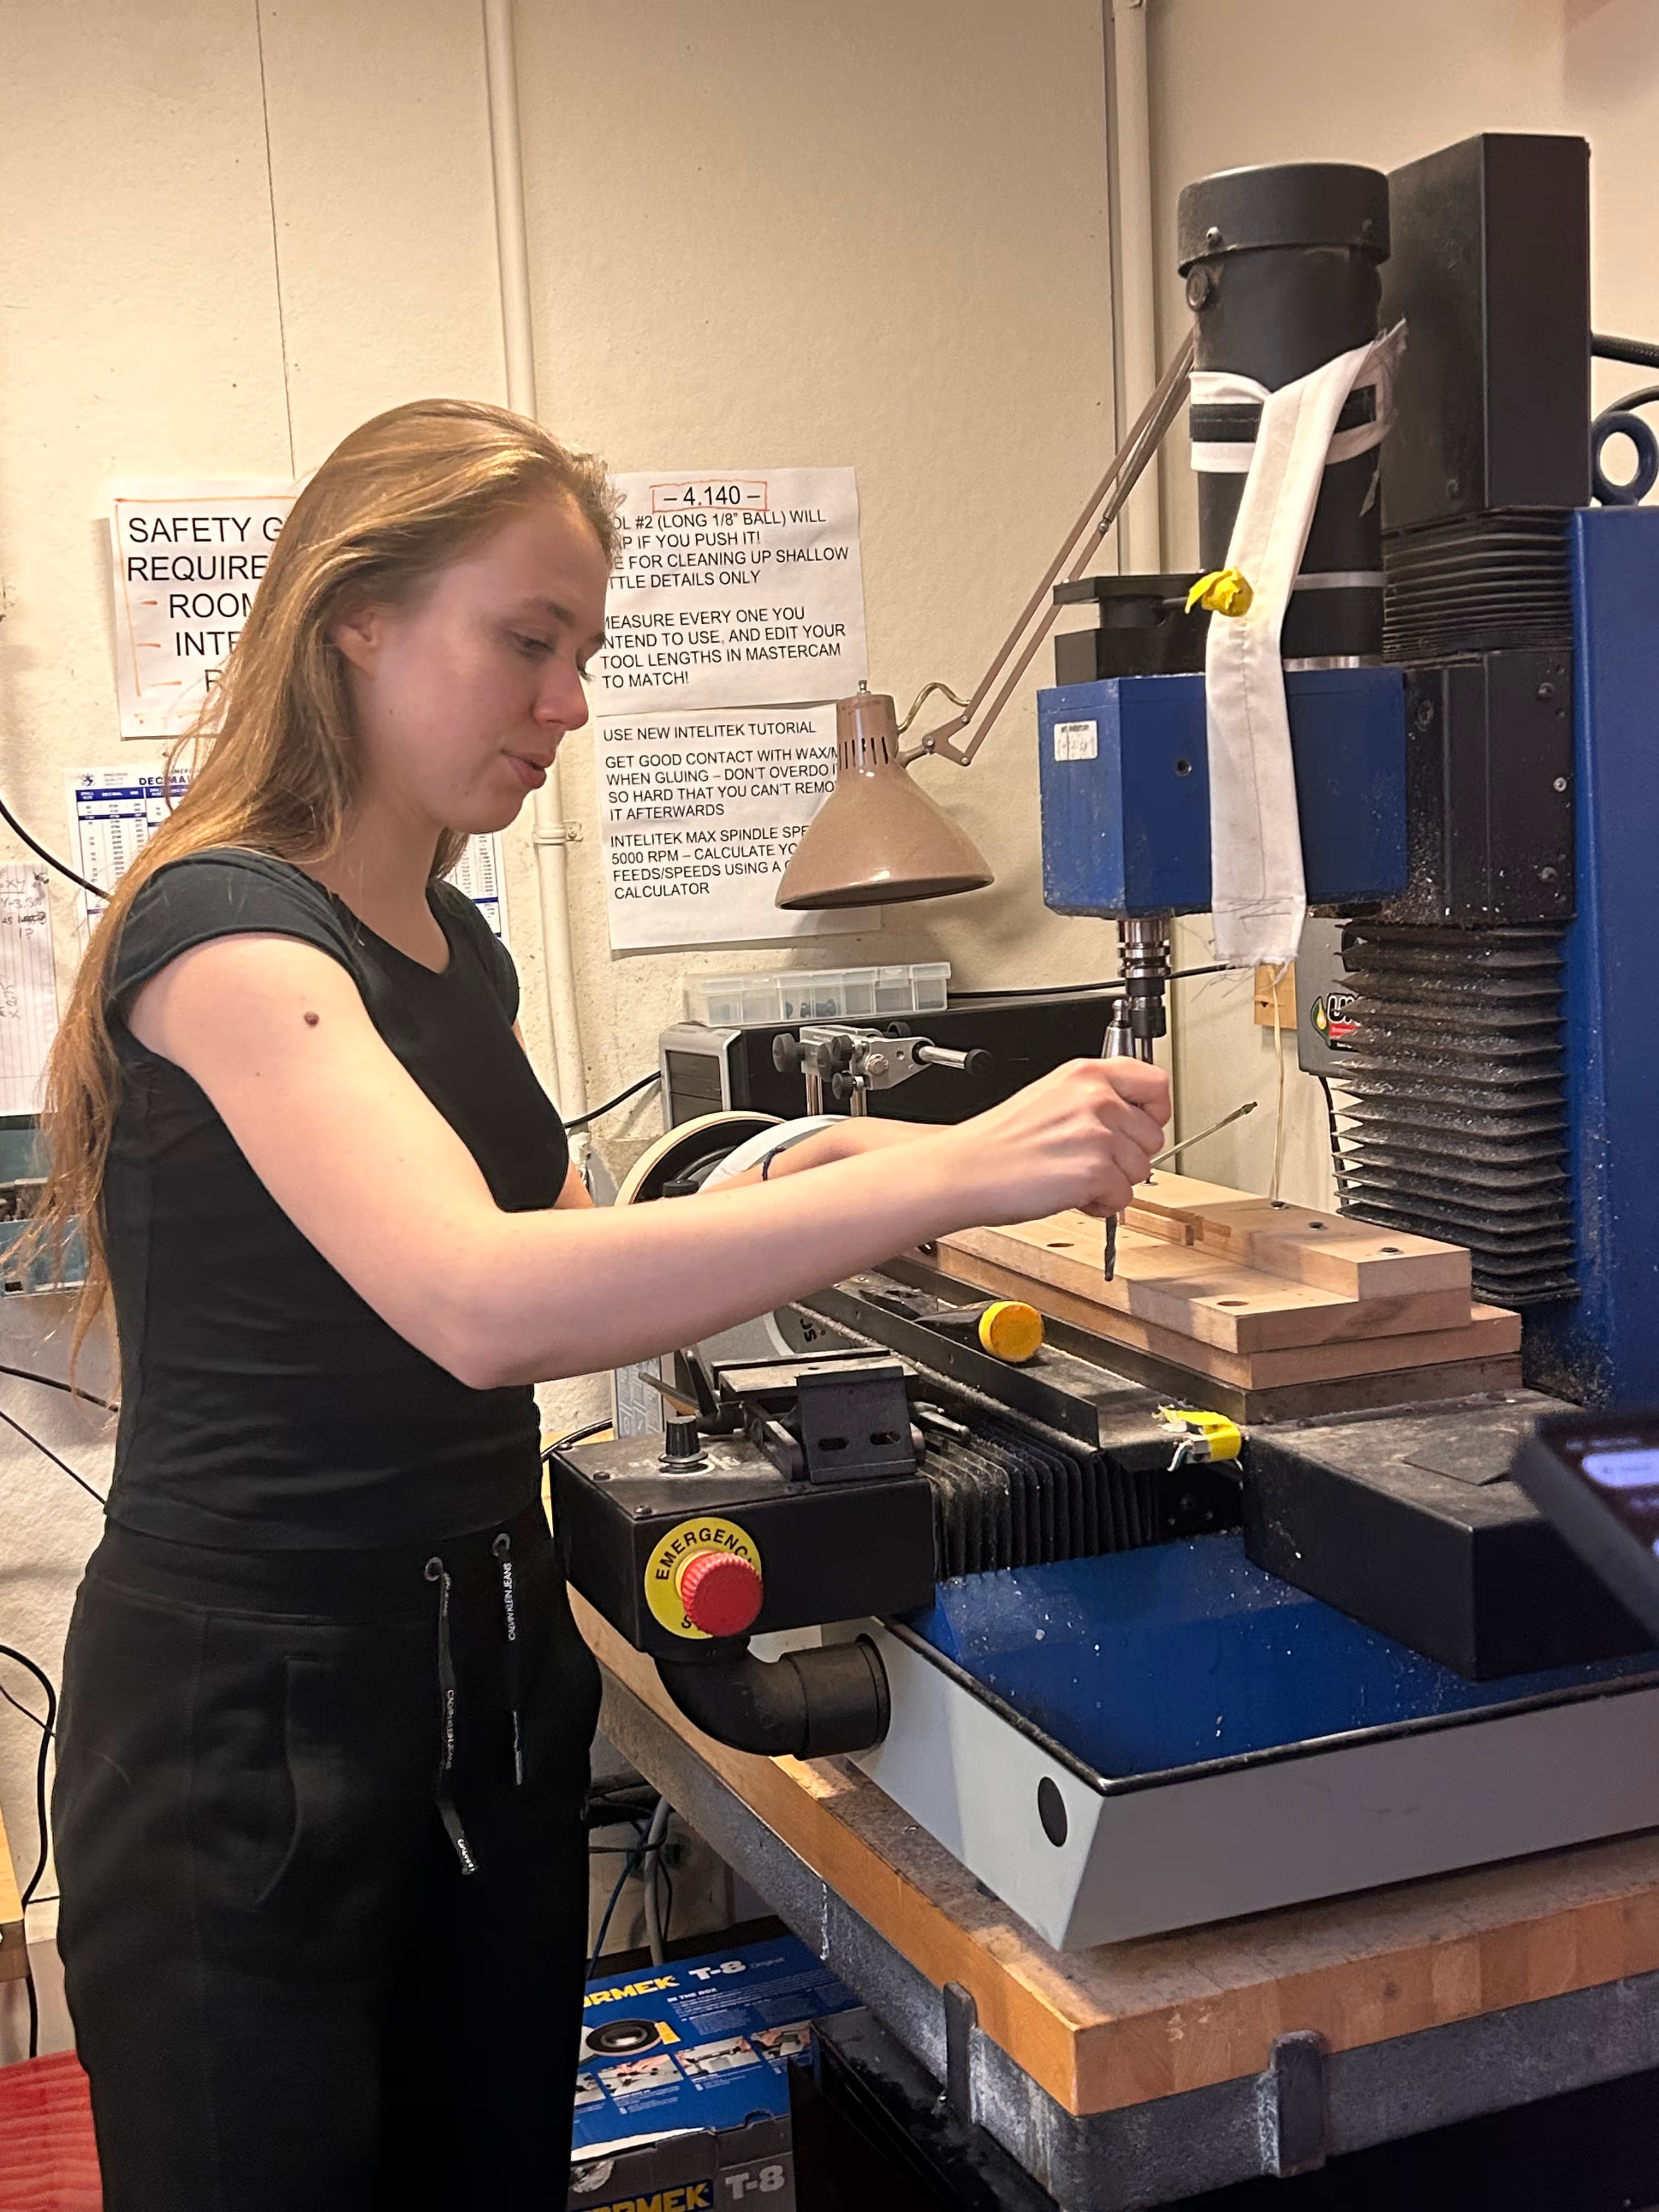
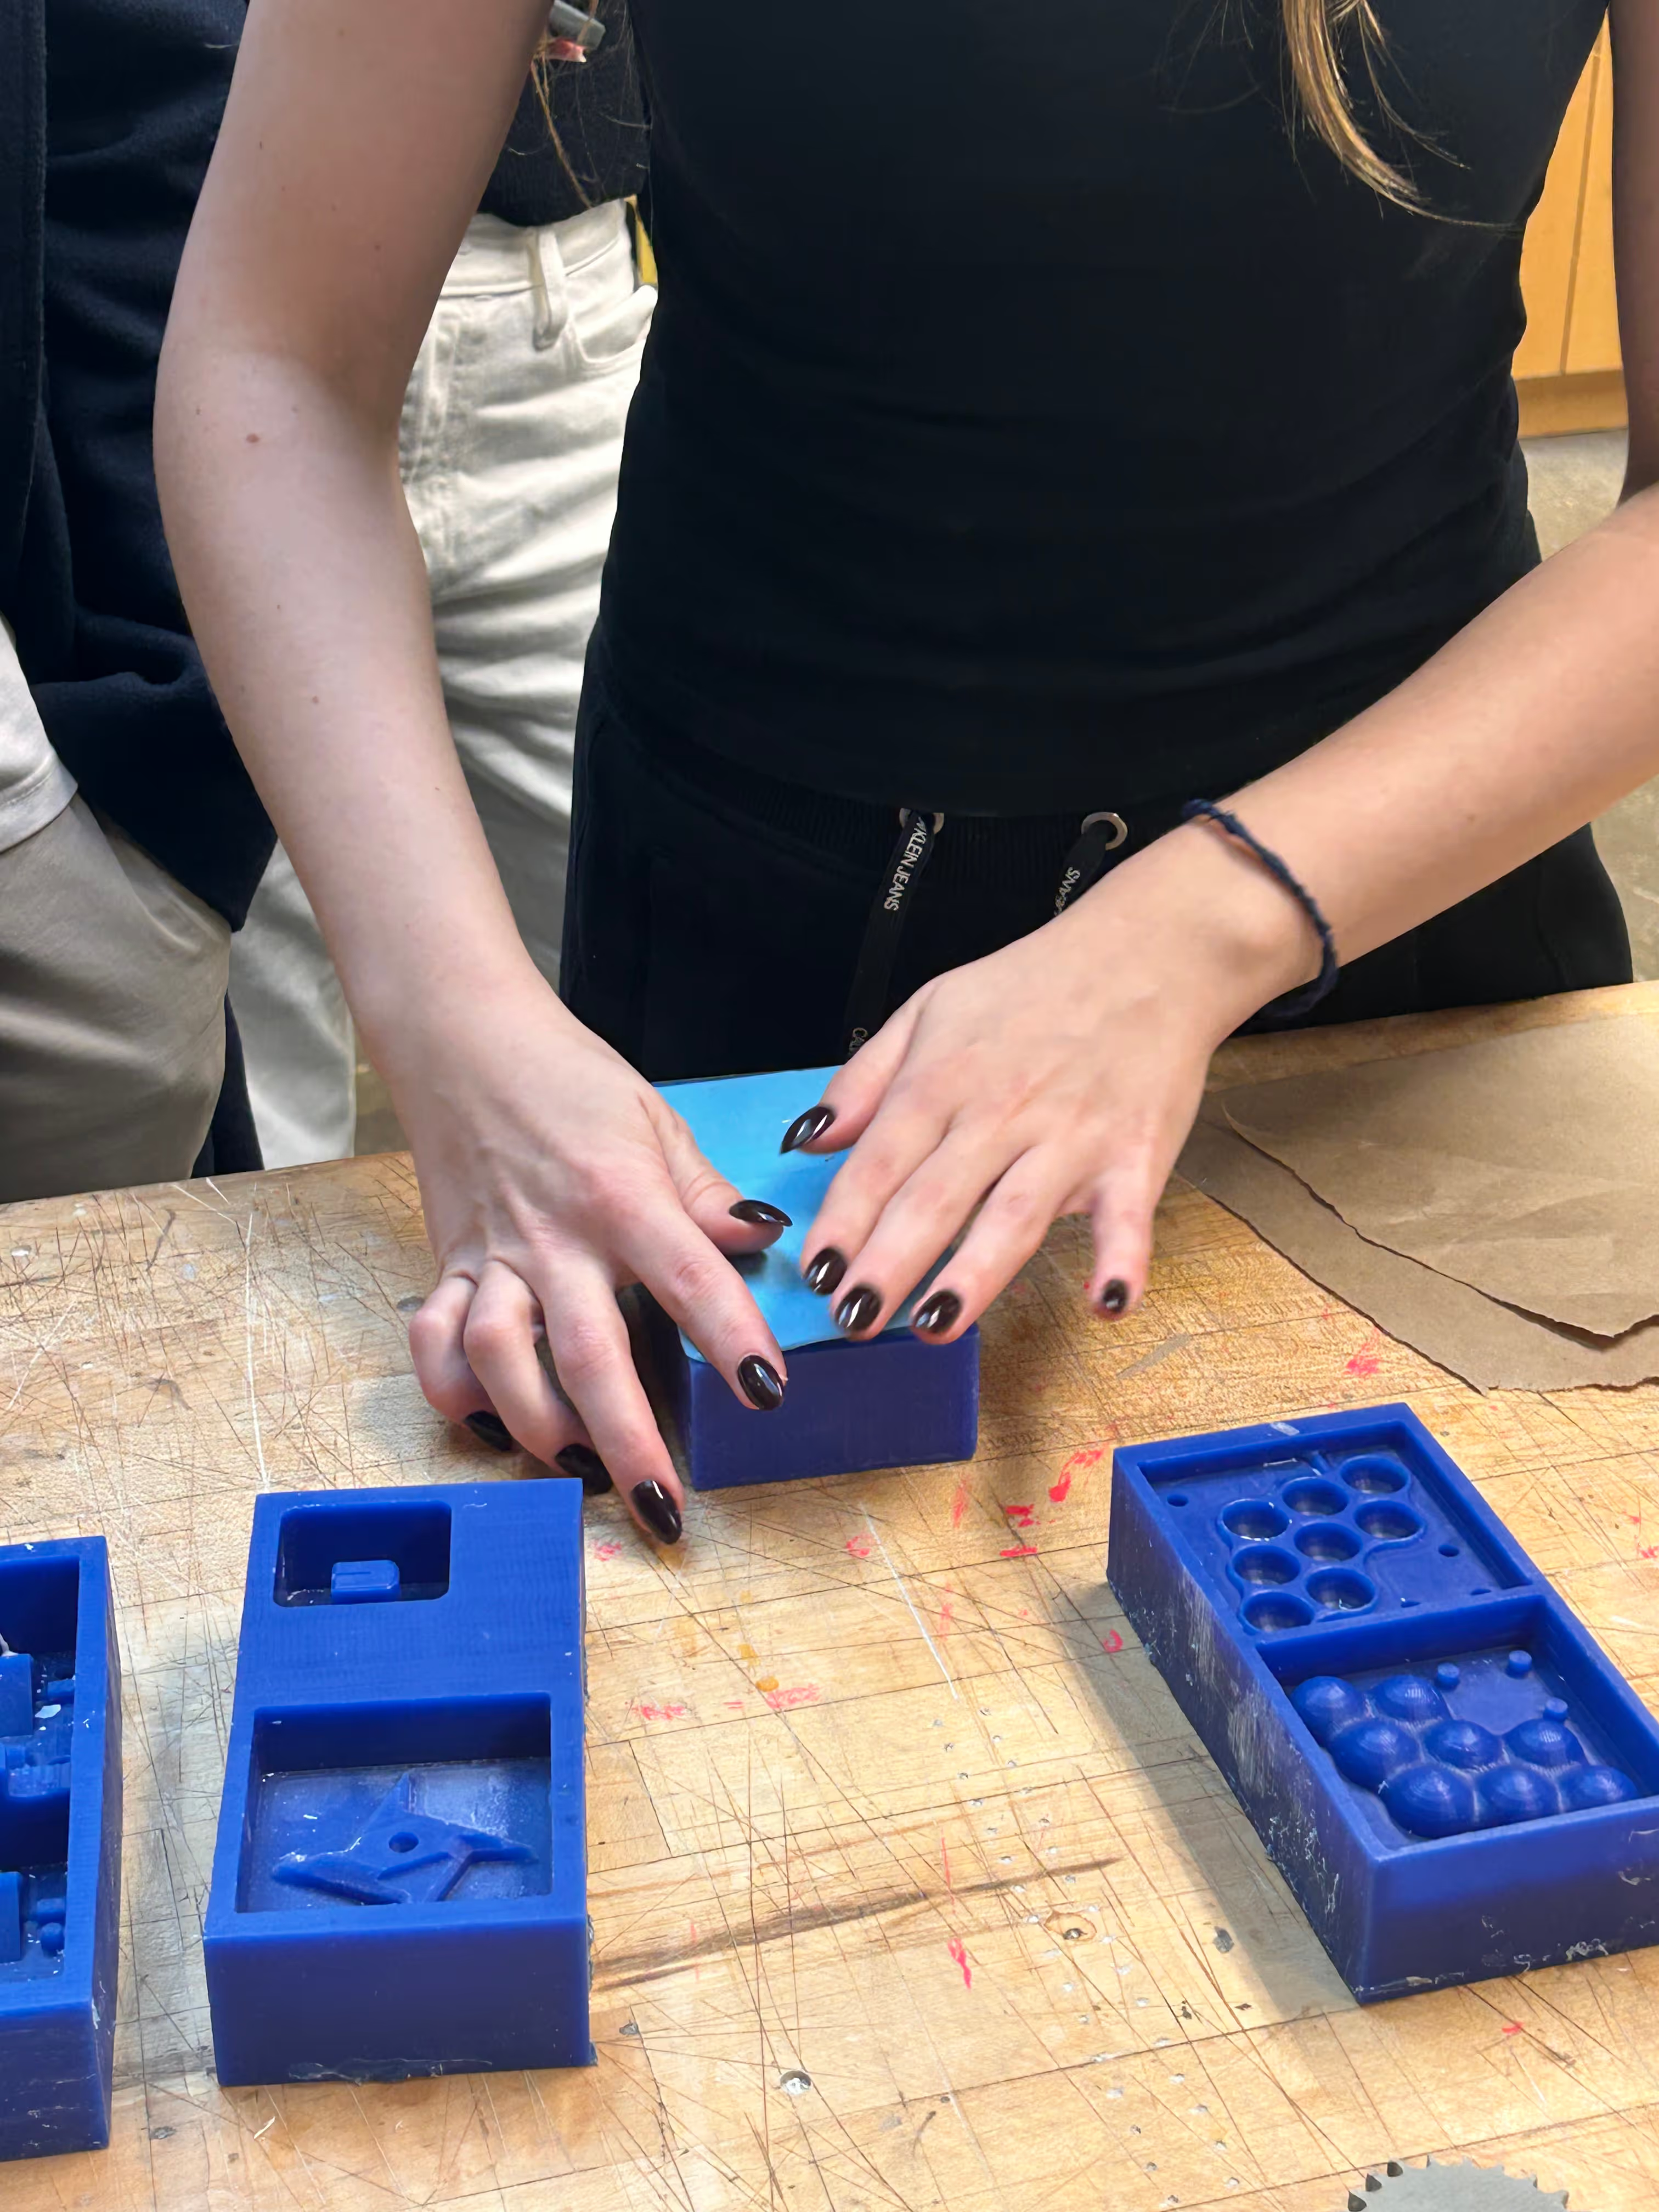
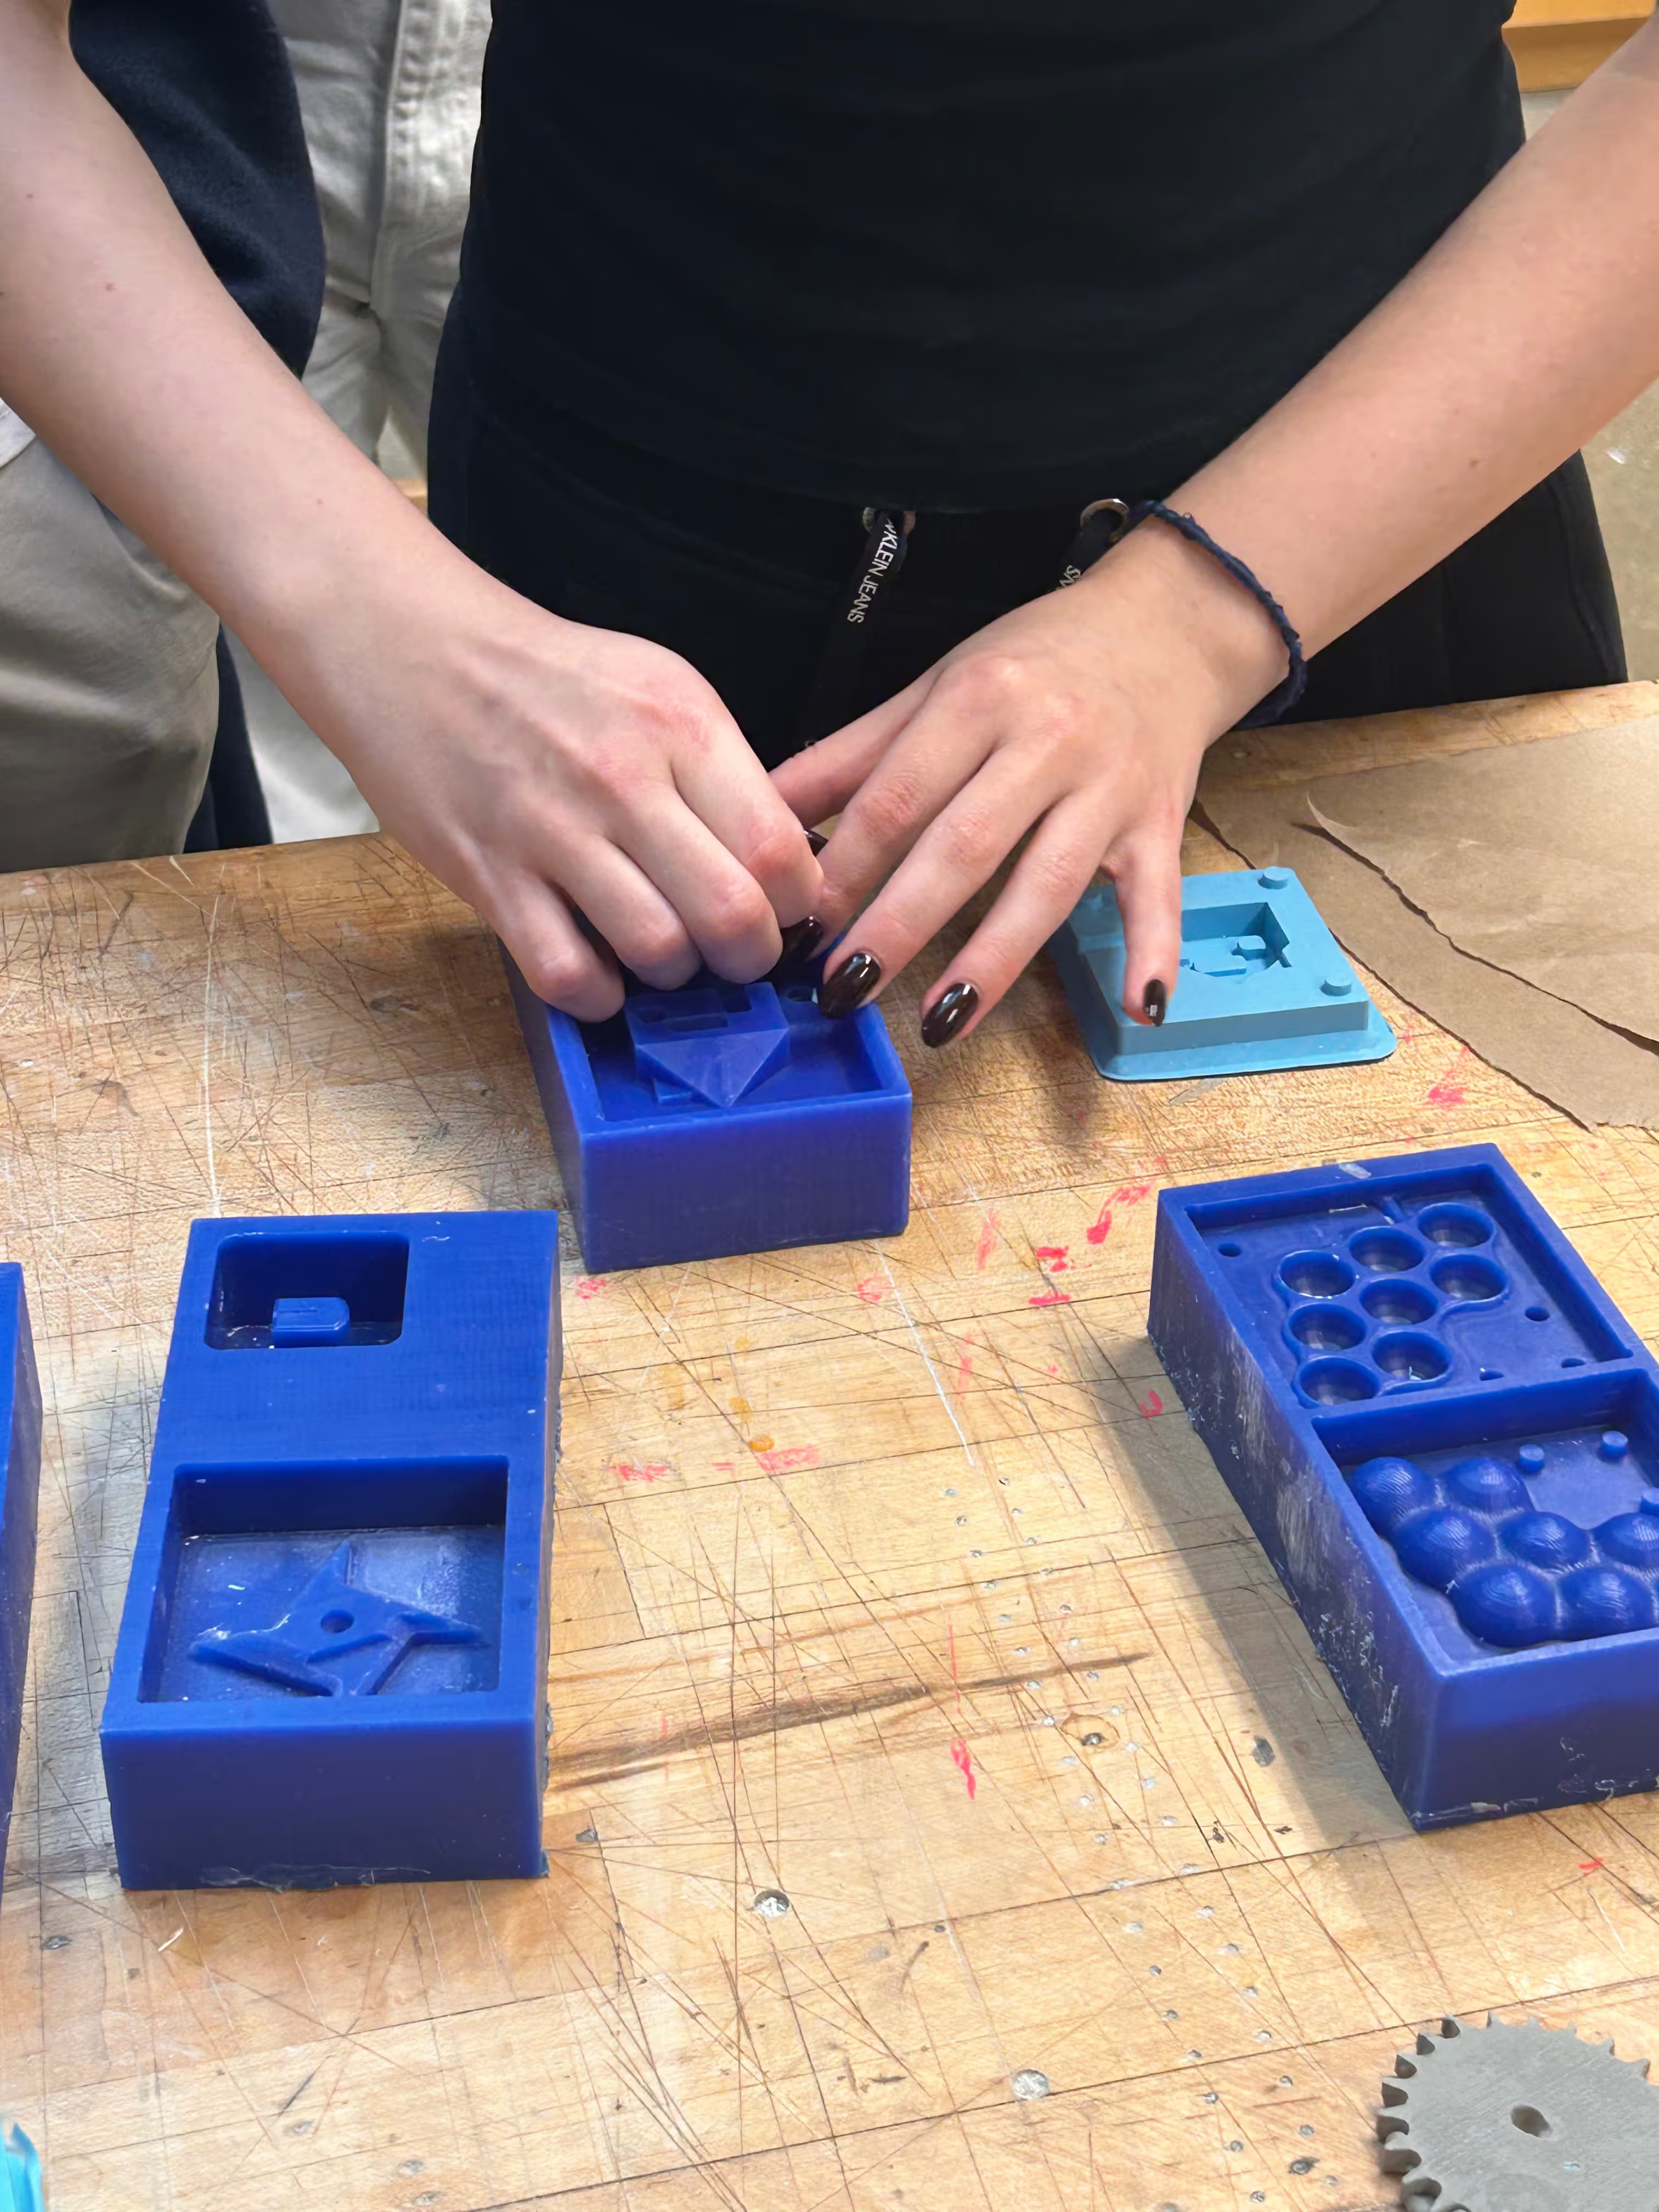
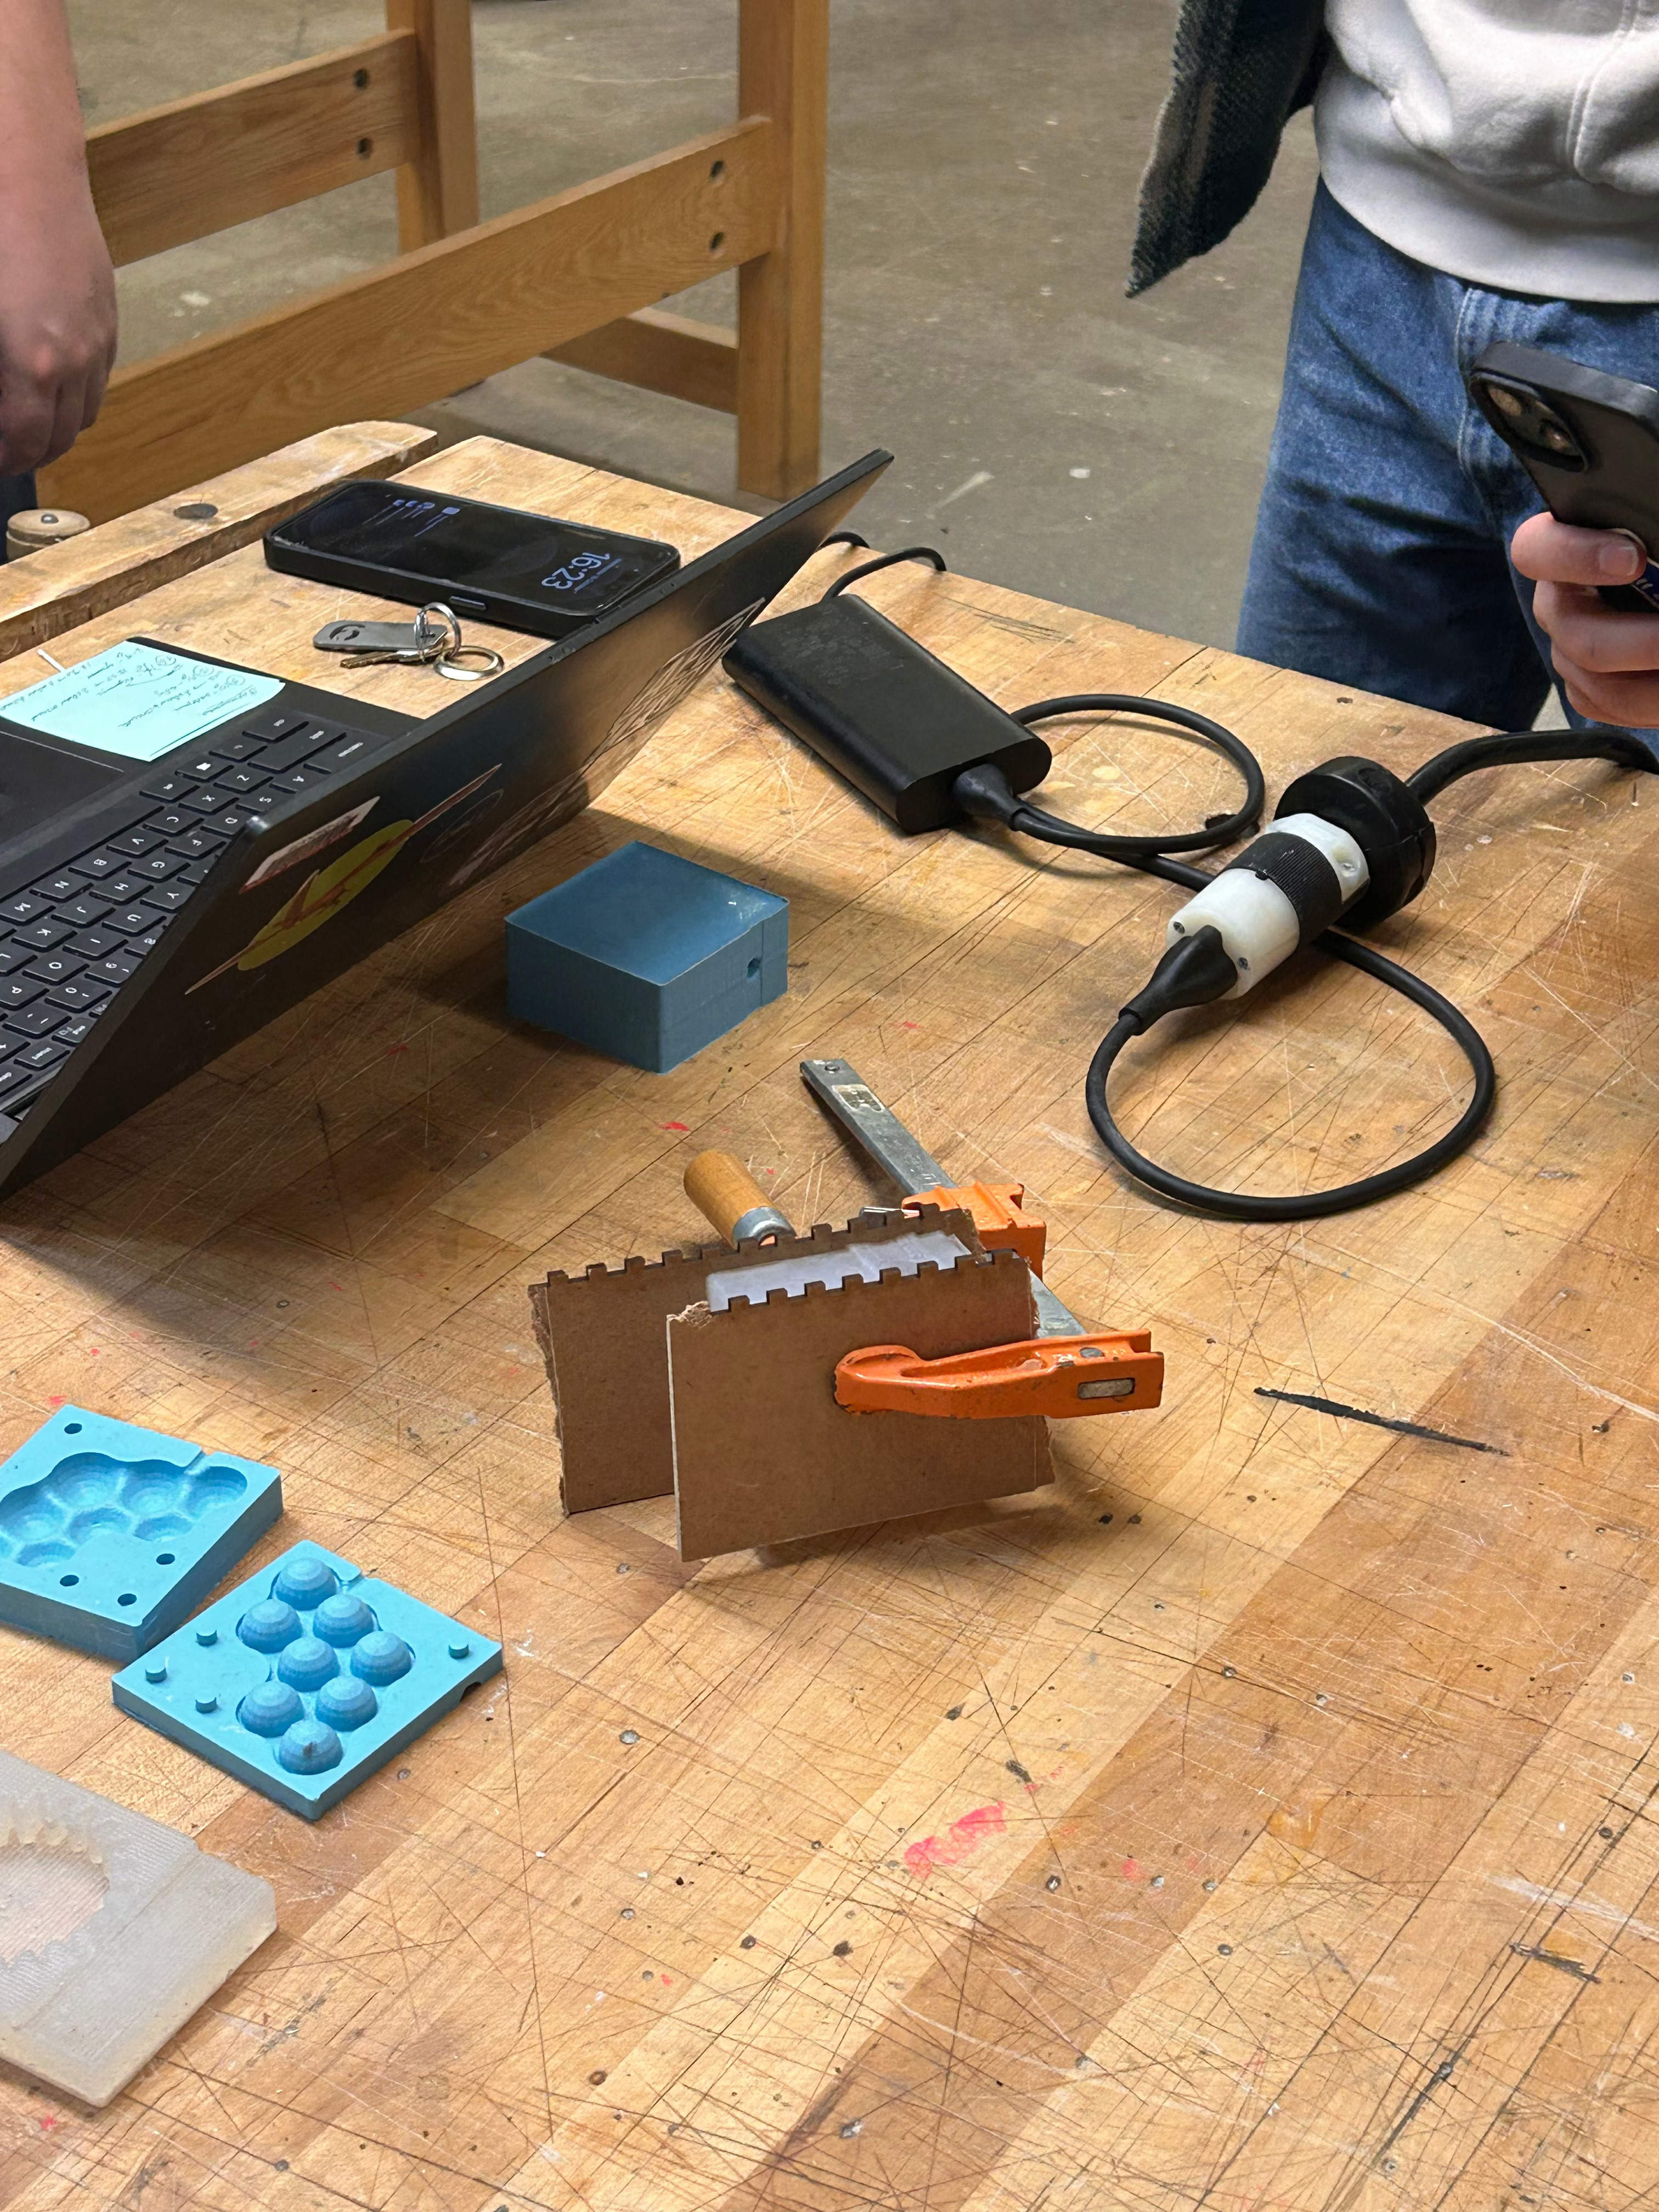
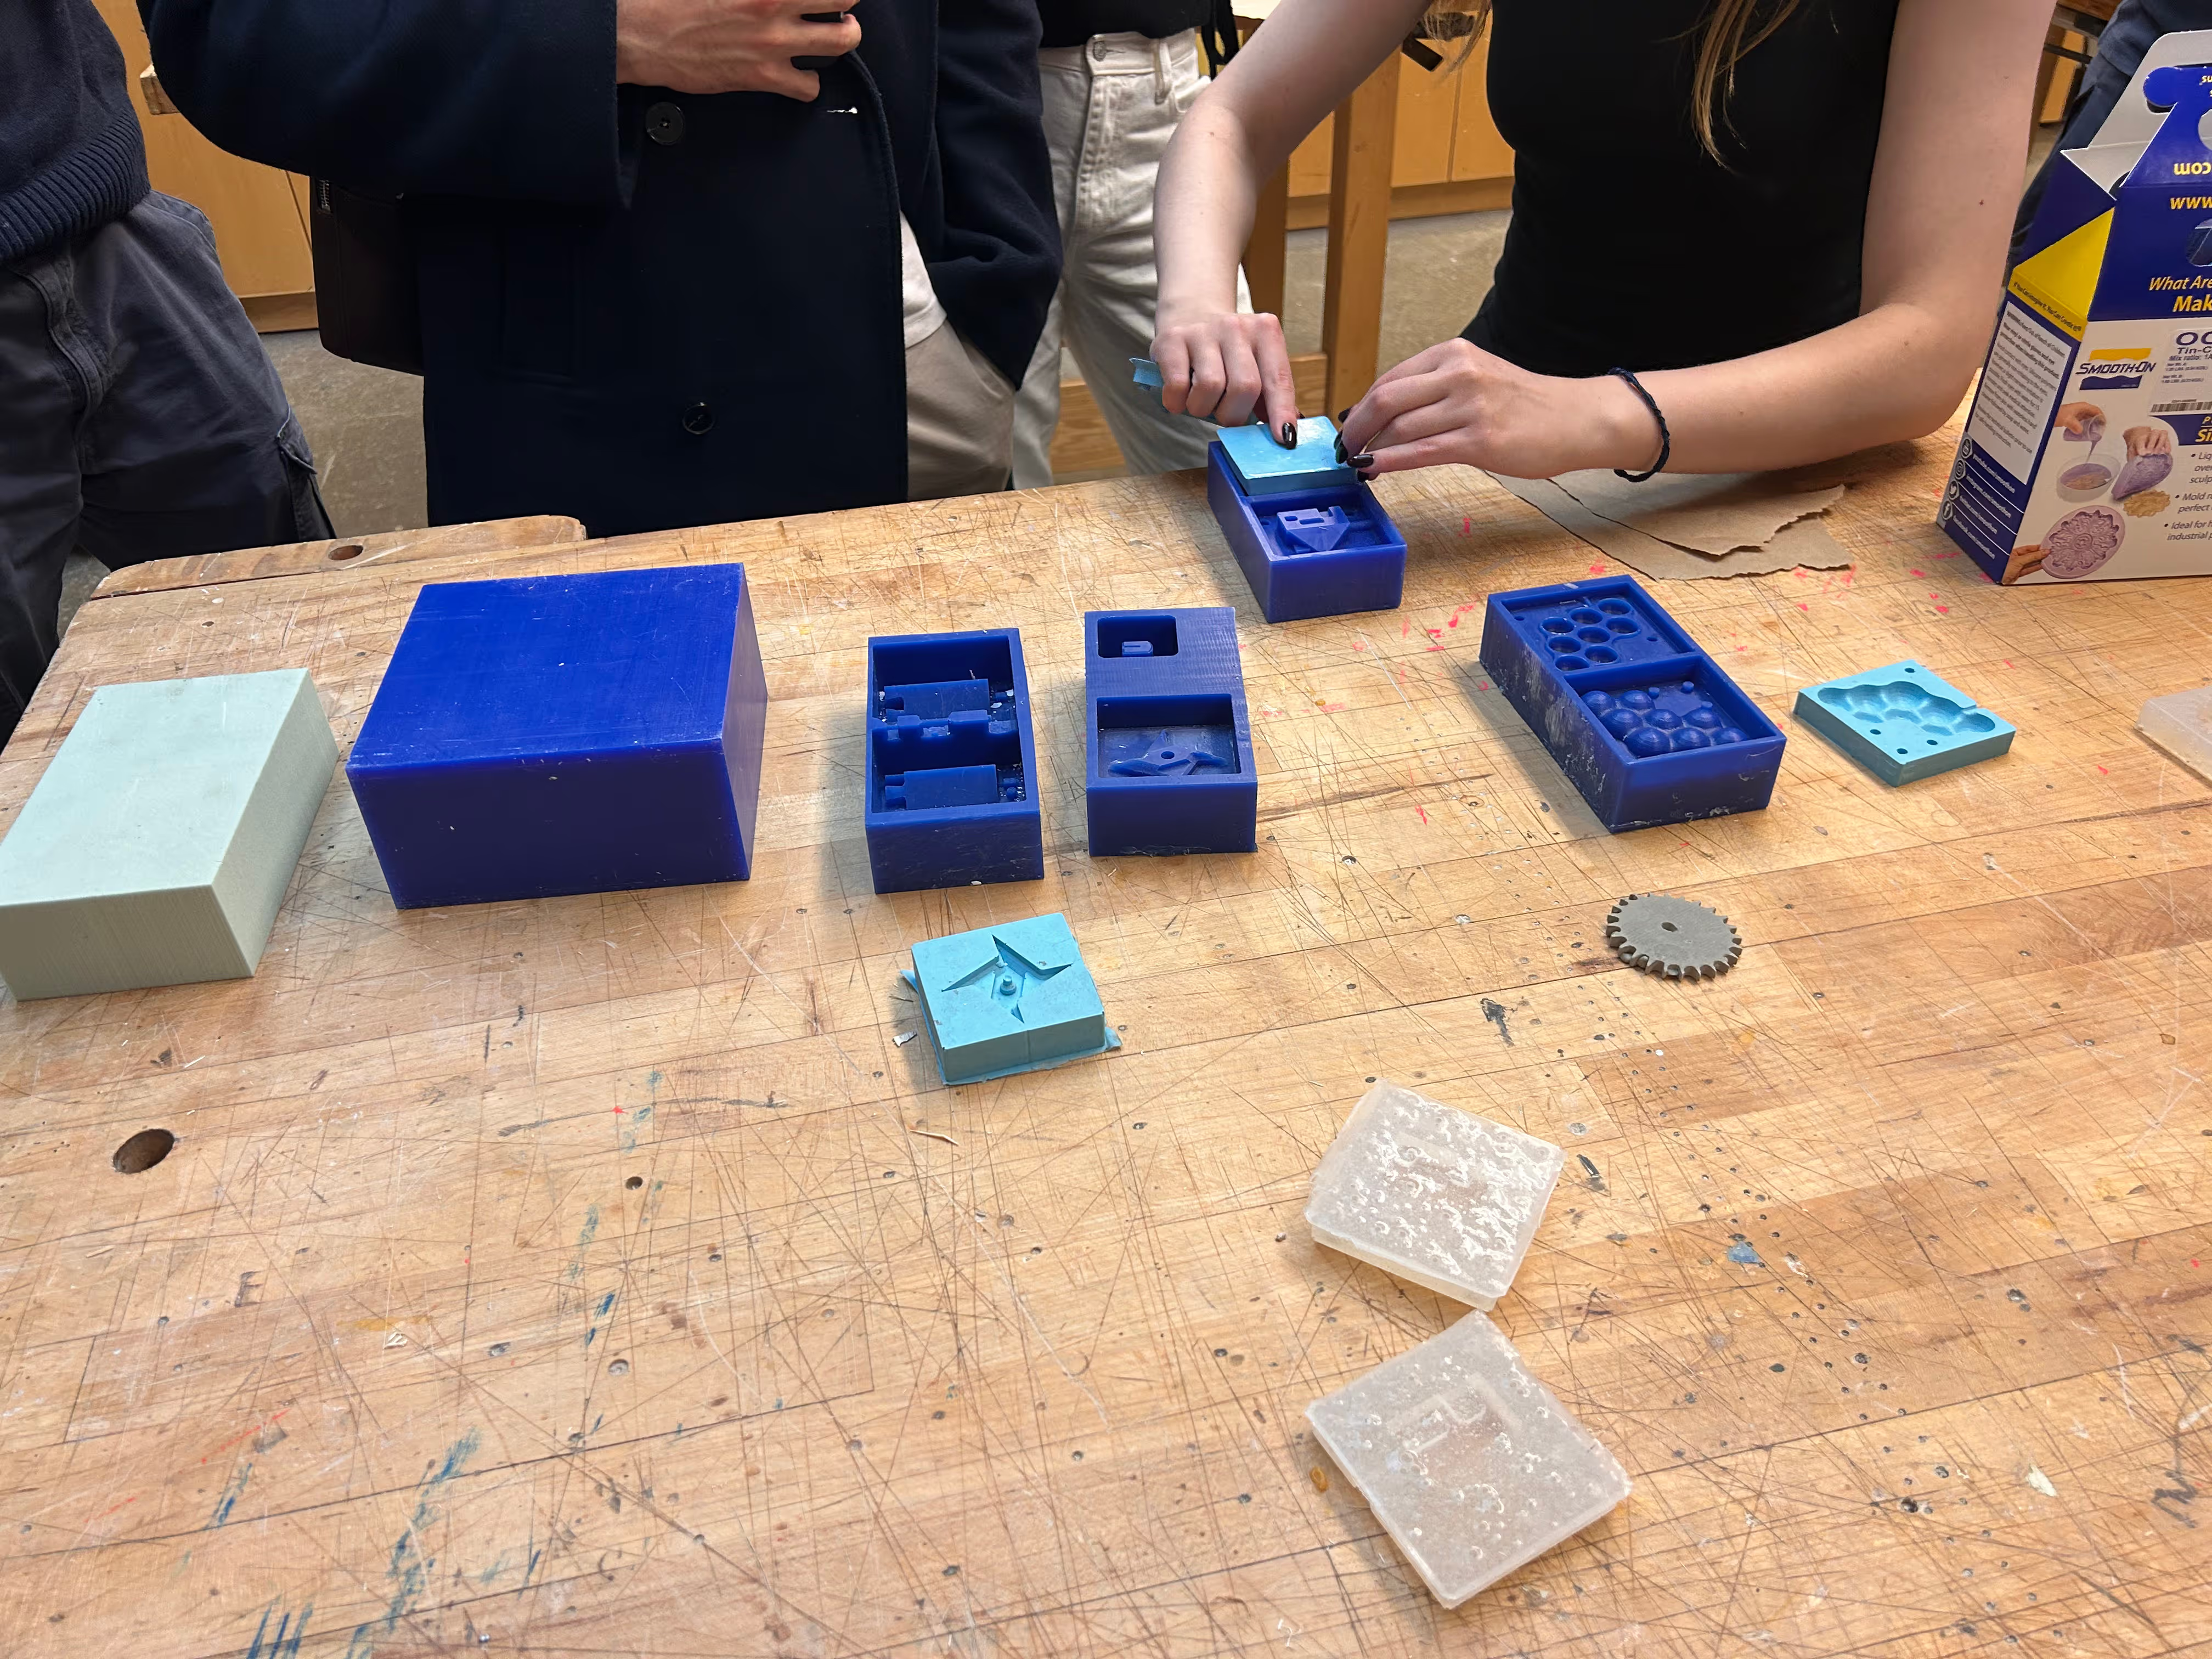
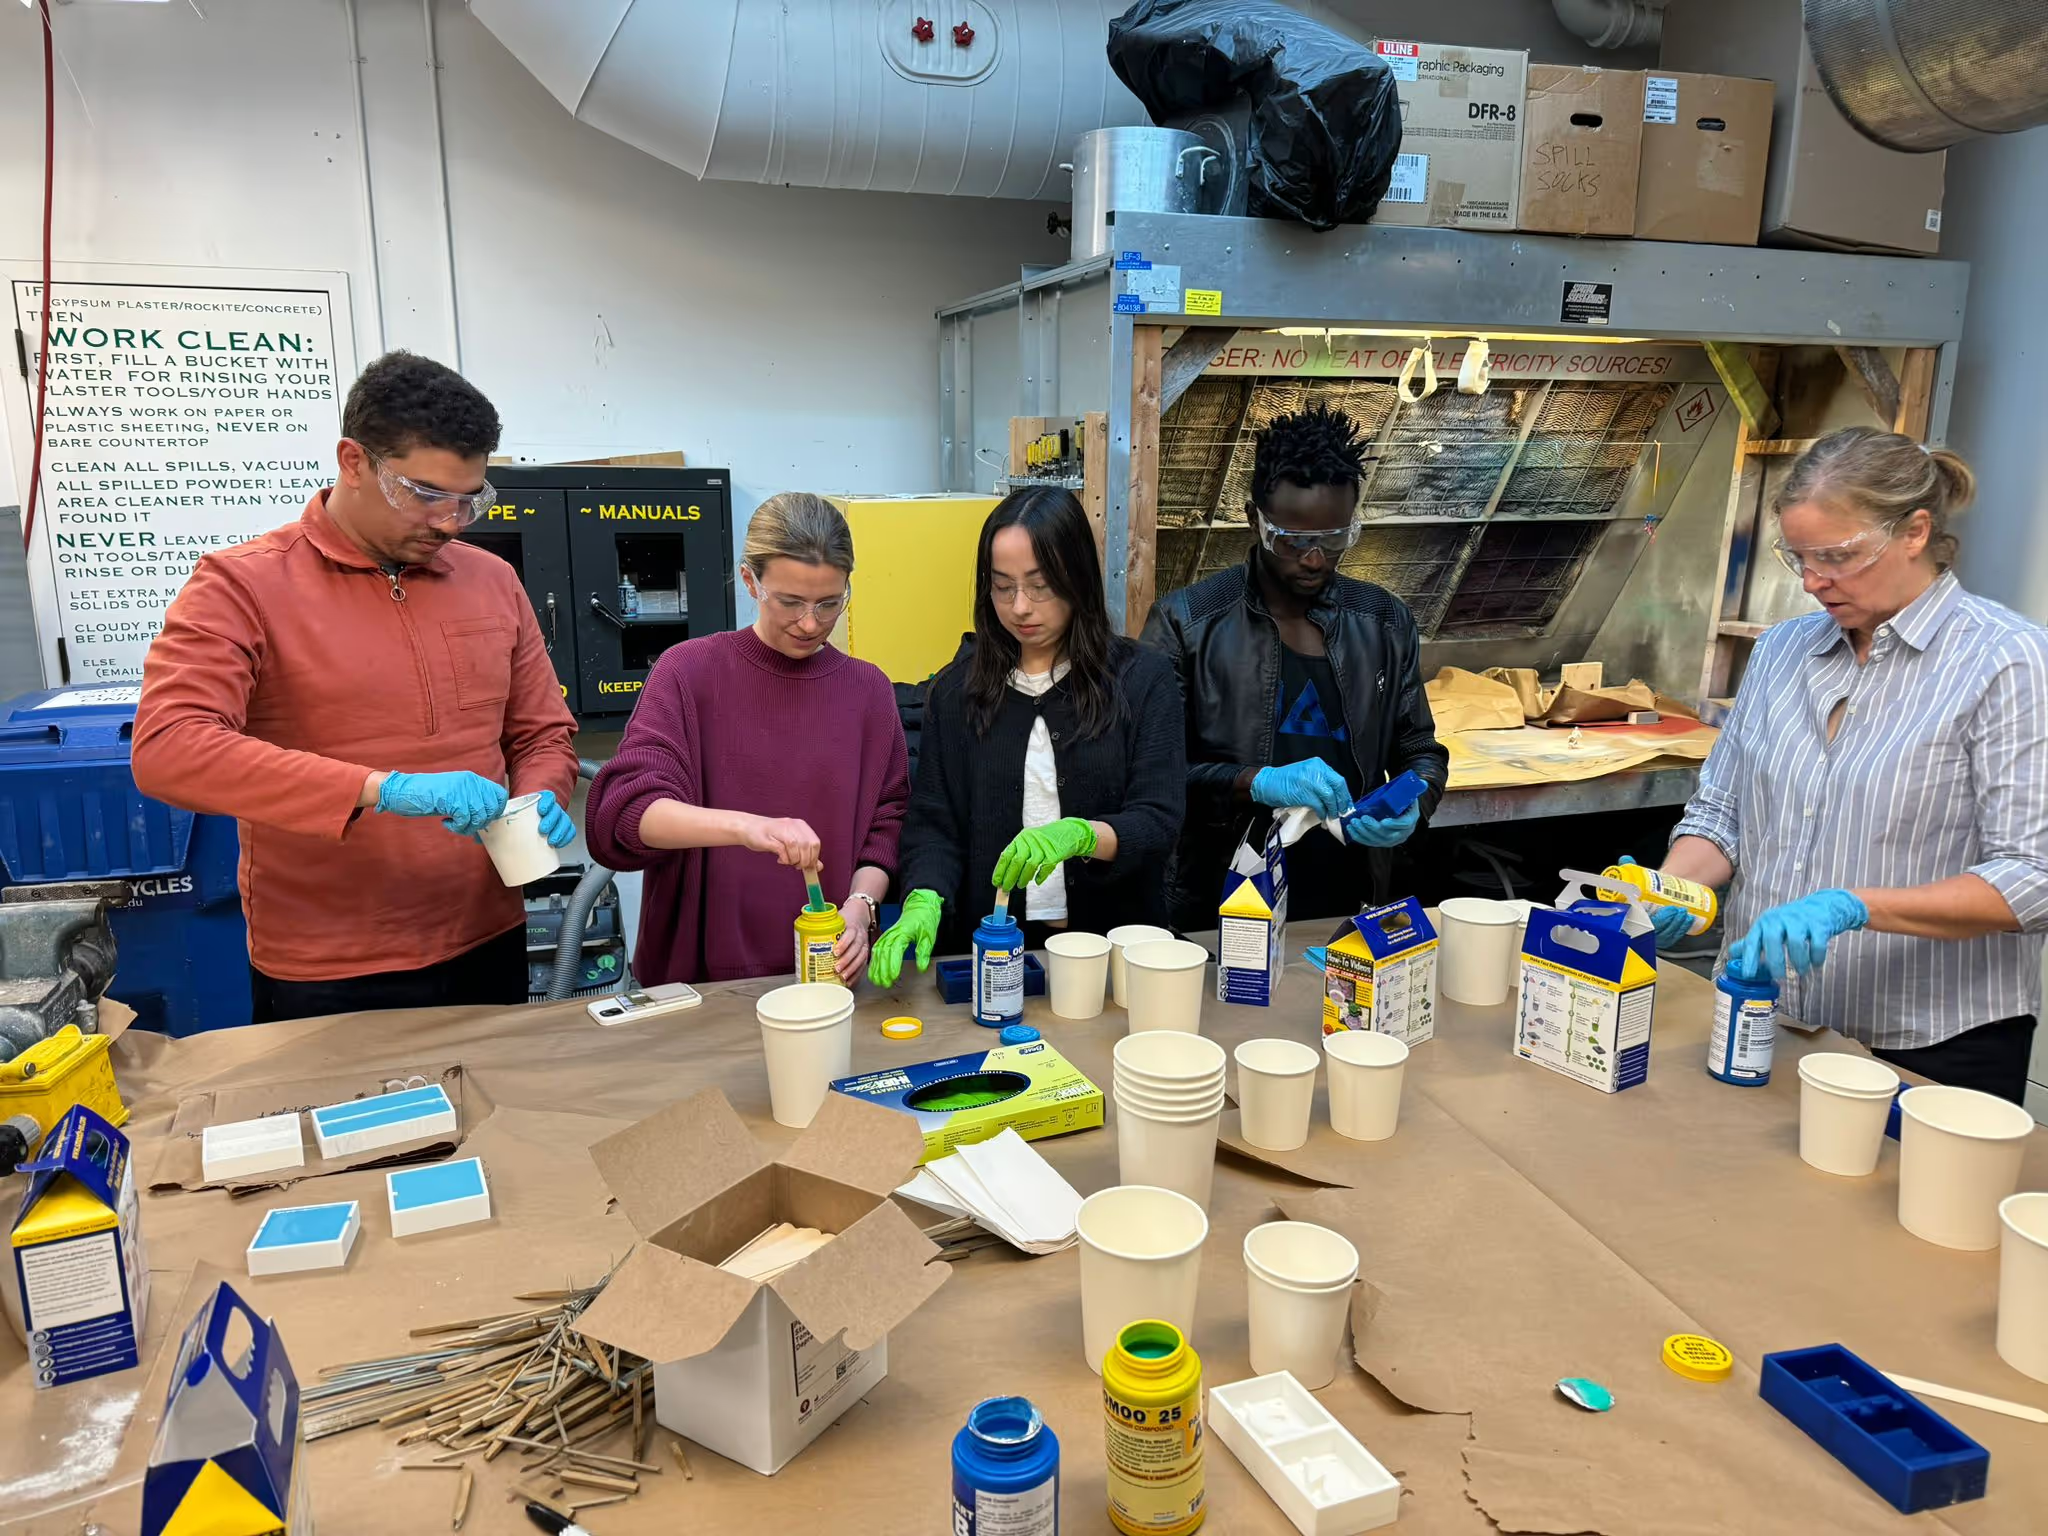
During our group training with Diana, we looked at past models and learned about the OMOO.
OMOO requires wearing gloves, safety goggles, and turning on the overhead ventilation.
It takes 75 minutes to cure but has a 15 minute pot time.
During the training, I also noted that the 3D print needed to be mold for the mold so to speak - it needed to have a pathway for the material to get in while also locking into the second mold.
This weekend I wanted to cast chocolates so I also ran across town looking for food safe silicon.
The other helpful part of the training was the cardboard / clamp method
Putting two pieces of cardboard on either side and applying a clamp to keep pressure consistent.
Week 6: Design a mold with a smooth surface finish and use it to cast parts (individual)
As mentioned above, I wanted to cast chocolates, so I ran all over town looking for Smooth-On's SORTA-Clear 18, 37, or 40. I looked at Amazon too but the delivery times for every Smooth-on product were over a week... Blake (also in my section) called Blick in Fenway who said they had food safe silicon.
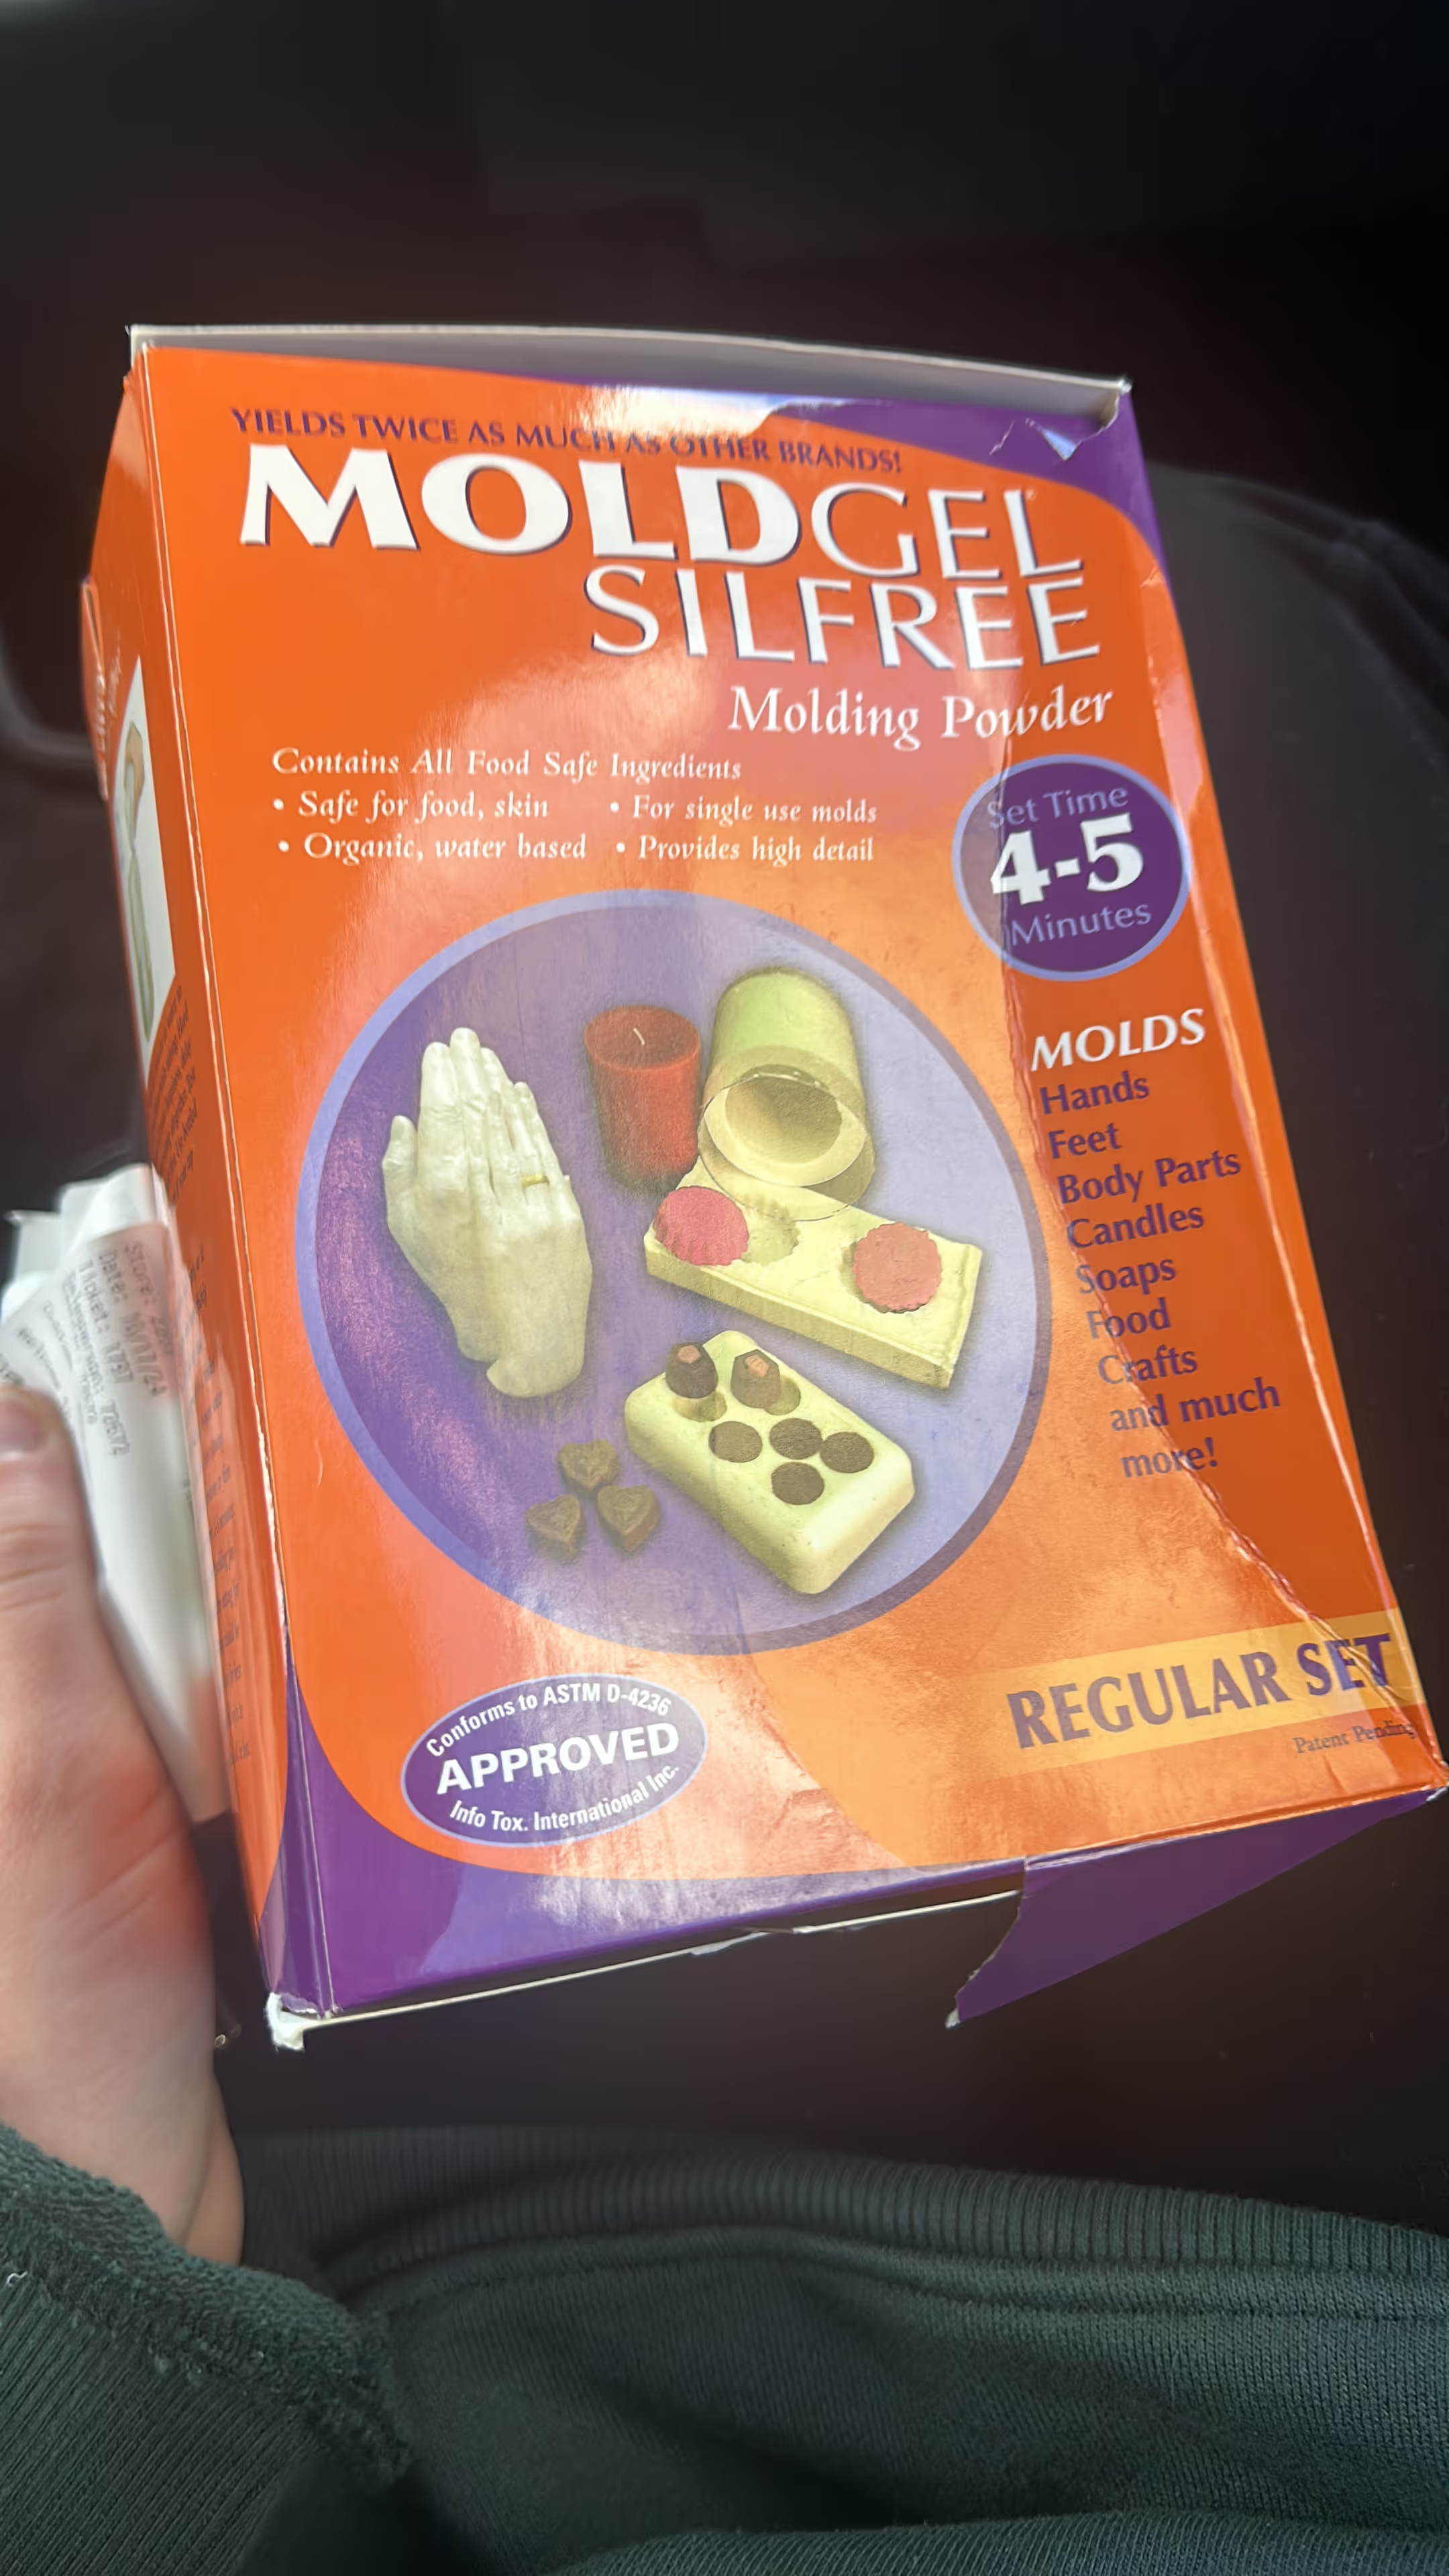
I'm glad I showed Jenn this box from Blick, but she pointed out that it wasn't silicon at all but "silate??"
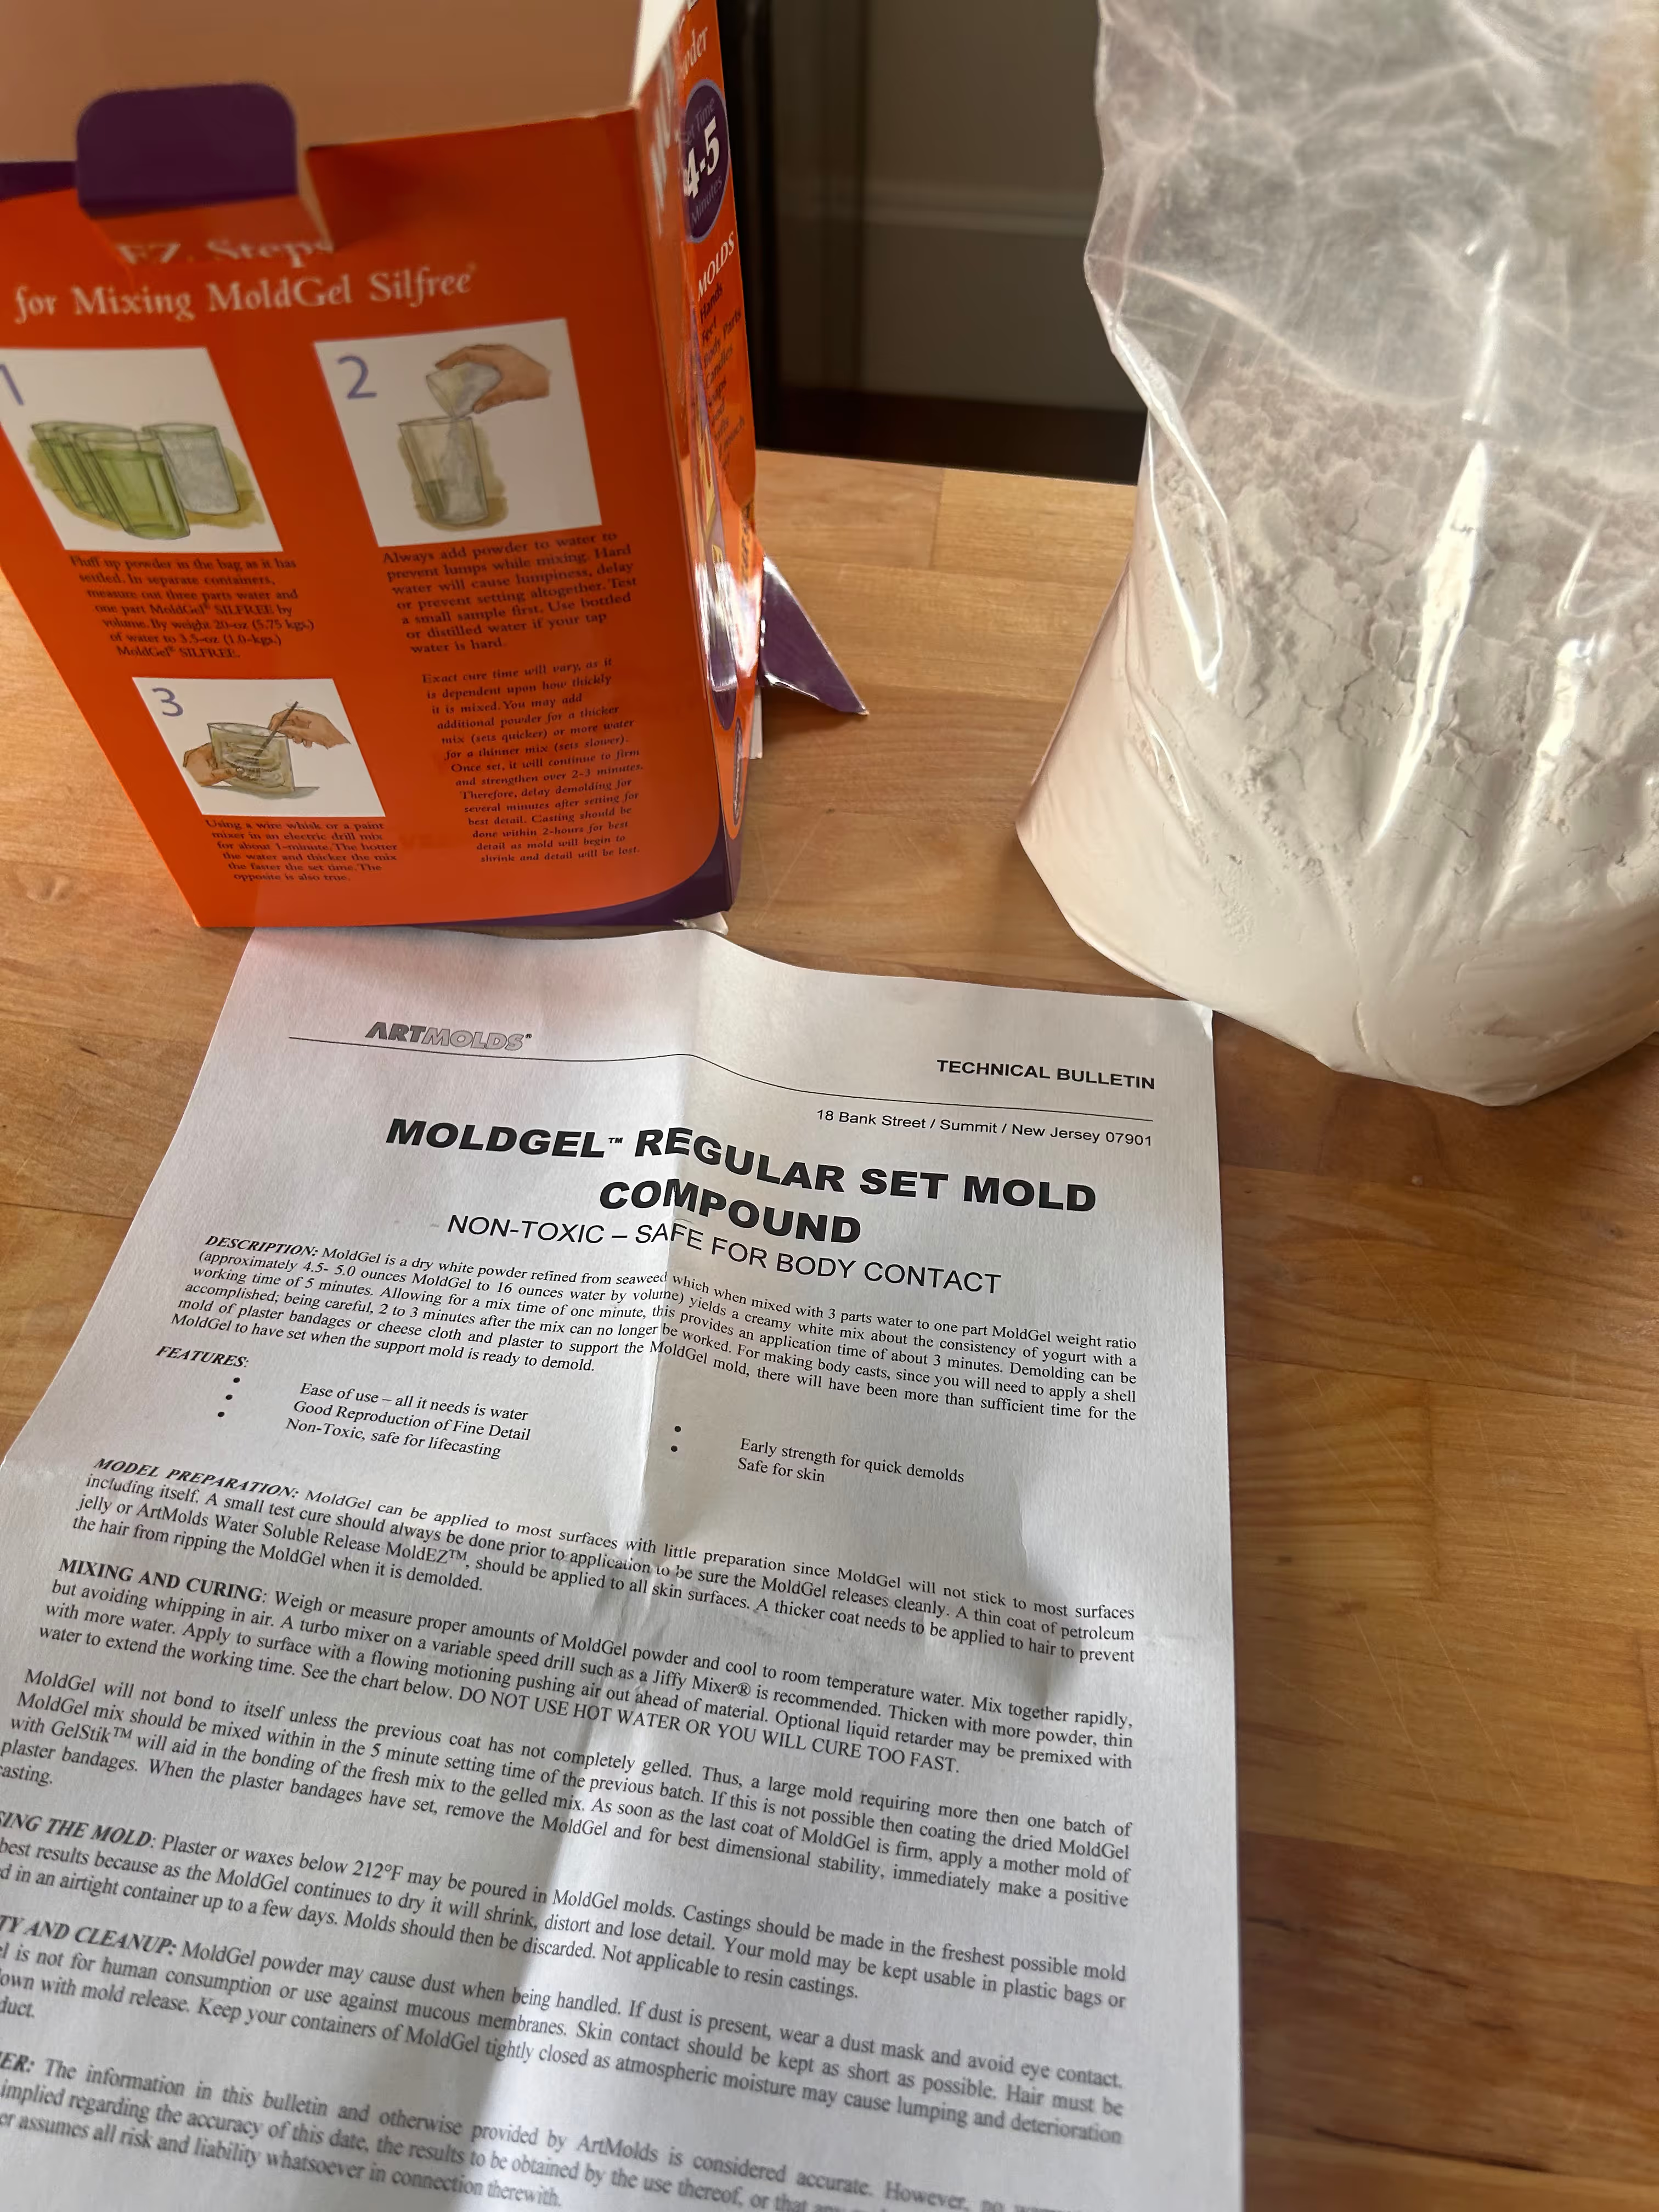
The instructions were also very different from Smooth-On. Instead of equal parts of two liquids, MoldGel wanted 3 parts water, 1 part powder.
It also noted the importance of using distilled water - which seemed like a headache to chase down.
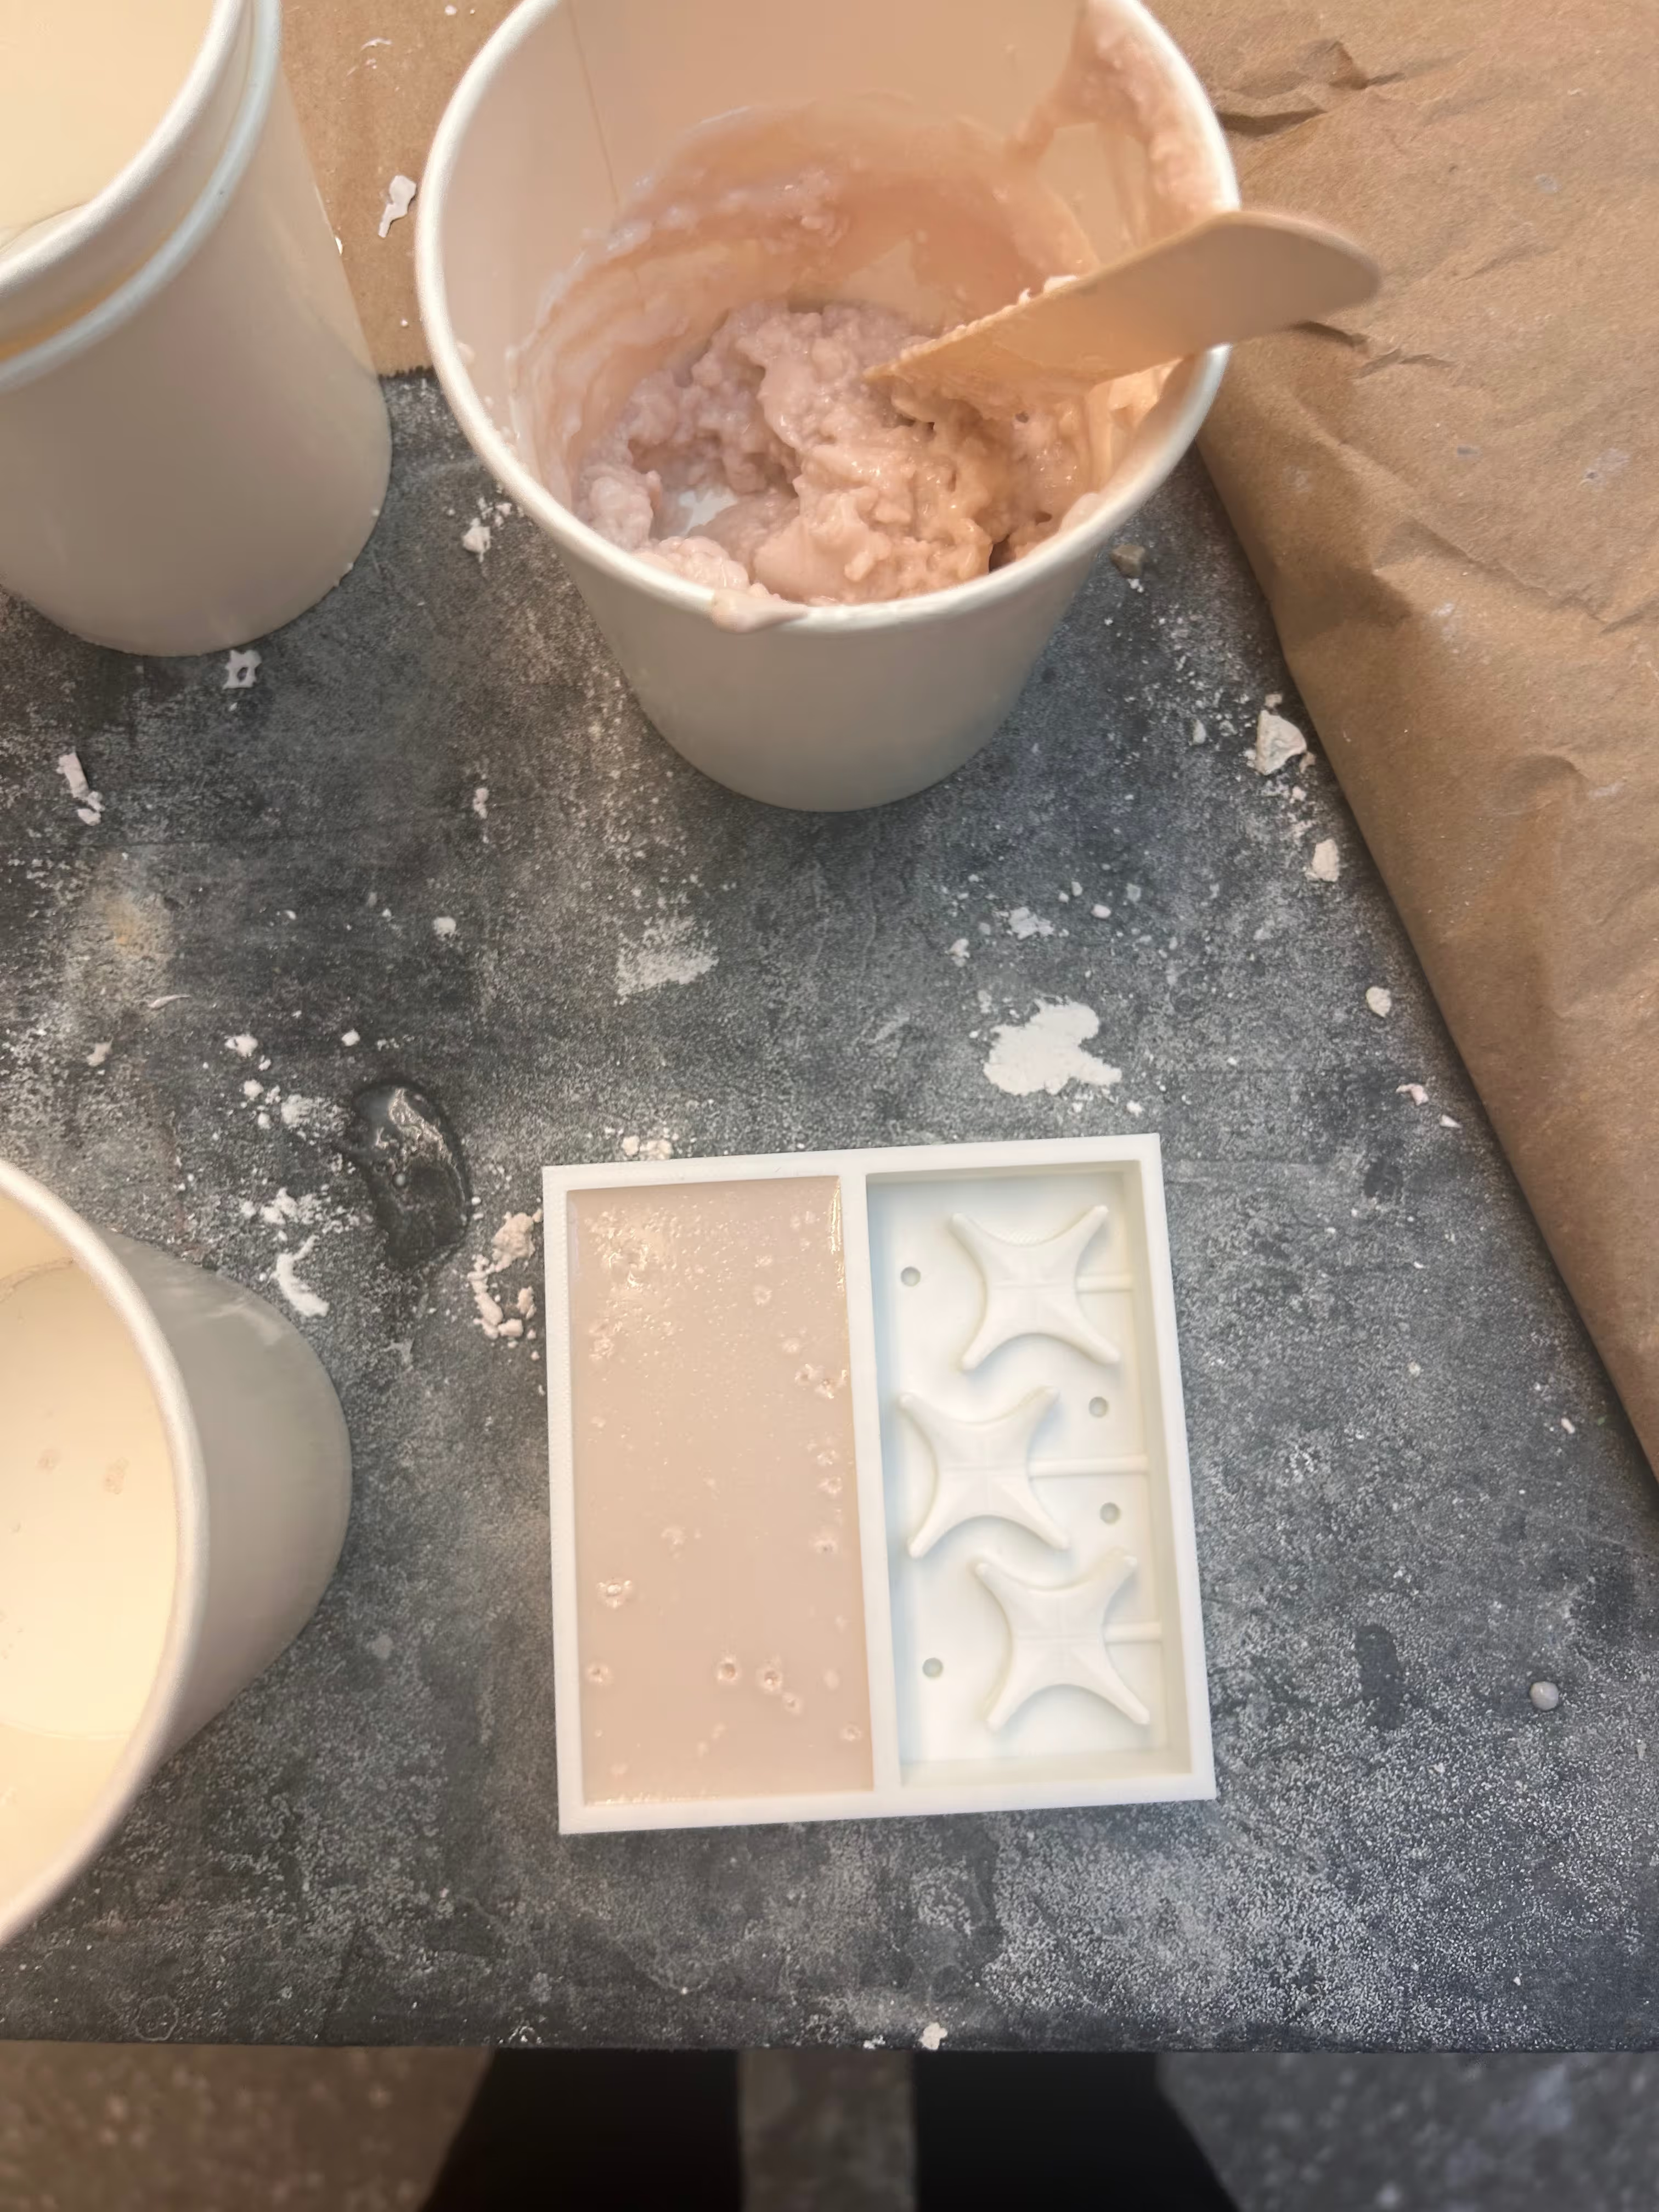
But I gave the MoldGel a try. Here is a picture of my test sample on Friday.
The instructions noted that the material would cure very quickly - 5 mins. I gave it extra time just in case and then tried to pull it out.
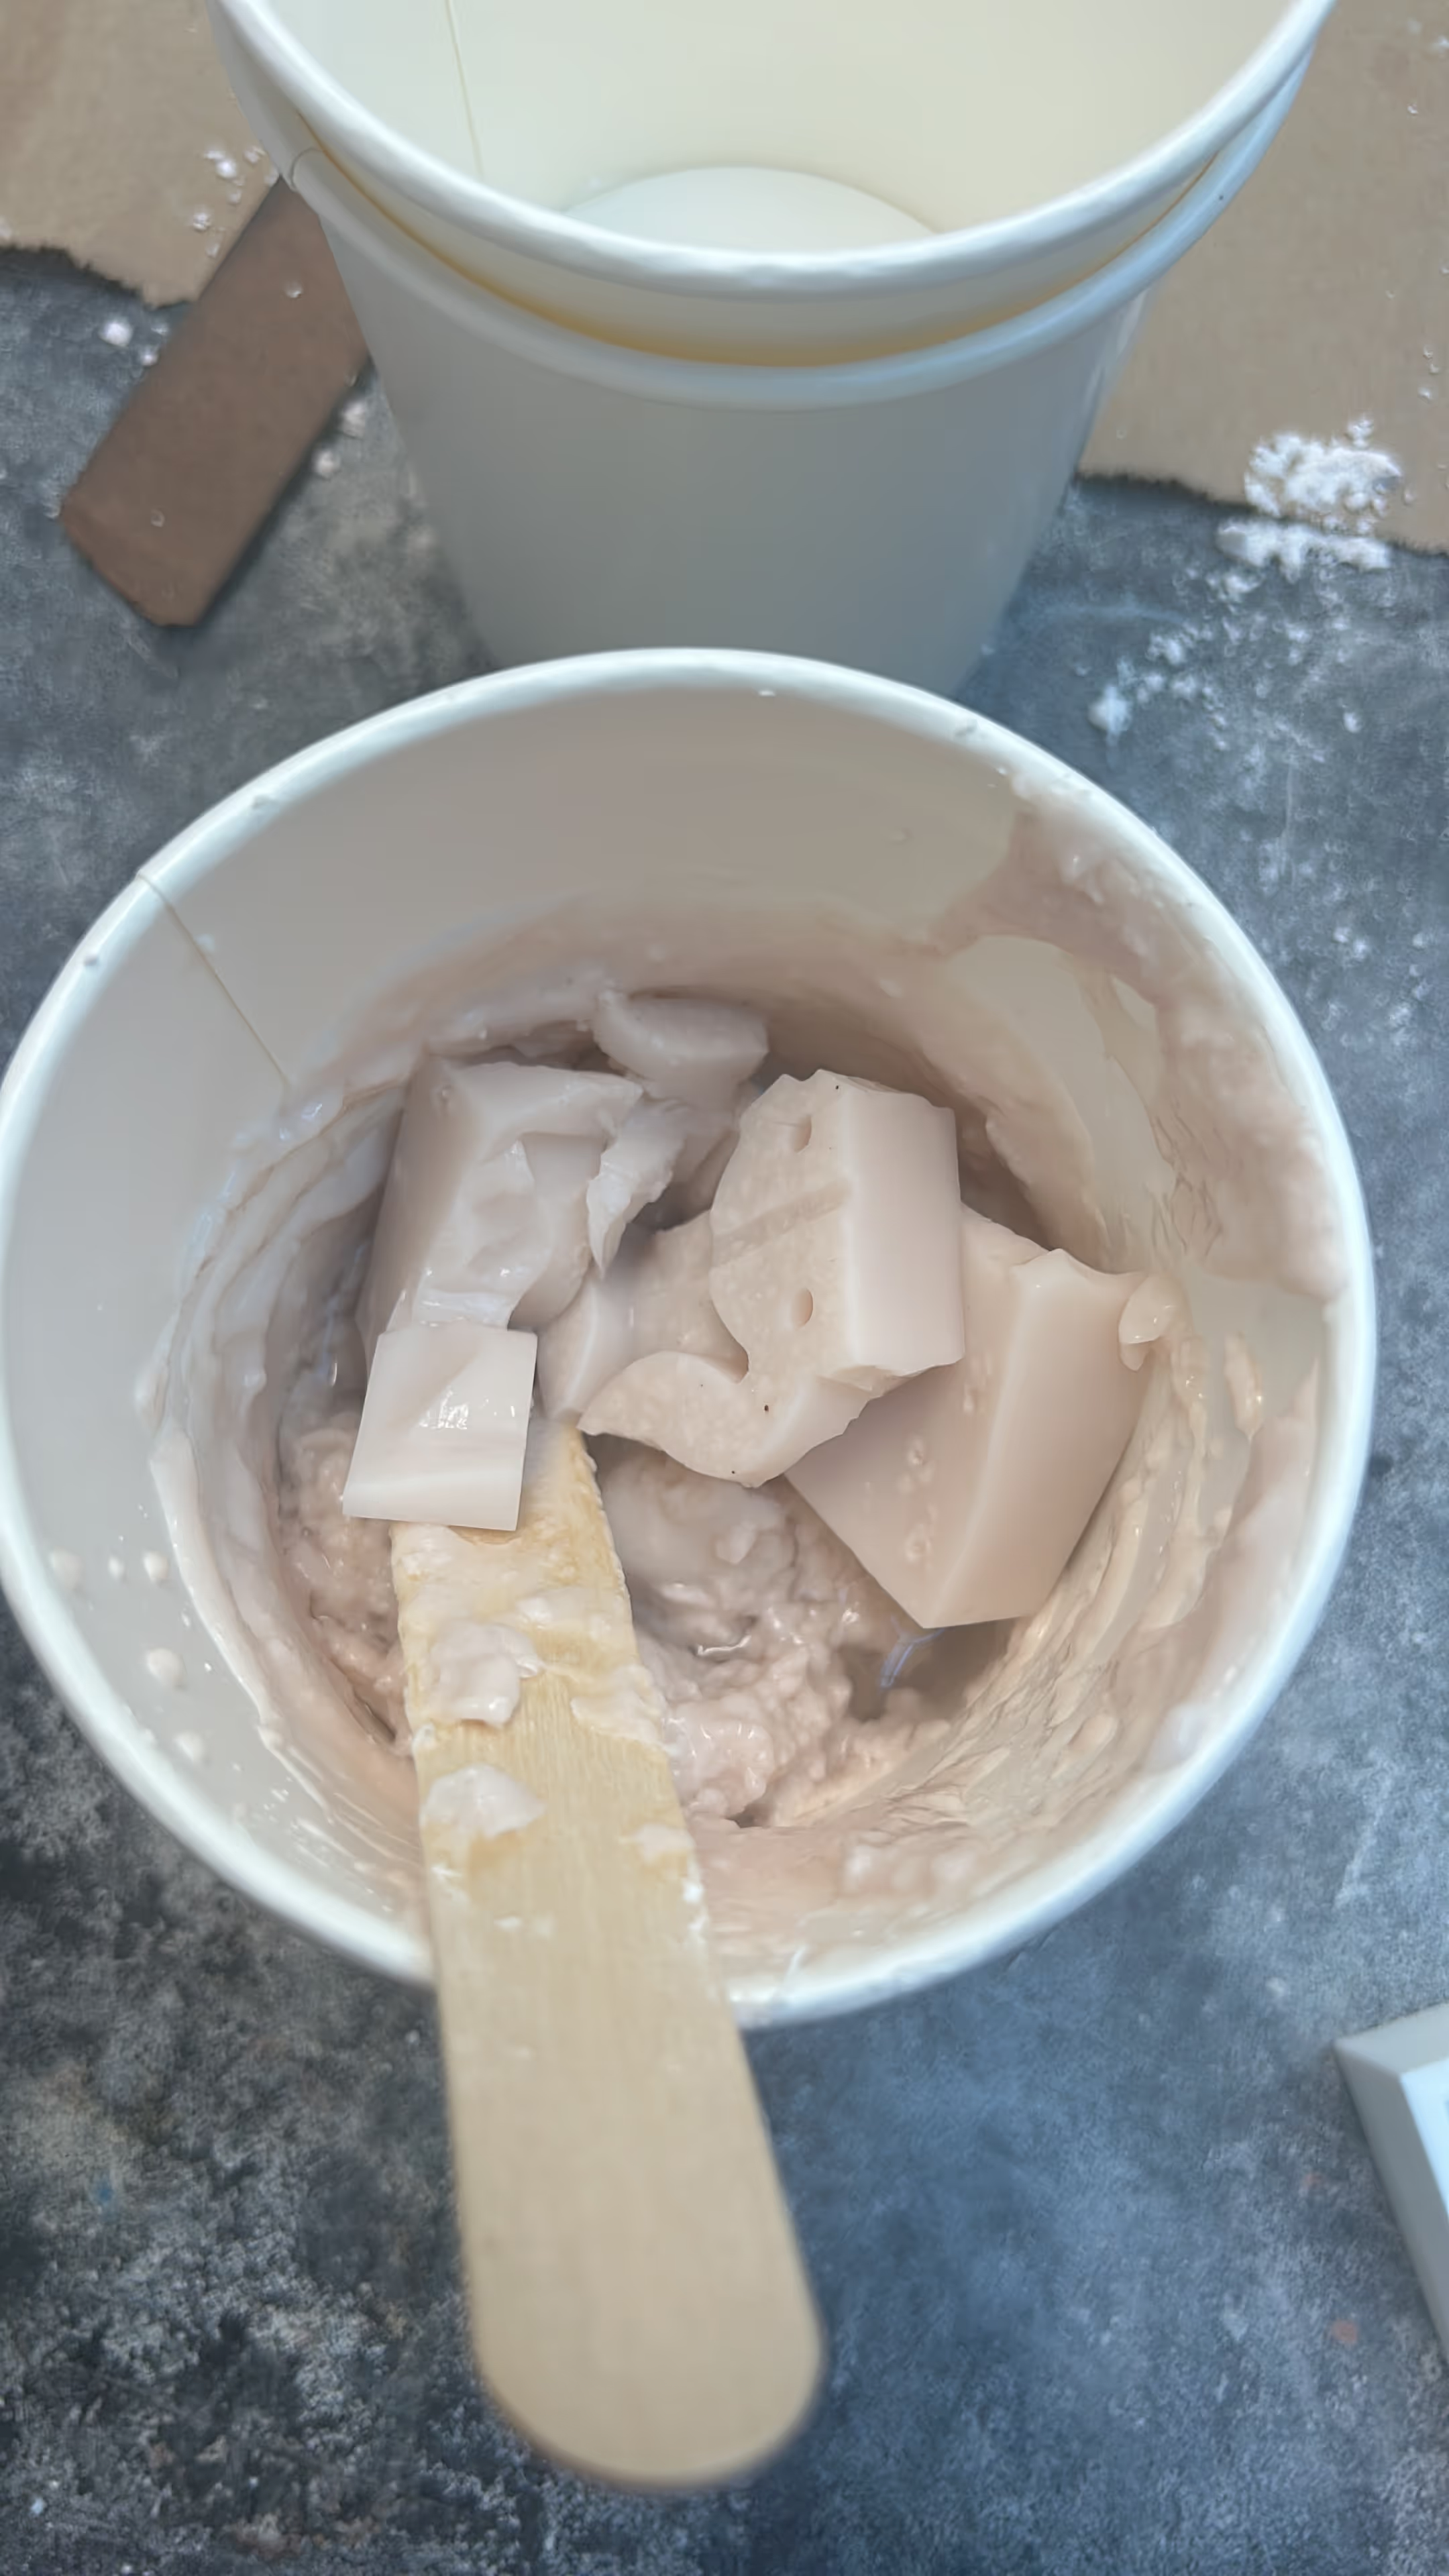
Jenn had predicted that it might be too brittle to use - and she was right. It was super brittle and difficult to pull out of frame. Here is a picture of me dumping it in the trash.
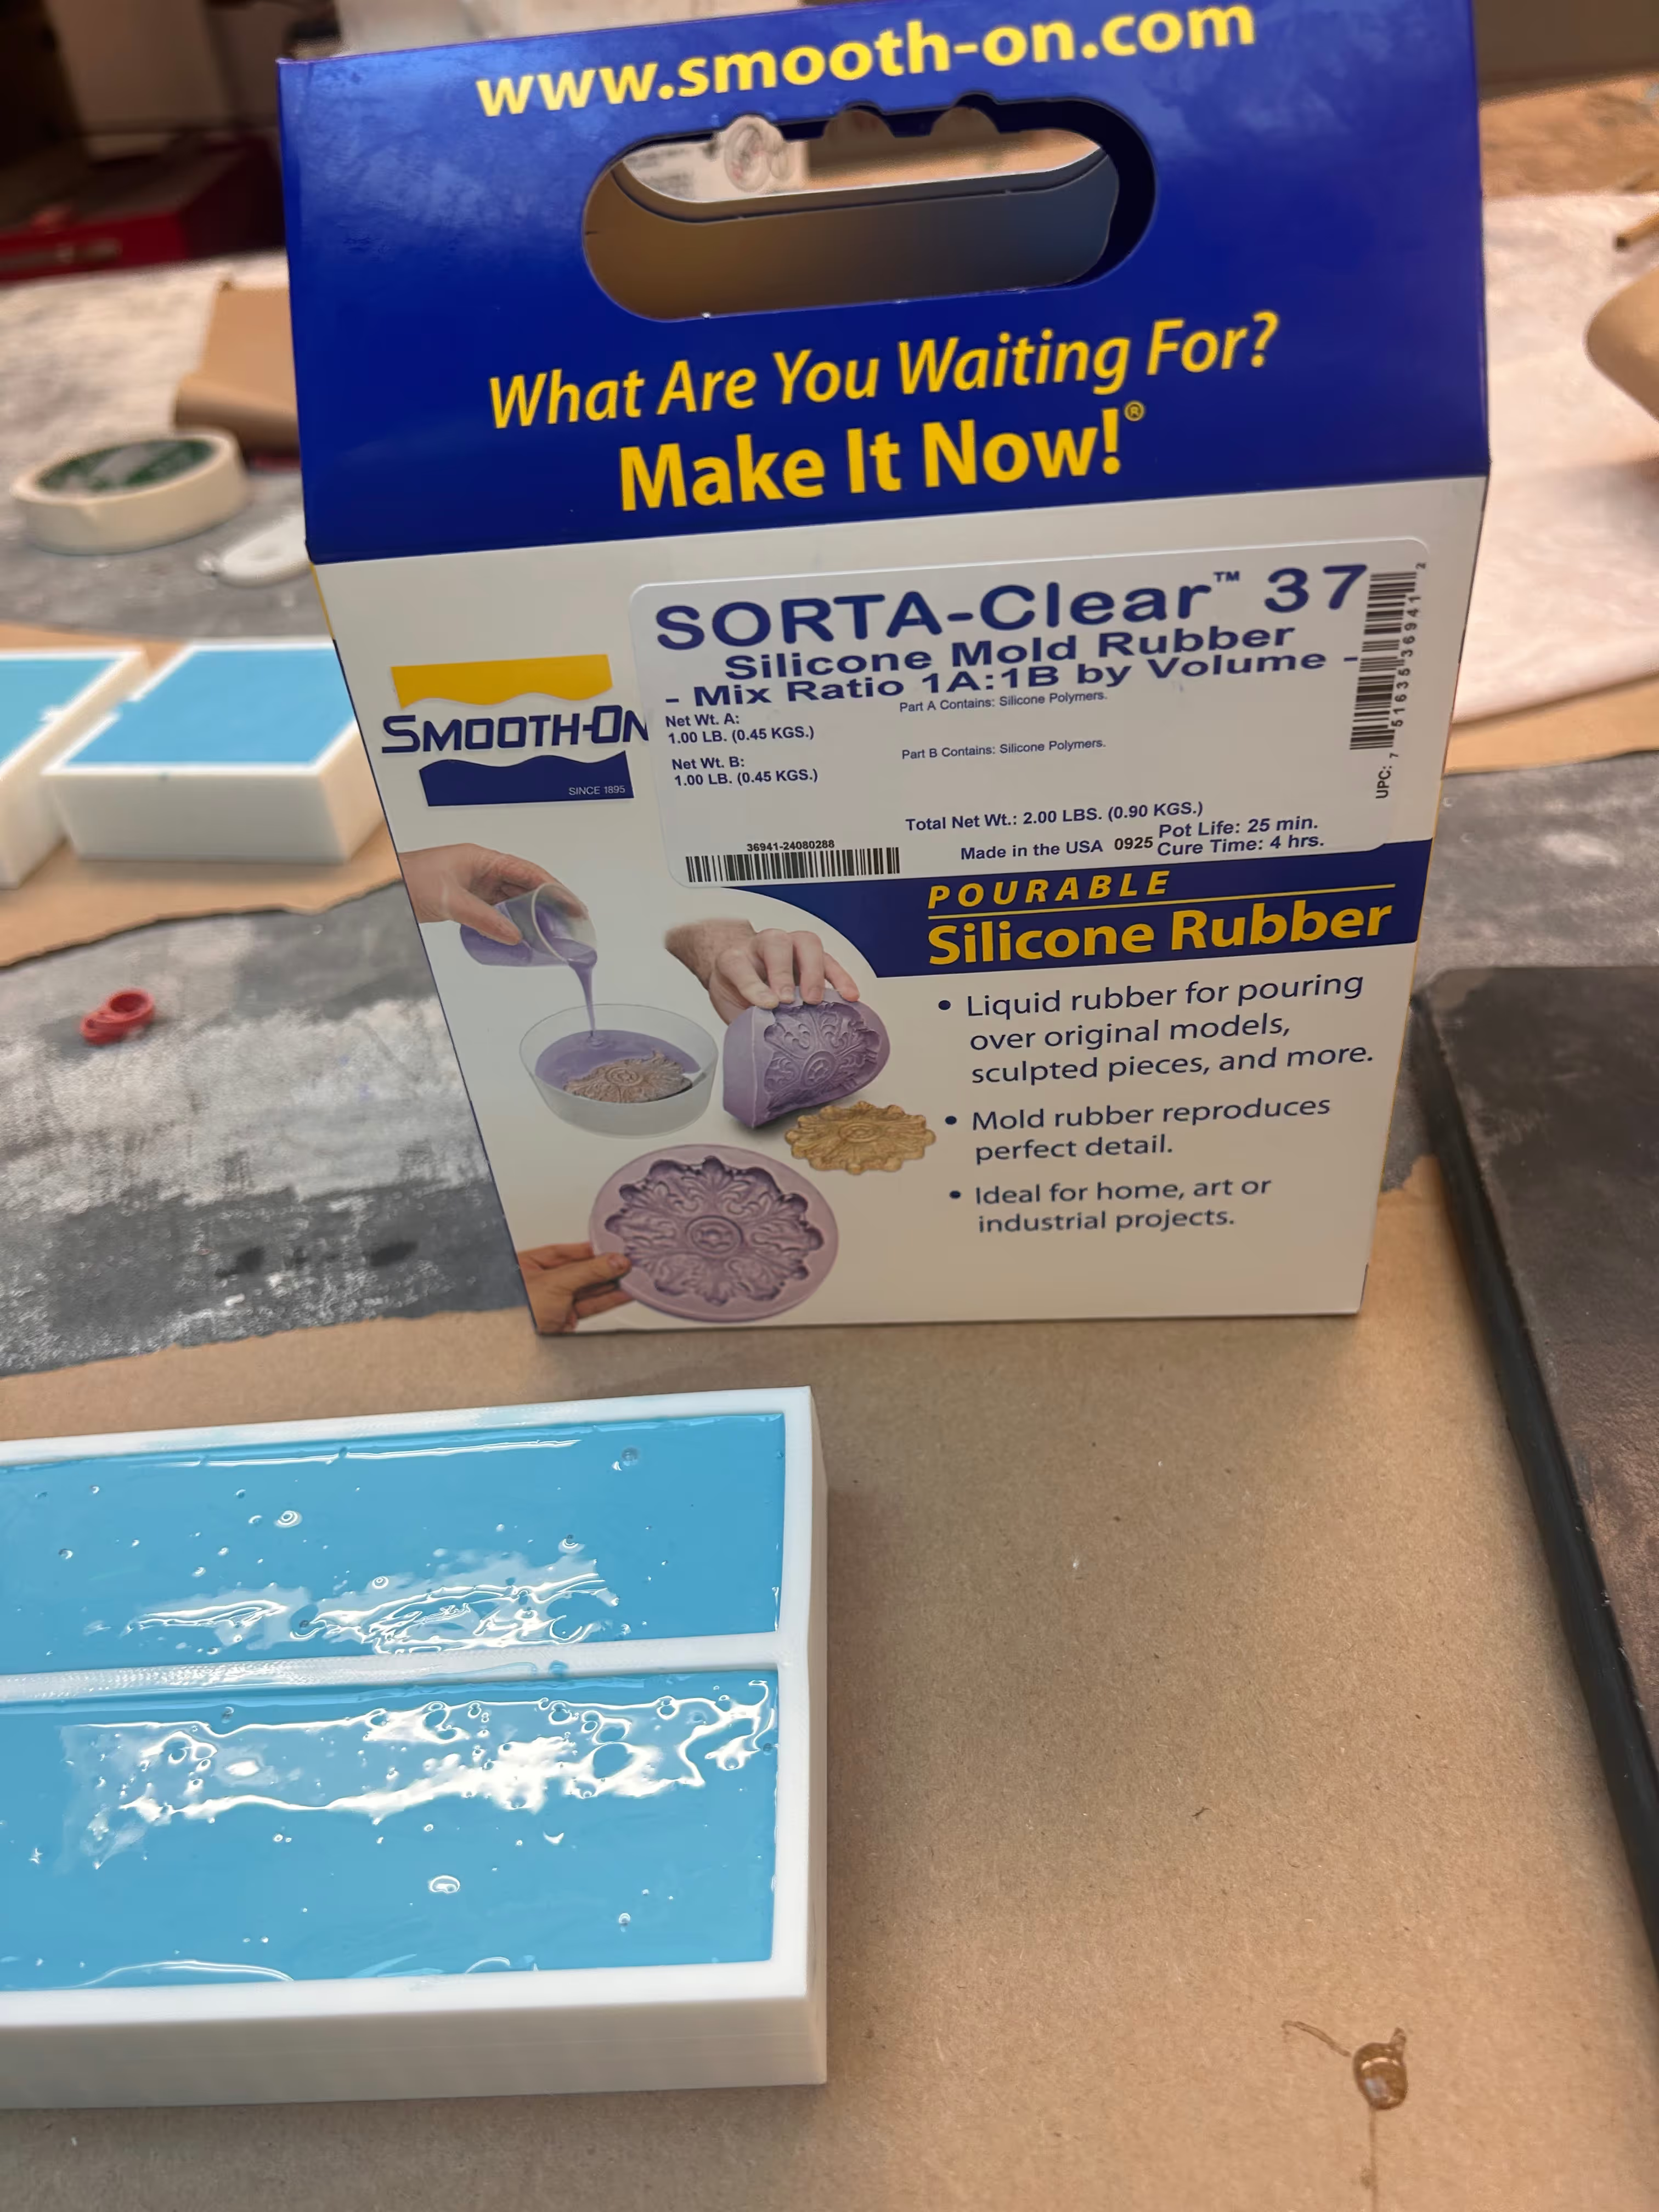
Lucky for me, Jenn did actually have SORTA-Clear 37. Food safe silicon.
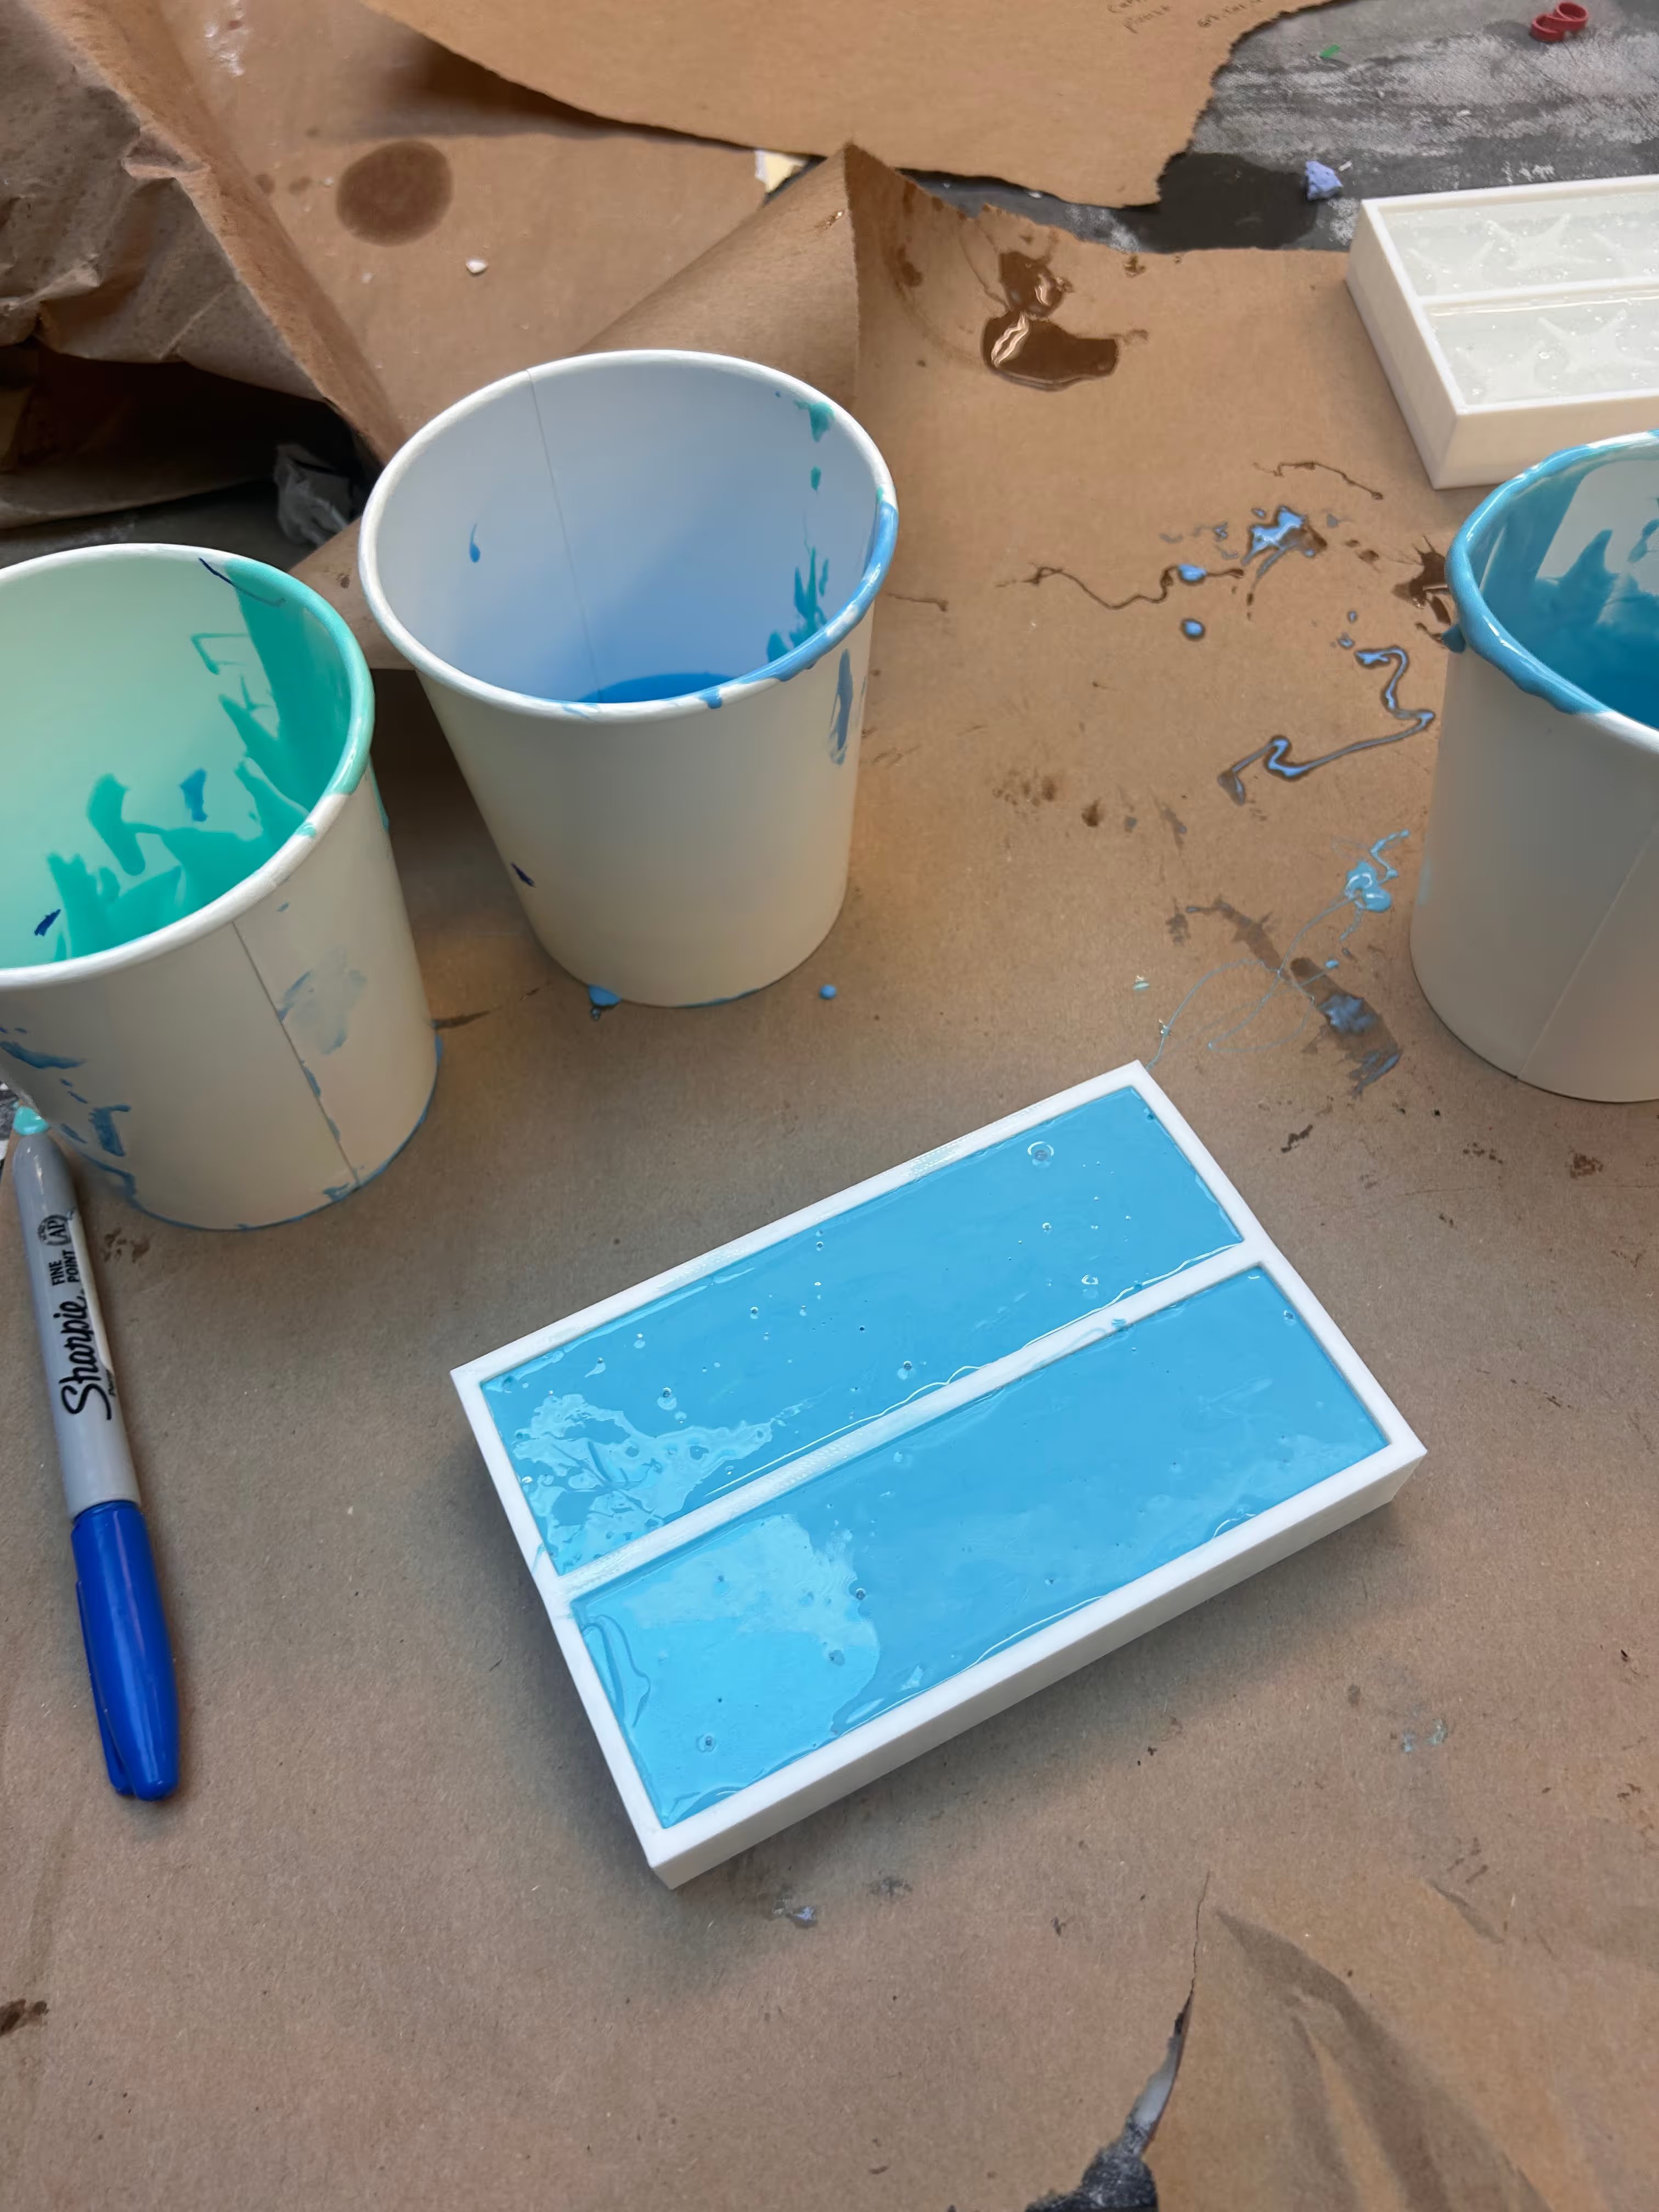
It was a PAIN to mix though. Part A of the mix was very thick --- the wooden tongue compressors that are used as mixing sticks could barely push through. It was thicker than molasses.
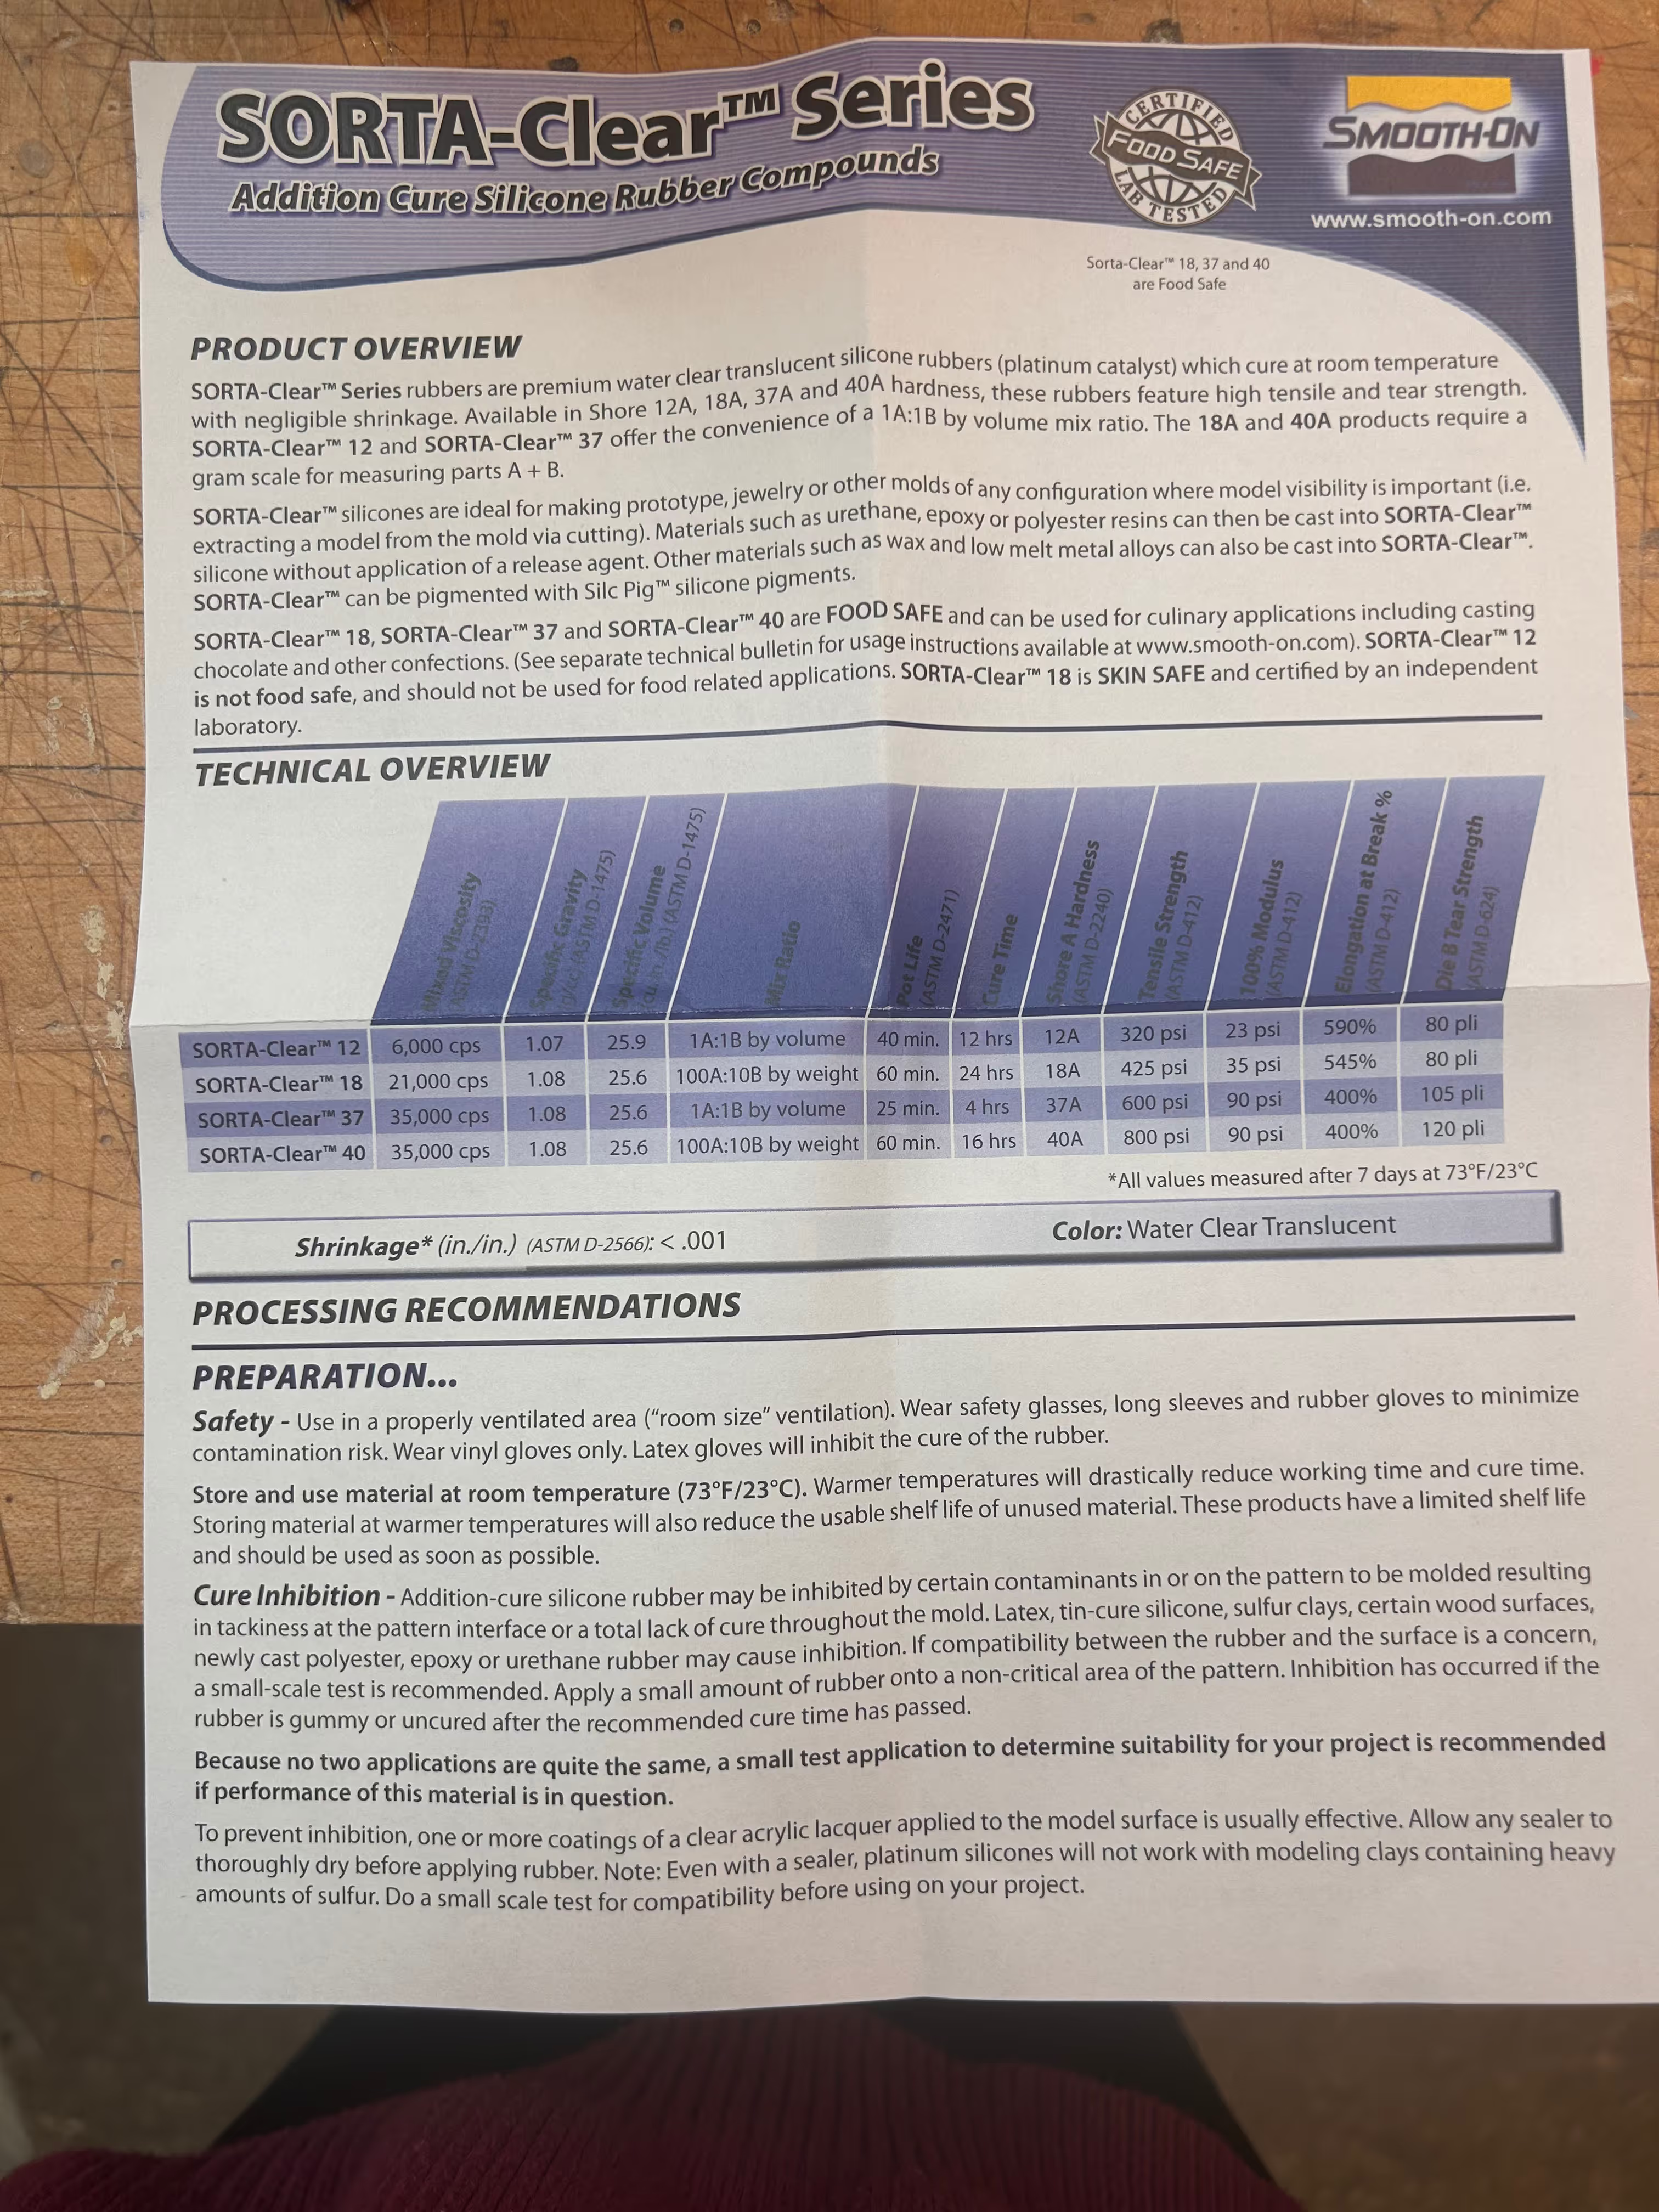
The safety instructions were similar to the Omoo. So I wore gloves, safety goggles, and the ventilation was turned on in the room.
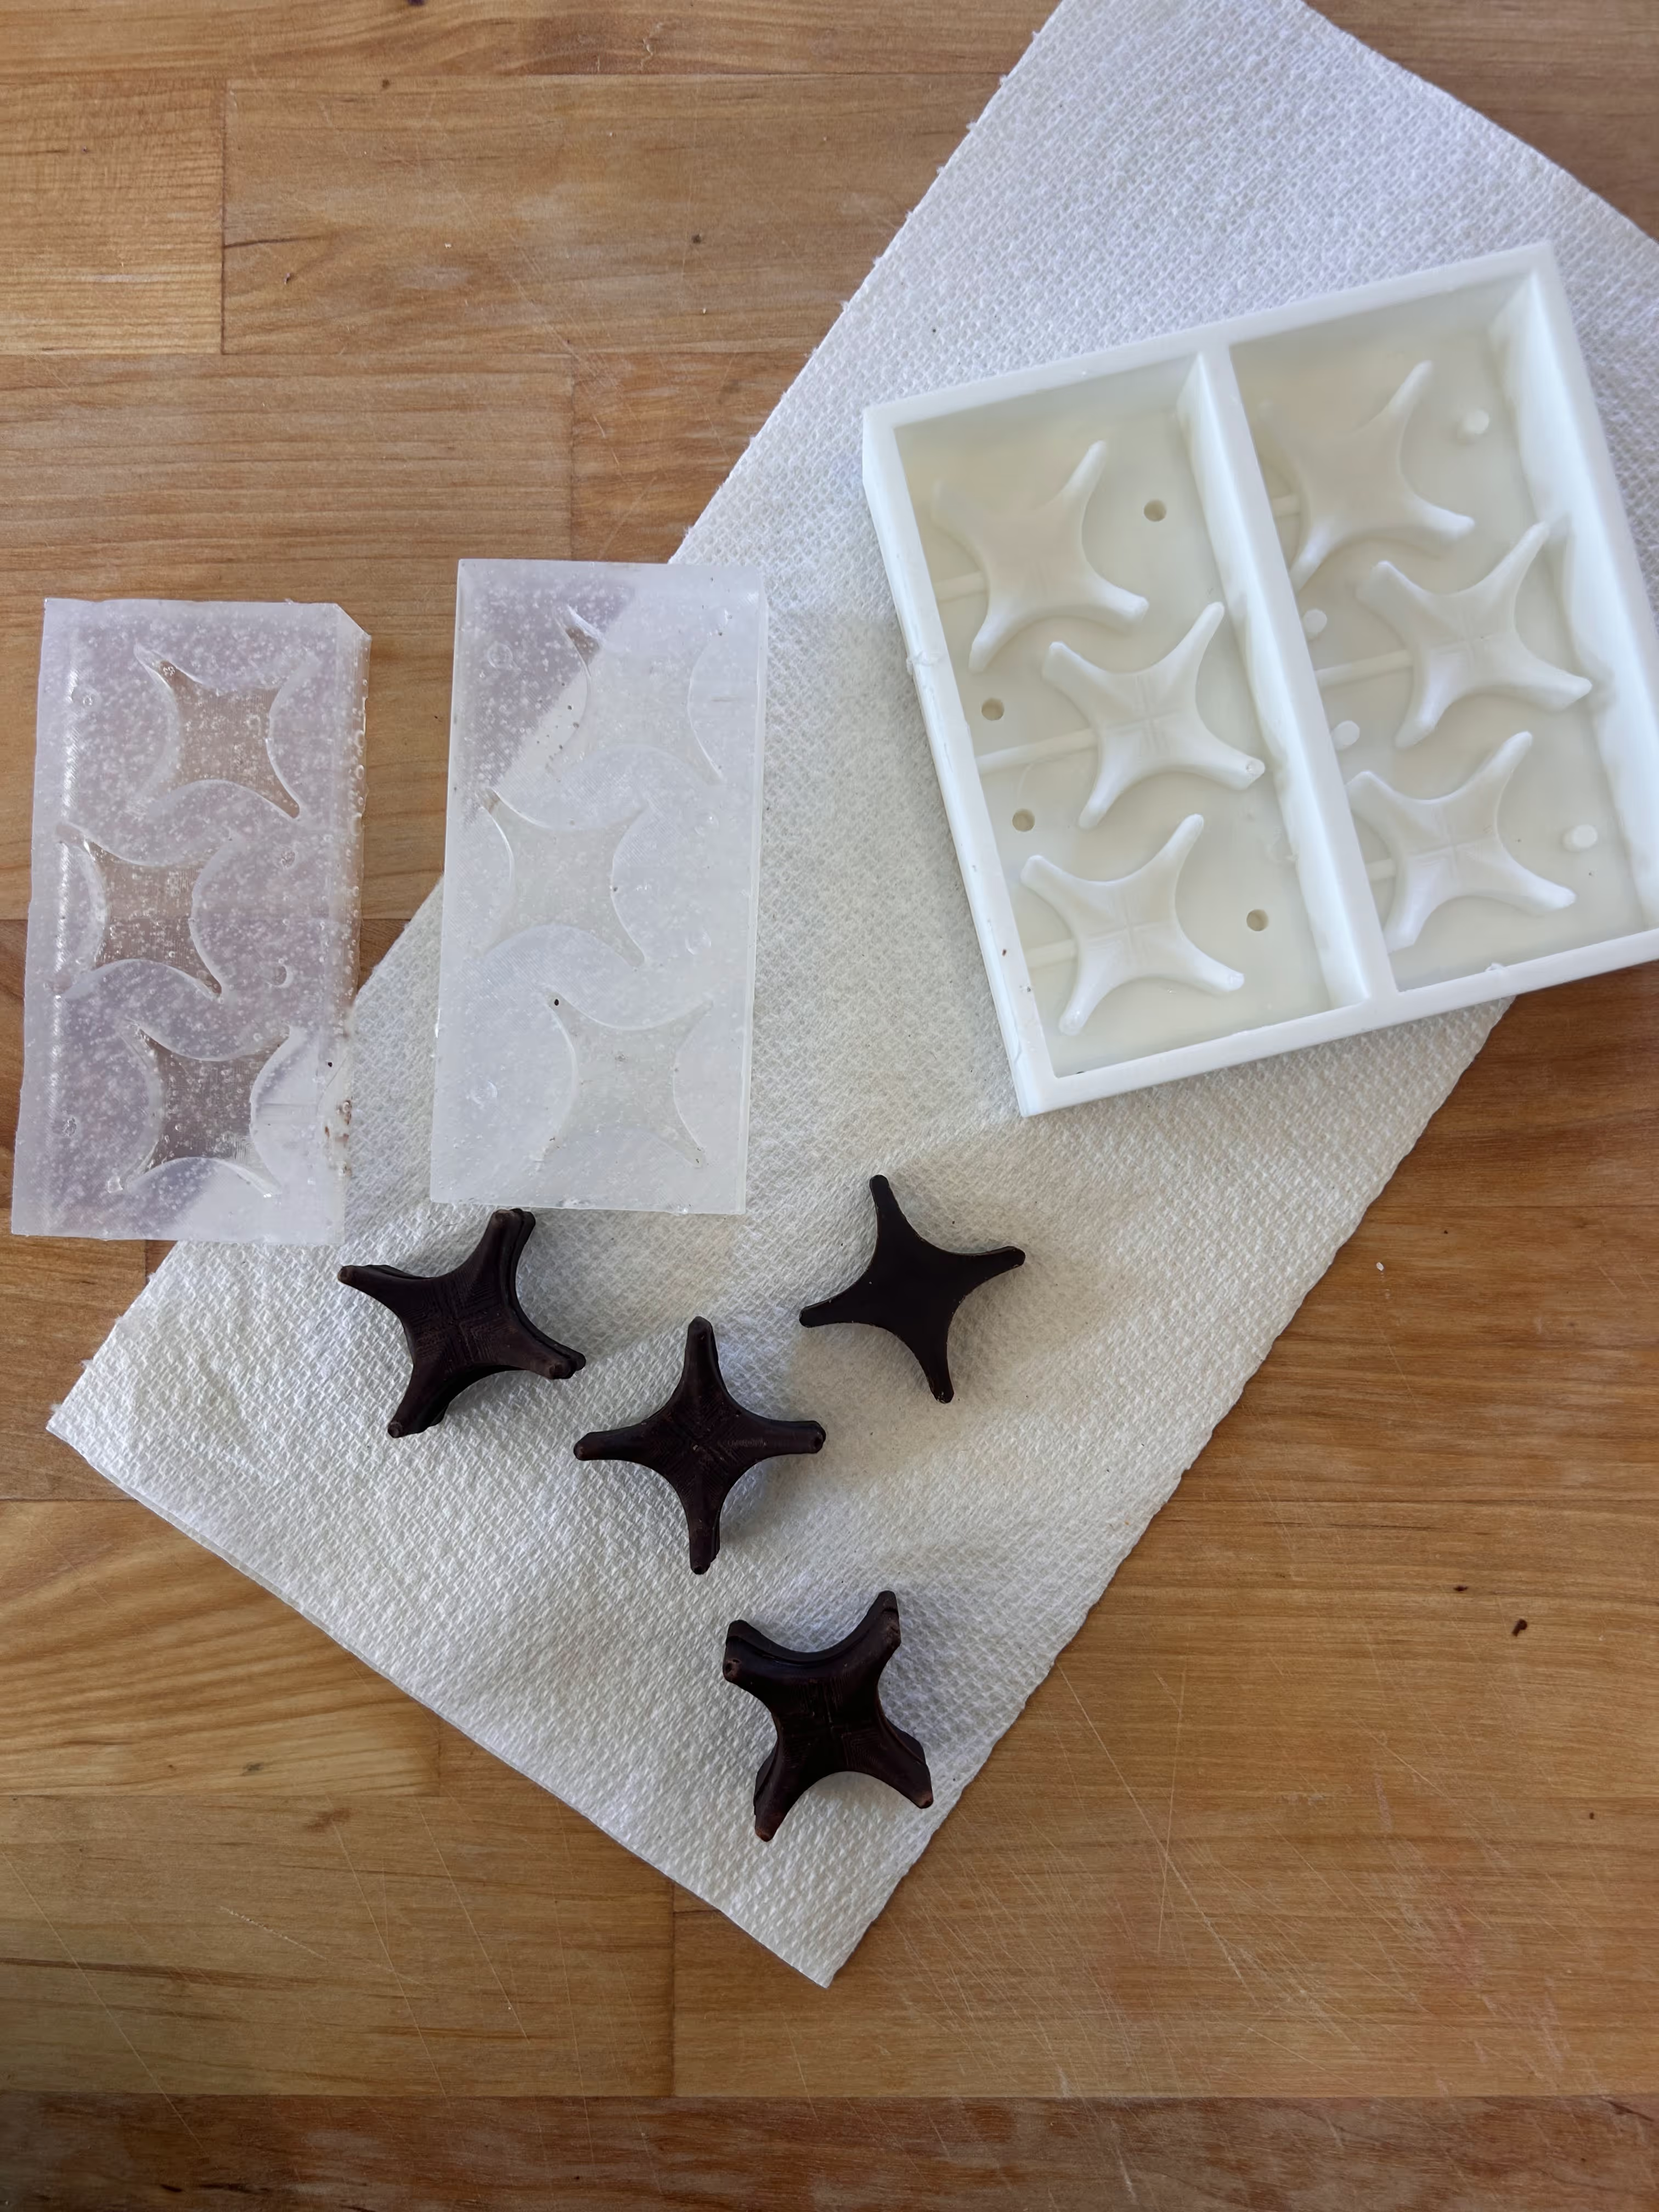
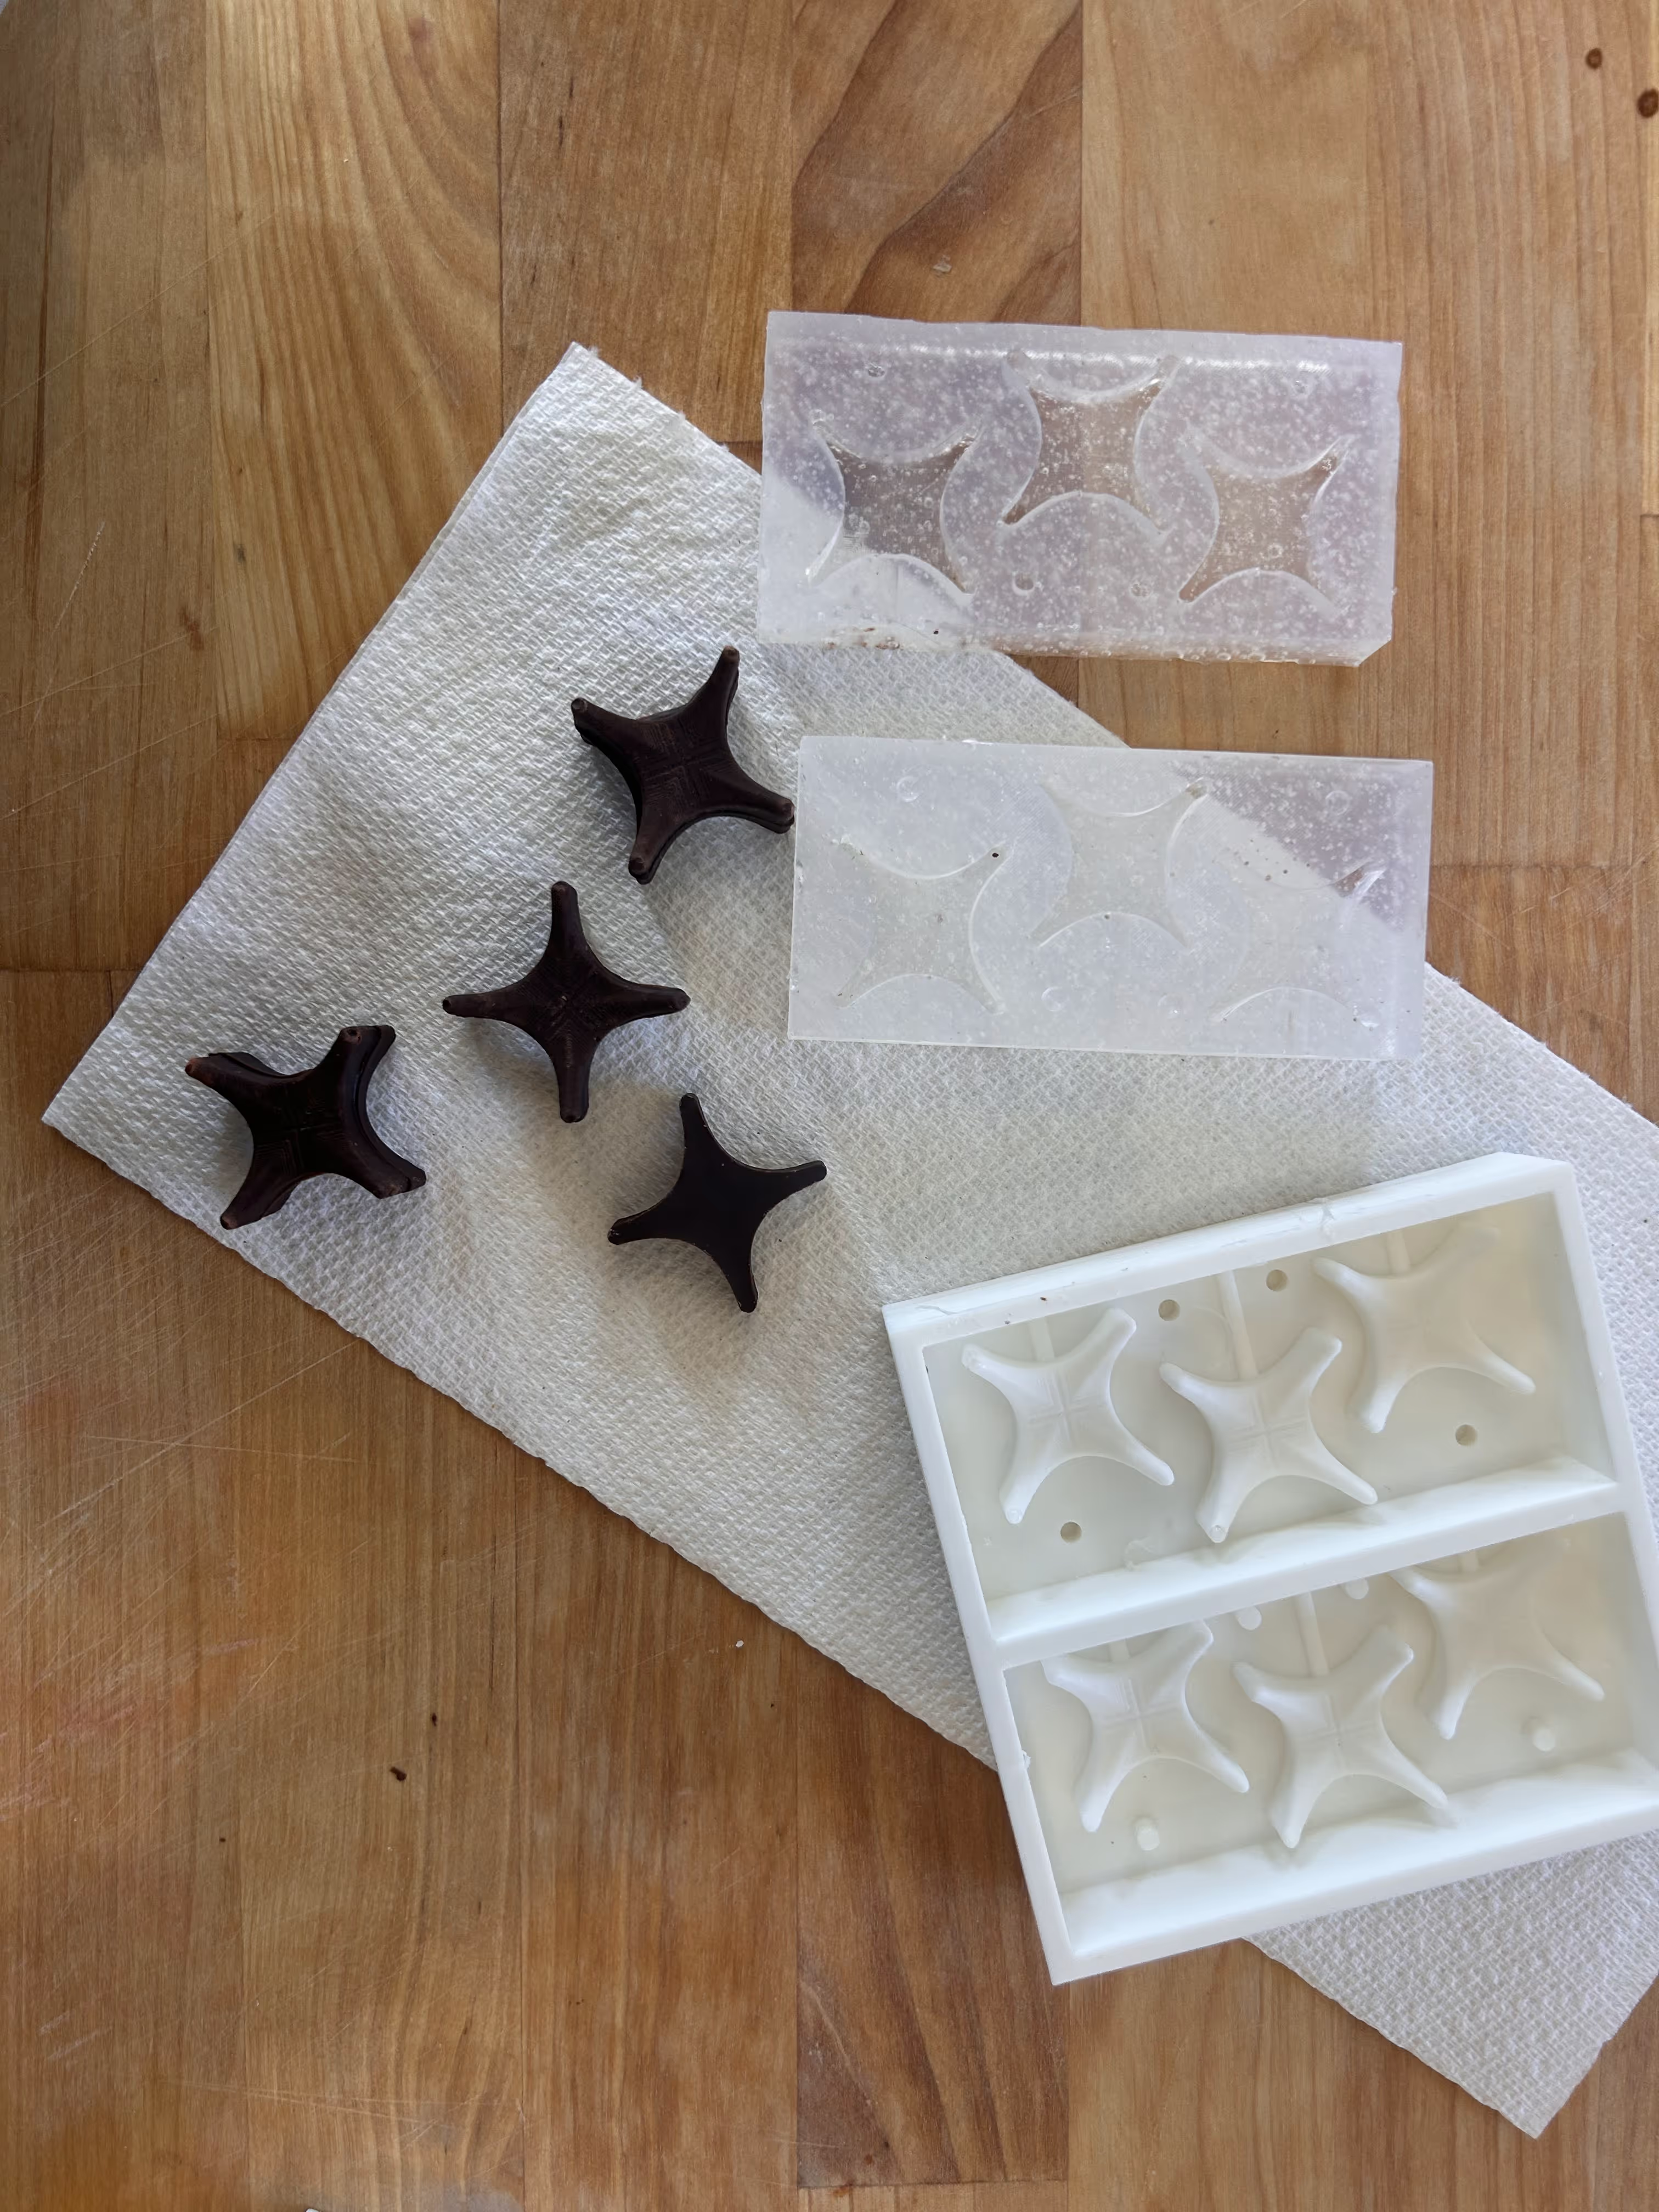
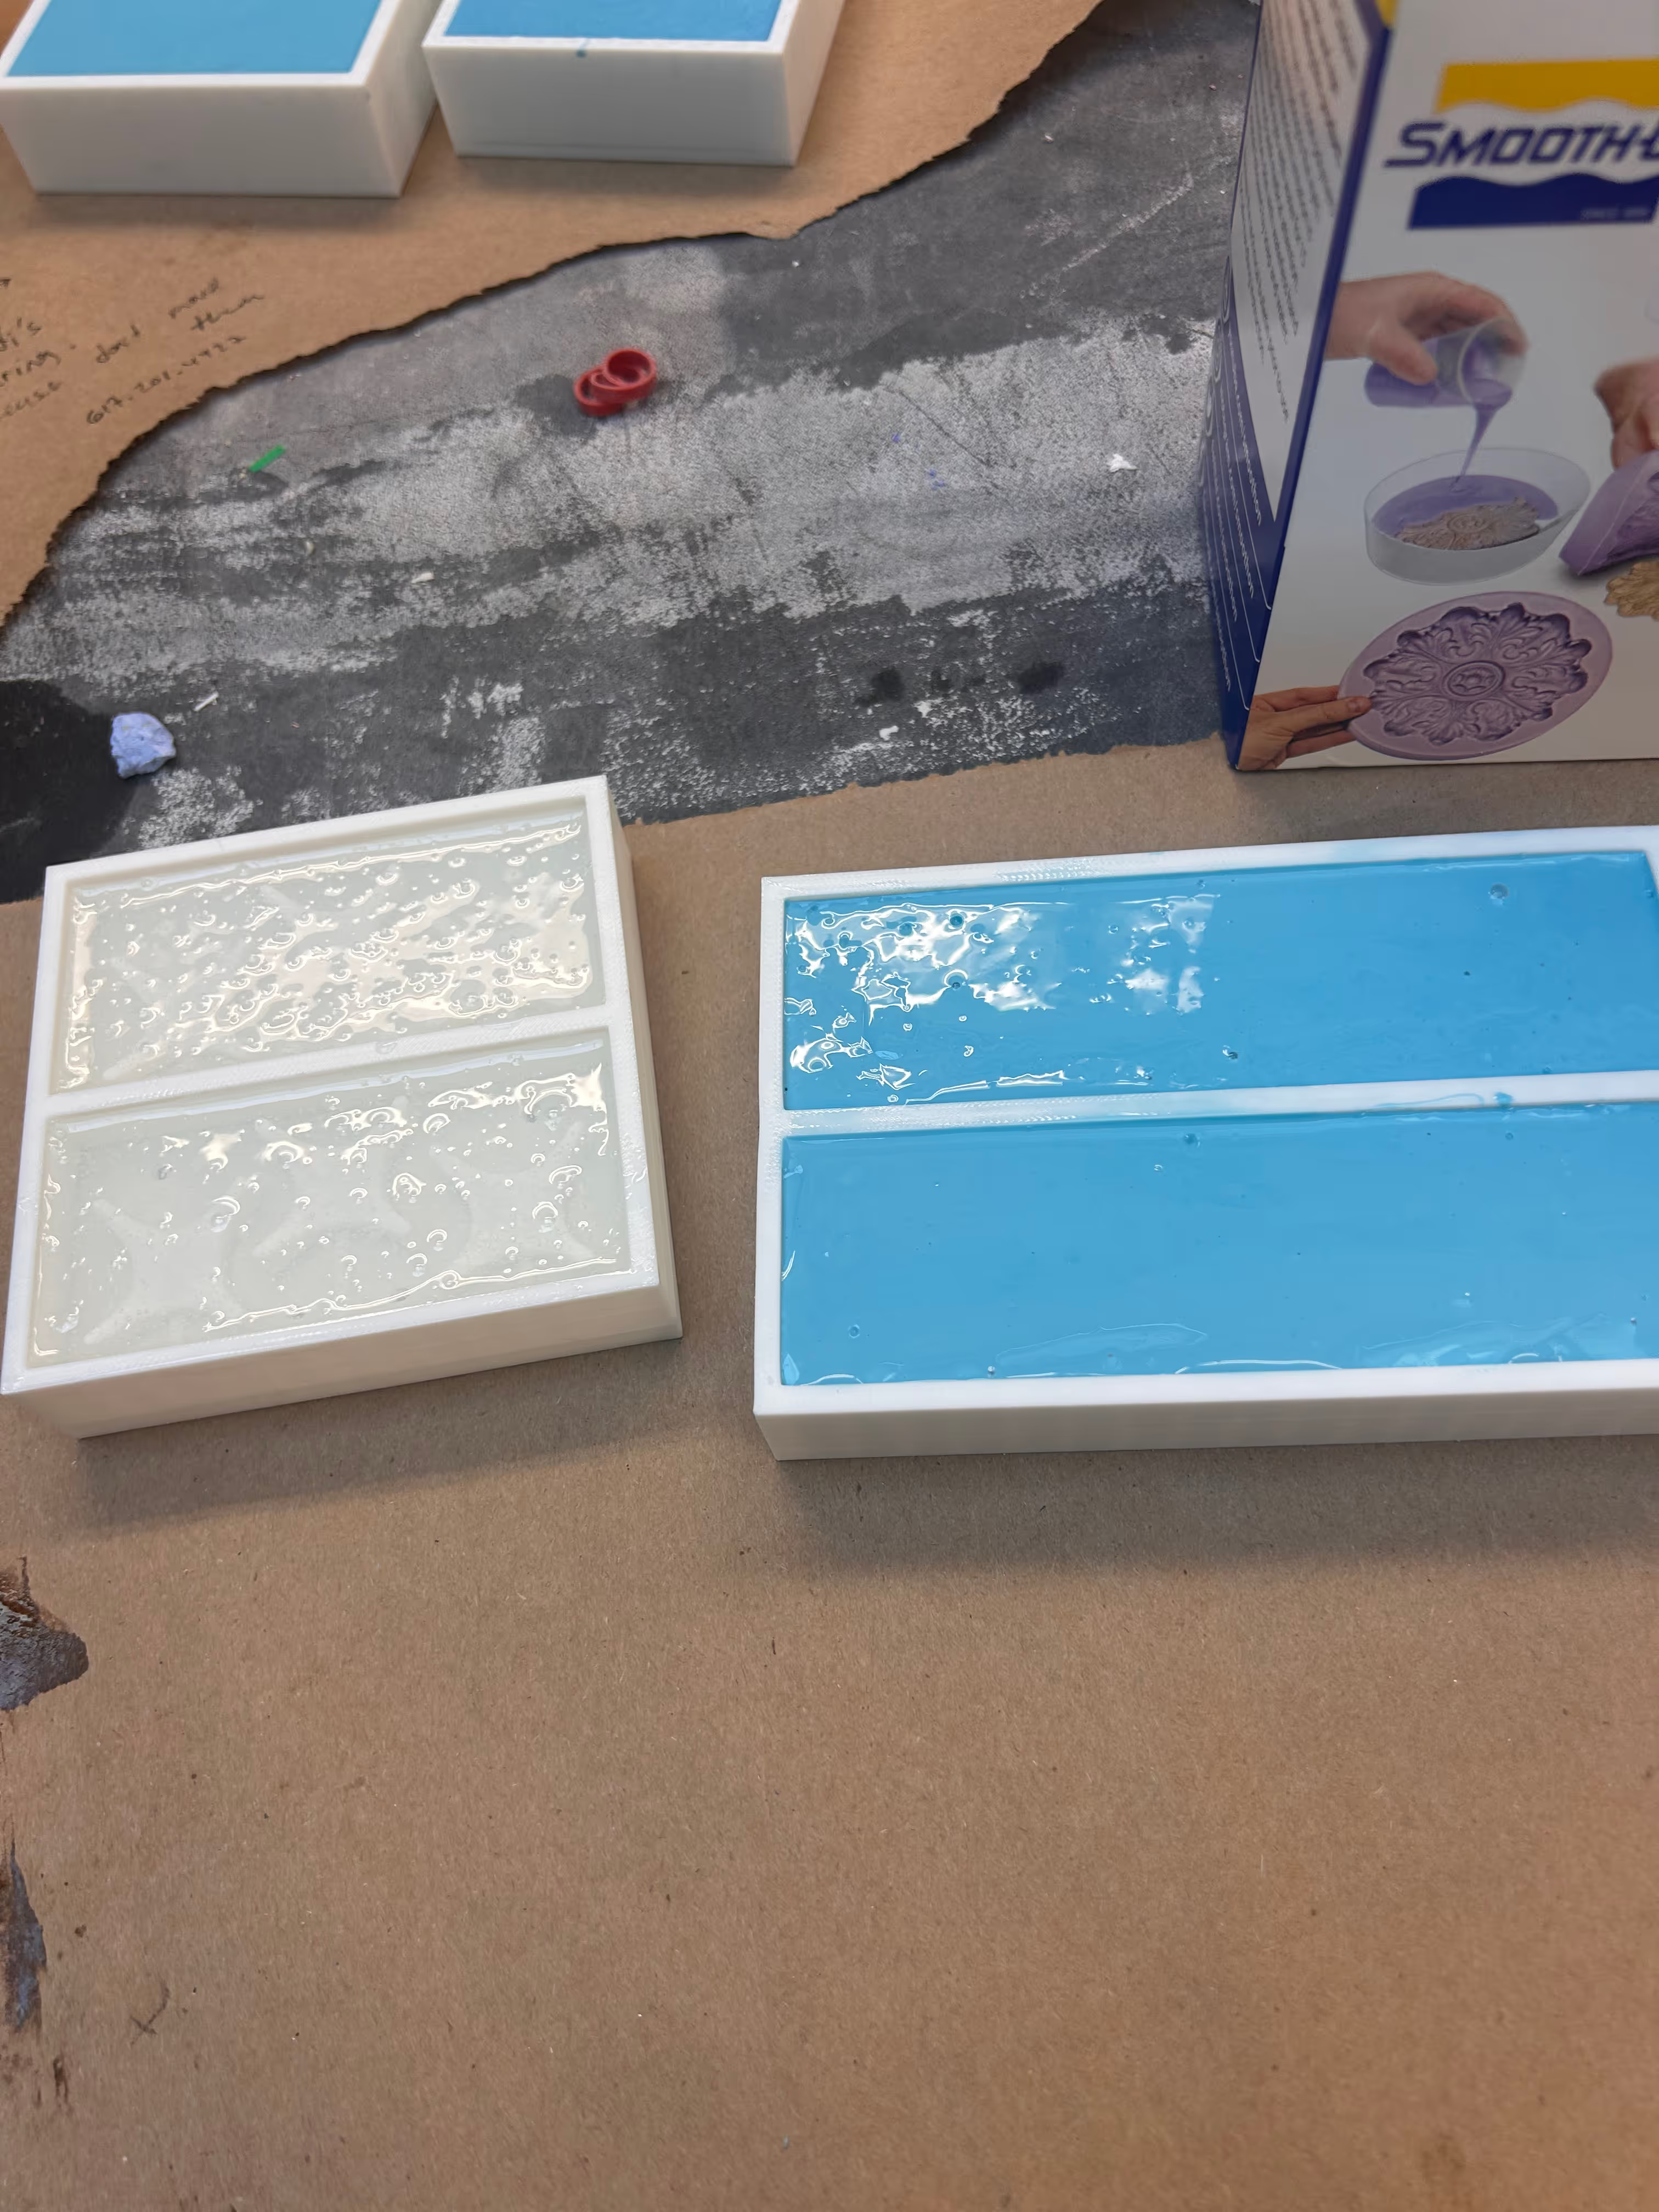
You can see my silicon model on the left.
I tried not to get bubbles in it, but it was really hard to mix without any bubbles given the thickness of the liquid mixture.
Since there wasn't a lot of food safe silicon leftover and my friend also wanted to use it, so I decided to do my other mold (on the right) in Omoo and just make my second design in plaster.
Learning: I went way too fast with Omoo - I followed all the steps but because I mixed to fast I added lots of bubbles. Next time I'll be slower and make sure I "bang" out the bubbles a bit longer before pour. I also learned that its ok to hit the mold on the table for a while after you've filled it with omoo to get any remaining bubbles out.
Designing chocolates...
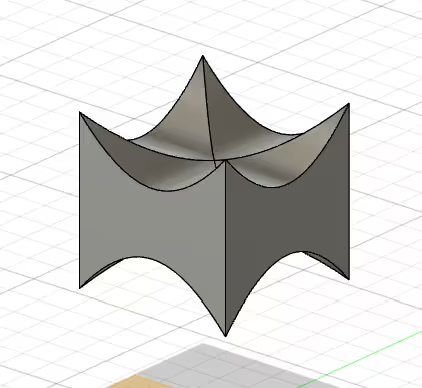
My idea was inspired by jacks - like the old toys that you can buy at the dollar store. I wanted to make a chocolate version of those. Here is my rough form before I played with it more.
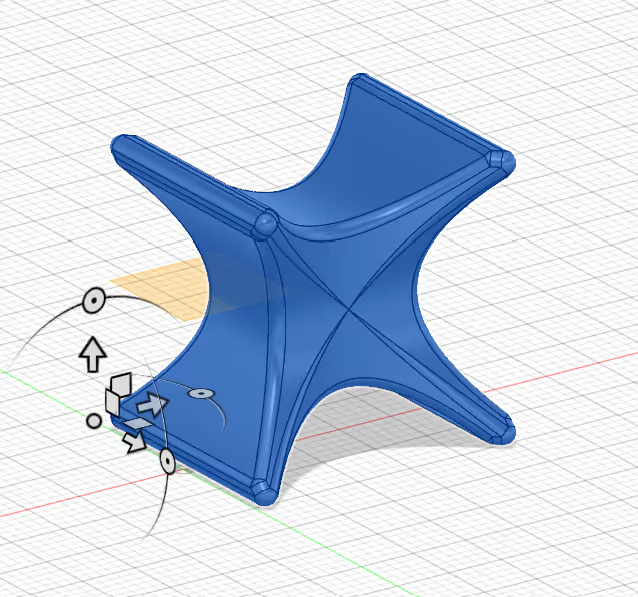
Here is my refined form after playing with it a bit.
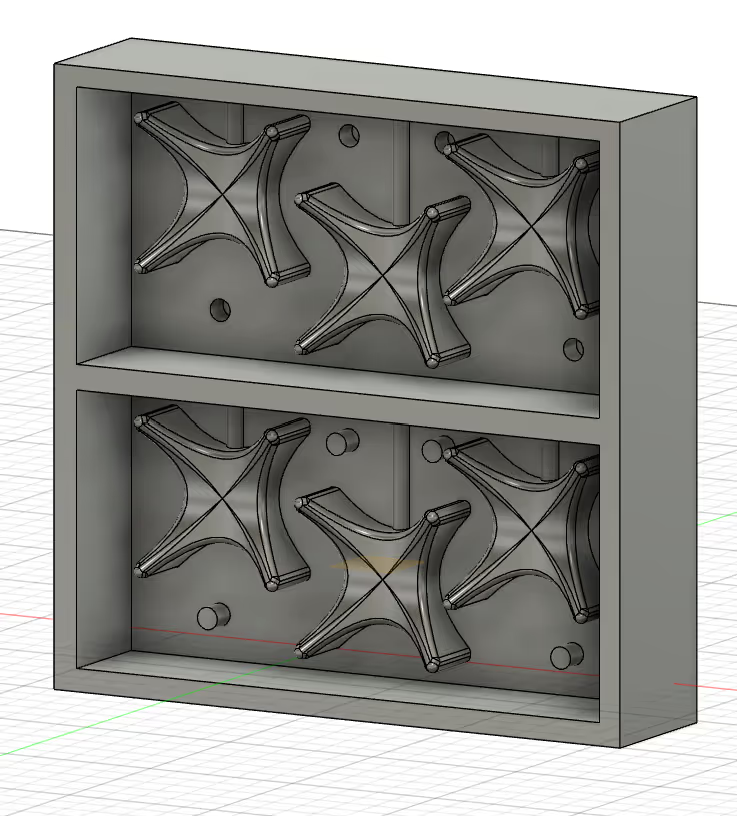
To the right you can see the mold model. since they are symmetric I could keep both sides of the model similar, except the mold pegs which had to be positive and negative
This assignment was so fun I wanted to make a second design to see if my chocolates could fit together and be like funky legos blocks.
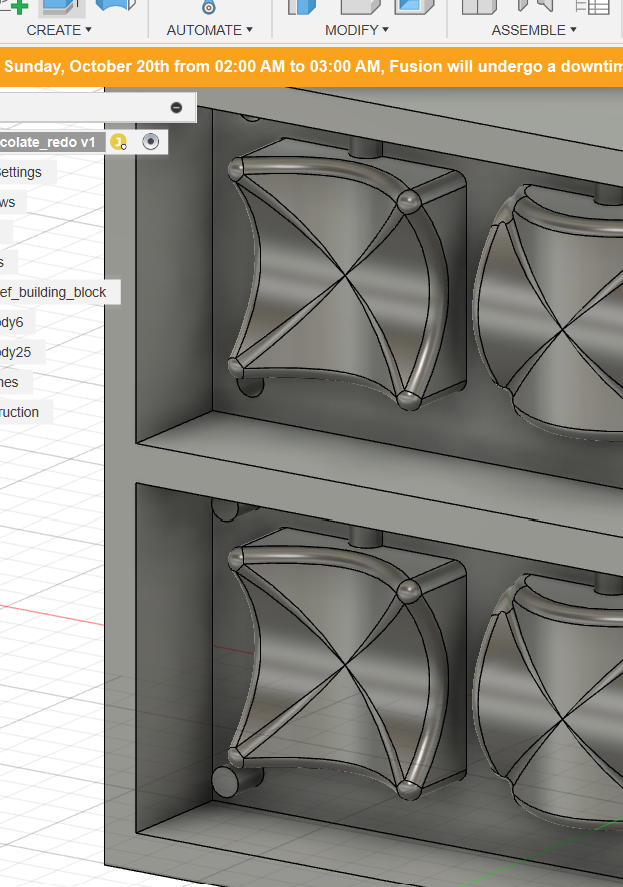
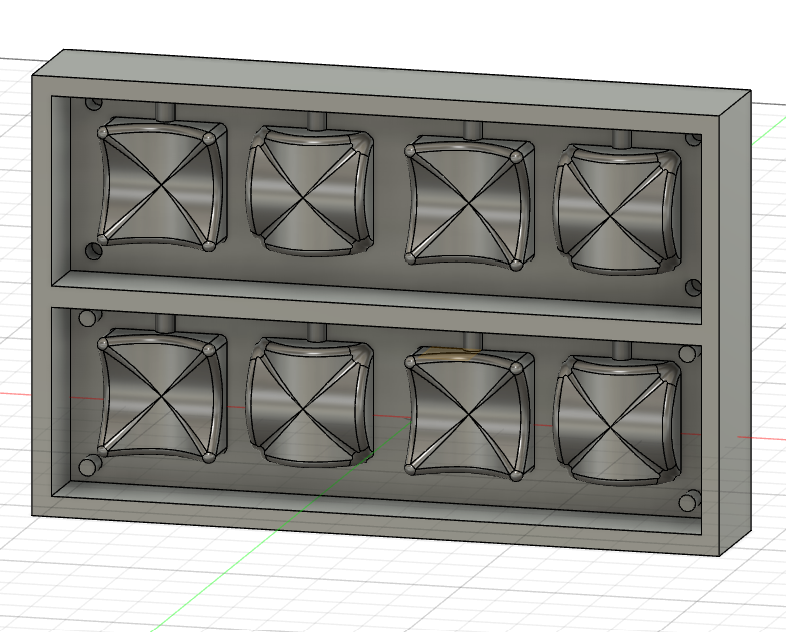
Here is the final model for the chocolate blocks
Trying out plaster
Since I had to do one of my molds in Omoo, I tried out the plaster first before the chocolate.
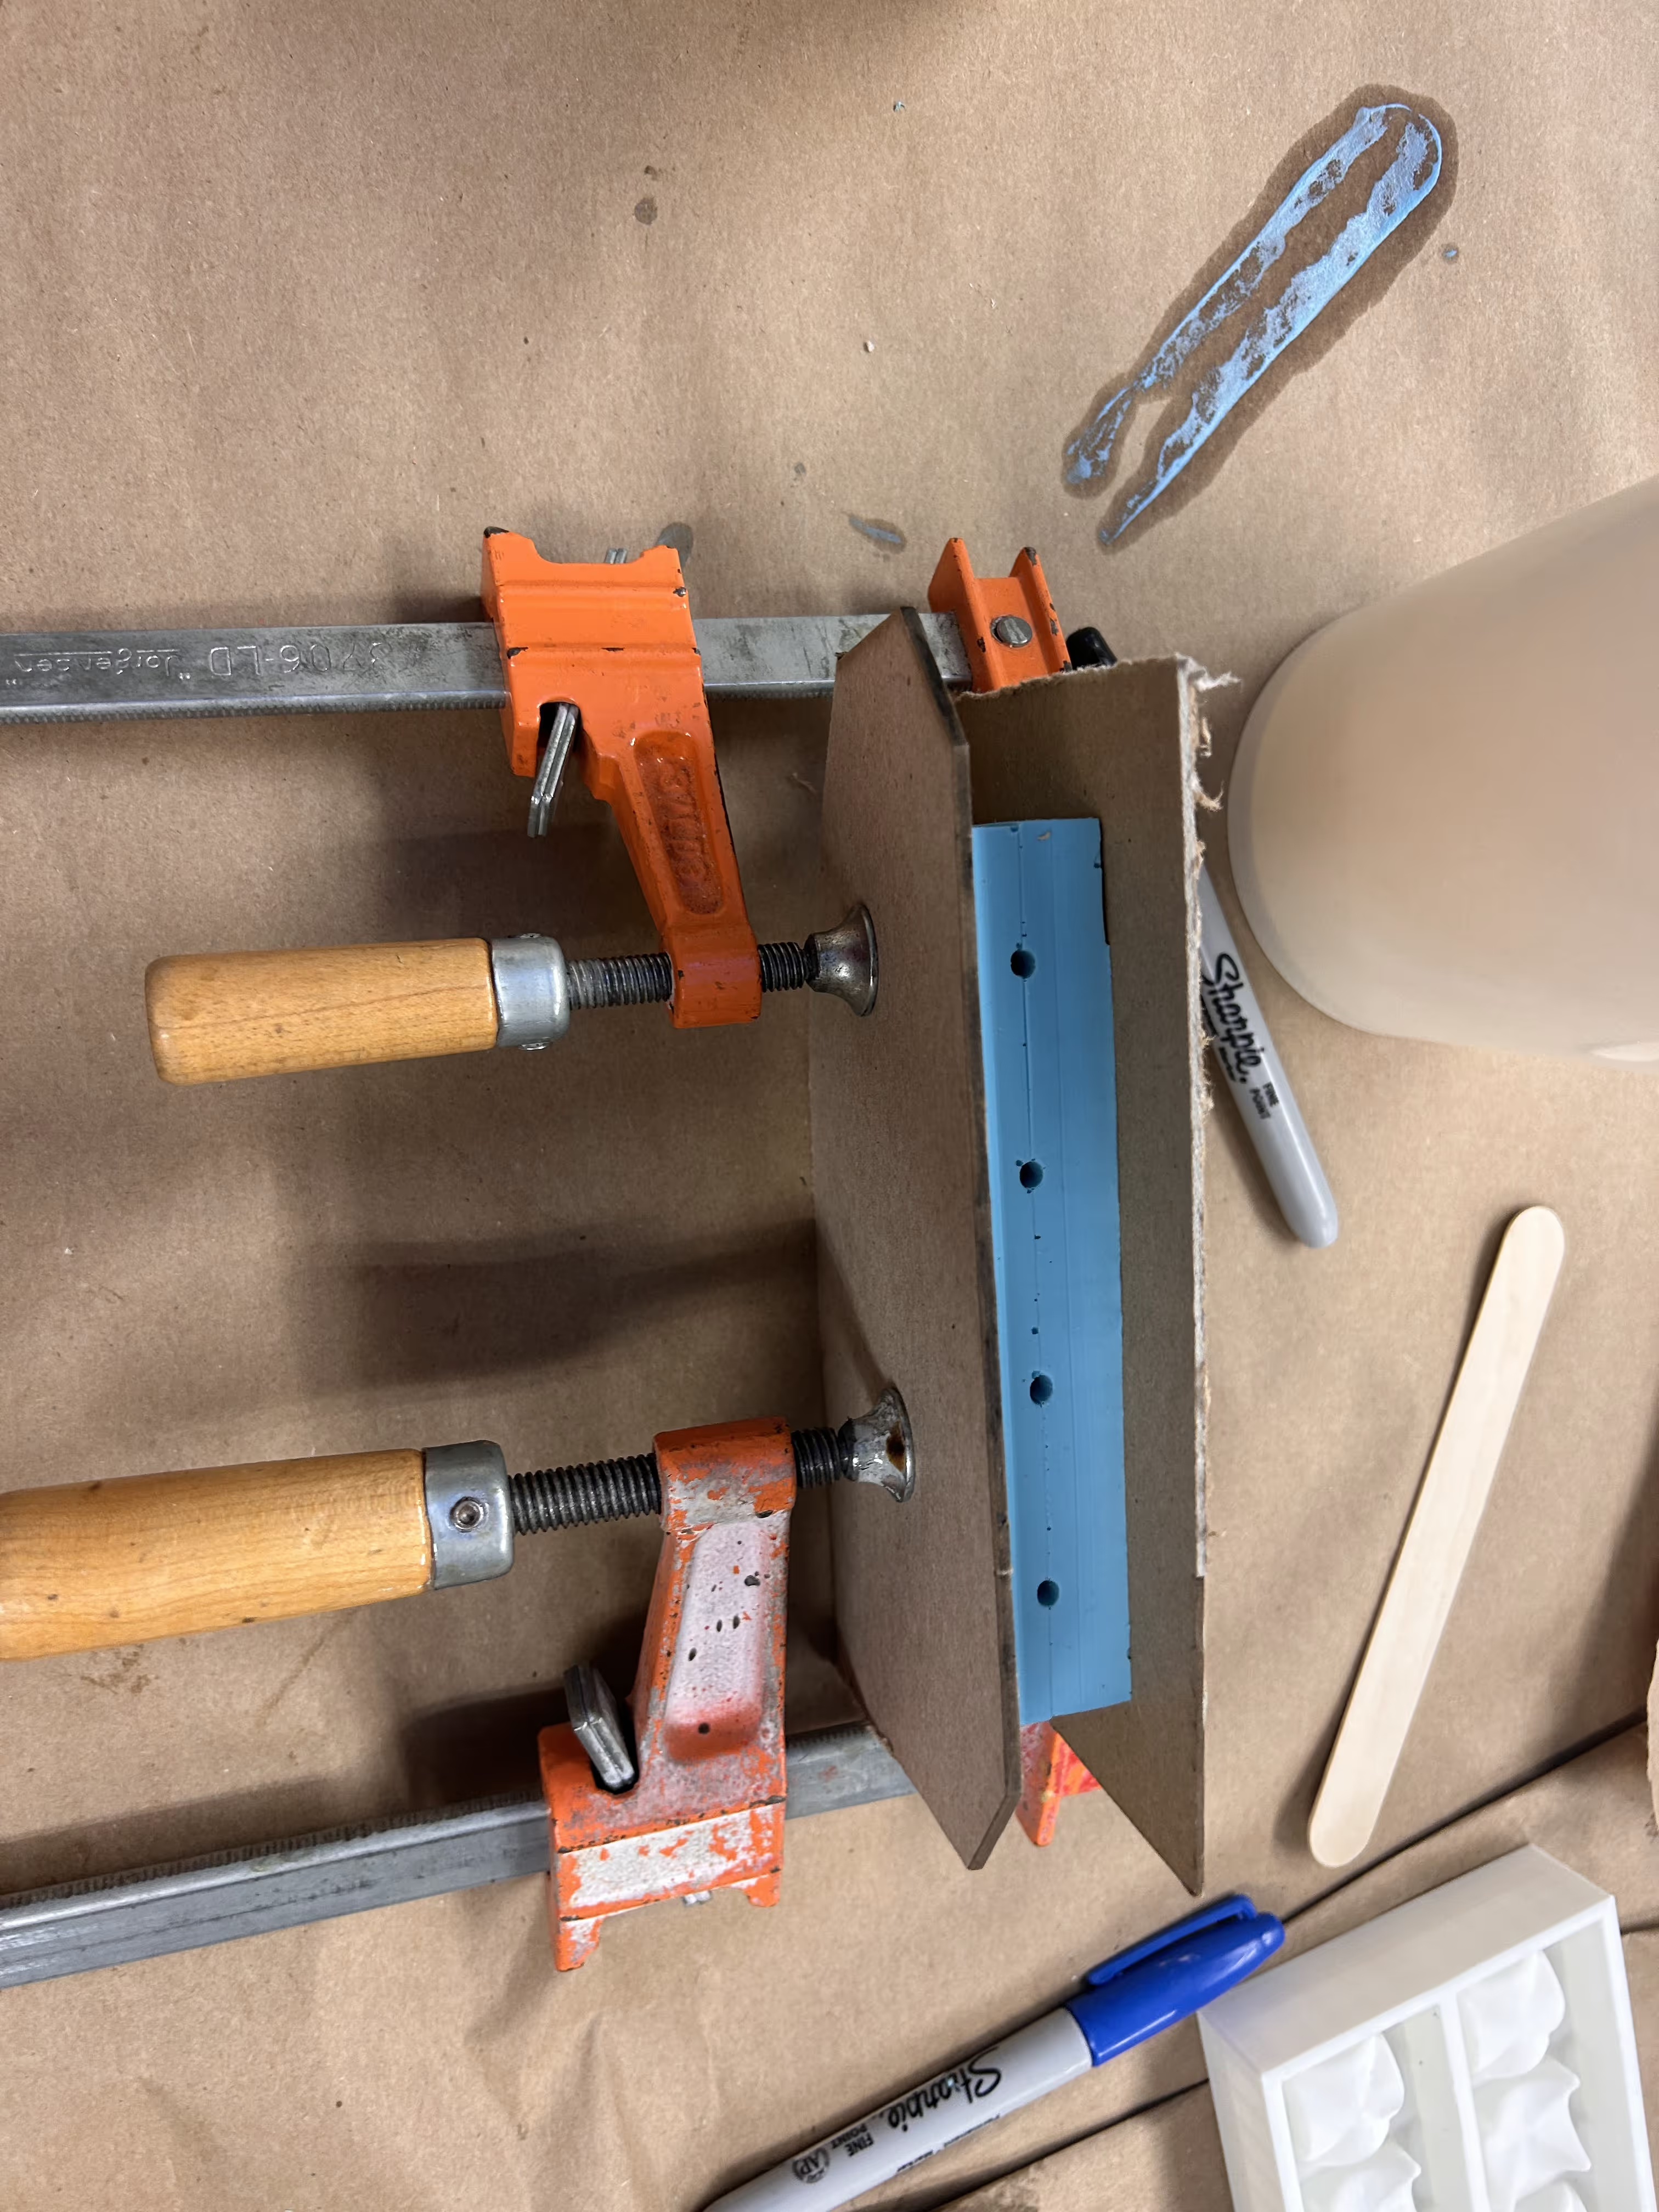
I also learned that I made my mold to long and skinny - making it hard to brace evenly.
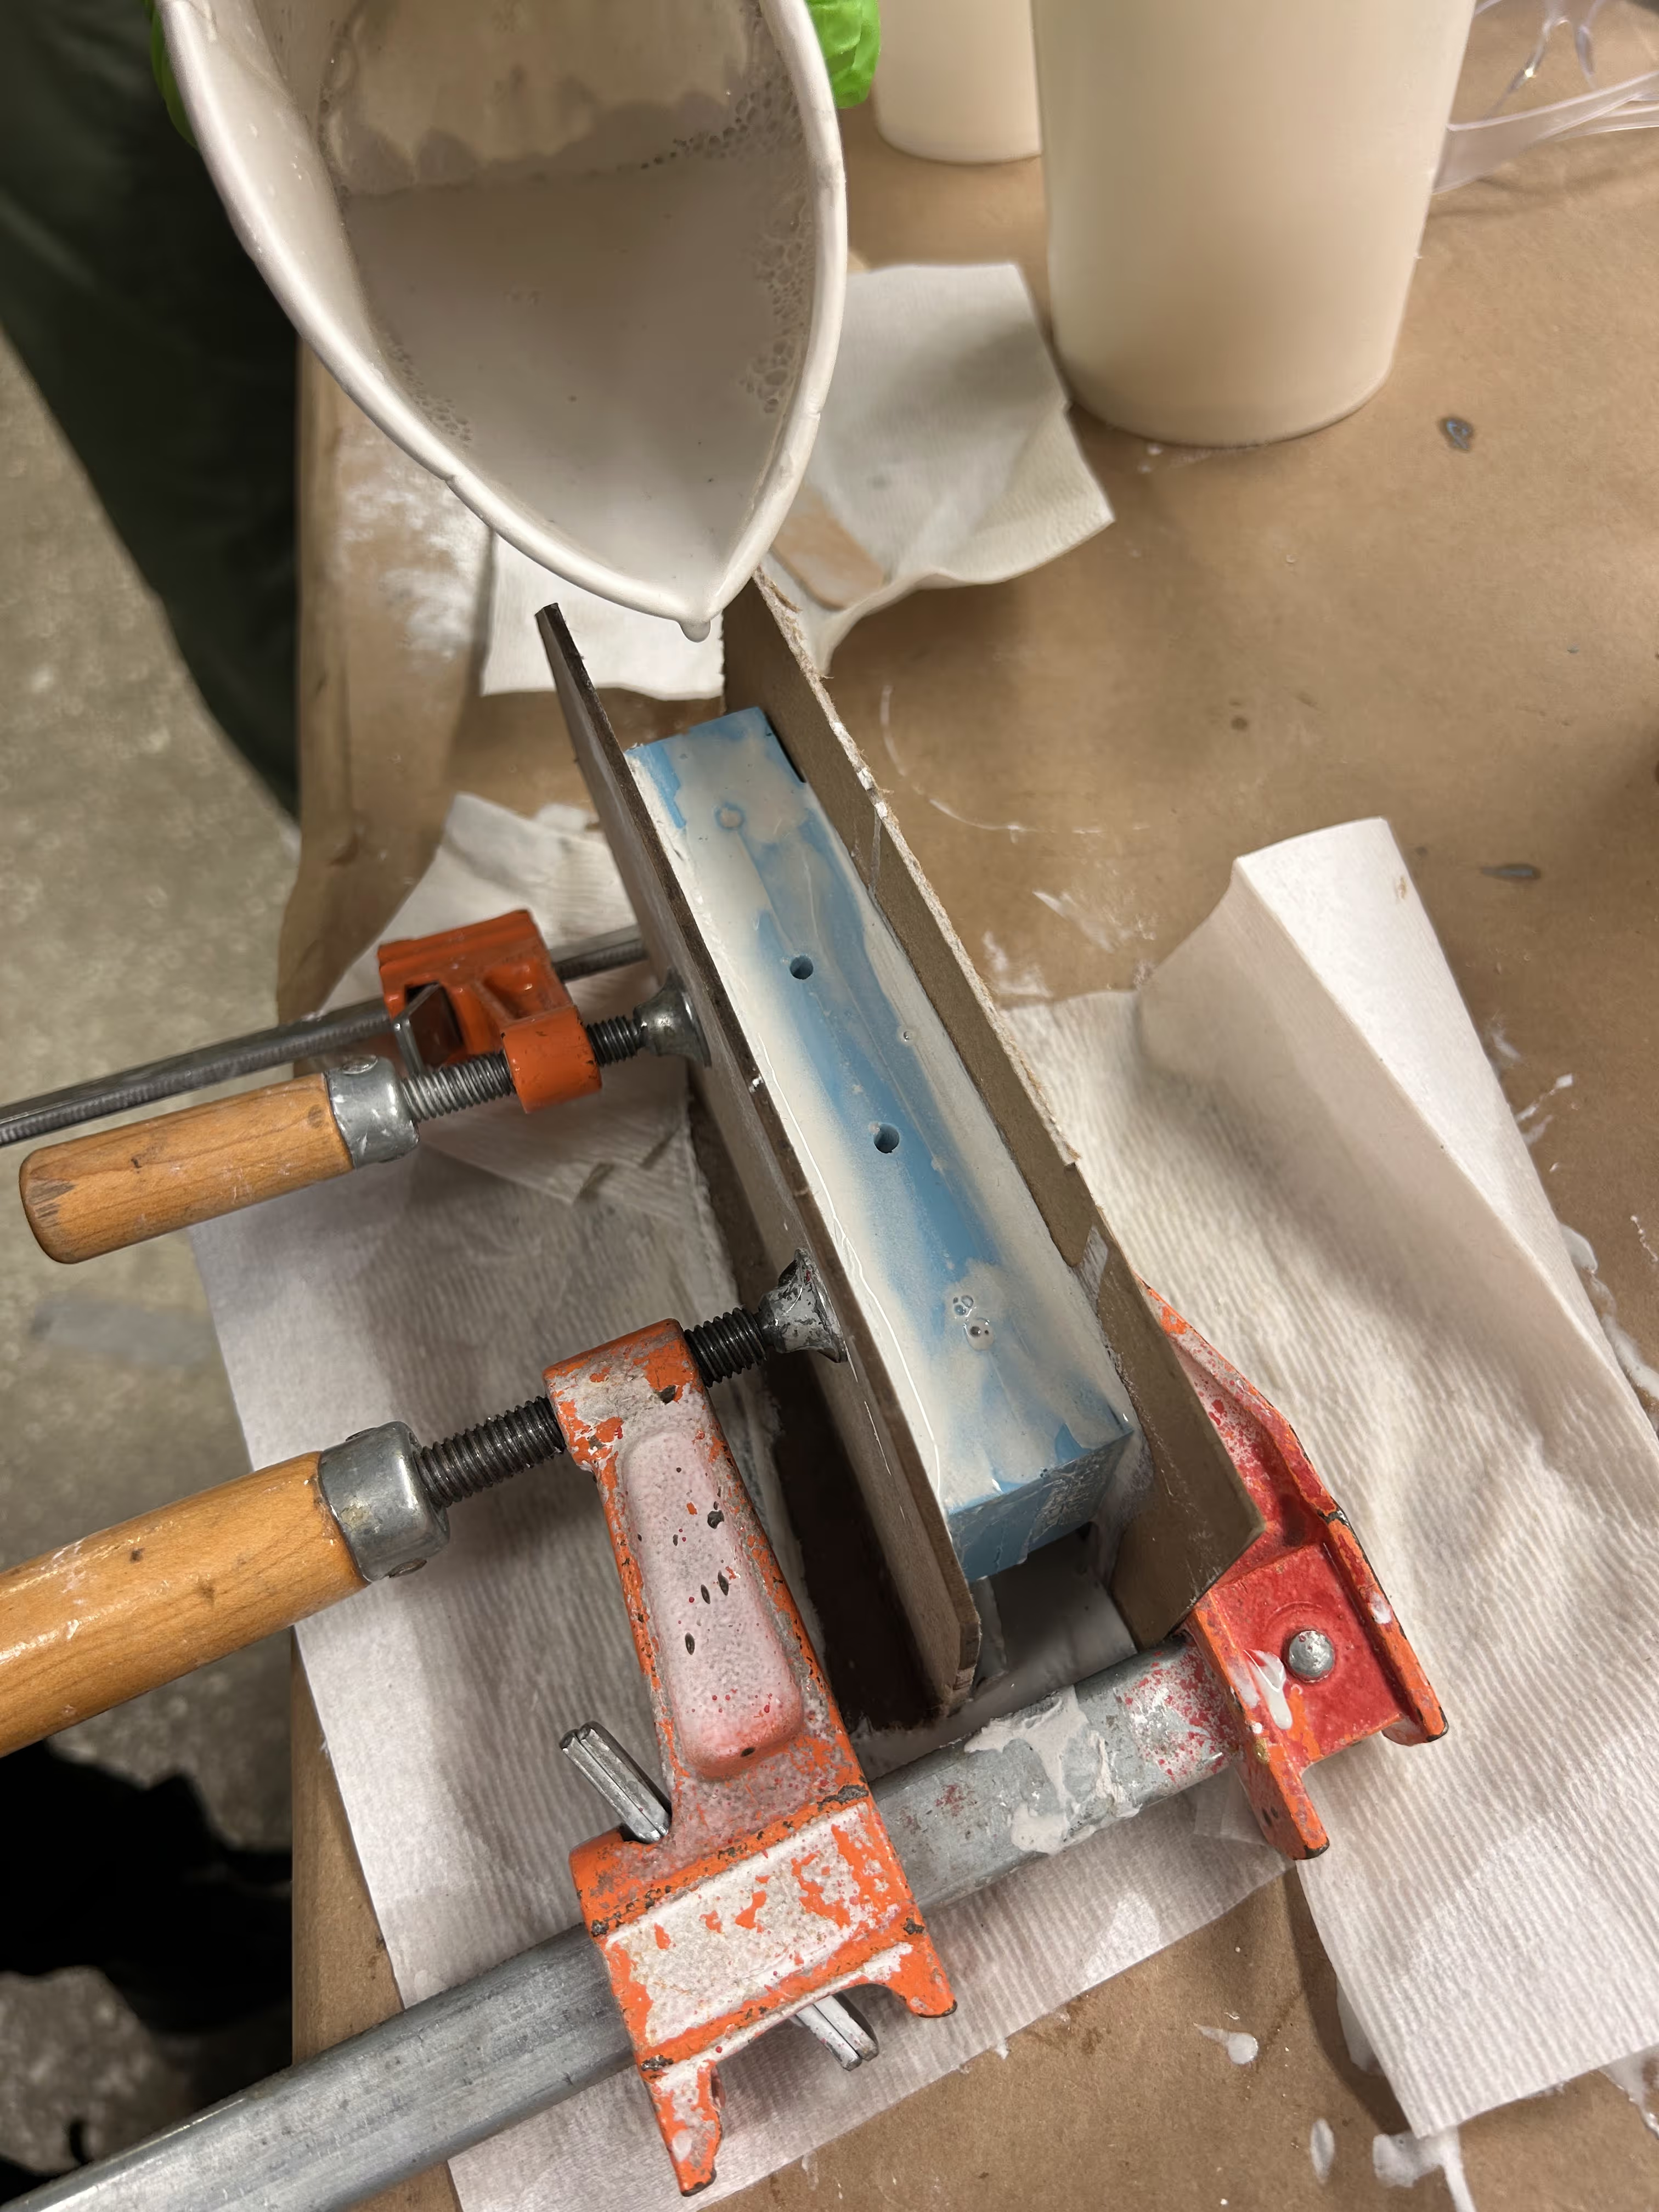
Unfortunately, the casting holes were way too small... Diana helped me (s/o) and we worked slowly trying to fille the for an hour.
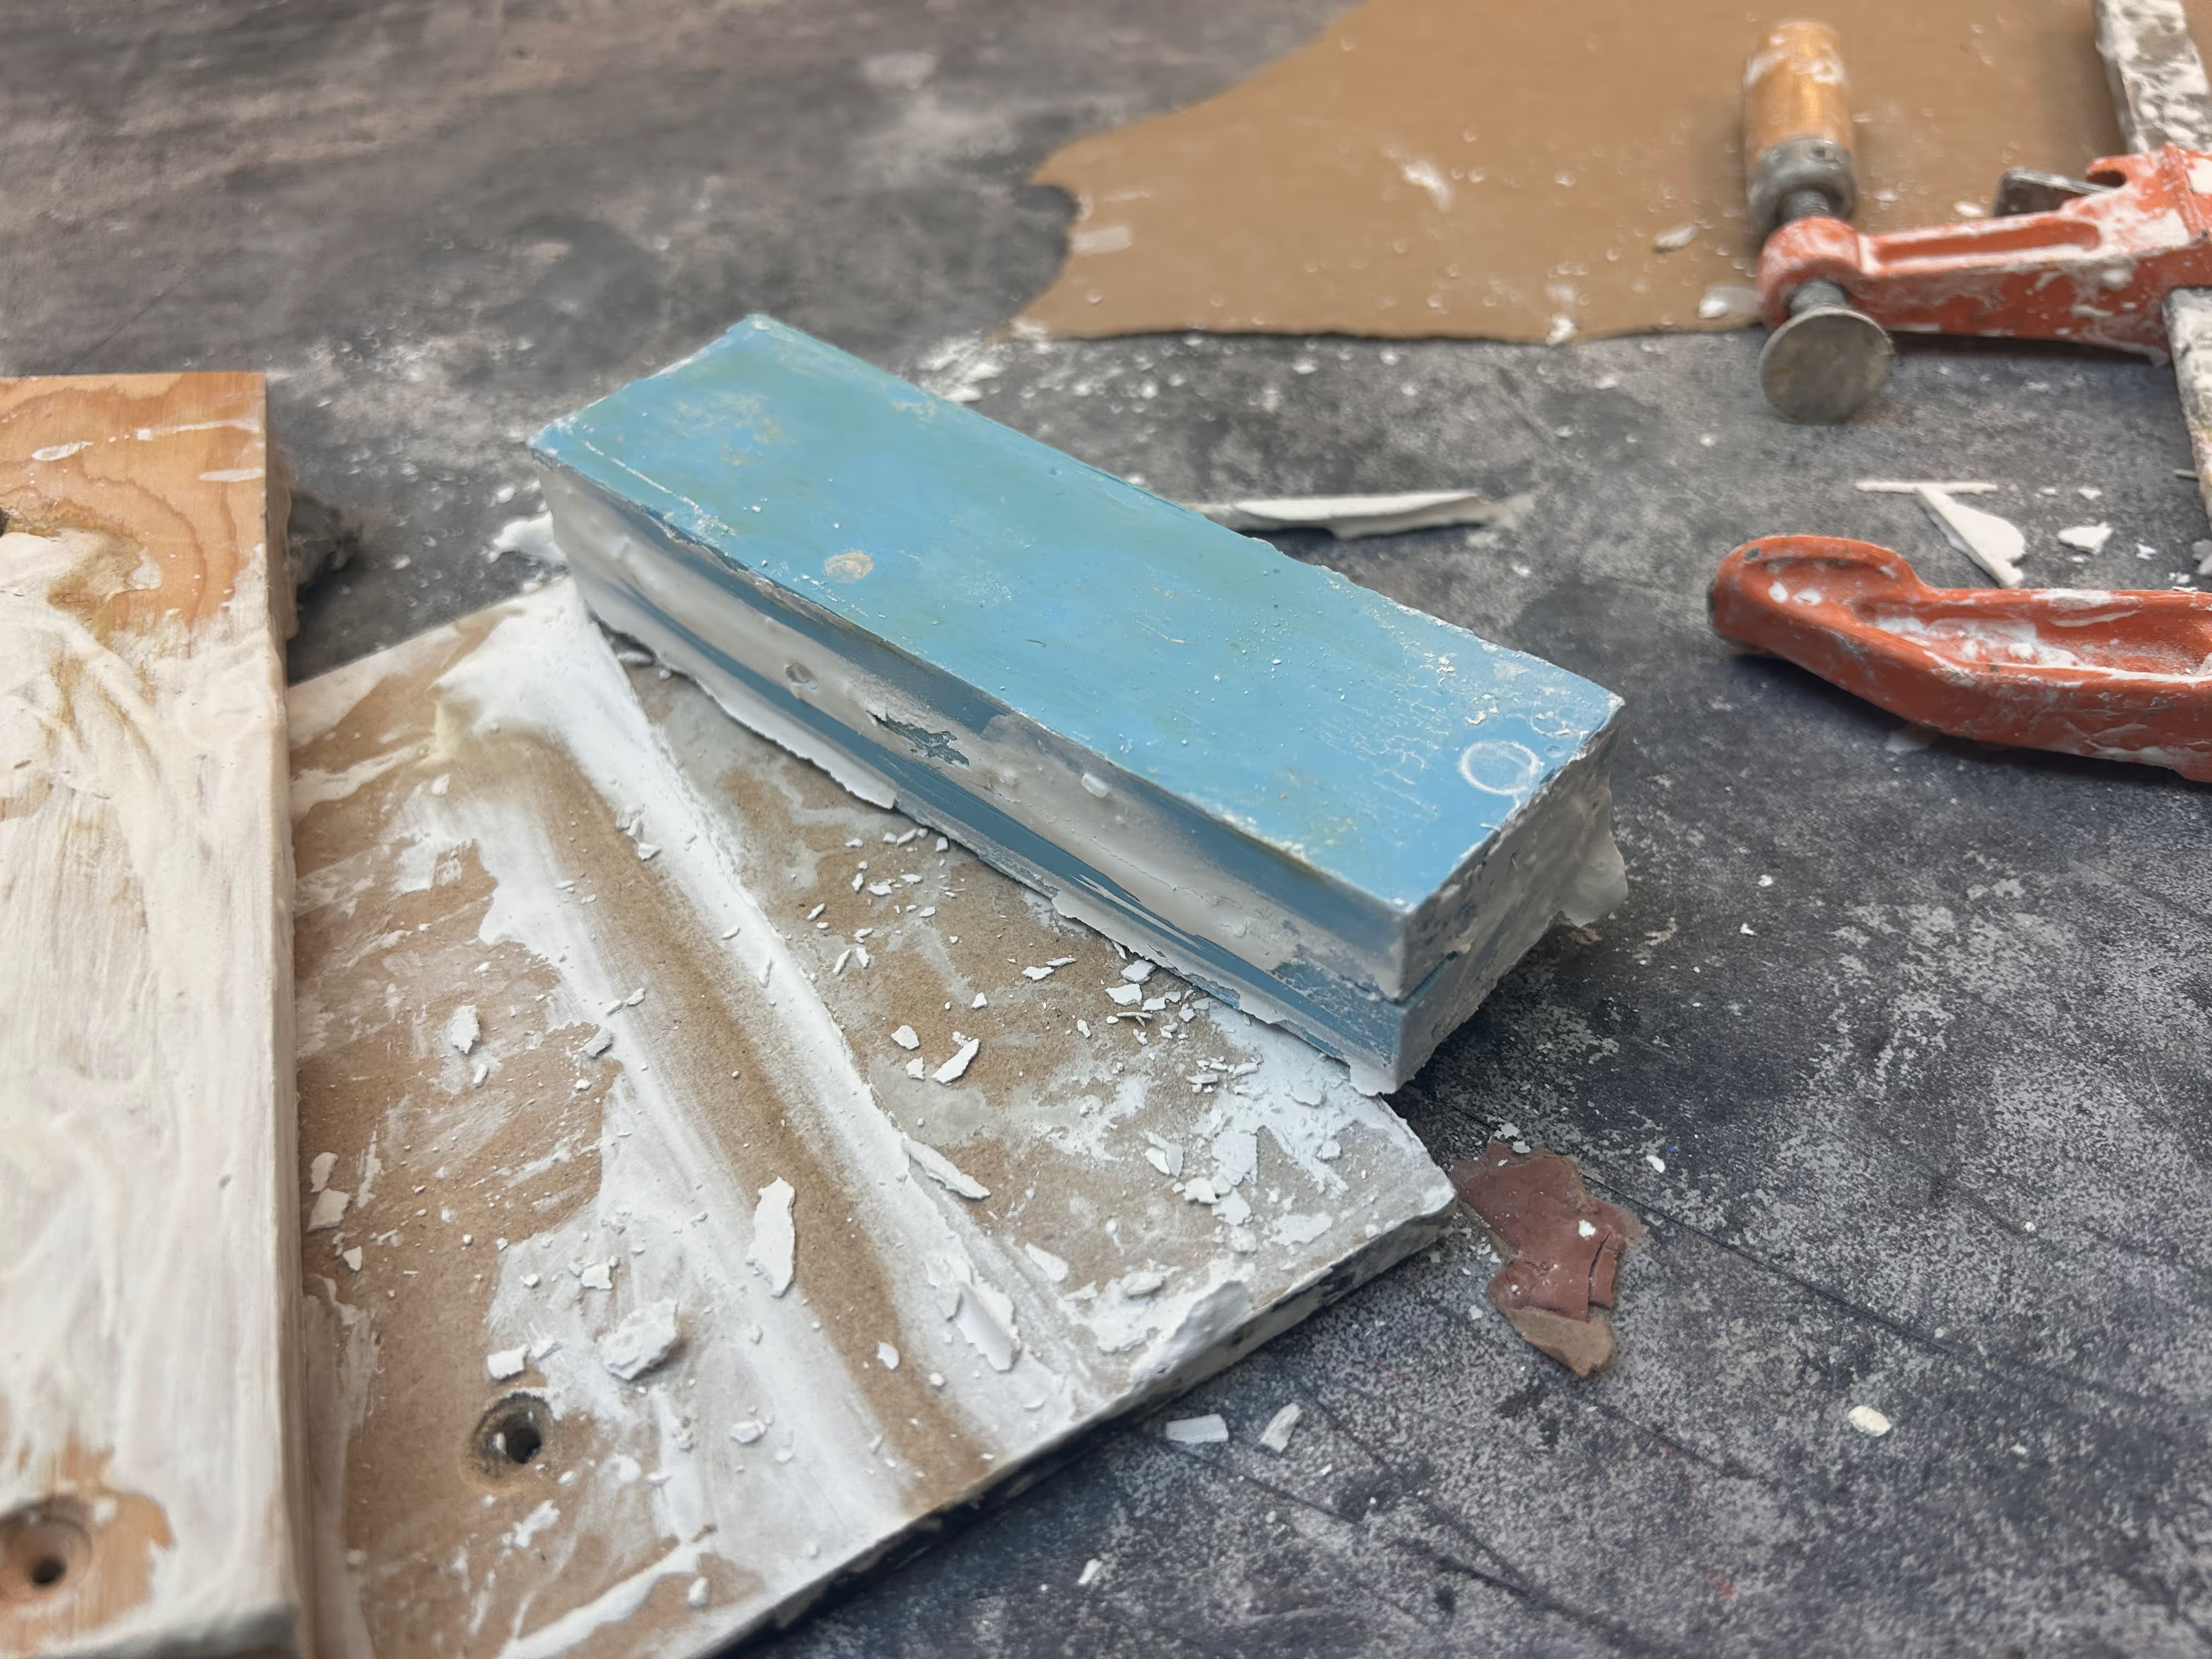
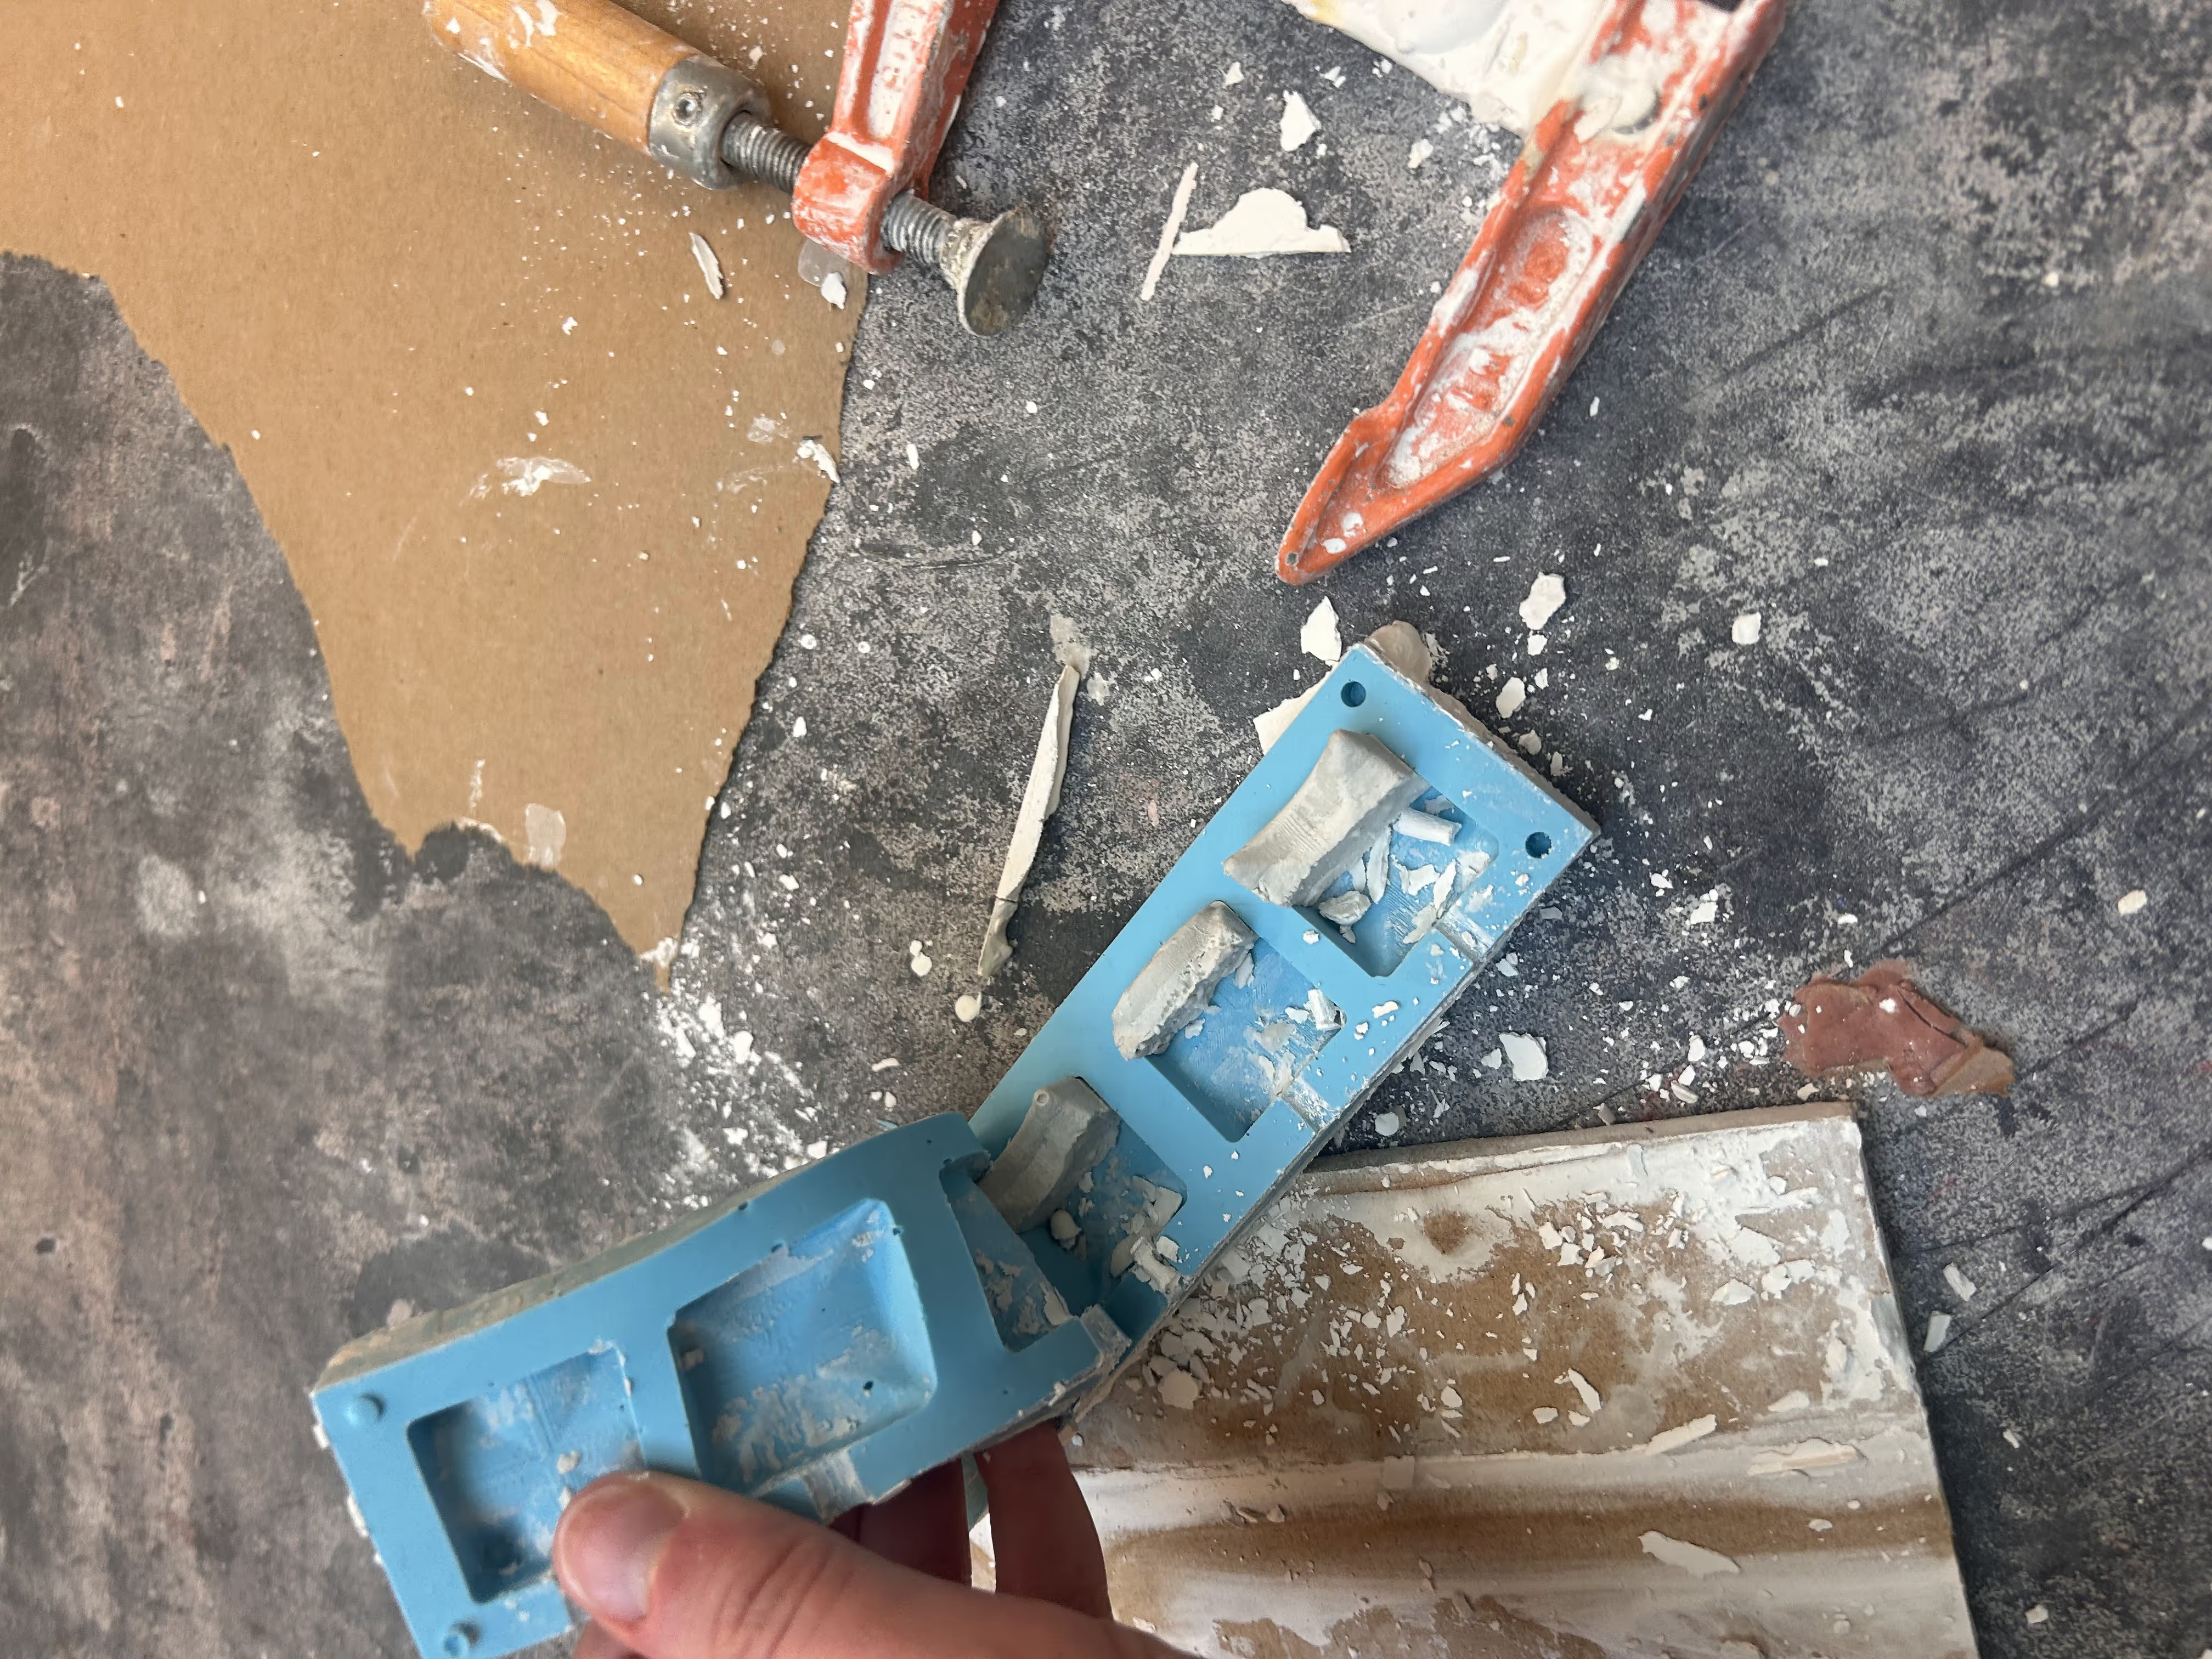
Ugh - the next day I can to see that my molds had not been filled at all - not even half way! The hole clotted making it look like it was full.
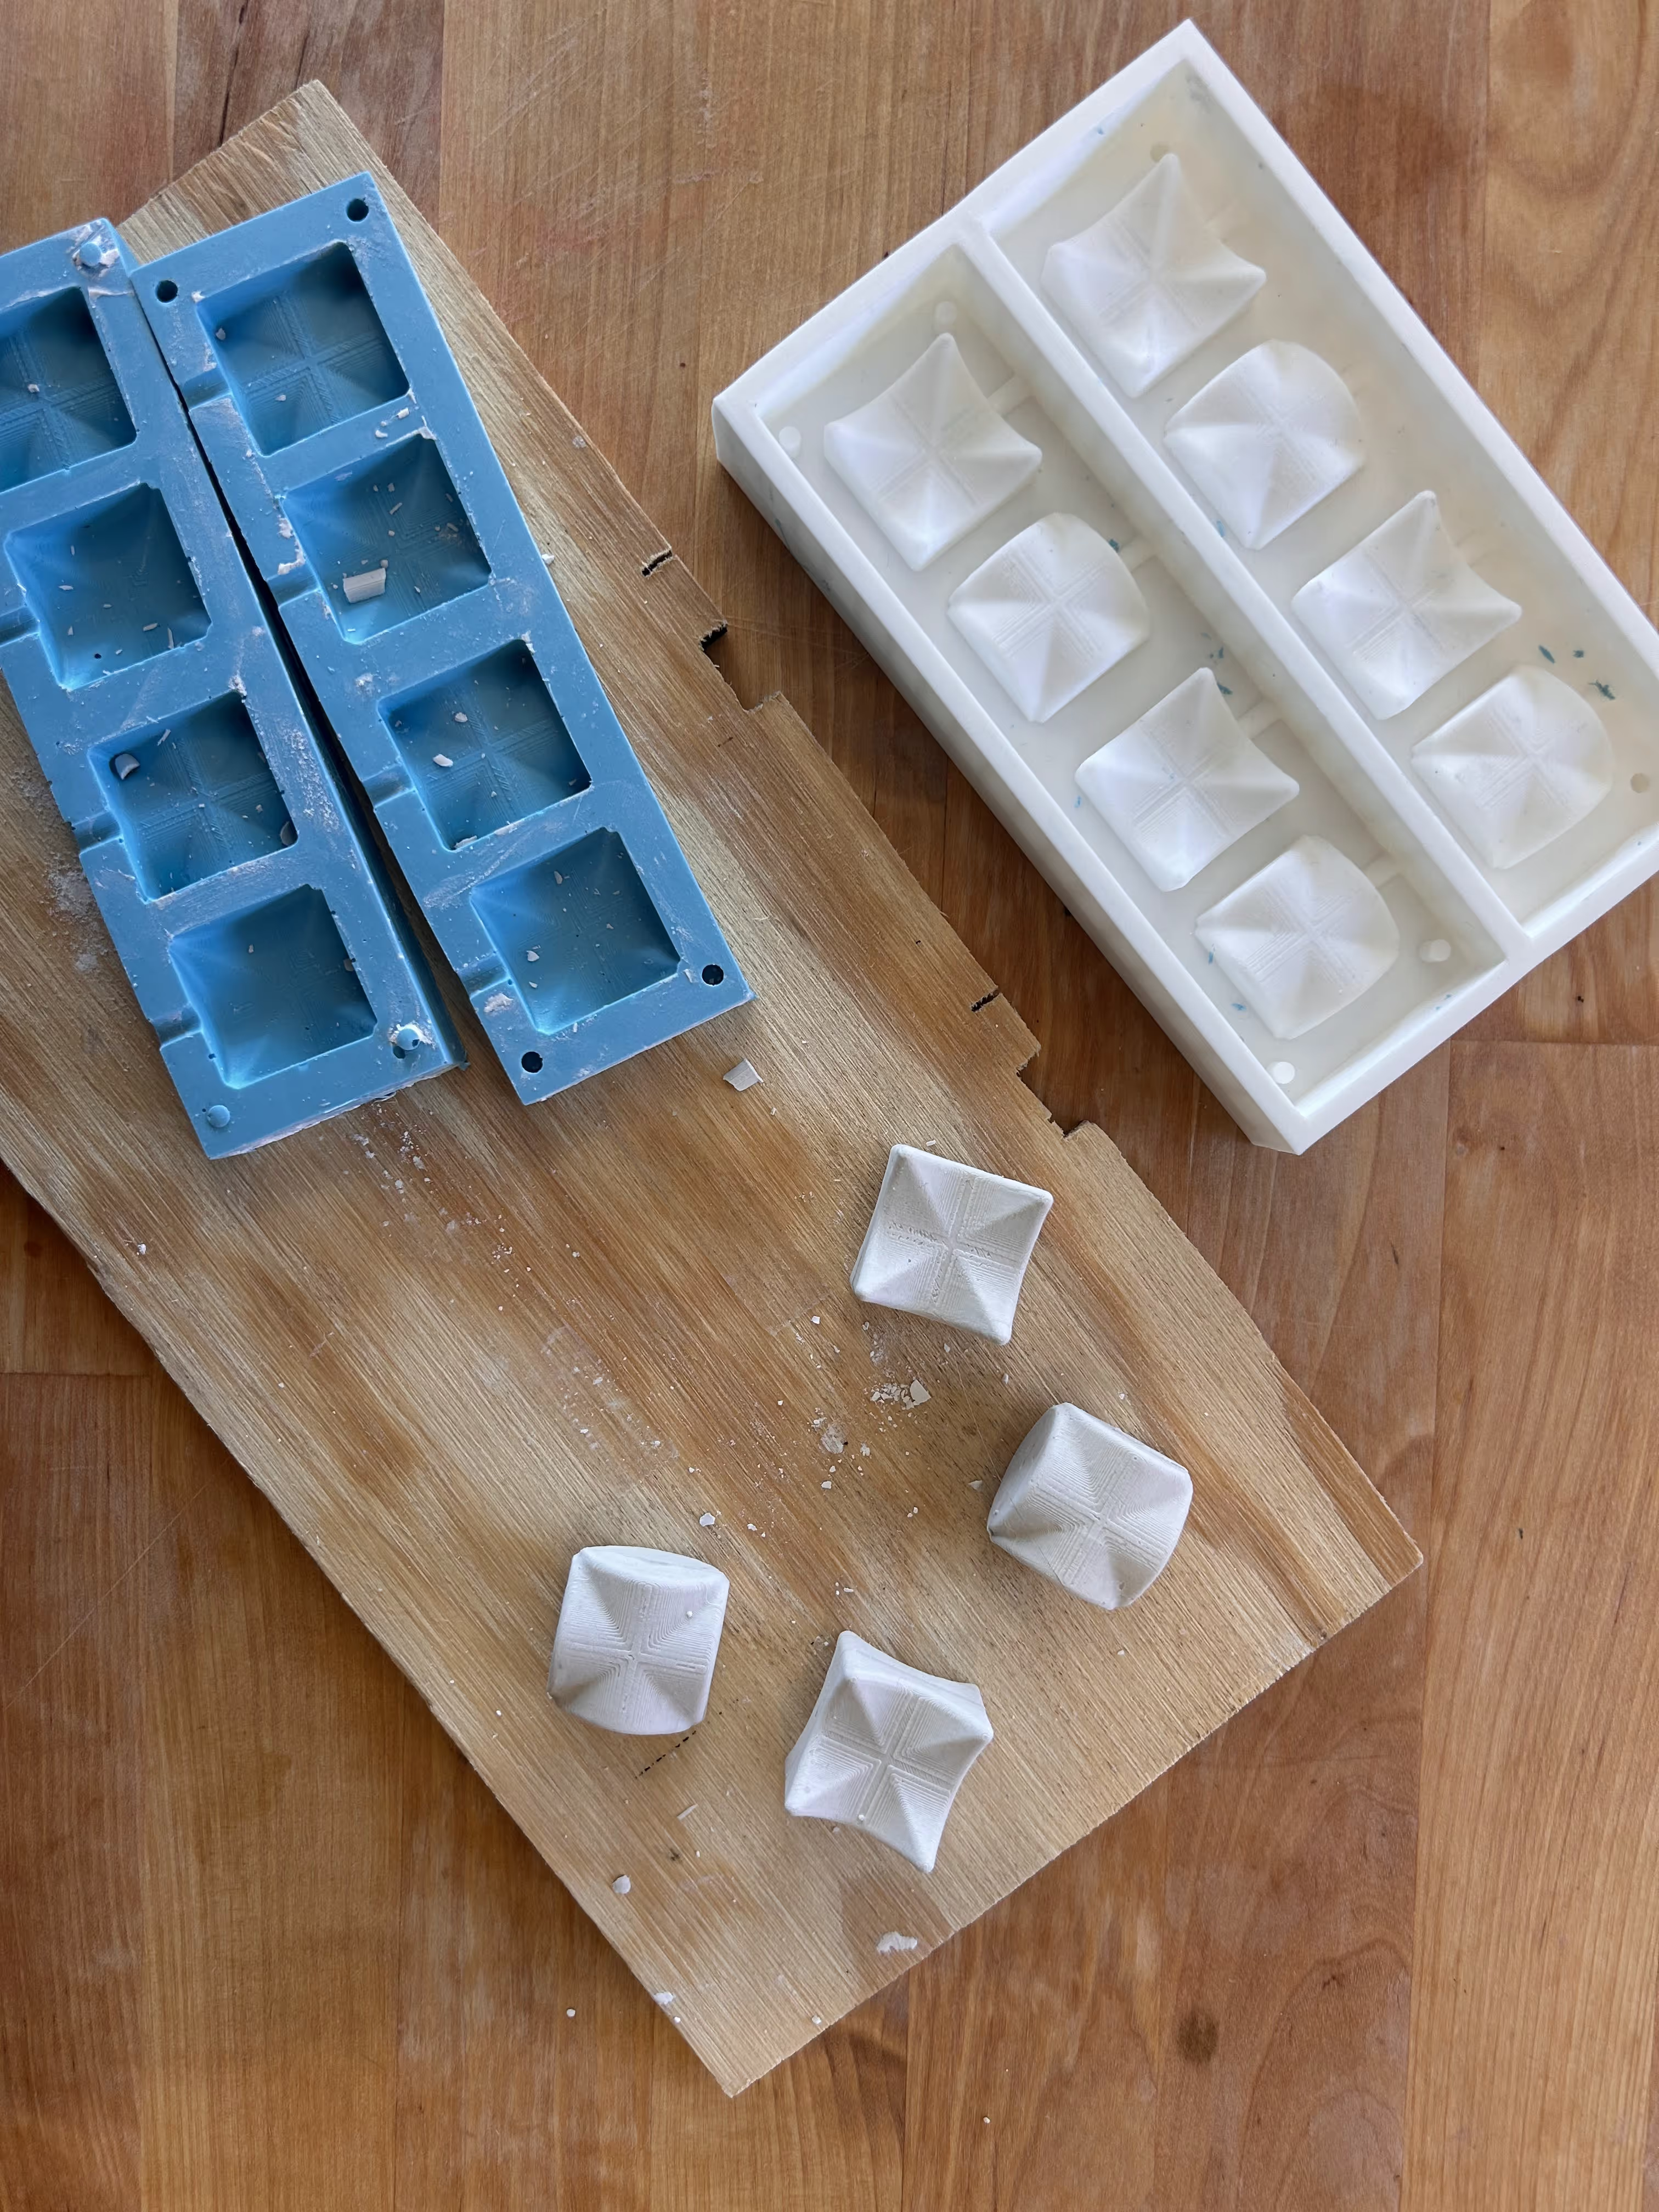
This isn't quite in chronological order, but after learning from the chocolate molding and the previous plaster attempt - tried again.
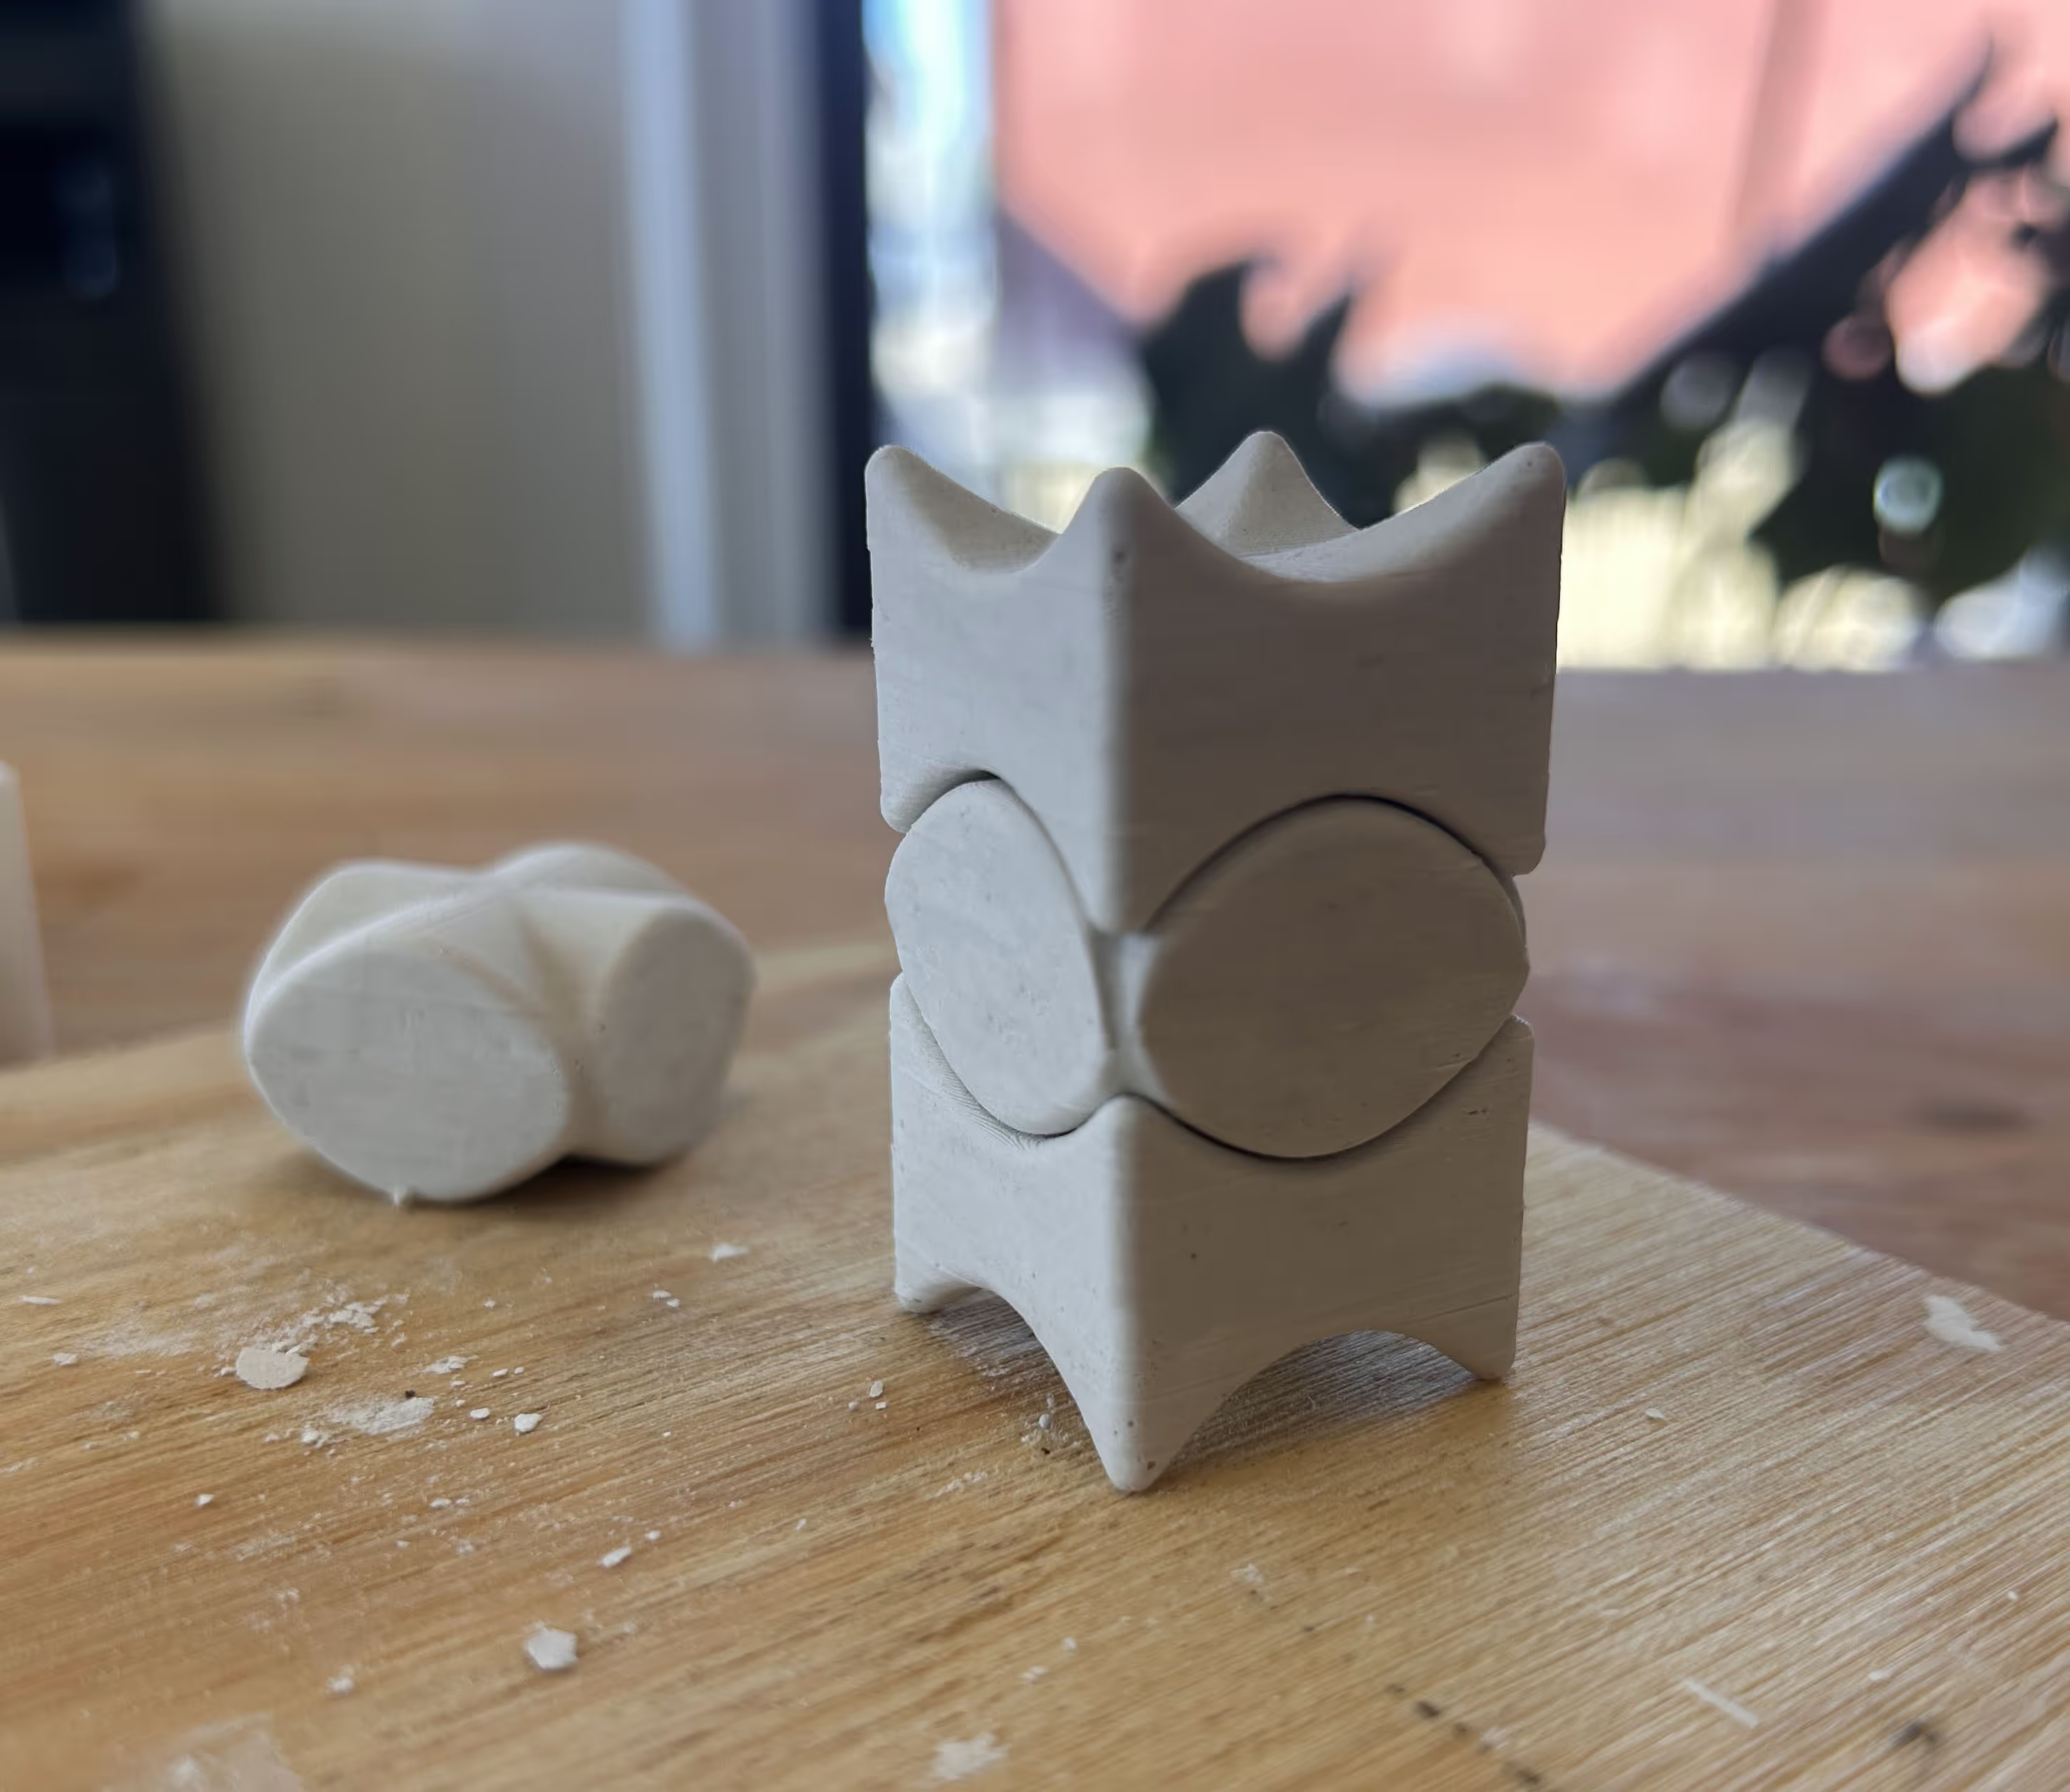
My new attempt was a make shift 2-side mold. I let one side of the mold cure and then I would pour fresh plaster on the other side. Once the fresh wet plaster was in place on the other side, I placed the cured side on top.
I also put it in the sun to get extra warm to speed up the process.
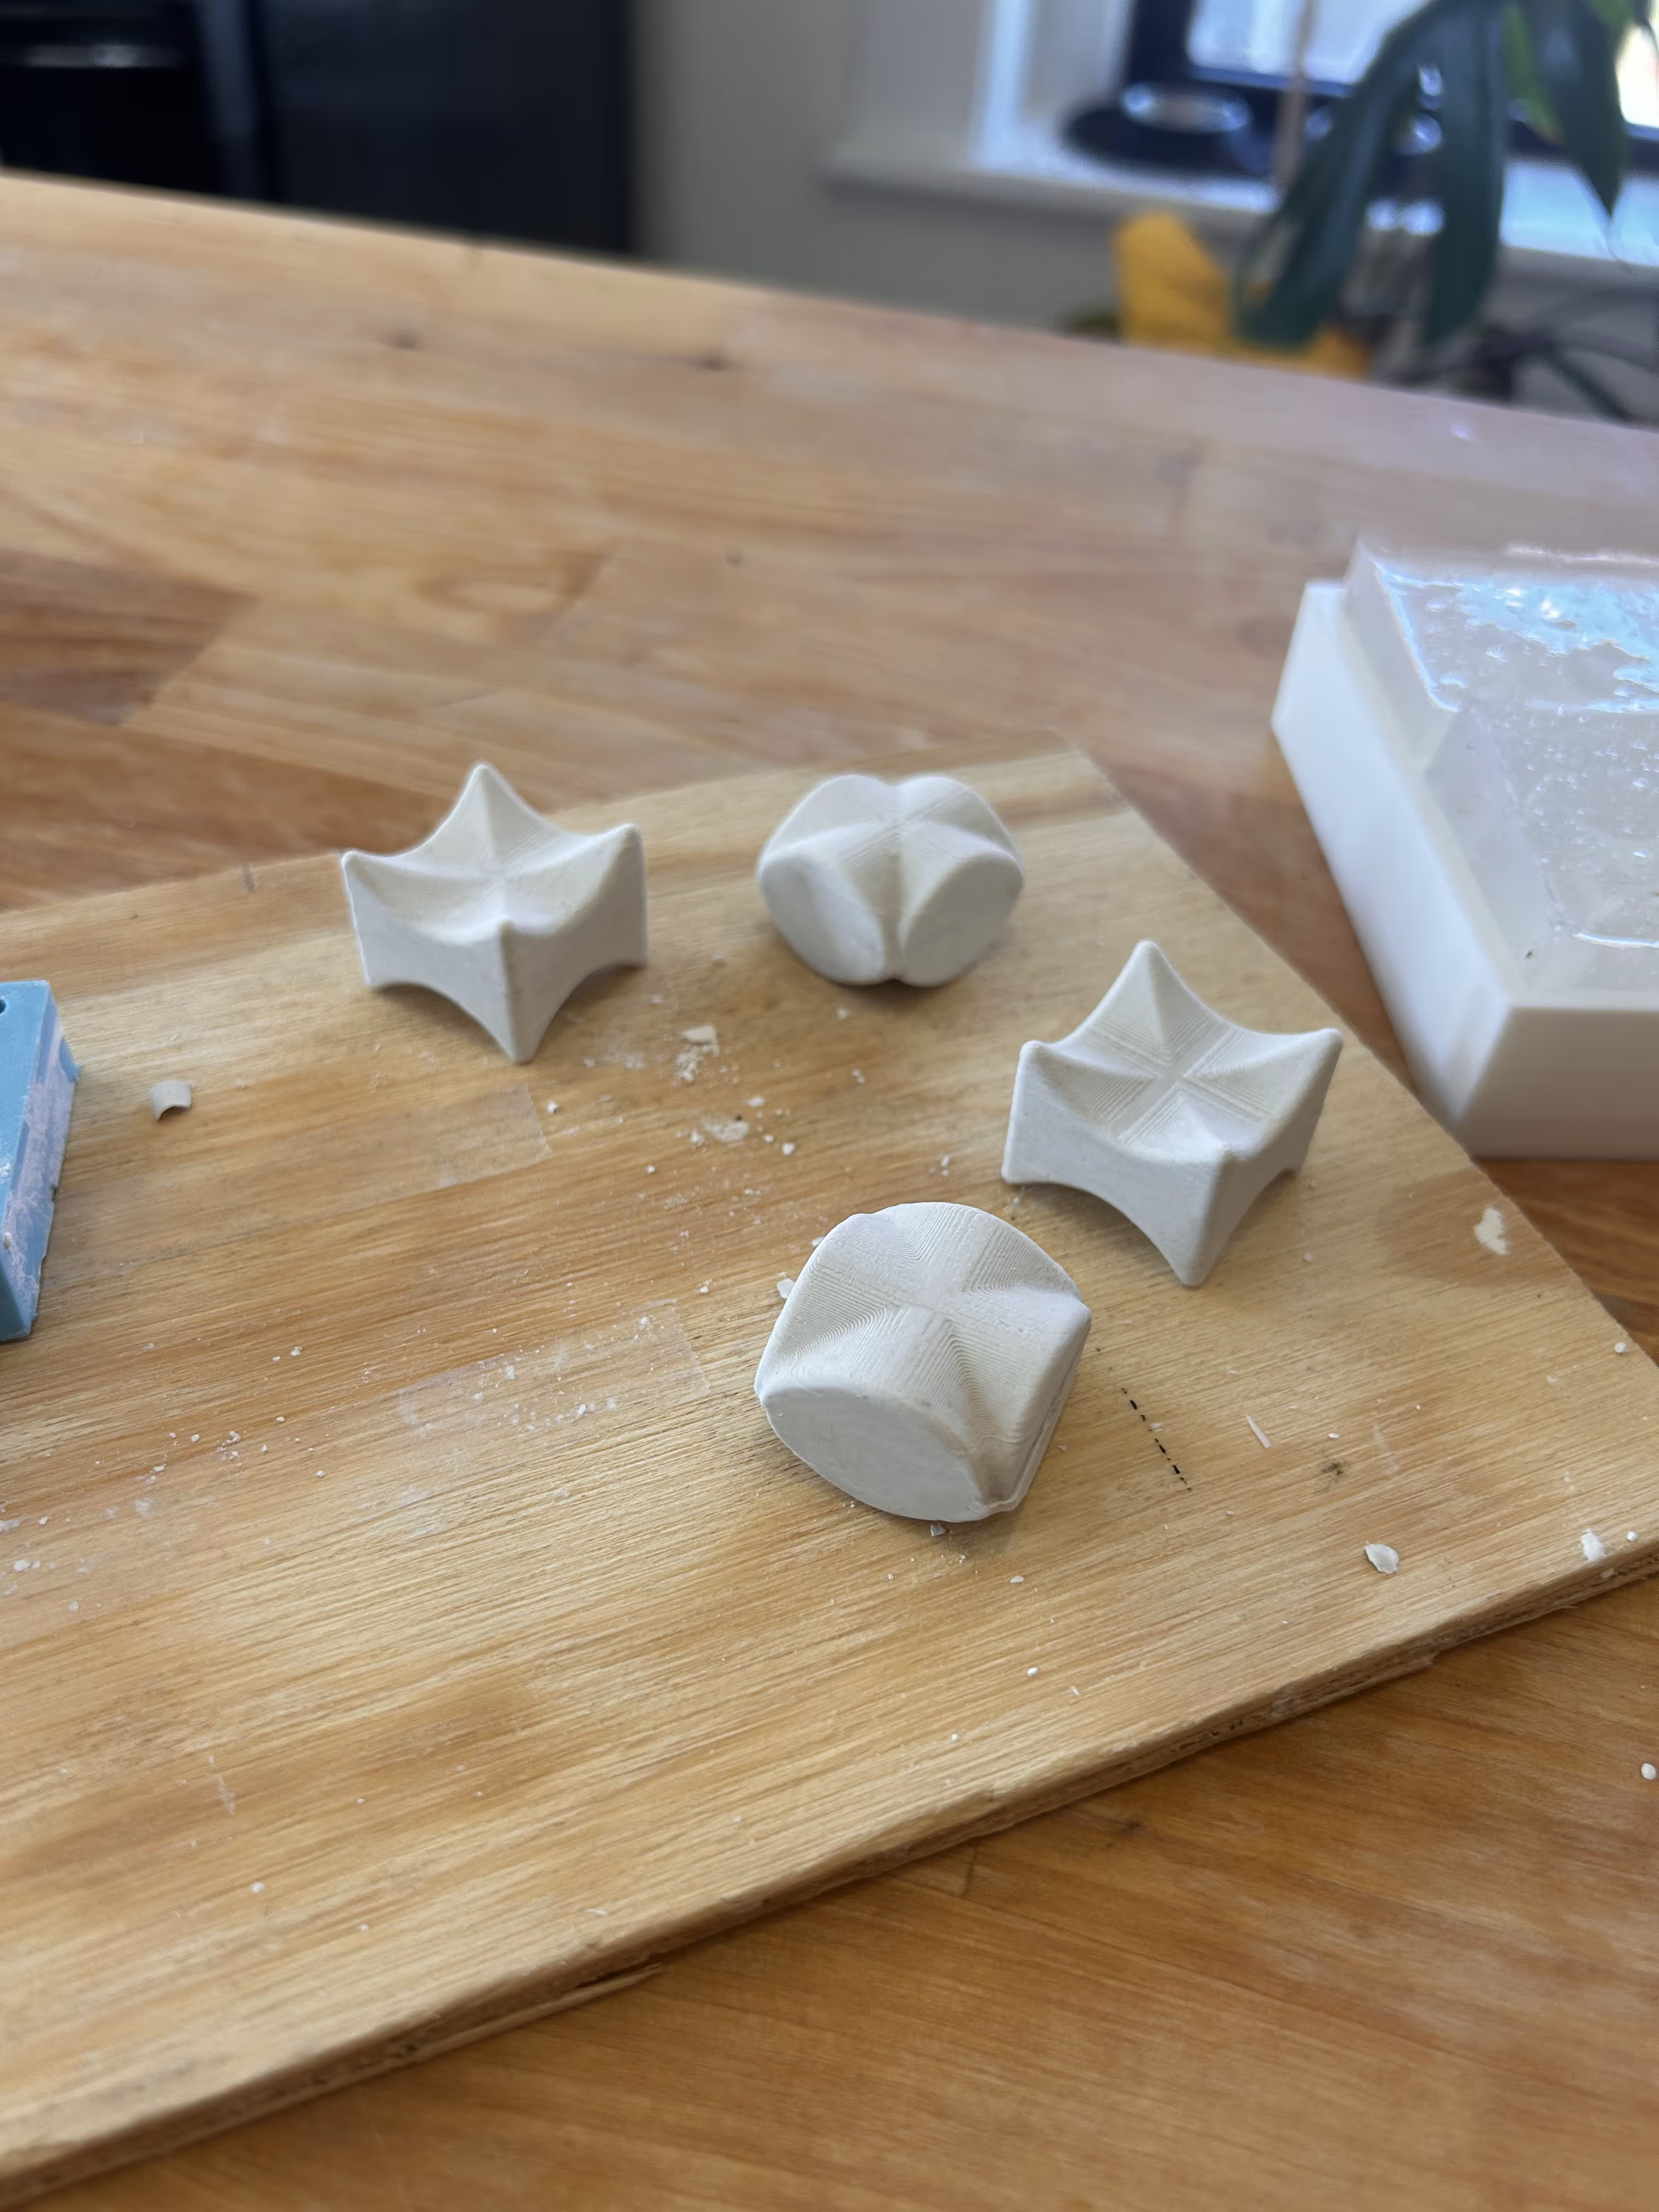
Molding chocolate...
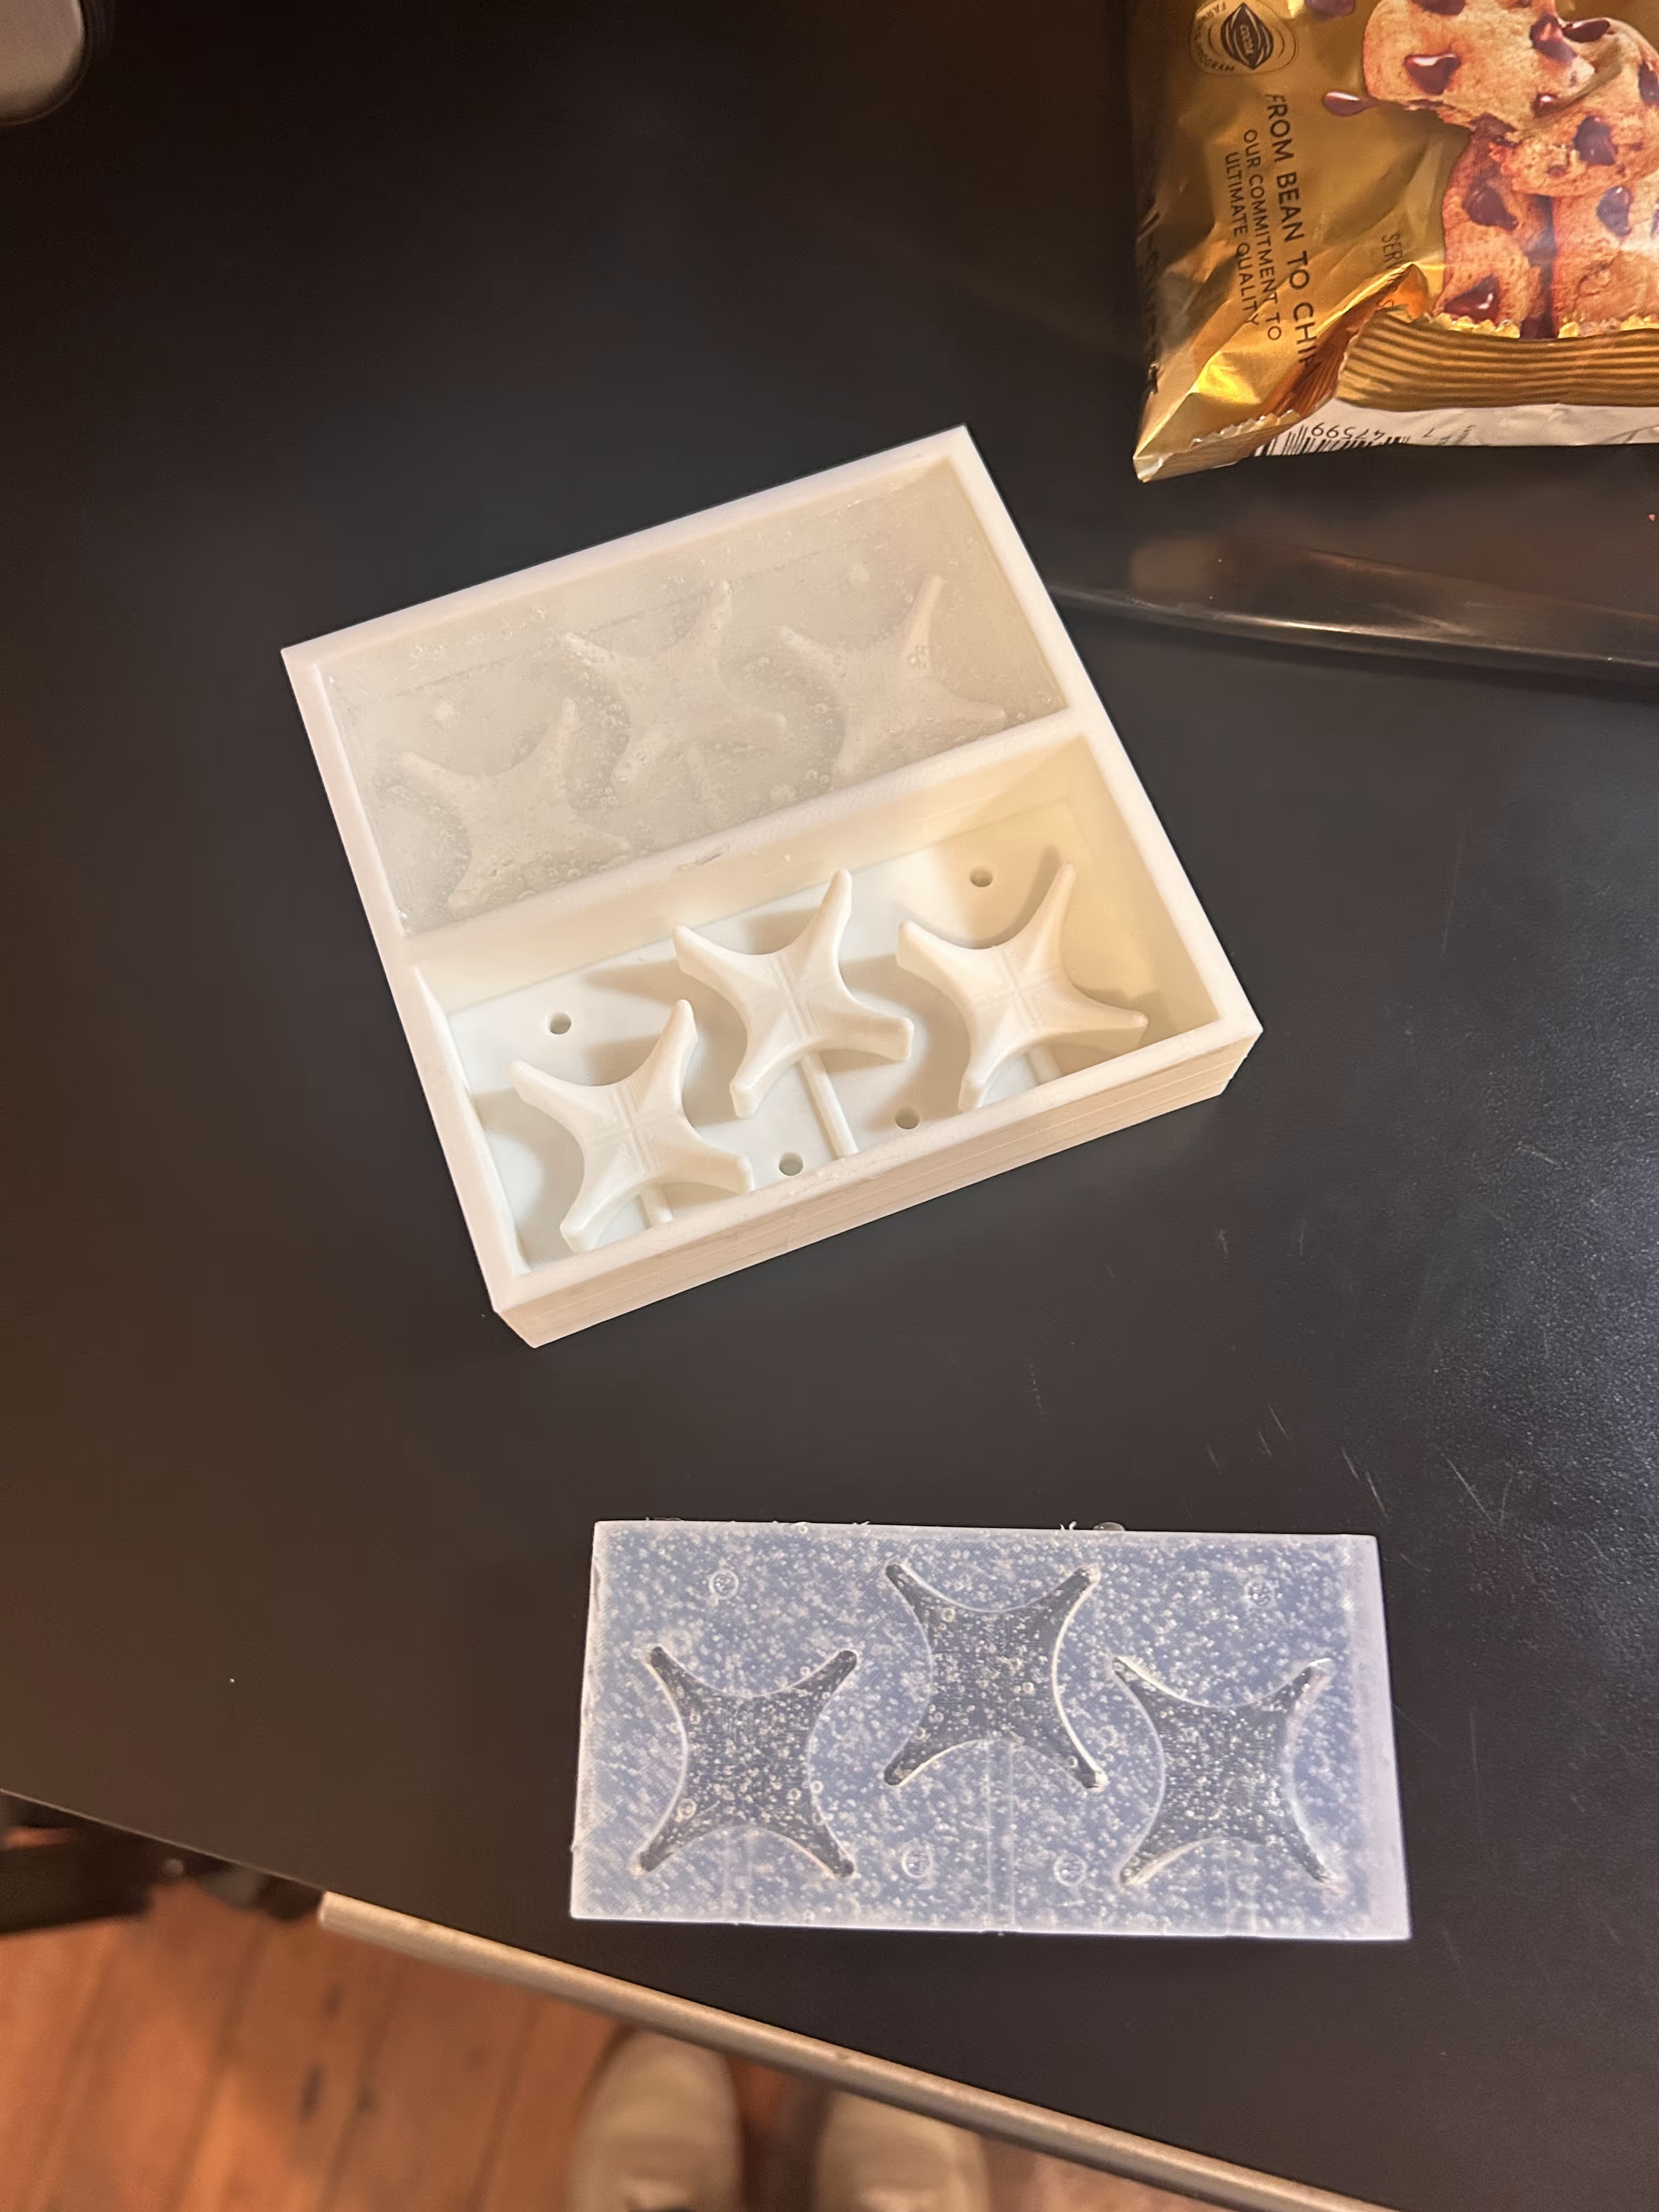
My chocolate food safe mold had the same problem of the entry holes being way too small. There was no room for the air to escape properly
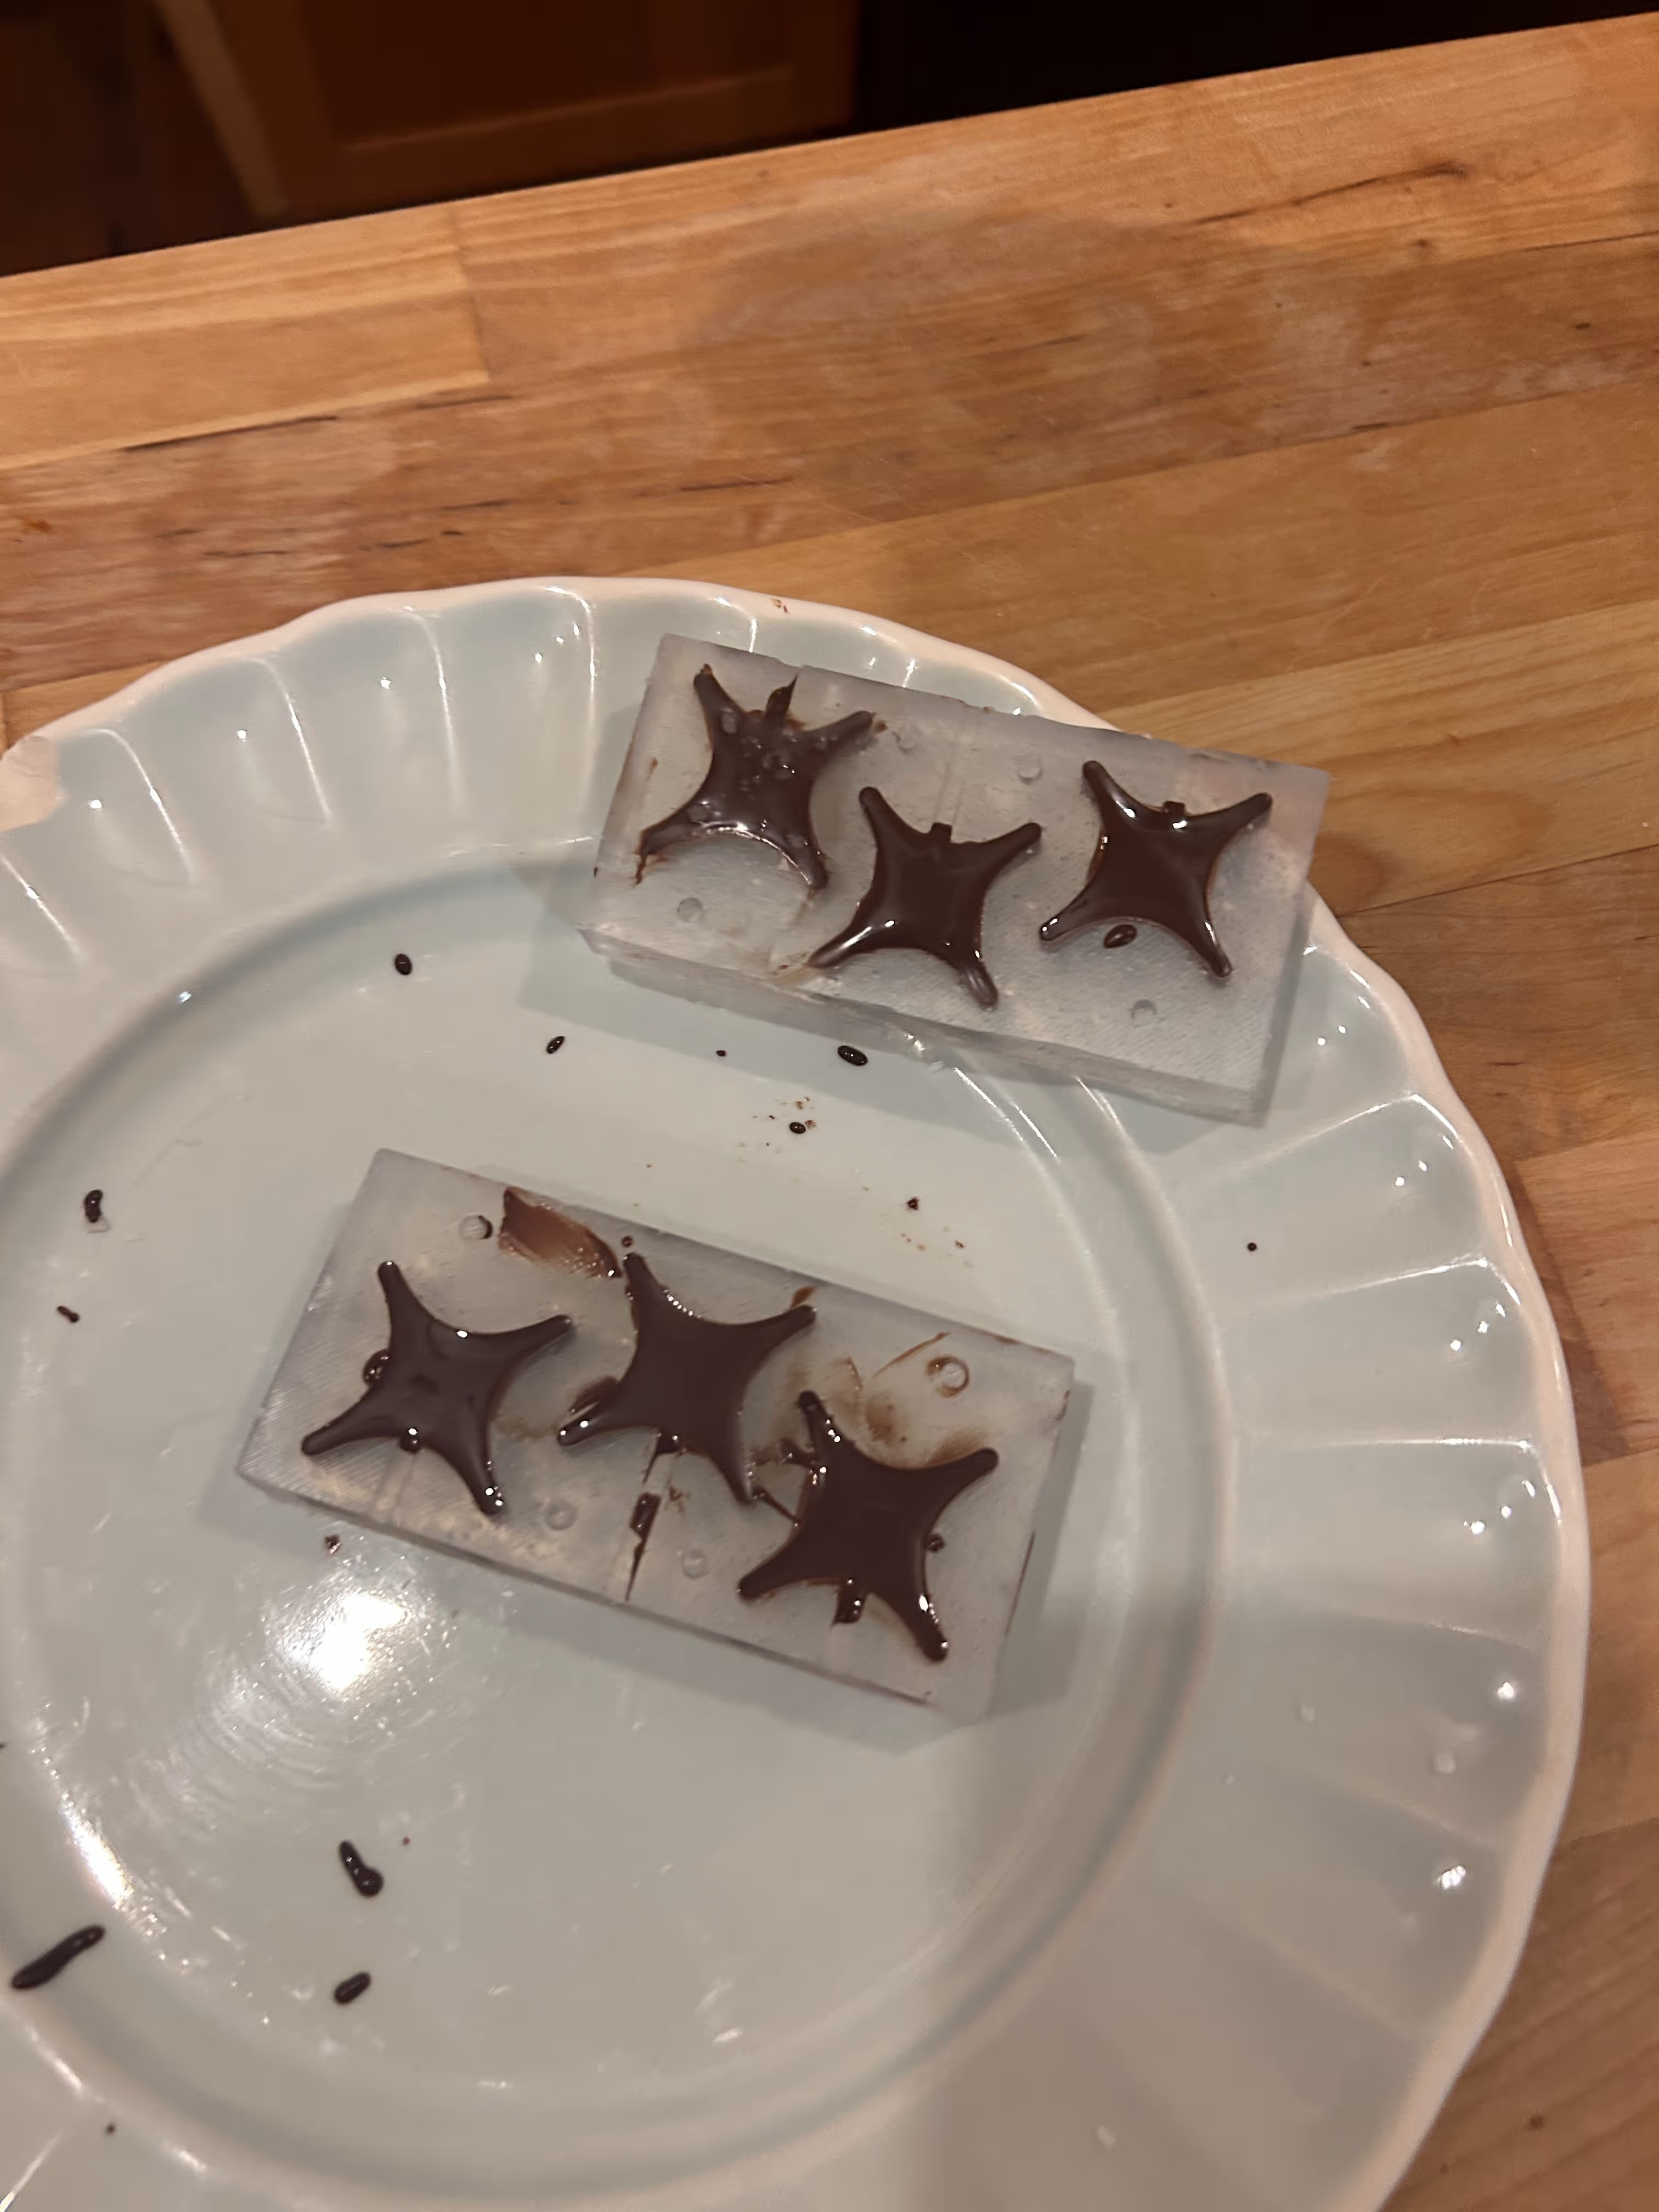
At first, I resigned to not being able to do a two sided mold - I just molded the two sides separately.
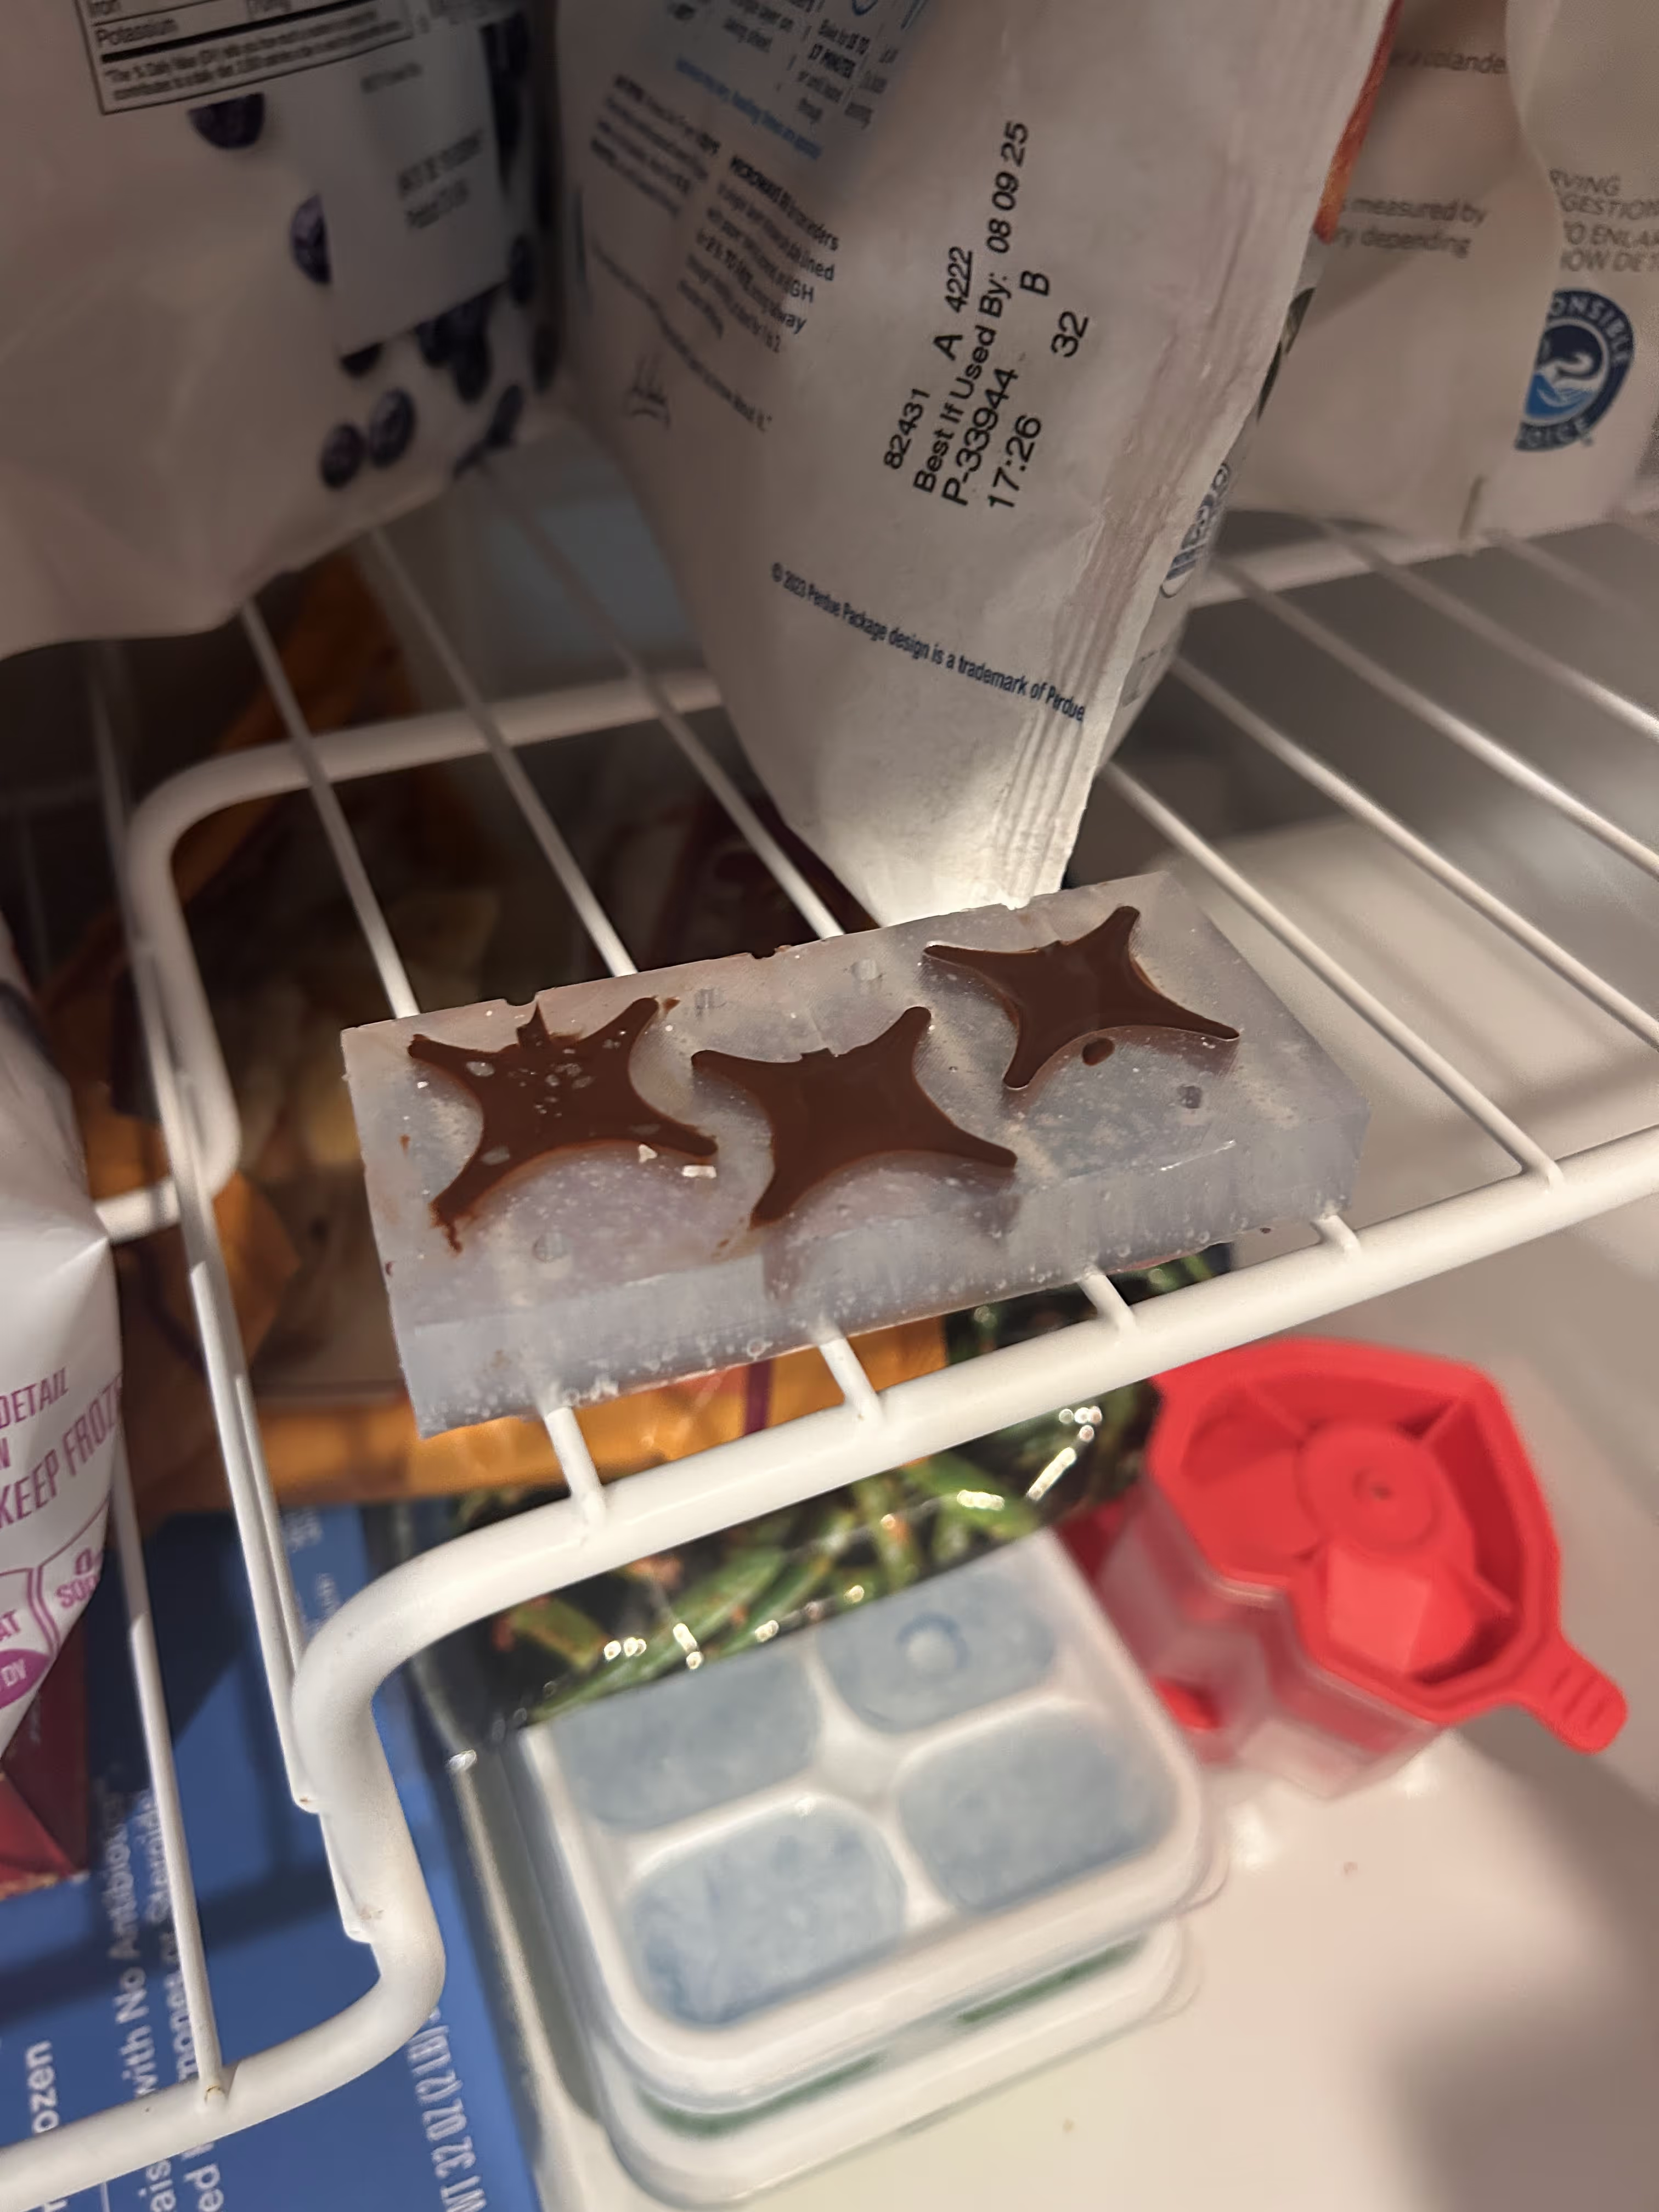
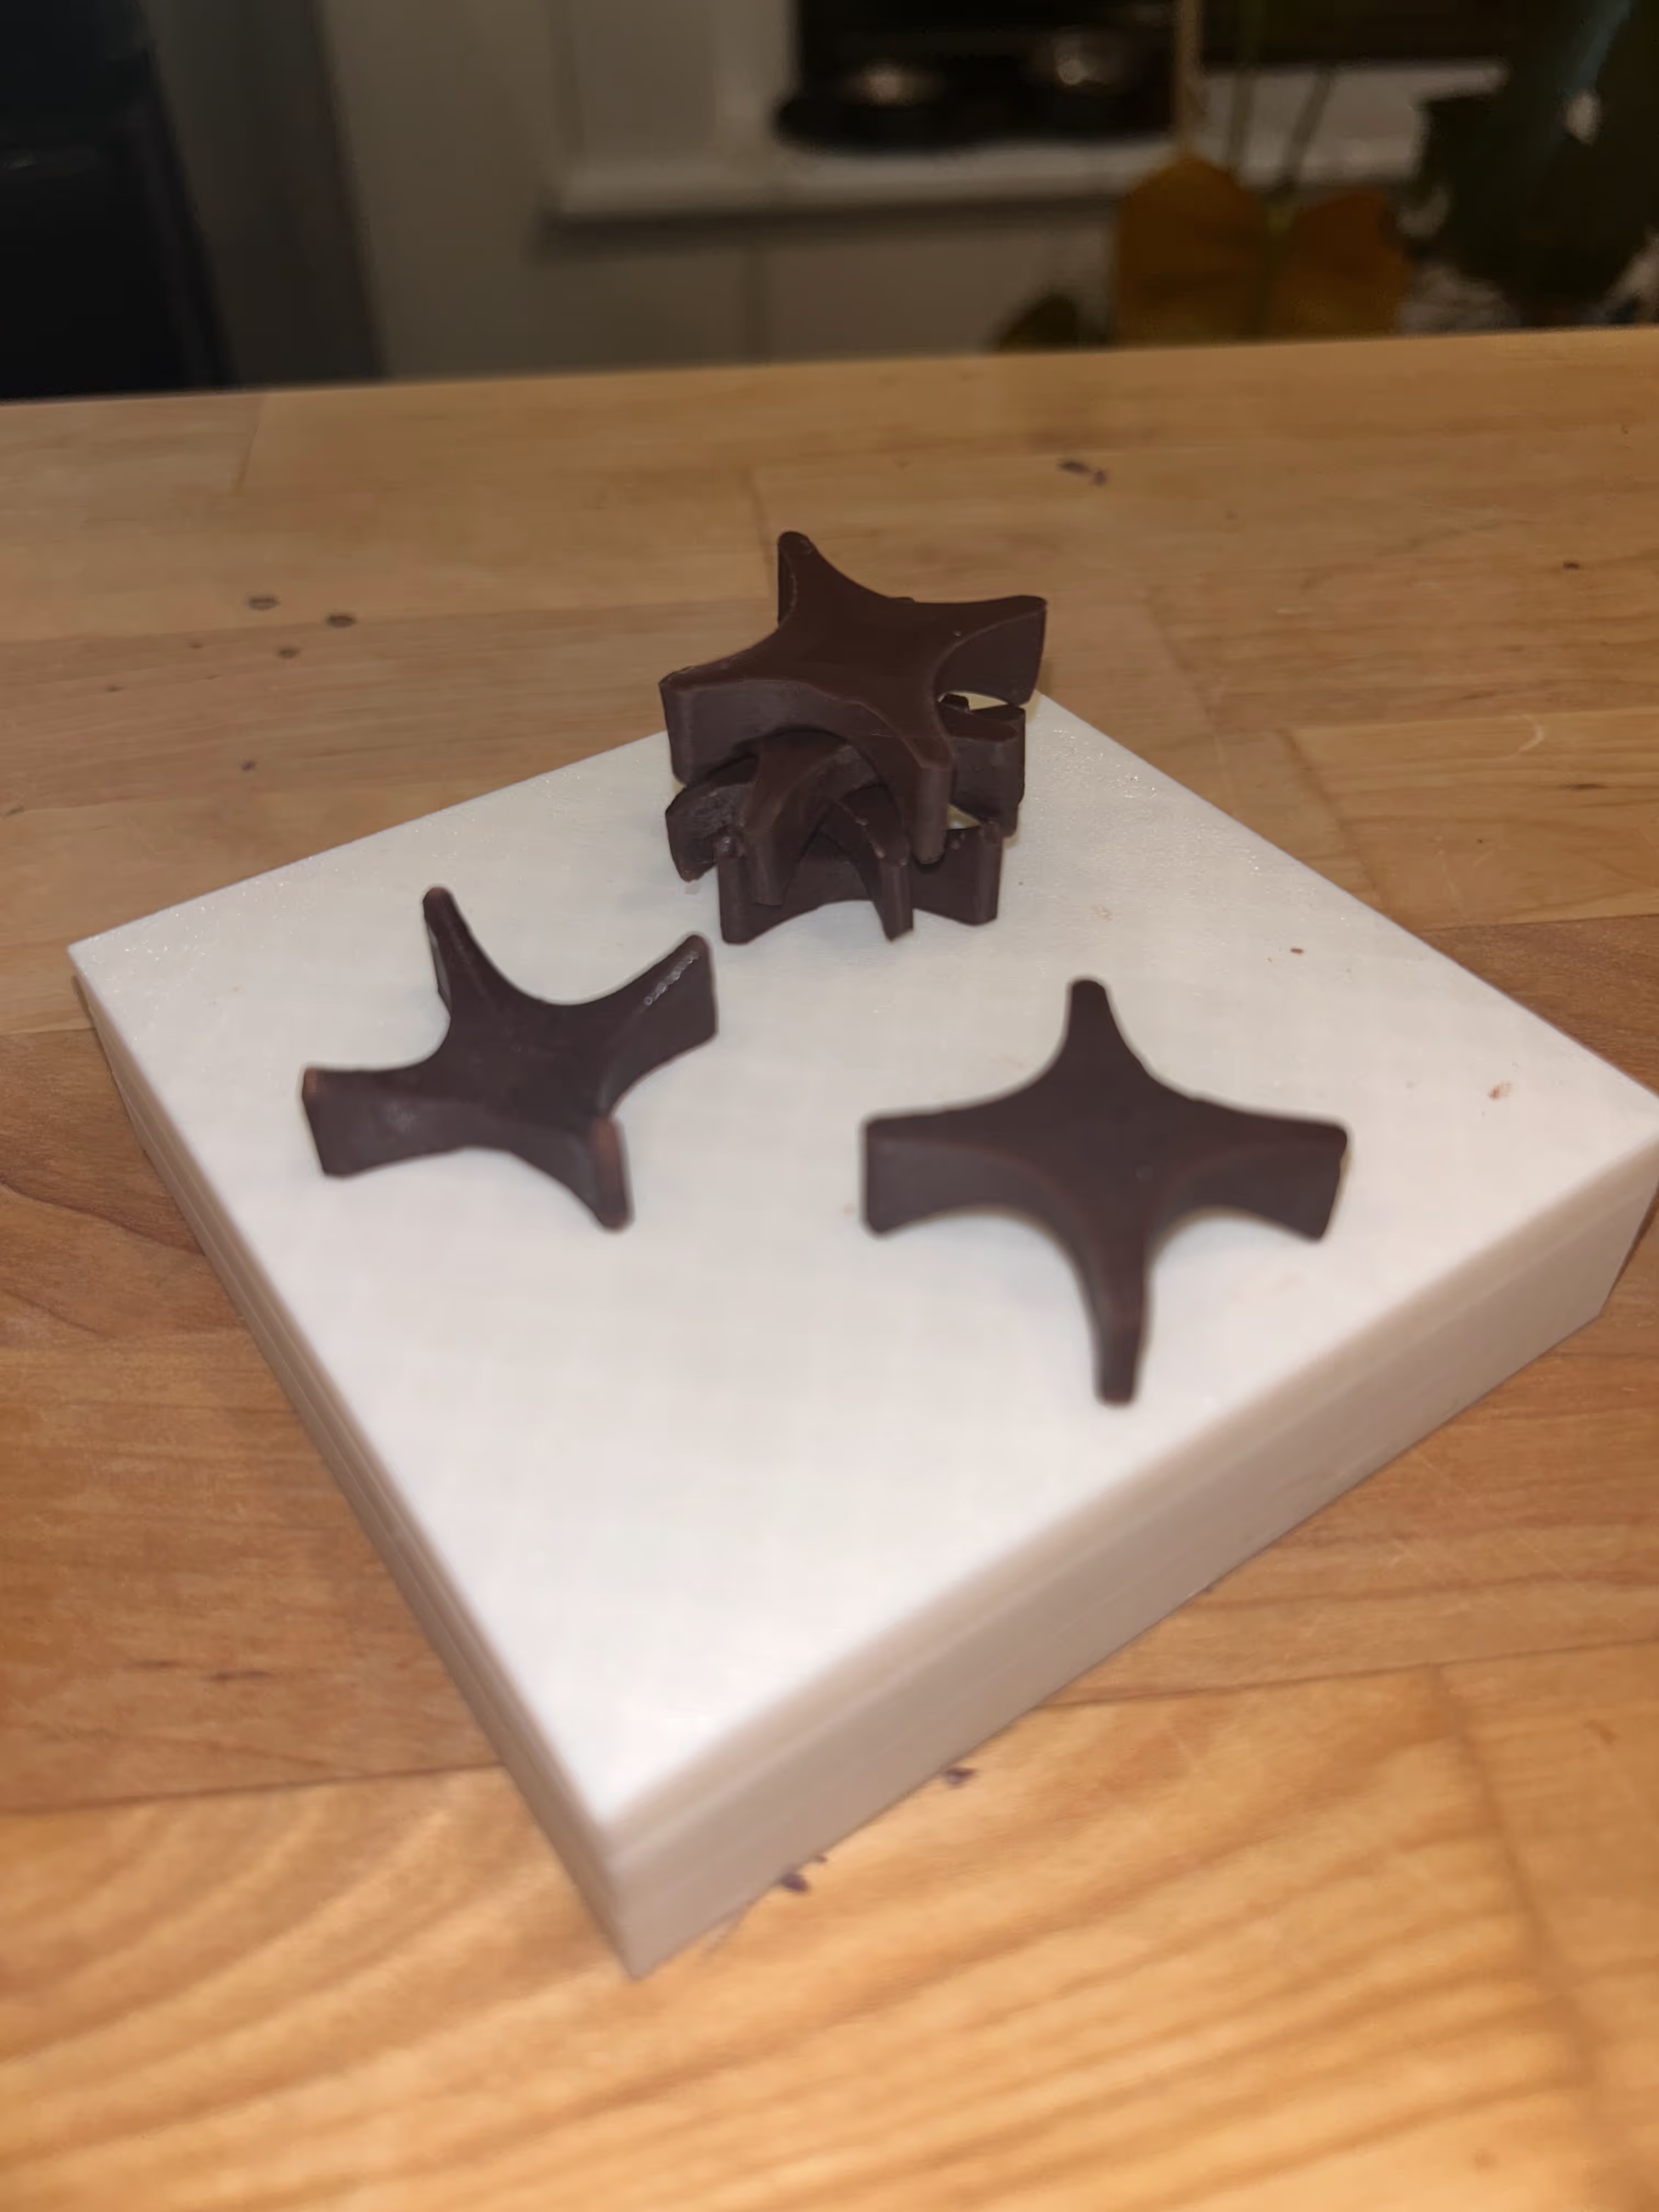
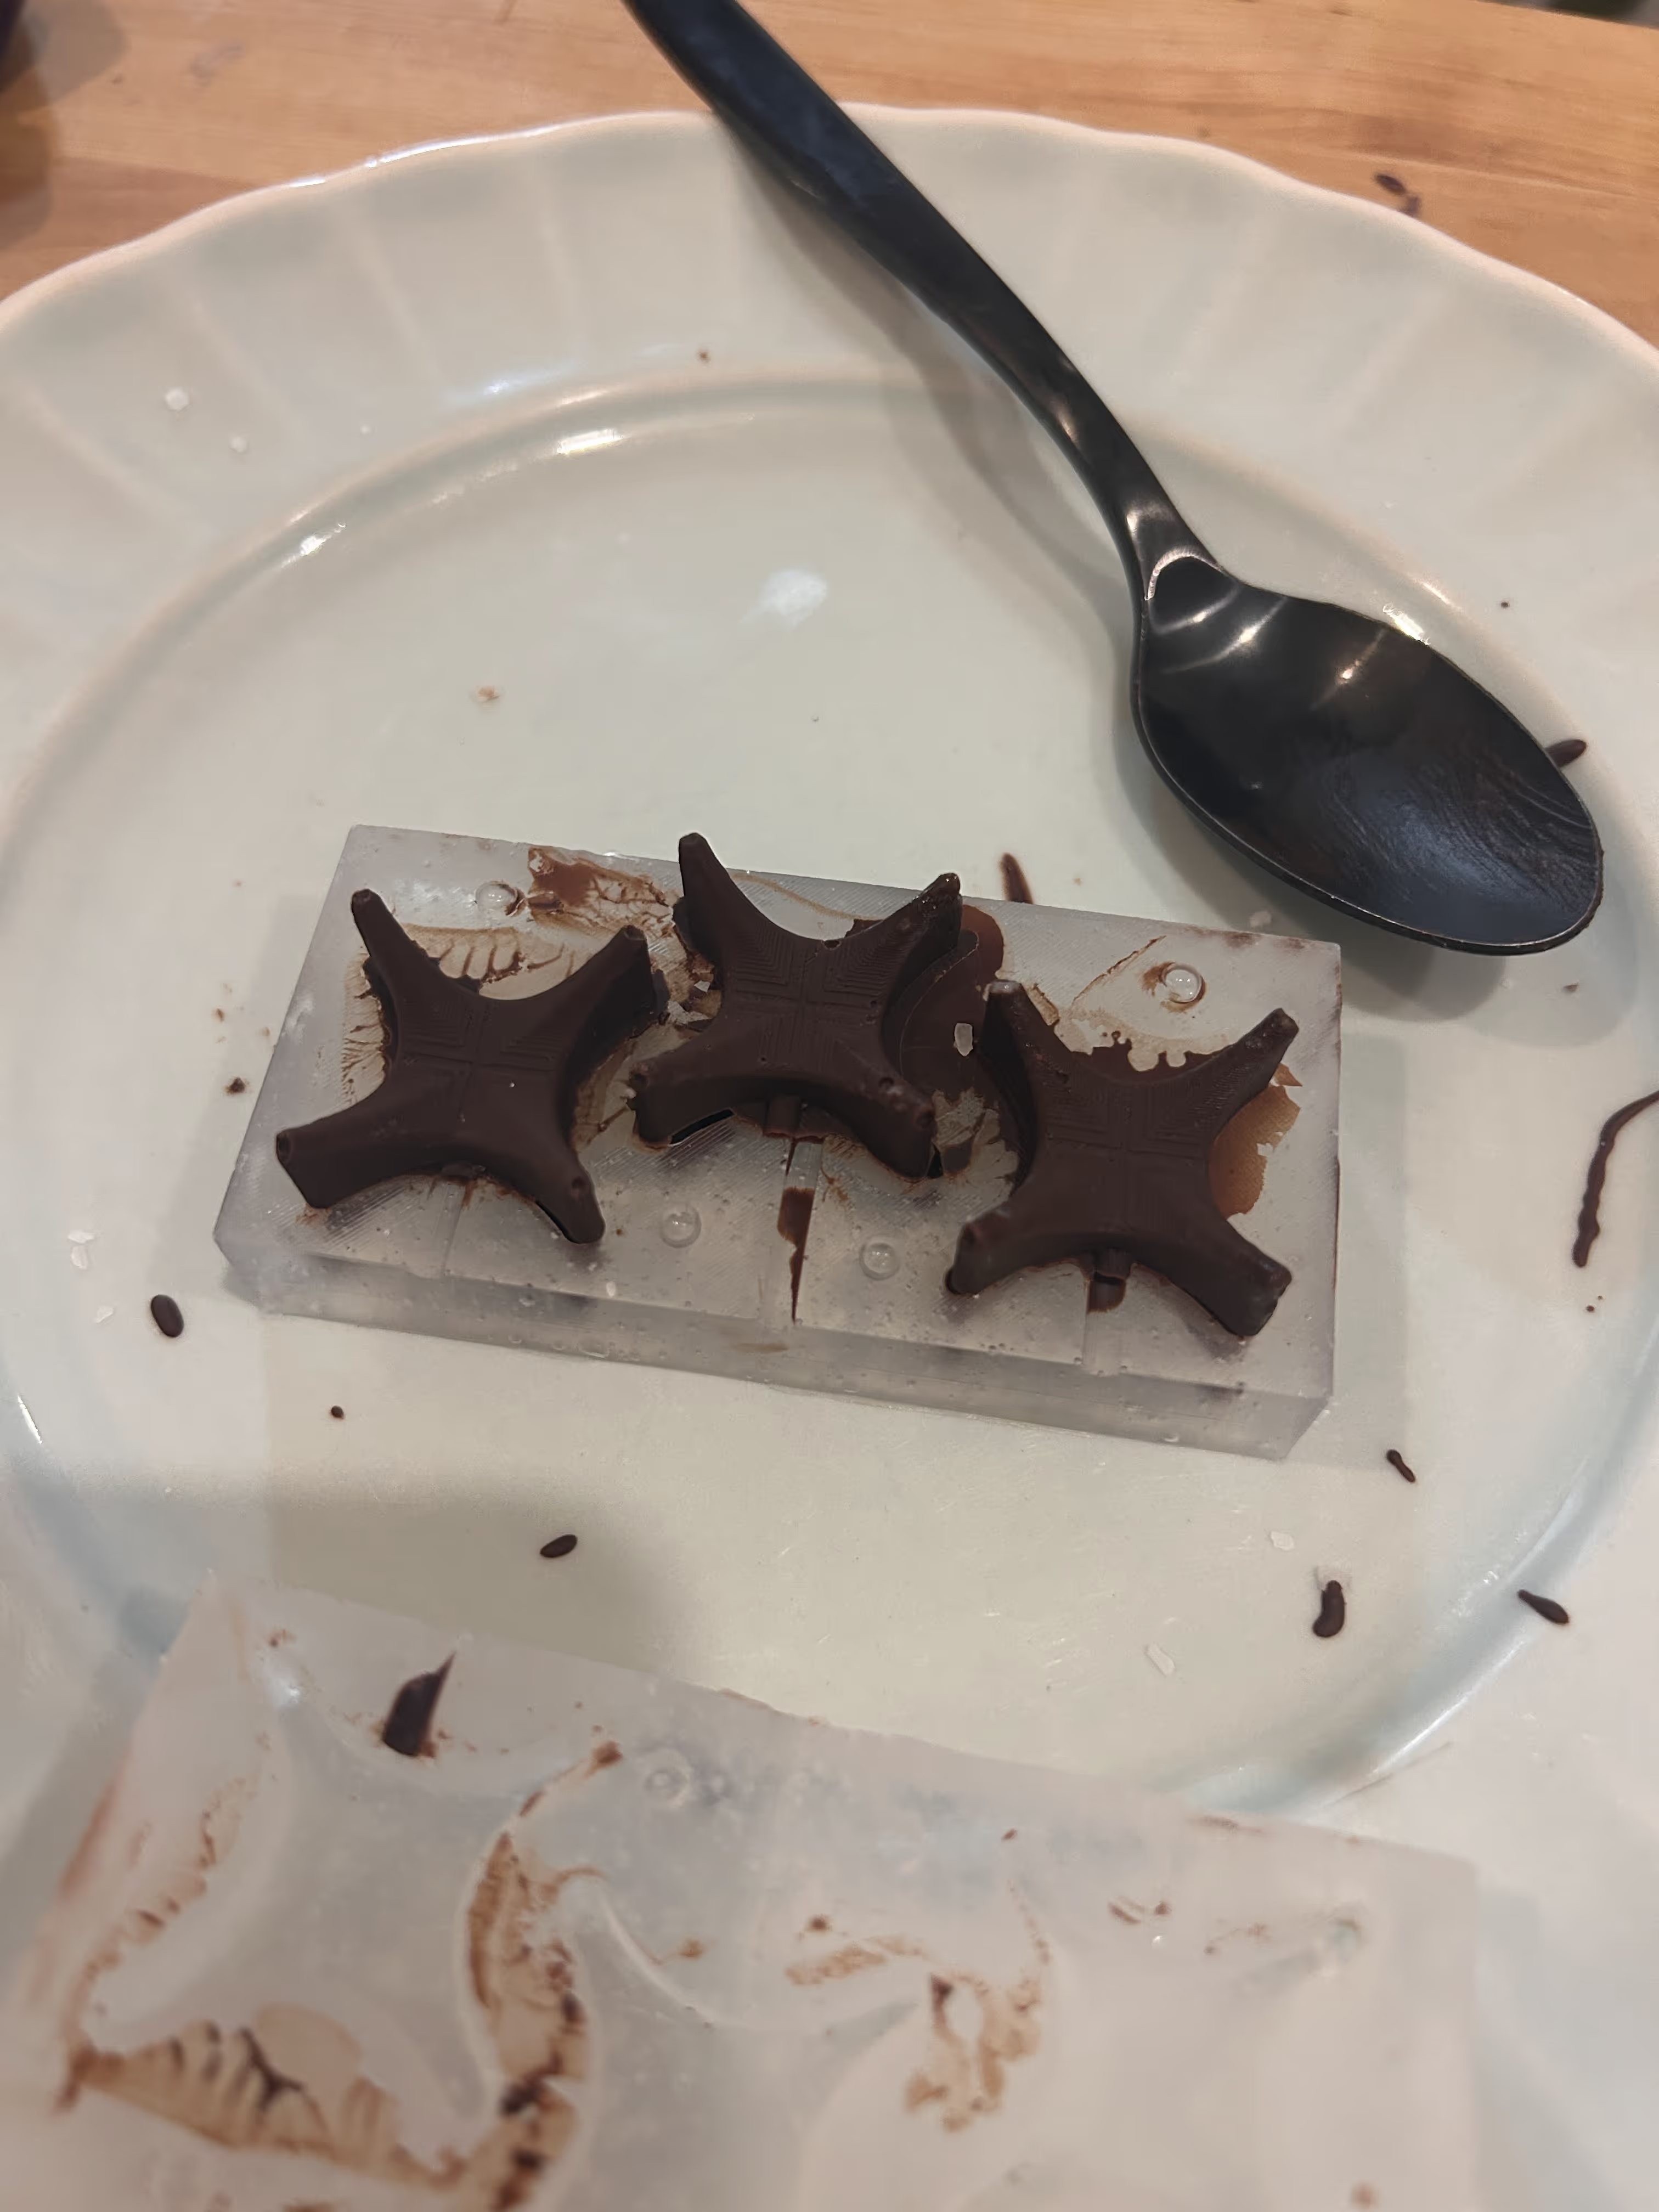
But then (and this is also what I did for plaster), I froze one side of the mold, took those solid pieces out, and placed them on top of the wet pieces.
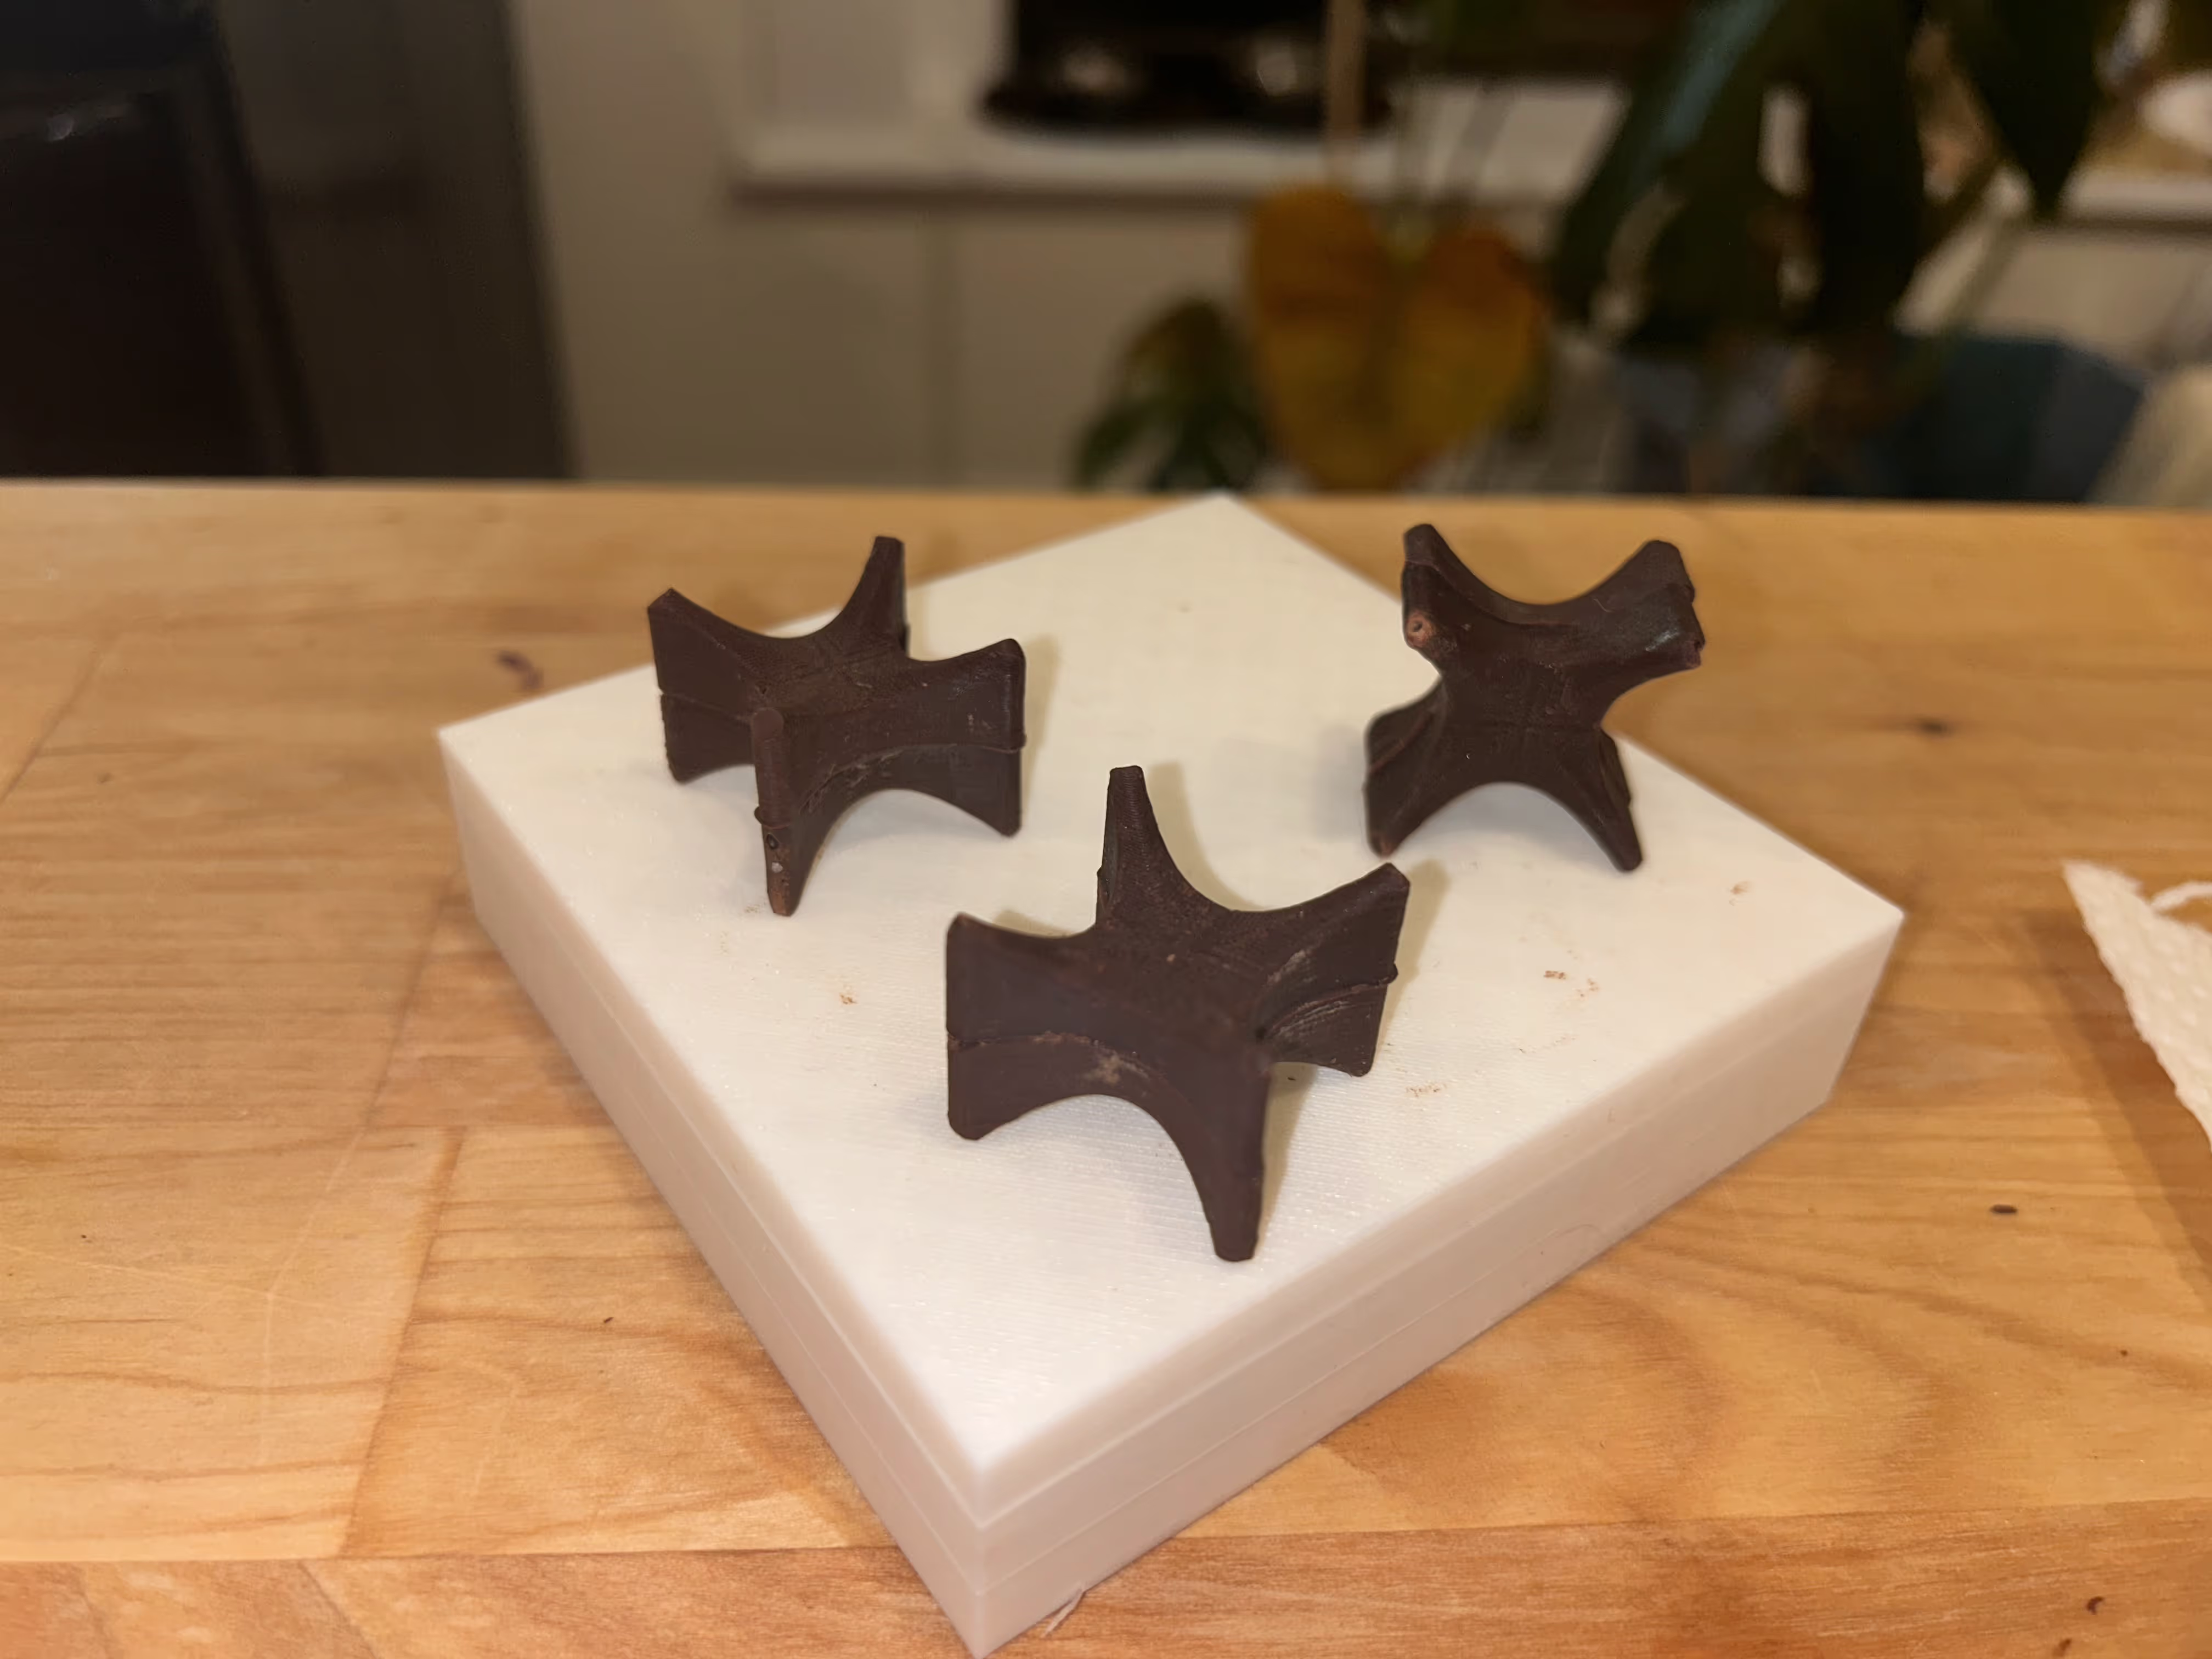
I realize it wasn't quite the assignment but with no more food safe silicon left over I was happy with my 2-sided mold innovation.
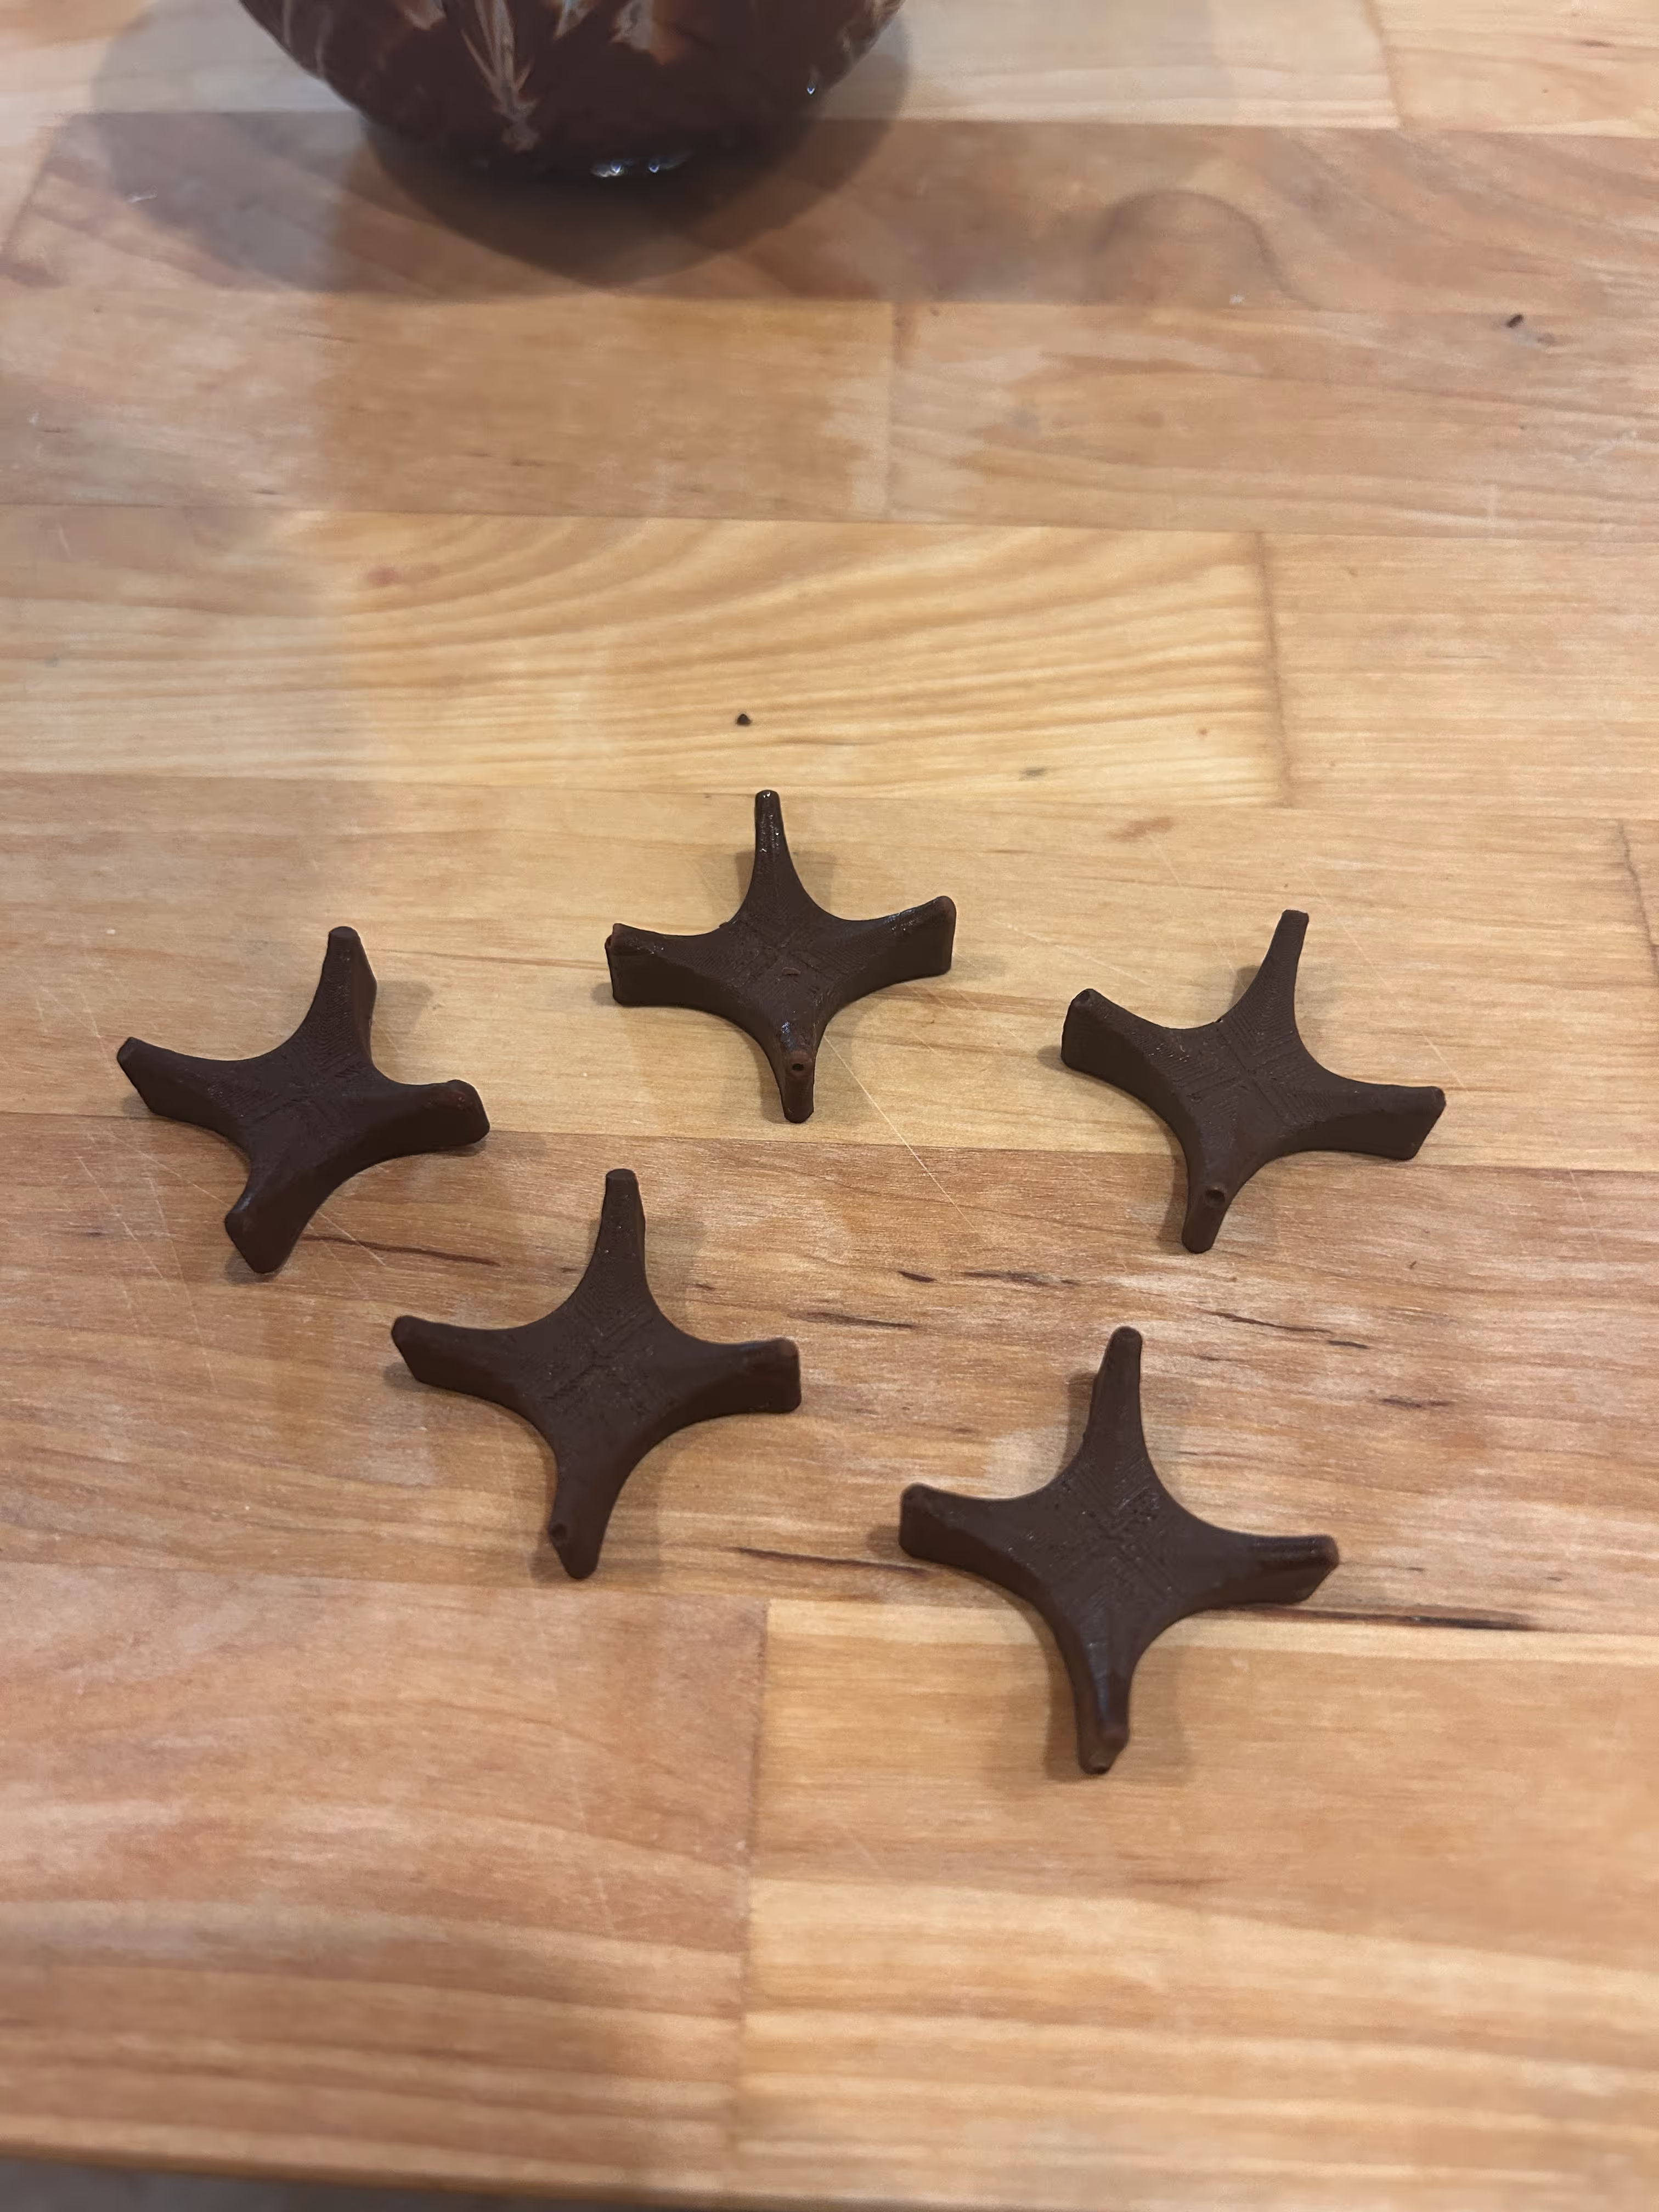
Here is the final result of the chocolate jacks.
