Week 10: Computer-controlled machining
This week's assignment is to make (design + mill + assemble) something big (~meter-scale). For the group assignment, we’re also responsible for the lab's safety training and test runout, alignment, fixturing, speeds, feeds, materials, and toolpaths for the machine used this week.
In the EECS lab, we started the week with training from Anthony on the 4"x4" ShopBot CNC machine we’ll be using. He covered the basic safety guidelines necessary for operating this machine. Since we had already used this machine during the molding and casting week, the training was brief. We also milled a test piece during the training session.
For this week’s project, I wanted to create something simple yet useful in my daily life. I had several ideas, like a standing desk, a designer chair, a flower rack, and a lap desk. Currently, I feel the most urgent need for a lap desk—it’s something I used often in high school and undergrad, allowing me to study comfortably in bed. This time, I want to add a personal touch to make it modular and portable.
Now, back to CAD for designing the lap table.
The design is complete! I’m planning to use this table daily, but the OSB provided this week doesn’t have a great surface finish. I plan to sand it down and coat it with resin for durability. As a precaution, I’ve designed protective shoes for the table legs, which I’ll 3D print.
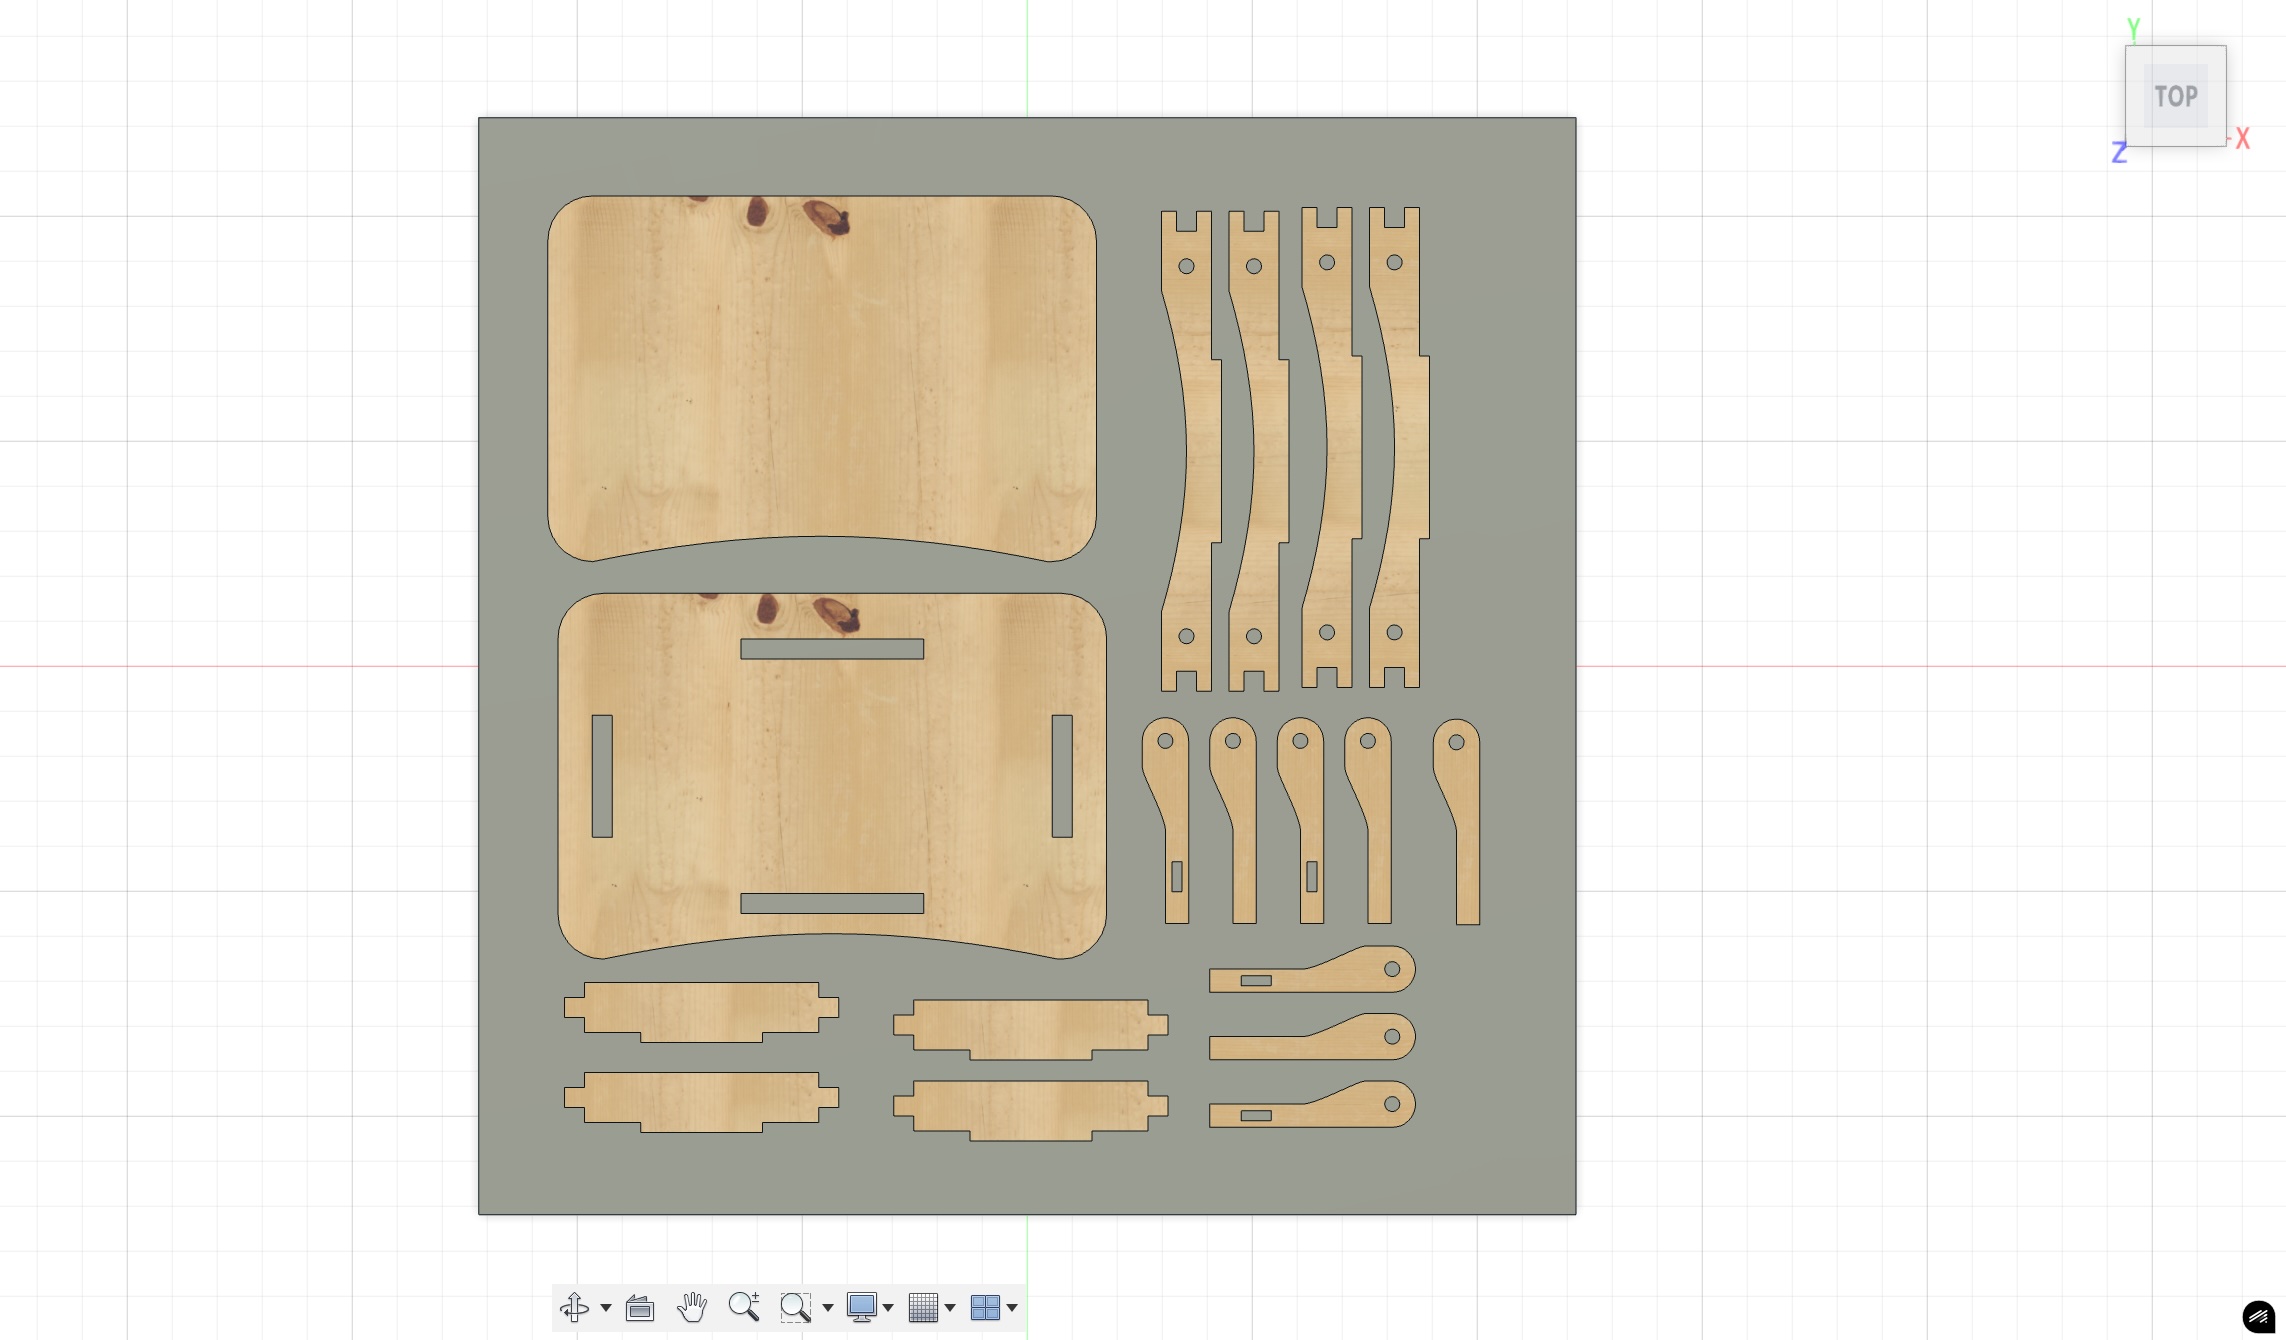
After finalizing the 3D design, I need to arrange the components on the stock for CNC cutting. At the EECS lab, we’re using the ShopBot, which supports 4'x4' stock. Since my design is in 3D, I had to flatten all components into a planar layout. I used this tool to select the stock and components and place them on a flat sheet with specified spacing.
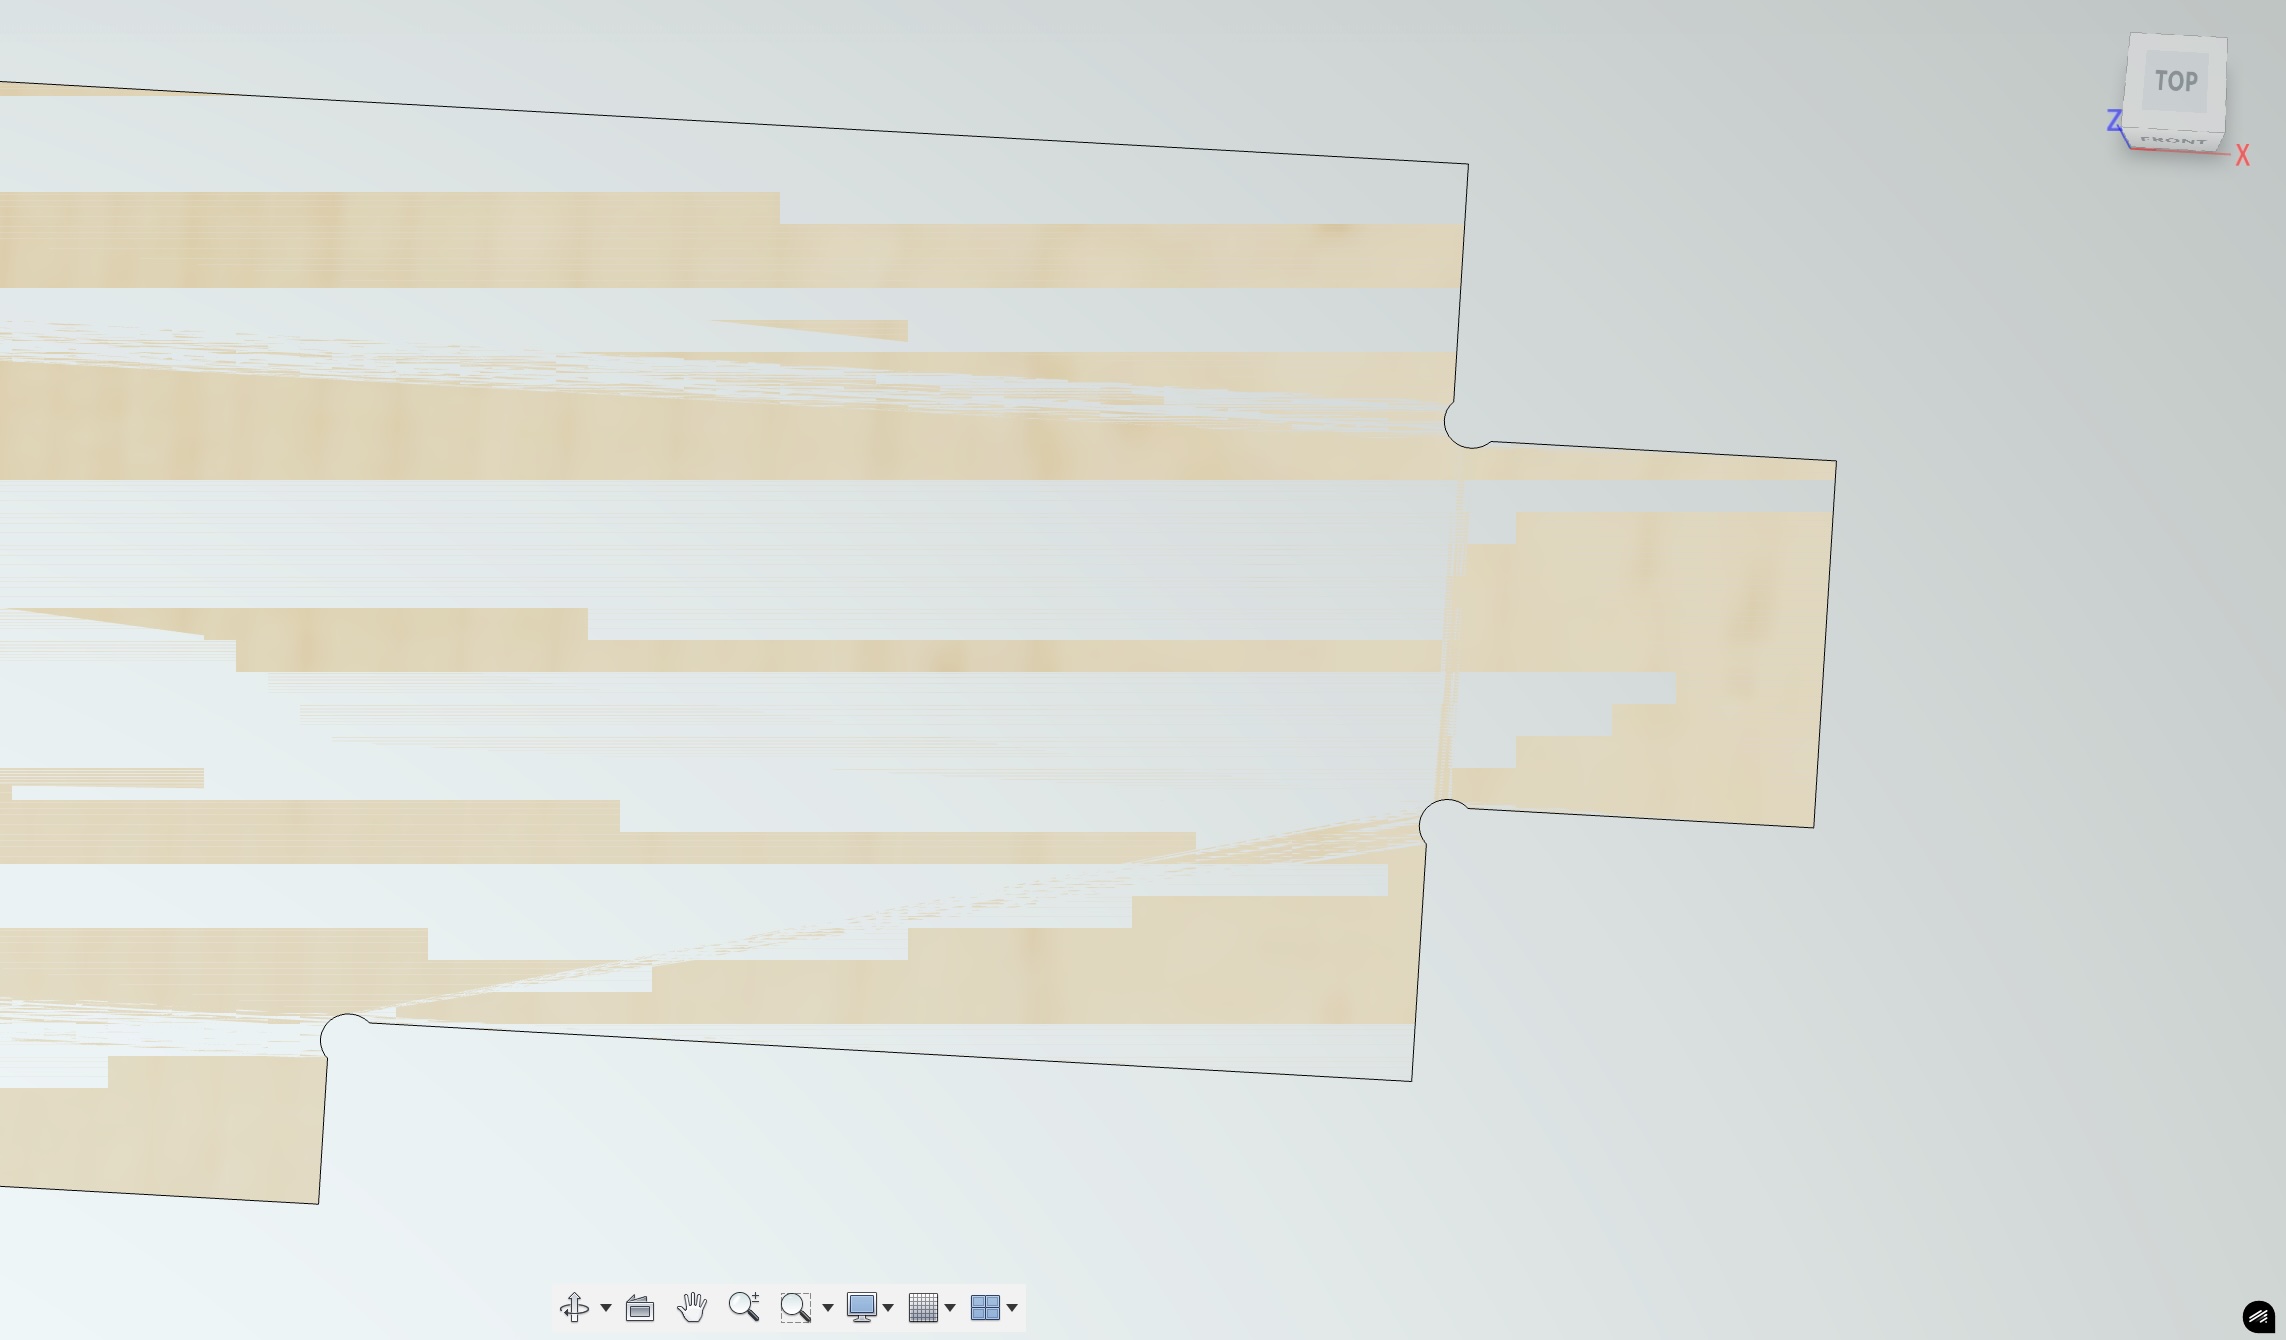
Since a round end mill can’t mill sharp inside corners, I added dogbones to work around this. I used the Nifty Dogbones tool, which automatically detects and adds dogbones where needed.
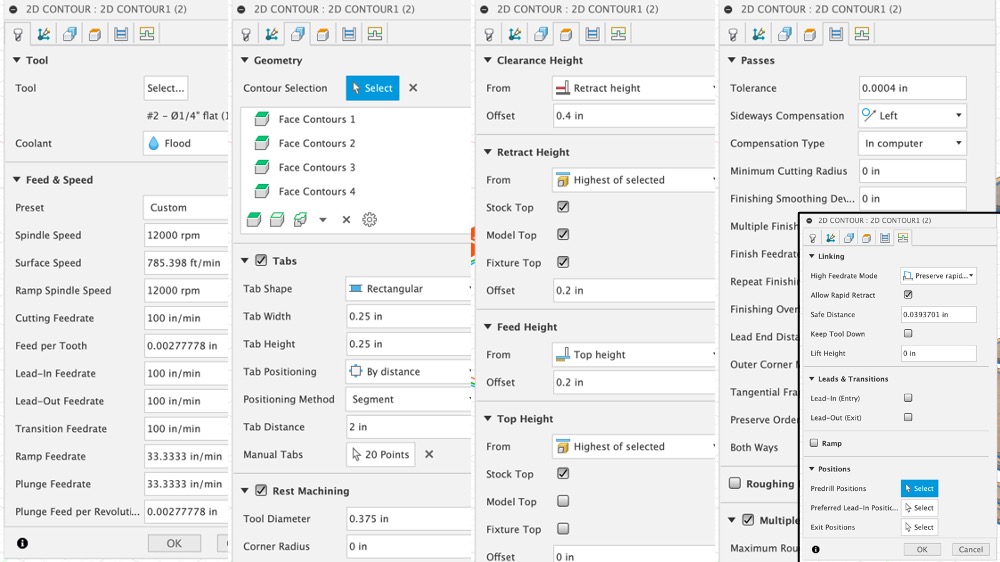
On Sunday, I had my ShopBot reservation. Anthony helped me prepare the setup to generate the G-code. If you ever need to use the ShopBot to cut OSB boards, here are the tested settings in the EECS lab at MIT:
Settings for 3/8" end mill
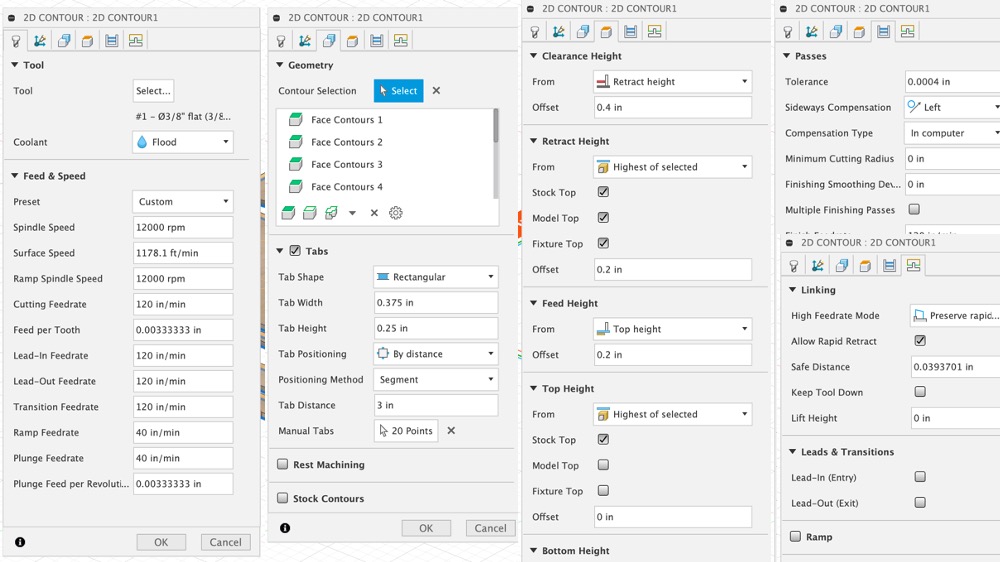
Settings for 1/4" end mill
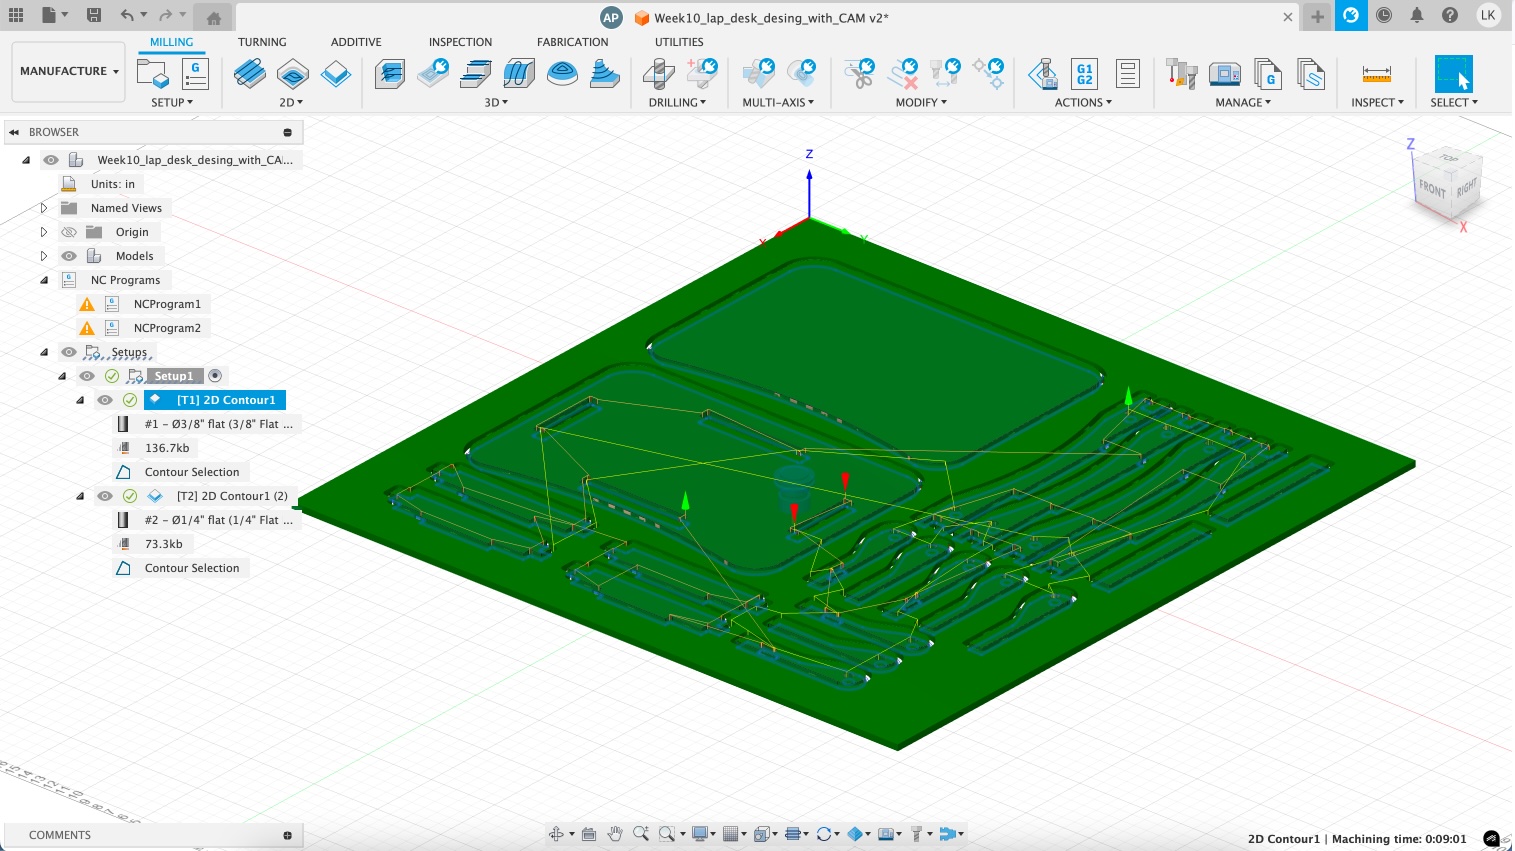
After setting up everything, a quick check can be done by running a simulation.
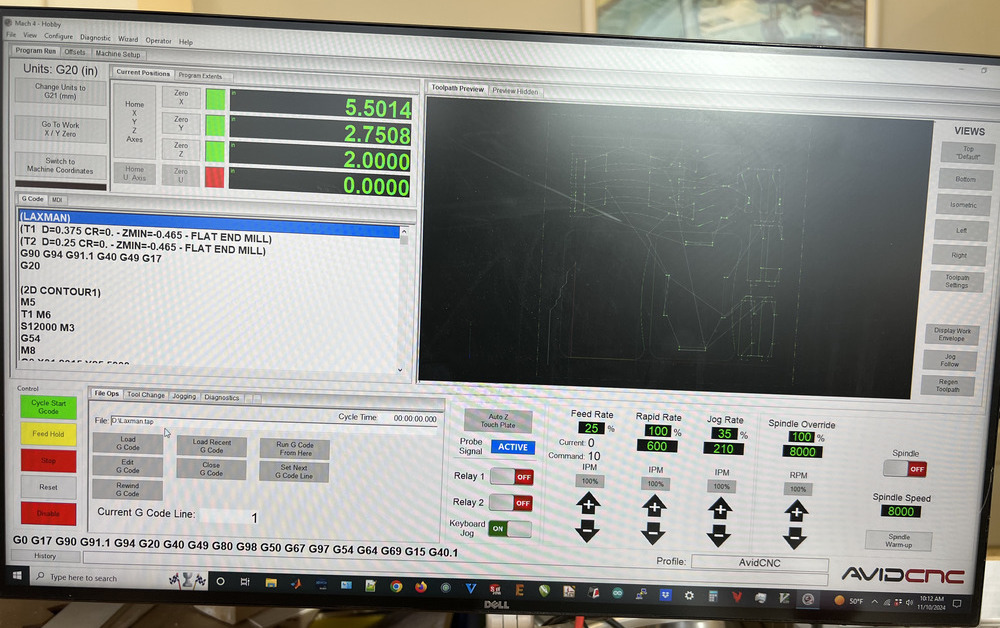
Then, I exported the G-code from Fusion360 and copied it to Mach4, which is used to run the ShopBot. The usual setup sequence in Mach4 or on the ShopBot is: homing the x, y, and z axes, auto Z touch plate, checking relay 1 and the spindle, changing and verifying the tool change, importing the G-code, and ensuring the emergency red button is within reach. After that, you can start machining by pressing the "Cycle Start Gcode" button.
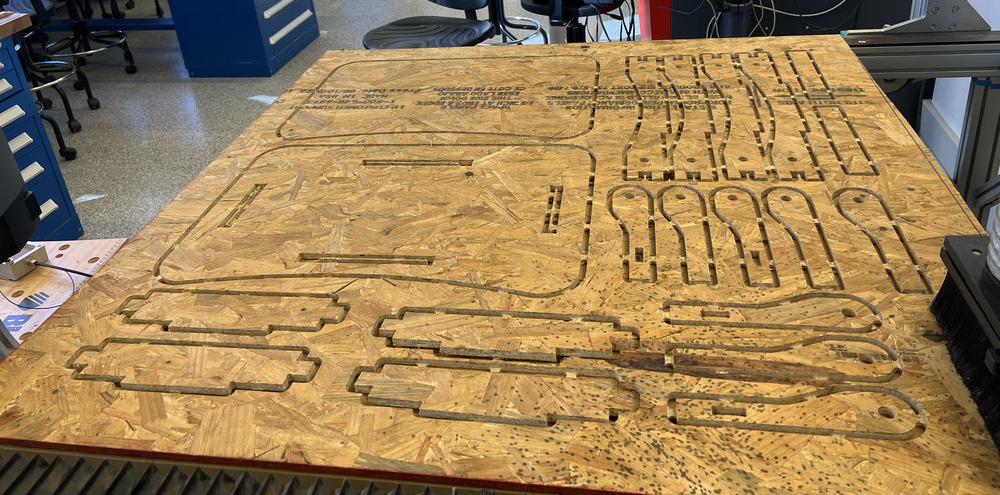
The machining process took about 10 minutes, which was faster than when we machined wax for molding and casting week. Here, you can see the OSB cuts with tabs. I removed the tabs using a cast saw, similar to the one used to remove a plaster cast after a broken bone.
Then I sanded all corners to smooth and fit the joints. Without sanding, the joints didn’t fit well because an x-inch hole can’t easily accommodate an x-inch cylinder (theoretically, it can, but practically, it’s challenging). Most of my components are designed to be paired, which requires gluing them together. I used Gorilla Wood Glue, which recommends 30-40 minutes before removing the clamp, but to be safe, I left the glued parts clamped overnight.

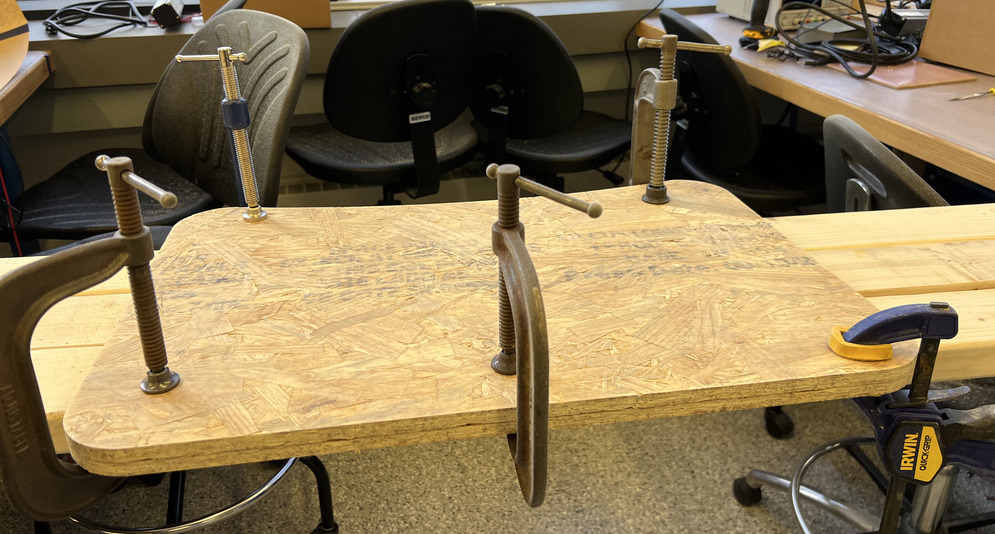
In the following picture, you can see the two OSB boards for the table countertop glued and clamped together.
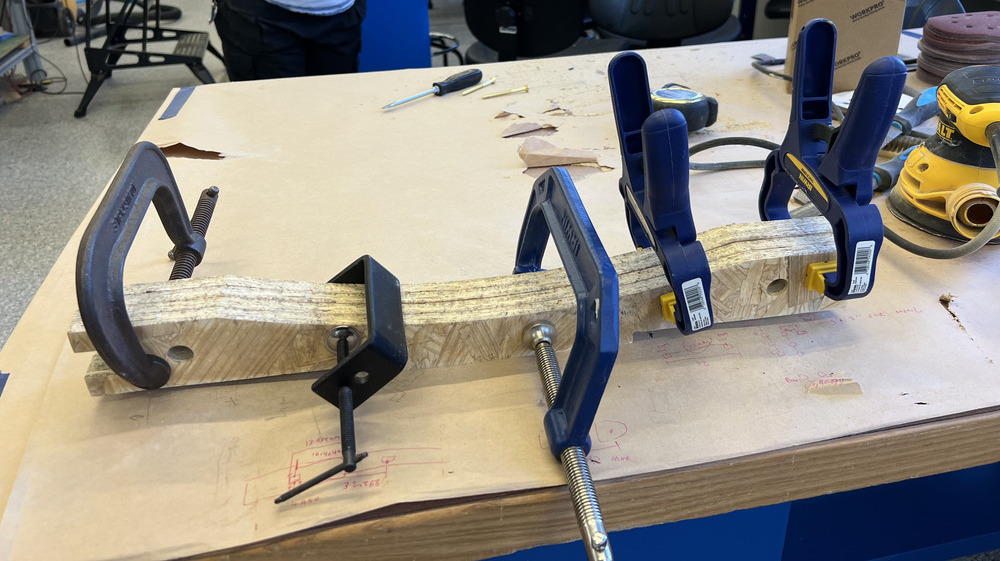
This is the longer side of the box apron of the table.
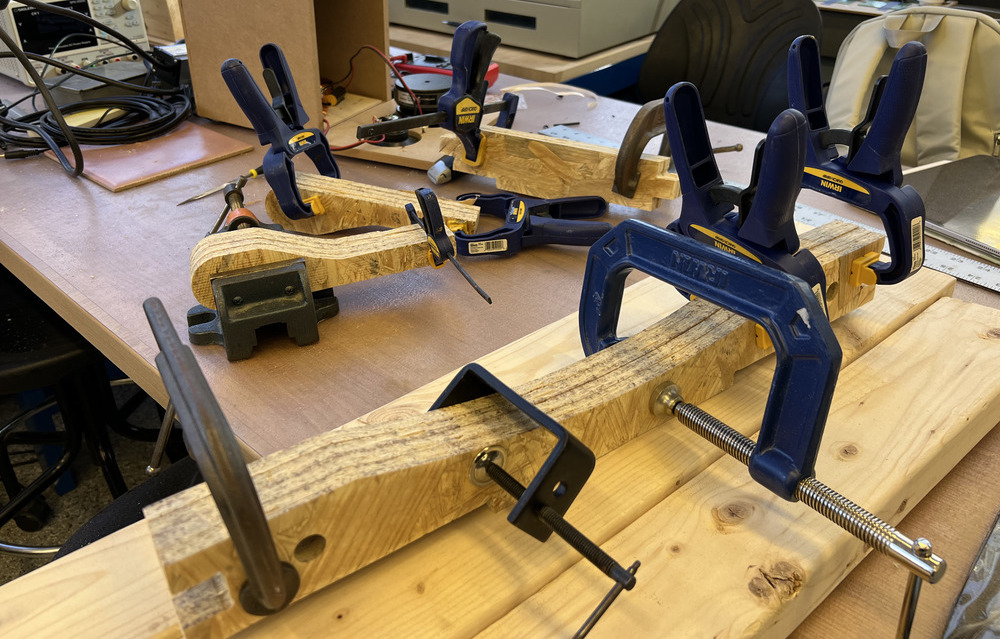
Here’s the shorter side of the box apron, legs, and other components glued and press-fit using clamps.
The glued parts were left to set for a full day. The glue instructions mentioned it takes about 20-30 minutes to hold, but 24 hours are needed for the final setting. I returned the next day to assemble the components. Since I glued together two sheets of OSB to make each component, there was some misalignment, so I had to sand the joints again to make them fit. After adjusting the fit, I completed the full assembly of the lap desk.
I 3D printed parts for the leg hinges and shoes. I left the entire assembly to cure for another 6 hours before sanding the sharp corners. Using files, I sanded down the edges, and now the table looks good.
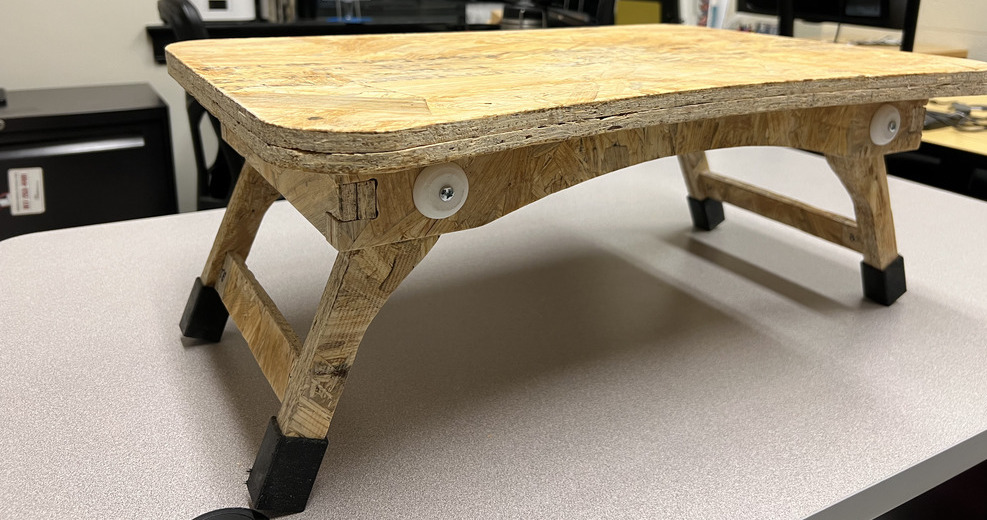
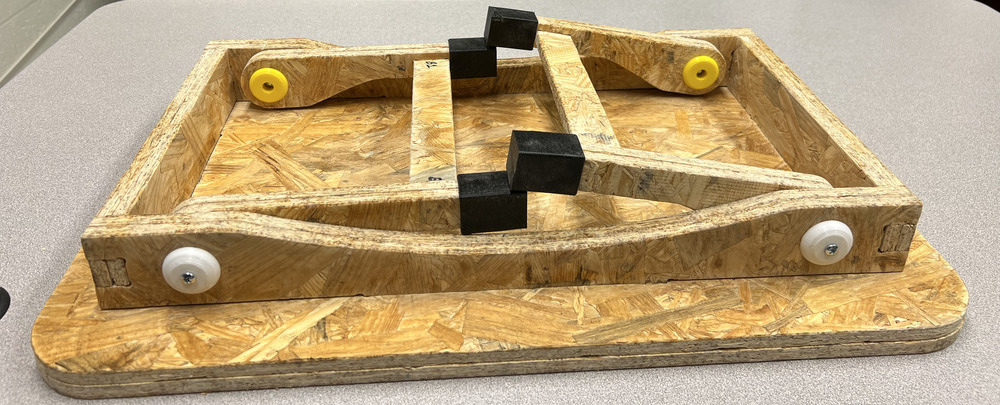
Here you can see the table after it’s folded. The folding mechanism was designed before I thought of adding shoes, which prevent it from folding completely, but it still folds enough to be portable.
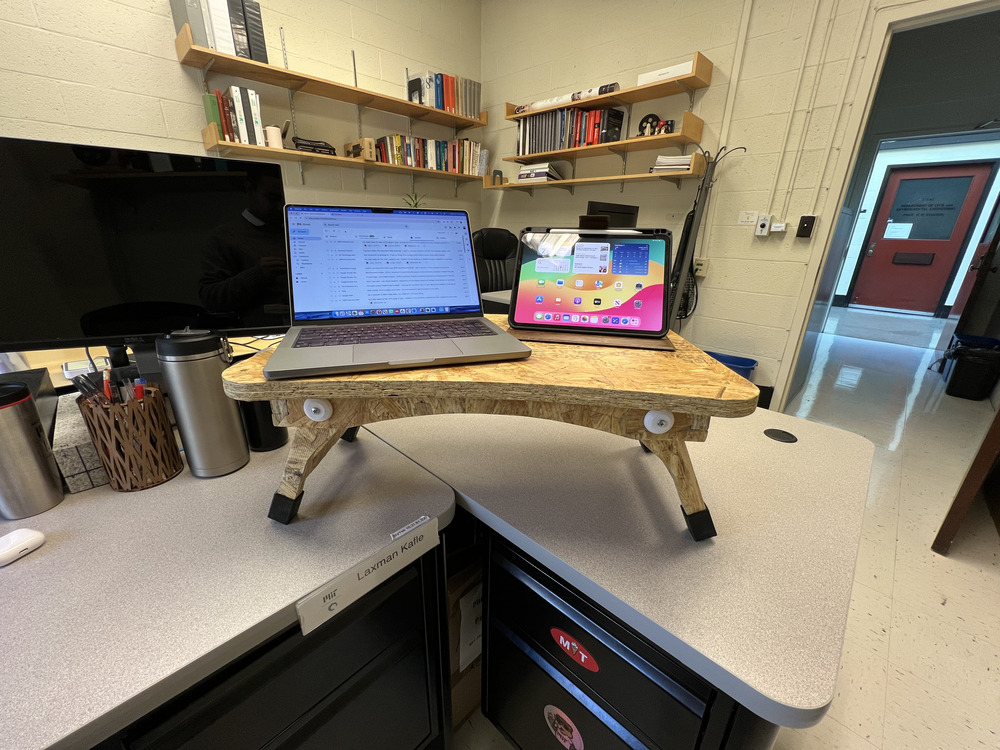
I tested the table size by placing my laptop and mouse to check if it’s comfortable for working. It turned out to be the perfect size! When placed on top of a regular desk, it even works as a standing desk extension, which is a great bonus.
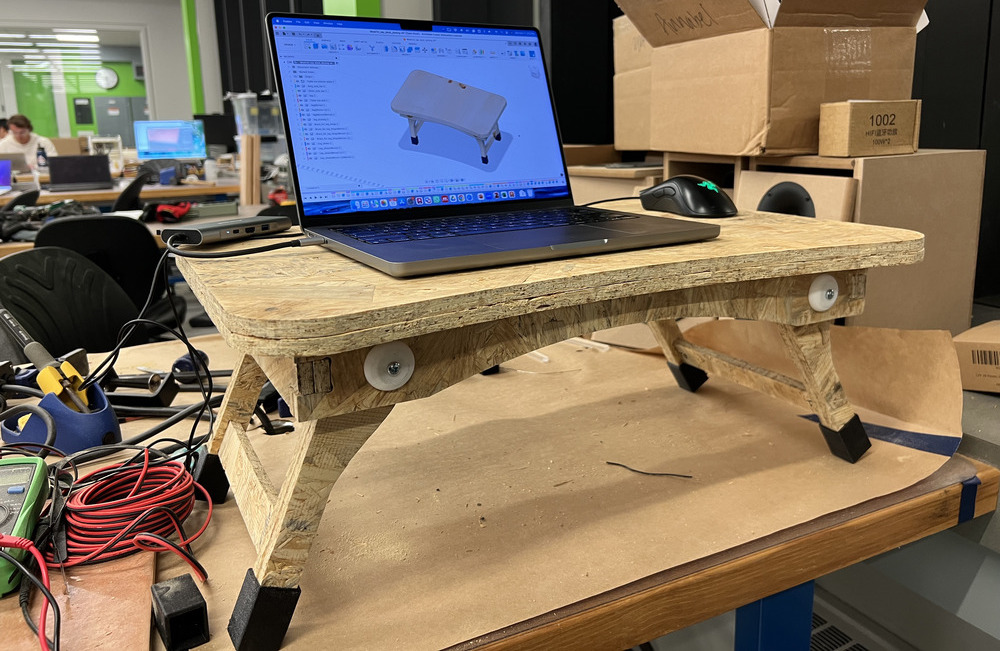
Since I plan to use this table daily, I wanted a smooth, high-quality finish. To achieve this, I decided to paint it. I used painter’s tape on areas where I didn’t want any paint and placed the table on paper towels for easy cleanup. As you can see in the photo, I taped the hinges to prevent paint from sticking to them.
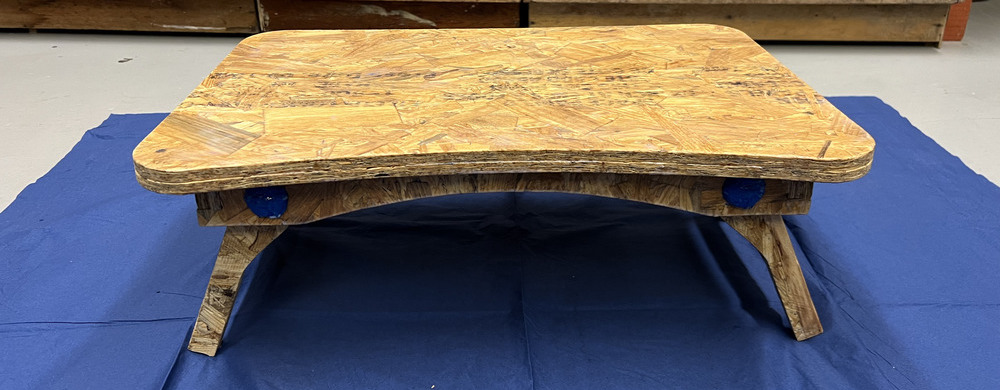
For the paint, I wasn’t sure which type would be best, so I visited Home Depot and asked a salesperson for advice. They recommended a water-based crystal-clear gloss.
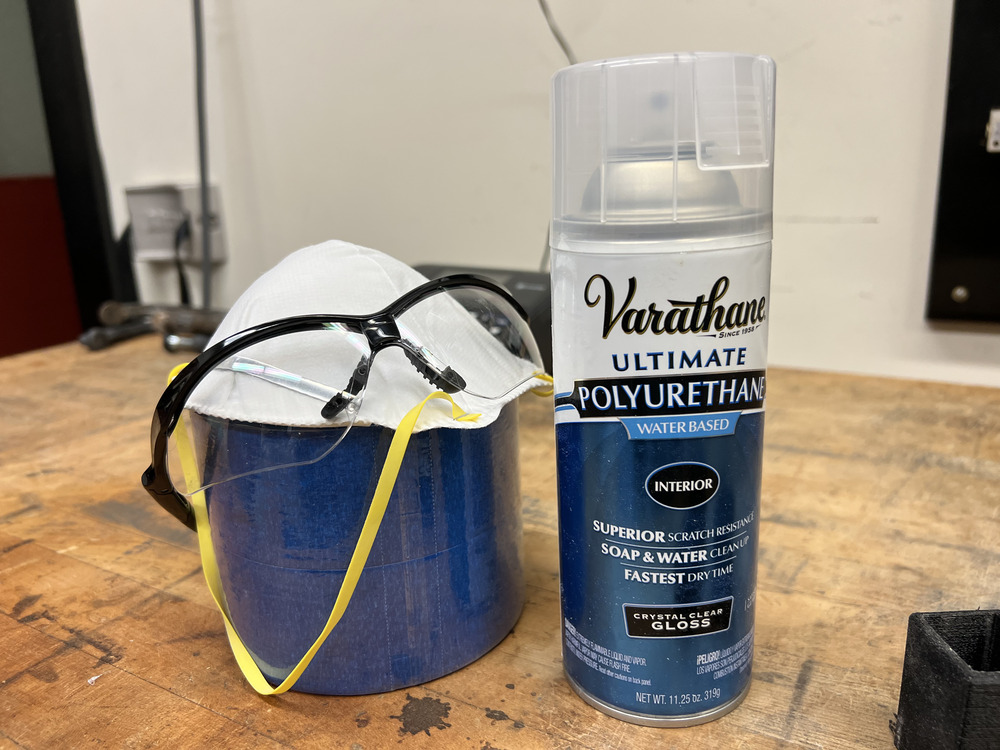
According to the instructions, the paint takes about 1 hour to set, and at least 4 coats are recommended for a smooth finish. I applied the first coat, but as you can see in the photo, it doesn’t look very promising yet.
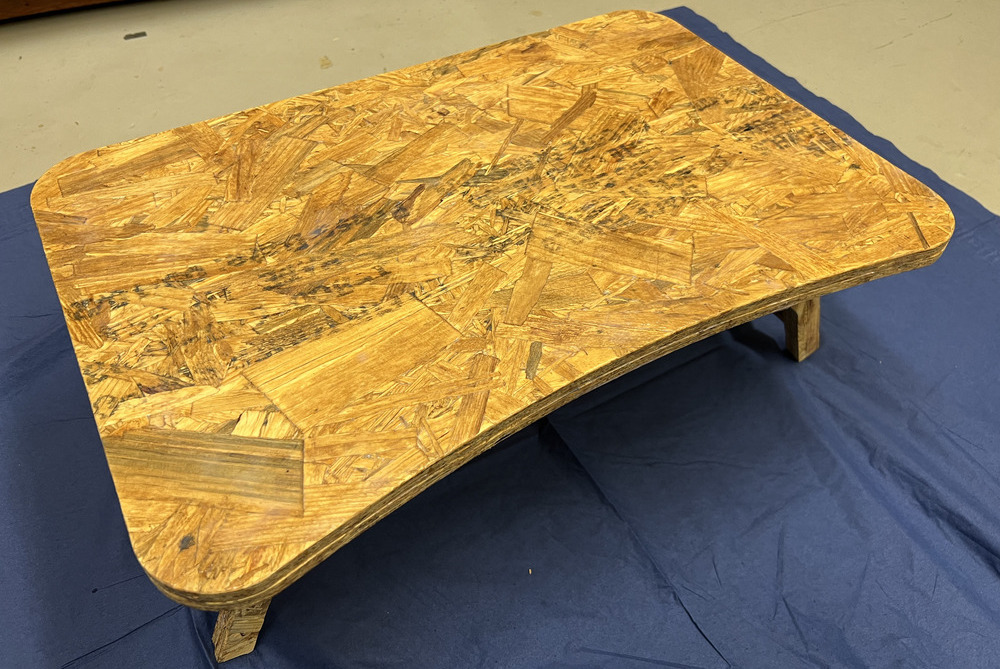
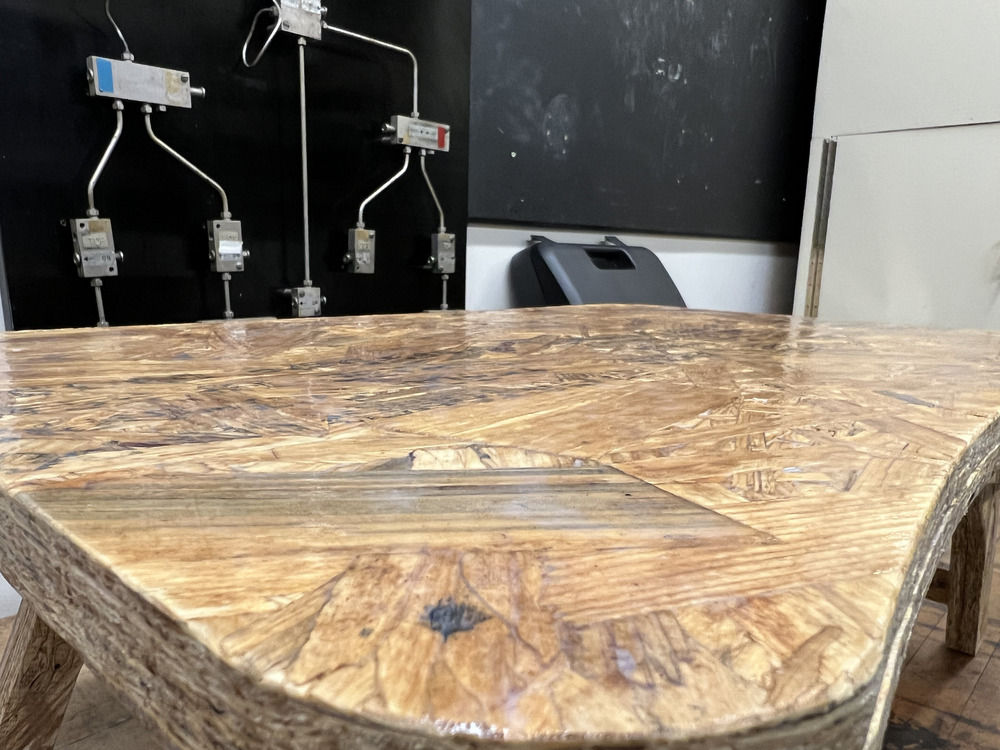
I was planning to put 4 coats of paint as per the instructions, but the paint ran out after 2 coats. Which was disappointing. I spent $14 on this paint, and it wasn’t enough for even a small desk. Either I put on too much during the first coat, or this paint isn’t meant for anything bigger than a dollhouse. But anyway, the desk looks a lot more polished now compared to before painting. You can see the gloss on the table after the final coat.
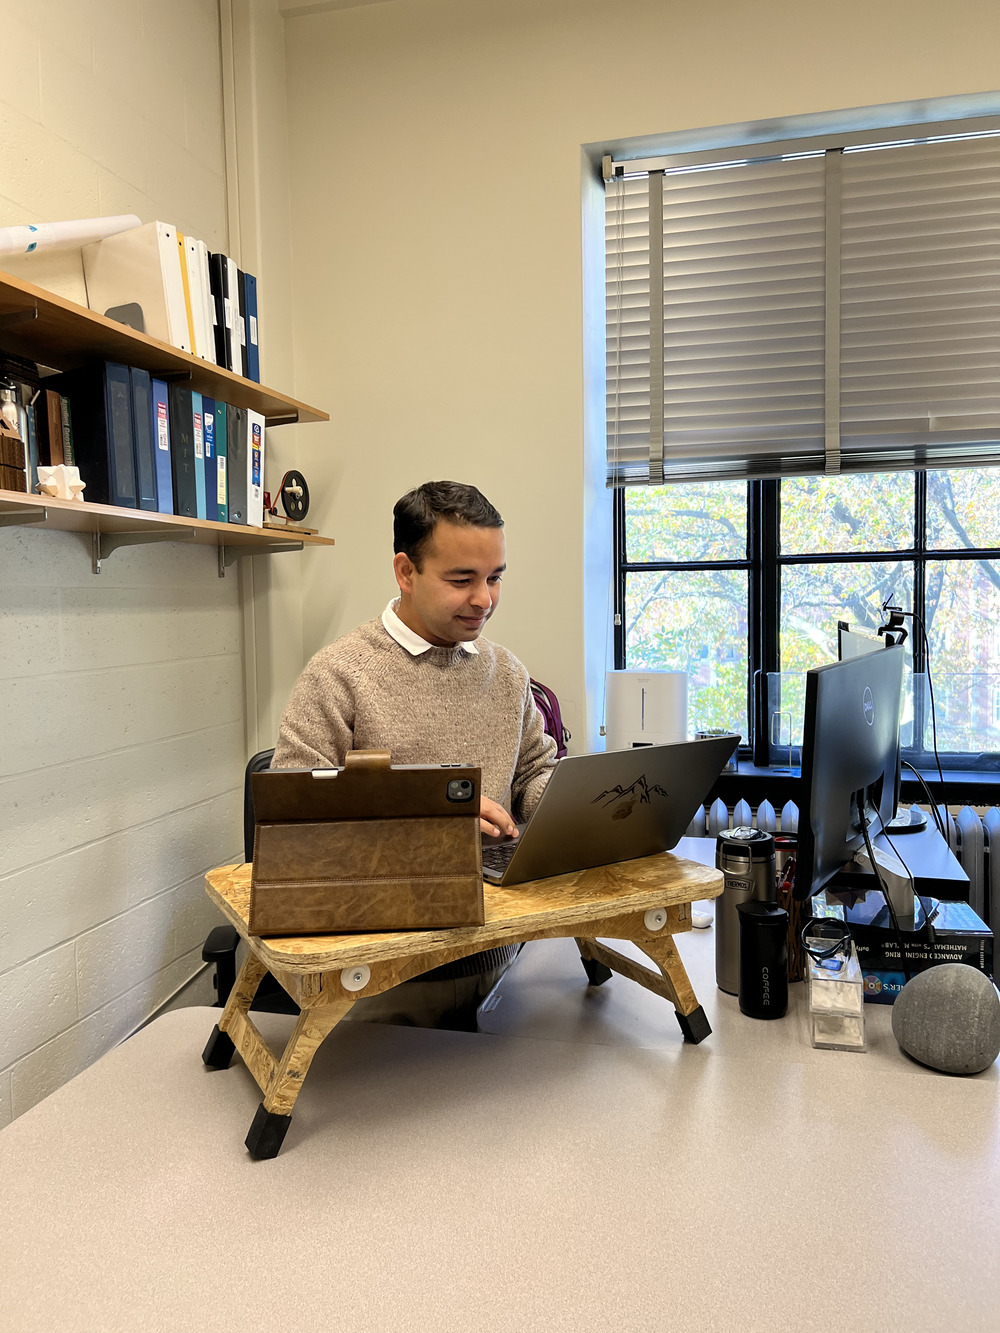
I brought the table to my office after letting it dry overnight. I checked the size and height as a standing desk extension for my current setup. It perfectly fits my 14" MacBook and 11" iPad, which is ideal for my use case. If you’re looking to make something useful for yourself, try out my design and make a standing desk extension.
I asked Youjin, my labmate, to take a picture of me using the table. I pretended to be working, and it actually looks pretty professional. Haha, HTMAA week well spent for me, and now I have a cool piece of furniture I made myself.
