Week 14: Wildcard Week
This week is a wildcard week, offering several creative options. The assignment is to design and produce something using a digital process, incorporating computer-aided design and manufacturing, that has not been covered in previous assignments. We can choose from various options, including (but not limited to): Wildcard Week, 5-axis high-speed machining, Artificial Muscles (available in the future), Composites, Digital Crochet Design, Embroidery, Glass Substrates, Large Format Flatbed Cutter, Laser Micromachining, Make a Xiao, Metal 3D Printing, Metal Laser Cutting, Robot Arms, Sketch to Object, and Waterjet.
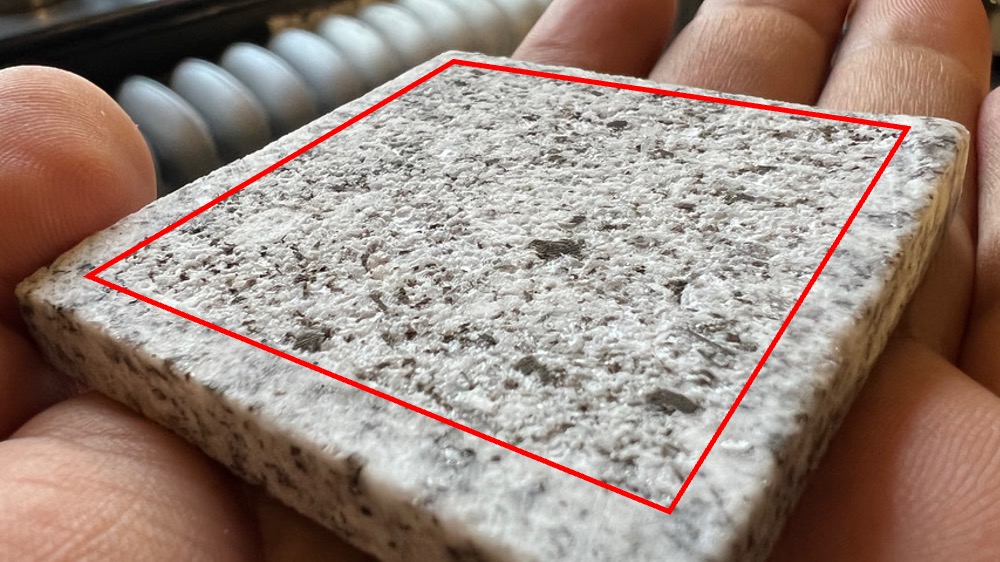
Since I am the "rock guy" in the class (now almost everyone knows I work with rock), I decided to do something with rock. Laser micromachining works well with rock, which is perfect for this project. I wanted to micro-machine rock, and if time permits, experiment with other materials. First, I went to the Einstein Rock Mechanics Lab at MIT to find a suitable rock. I found two blocks of Sierra White Granite that seemed promising.

Jiaming introduced me to the xTool F1 Laser Engraver in the CBA lab at MIT. He explained the settings and demonstrated how to set up the engraving and machining process.
However, the granite turned out to be quite resistant to laser engraving, and the results were not visible from the outside. The picture below shows that while the laser did cut into the surface, the engraving was not clear or apparent. We speculated that the issue might be due to the color of the rock and the larger grain size of the Sierra White Granite.
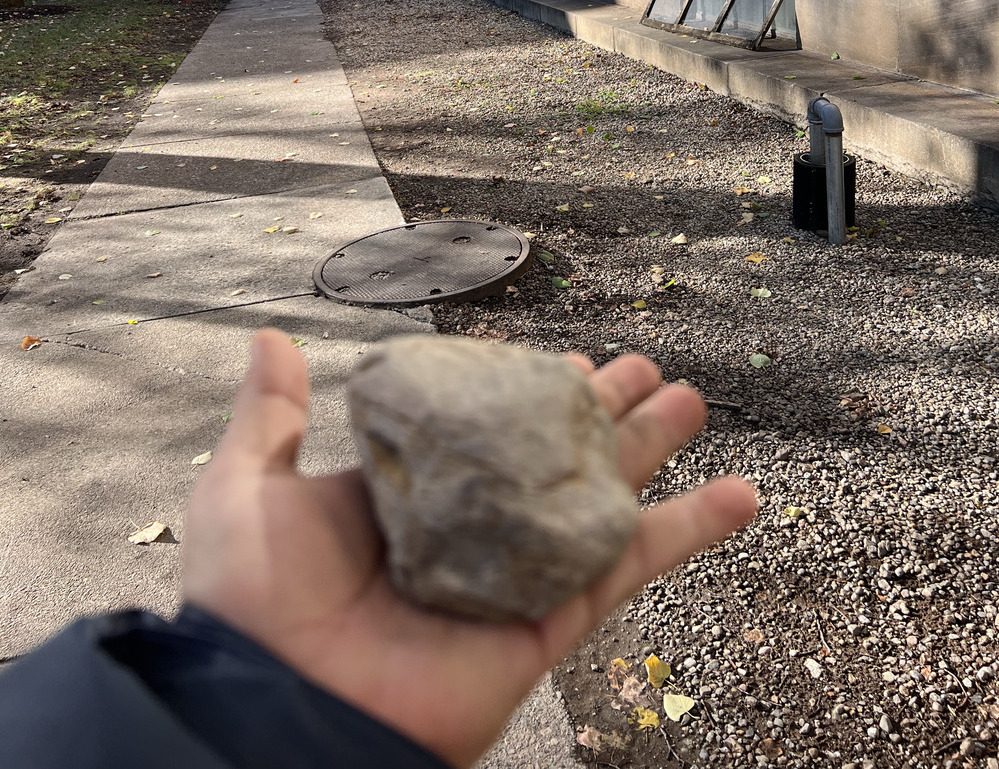
After failing to engrave on granite, I decided to try sandstone, which might be more suitable. I searched outside the CBA lab and found a rock near Building 1. Let’s see how it responds to laser engraving.
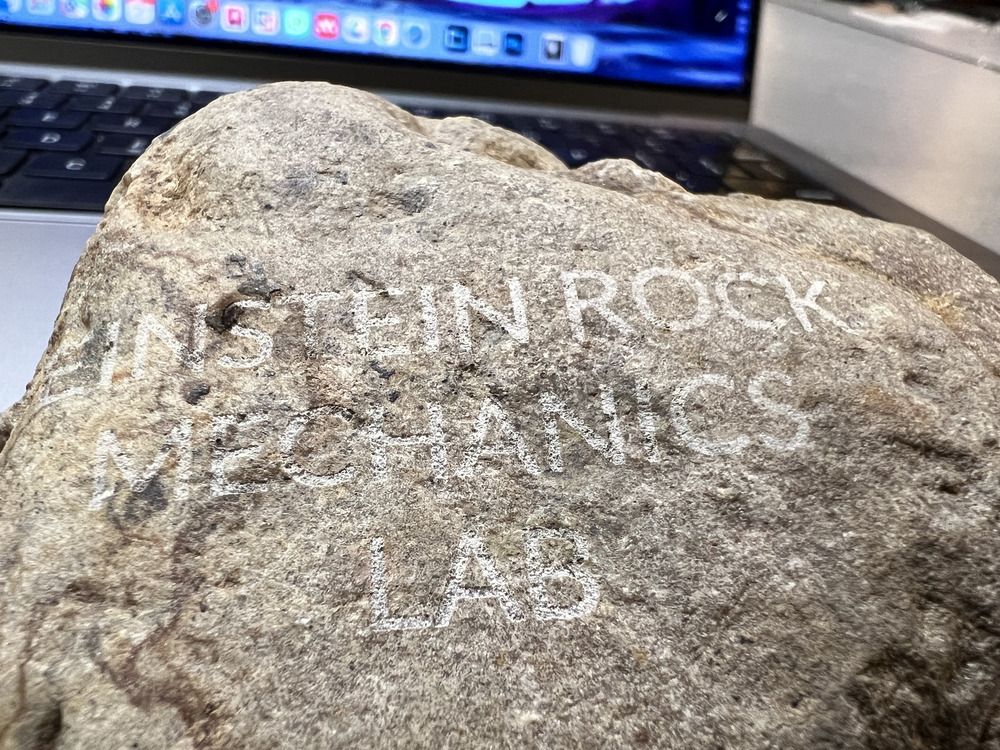
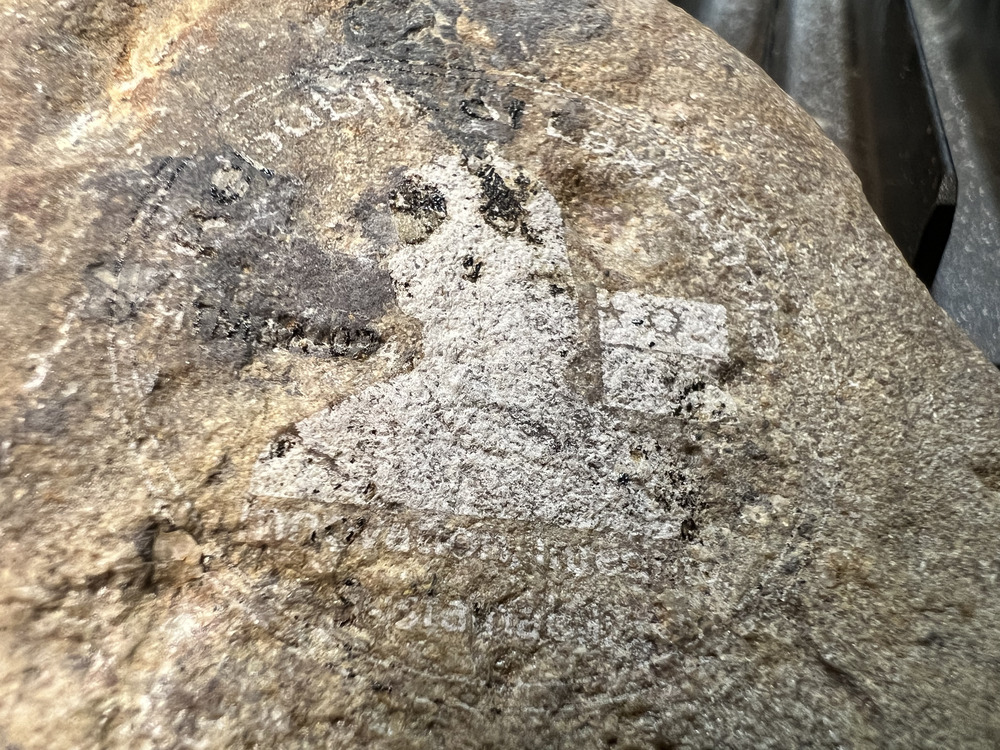
Since this rock did not have uniform thickness, I used a relatively flat side for engraving. I chose to engrave my lab name, "Einstein Rock Mechanics Lab," onto the rock. As shown in the image below, I used two passes with the laser to make the engraving deeper. It seems that laser micromachining works better with sandstone.
This week, I also designed a coin for engraving, which I will discuss in detail later. I attempted to engrave it on the rock, but the result was not very good. However, it was visible from the outside. The main issue seemed to be the uneven surface of the rock. If I can find a sandstone with a smoother surface, laser micromachining could produce excellent results.
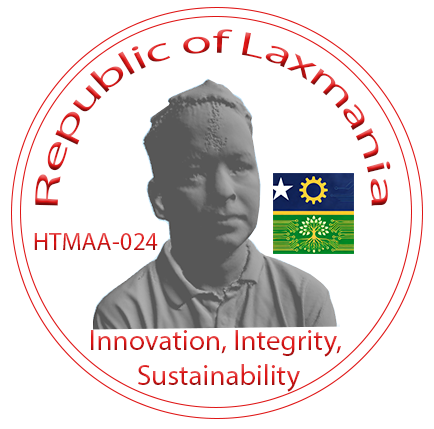
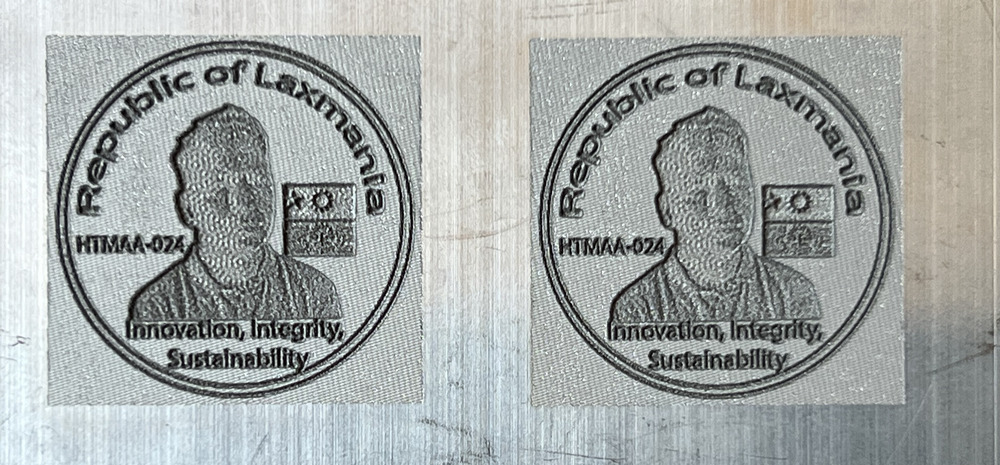
After working with rock, I wanted to try laser micromachining on an aluminum plate. I designed a coin for my fictional country, the "Republic of Laxmania," a concept suggested by ChatGPT. I used a scanned 3D model of myself from the scanning and printing week. I converted the STL file to a PNG depth image and refined it in Photoshop to create the final design. I then exported the design as a PNG for laser micromachining.
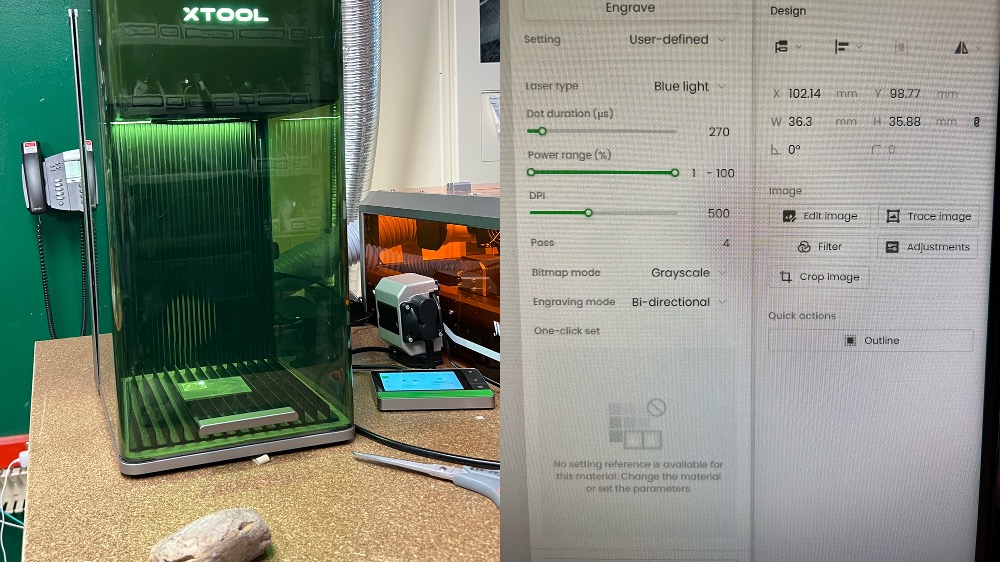
Next, I began machining my coin. The image below shows the aluminum plate inside the machine and a sample of the settings required before engraving (note: the settings shown might not be the exact ones I used; I used a fiber laser, but the image shows a blue light laser).
The following image shows a close-up of the laser micromachining process.
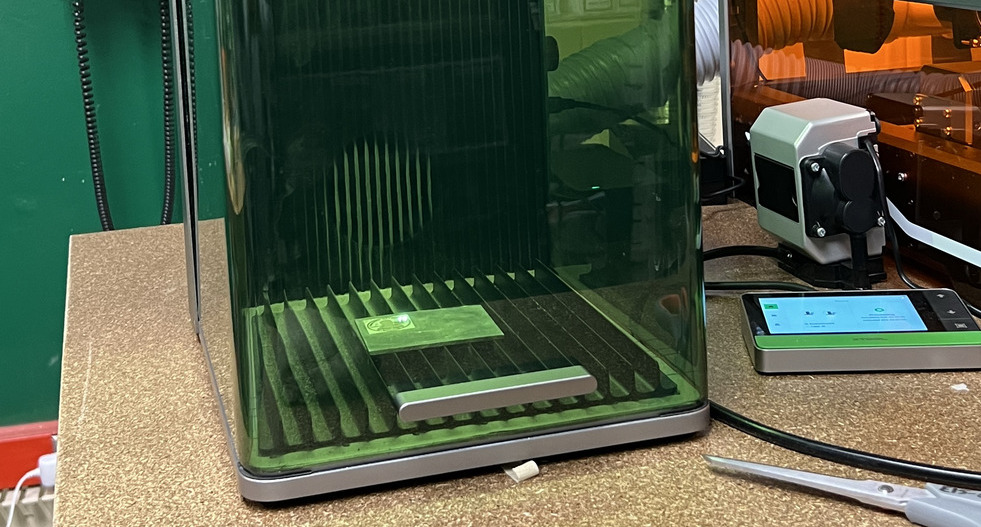
It was satisfying to watch the laser machining process (not recommended without proper precautions). You can watch the video below to see how it works—it’s pretty cool!
I made two coins and plan to remove the excess material around the edges before gluing them together to create a more realistic coin. The micro-machining results were impressive.
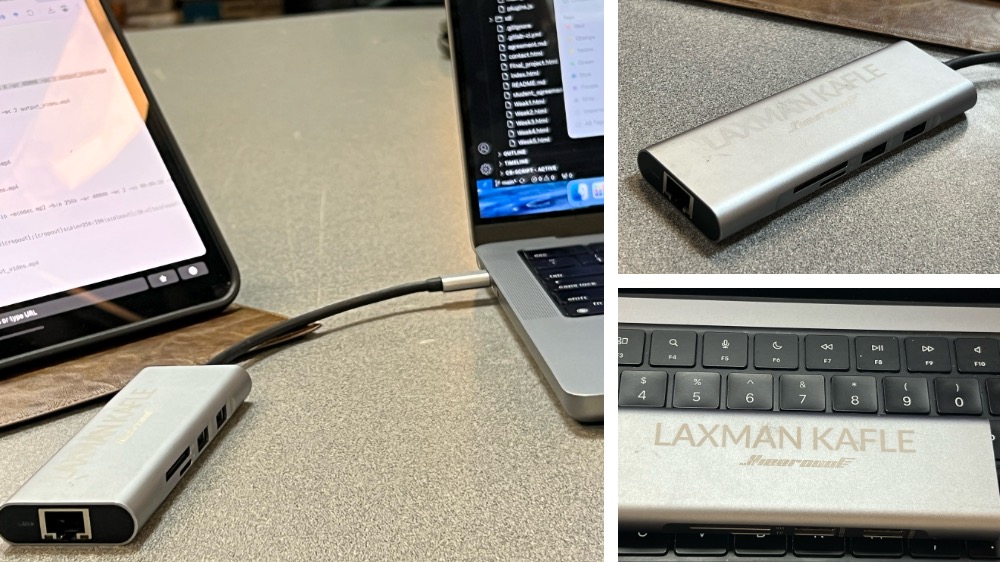
As always, I wanted to create something useful for myself this week. I often carry a connection port hub for my Mac, which has limited ports. I worry about losing it, so I decided to engrave my name on its case. The result turned out great!
