Week 7: Molding and casting
Project 1: Mount Everest
I wanted to create something that represents my country. I sat at my computer and thought about a few ideas, like a statue of Lord Buddha, Aankhijhyal, and a 3D map of Mount Everest. Then I realized many people know how difficult it is to climb Everest, but not many know the exact path people take from the Nepal side. That’s when I decided to model Mount Everest. This will be Project 1, and for this, I will prepare the mold using CNC milling.
First, I needed to get the STL file for Mount Everest. After some online research, I found a detailed blog post by PRUSA Research. I prepared the STL file using a website called Terrain2STL.
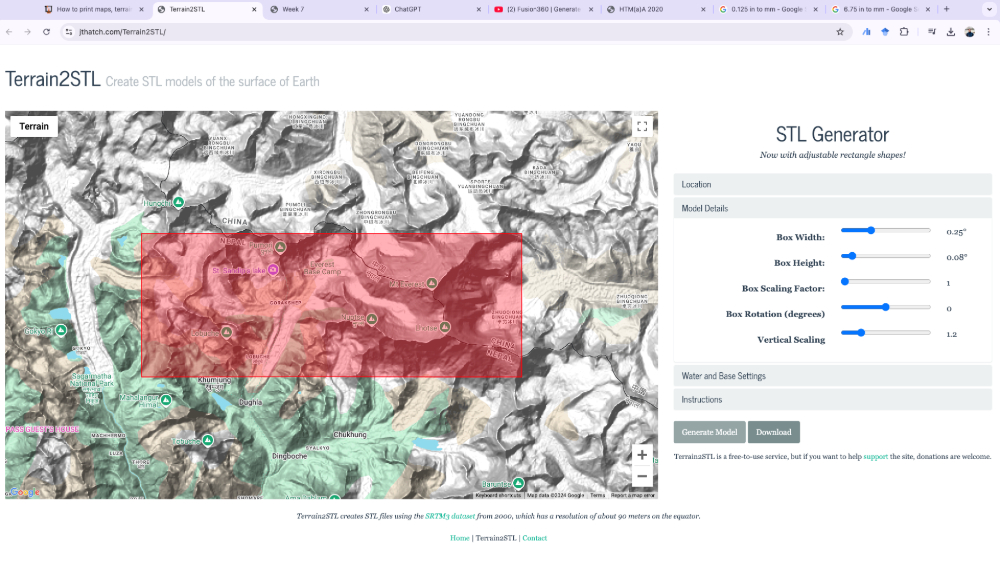
Next, I imported the generated STL file into Fusion 360 for further processing.
I prepared the mold using Fusion 360.
Since the CNC process is time-consuming and we have only one machine in the EECS lab, Anthony created a time sheet for us to book slots to mill our models. I booked an early Sunday morning slot. I arrived on time, and Anthony helped generate the G-code for my model.
You can download the G-code here.
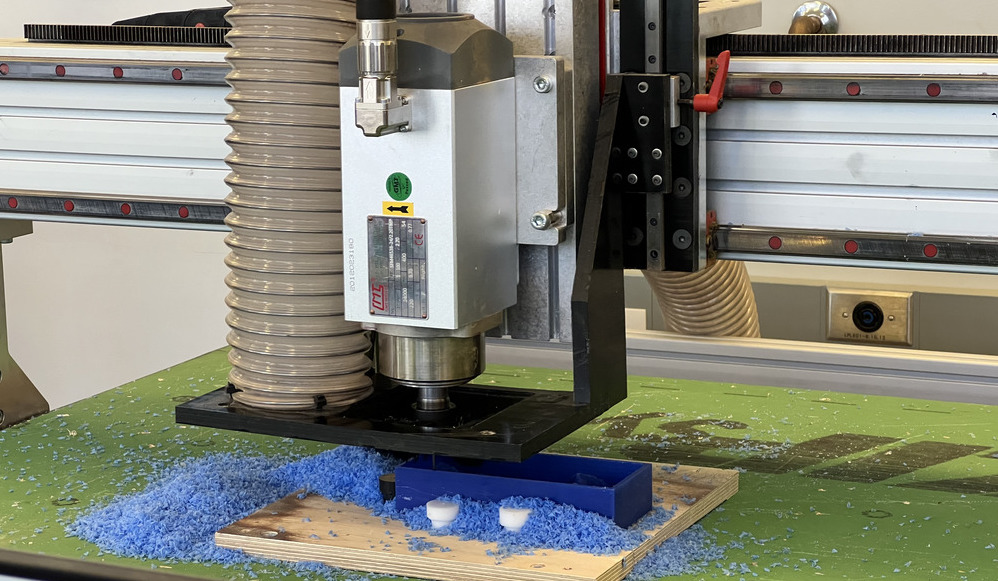
We then imported the G-code into the Mach4 desktop application, which we use to control the CNC machine. We performed the necessary pre-processing steps to start machining. These steps included centering the machine's axis, securing the wax block with glue, changing the endmill (since our wax block was 1.5" thick, we ensured the endmill's depth from the collar was around 1.5" to prevent the collar from colliding with the model), referencing the Z-axis, checking whether the spindle and relay 1 were working, and starting the feed rate at 25%. This slower rate helps detect any issues early on, allowing us to stop the machine without causing damage.
During tool changes, we set the current tool to '1' at the start of the job. Initially, we used a spindle override of 100%, but during the polishing stage (parallel or perpendicular passes), we increased it to 125%. Anthony also recommended reading the first few lines of the G-code to determine which endmills to use before inserting them. During the milling process, you must stay close to the red emergency stop button. If anything goes wrong, press it immediately. A key warning: do not press the yellow 'free hold' button, as this will stop the machine's movement but leave the endmill rotating, which can be dangerous, especially when working with wood, as it could start a fire. My mold was a bit complex, so it took around 33 minutes for the adaptive clearing and another 26 minutes for the parallel pass.
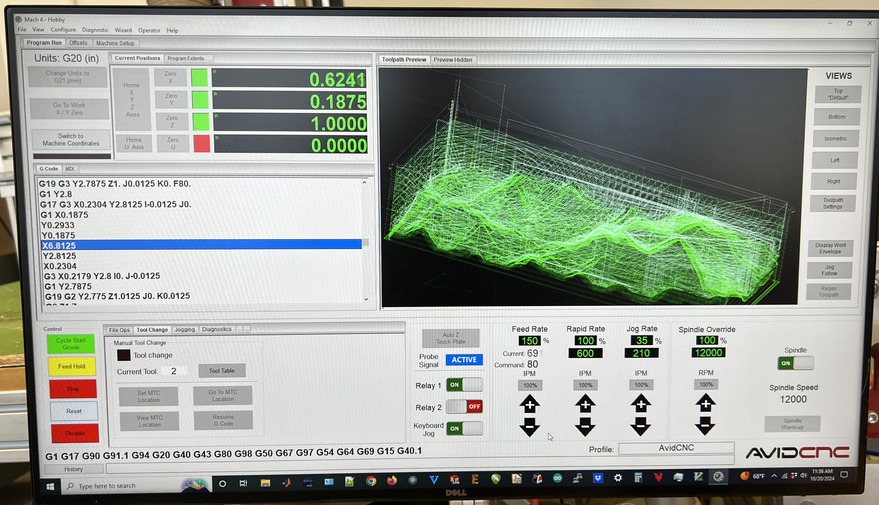
Here is a screenshot of the Mach4 interface during the adaptive clearing process:
The mold came out quite well, but the summit of Everest was missing, likely due to the fine details being hard to achieve in the wax mold. This is fine—I can correct it when I create the final model using casting.
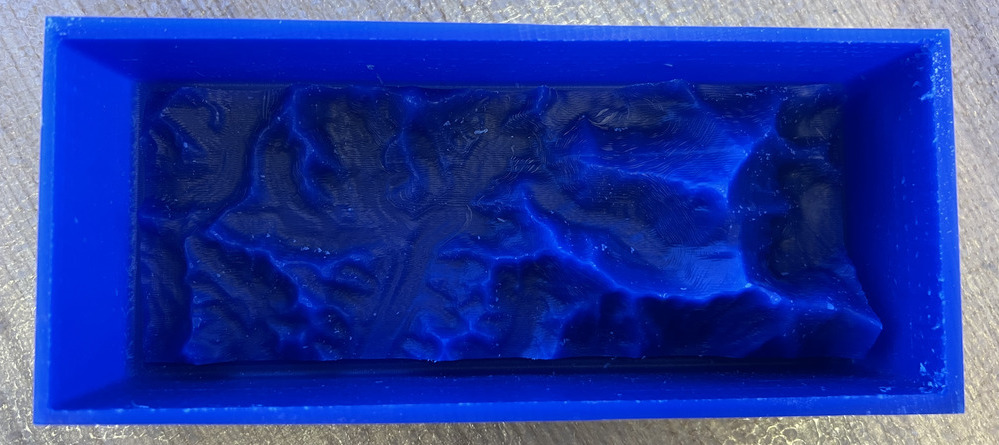
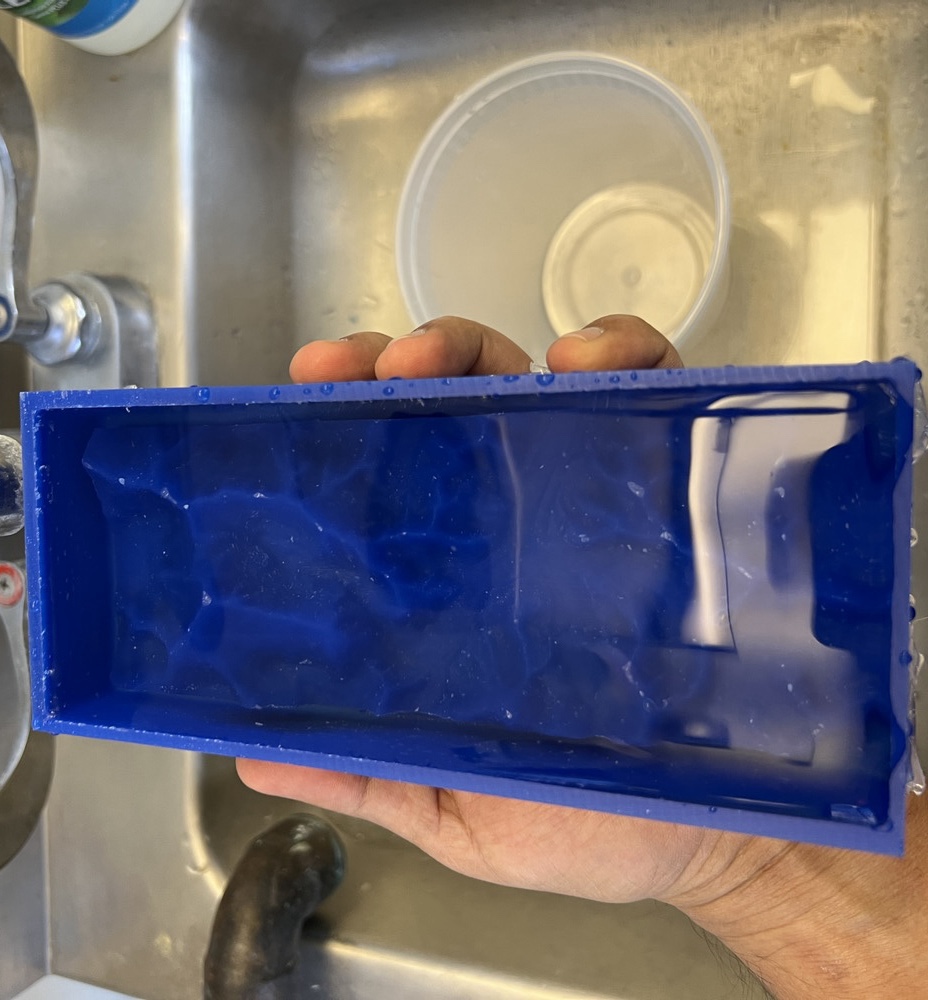
Next, I needed to make a mold with Oomoo. Before doing so, I cleaned the freshly cut wax mold with a small brush, then filled it with water to estimate how much Oomoo would be needed.
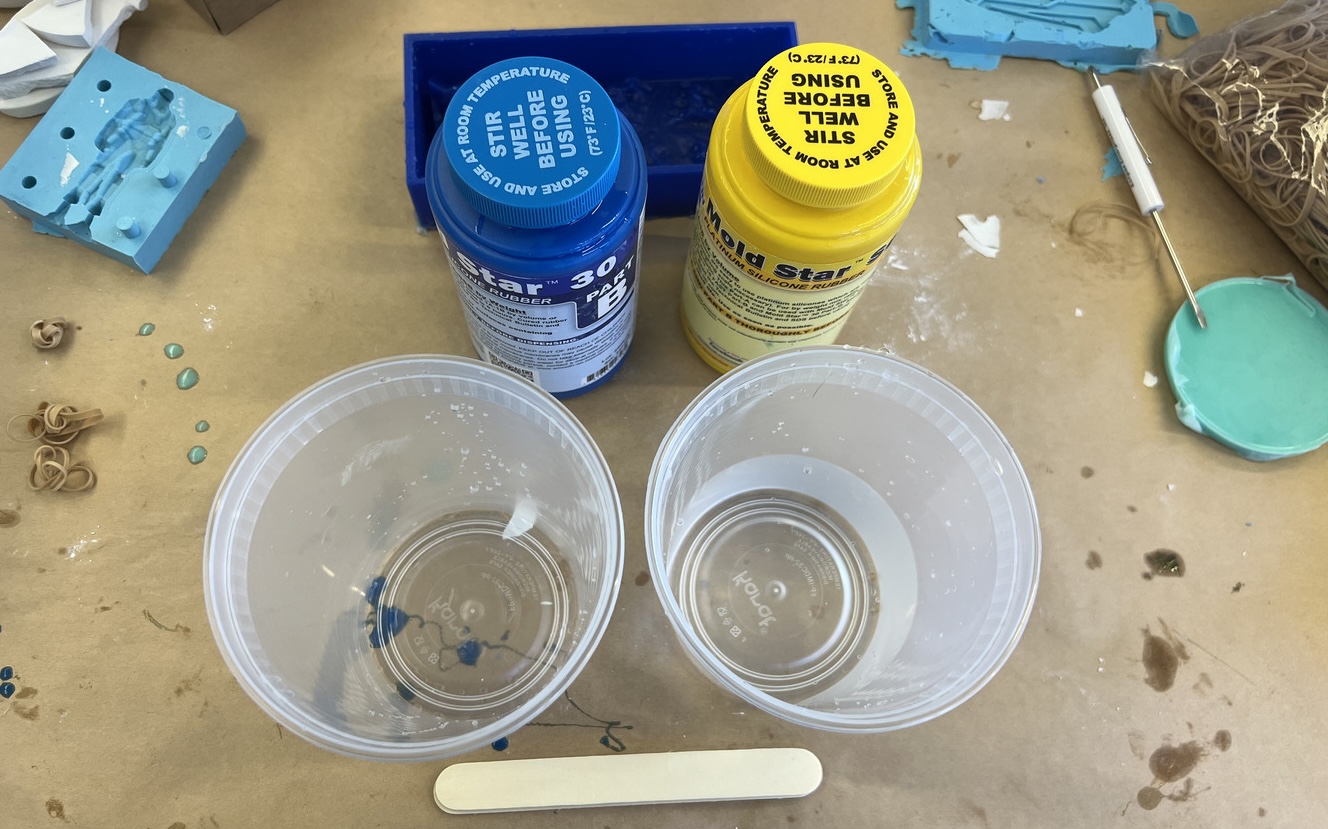
I used Mold Star™ 30 by Smooth-On. It comes in two parts, labeled A and B, which need to be mixed in a 1:1 ratio. I estimated the amount based on the water volume.
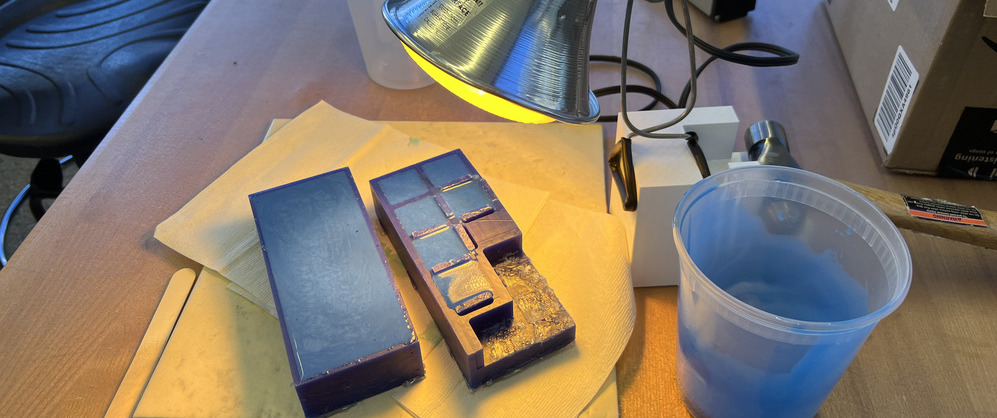
I mixed the Oomoo as instructed and poured it gently into the mold. The most important thing during pouring is to avoid creating bubbles and to remove any that form. I poured the Oomoo slowly, allowing it to flow into the corners of the mold. I then left it to cure under a heat lamp for a few hours. Anthony mentioned it would take about two hours to fully cure under the lamp.
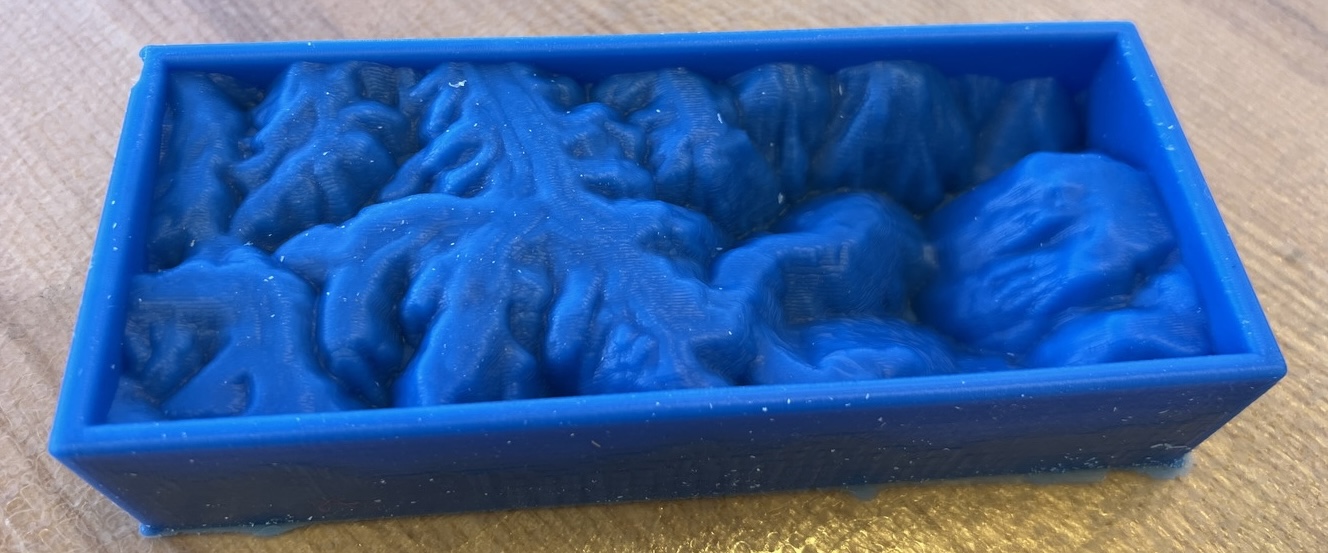
After about three hours, I removed the mold from the first positive. Can you tell this is a mold of a mountain just by looking at it? The mold is perfect, with no bubbles, which is great!
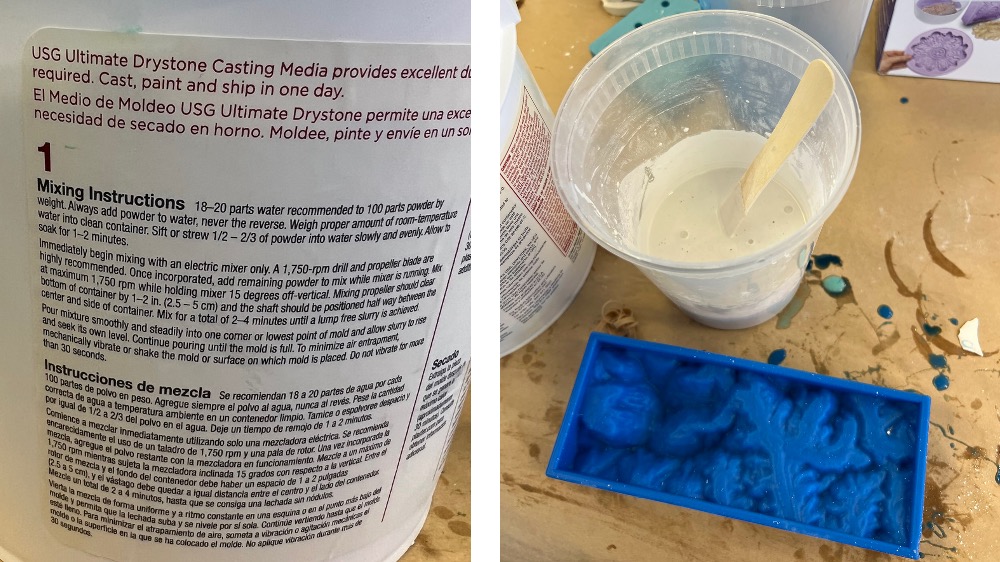
Next, our goal was to cast the model of Mount Everest using this mold. We had two options for the casting material in the EECS lab, both similar to cement: one was Drystone, and the other was Hydrostone. I chose Drystone because it sets faster and has almost the same strength as Hydrostone. The mix ratio, according to the instructions, is 1:5, meaning 1 part water to 5 parts Drystone by weight. As a civil engineer, I was happy because this is a typical water-cement ratio used in practice. I weighed the Drystone first and calculated the amount of water needed, then slowly added the Drystone into the water while stirring slowly. The main goal was to prevent dry lumps from forming.
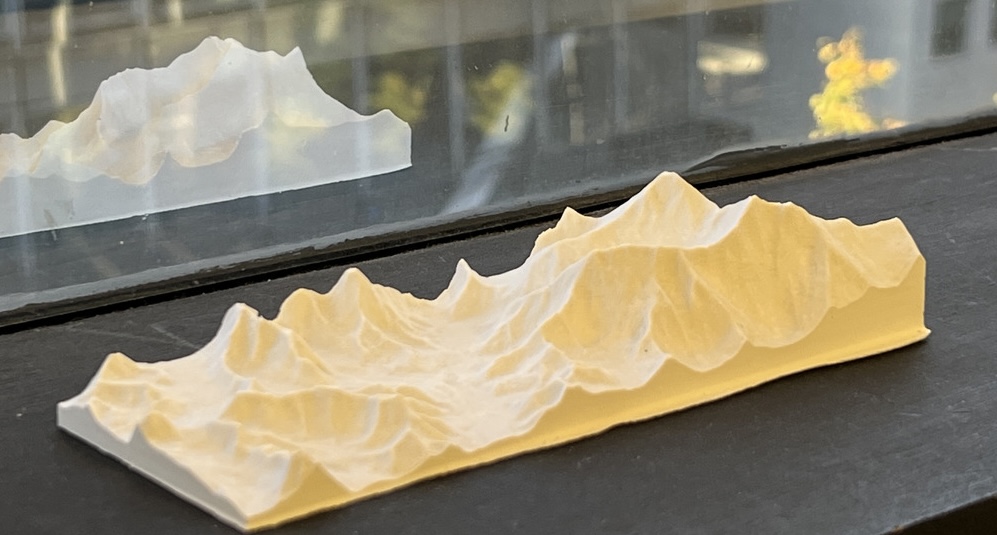
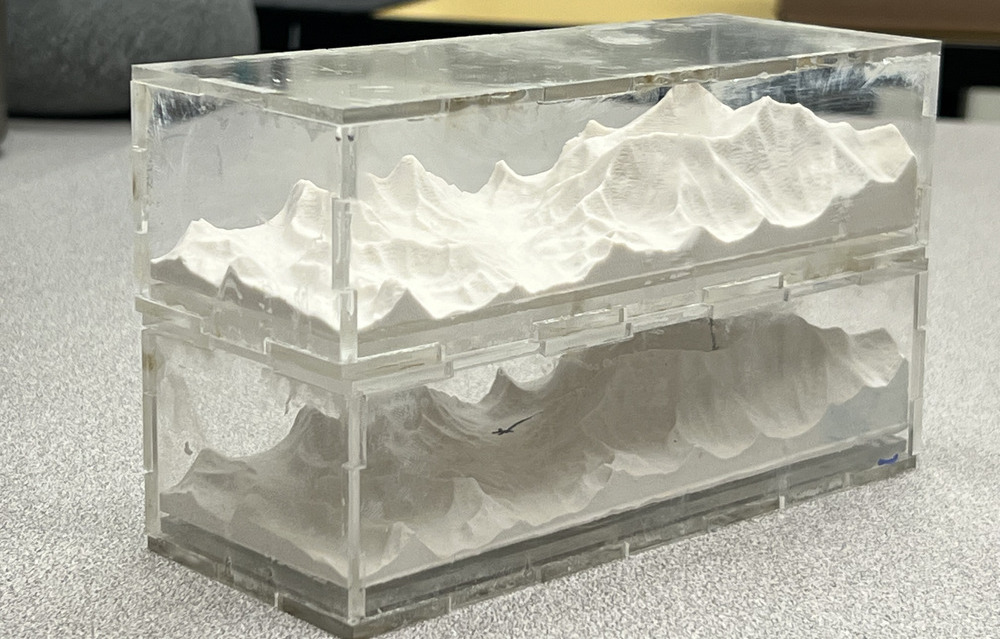
After 45 minutes, I removed the cast from the mold. It hadn’t fully set yet, but it had gained enough strength to take out. The Everest looked beautiful. I was quite happy with the cast. You can see in the picture below how great it turned out!
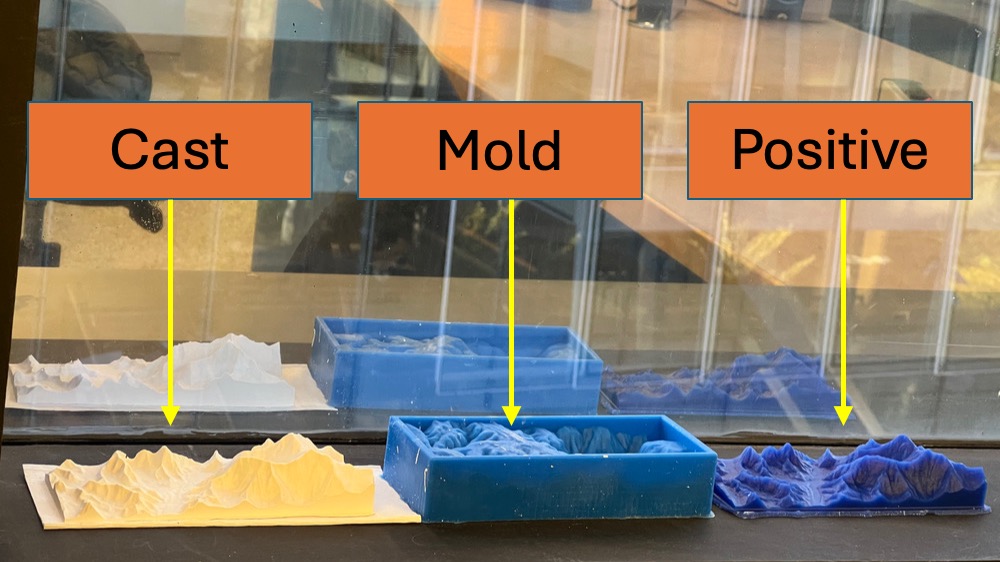
The journey of my Everest project—from design to the wax positive, then making a mold with Oomoo, and finally casting—was a great learning experience. I also got introduced to the Terrain2STL website, and now I have several ideas to explore when I get time. Unfortunately, the outer wall of the positive broke while I was removing the mold. You can see that in the following picture.
I designed a box for my Everest model using acrylic.
I even laser-engraved my name, the scale of the model, and "HTMAA2024" on the base of the model.

Next, I assembled the box and placed the Everest model inside. I used hot glue to secure the Everest to the base of the box and super glue to join the sides.
Project 2: Star Puzzle
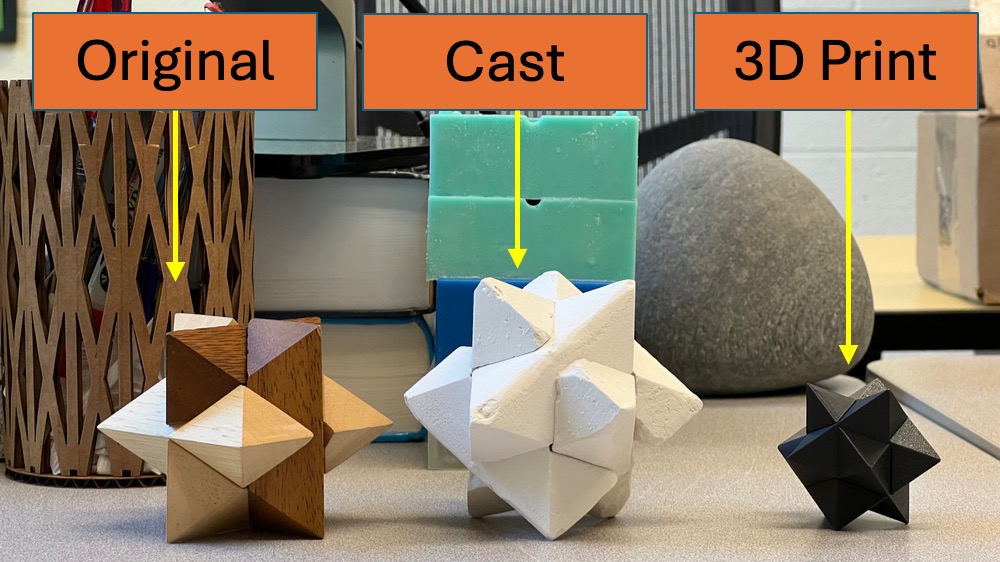
While sitting at my desk, I noticed a star puzzle that one of my seniors had left behind. I took it apart to see how it was made and realized it consisted of six identical blocks. That’s when I decided to use molding and casting to recreate it for this project.
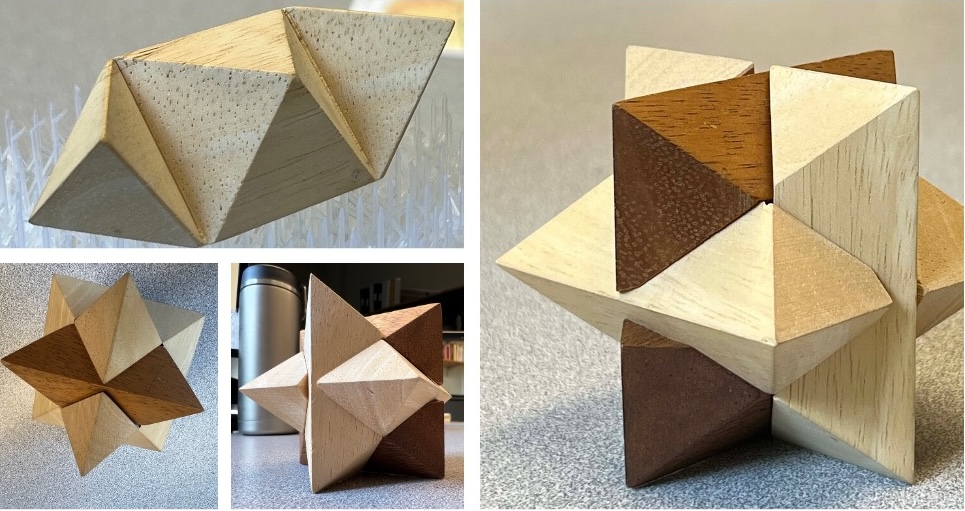
First, I created a CAD model in Fusion360 and 3D printed the design to check if it would make a functional star puzzle. Afterward, I planned to mill one piece and create a mold to produce multiple copies.
I 3D printed the star puzzle on the Formlabs 3 SLA printer, which took about 5 hours. It seems that casting and molding would be a better option for producing multiple pieces.
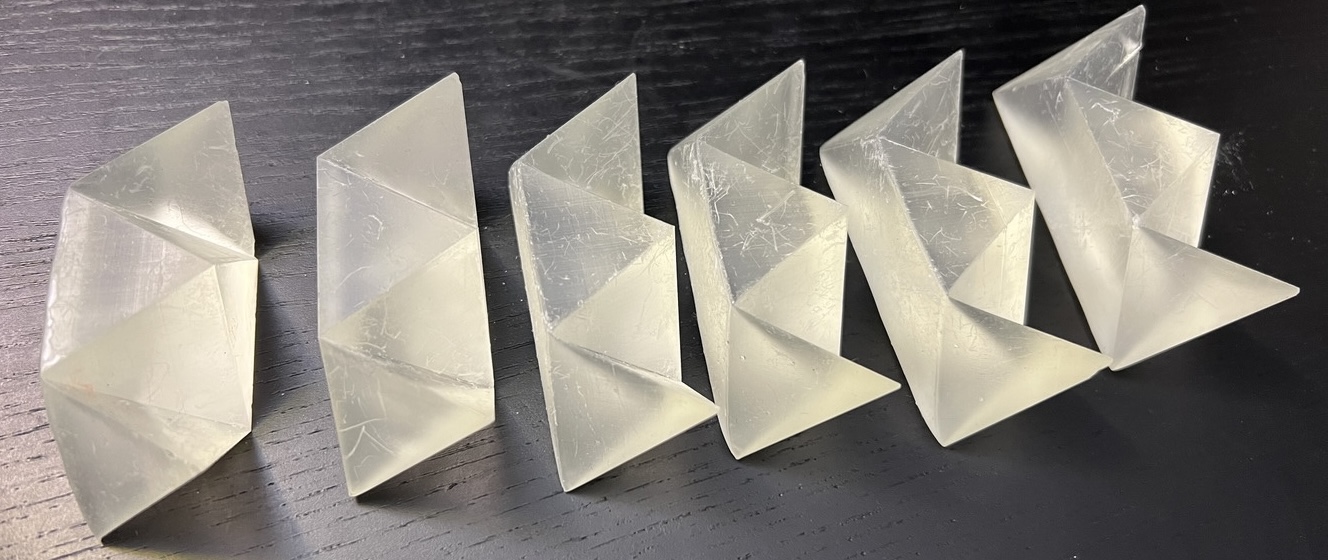
I tried solving the puzzle but failed miserably. I spent around 3 hours on it and still wasn’t successful, even after watching YouTube tutorials on how to solve it.
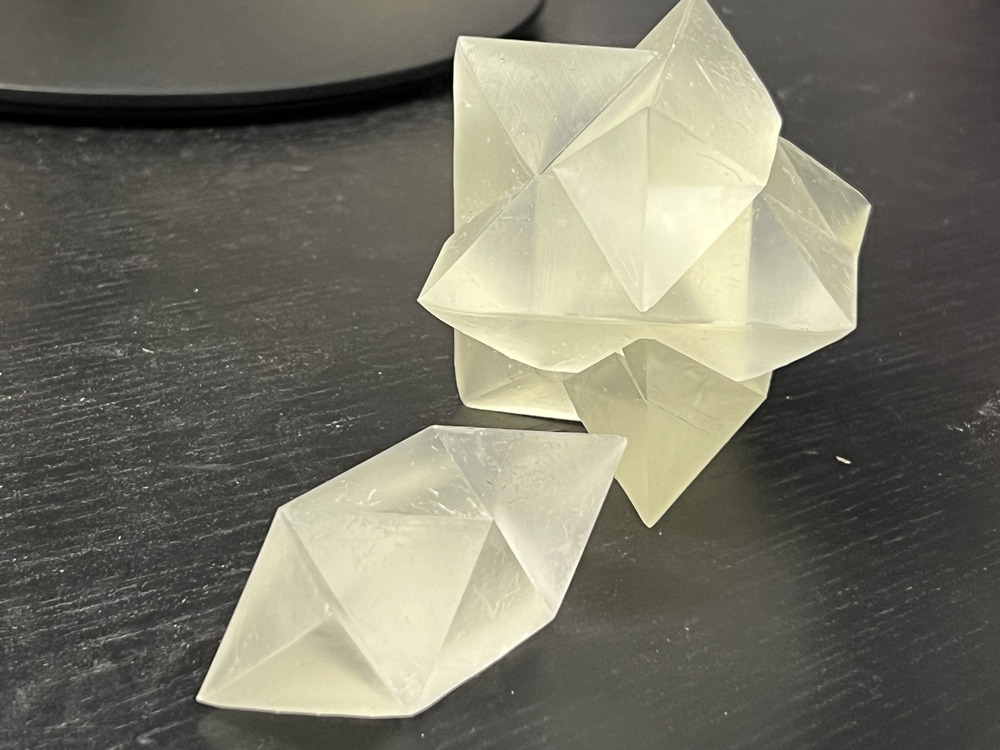
Afterward, I measured the angle between the internal edges, which turned out to be 1 degree smaller than 90 degrees. I think that’s why it became impossible to solve. I found an STL file for the star puzzle online and 3D printed it on the Prusa printer, which I was able to solve.
Puzzle after 3D printing and solving:
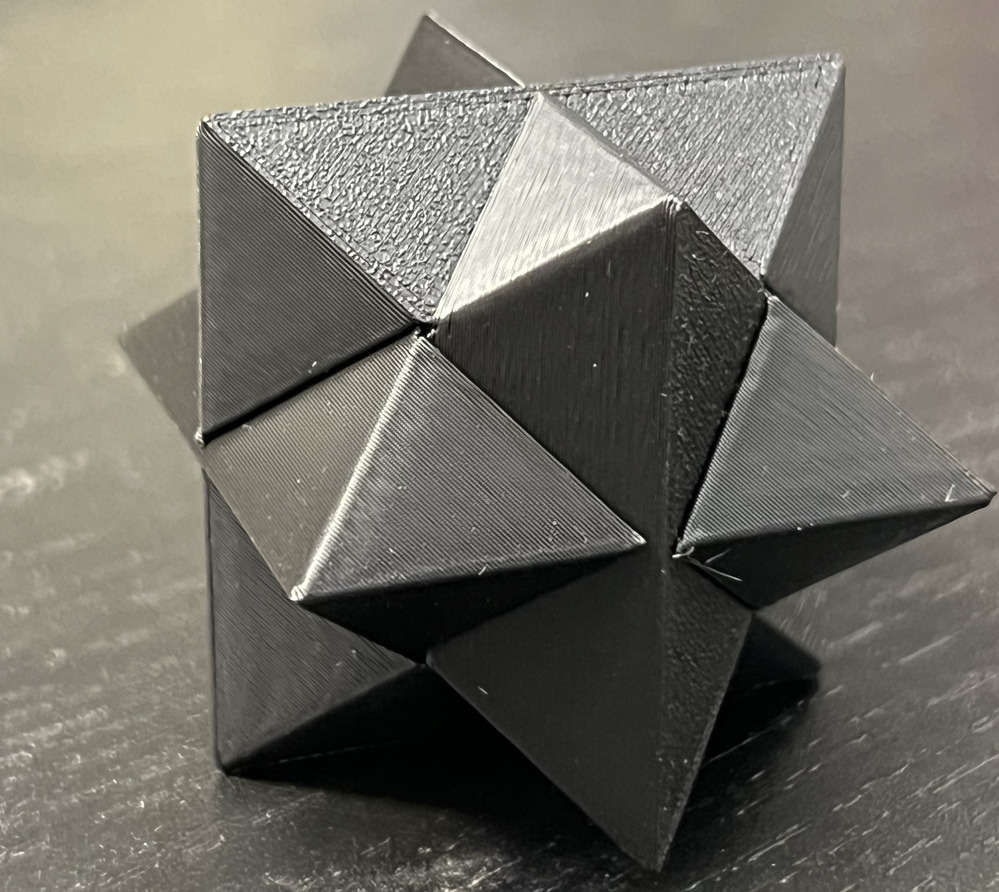
Now that I’m satisfied with the design, I’ll continue using this version for molding and casting. So, let’s start by creating the mold. I’m using the 3D printer to make the mold, so it shouldn’t require much additional work.
I 3D printed the mold using the FormLab 3 (SLA) printer, which took about 13 hours. I had to print it vertically since the printer base wasn’t large enough to fit the model. The print came out well.
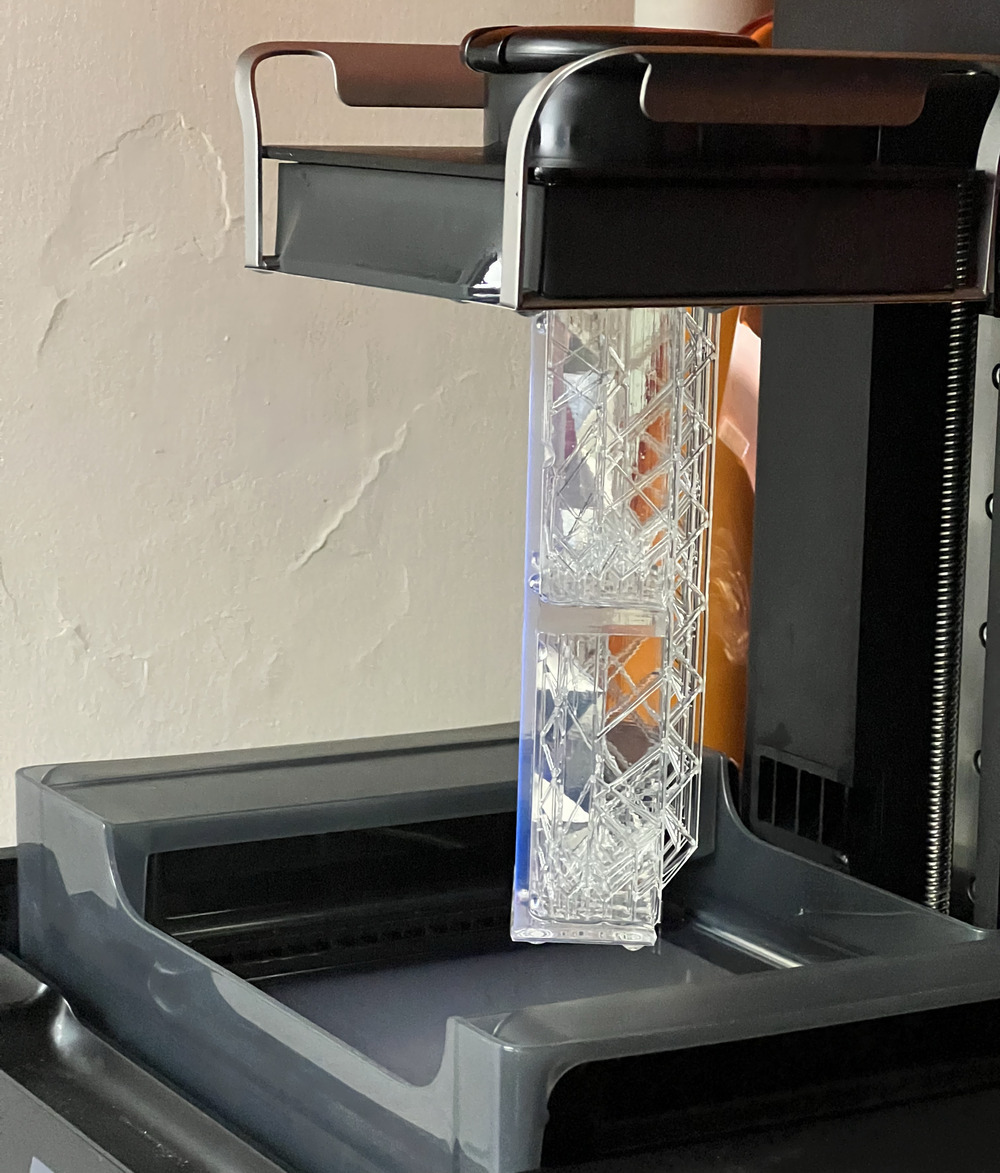
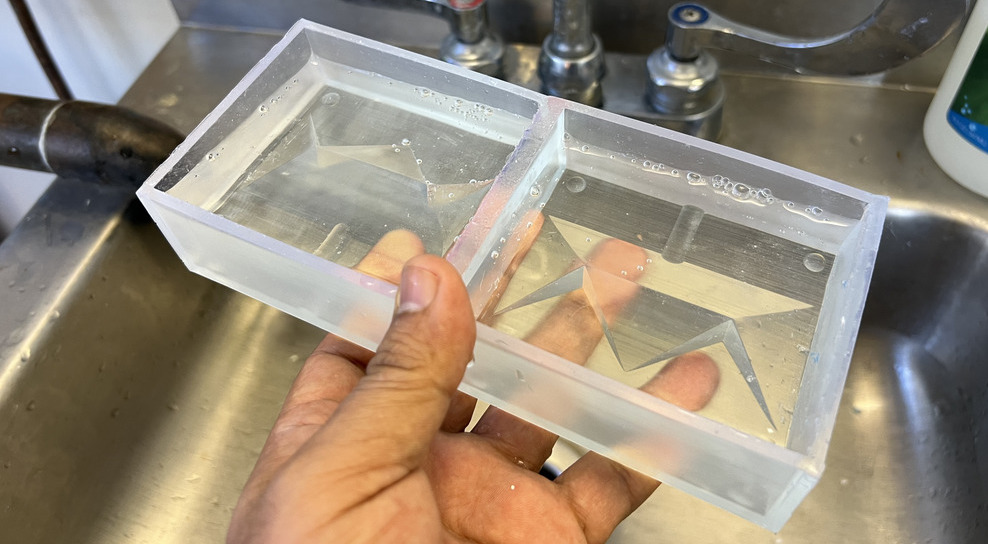
After cleaning the 3D printed mold, I filled it with water to estimate how much silicone rubber I would need to prepare.
For the mold, I’m using Mold Star Slow Cure, which takes longer to cure than the silicone I used earlier.
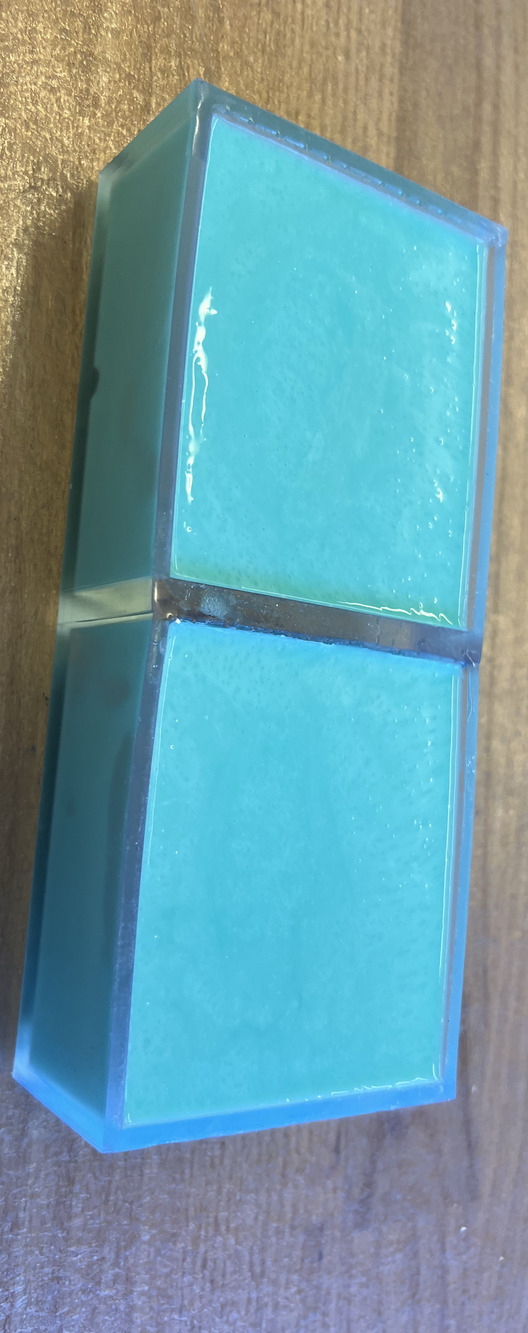
I placed the mold under a lamp to speed up the curing process and waited for about 3 hours before unmolding.
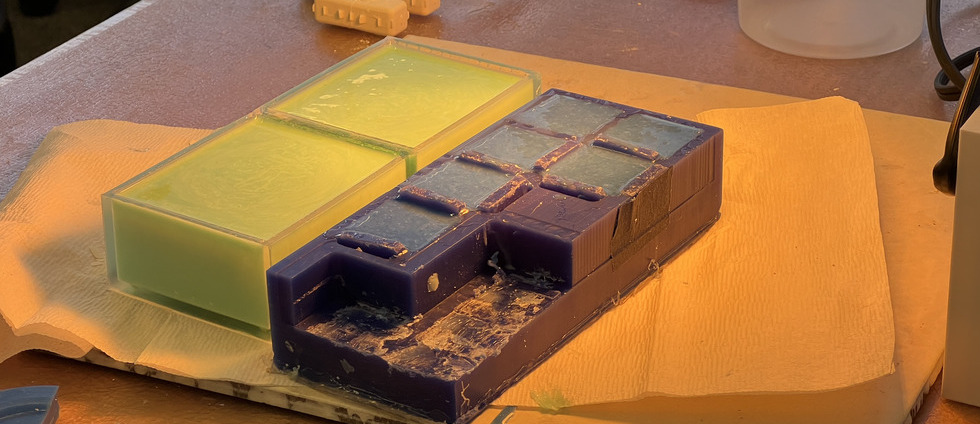
In the following picture, you can see the set silicone rubber inside the mold, flipped upside down. It looks like there are no trapped air bubbles, which is a good sign.
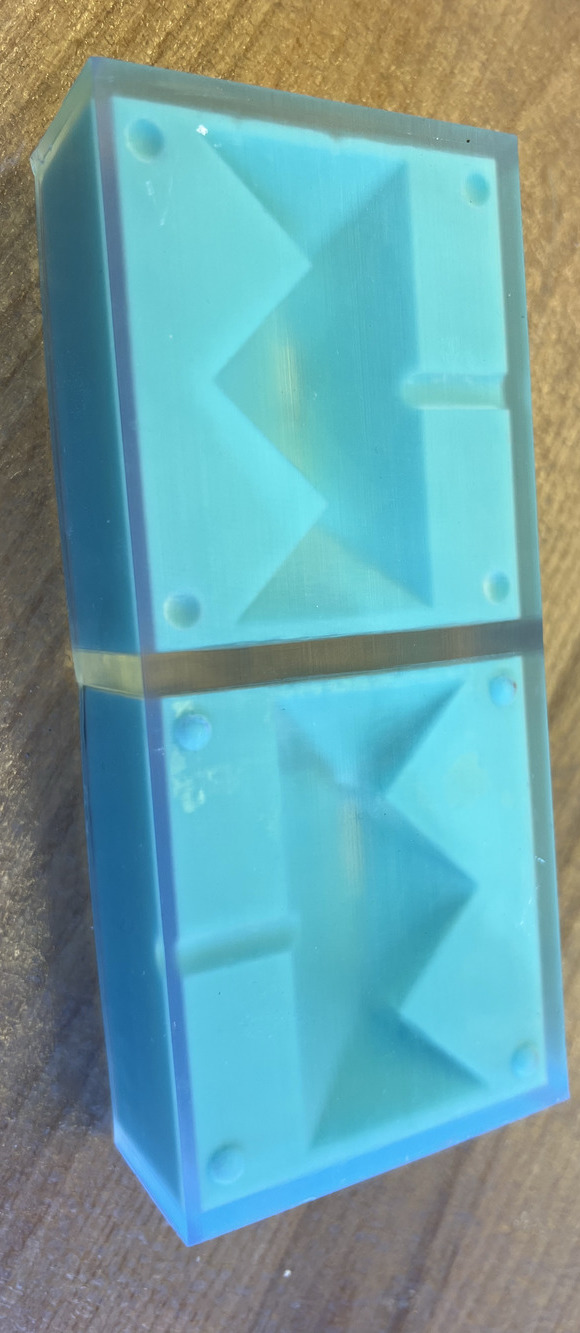
When I unmolded it, the silicone rubber was still sticky and didn’t seem fully cured. I left it under the lamp for a few more hours, but the stickiness remained. This might be due to some uncured resin left over from the SLA 3D print, which reacted with the silicone rubber. Interestingly, the top part of the silicone that wasn’t in contact with the mold cured perfectly and didn’t have any stickiness.
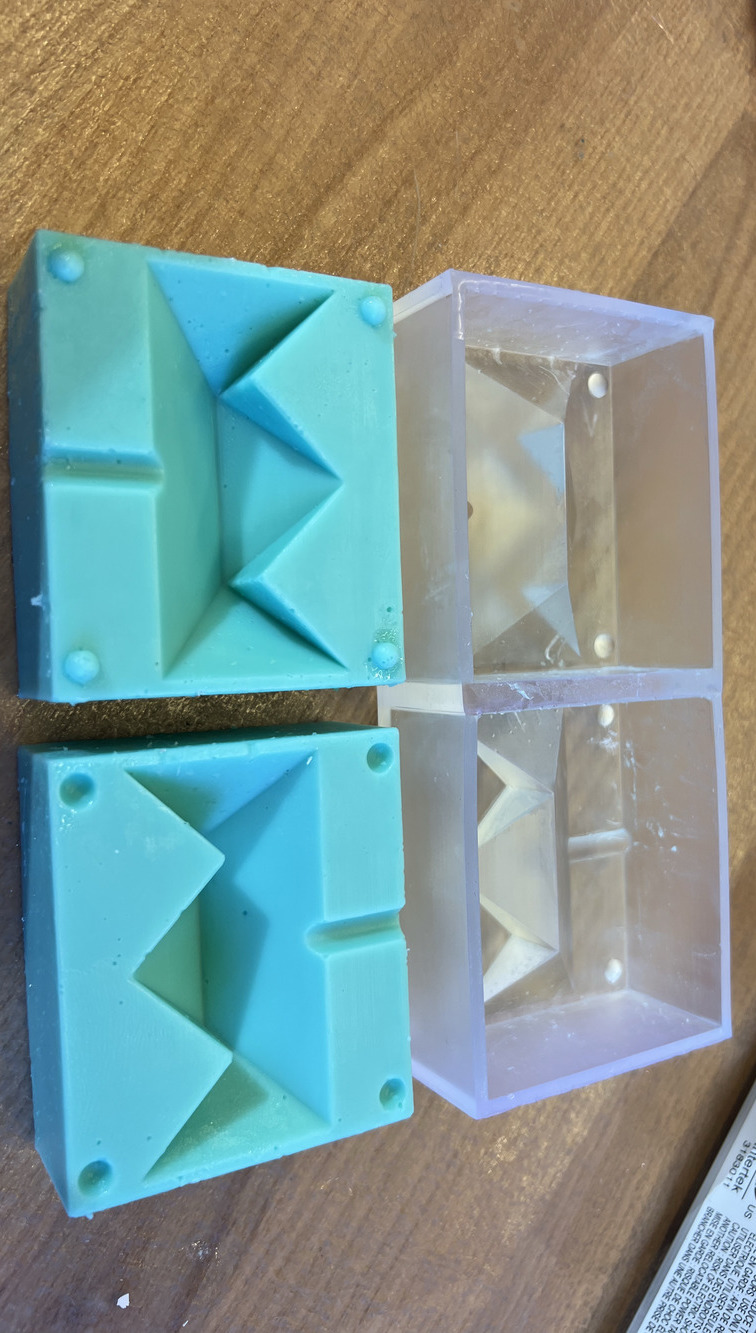
Finally, I cast the puzzle using the mold. The mold can be reused to cast as many puzzle pieces as I need.
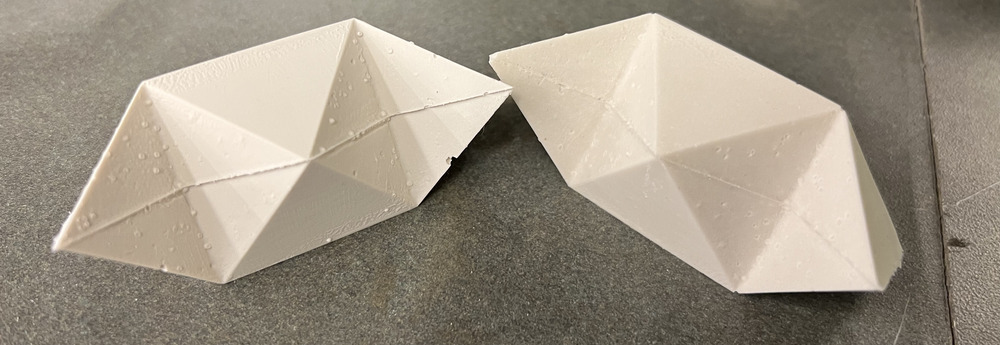
I cast six of them, which took time because the drystone takes more than 30 minutes to be ready for unmolding. In my experience, it took about 45 minutes. This means it took 6 * 45 minutes just for curing. On top of that, I had to make the mix six times and pour it. After that, I finally got to solve my star puzzle.
One problem with the star puzzle made out of gypsum is that it is nowhere near as flexible as a 3D-printed one. It was almost impossible to solve. I spent about half an hour trying to solve it, and during that time, I broke a few corners of the puzzle. I even sanded the inside of each puzzle component to make it smooth. Finally, while trying to solve it, I broke one corner of the puzzle, but it worked. I glued that corner with hot glue and plastered the surface with a tiny amount of gypsum. Now the star looks good, but it's not practical to give to someone as a puzzle to solve. I think the 3D printing option would be a better choice.
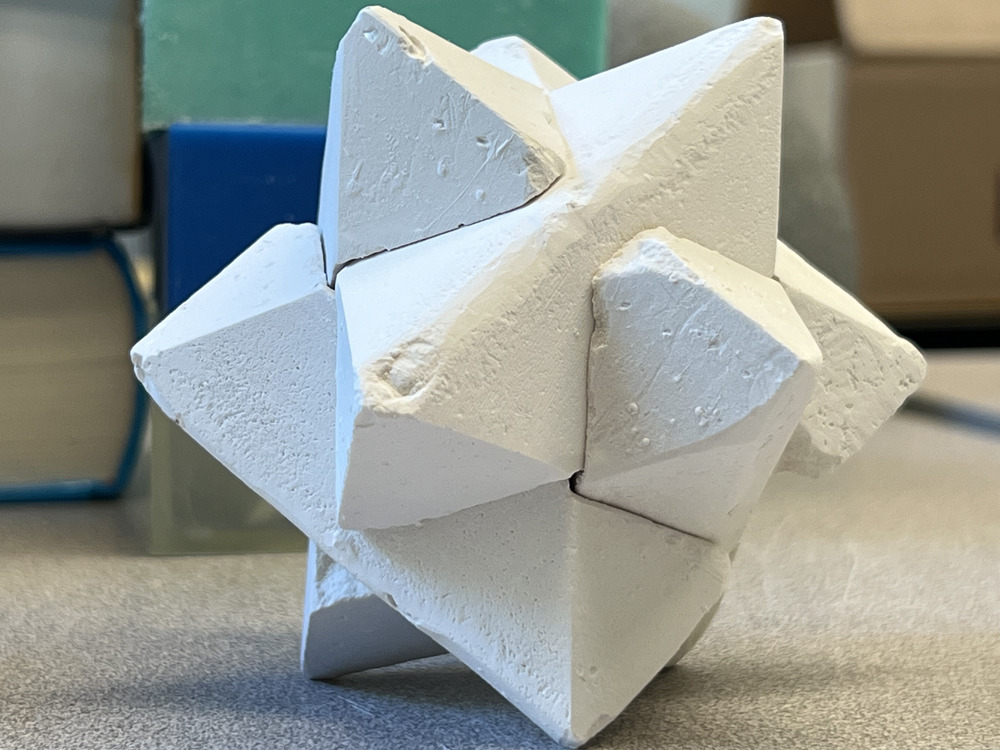
Size of the puzzle in reference to my hand:
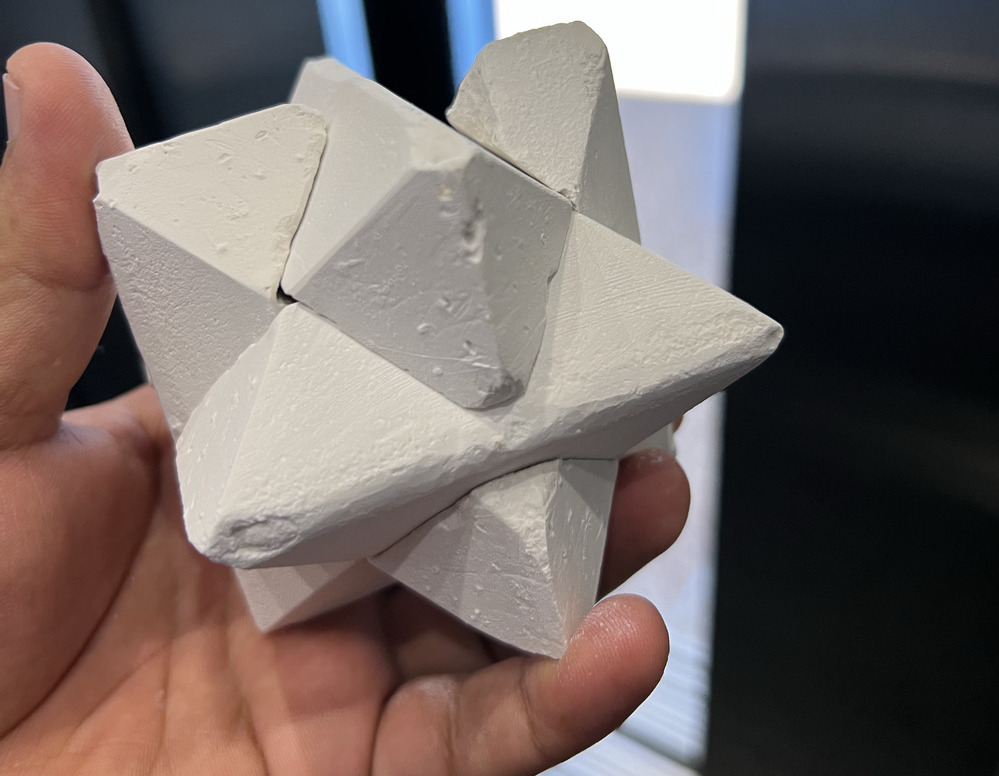
So, the molding and casting of the puzzle came to an end. Its development started with the motivation from the puzzle on my desk, left by my senior, to designing it in Fusion 360, 3D printing it, making a mold, casting it, and finally solving it. It was a great experience and an opportunity to learn how molding and casting work.
