Project Alohamora: Wand and 3D Scanning
This week, I worked on creating a wand with a gyroid-inspired design and explored 3D scanning techniques to capture myself and other objects for future projects. Here’s a breakdown of the process:
Gyroid-Inspired Wand
To make something that could only be made additively (as opposed to subtractively with an "infinitely small hammer and chisel"), I decided to create a gyroid-inspired shape. Gyroids are mathematically complex surfaces that have no straight lines and intricate curves, making them incredibly difficult, if not impossible, to carve out using traditional subtractive methods. Given the constraints on my printing time this week at EDS, I decided to make a wand.
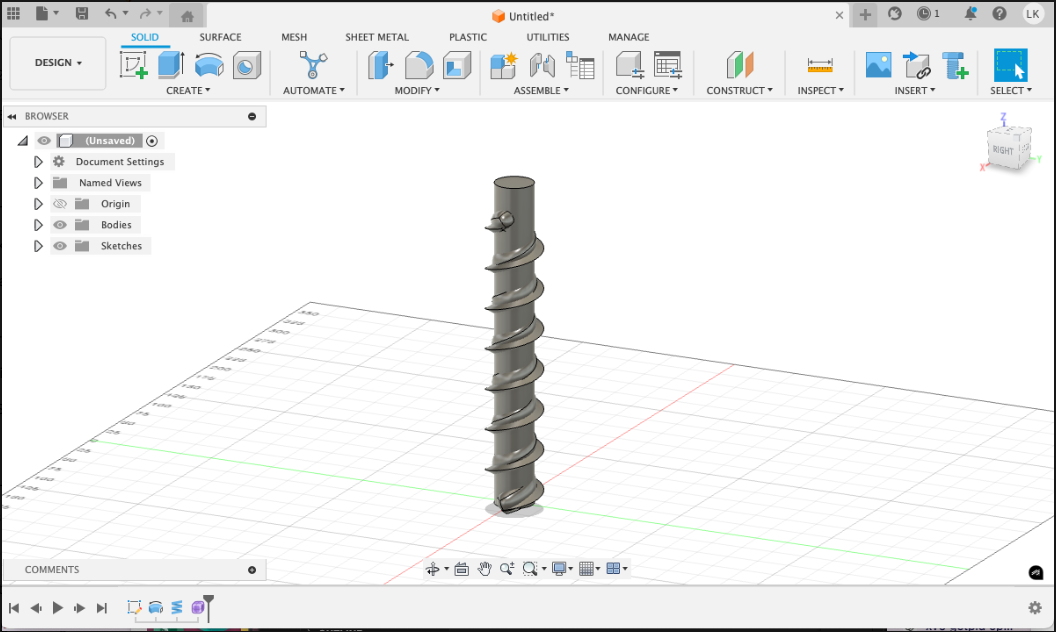
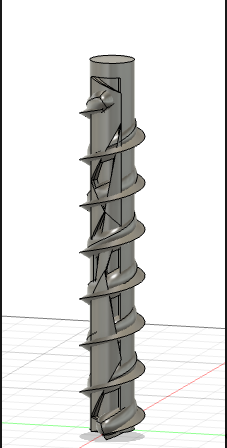
Initially, I experimented with different features in Fusion 360, such as piping, helix, and Voronoi patterns on a cylindrical face. These ideas, however, were either too time-consuming or not visually appealing. Below are some examples of the failed attempts:
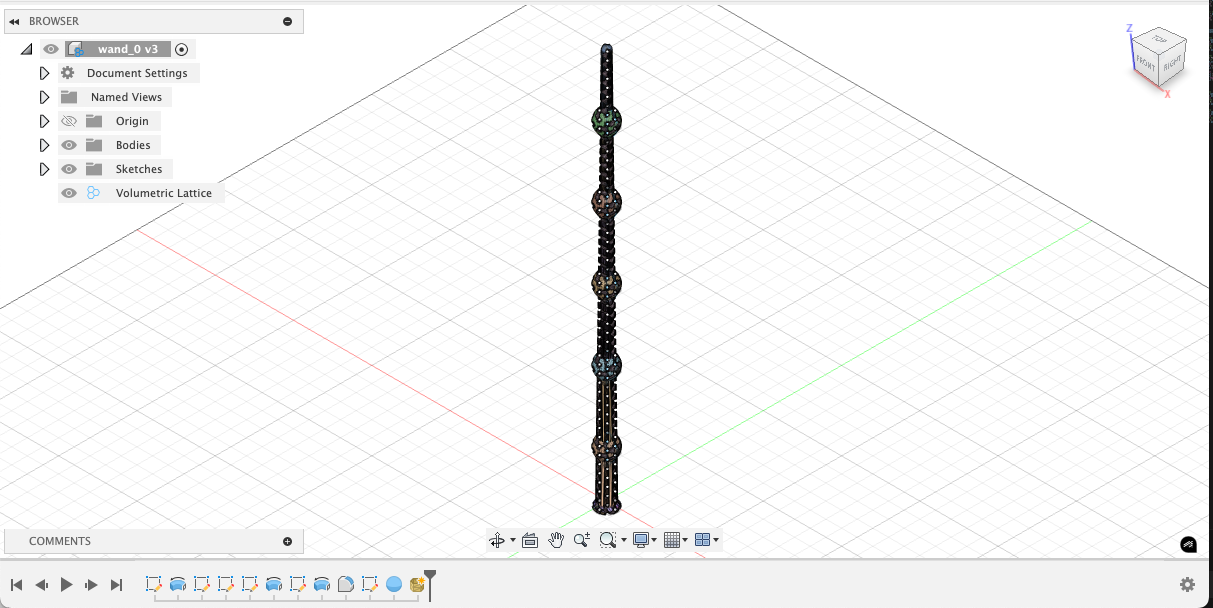
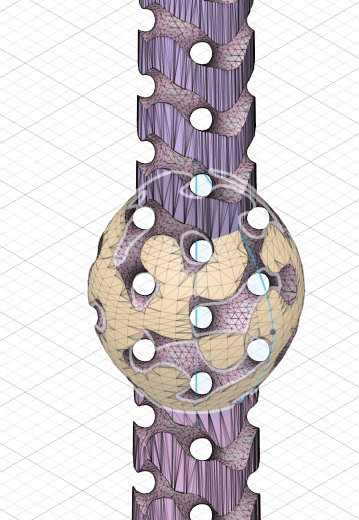
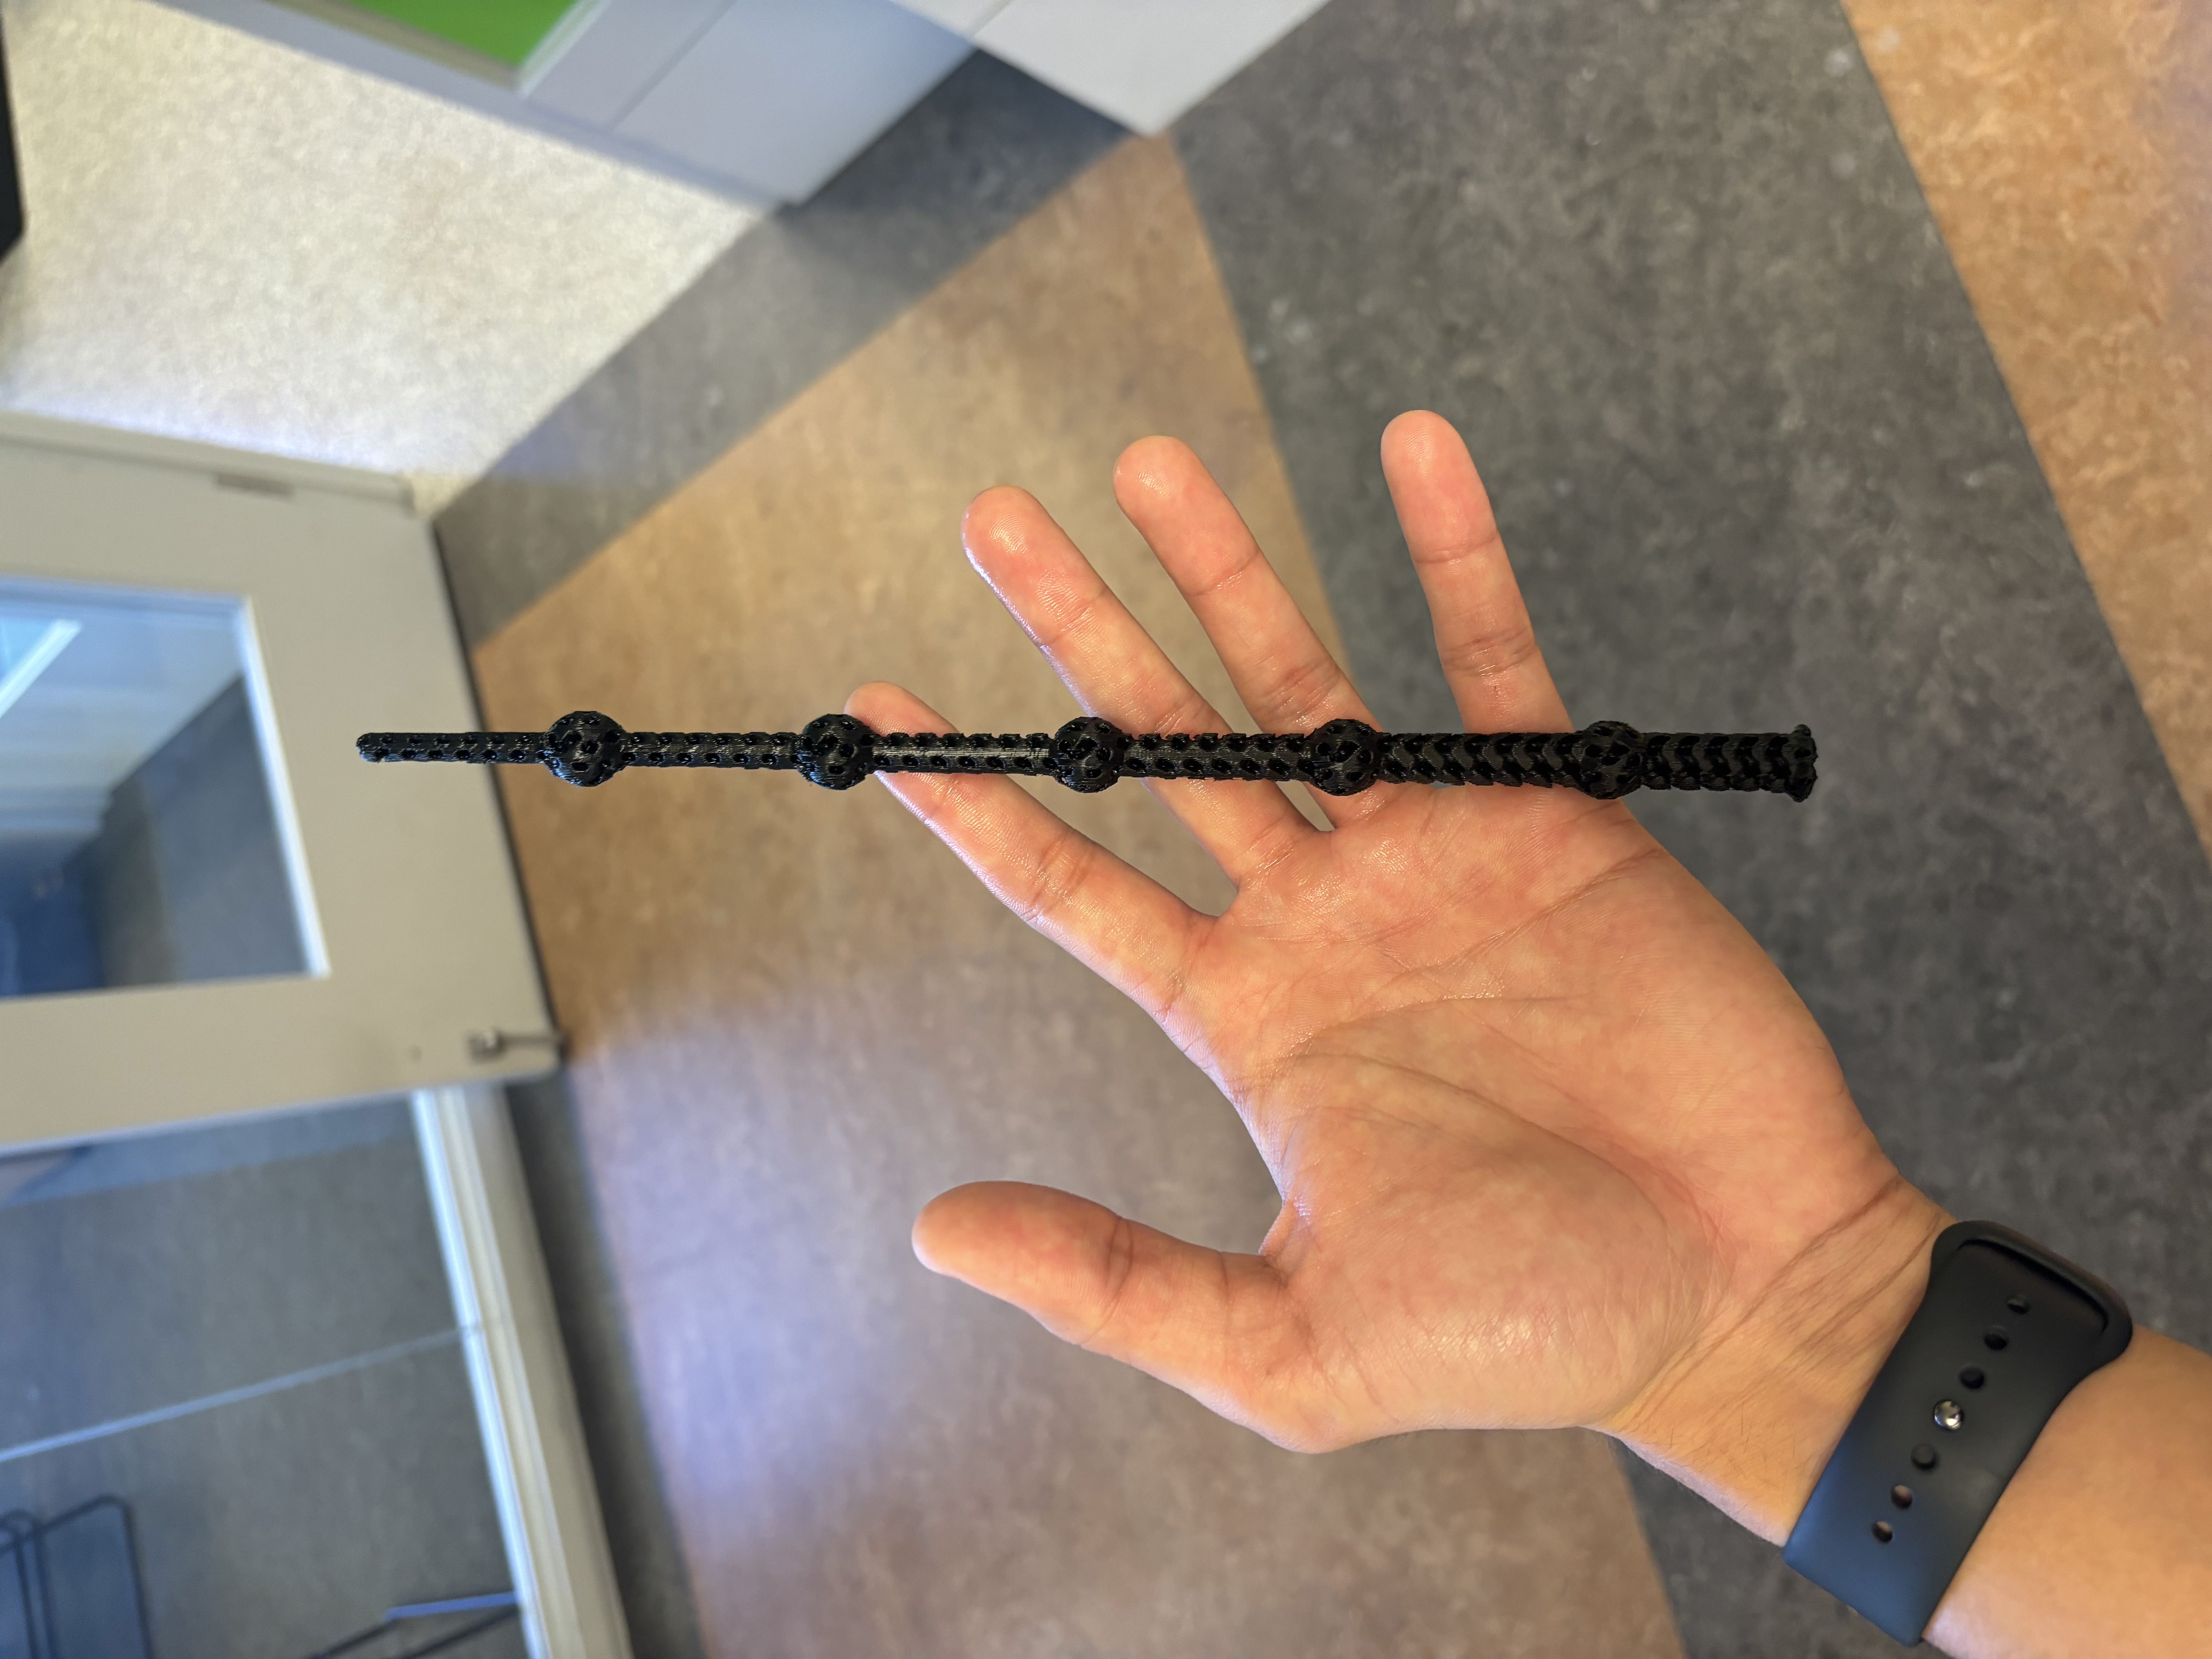
Ultimately, I opted for a more straightforward approach: a design inspired by the Elder Wand. I started with a base shape consisting of a 10mm diameter circle at the bottom, tapering over 25cm to a 5mm diameter circle at the top with a spherical tip. I then applied a volumetric lattice gyroid mesh with 60% solidity to the wand's structure.
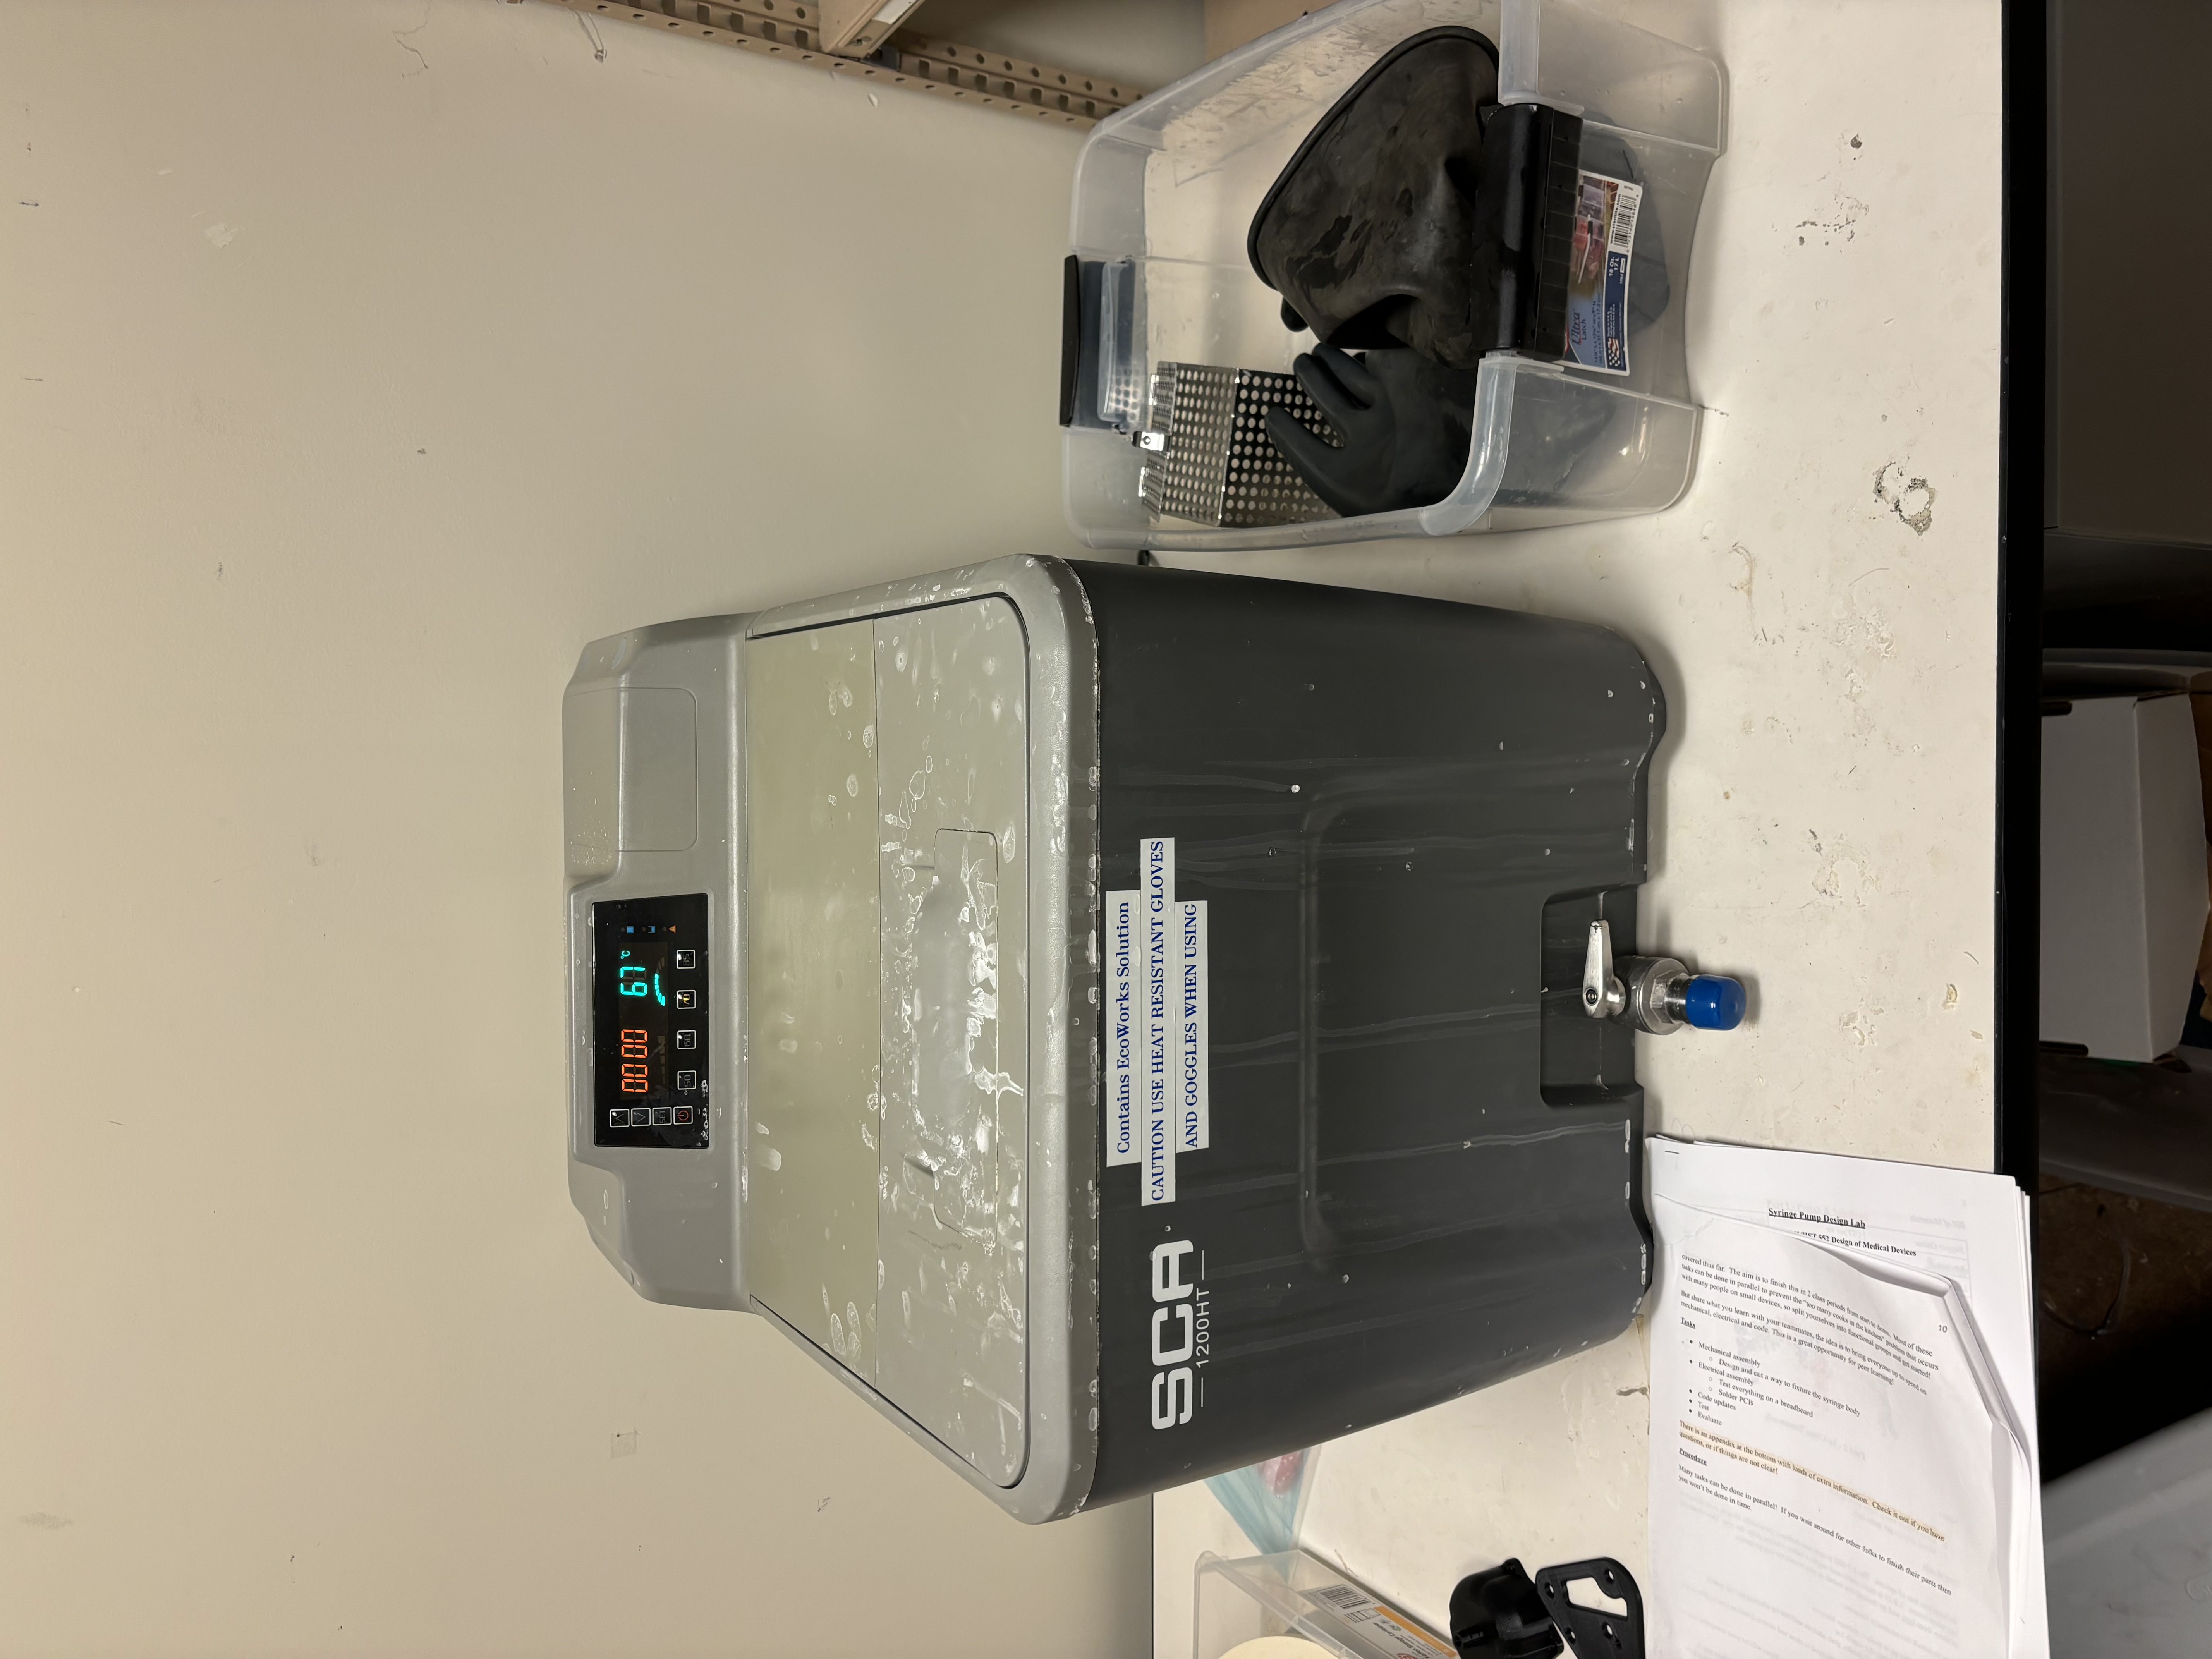
Since I was concerned about the difficulty of removing supports, I chose to use the Stratasys printer with dissolvable supports. The print itself took approximately 3 hours, and I left it in the dissolution bath overnight for over 15 hours to remove the supports completely.
The final product came out looking fantastic:
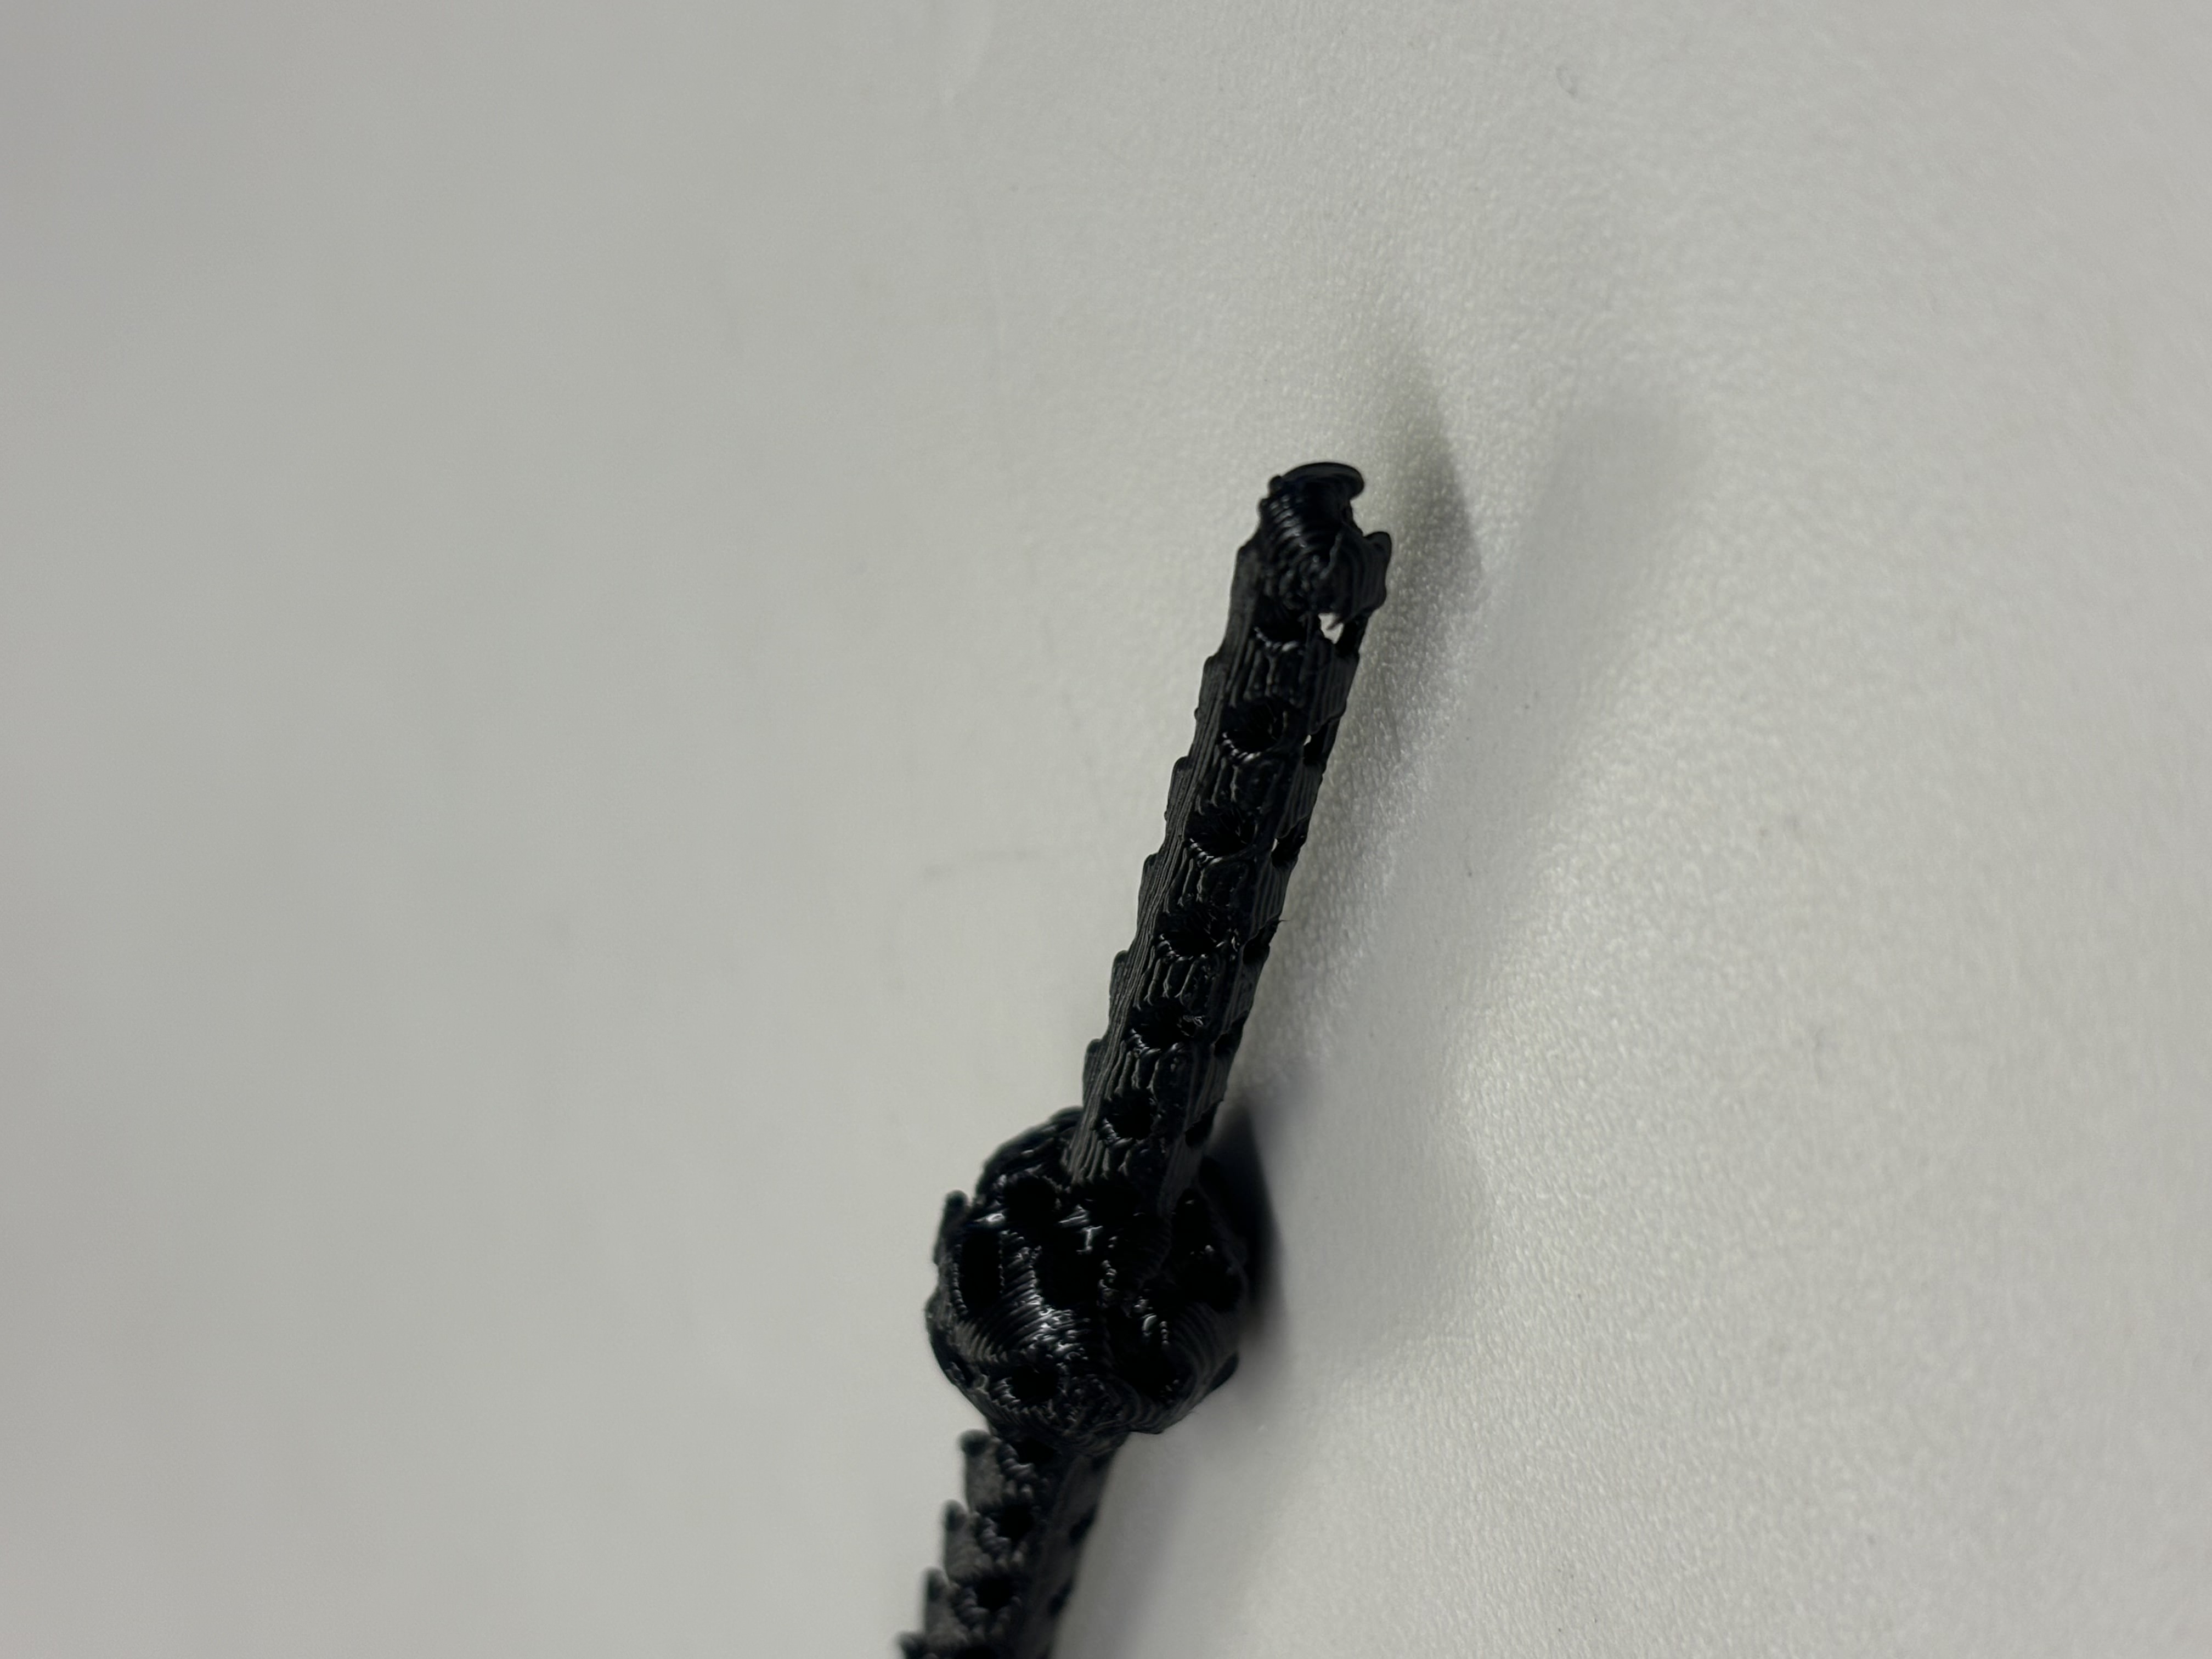
I'm currently exploring ways to integrate an NFC sticker into the wand's tip so that I can use it as an MIT ID for building access.
3D Scanning
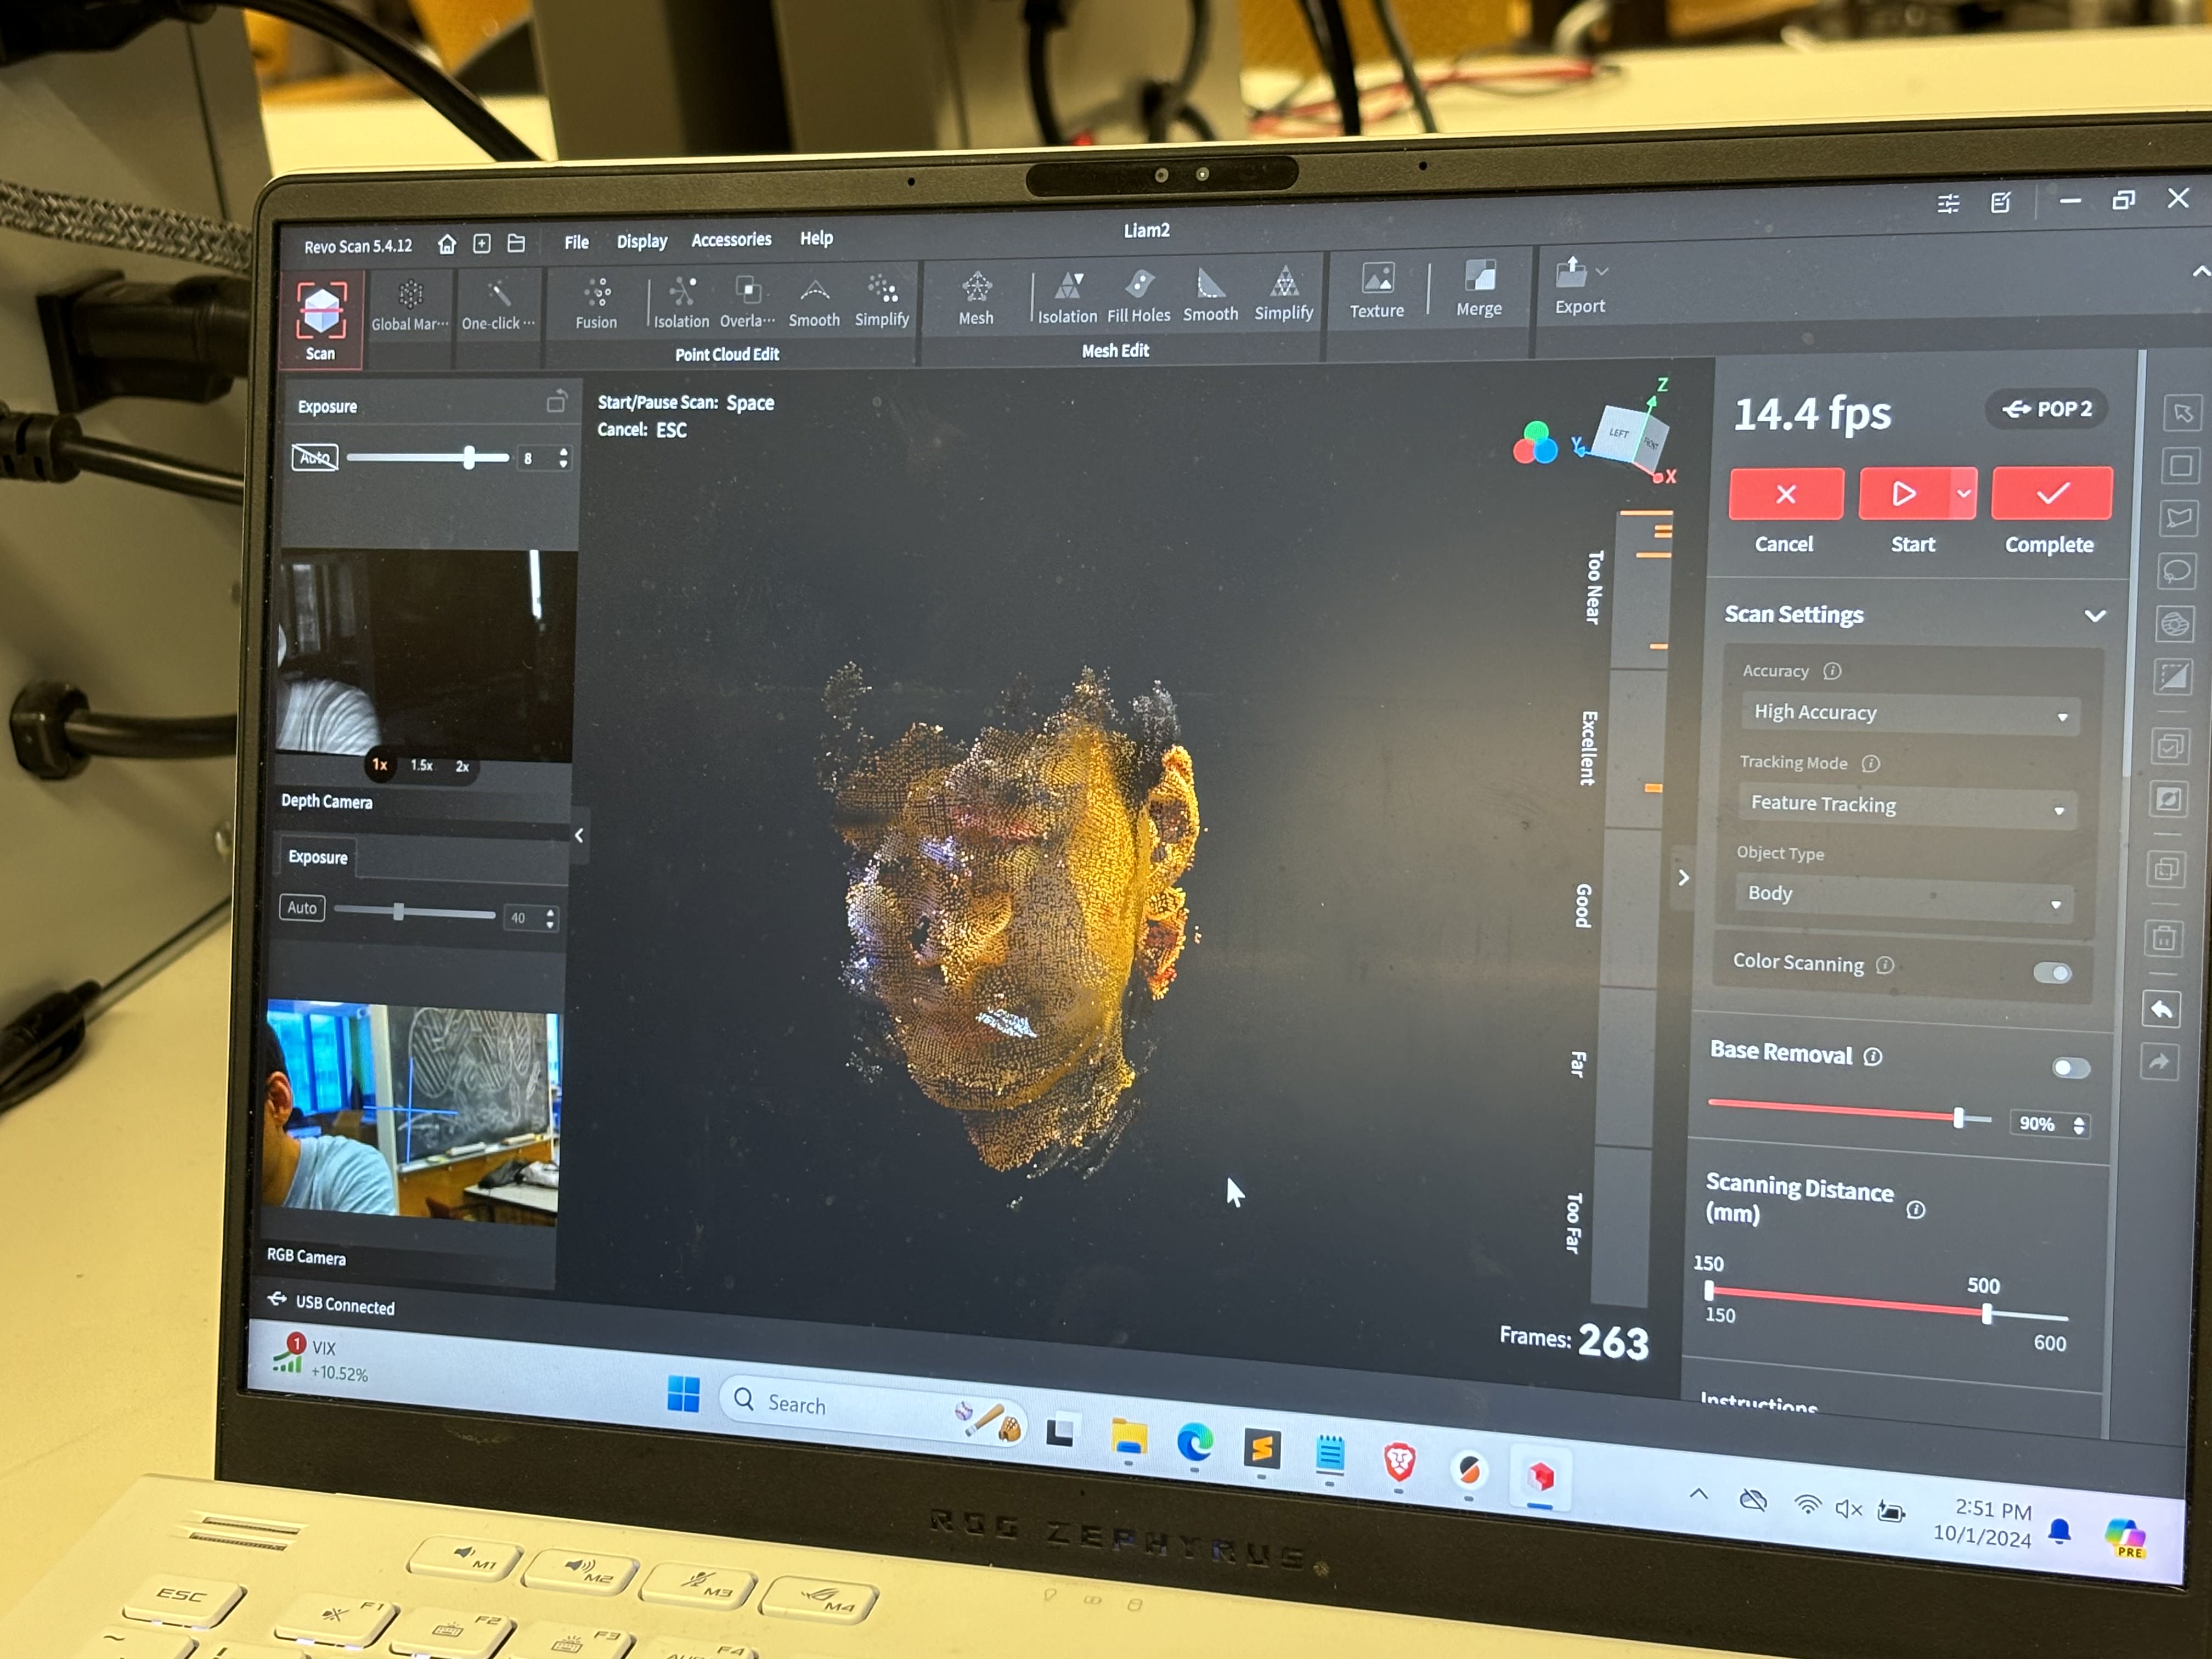
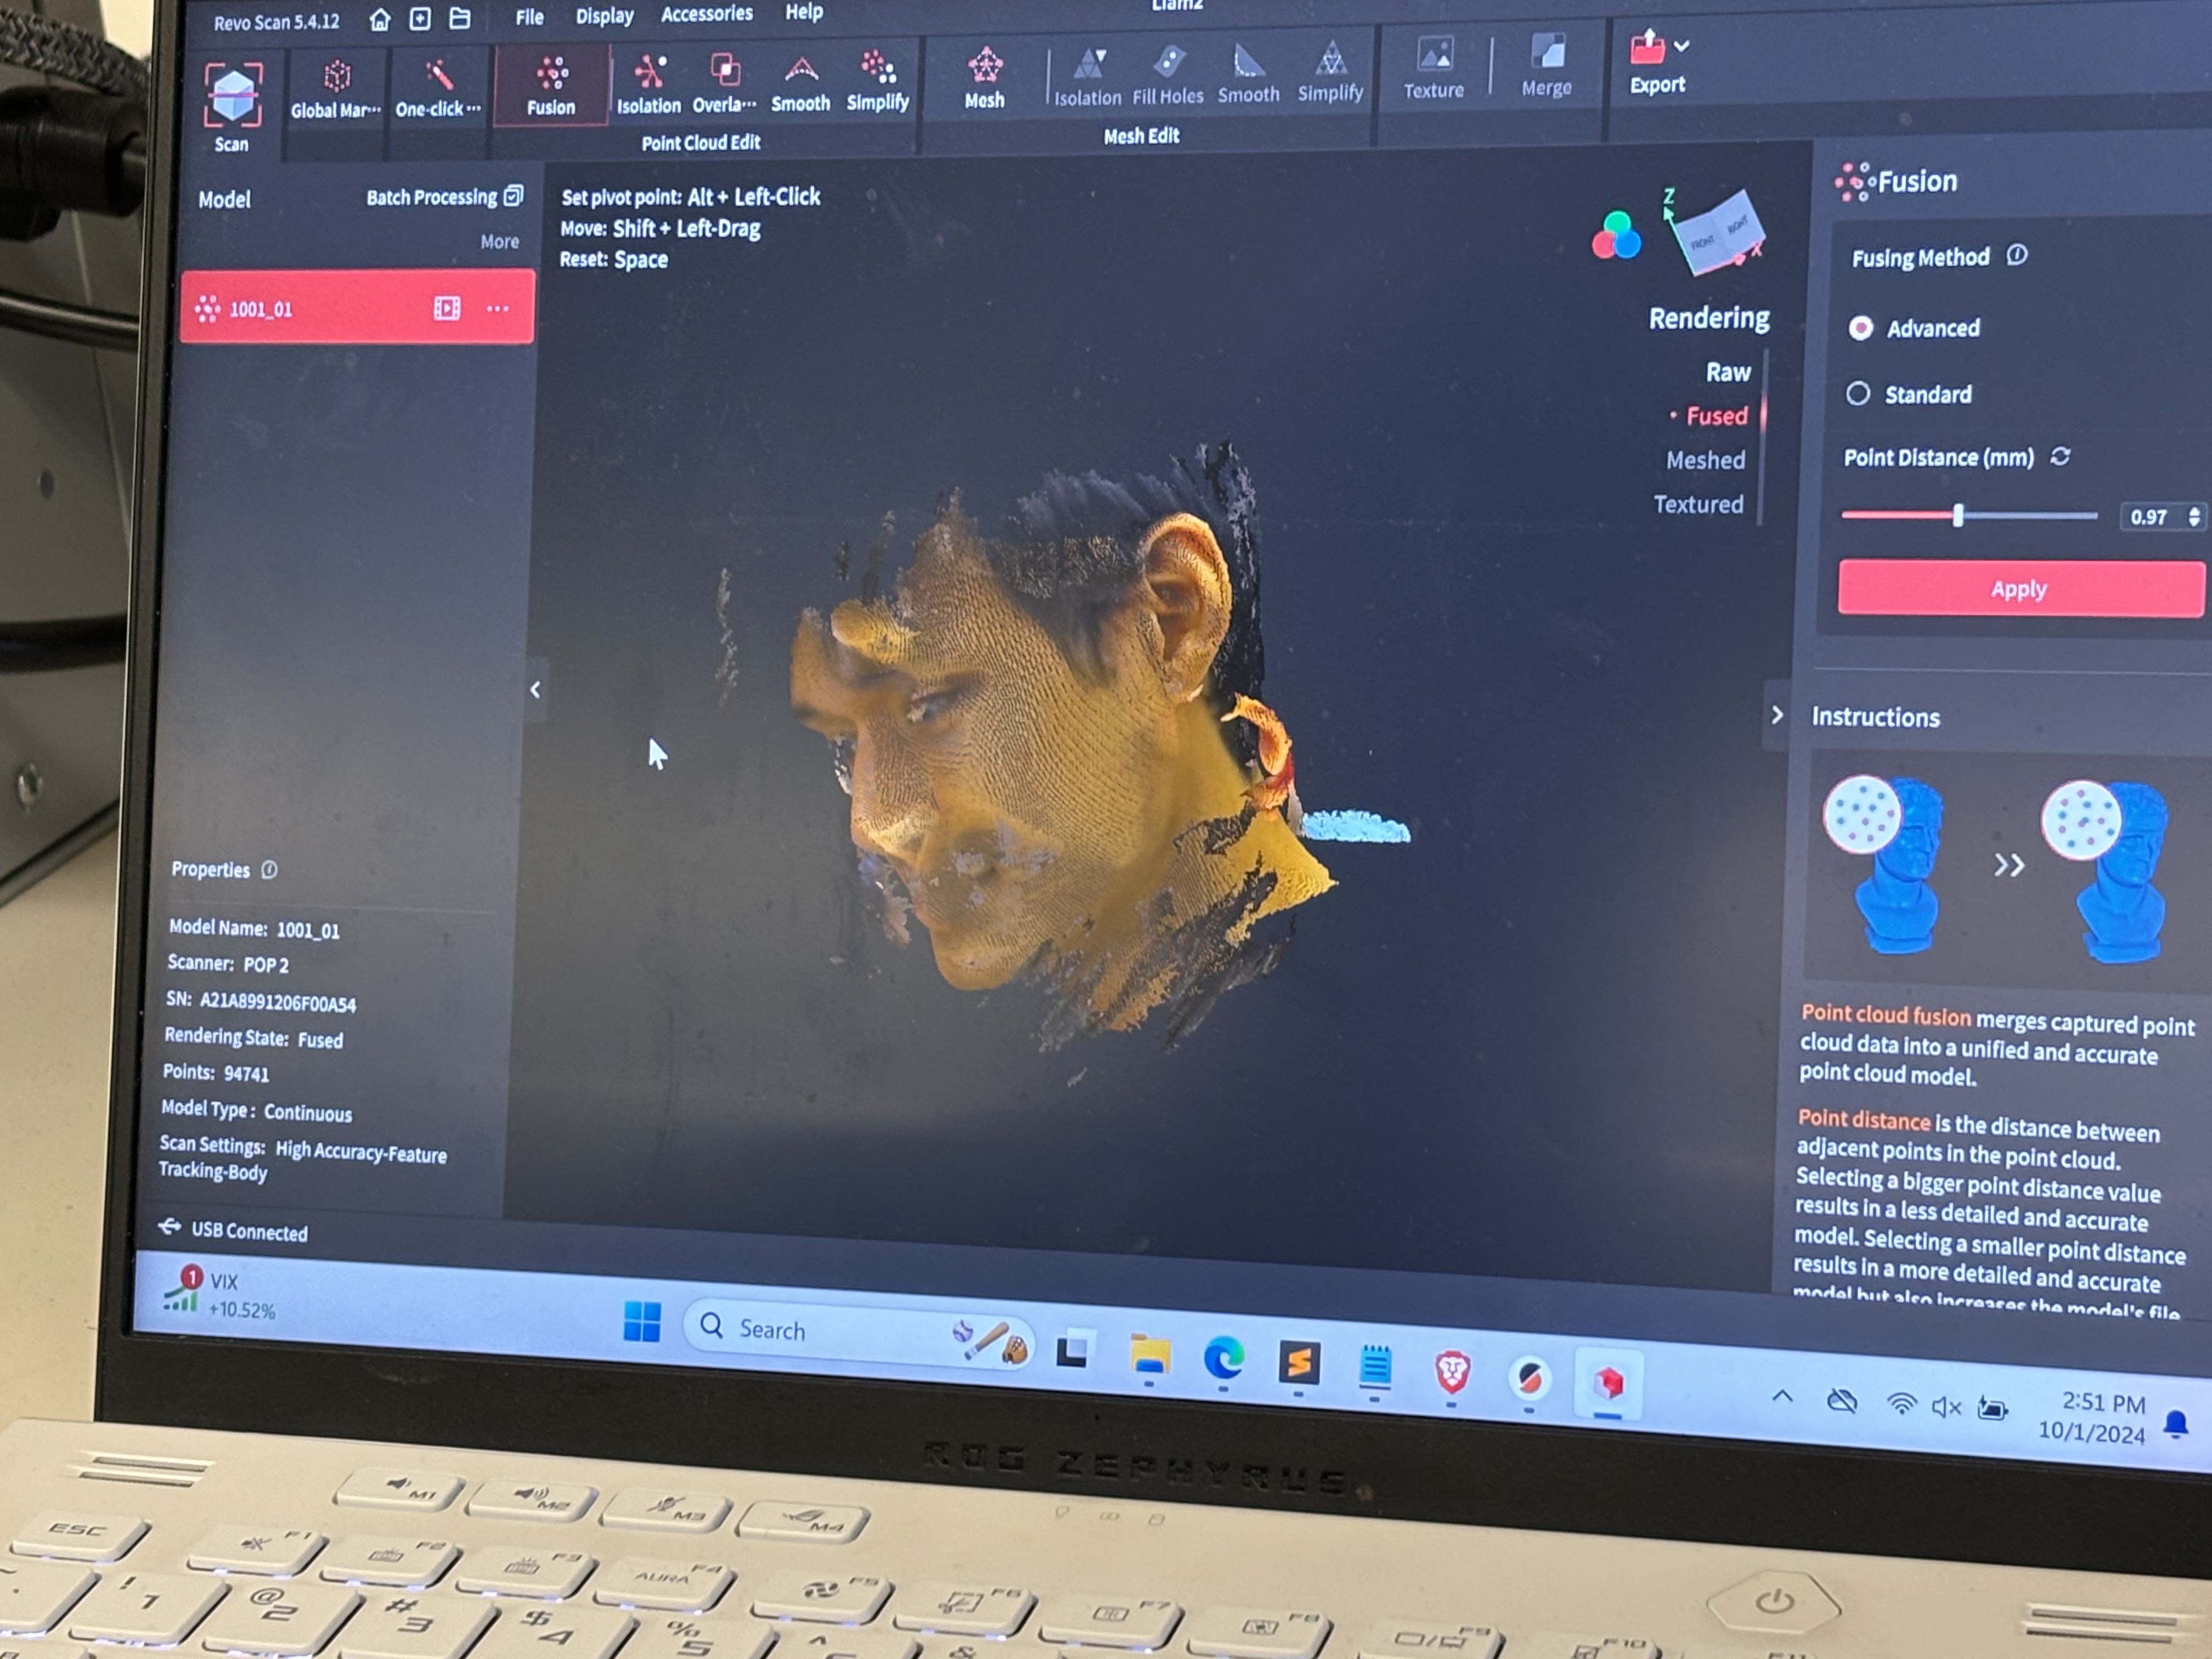
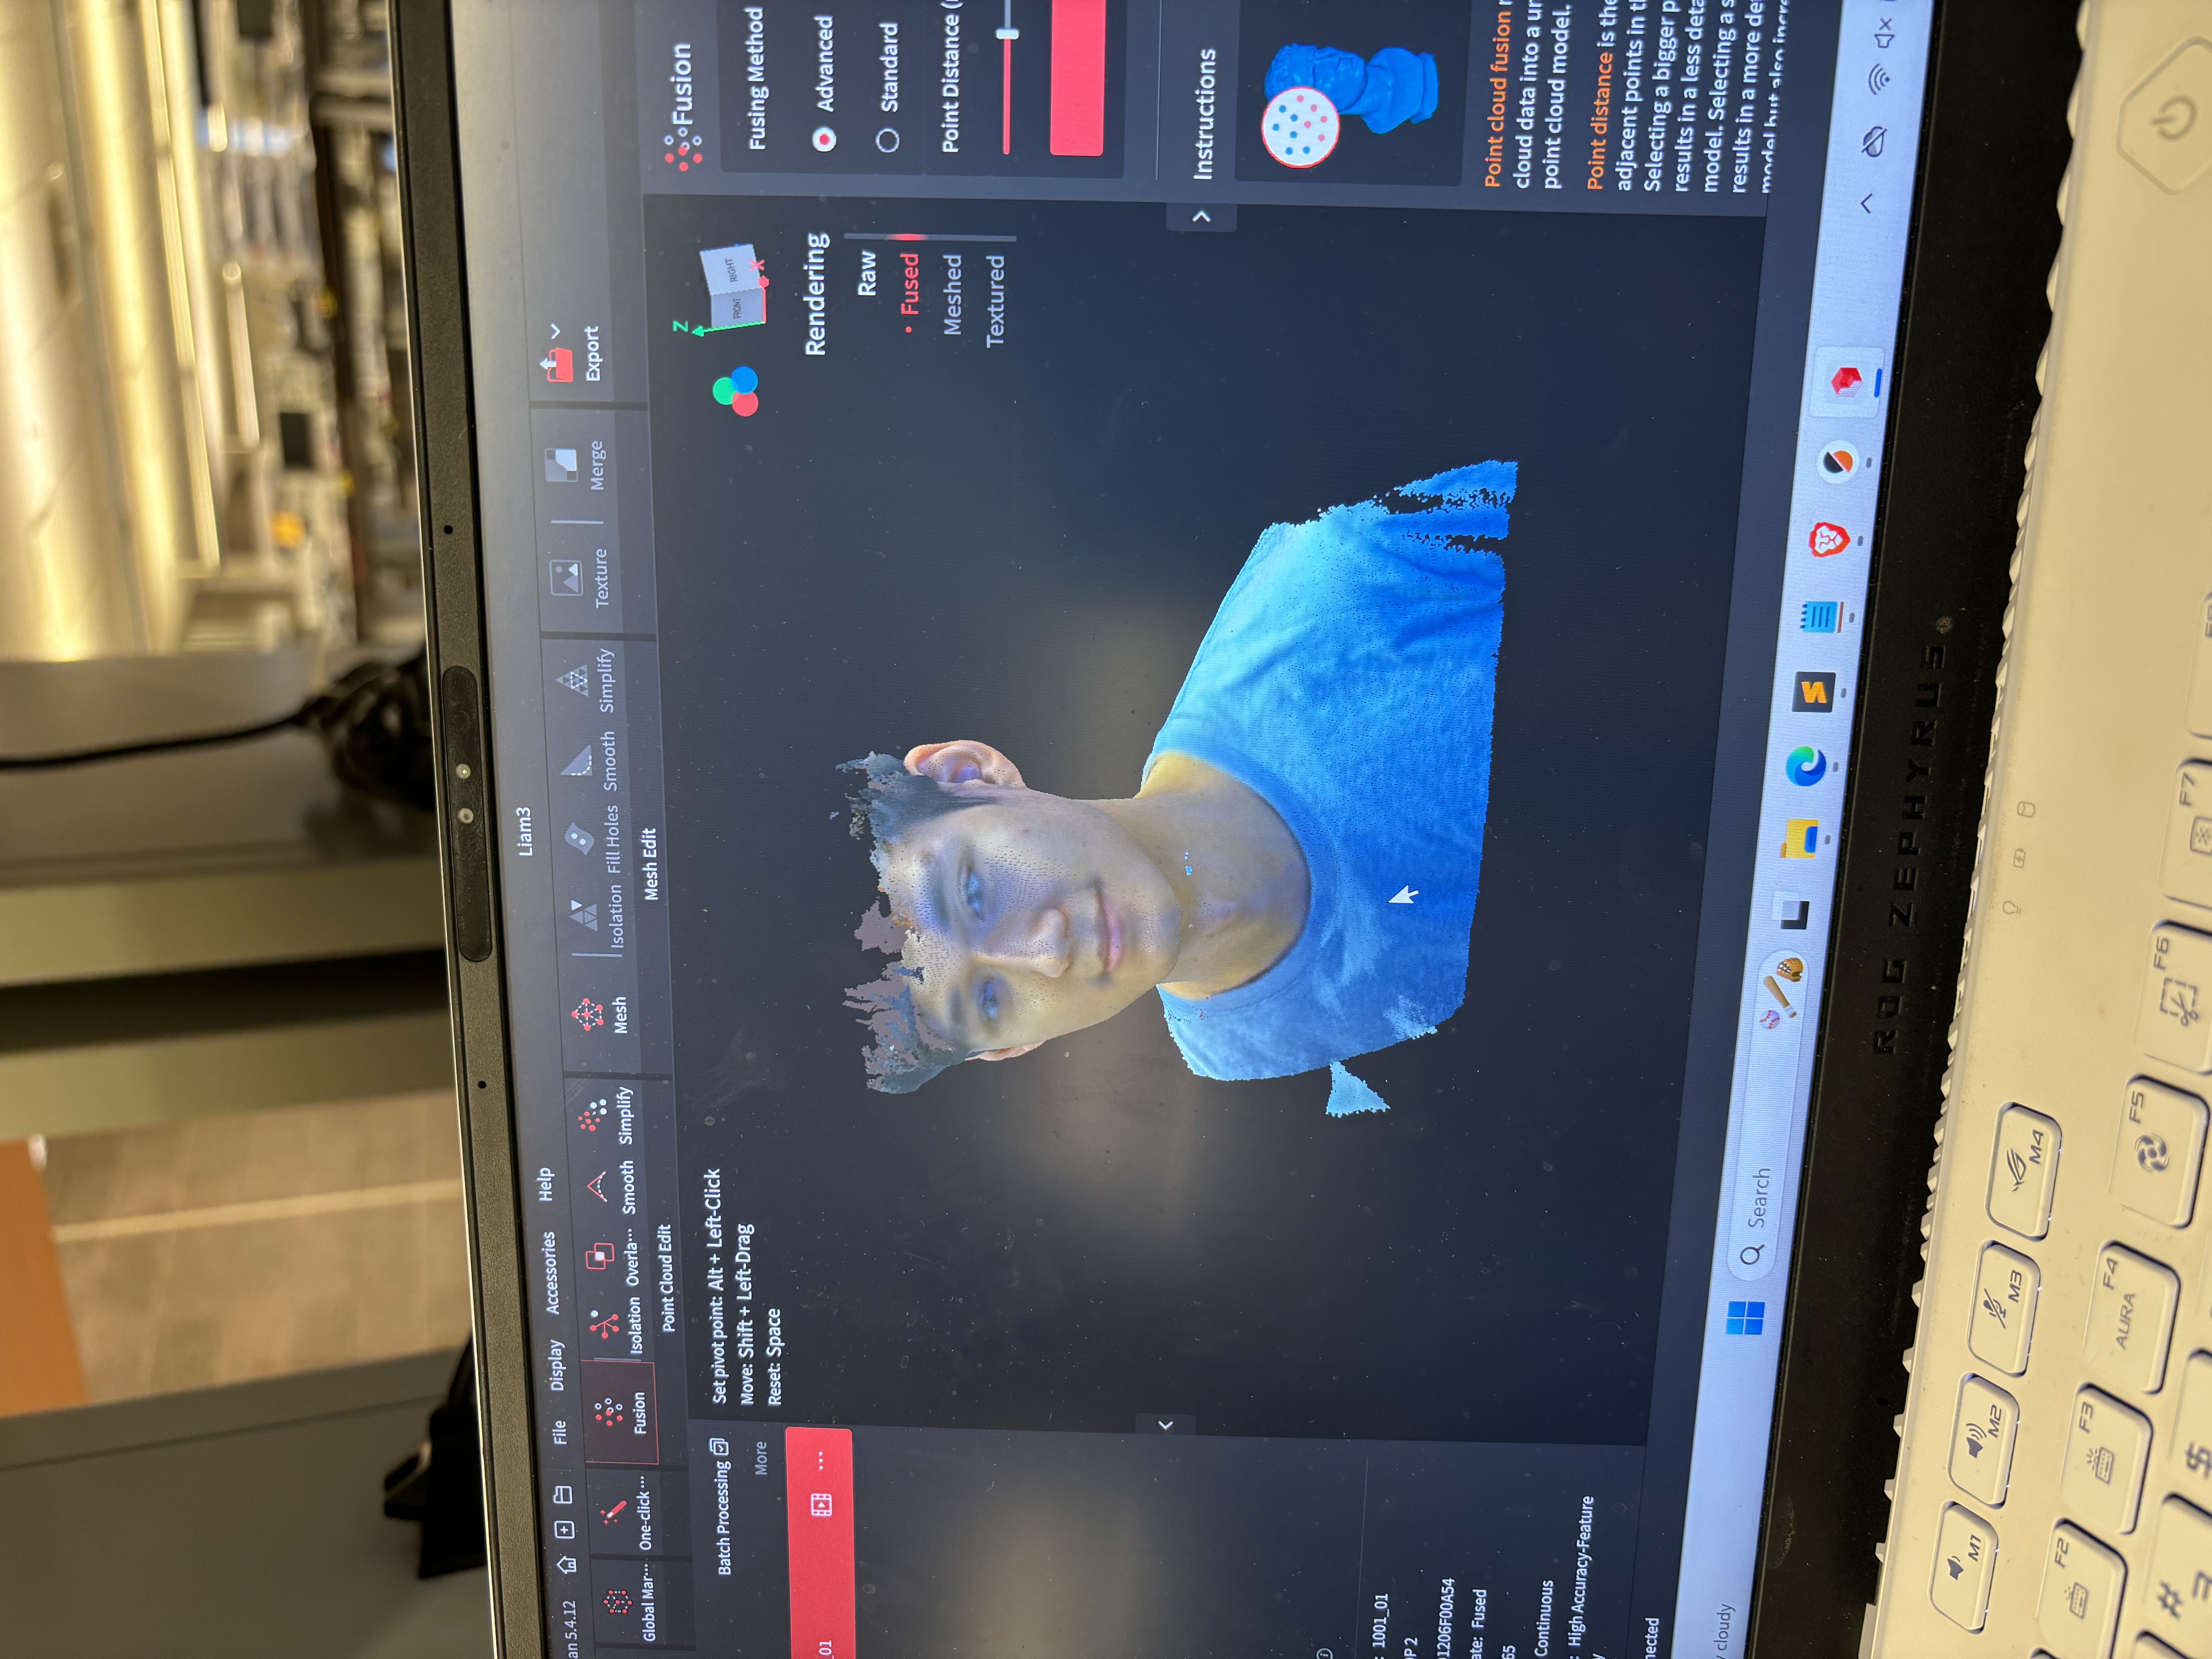
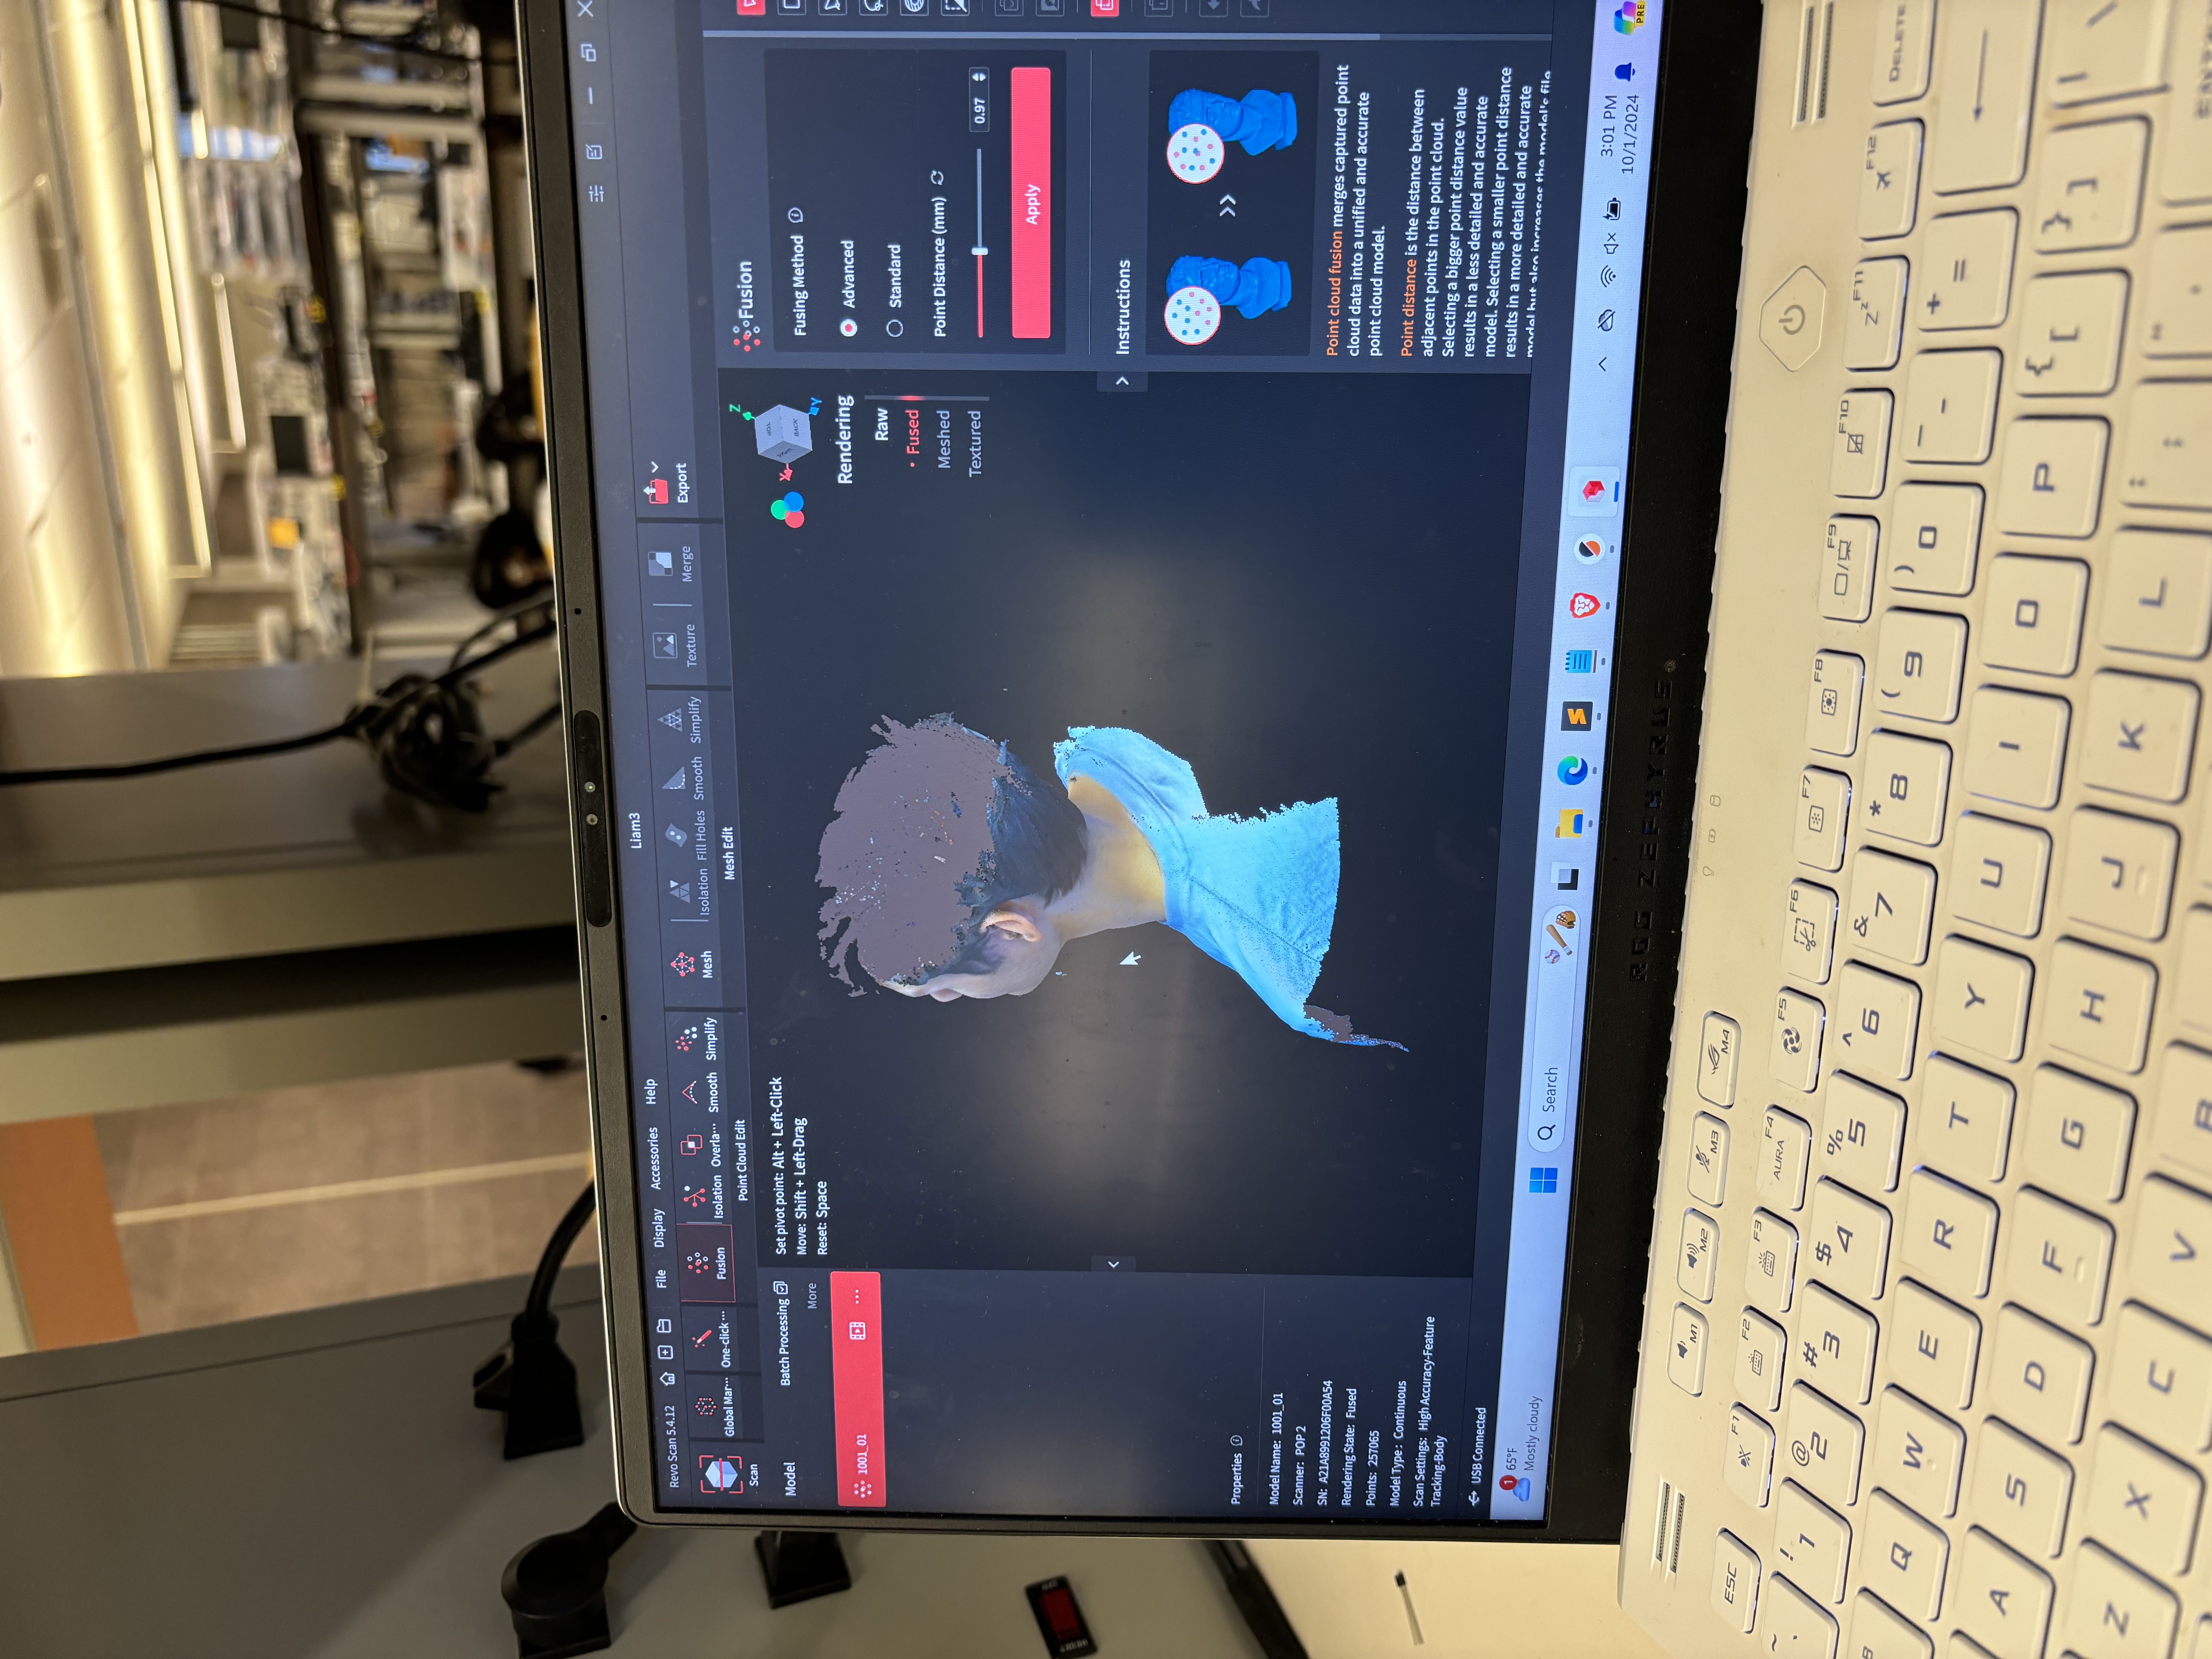
For the 3D scanning part of this week's project, I scanned myself using the 3D scanner at EDS. This was quite tricky, as it was difficult to capture all the details correctly in the point cloud. Here are some of the failed attempts:
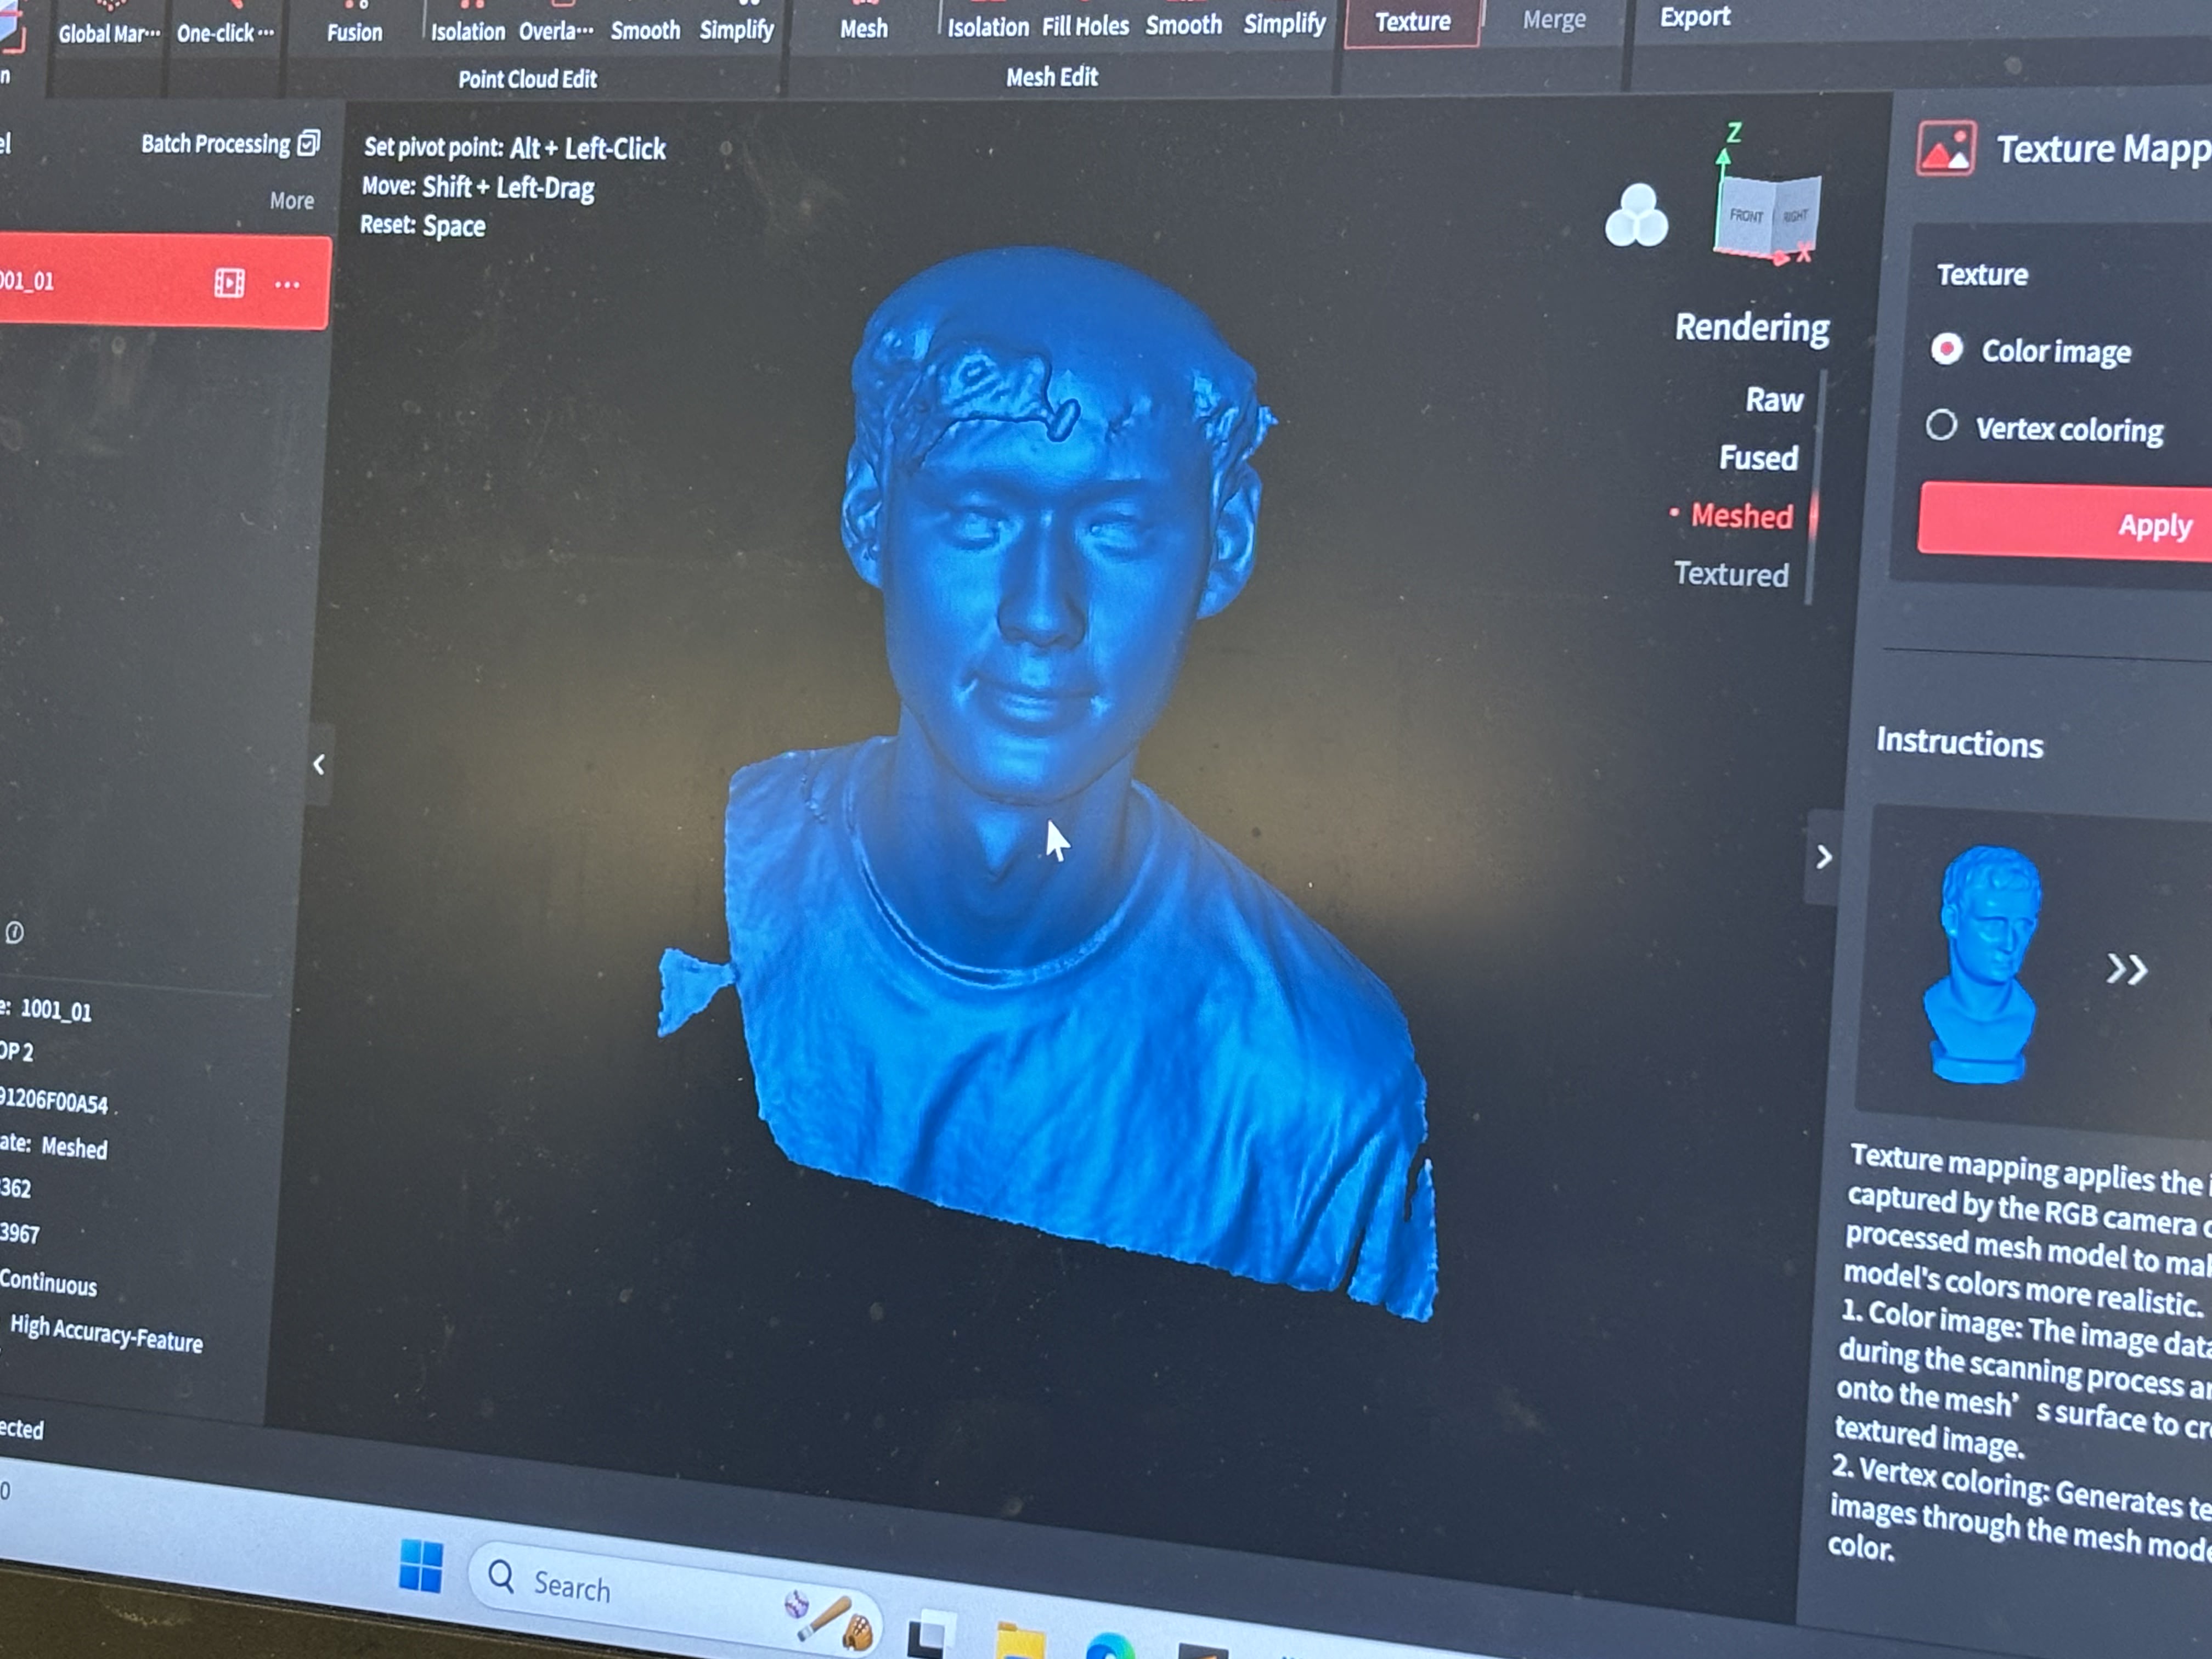
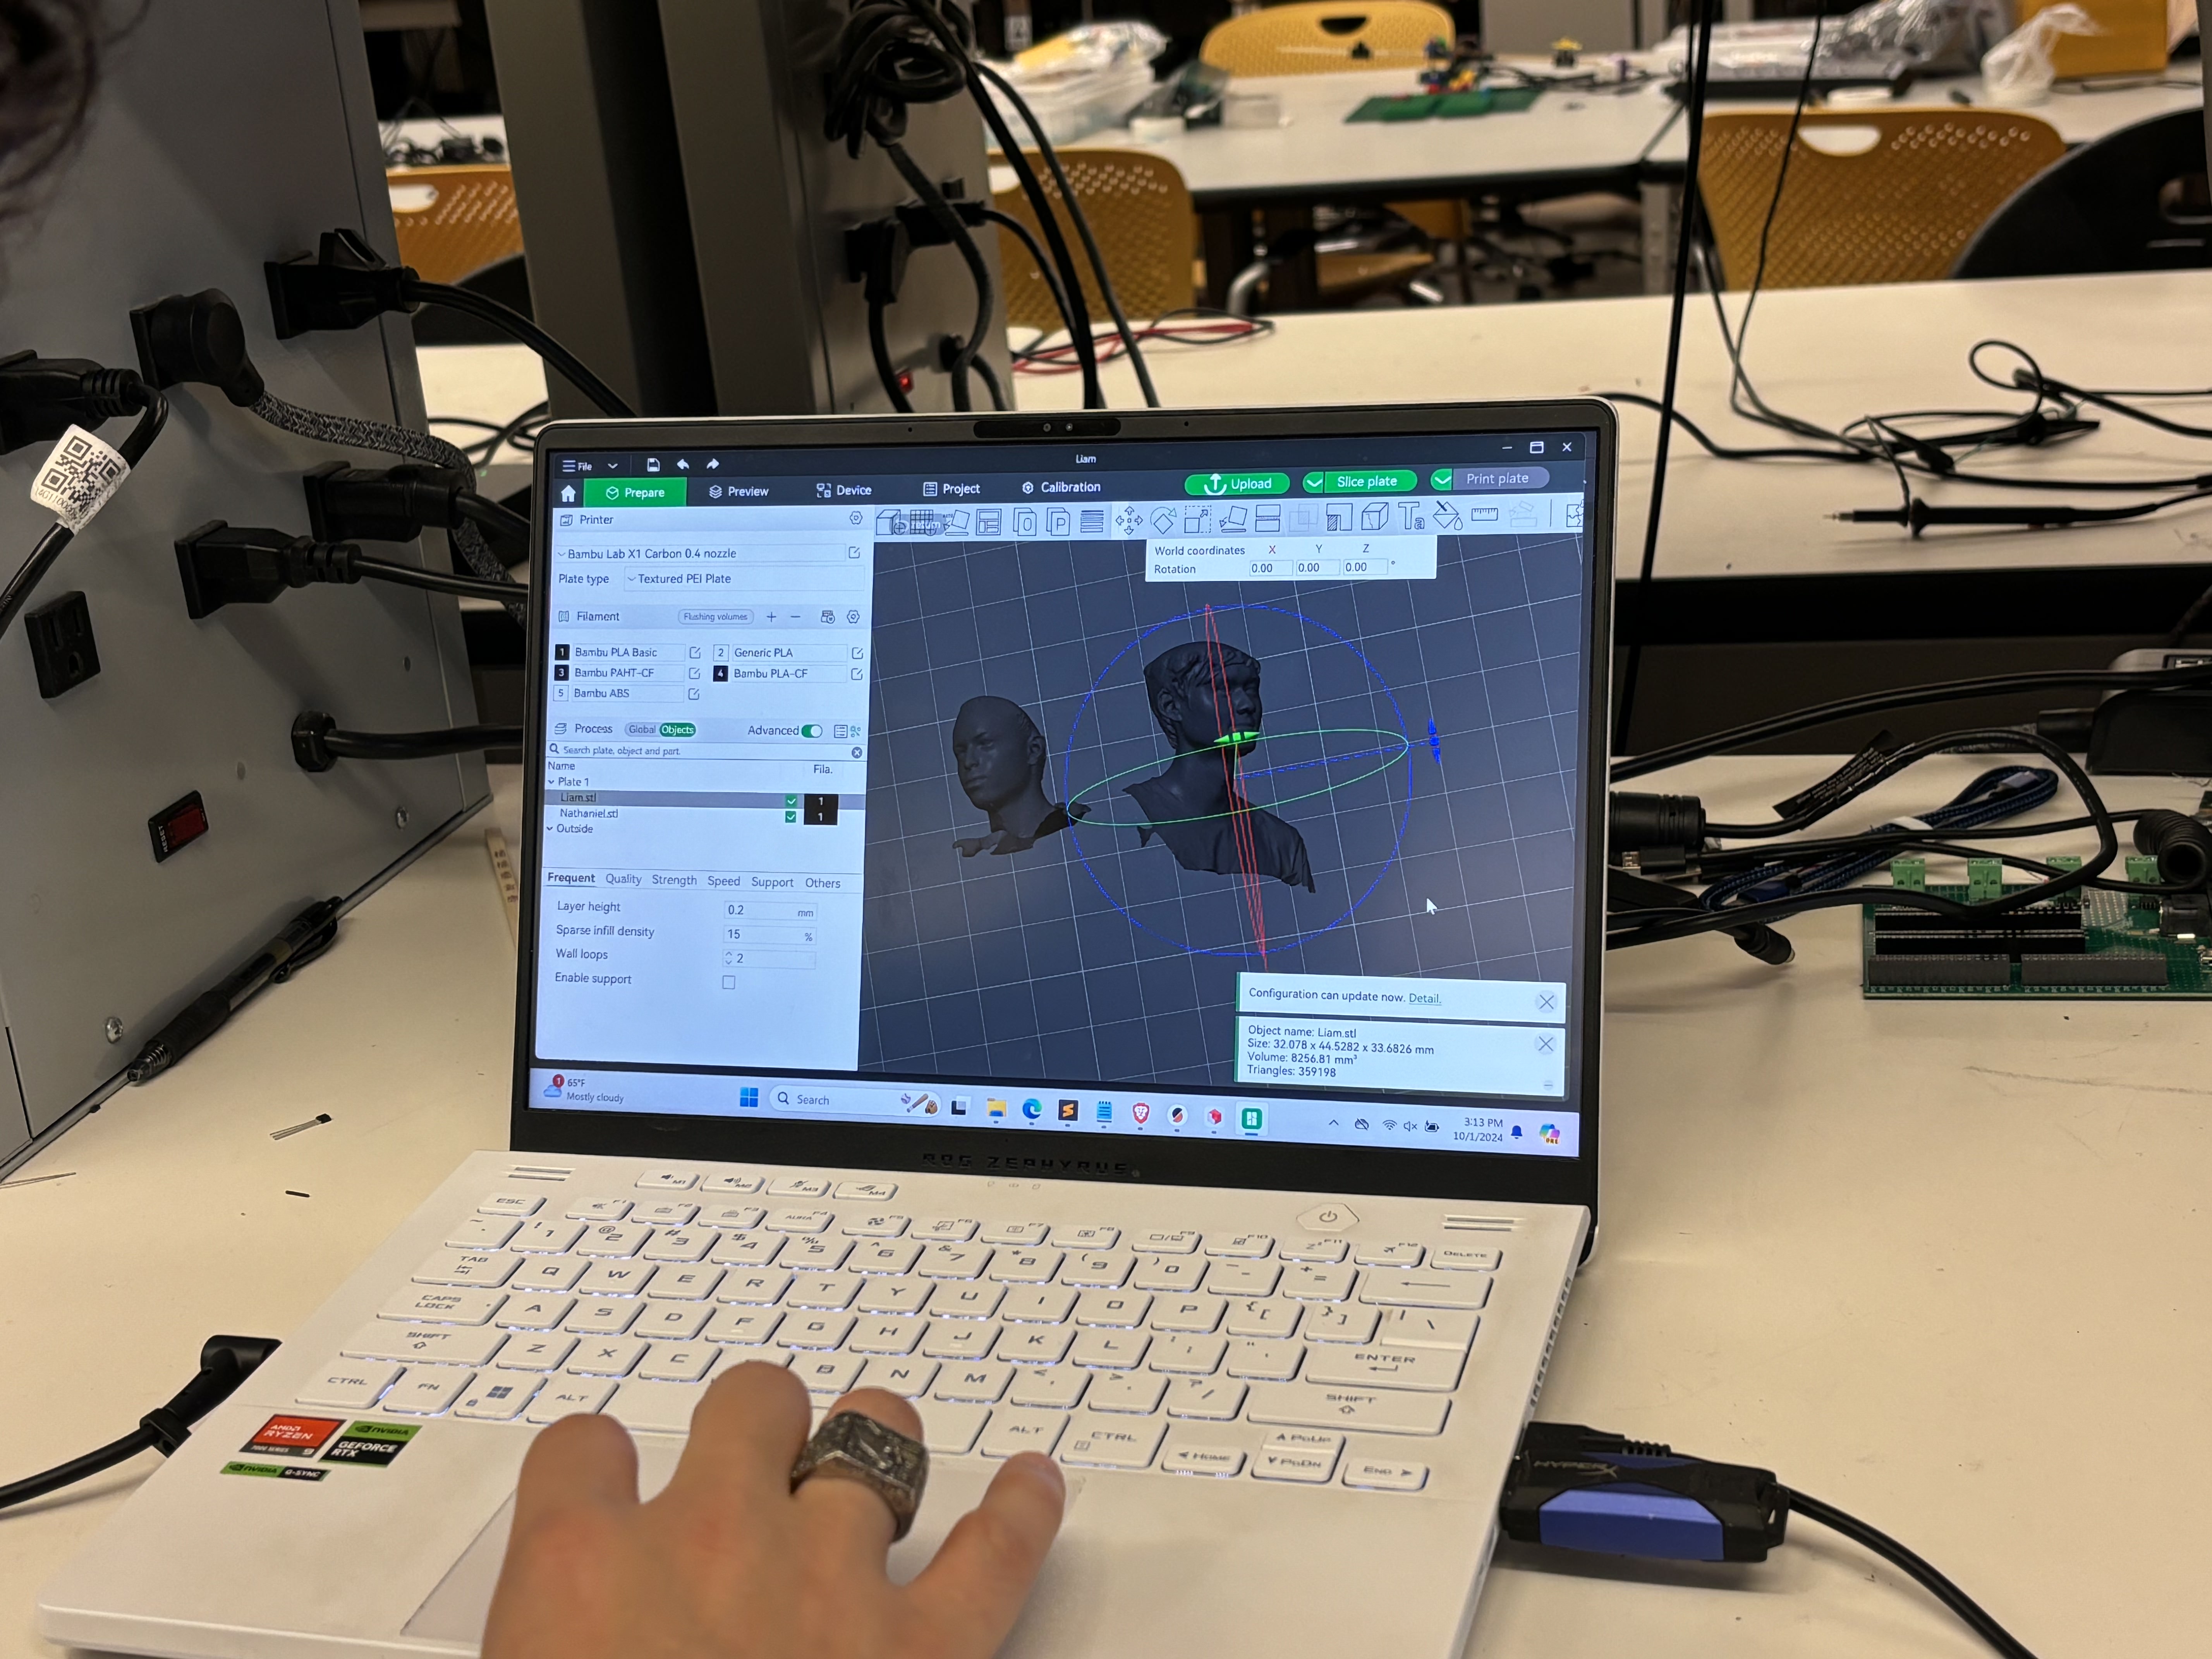
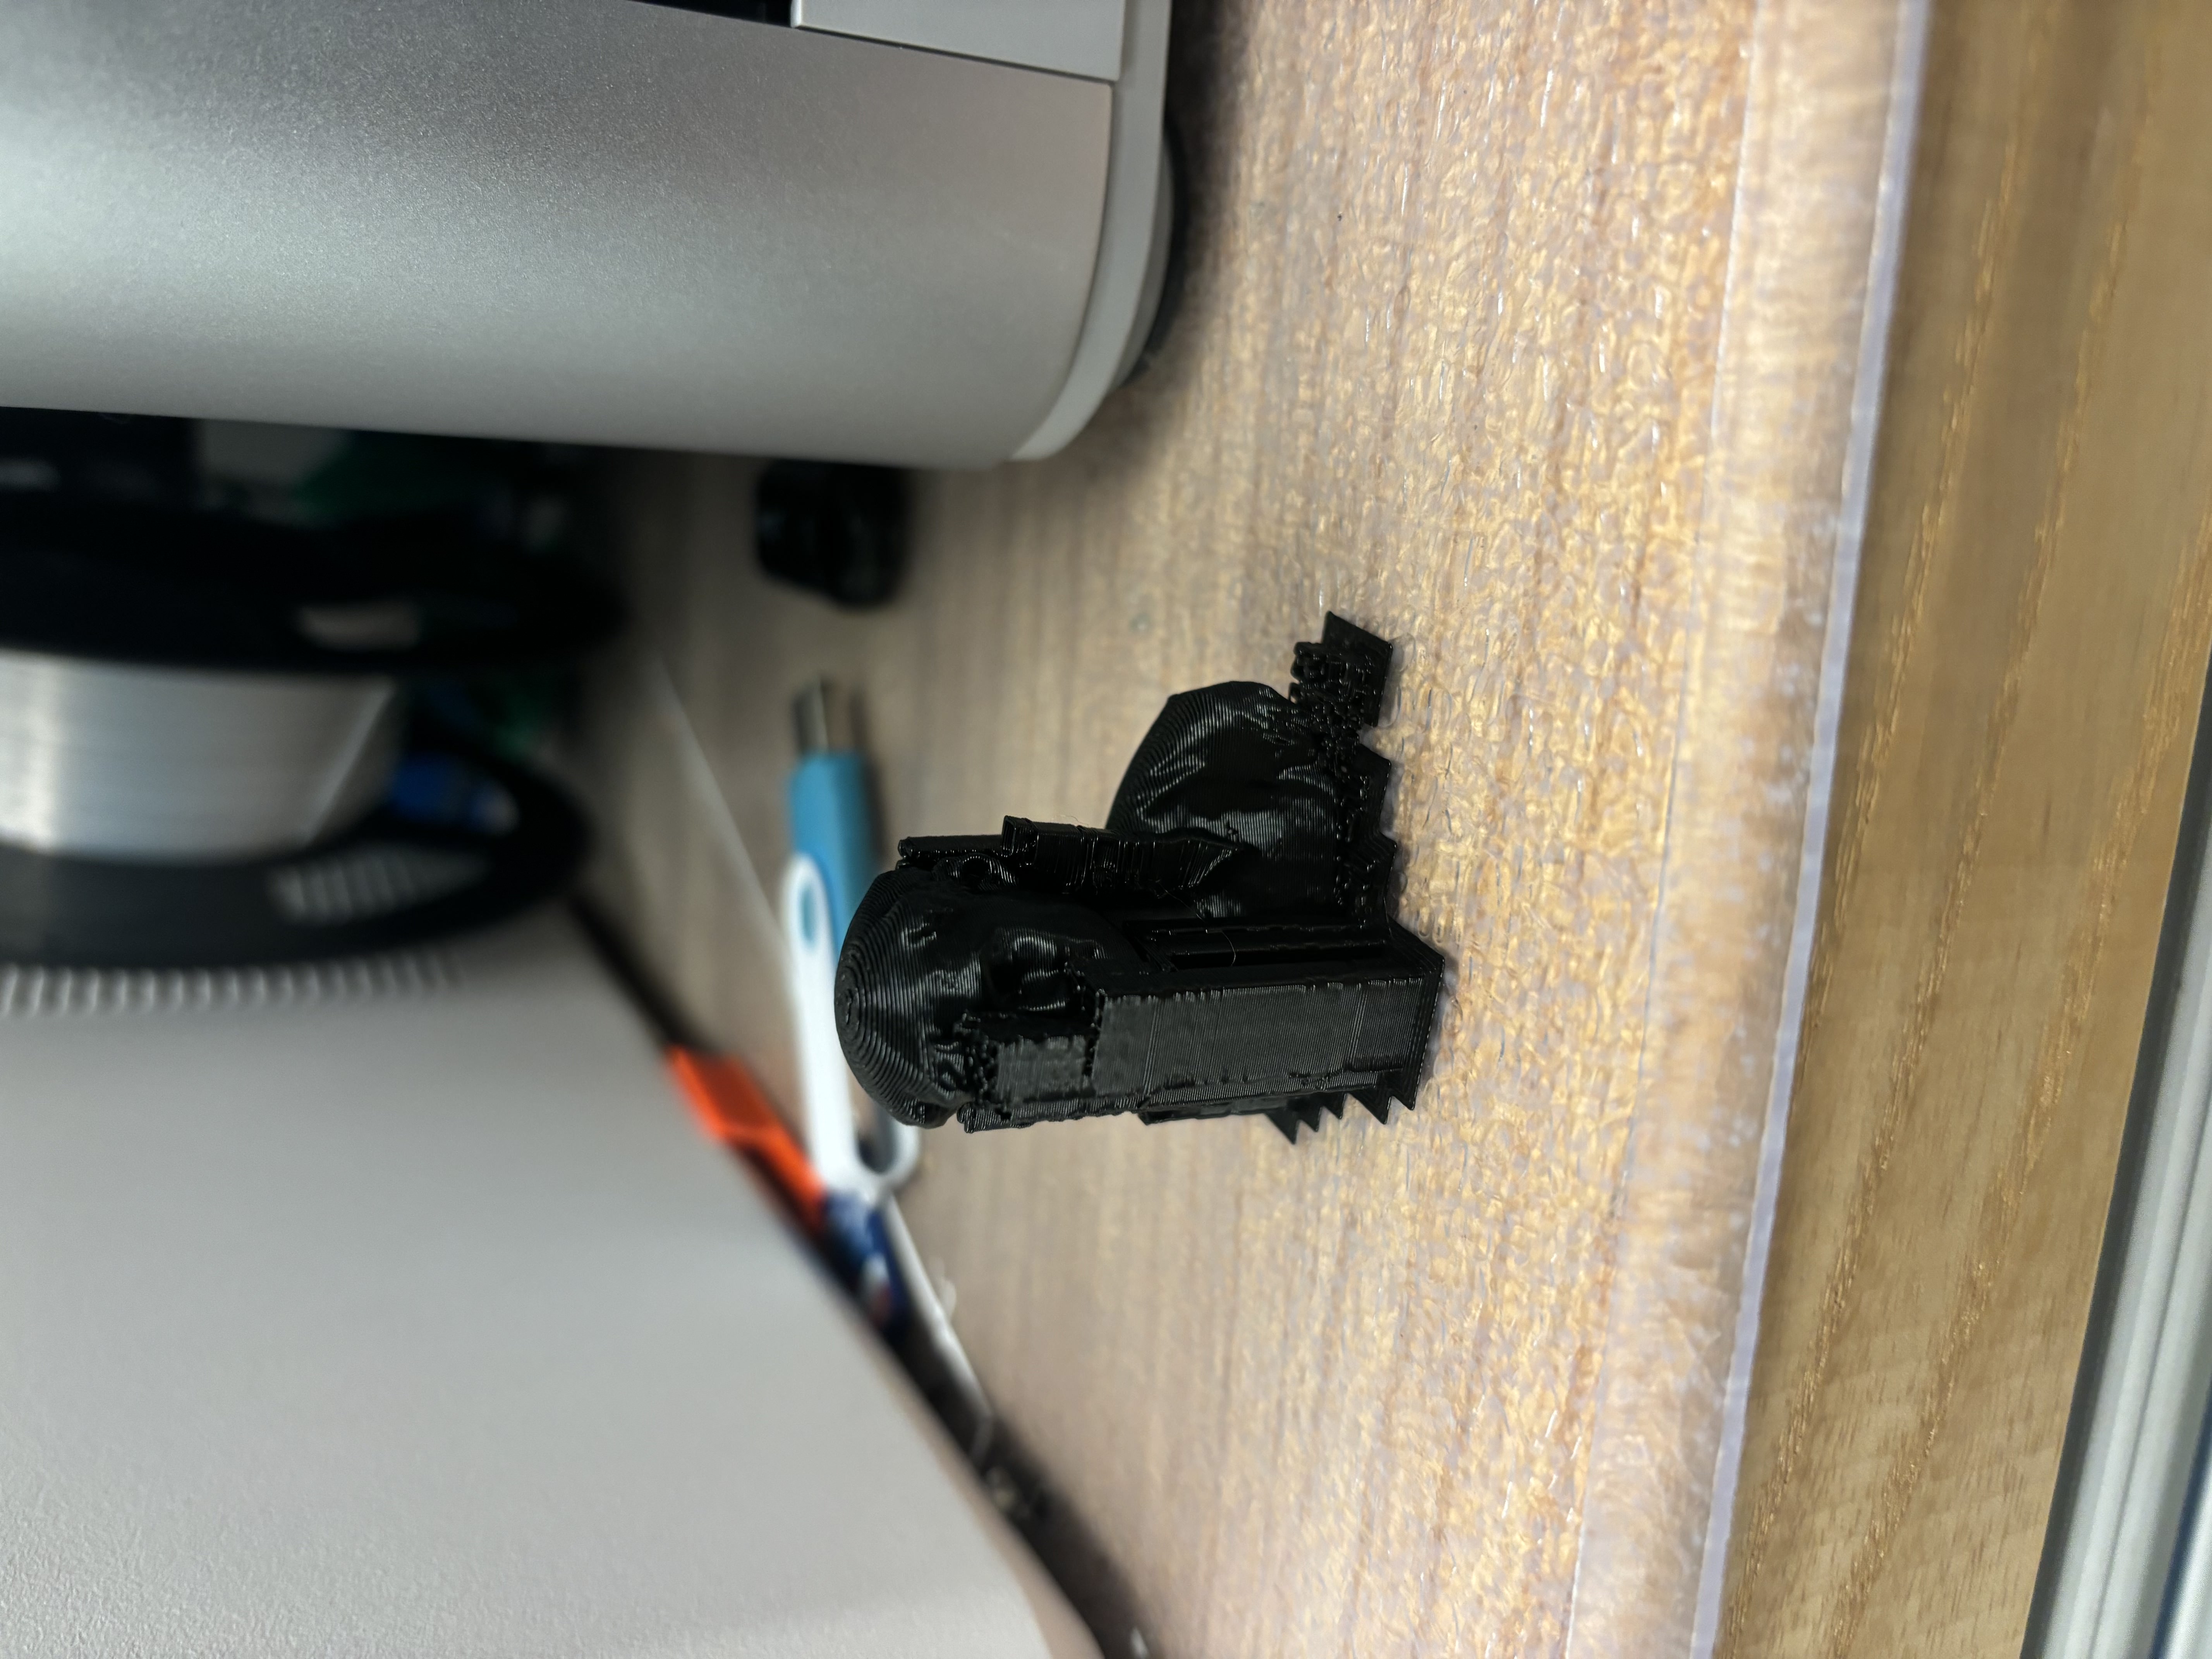
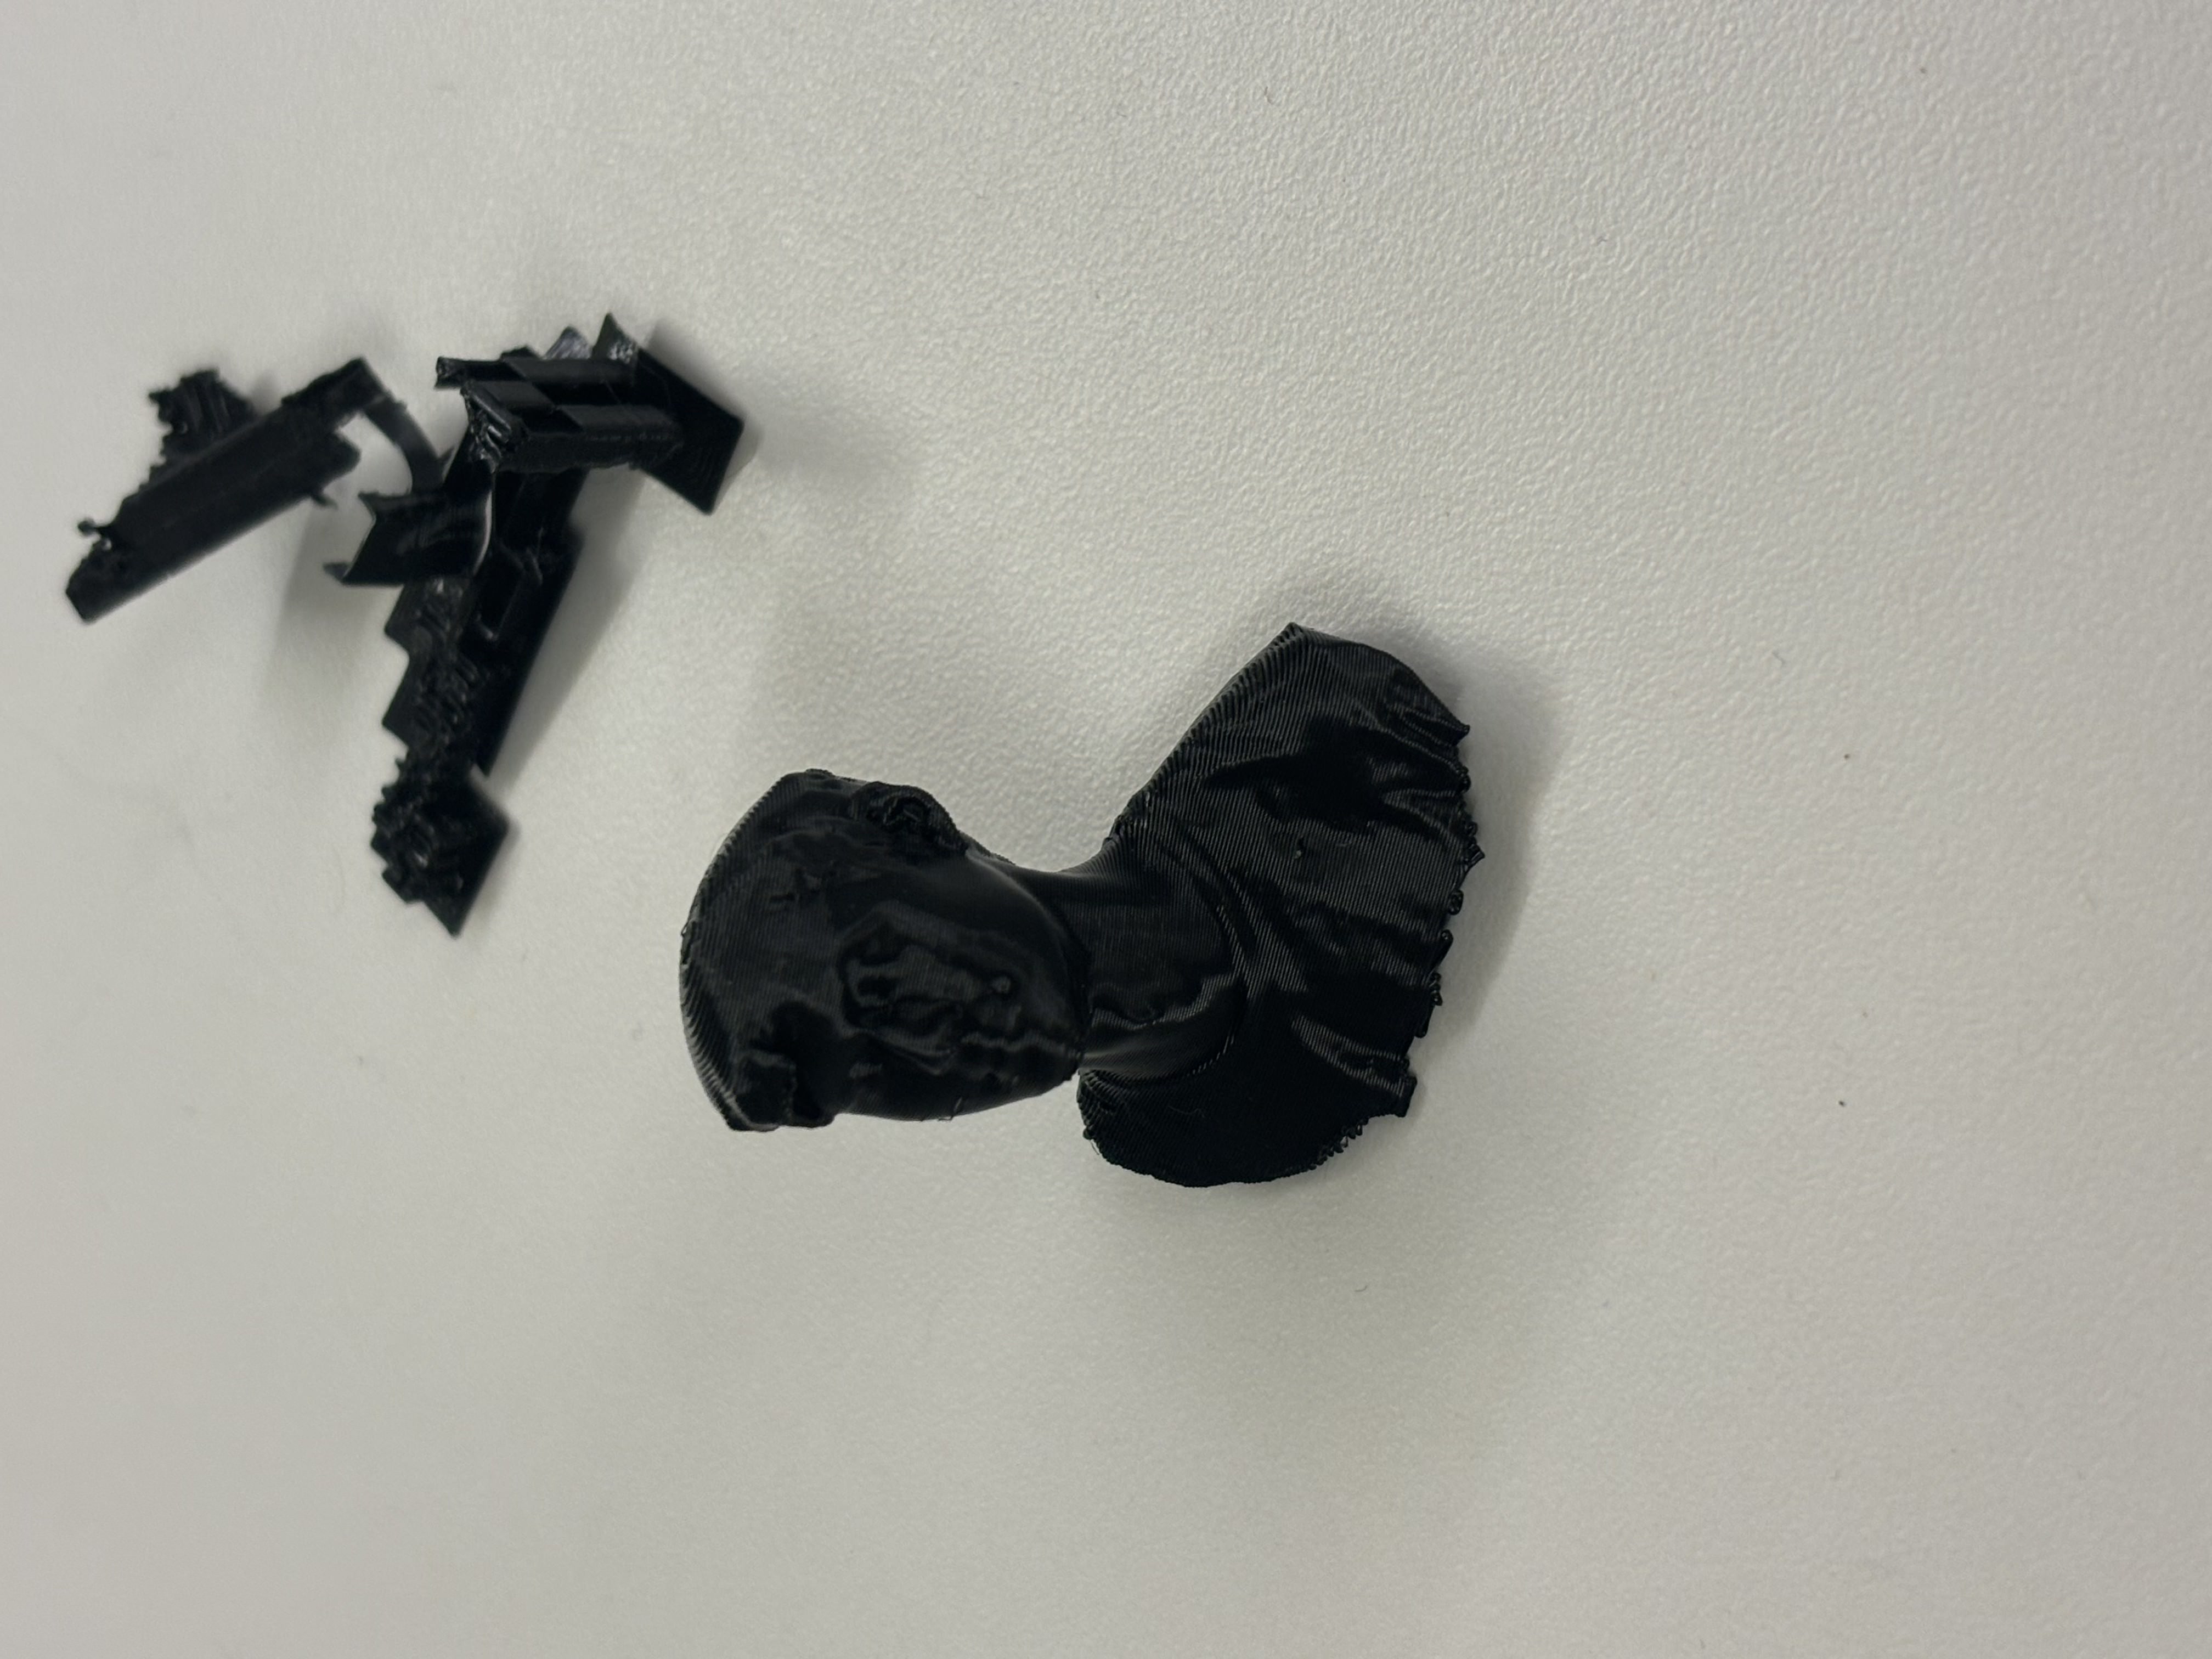
Eventually, I managed to capture a complete and accurate scan that I was happy with, which I then printed using the Bambu printer.
Polycam Scanning for Mouse Shoe
Lastly, I used the Polycam app to scan my flip-flop for my eventual computer mouse shoe project (which I’m still working on, especially acquiring the optical sensor!). Here’s the result of the Polycam scan:
Reflection
This week, I gained a better understanding of the limitations and strengths of both 3D printing and scanning. The gyroid-inspired wand was a great exercise in designing something that could only be made additively, while the 3D scanning portion introduced me to the challenges of capturing detailed models. I’m excited to continue refining these skills and incorporating them into future projects!
Next Week: Electronics Design →