Week 4: 3D Printing
Assignment 1: Design and 3D print an object that could not be made subtractively.
3D Printing counts as additive manufacturing, since it prints an object by building layers, working upwards to create the finished product. Subtractive manufacturing, like laser cutting, removes material to create the final product.
As said in class, something that can’t be made subtractively is something that can’t be made with an infinitely small hammer and chisel.
Examples of features that can’t be made subtractively are hollow structures, internal complex geometries, or undercuts/overhangs.
I decided to focus on printing a structure with overhangs. Inspired by these sick mecha headsets, I decided to design some headphone accessories of my own.
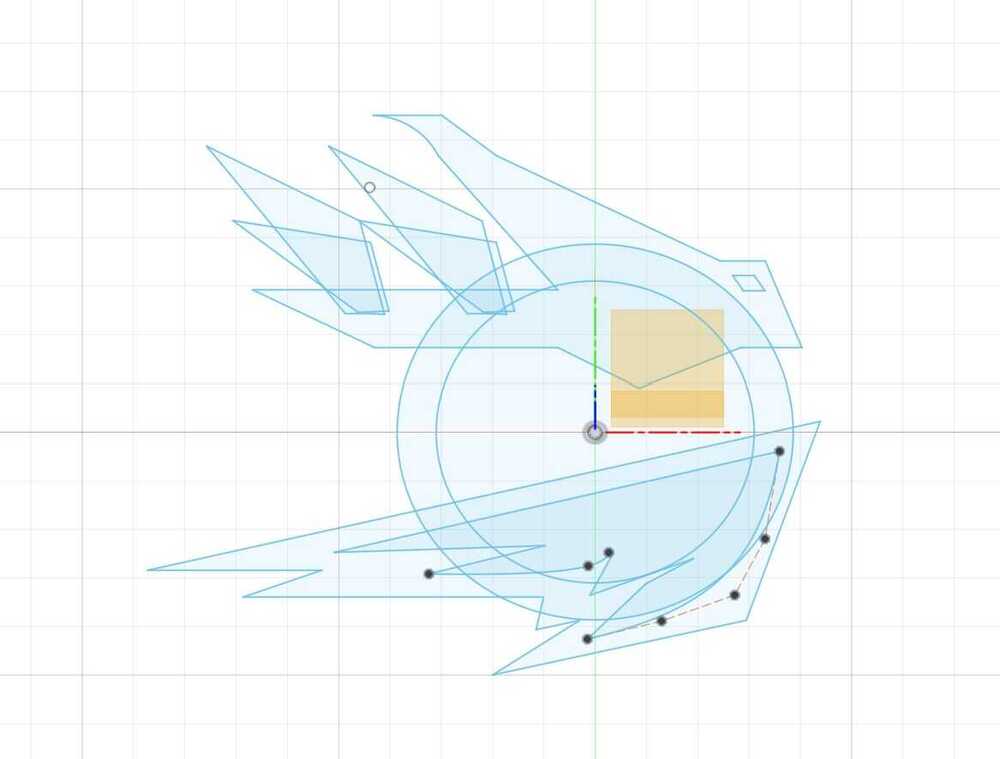
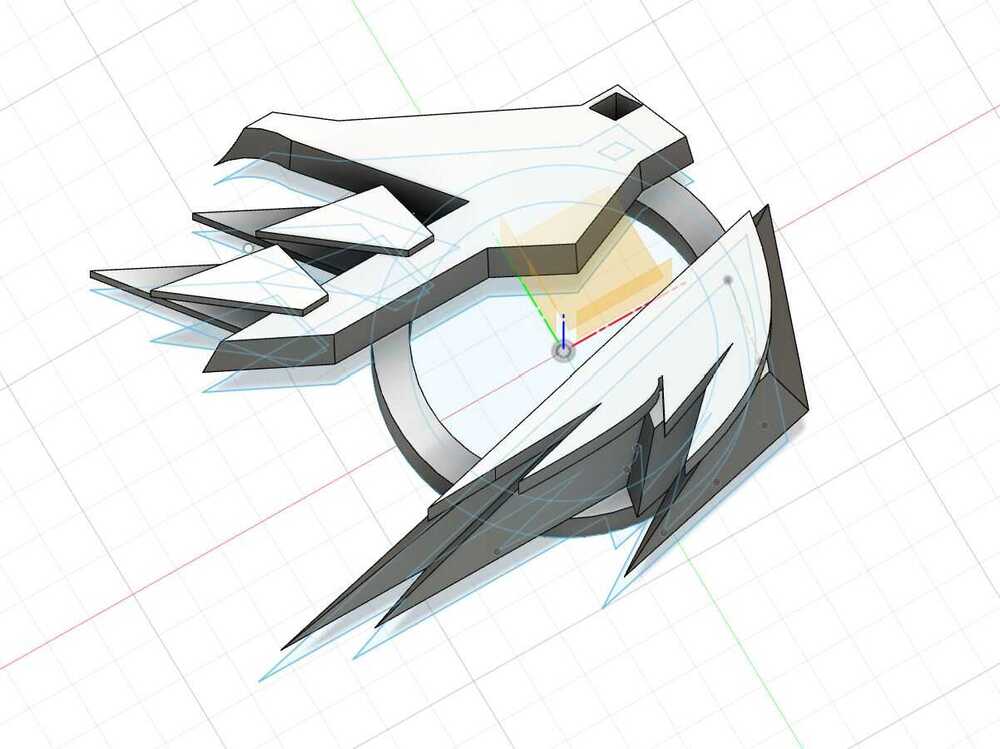
Initial CAD Sketch:
The base is a ring that will attach to the sides of my headphones. On top of the ring is a bird and wings that overhangs out from the ring. I also added additional layers on top of the wings and bird for more textures. Extruding not from the profile plane, but from the face of an object made creating these overhangs easy!
Now it was time to print! First, I had to convert my body into a mesh (with high resolution) on Fusion360, convert it to an STL file (stereolithography - common format for 3D printers that stores geometry as 3D modelof triangles).
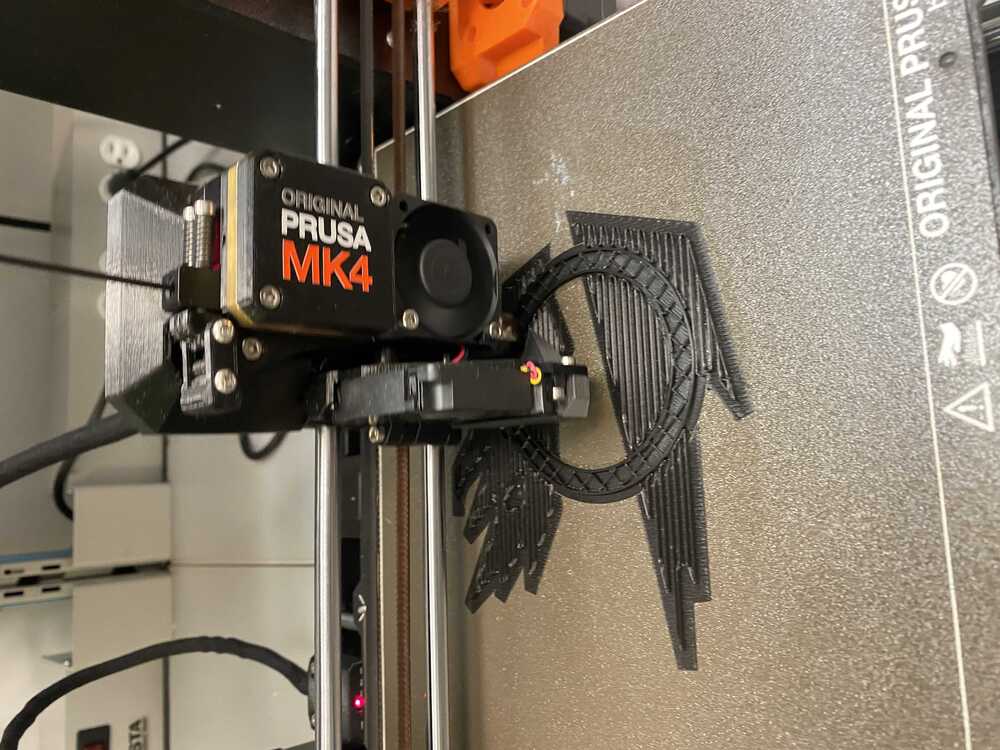
Then, I imported the STL file into the PrusaSlicer software, where I could modify settings such as how much infill to put, add support, create brims for stability, and more.
Supports are additional structures added to the print to support features such as overhangs while printing. I was surprised how automated it was - I expected to have to design my own supports, but the software did so automatically! We were also told about limitations regarding sharp corners and overhang length - thanks to the automatically generated supports, I was able to keep my overhangs and corners without changing my CAD.
Upon slicing using the PrusaSlicer and exporting the G-CODE/uploading it to the printer, we were good to go!
The software converts the structure into a bunch of slices, which it uses to print. My print time was 2 hours.
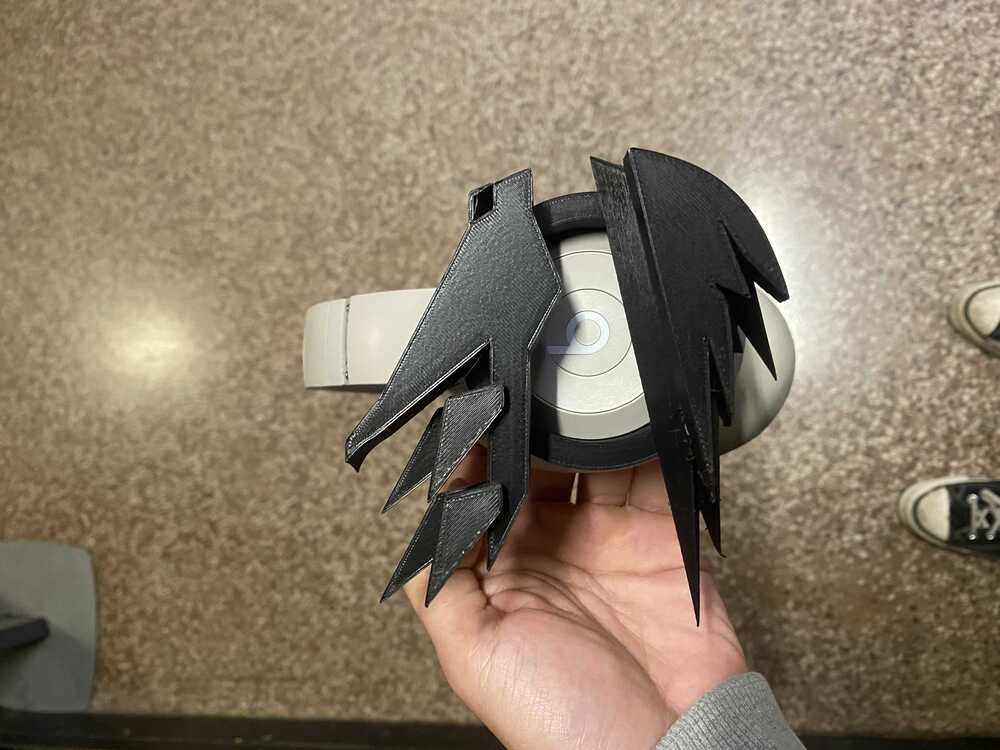
Final product
Assignment 2: 3D Scanning
3D scanners project a light ray to an object, mapping out the object’s features from the reflected ray. As a result, bright objects are really easy to scan!
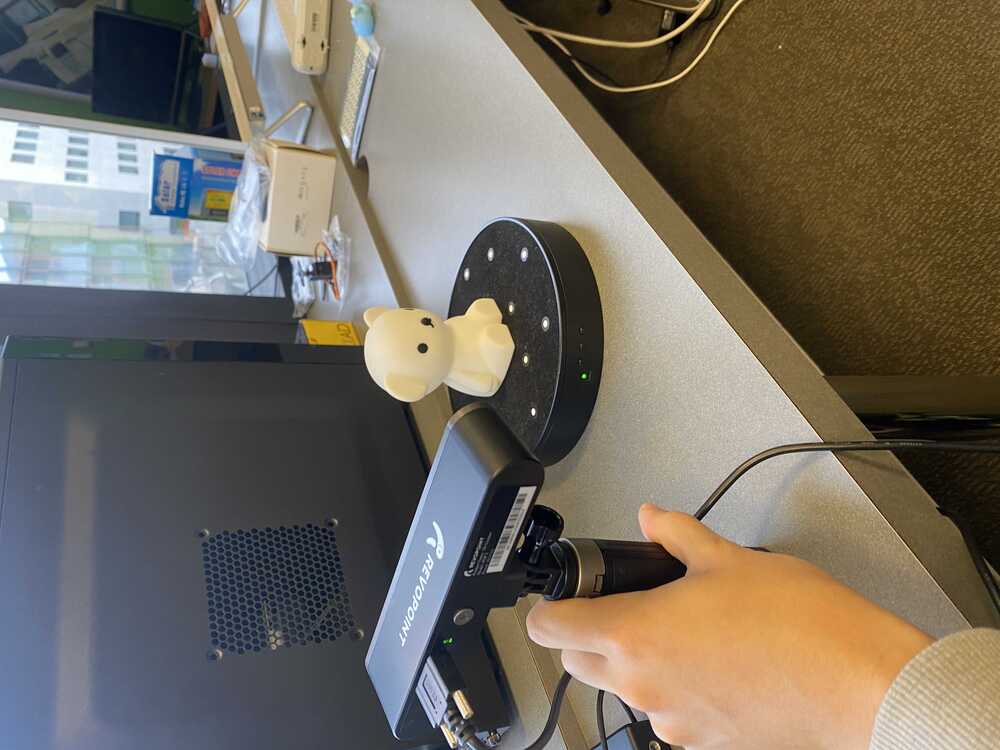
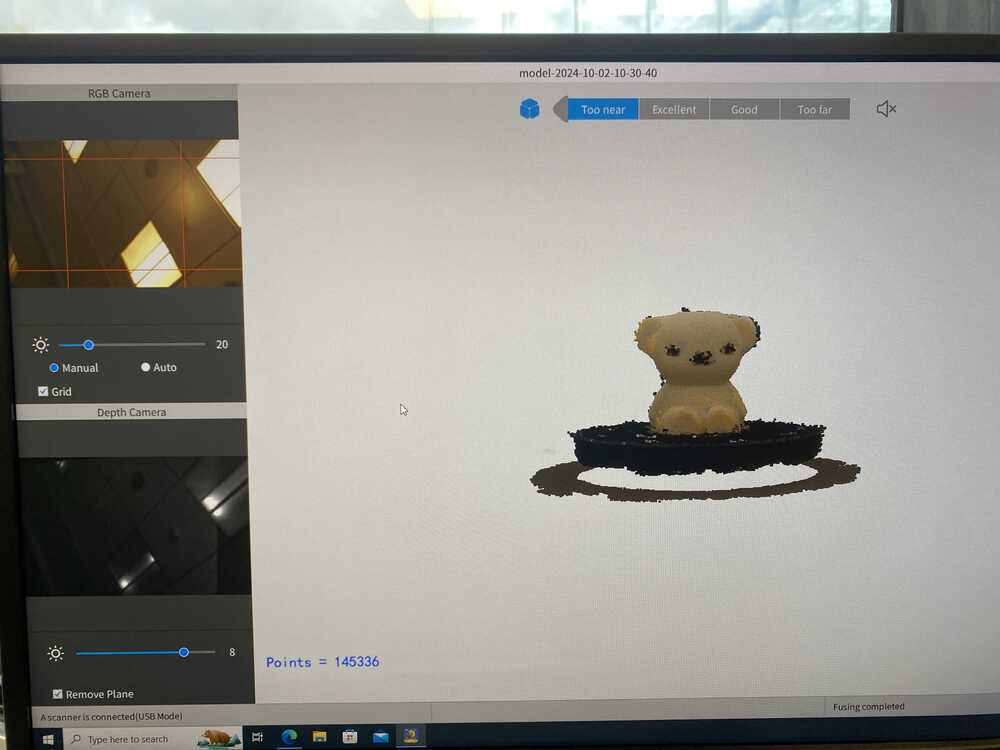
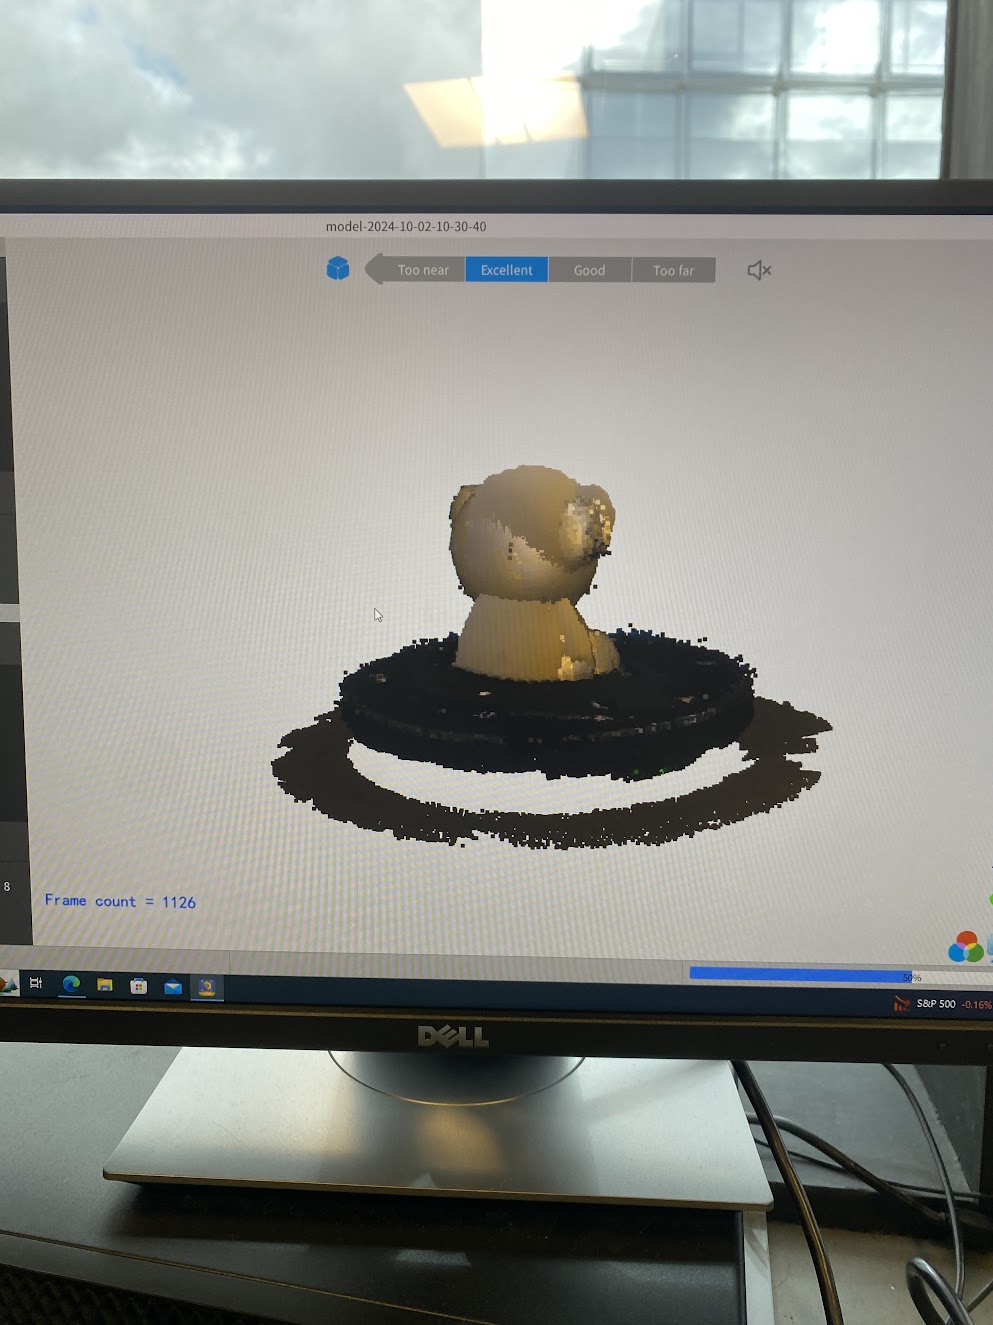
I decided to scan this white bear lamp that I had. I simply put the bear on the rotating tray, held the scanner still, and after 1 minute, the scan was finished!
Group Project
The group project for this week was to test the design rules for our 3D printer, the handy PrusaSlicer.
Using given test prints, we were able to determine important metrics such as how much overhang can be supported, the offset necessary for a piece to slide loosely along a pole, and more!
Group Project Link
