Week of Sep 11 2024
Trying out the vinyl cutter, figuring out laser cutting settings as a group, and designing and producing a parametric kit of parts; also to build a personal site in the class archive
1. Vinyl cutting
I designed an onomatopoeiac logo for my name (saying the letters "U-T-N" out loud is a close enough approximation of my name, much better than the oft-butchered pronunciations I receive.) After manipulating the linework in Inkscape, I offset and filleted a border using Rhino, so that the vinyl sticker can come off in one piece.

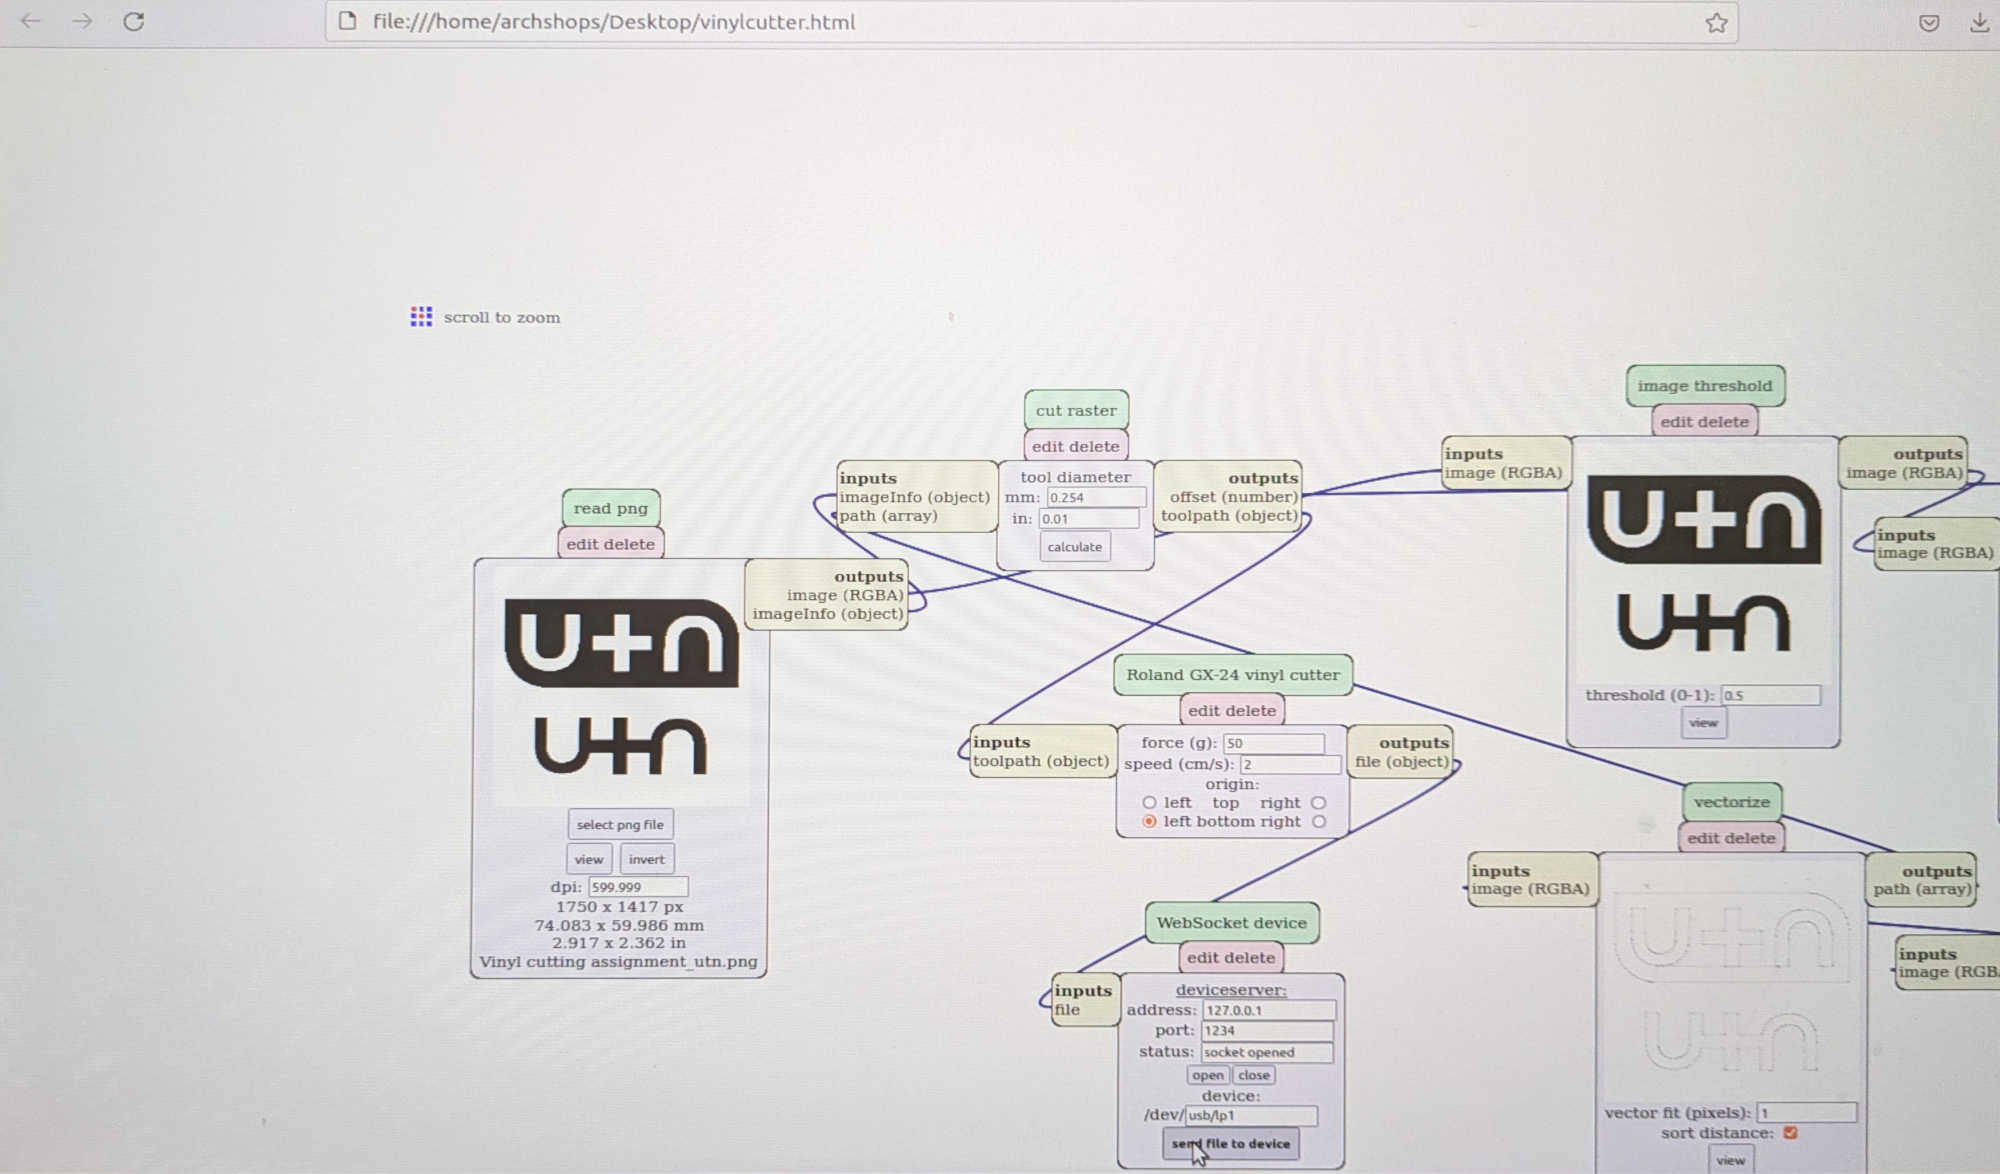
The vinyl cutter in the MIT Architecture shop runs on Linux, so it was fun to use a brand new interface for the very first time.
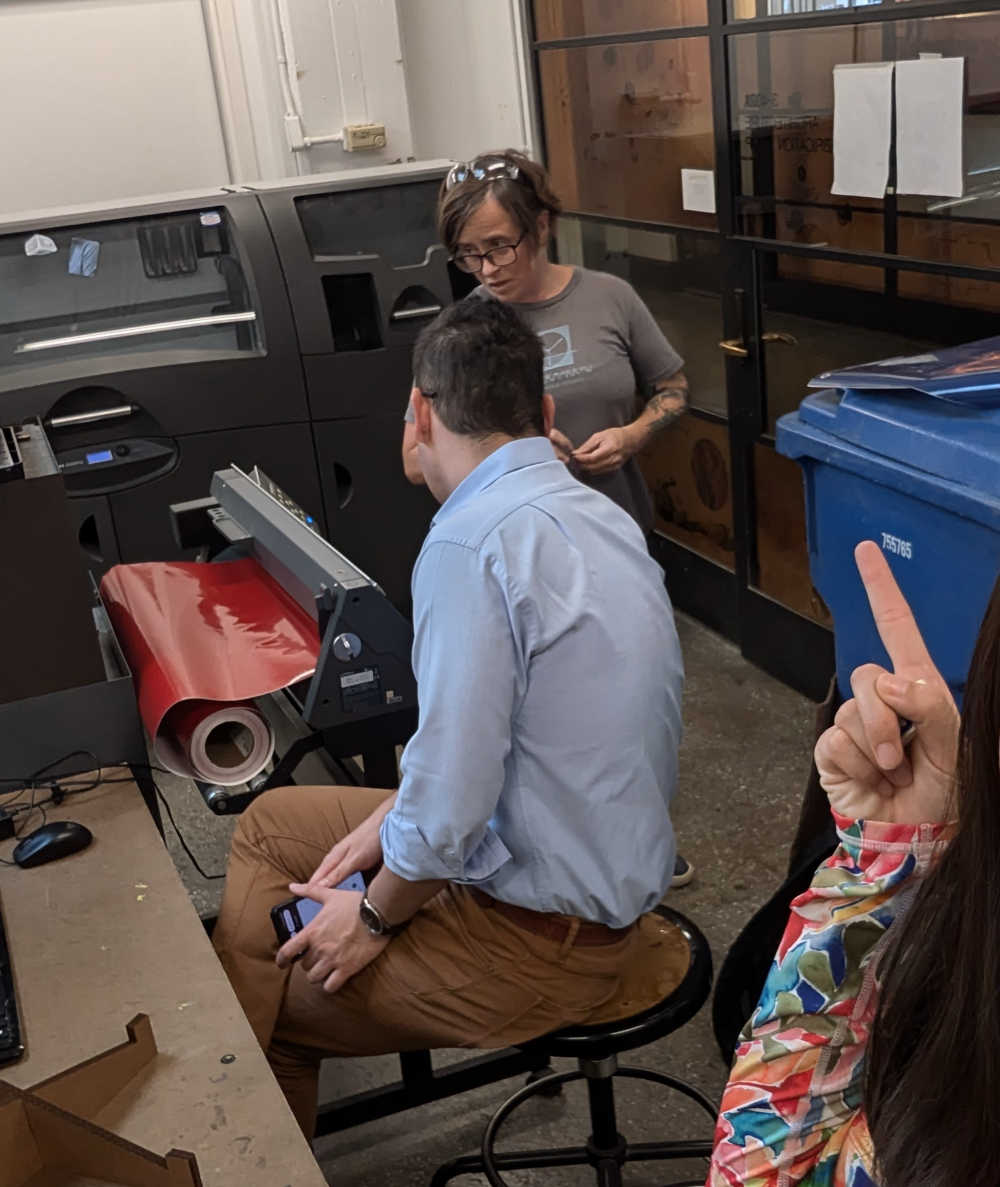
Our MVP Jen teaching us how to use the vinyl cutter.
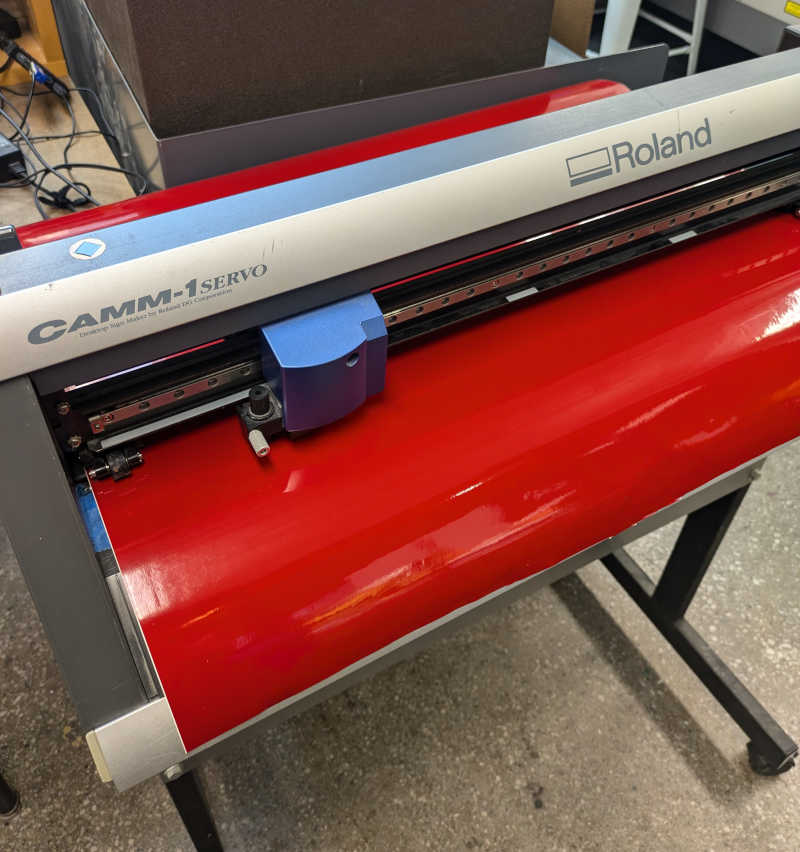
Cutting in progress...
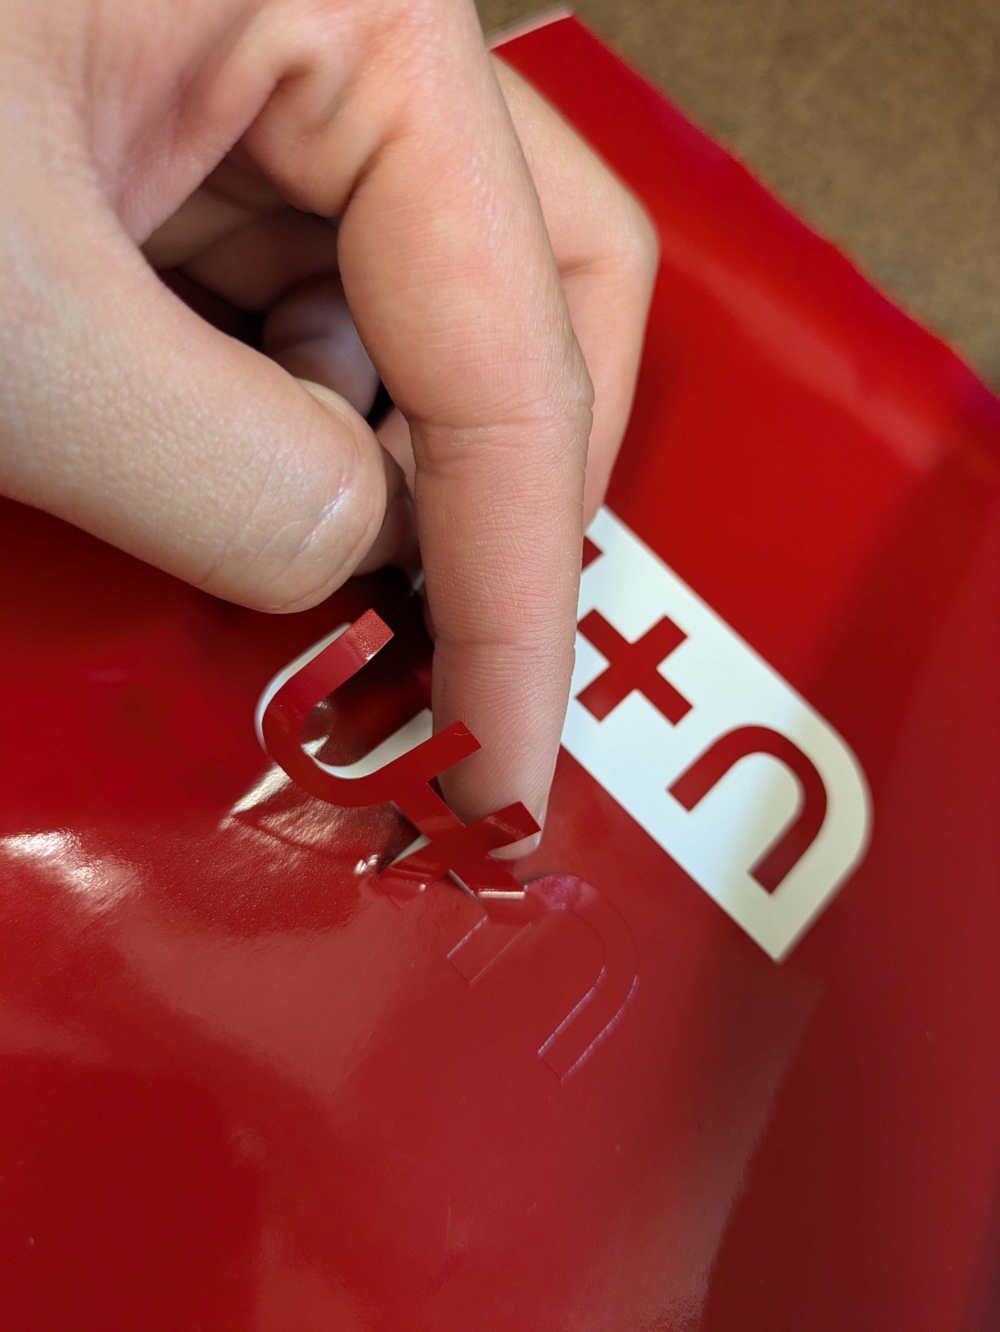
Success!

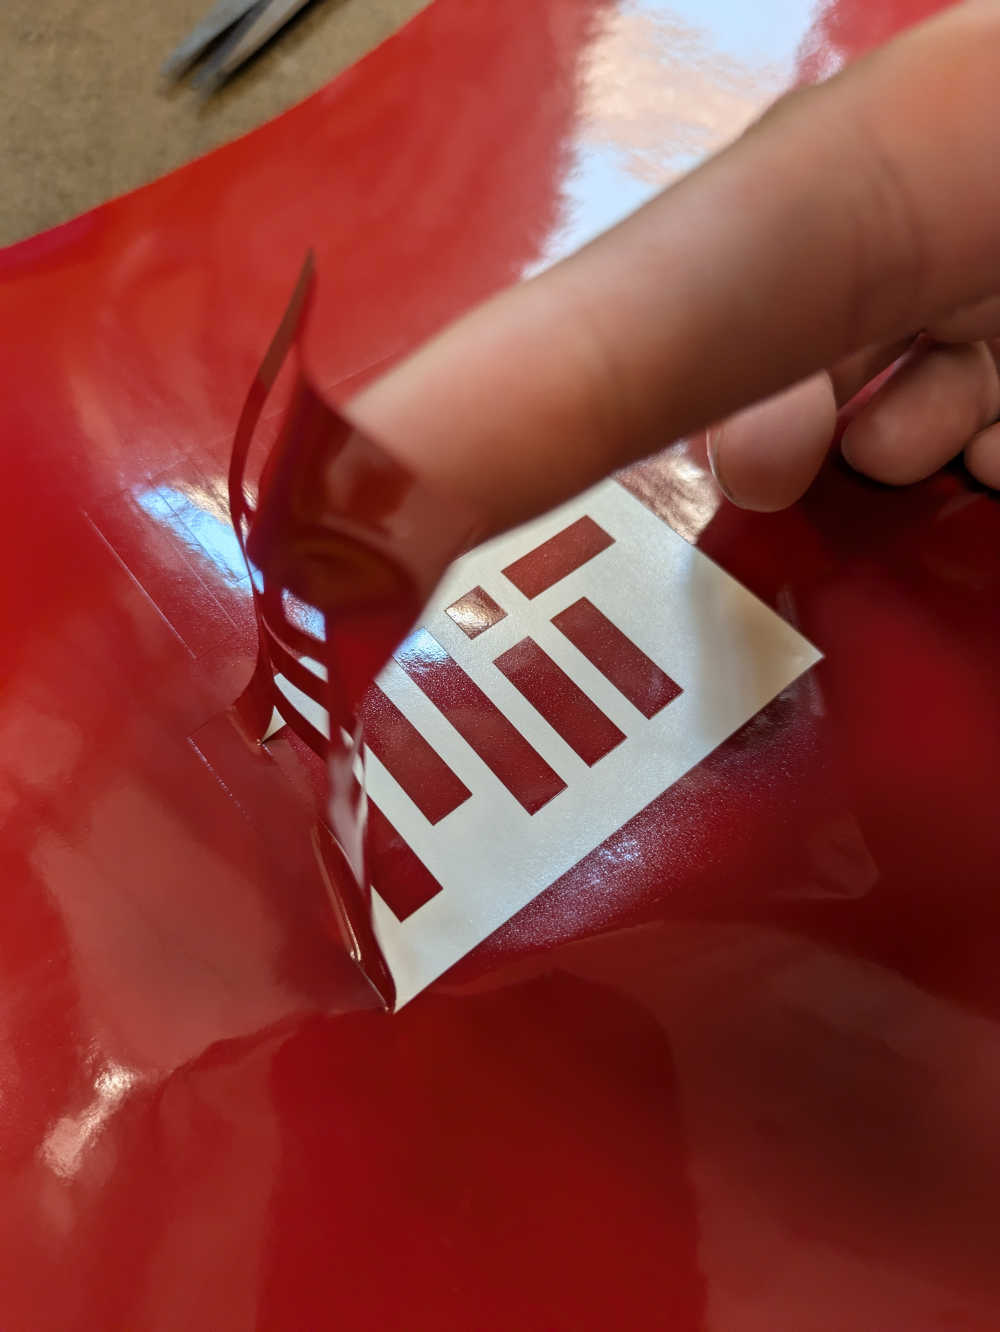
Realized the vinyl sticker color was perfectly on-brand for the school logo, so why not?
2. Laser cutting settings (group assignment)
Together with our TA Diana, the team started our evening getting acquainted with the shop laser's idiosyncrasies.
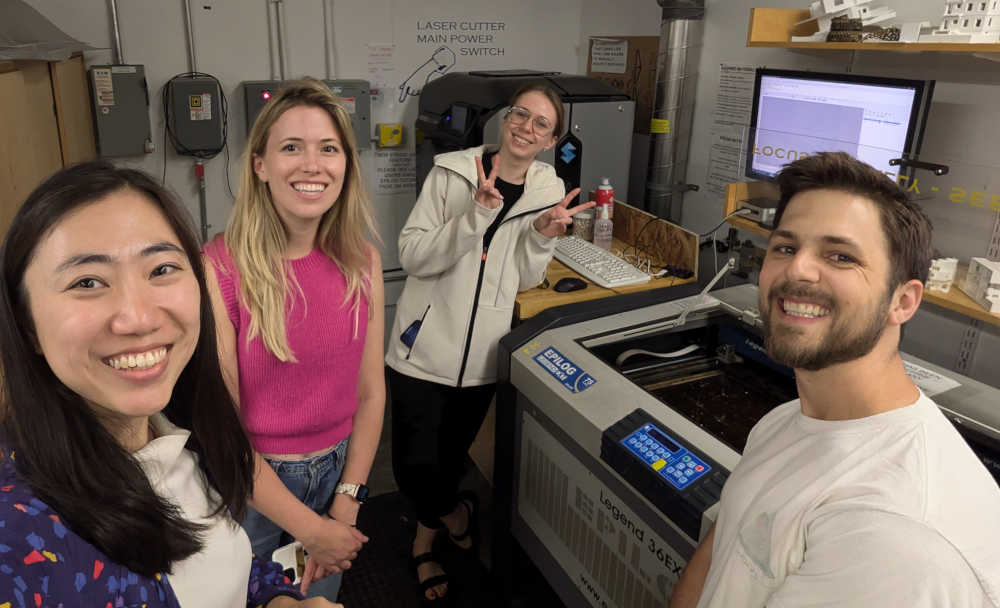
We checked the focus (2 inches to the centre of the material).
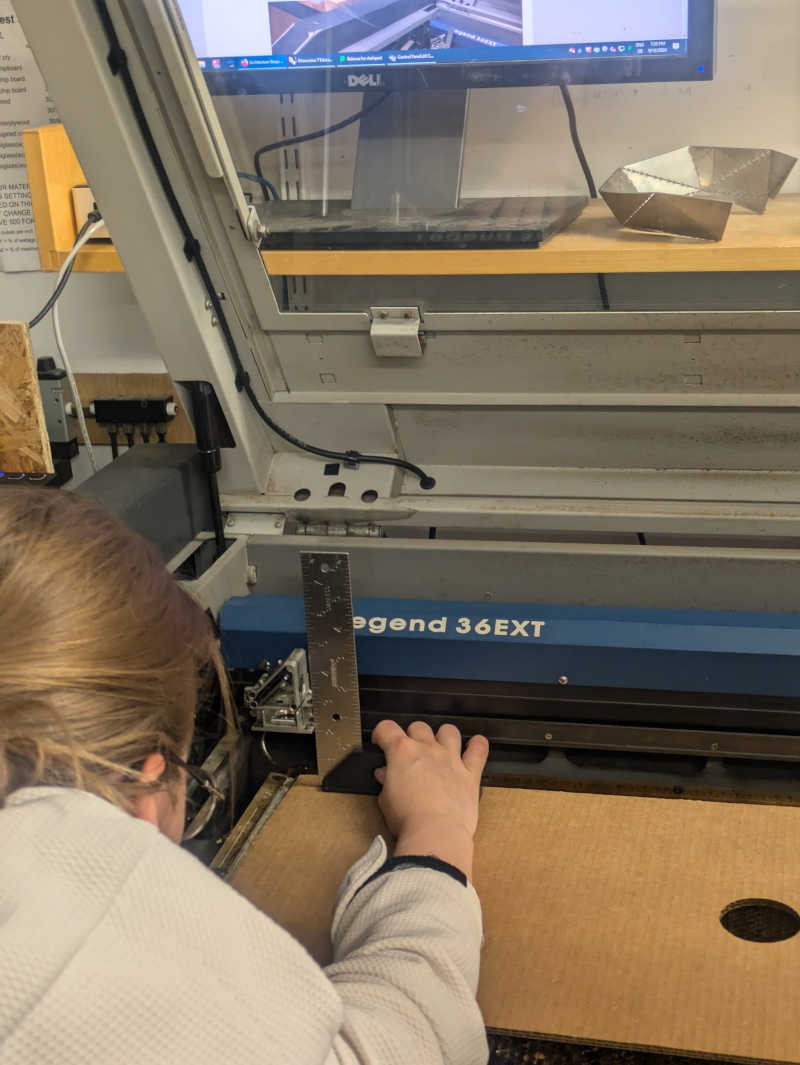
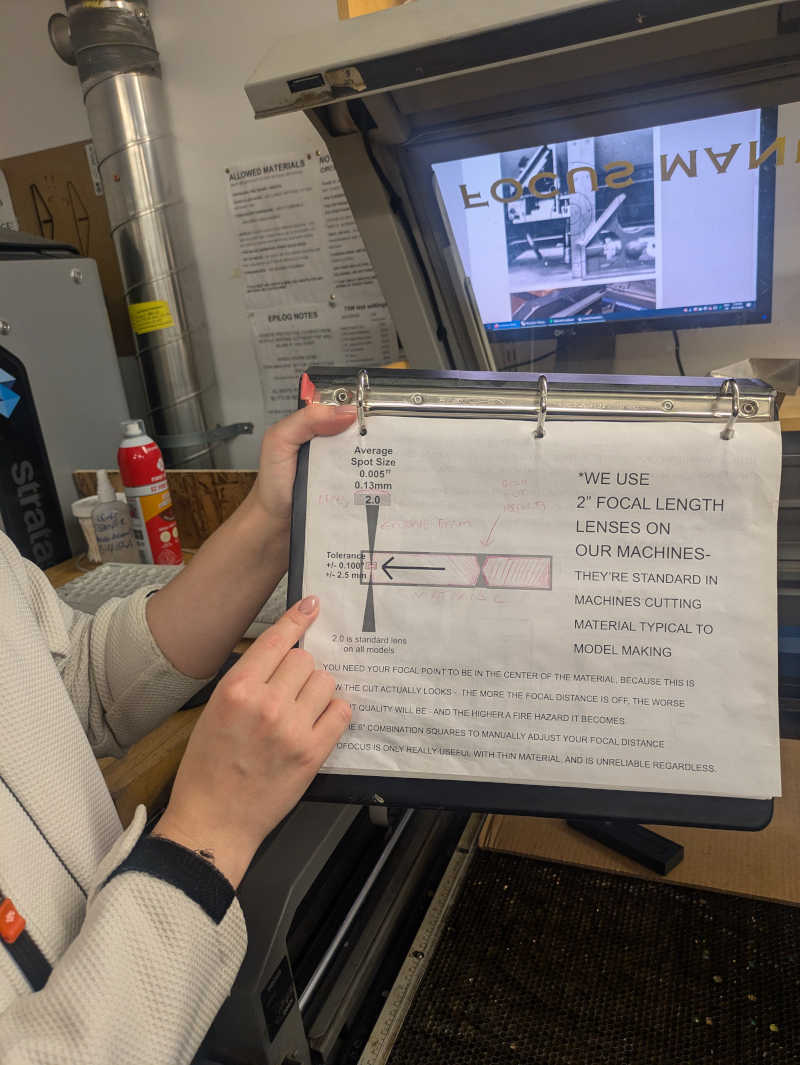
And toggled various settings. For this particular laser cutter, the best way to calibrate without setting materials on fire was to adjust the "power" setting, and to leave the recommended "speed" setting for the material in question untouched.
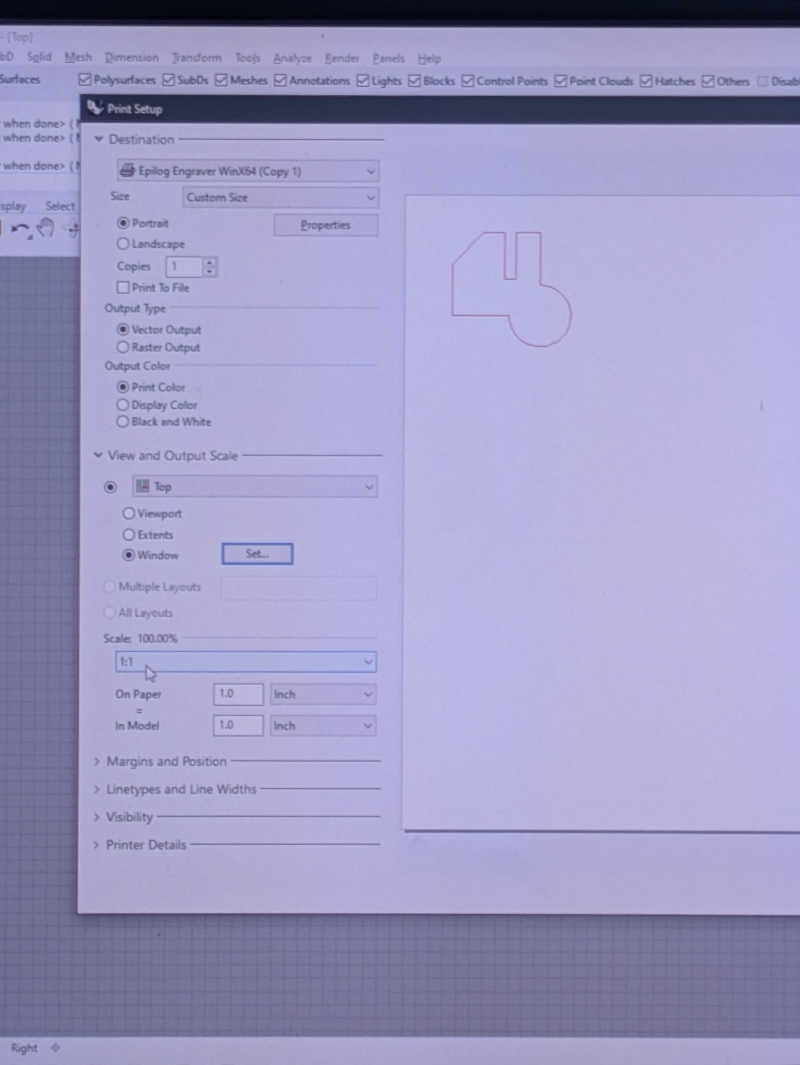
We sketched a generic shape that captured straight edges, curves, and a notch for testing out joints. After sending it to print a few times, we measured the kerf.
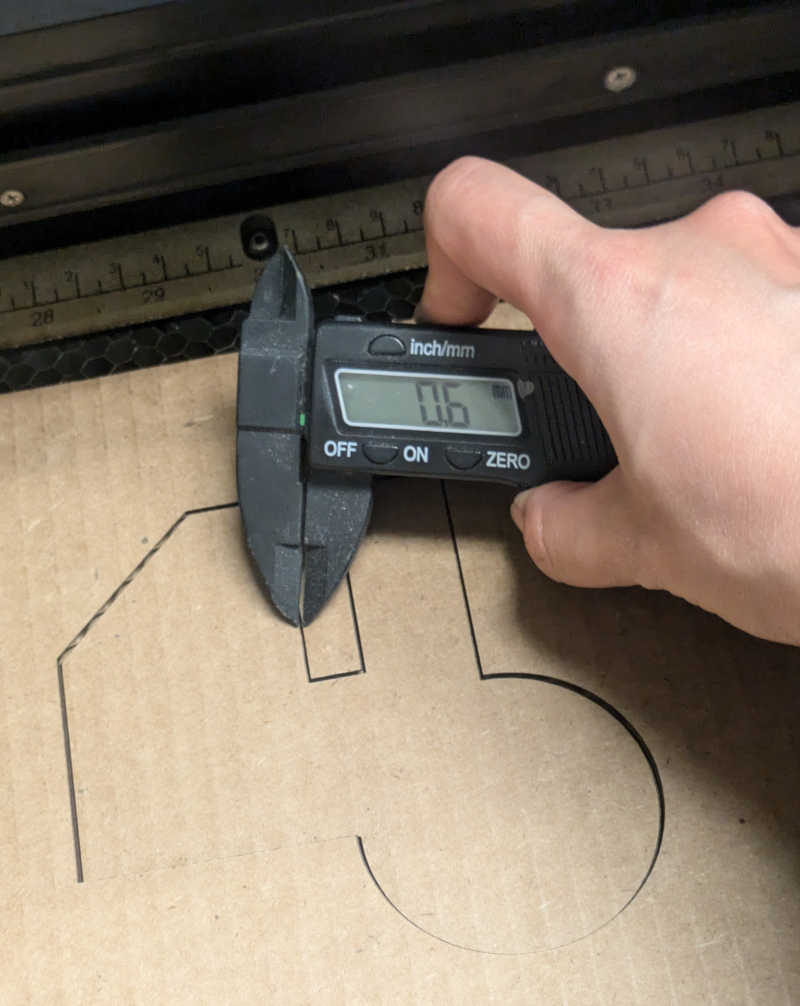
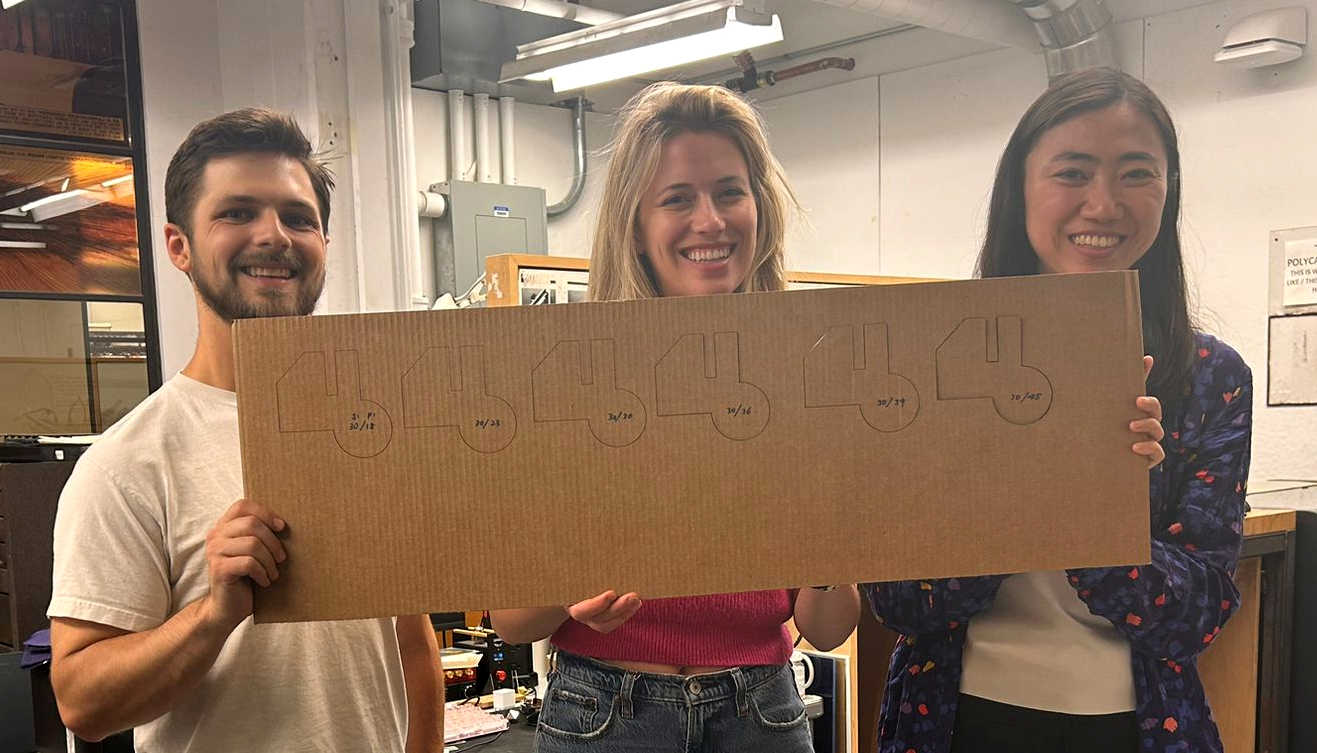
Incrementally adjusted the power setting until we could make a clean cut through the course's material of choice - corrugated cardboard.
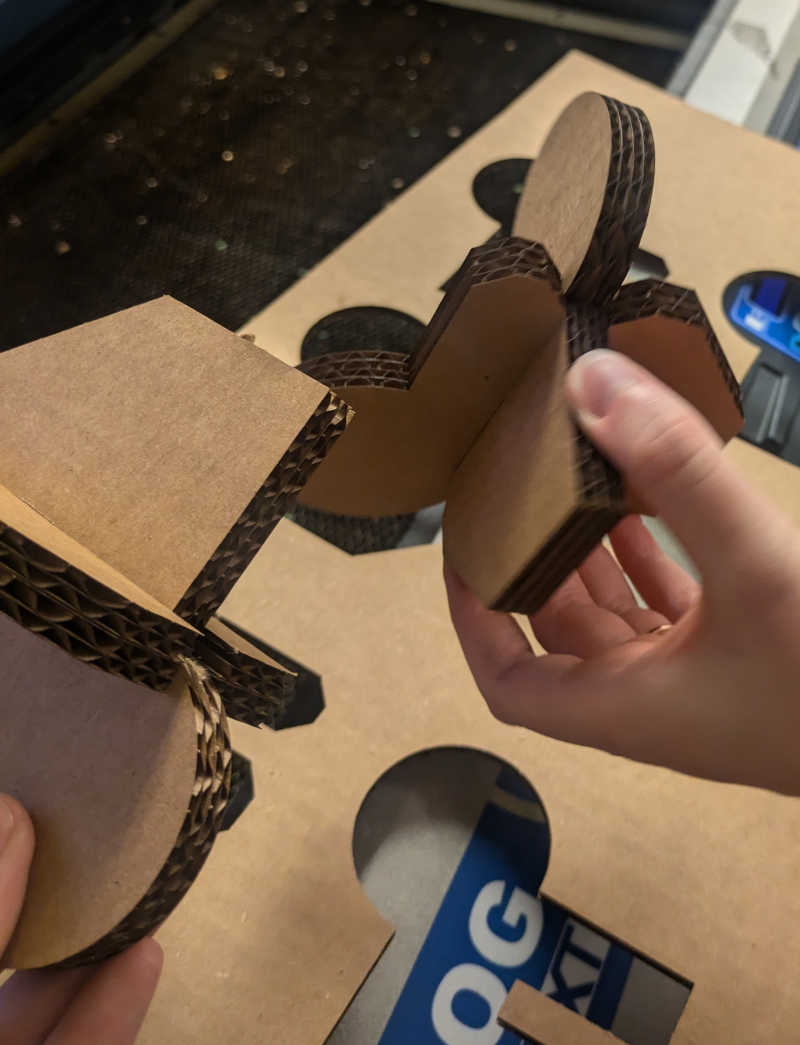
And finally, tested out different joints. The chamfered joint cut made for much smoother slotting.
3. Laser cutting a parametric assembly kit
I wanted to test out a transformation mechanism for my final project, and make a 2D kit of parts that could be assembled into a 3D box that could compress and expand. The 2D CAD of my design is here.
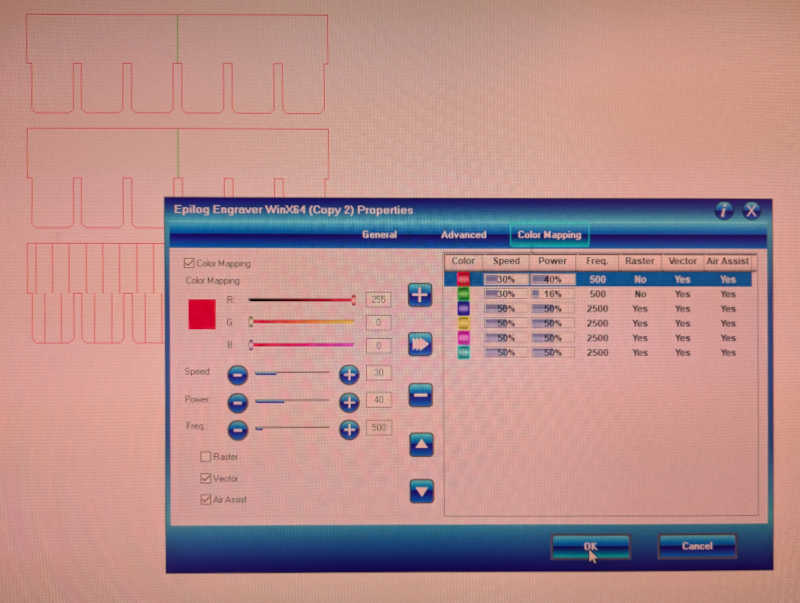
This particular shop's laser cutter was programmed to a floor sensor that automatically turned the power of the laser cutter off if the user stepped away from the electronic rubber floor mat in front of the laser cutter - meant to discourage users from leaving the cutter unattended. So here is what happens when I stepped away for a few seconds to help another fellow laser cutter user out - "uncut" sections. Lesson learnt!
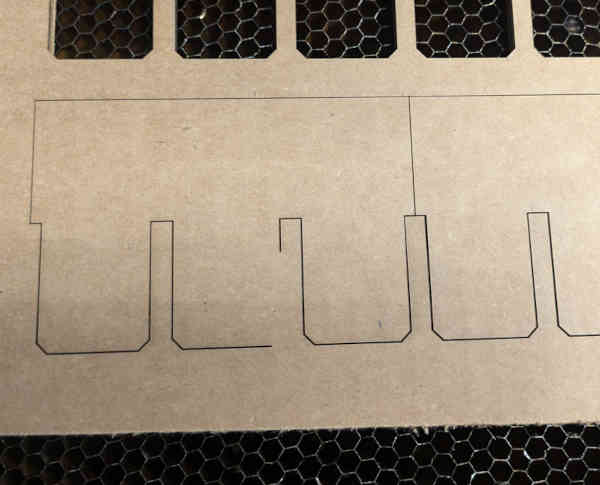
With the uneven curvature of the material, focus was also an issue. Placing the cardboard down convex side up resulted in the cardboard not cutting through.
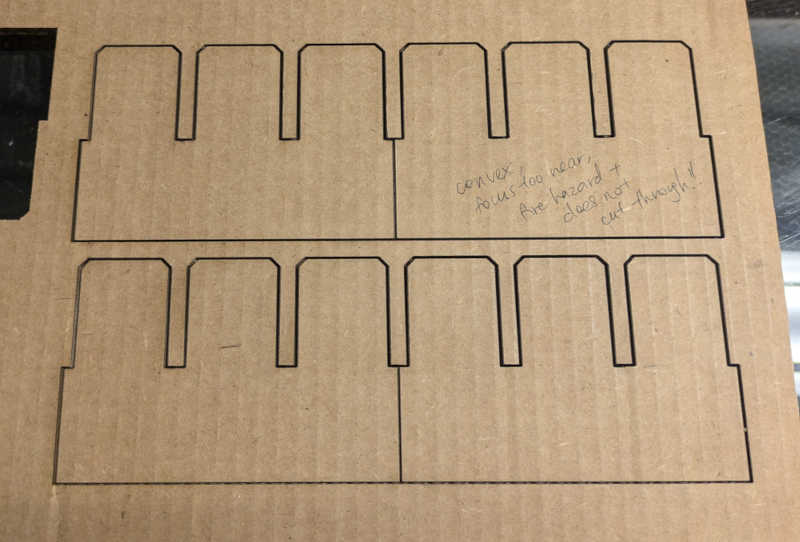
To minimize focus issues with the uneven surface of the material, I found that taping it down helped.
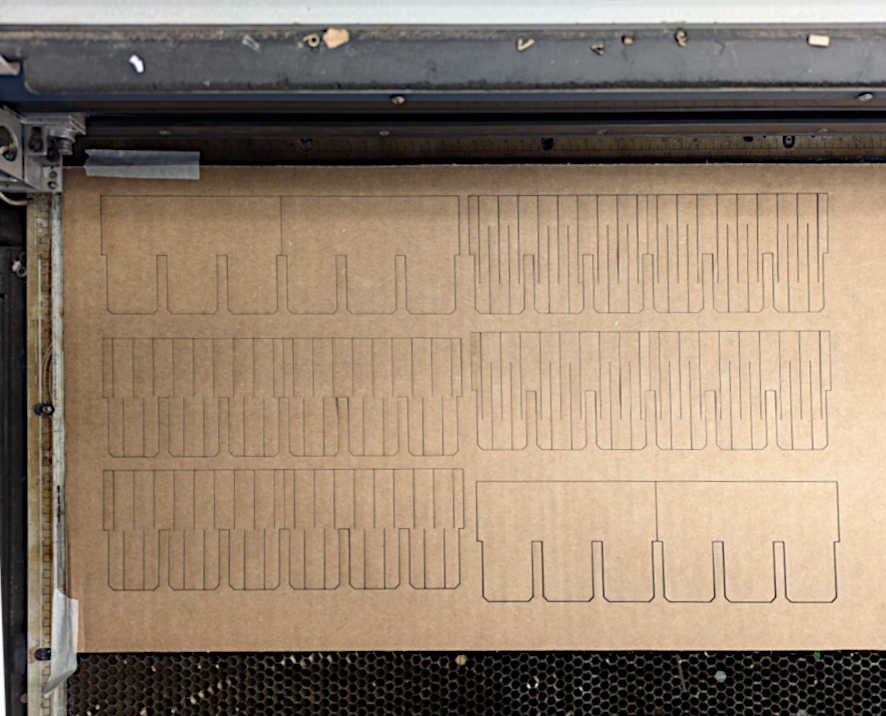
Nothing better than the crisp sound of a perfectly clean cut.
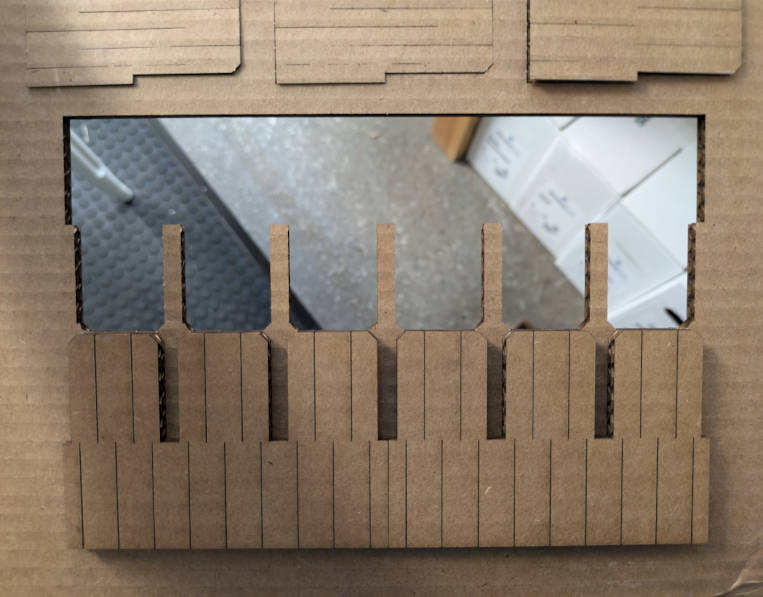
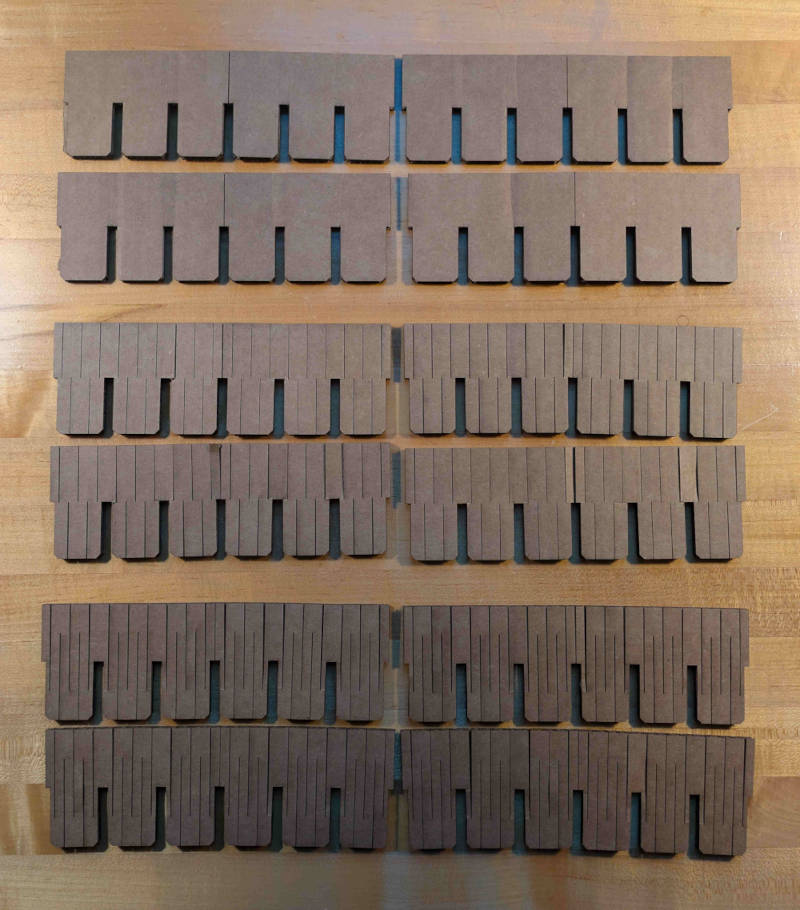
I used the "block" command in Rhino to allow for parametric adjustment of joint width and etching density. The denser the etching (vertial lines within each "tooth"), the more flexure the material is allowed.
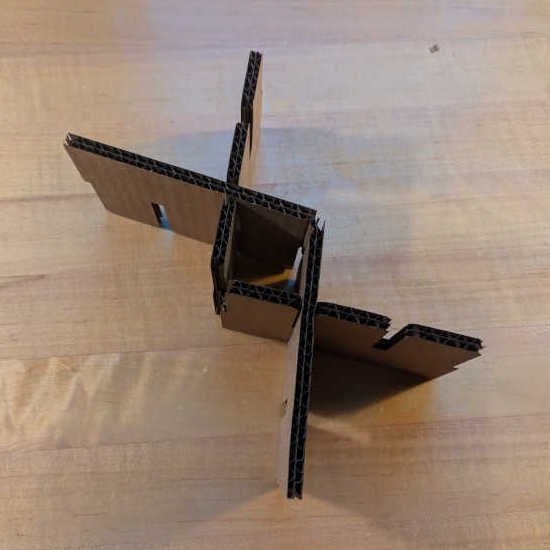
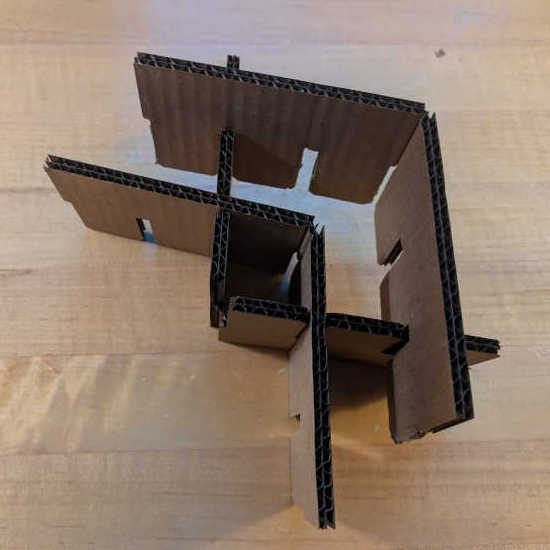
The first variation was a rigid frame that could compress flat and expand to become a 3D box.
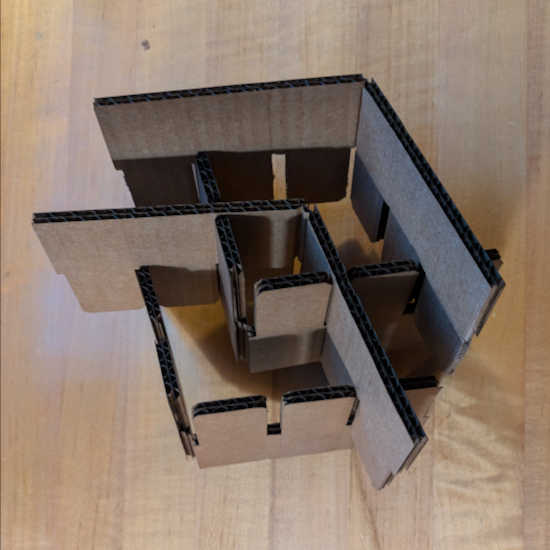
Tried out 2 variations of different degrees of flexure. End result was a floppy fish of a frame.
4. Building a personal site with git
[update as of Oct 29, 2024]
An unmentioned constant assignment and new skillset has also been learning how to use gitlab and pushing content for our personal sites to the class git repository each week. Over the weeks I have made incremental improvements and have continuously refined my site, so I have decided to record various learning points and troubleshooting tips here:
- While the best practice is to directly push content via terminal (for Mac), a good beginner-friendly set up is Visual Studio Code (VS Code) + Github Desktop (both are apps you can download for a Mac laptop)
- You can copy and paste html code from websites you like, right click and select "View Source Code" to quickly replicate a website in a .html doc in VS Code.
- The class's git repo has a max commit size of 25mb; If you accidentally send a >25mb commit, you won't be able to further push content.
- Solution: go to terminal and remove the last offending commit using "git reset --hard HEAD^". Check back on VS Code to see how many commits you have, and repeat that command until it gets to the last commit.
- A Mac terminal quirk: When editing the ommand line, you cannot edit with your cursor; Ctrl+A to go to the left
- Online sources pointed me to BFG repo cleaner (https://rtyley.github.io/bfg-repo-cleaner/), which I tried as well, but did not work; only the "git reset --hard HEAD^" command worked for my case (Accidentally made large commit to Git, cant delete commits, need to clean repo).