Week of Sep 25 2024
Test design rules for 3D printer, design and 3D print a small object, and 3D scan an object
1. Test design rules for 3D printer (group)
TA Alfonso showed us the characteristics of different 3D printers - the newer Bambu printers (black print) are faster and hence deal better with overhangs than the Stratasys (white print).
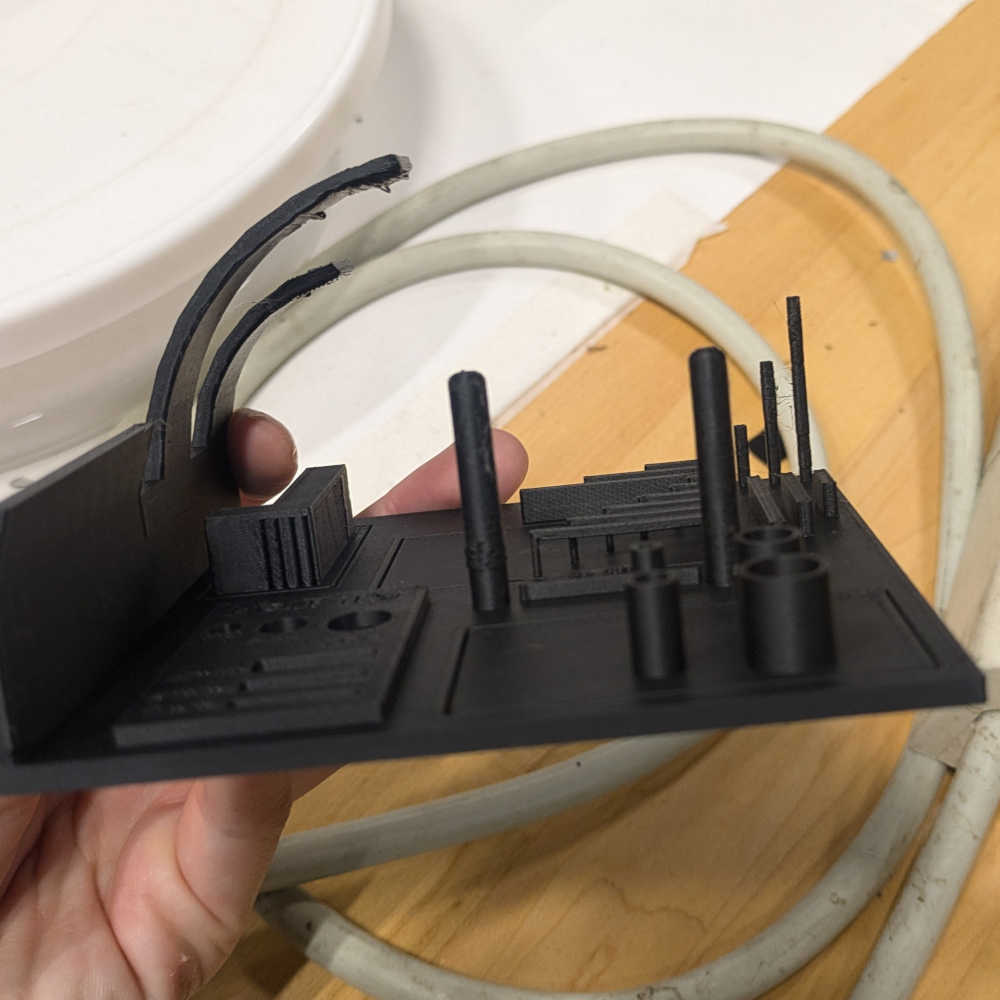
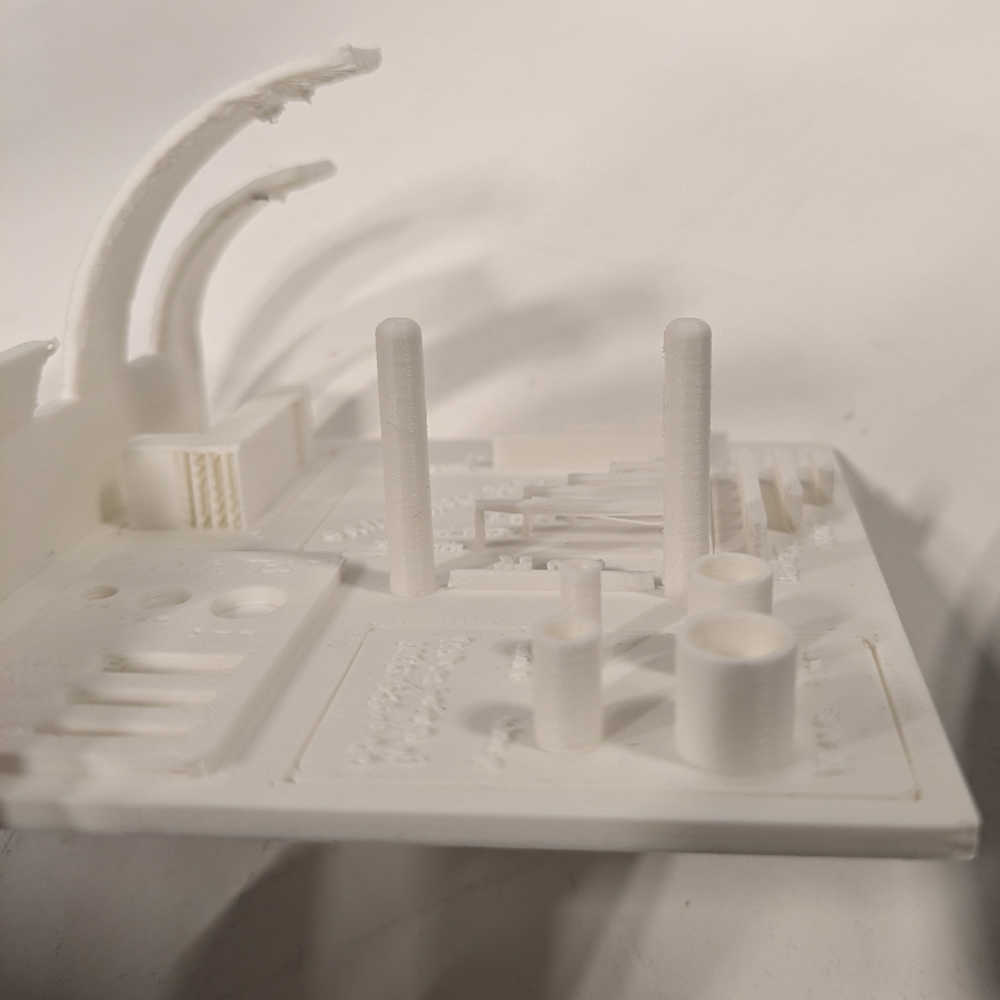
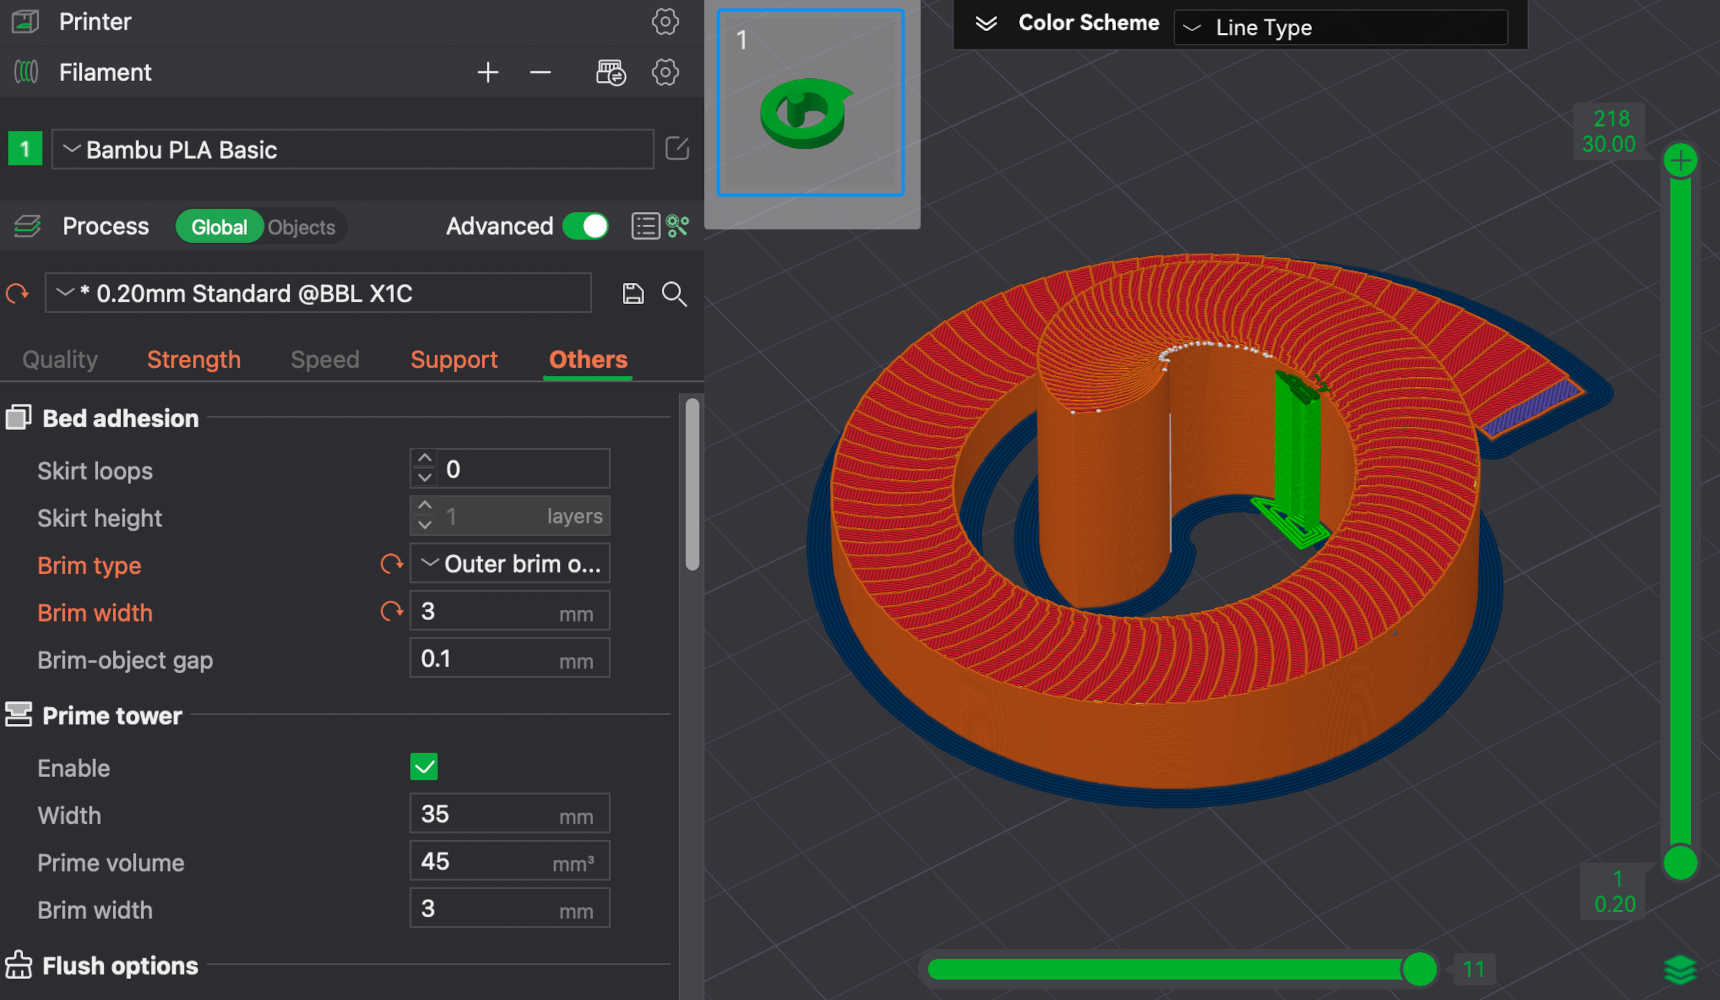
We also learnt that it was important to add in brim and supports to ensure that the prints adhere properly and remained supported during the print, and that infill could be left at the default 15% or adjusted to be lower for quicker prints (but with the tradeoff of reduced structural integrity - depending on whether the print will be weight bearing). Shown below are some of the settings, with the supports shown in green and the brim/raft in navy blue.
Curiously, different fab labs on campus have different standard operating procedures - the CBA shop was strict on always washing the base plate between prints, while the Arch shop was strict on NOT using any solvents or liquids on the base plates i.e. no washing. A general good practice across all shops (including the open-to-all-MIT makerspace at the Metropolis in building 6C) was to stay for the first few layers of your 3D print before leaving.
2. Design and print a 3D object
The design problem I wanted to tackle was how wobbly the tables at my department's student lounge were. We have lost count of the number of lunchtime scares my coursemates and I have experienced from the sudden jerks of the consistently unbalanced table legs of not one, but all the tables in the lounge.
I have also been plagued by a wobbly chair at home with uneven leg lengths that I have temporarily fixed by taping together some cardboard, but it did not resolve the variable heights at which my chair leg inevitably hovers above the uneven floor surface of my ancient and quaint apartment.
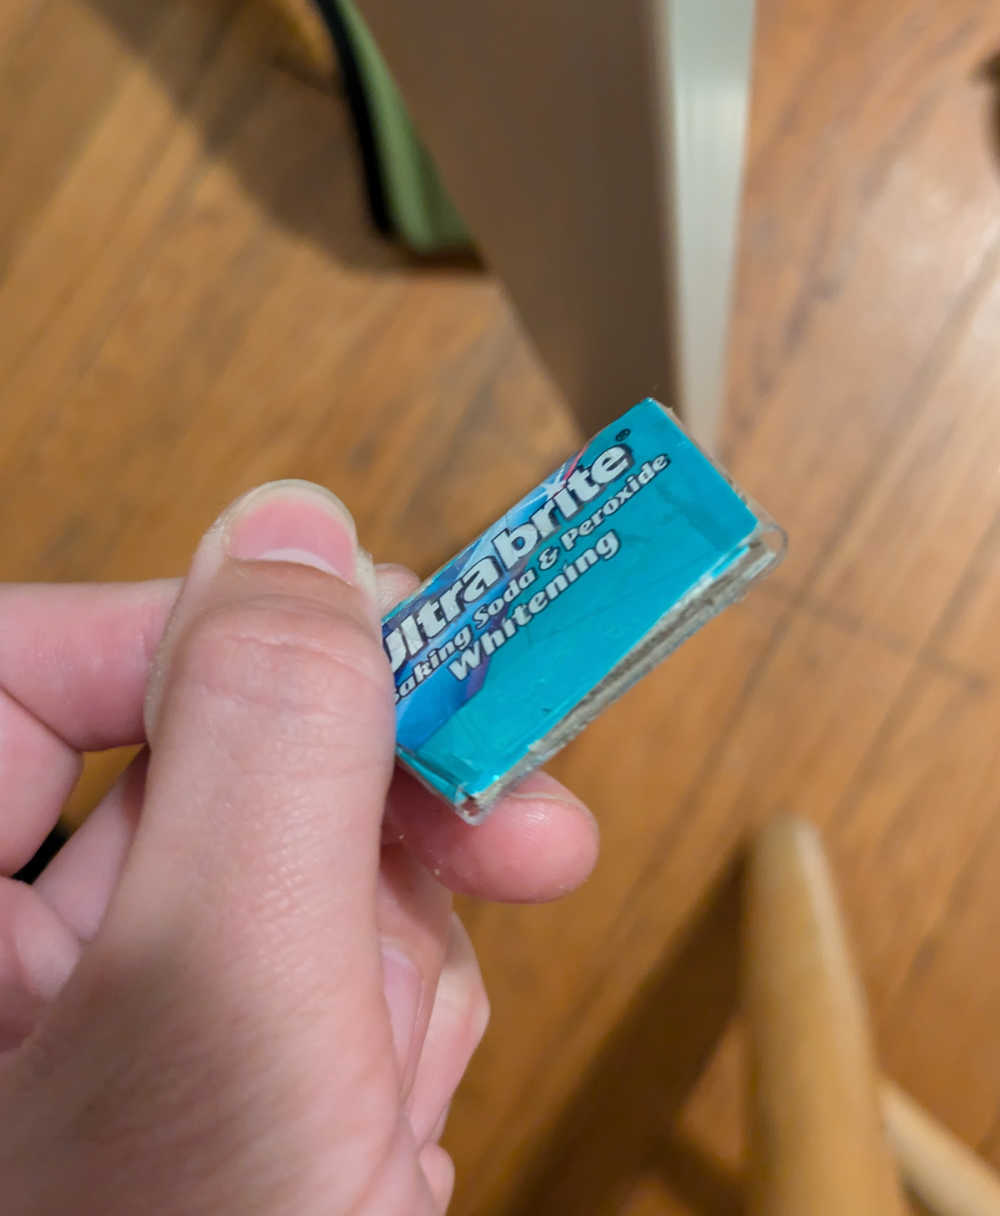
I thus set out to design and 3D print a "wobble-stopper".
Workflow: model in Rhino ('Spiral', 'Sweep2' commands), clean up edges to ensure watertight surface (useful commands: CheckEdges, SelBadObjects, SelBadSrf, JoinEdge). Export to STL with tolerance of 0.1mm (half the printer's resolution - in this case, the Bambu P1S I was planning to use had a 0.4mm nozzle), and to Binary rather than ASCII format for a smaller file size. 3D model here and STL file here.
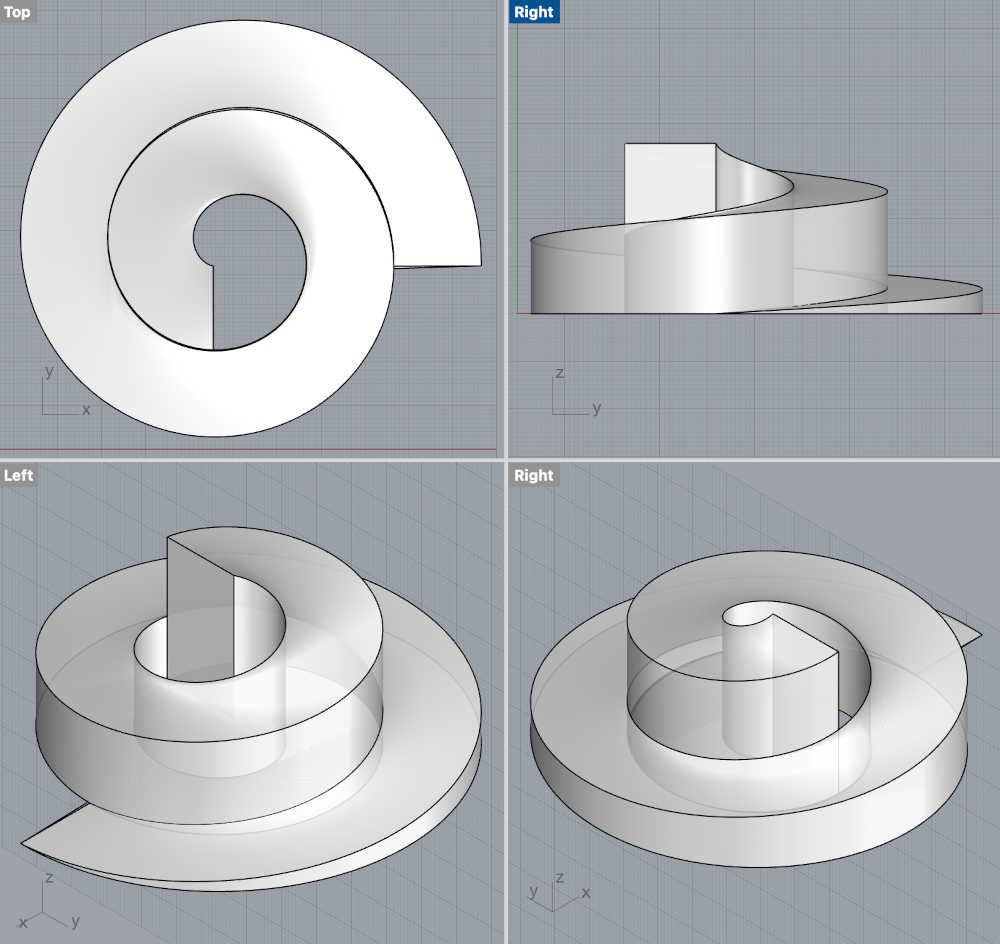
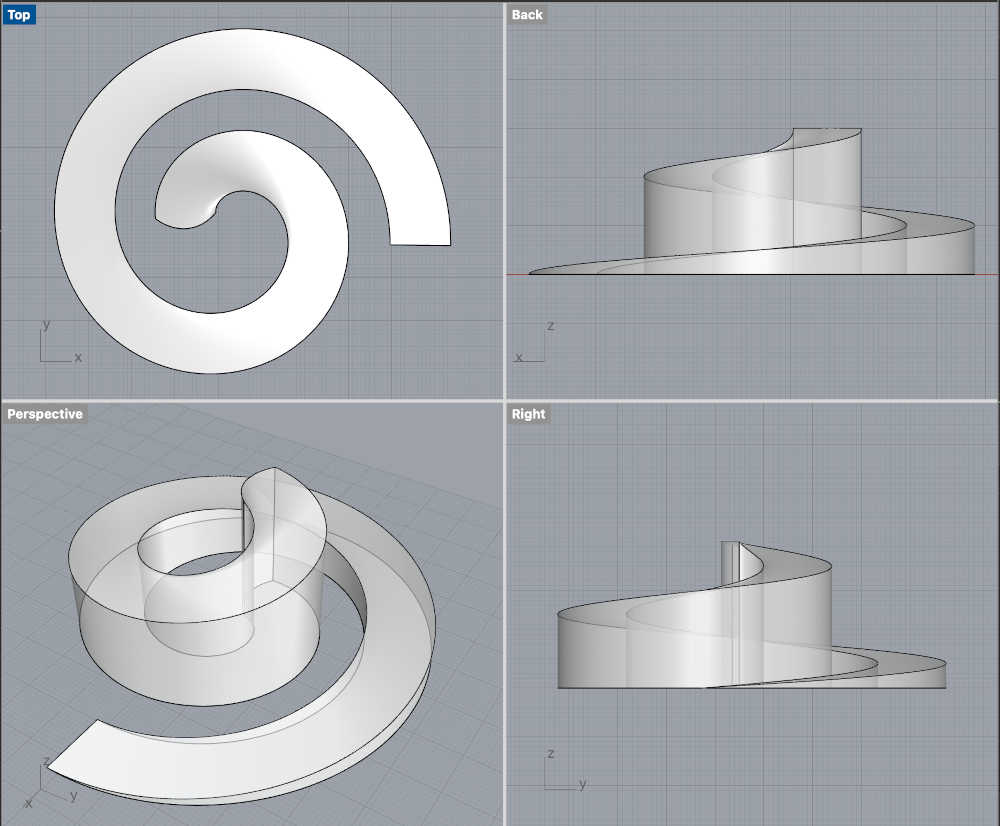
Had trouble fixing the mesh to make it watertight, probably because of the curved spiral surfaces being in direct contact, and thus Rhino not knowing which polysurfaces to join (kept getting the dreaded "open polysurfaces" prompt). Adjusted the form further to space out the spiral a bit, and finally got the holy grail notification of "one closed polysurface".
Read up on the pros and cons of various infill patterns, and decided to try the gyroid infill. Added brim and support to ensure proper adhesion.

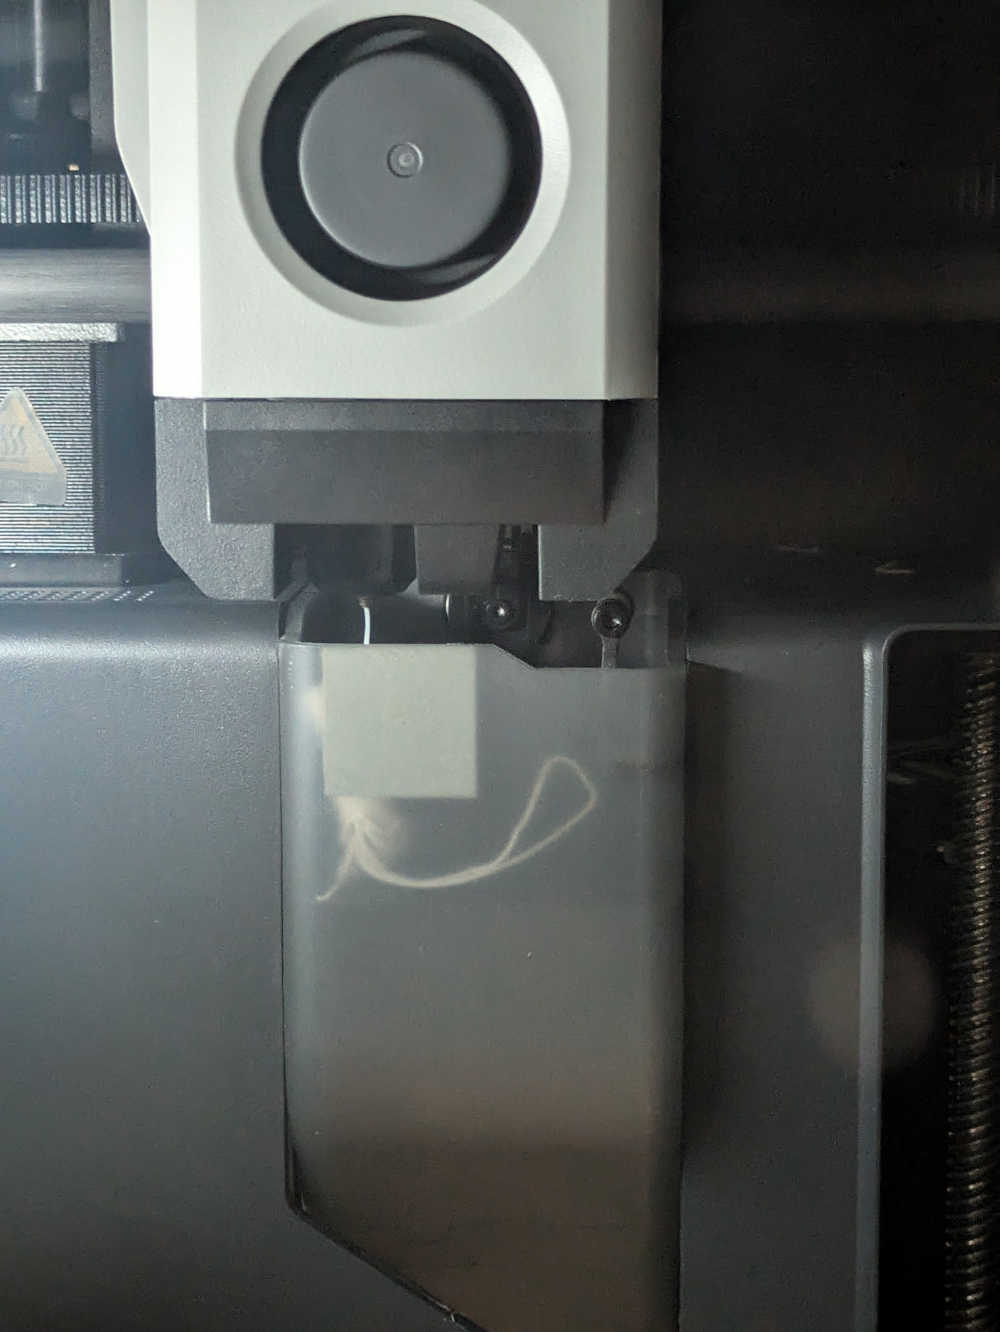
Our workshop's 3D printer workflow had some idiosyncrasies, such as having to directly load our file onto an SD card to insert into the offline printers, and having to export said file as .gcode instead of leaving it as the default Bambu studio file format. I tried the latter, and it would not print. Am probably revealing my age here, but having last 3D printed about 10 years ago using Ultimakers, I marveled at how far the latest machines have come - the Bambu printer is much faster and way more automated, with automatic filament extrusion and bed leveling - all we had to do really was to press "print"! Here is a photo of said auto-extrusion in action.
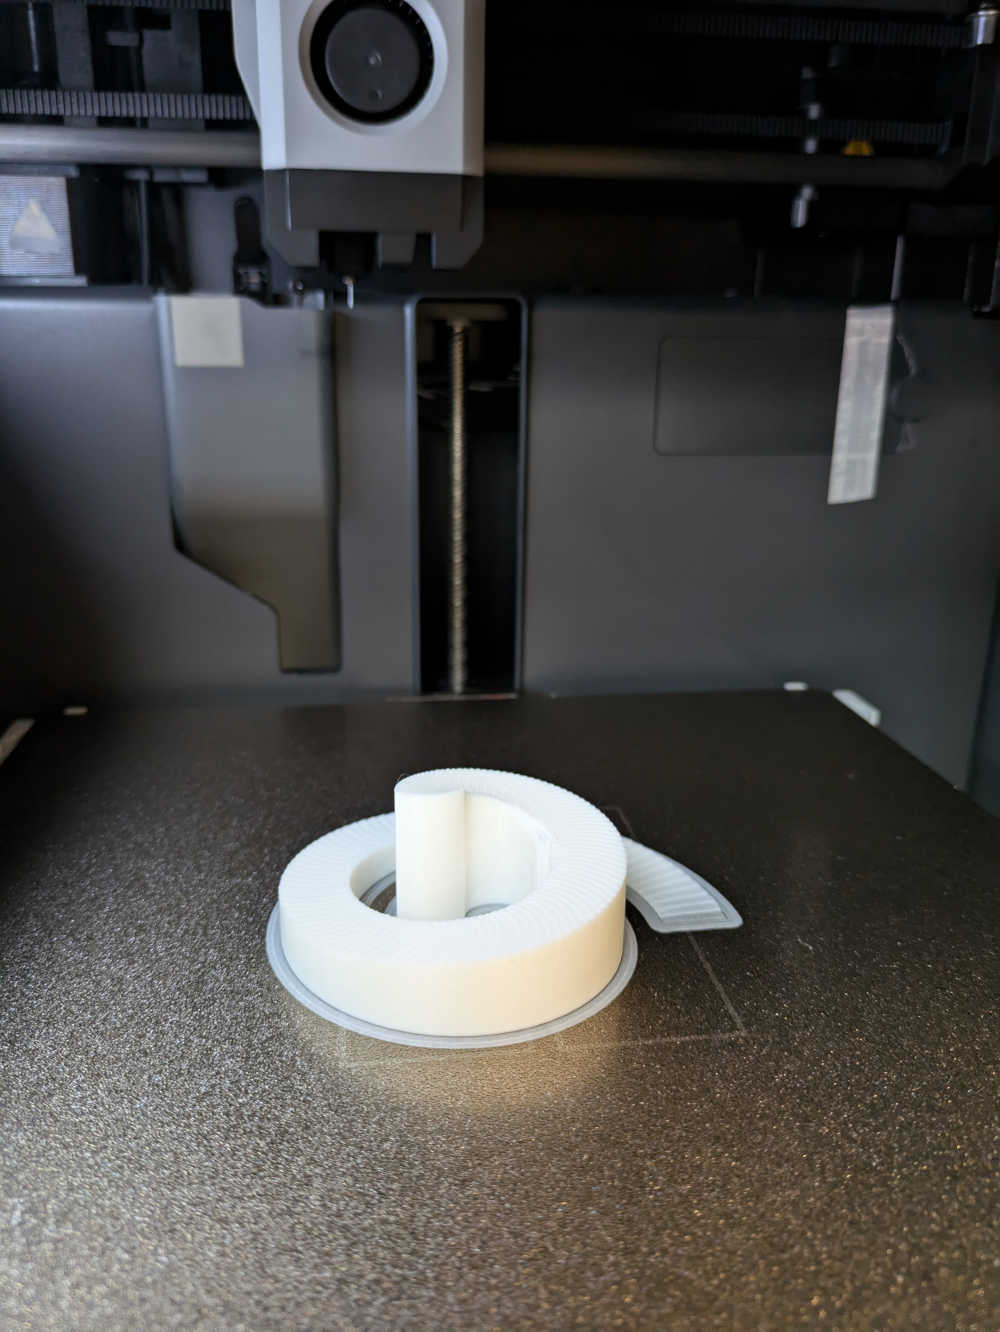
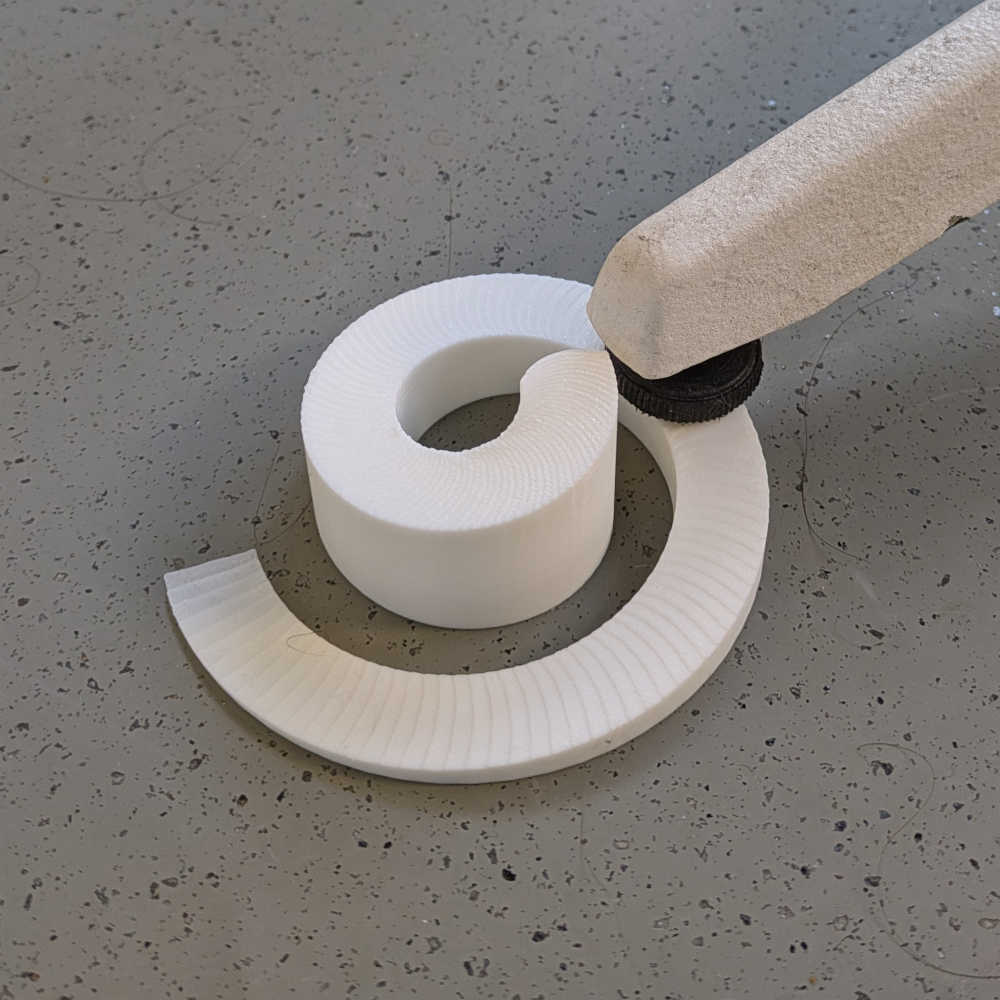
Printed object with brim and support.
Putting my brand new Wobble Stopper to the test!
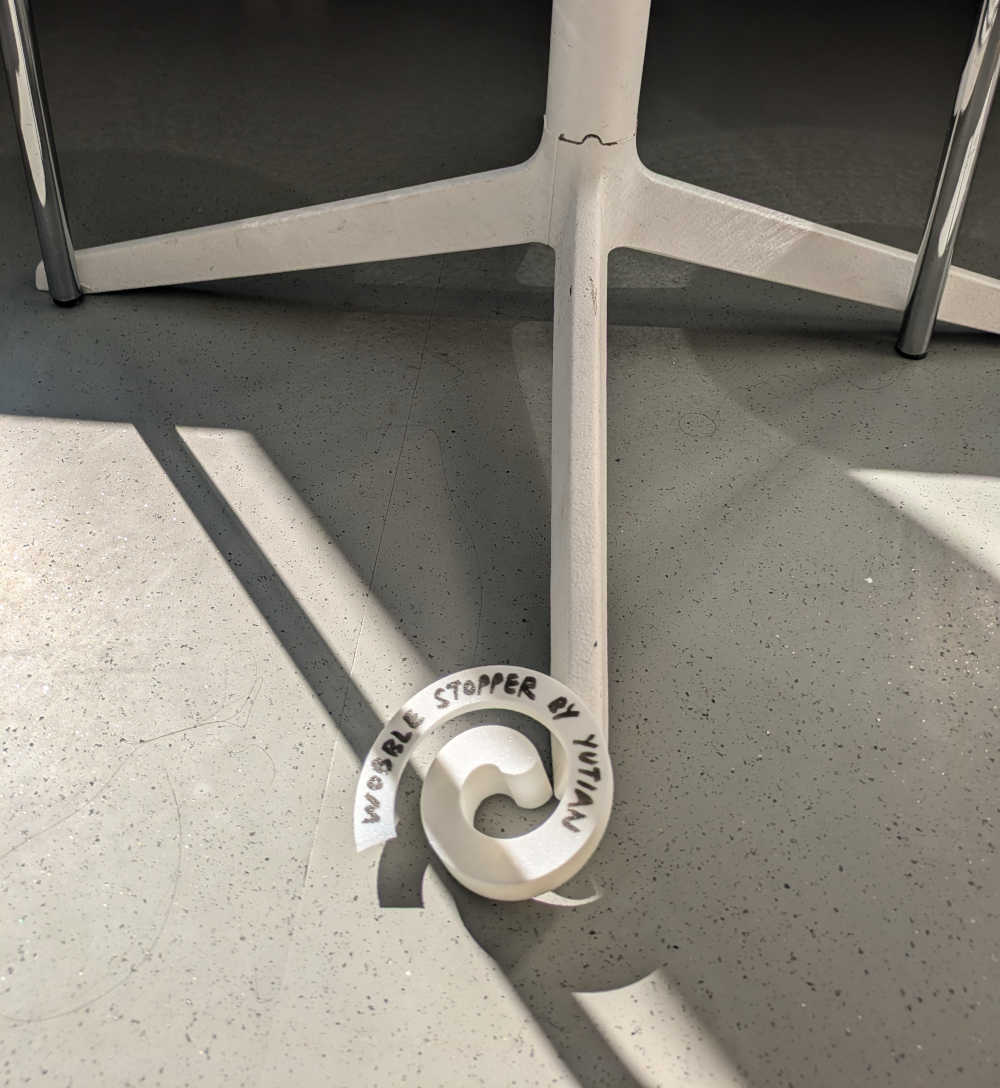
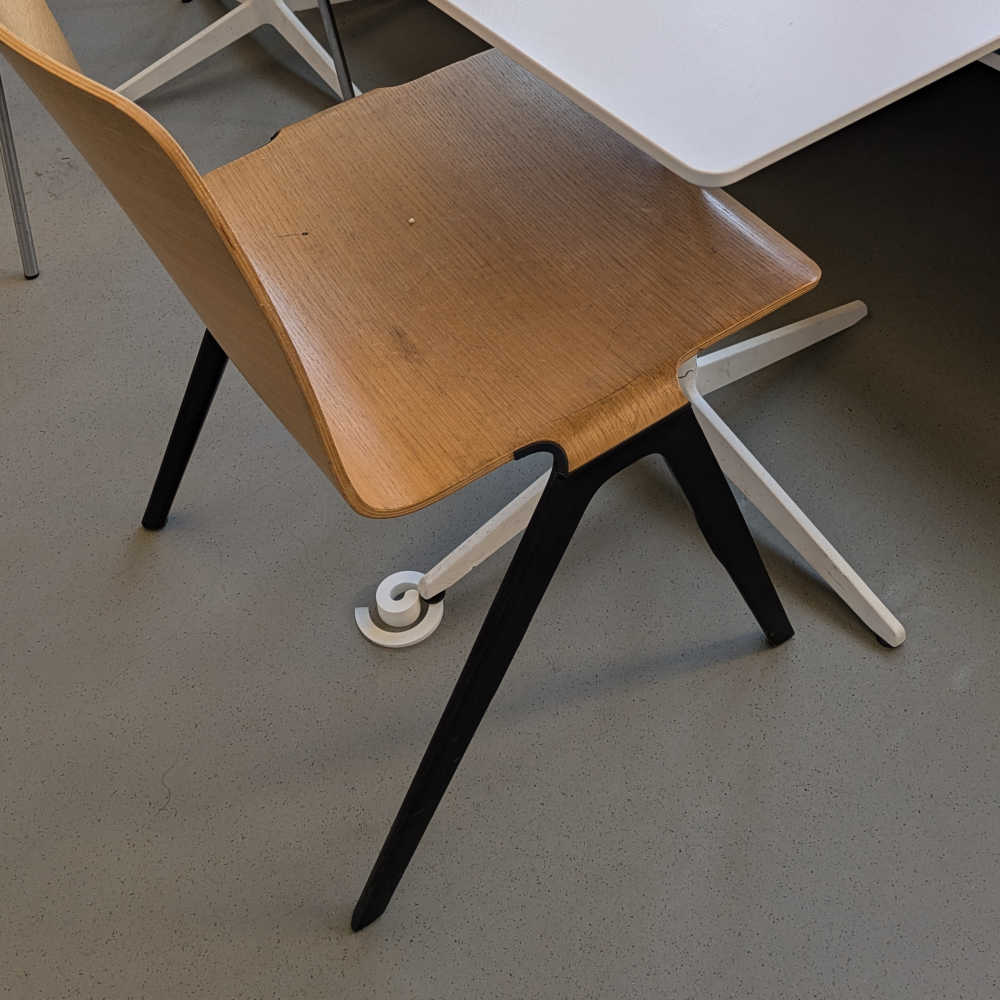
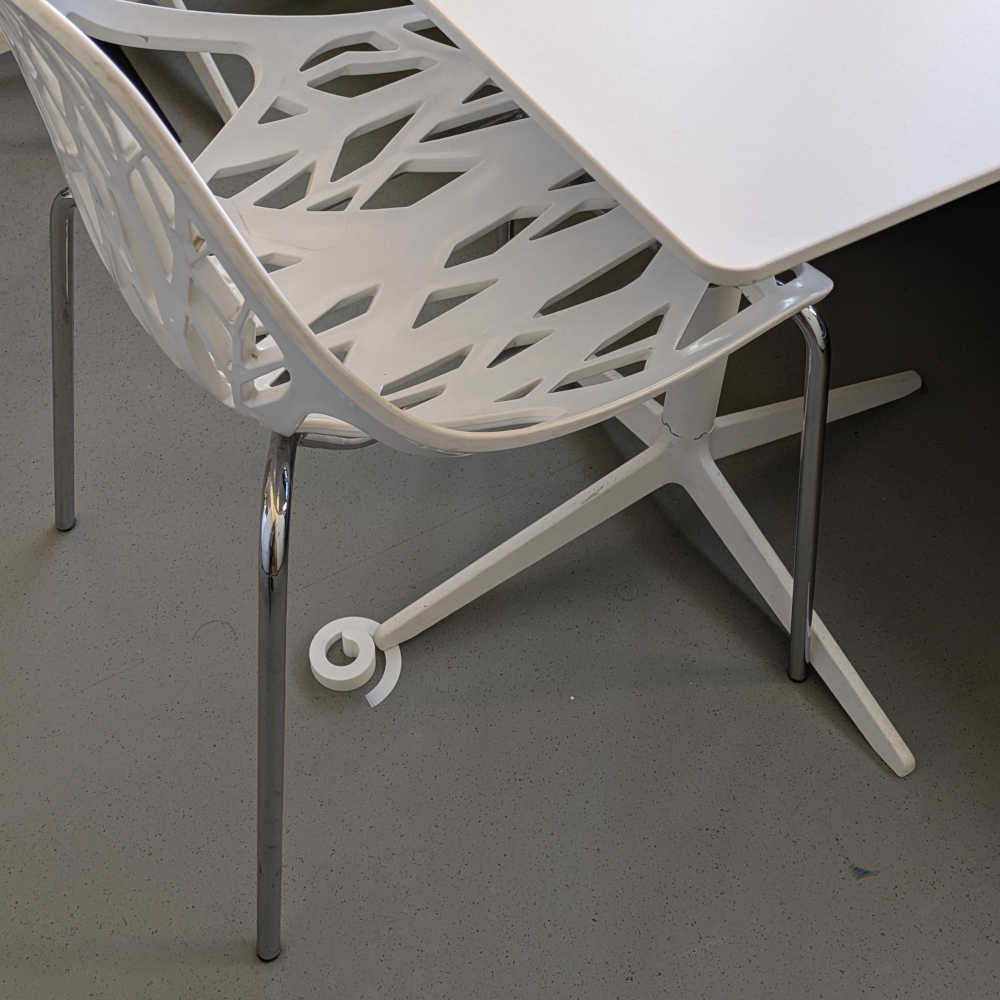
The spiral works exactly as intended - adjusting for variable heights and stopping the wobble! Cheers to a stable and happy life.
3. 3D scan an object
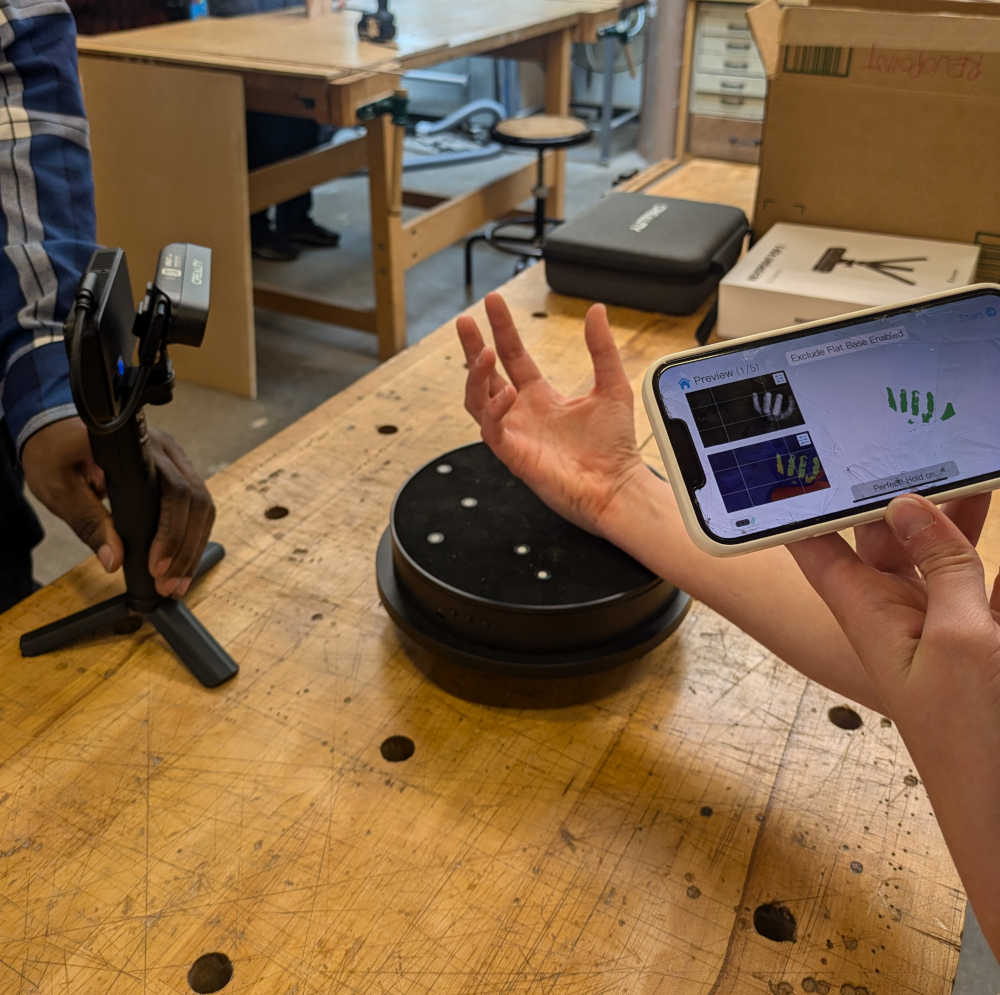
Shah, the resident architecture shop expert, showed us how to use the Ferret 3D scan via the Creality software on our phones. We 3D-scanned a fellow student's hand and marveled at the level of detail.
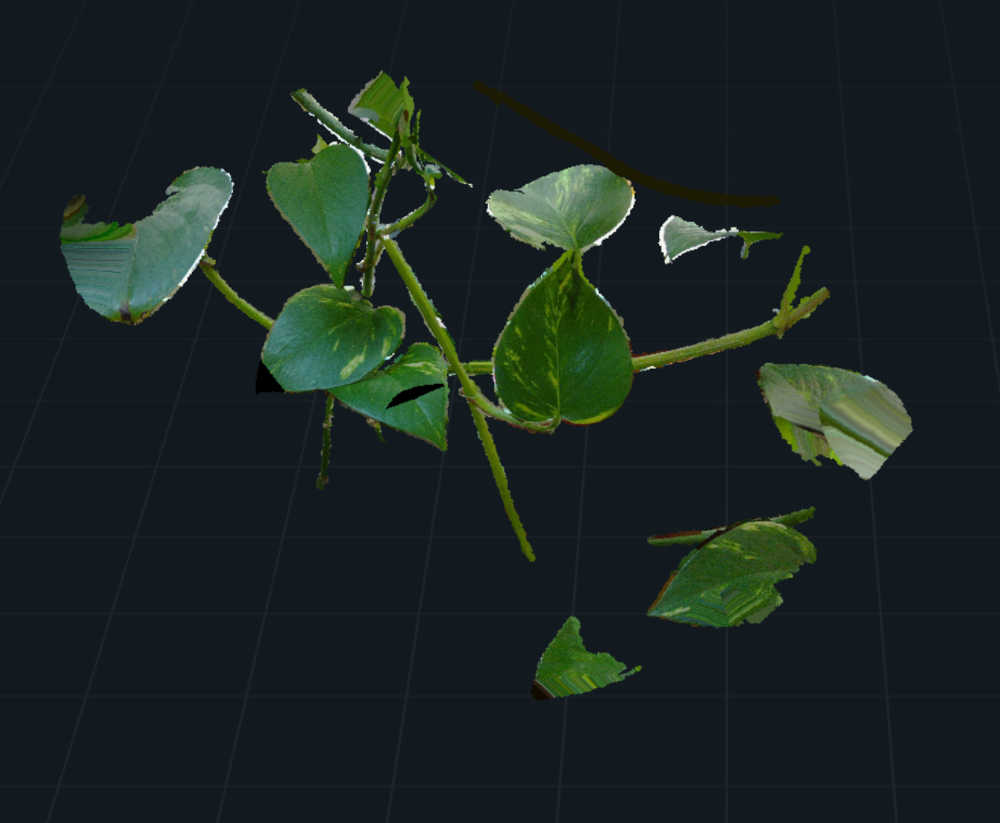
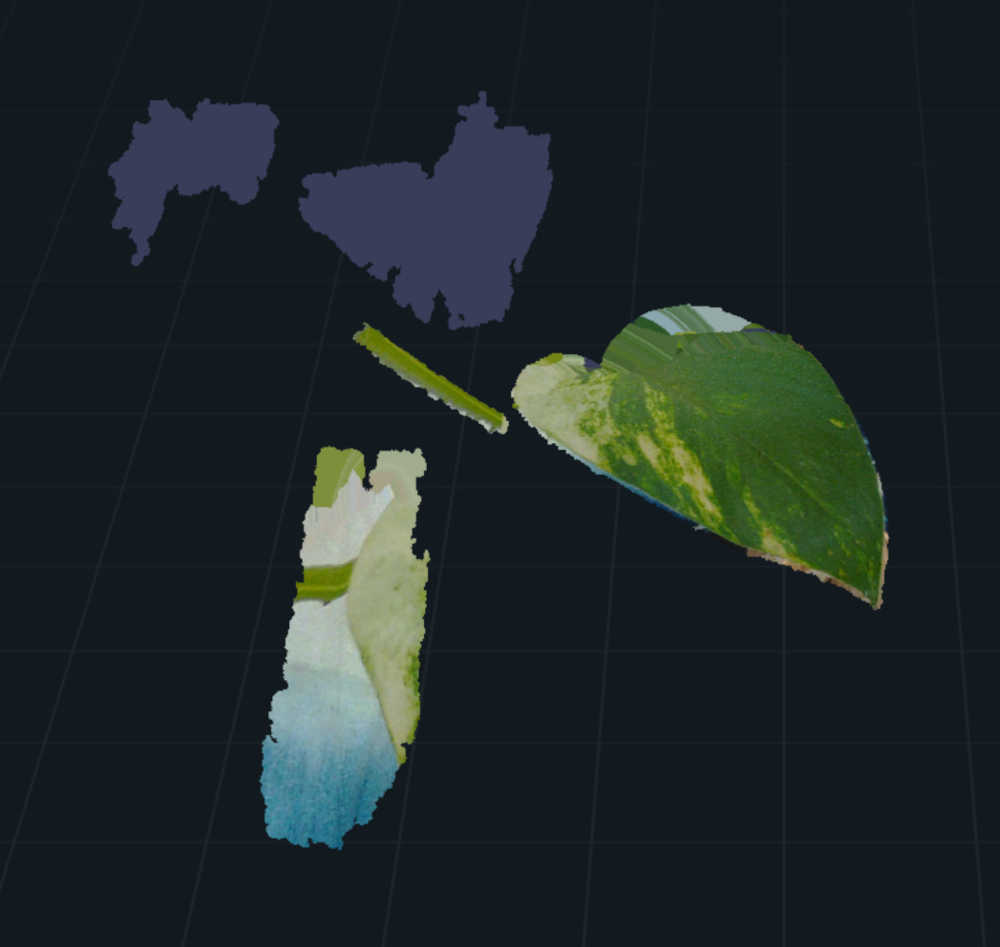
There were some gorgeous plants in the architecture shop, so I decided to immortalize them through some 3D scans.
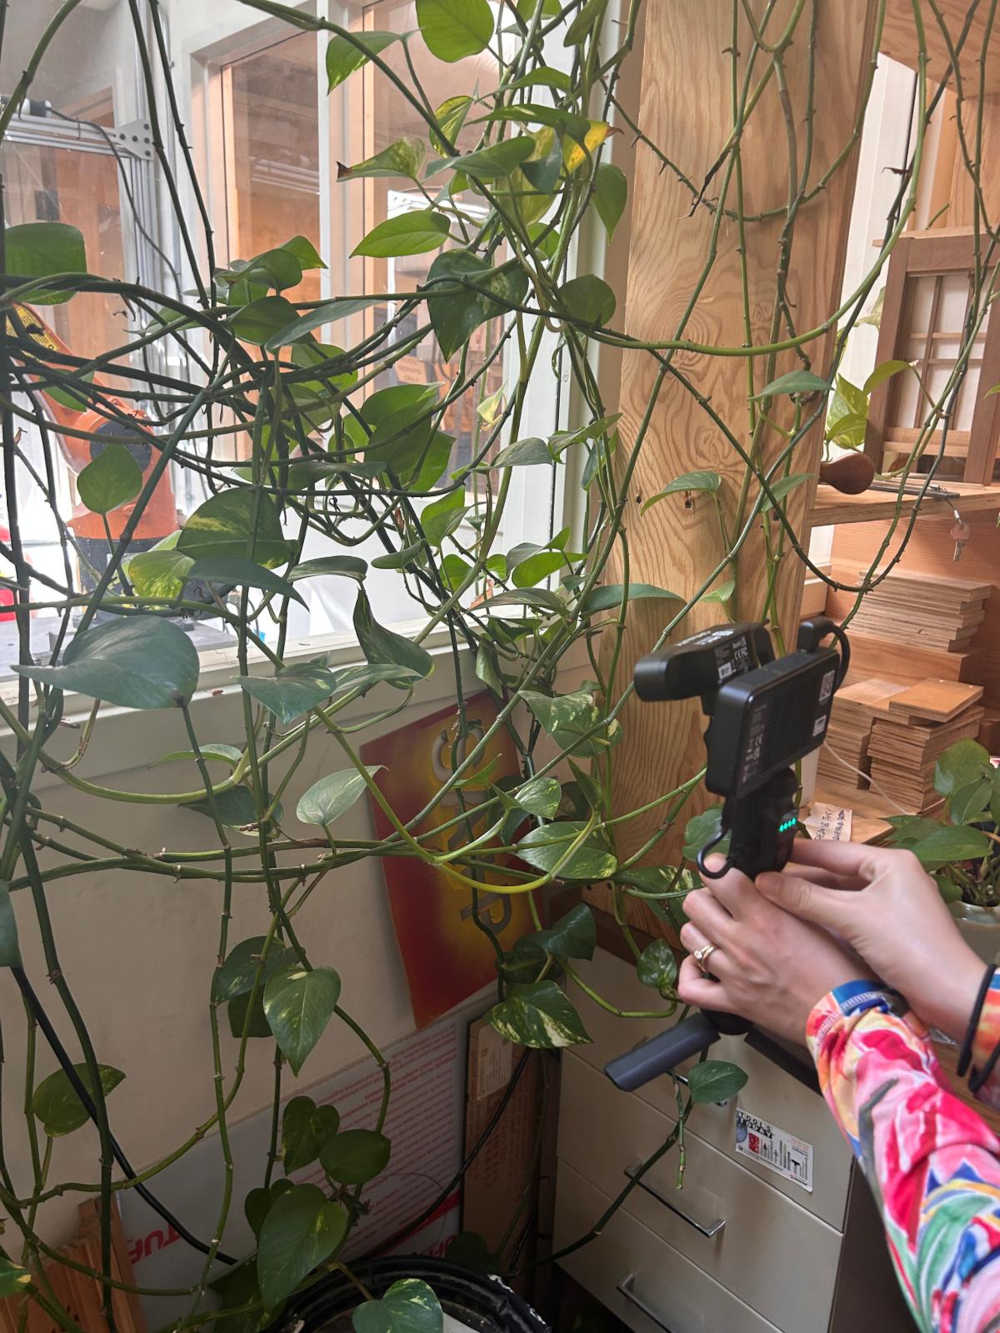
The scanner had a handy visual interface that tracked and notified you when a portion of the scan is complete, telling you to either move closer, further, or flash green to let you know that the scan was successful.
