Week of Oct 16 2024
Design and produce a mold, and use it to cast parts
This week's assignment was highly procedural, with significant curing times in-between each step, and tested the limits of "supply-side time planning". I undertook the following activities for this week's assignment:
- Pick a shape to cast and obtain the 3D model for it
- Design a mold and make a 3D model of it in Rhino
- Make the mold, through 3D printing using a Bambu printer (file set-up time: ~30 mins; print time: 2.5hours) and CNC machining using a ShopBot (MasterCAM file set-up time: a few hours; machining time: ~4 hours)
- (optional) Prepare surface of mold to remove machining lines, by spray-painting primer/ other paint coats. Paint drying time: ~1 hour.
- Mix Oomoo (rubber compound) and cast into the molds. Curing time: ~3 hours.
- Cast material of choice into Oomoo molds. Curing time for plaster: overnight; metal: ~15 mins; soap: 2-3 hours to be safe (you probably can get away with less time, I failed twice due to impatience so was cautious the third time).
- (optional) Post-process casted piece by handsawing off the funnel piece and sanding surfaces if necessary - wear a dust mask and wash your hands!
Firstly, some acknowledgments. I owe a lot of this week's work to our shop expert Jen, and fellow coursemates, particularly Jacob and Gert from MIT Architecture. And as usual, TAs Anthony and Alfonso's back-to-back 2-hour recitation were immensely helpful and informative.
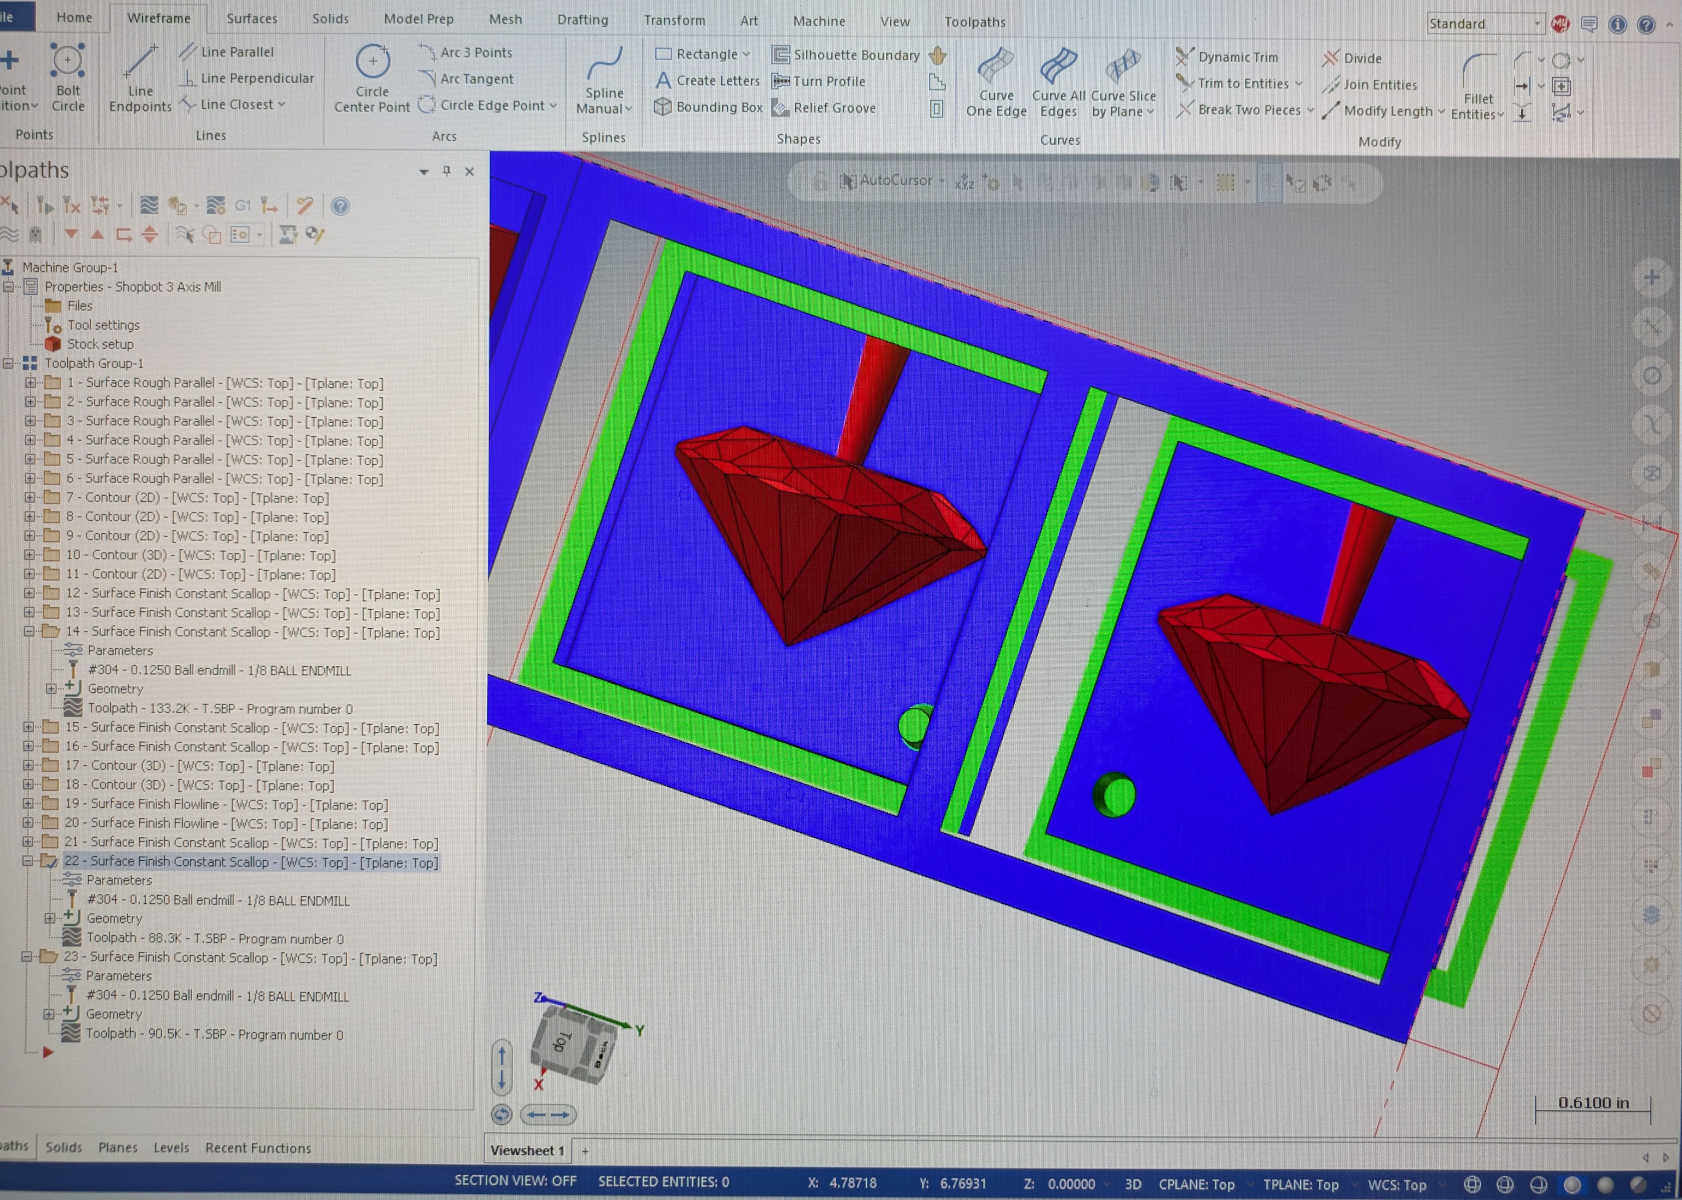
Despite the significant time constraints of this demanding and intense week, Jen took the lead to organize and set-up MasterCAM files over the weekend, so that those of us who wanted to try machining our molds could feasibly do it within the week's timeframe.


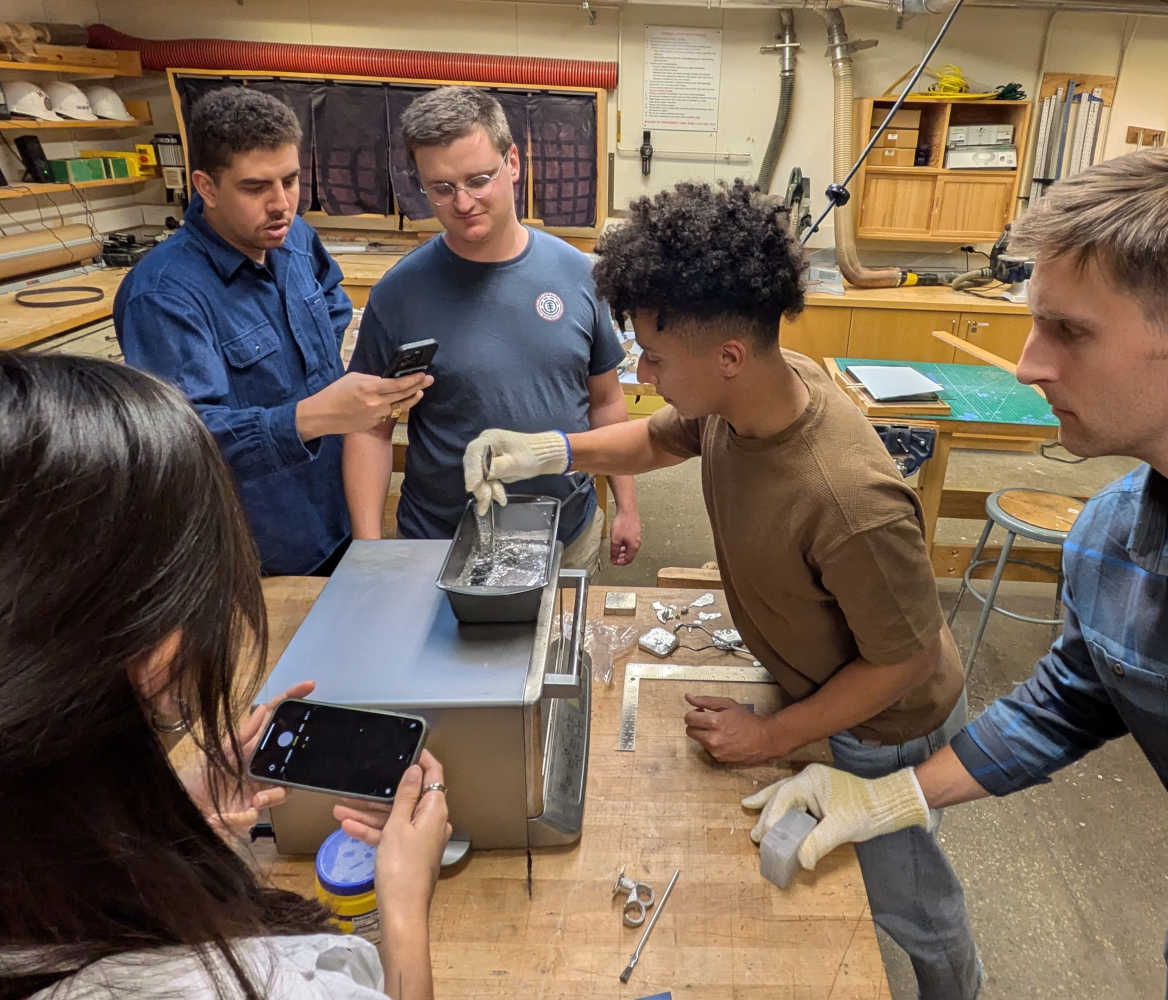
Our fellow classmates Jacob and Gert took the lead to introduce and teach the rest of us exciting materials to cast with - namely metal and soap.
Jacob essentially acted as a TA this week and organized a demo session to teach us how to heat up tin-bismuth alloy in a toaster oven (to 400 deg F), prep the mold with cornstarch, cast, and post-process with a handsaw and sandpaper, and coordinated with shop expert Shah to make the toaster set-up available to us after-hours.




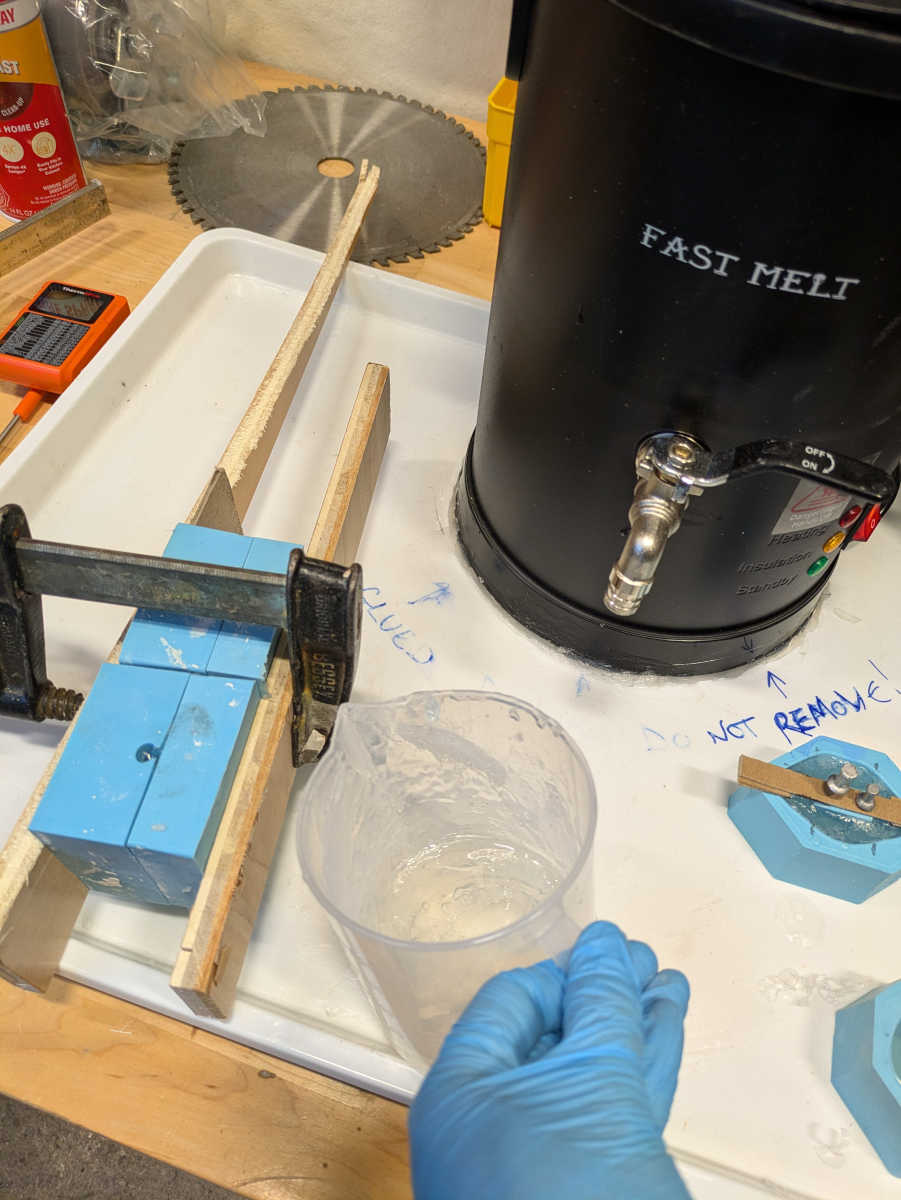
Gert saw his fellow architecture classmates cast soap for another class, and worked with shop expert Jen to heat up clear soap for us to make the option of soap casting available to our section. So grateful to them both and all involved for opening up these exciting material possibilities to us!
Recording some learning points for each of these steps, to help whoever chances upon this page.
- When picking a shape to cast, avoid geometries with any overhangs. I initially wanted to cast a Buckyball (invented at my alma mater), but quickly realised that the facets that made it such a strong structure also means there was no orientation at which I could slice it for a 2-part mold and avoid overhangs.

Initial model, but shop expert Jen quickly highlighted that those details will create a lot of overhangs. 
I removed the details to only work with facets, but the inate geometry meant that it was impossible to slice it in half without overhangs. - Read the assignment carefully - this week said "Design a model" not "Design your own 3D model", so I saved time by snapping up a ready-made 3D model from the opensource 3D warehouse: Buckyball 3D model from here, and diamond 3D model from here.
You can import .skp files directly into Rhino - for MasterCAM/CNC milling using Shopbot, you want NURBS, and for 3D printing, you want a mesh. For my 2nd mold iteration (diamond instead of buckyball), I saved time by using Jen's mold template from here, insteading of building my own. Here is the 3D file for CAM (Rhino file opened and saved in Fusion for easy file-sharing), and the STL file for import into Bambu slicer for 3D printing.

Modeled with a rough dimension in mind, not the most precise. 
Modeled using Jen's wax template, so dimensions are more precise. Also useful to model the dimensions of an 1/8th inch end mill and move it around the model to see if the tool paths will clear the design, and adjust the 3D model accordingly. - Contours that are more pronounced show up better than facets, whose subtle angles can get flattened at this scale. It might also be good to consider and design with the tooling marks in mind, perhaps even thinking of it as an intentional finish.

Bottom mold is my diamond - subtle facets do not show as prominently as Gert's contoured model (top) or Sergio's pronounced angles (middle). - I don't think the step of spraying on paint made a huge difference in removing the tool marks on the 3D print, so I recommend not to bother if it is printed with a high-definition printer like the Bambu. Overall, I also recommend 3D printing over CNC machining the mold - it takes up much less time, and has a more precise finish.
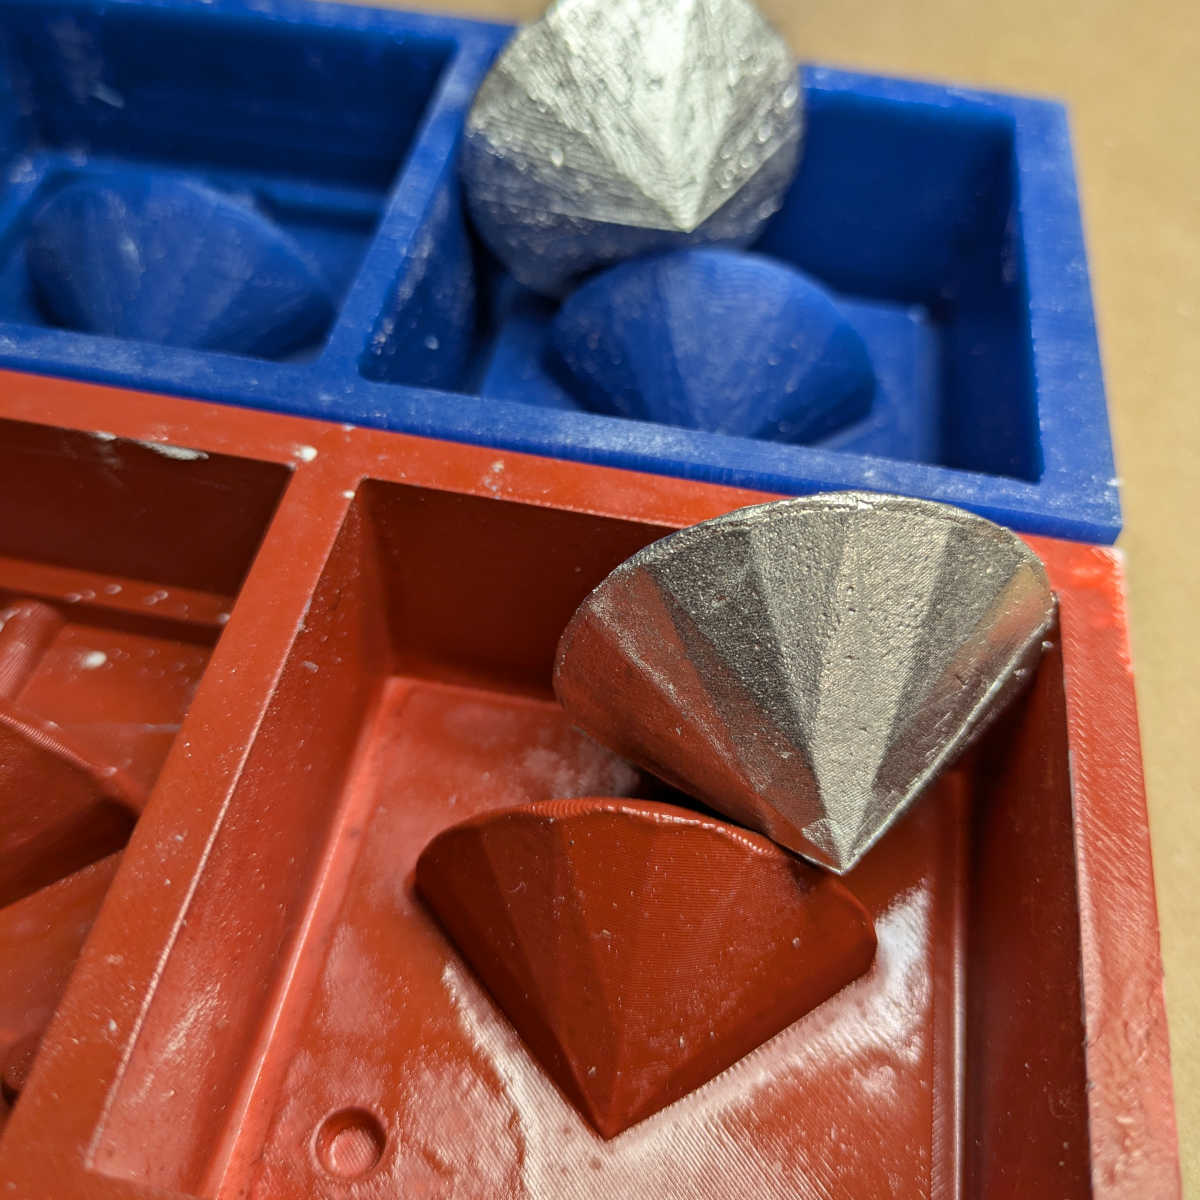
The 3D printed mold produced a smooth finish with minimal tool marks. 
The CNC-machined mold had really rough tool marks, which could potentially be adjusted if the tool paths were set differently. However, Jen advised that the inherent geometry of this object will result in prominent tool marks regardless. - Read the labels on the Oomoo bottles - they have various products with similar packaging (e.g. Oomoo 25, Oomoo 37, Oomoo Sorta-Clear), make sure you don't mix up different products.
- Use a tongue depressor to stir each Ooomoo part in its own bottle for about 3-4mins before pouring it out. Use 2 separate paper cups to pour out each of the A:B parts of Oomoo so that you can individually tap out air bubbles in each part. The thicker cyan part (in the yellow bottle) is much more prone to air bubbles, so you should pour the thinner liquid from the blue bottle into the thicker liquid from the yellow bottle. Stir in a figure-of-eight and avoid the sides to minimize air bubbles - more like stirring for a macaron meringue (minimal air bubbles) than whisking eggs (where you will introduce too much air).
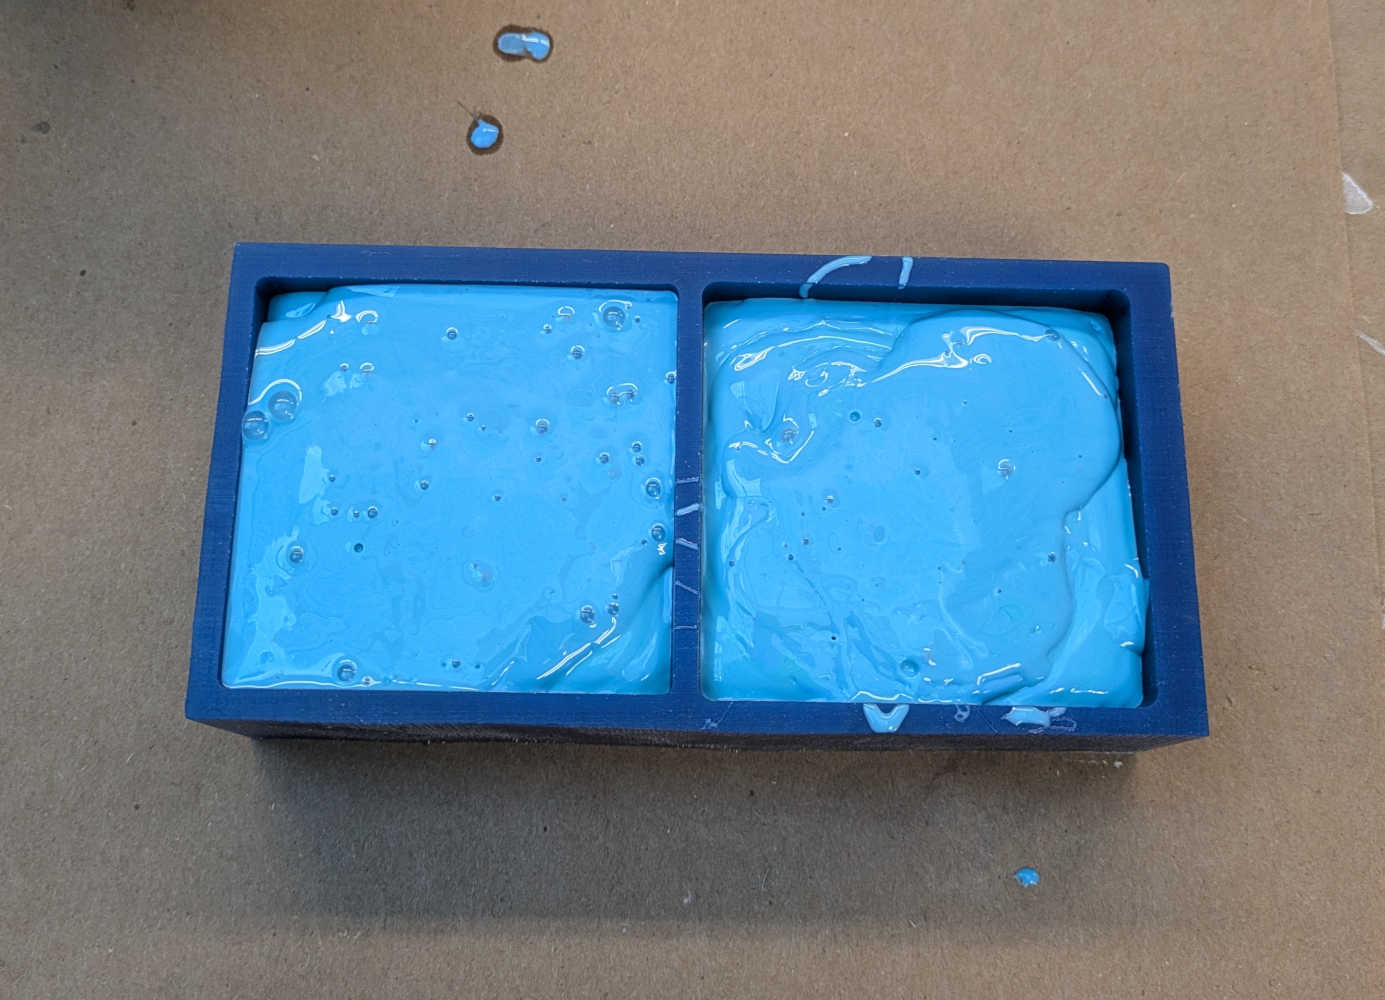
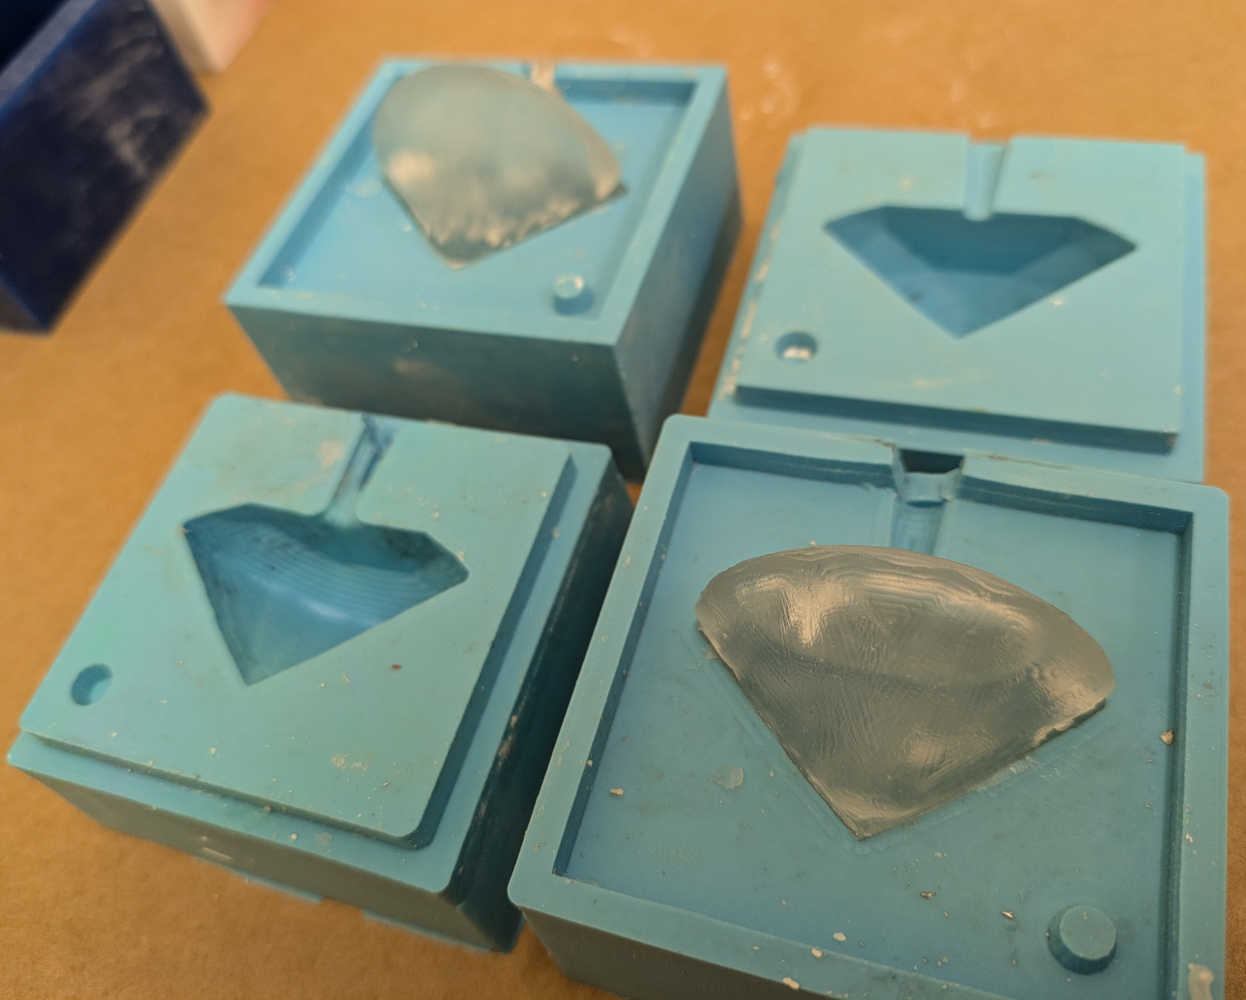
Oomoo poured into the wax mold - note the air bubbles, you will have to tap the mold up and down firmly on a flat surface to get the air bubbles out. 
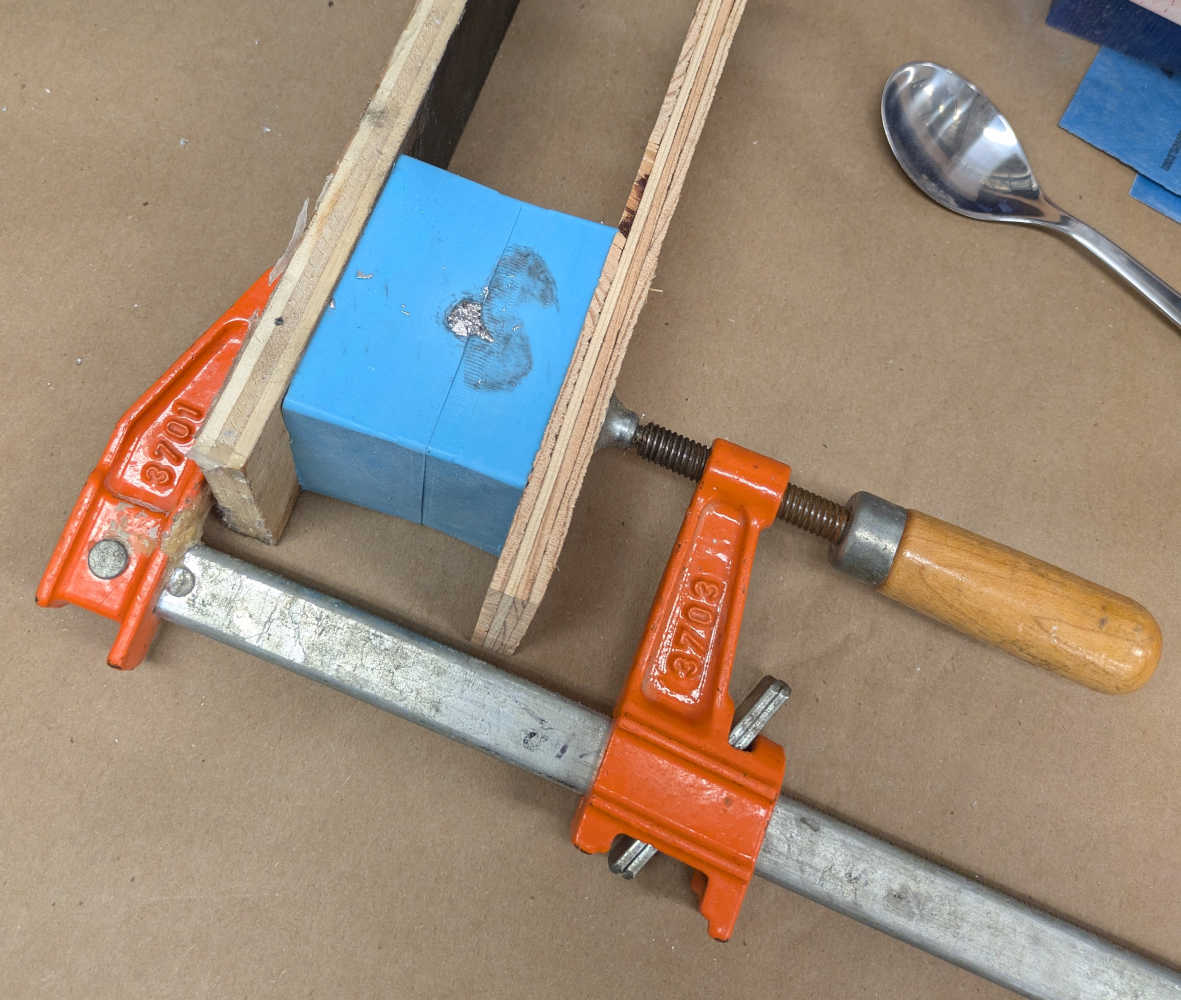
Oomoo poured into the 3D printed mold. Air bubbles have been vigorously tapped out. - Always clamp your 2-part molds together while casting, else risk spilling your cast like me.
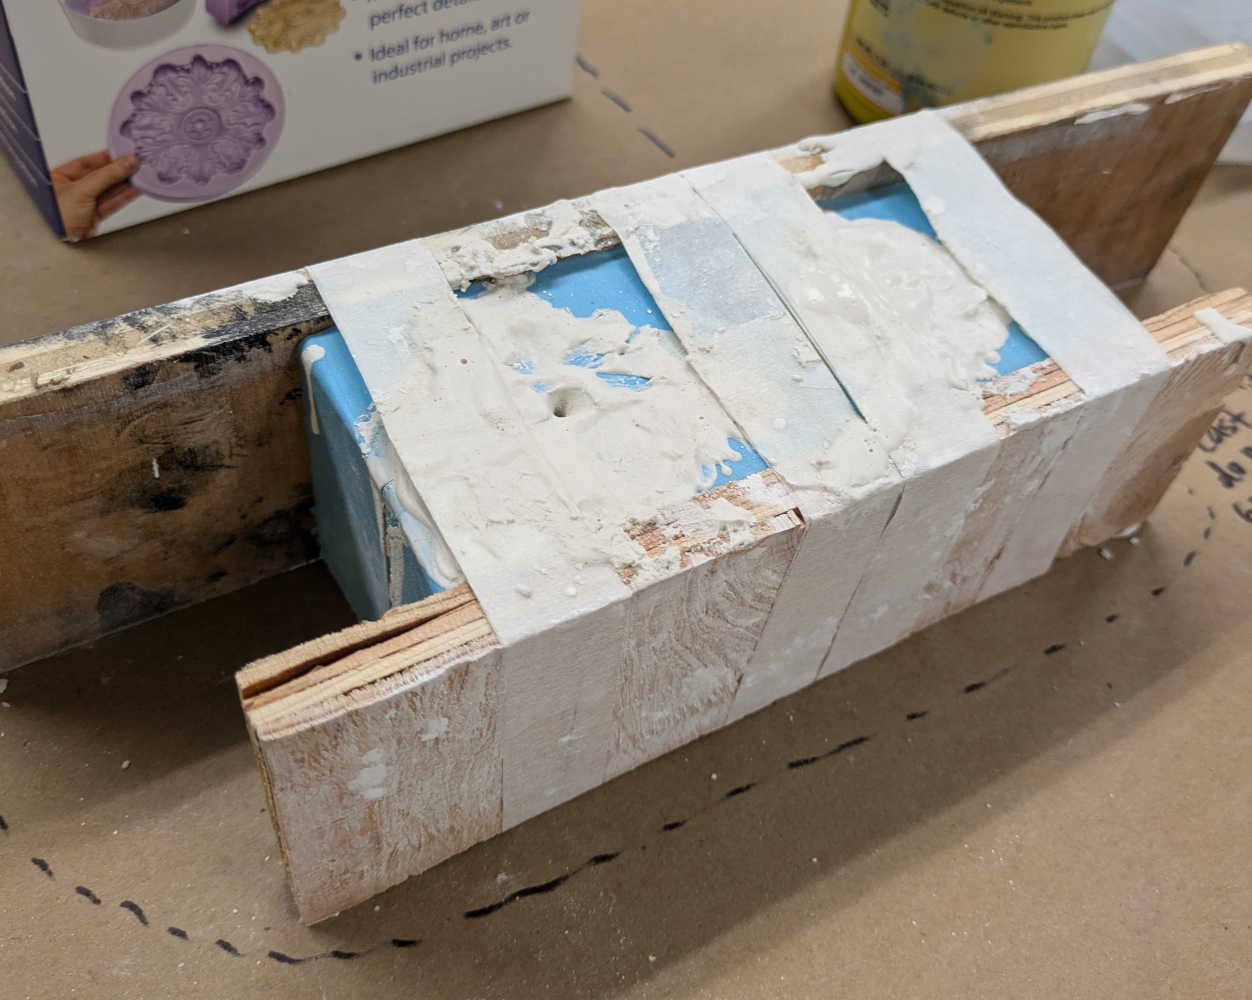
- For plaster casting - add plaster to water, until it reaches pancake consistency. Also, metal and soap are much faster, cleaner, and more fun to cast with.
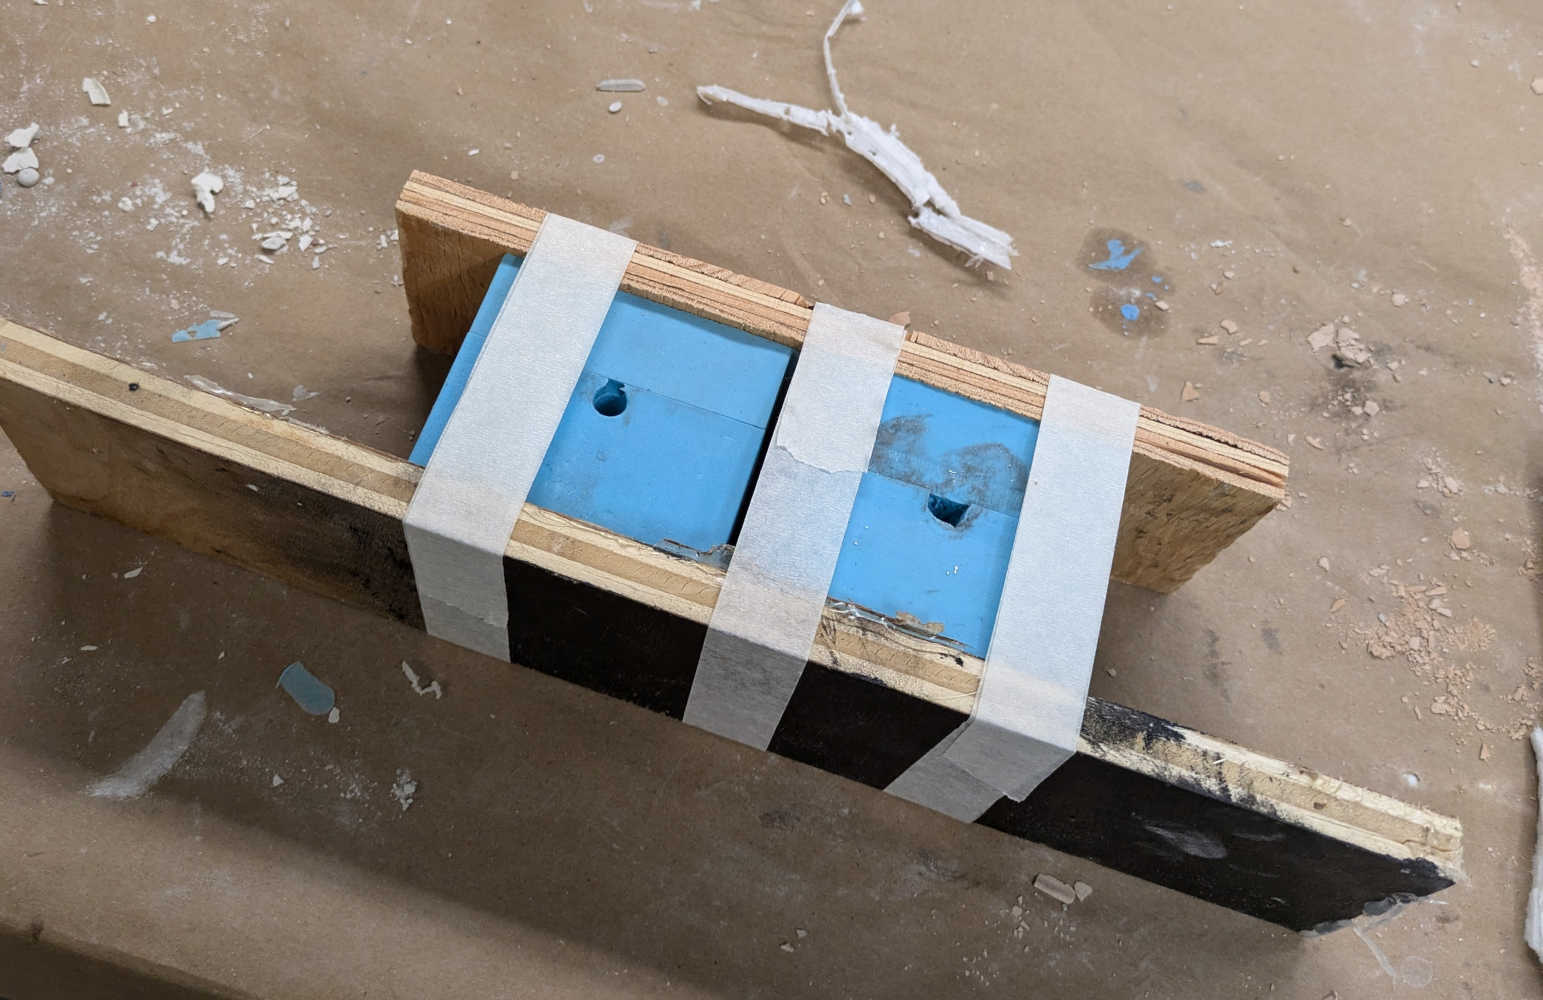
Mold set-up before pouring in plaster. - For soap casting - removing dried soap from the beaker mouth helps with pouring a stream of soap thin enough to fill the funnel without blockage. Soap cures rapidly so be careful not to pour too fast, else you will only have a cured funnel and nothing else.

Cleaning the beaker mouth before pouring. - A syringe needle can do wonders in releasing air and letting the cast material flow in better.

Syringe needle courtesy of my kind classmate Gert. 
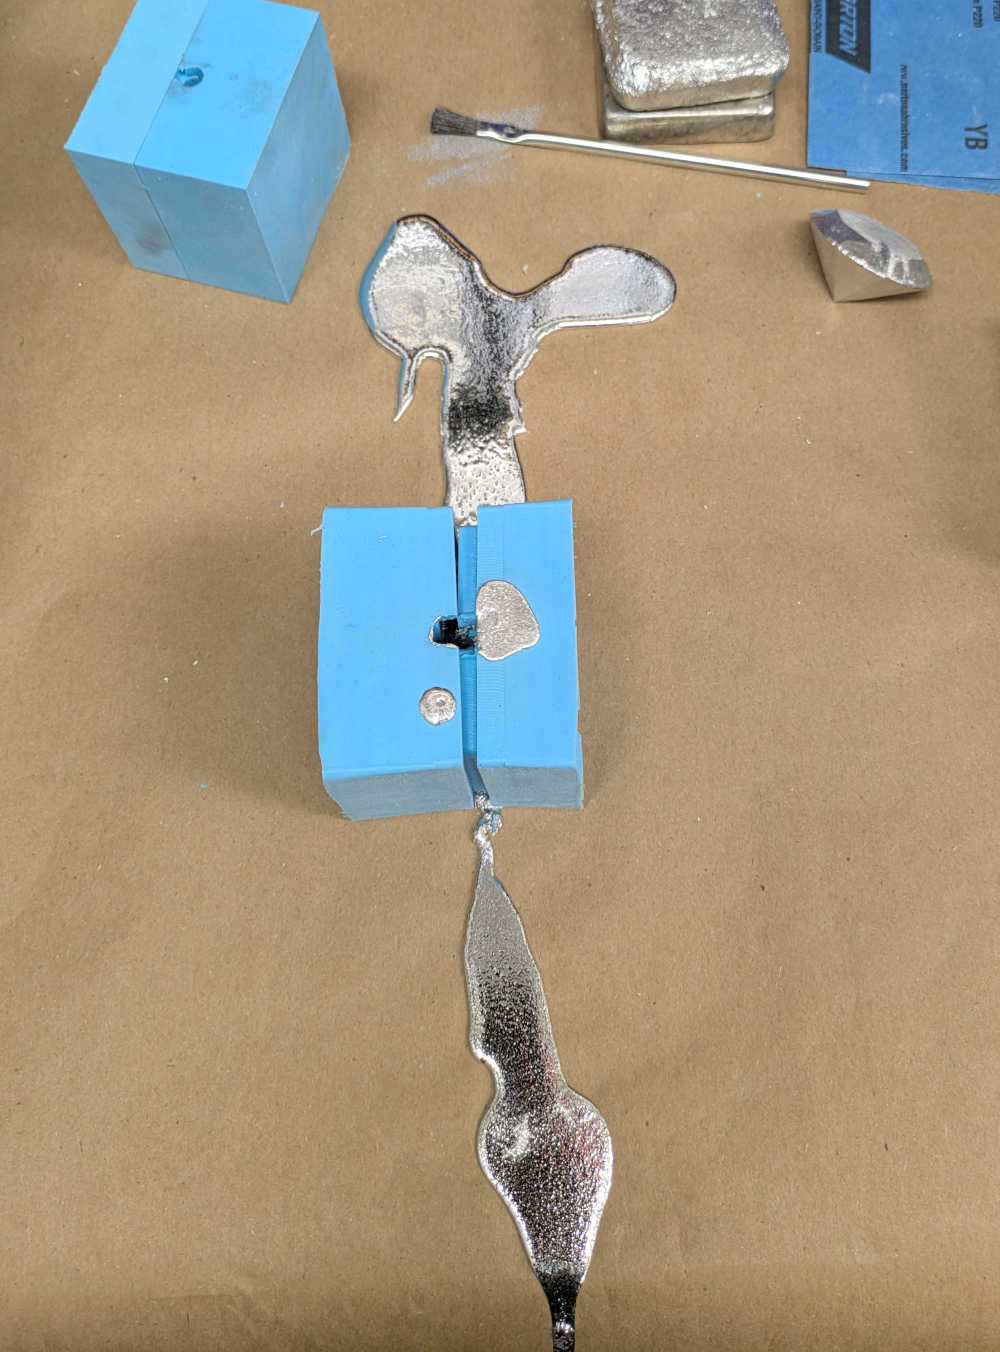
Inserting it into the Oomooo silicone mold like this helps air to escape and the cast material to flow better. - In general, don't be impatient and look up cure times, else risk comical undercasting / gooey messes.
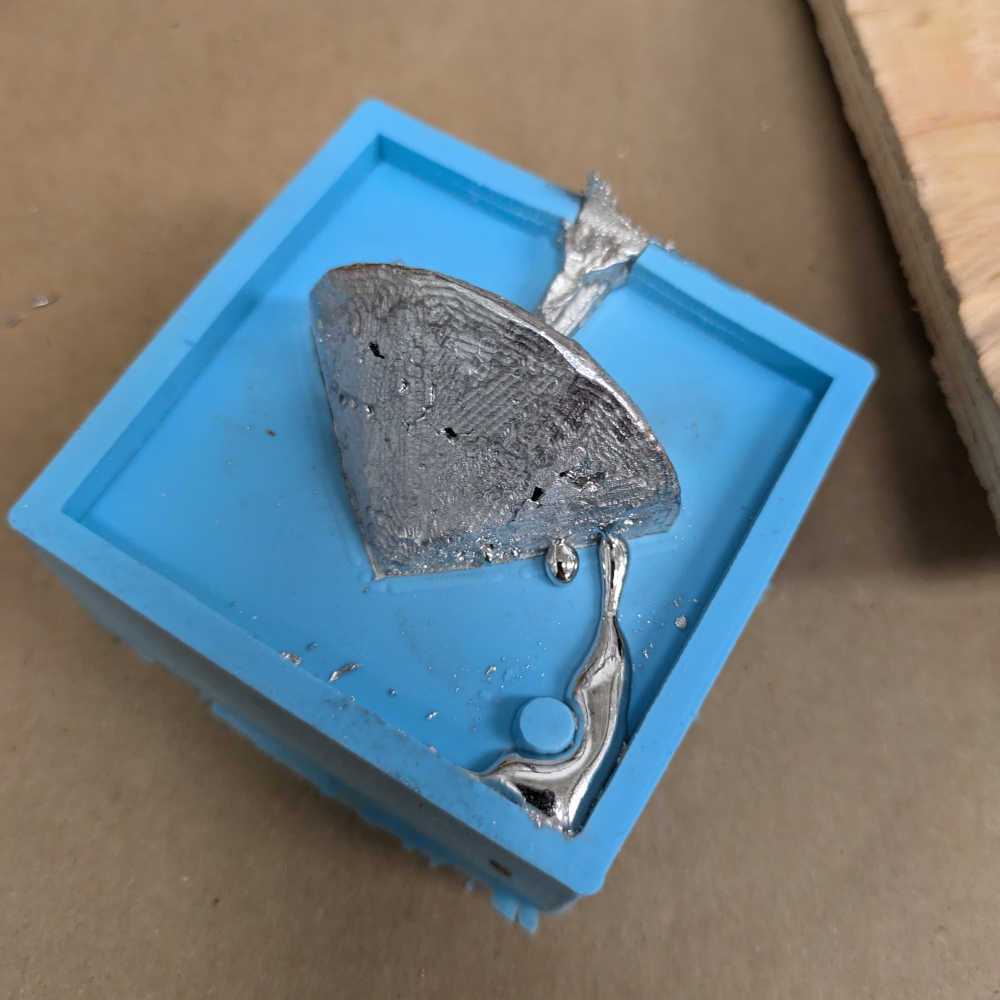
Tin-bismuth that had not fully cured yet flowed out - this is the same material used for soldering! Luckily, this alloy is non-toxic and easy to clean.

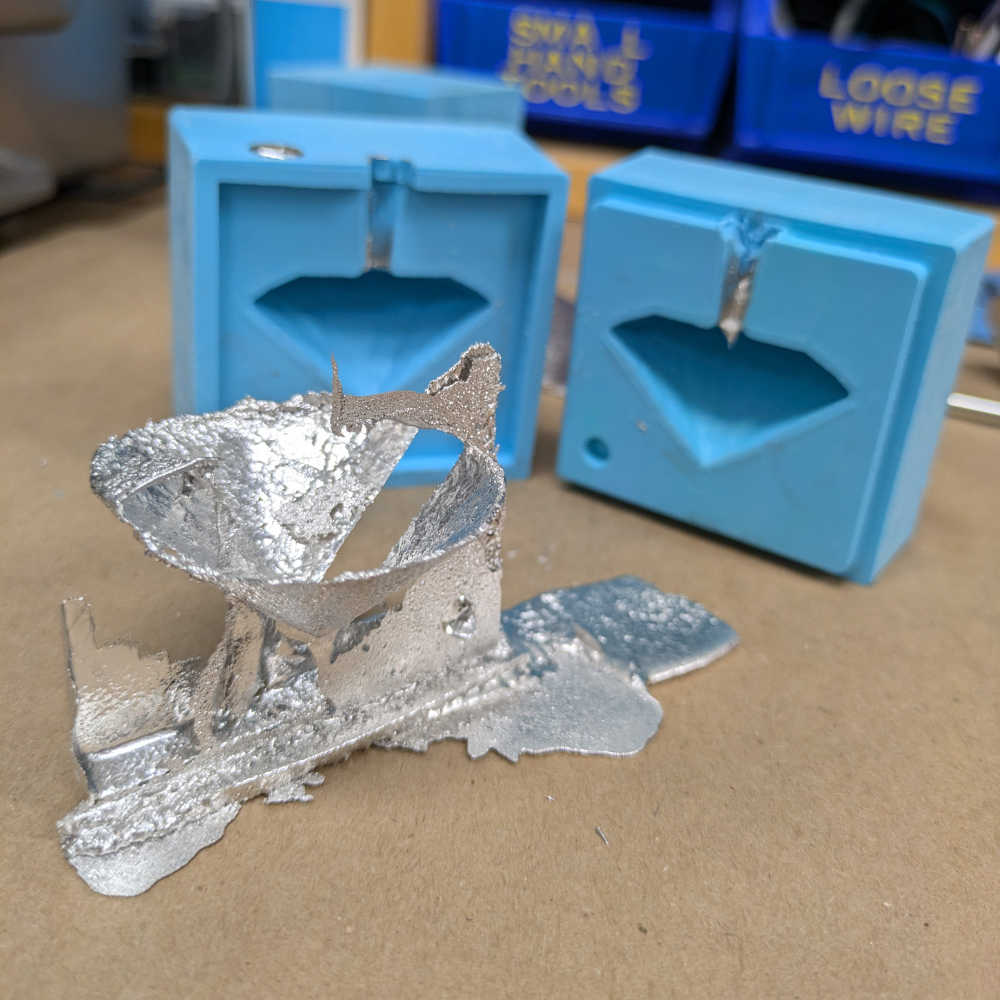
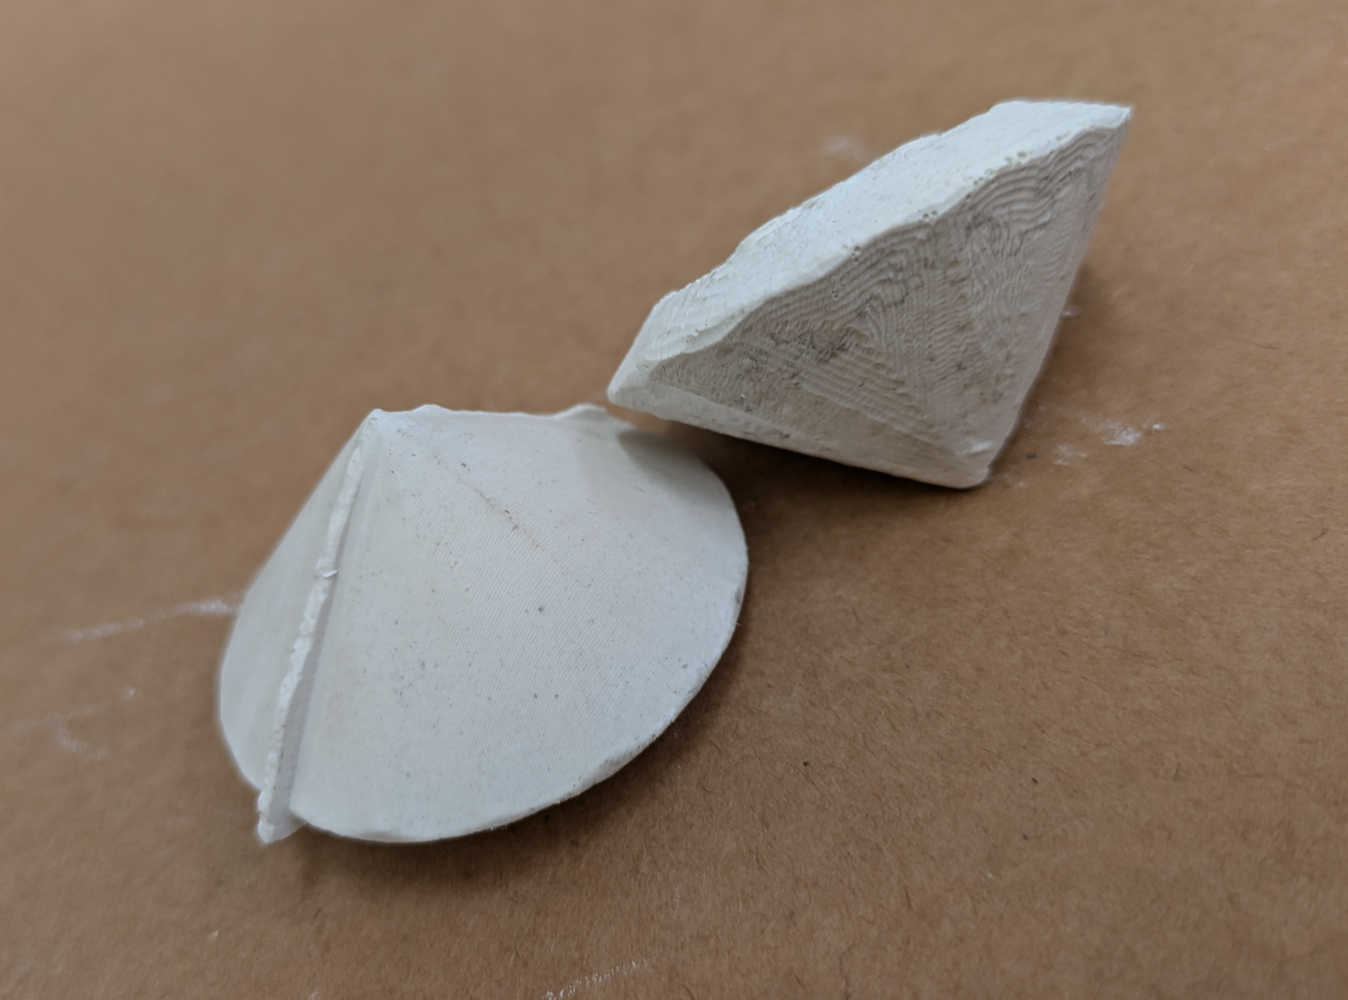
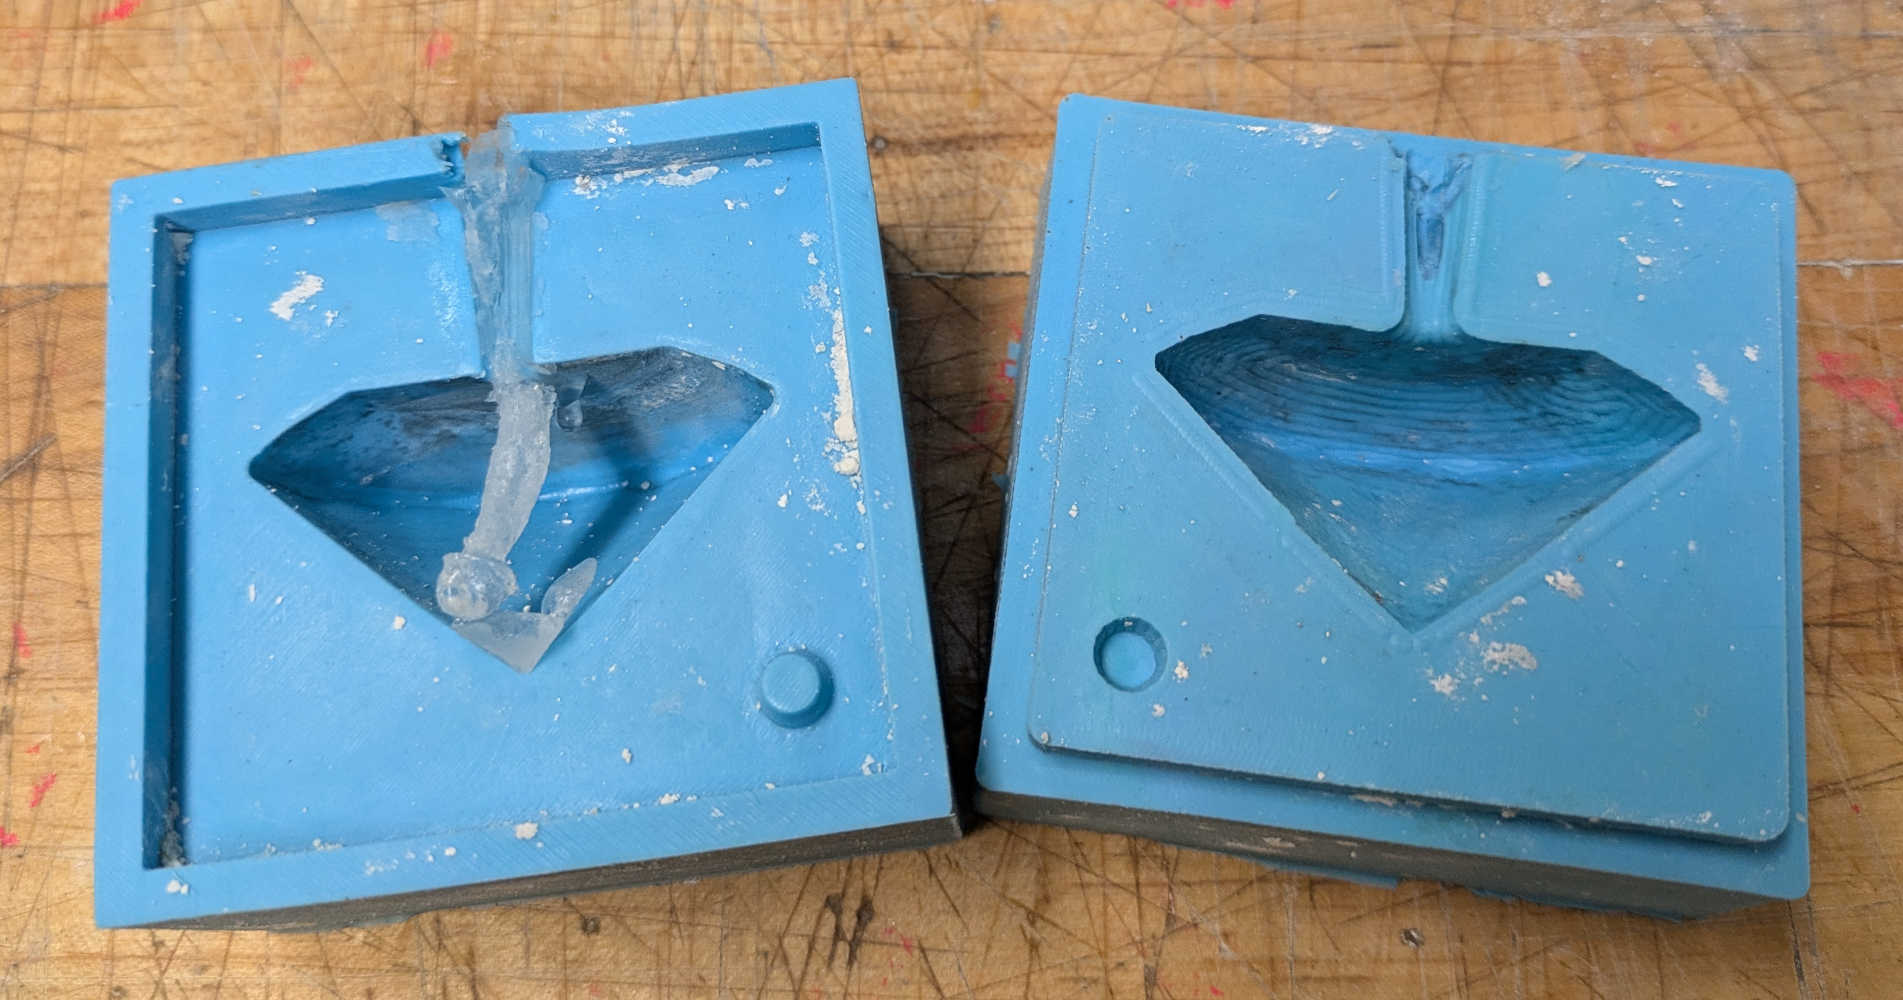
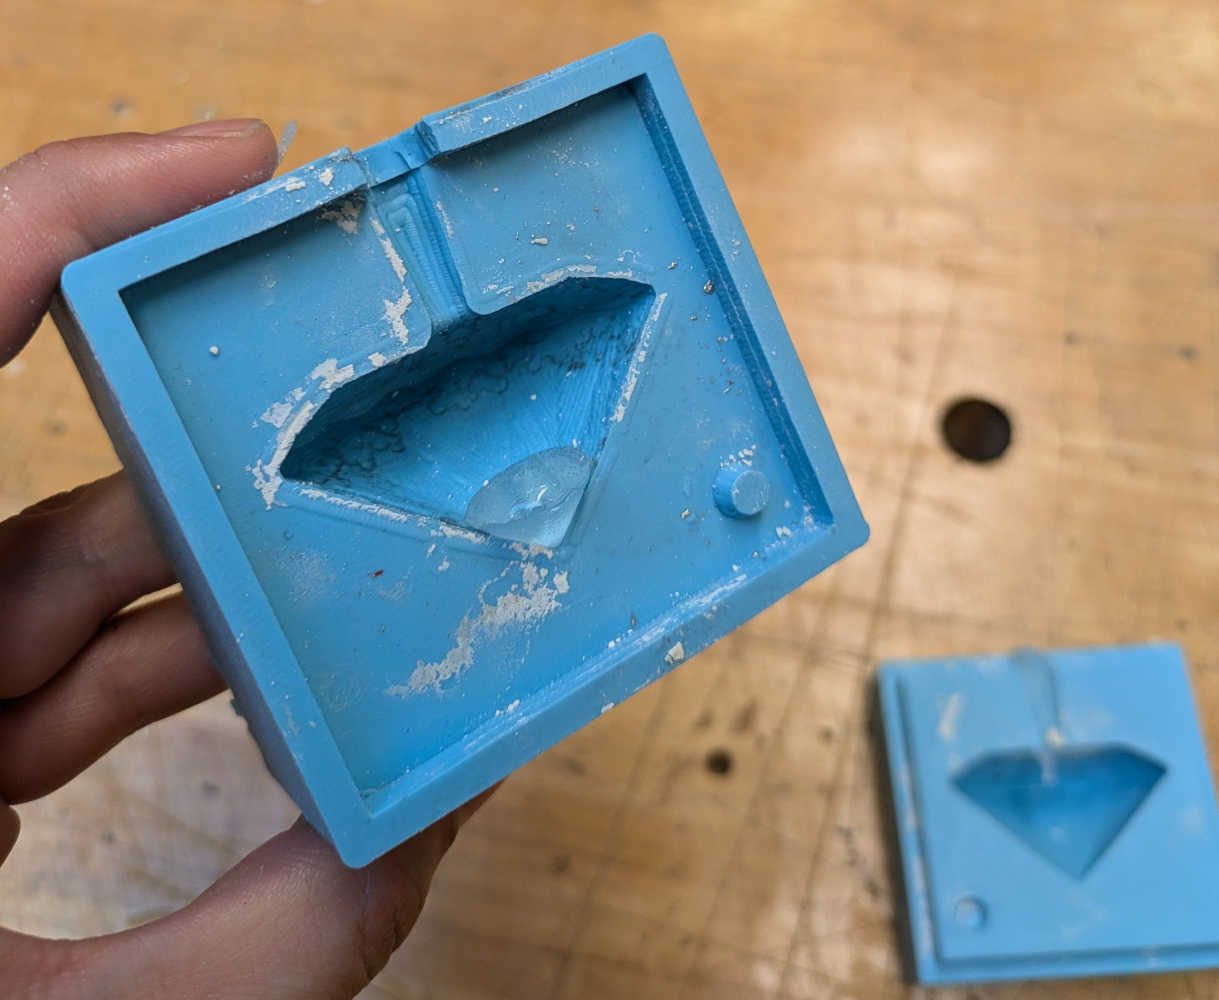
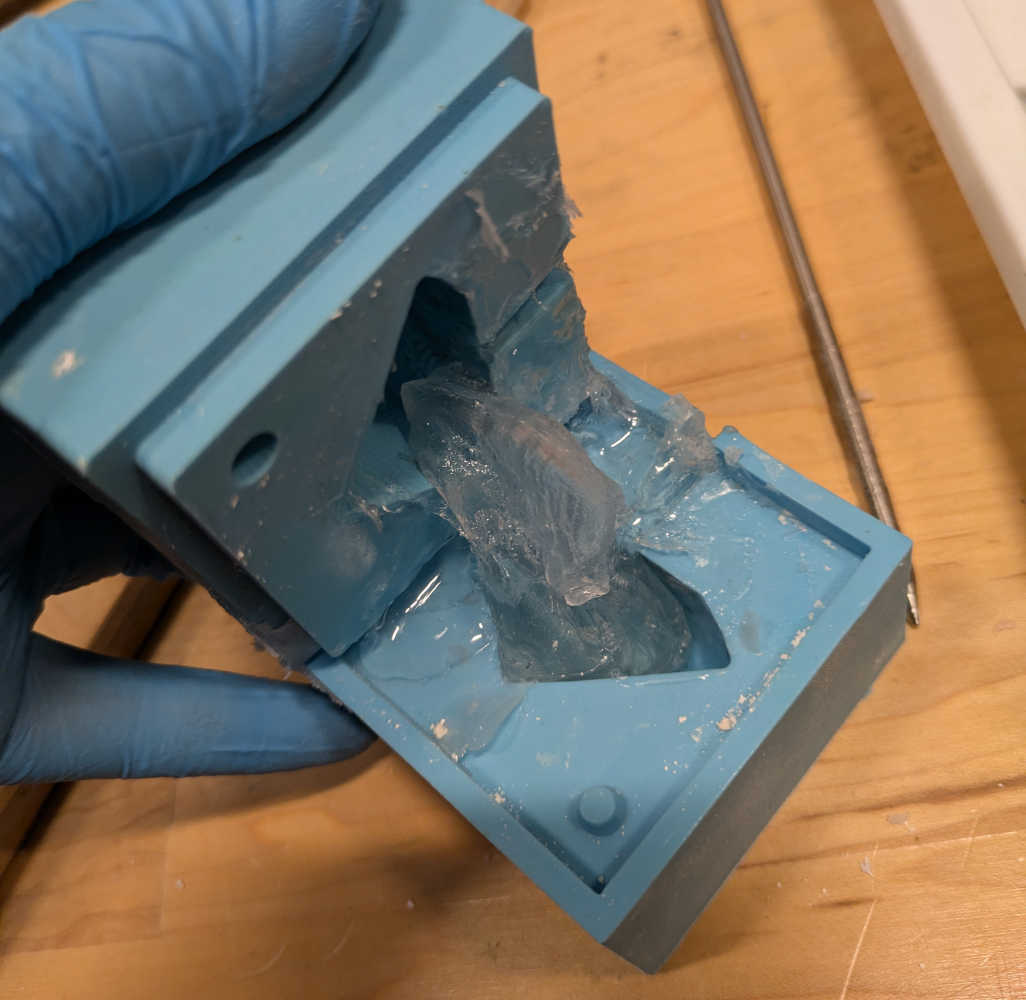
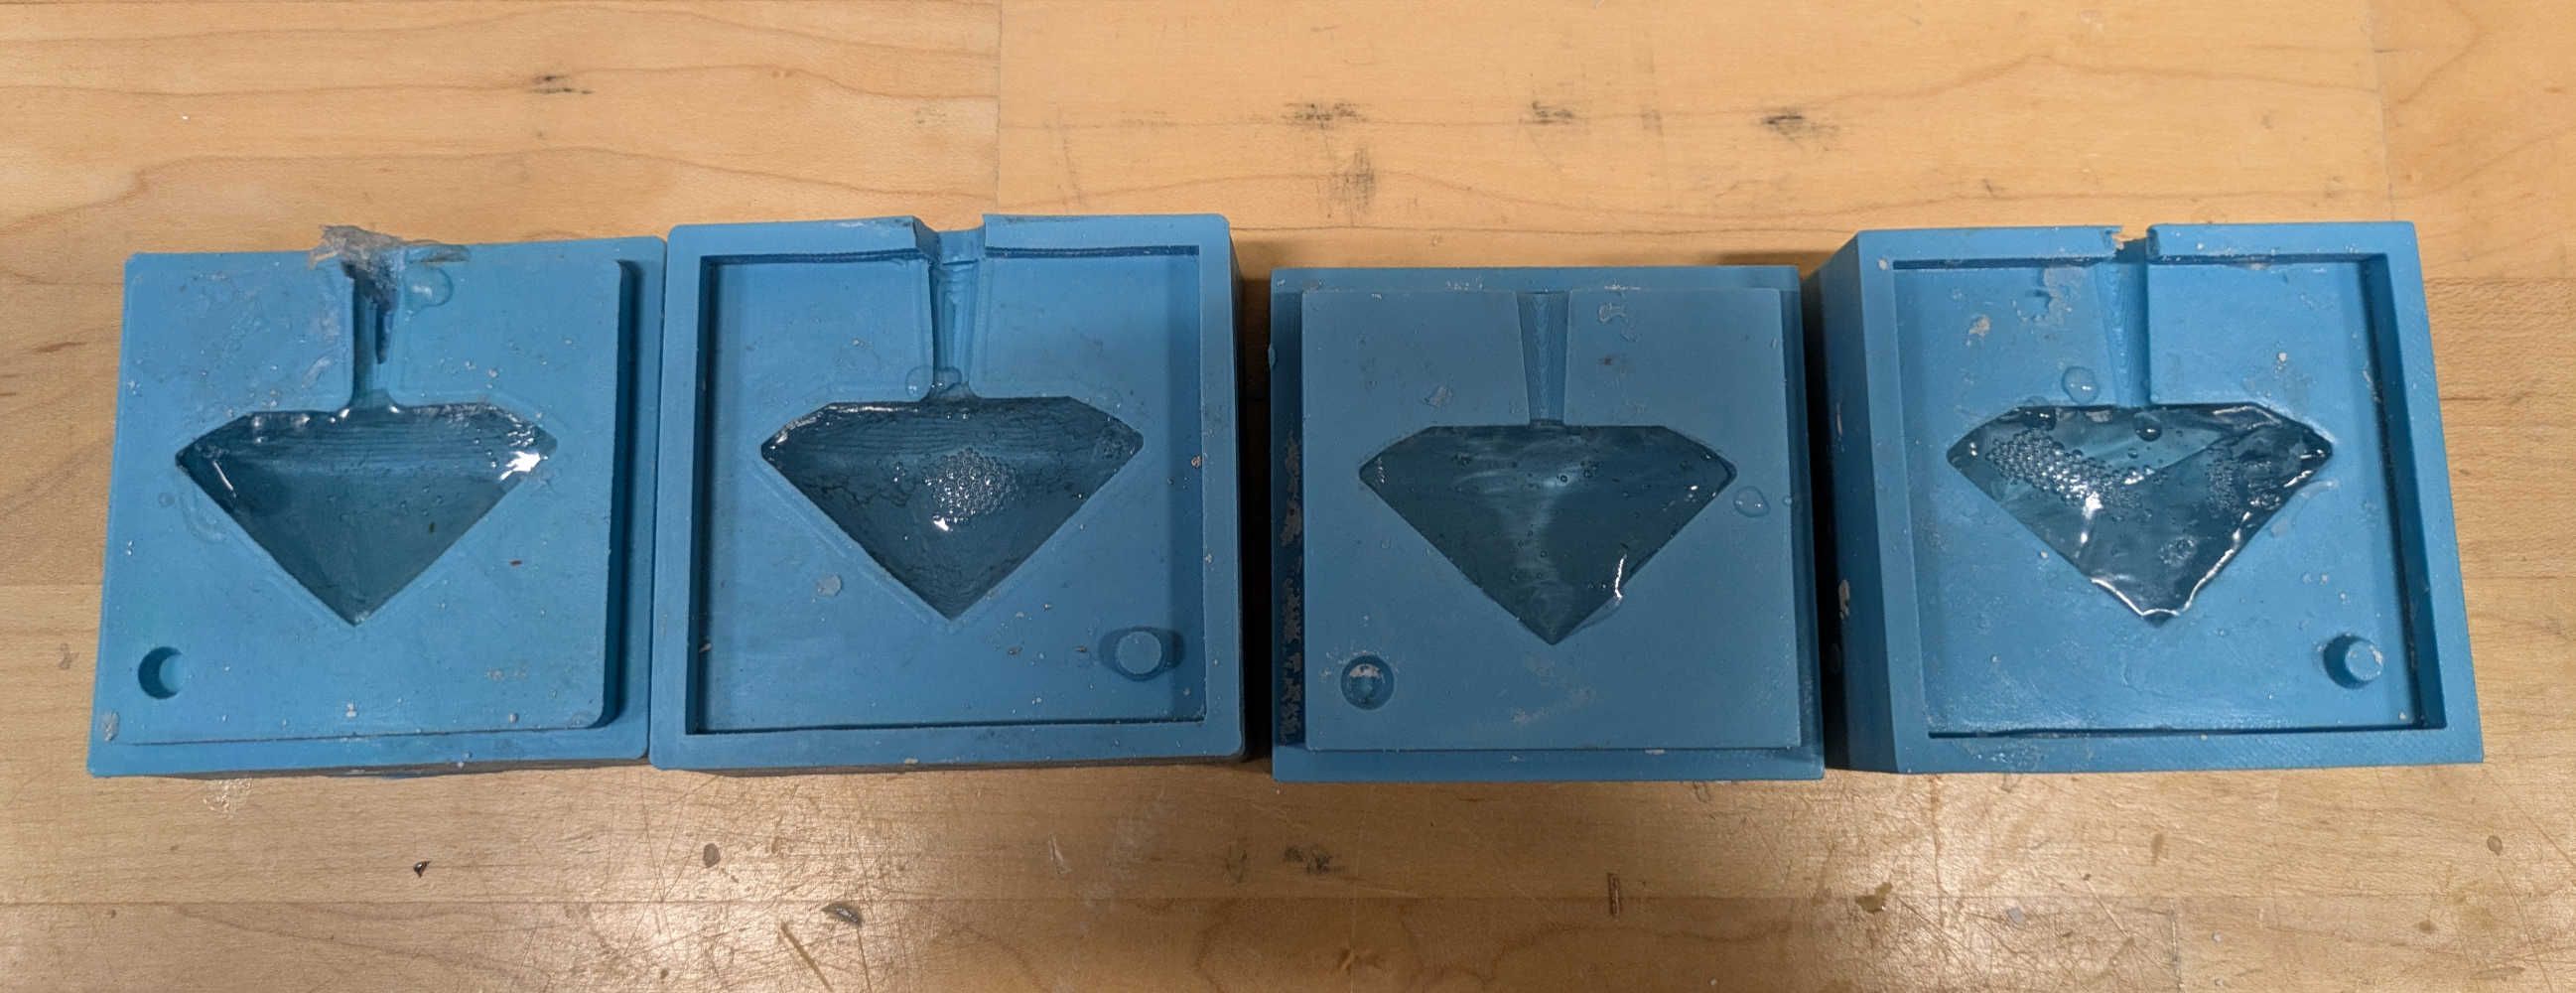
Overall, I am glad I managed to try different methods and materials this week, as I am able to compare between the processes and discovered my preferences for future projects. While I have casted in plaster before, I really loved that both the metal and soap were 'reusable' - you can reheat scrap pieces from failed casts and use them again - unlike messy o' plaster! Here is the line-up of all the casting done this week.


Some ideas for future molding and casting projects include:
- Casting a protective case for my custom PCB + IMU + servo motor set-up for the final project - perhaps to use Oomoo itself or another form of rubber/ silicone as the casted material?
- Casting in food-safe silicone to make gem-like ice-cubes
- Adding dried fragrant flowers (osmanthus and rose) into a soap cast
- Making art with free-flowing tin bismuth!