Week of Nov 06, 2024
Make something big out of OSB using a CNC mill
I initially wanted to make an unfolding personal cubicle/ shell based on the folding pattern of my final project, using cardboard, for this week's 'Make Something Big' assignment. However, since we were required to use OSB as our material, I pivoted to thinking about what I could make with a rigid material.
This week came after the 2024 US Presidential Elections so I gravitated towards making an object that could soothe the user, such as a rocking cradle that is adult-sized, because we all deserve to be pampered and rocked to sleep like babies. However I then learnt from this week's recitation that we were limited to a 48in x 96in OSB, and so I downsized my idea to a rocking chair.
Rather than a chair that only rocks in one direction, all that IMU exploration in earlier weeks got me thinking about making a chair that rocks in multiple directions, kind of like the spinning Heatherwick chair. I had also been wanting to make a 3-axis trainer for a while now (thinking about how I could simulate the tumbling motion of a somersaulting astronaut for my final project), and so I incorporated that into the idea for this week's project.
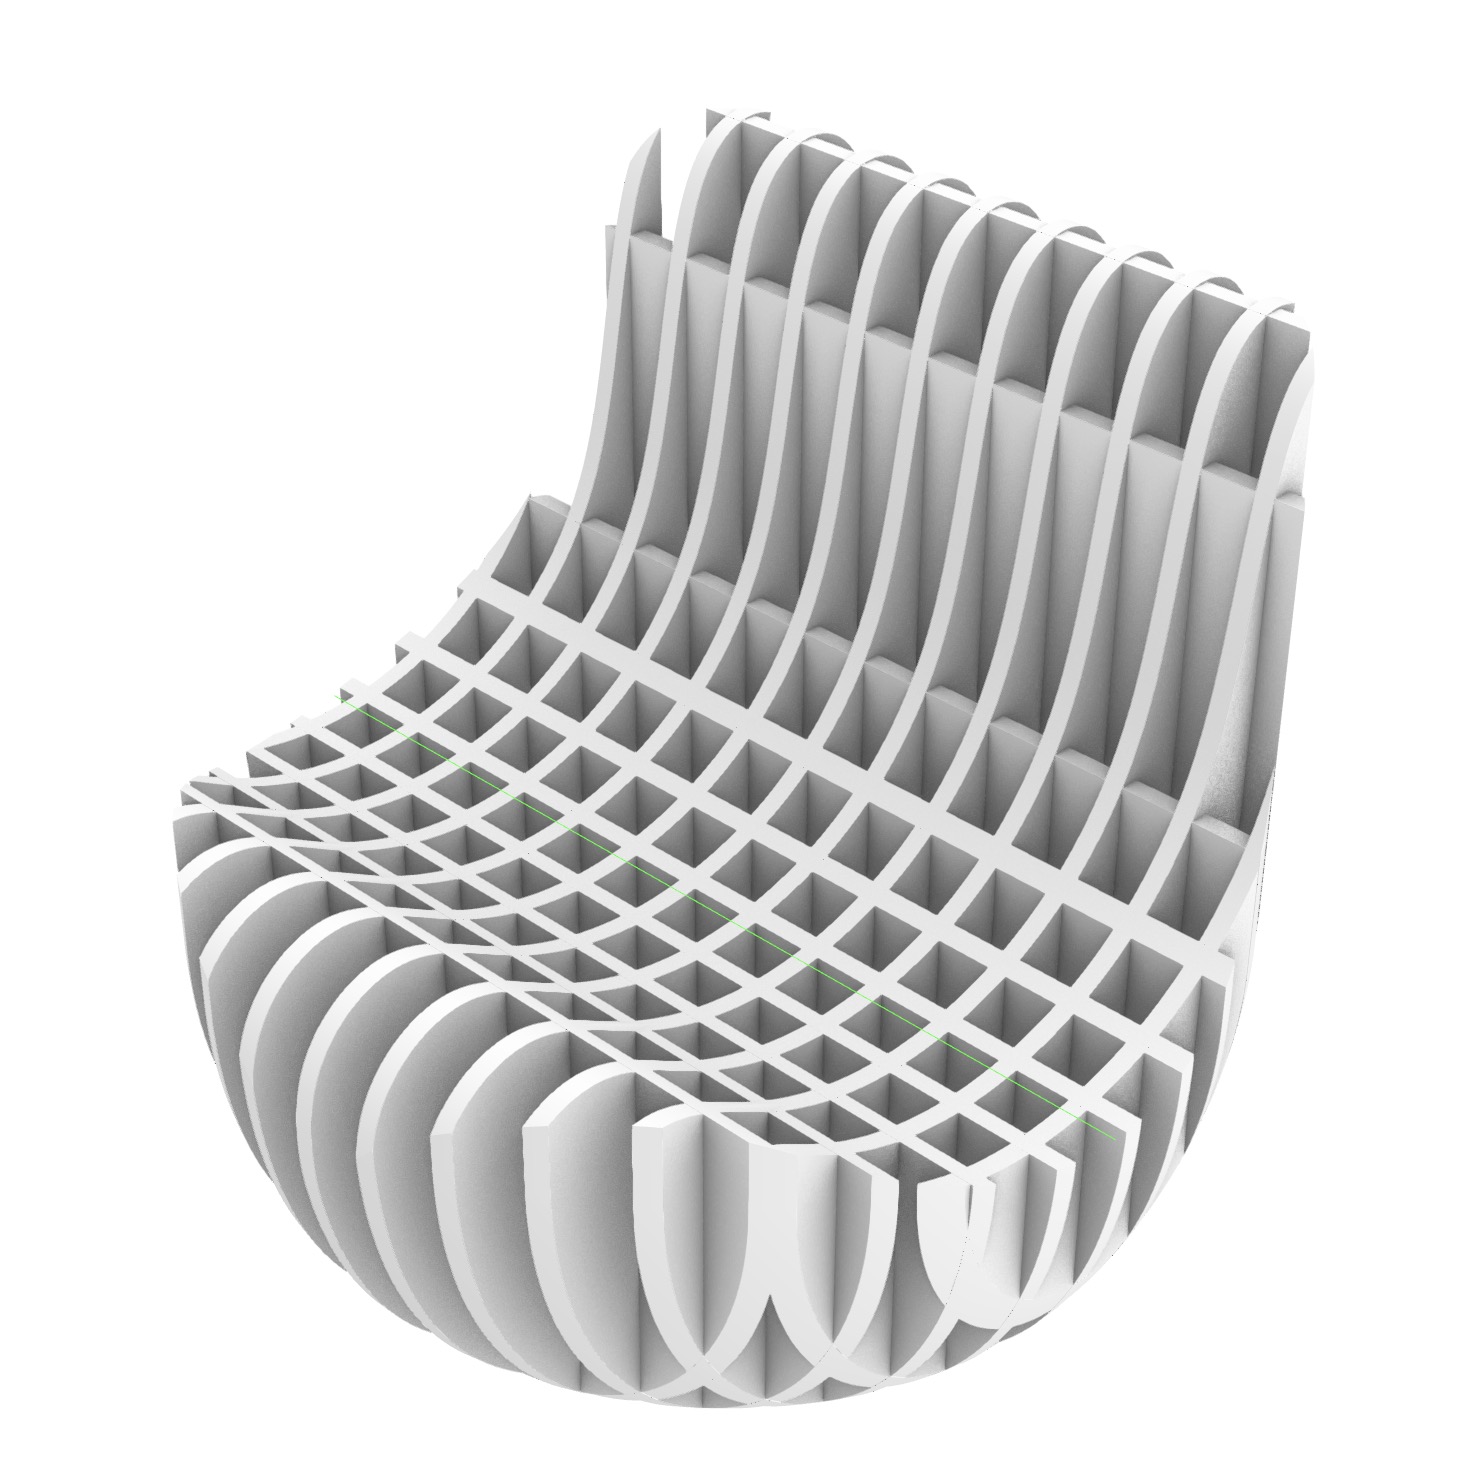
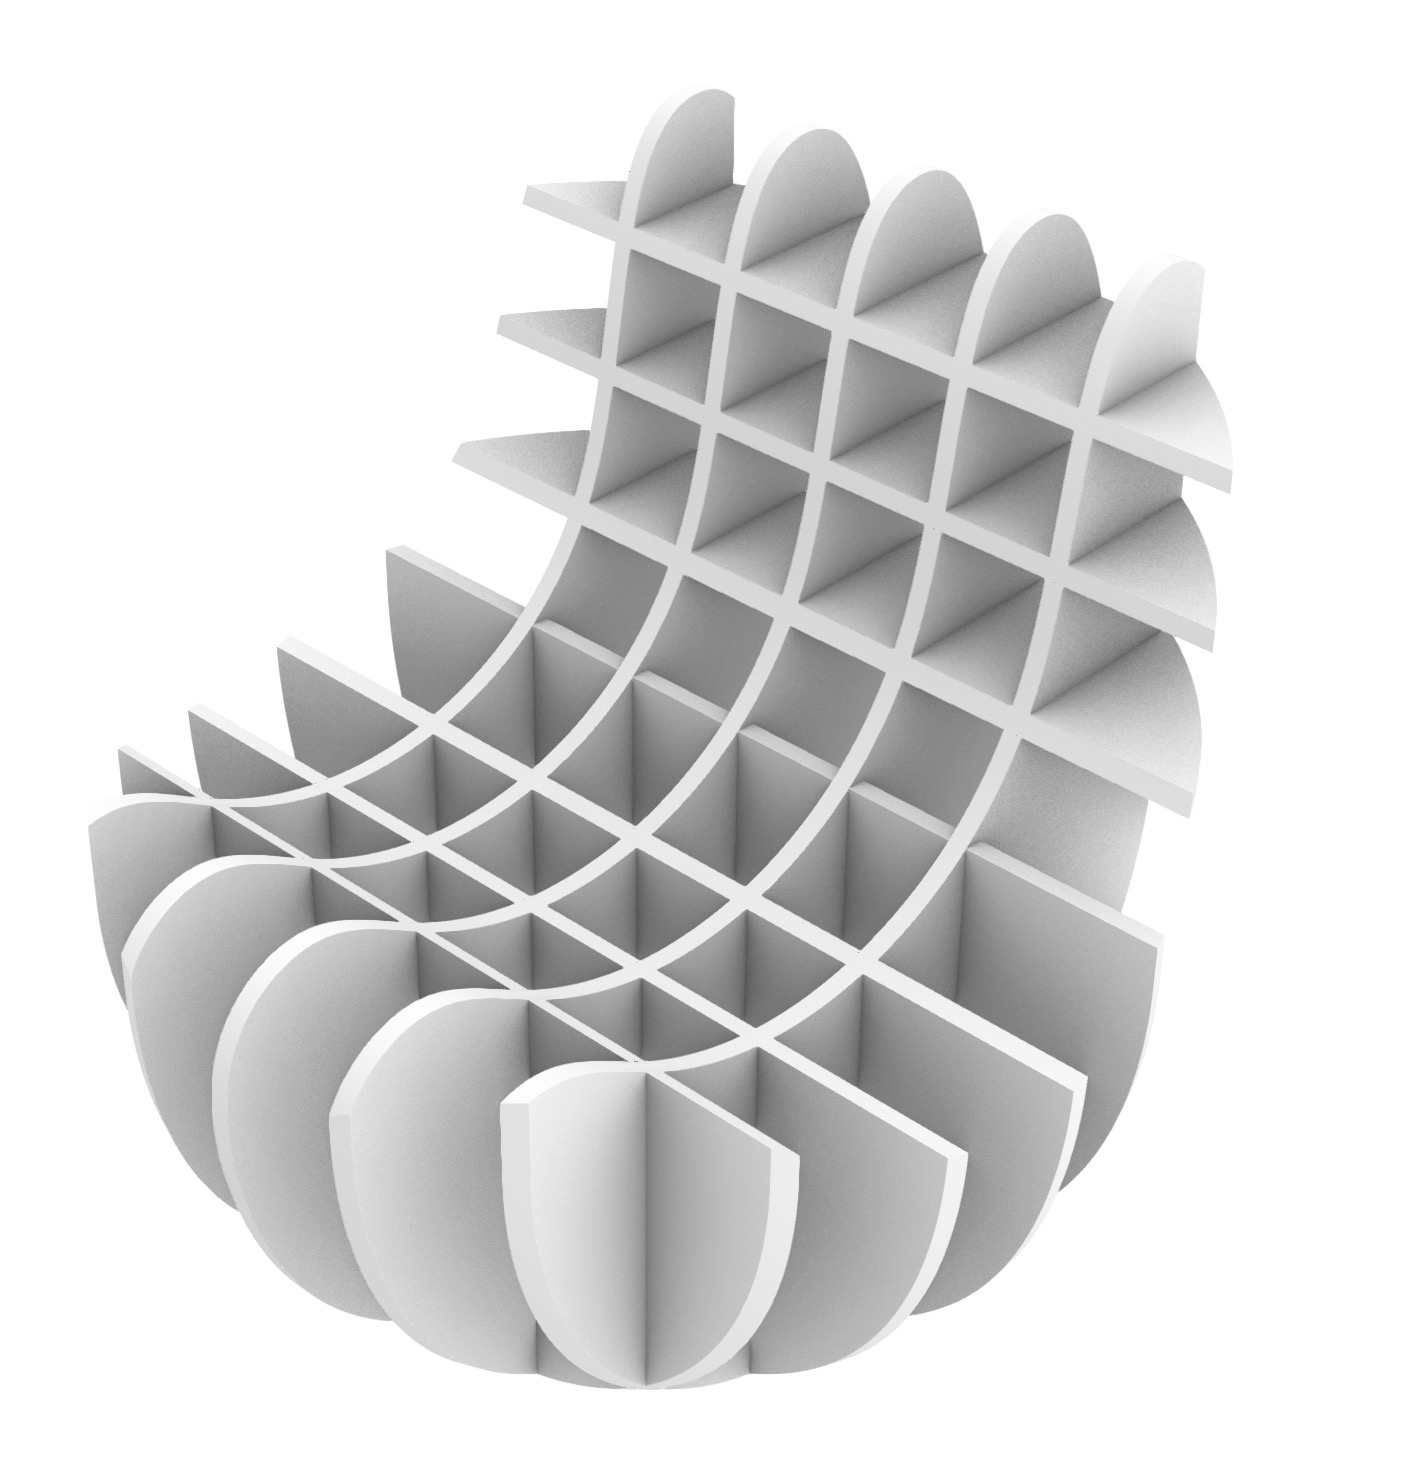
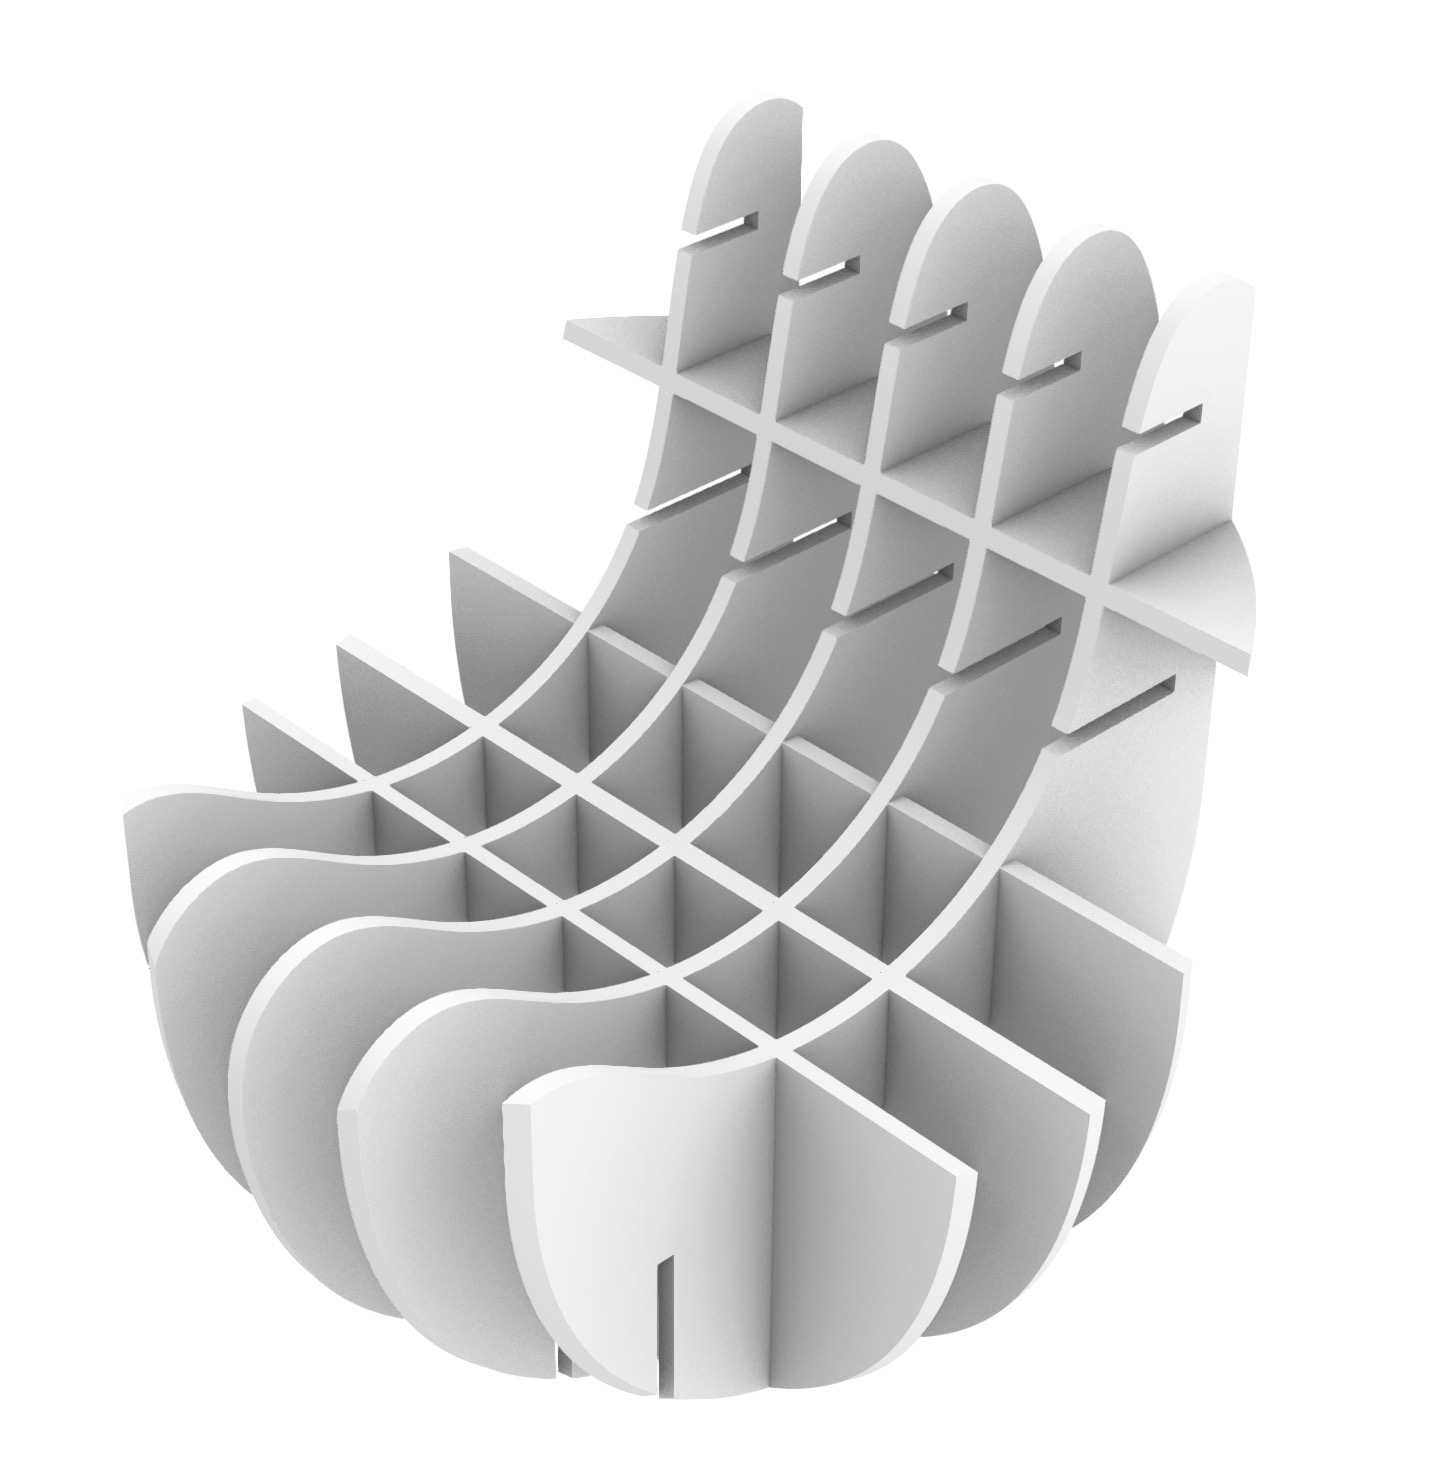
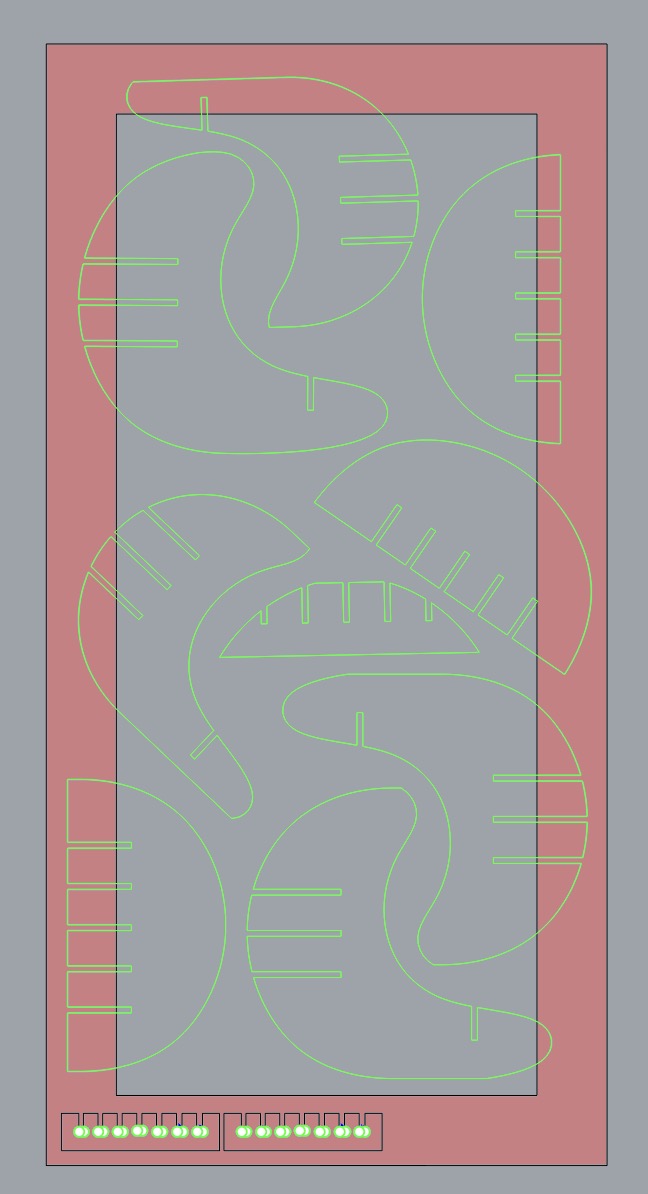
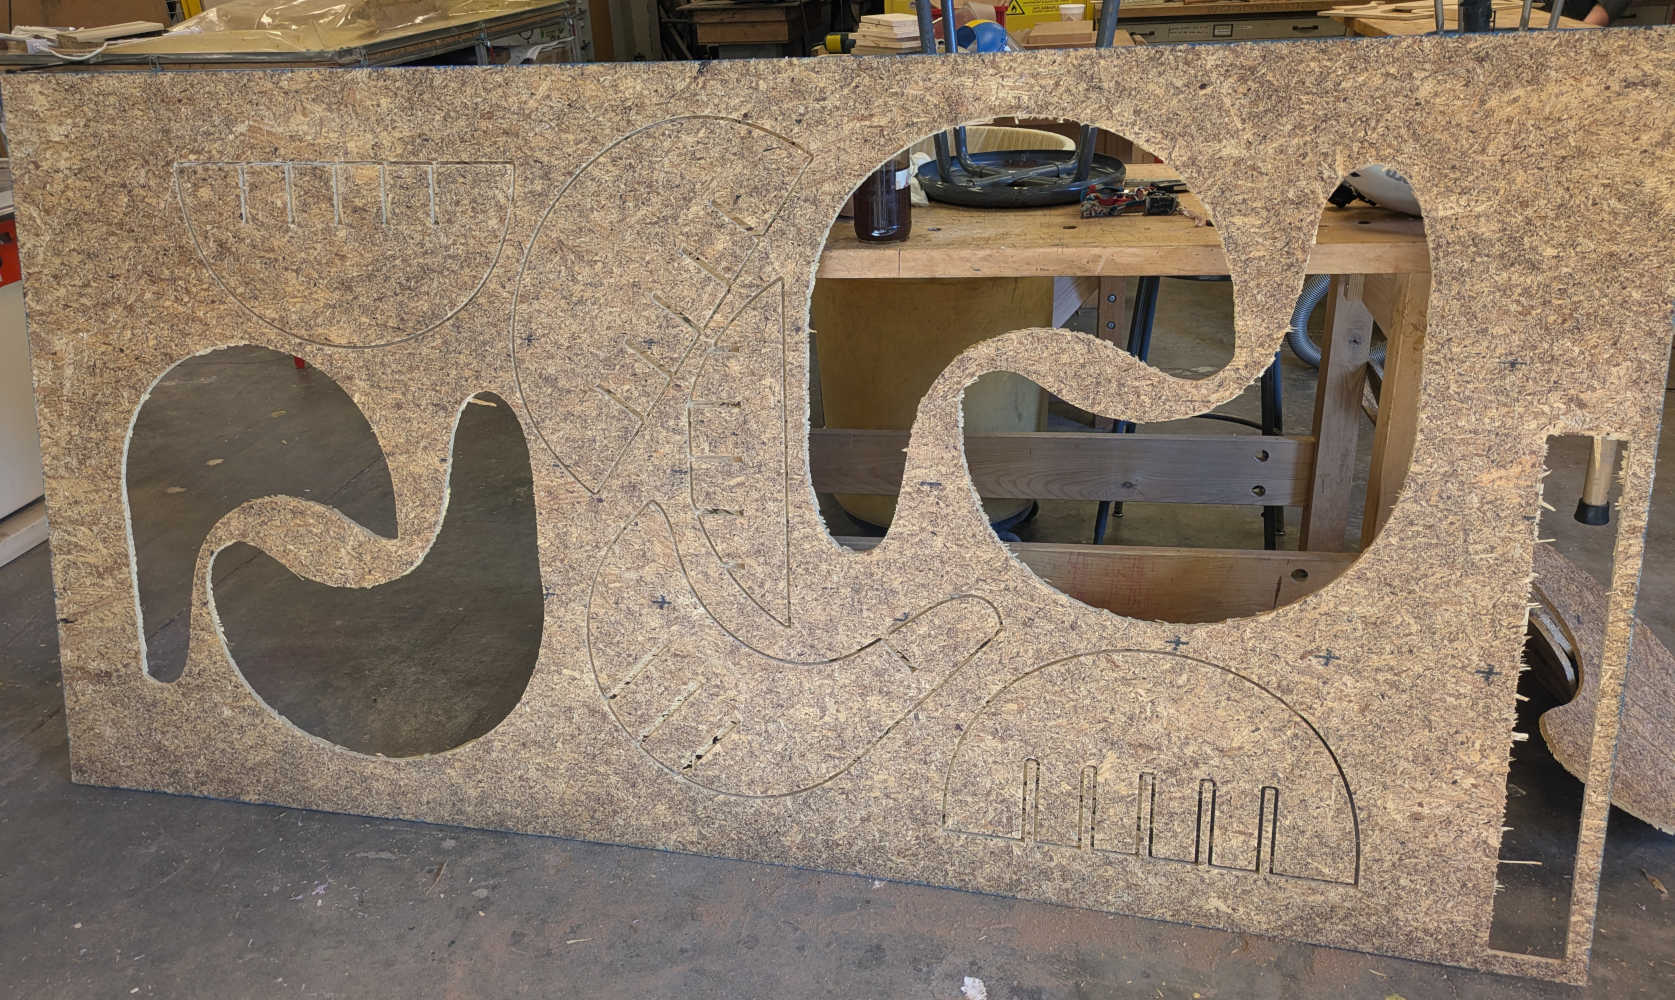
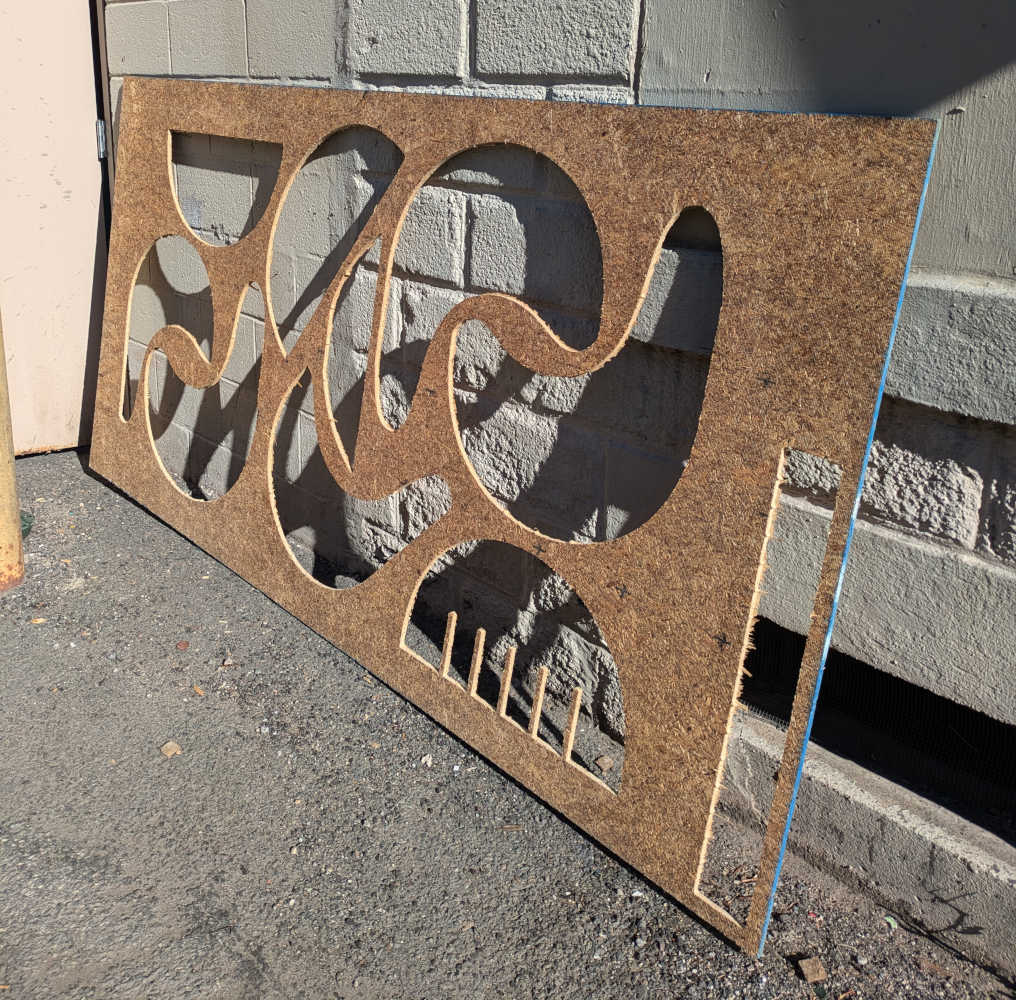
I modeled my chair design in Rhino3D using a combination of torus, sphere, interpolate curve, and boolean union/split functions (Link to 3D file). I then translated it into a flat-packed design by intersecting the volume with arrays of 0.5in thick slabs to simulate the OSB stock. In order to fit within the 48in x 96in stock, I had to further reduce the number of parts in my design (Link to 2D CAD file).
For the group assignment, we test cut various notch widths using the rhino template from Jen's archshops dropbox link, to check which width would best fit the specific piece of OSB stock. The OSB was 0.433in thick and the notch width that worked was 0.46in (3rd largest notch width from the template). This was on old remaining OSB stock that was in the N51 Architecture woodshop on the morning of Nov 8, 2024, but a new batch of OSB also arrived that same day, which had a different thickness (0.488in) and thus necessitates a different notch width. Lesson learnt is to measure and test-cut notches on the specific OSB you are machining with, to ensure that the press-fit of the notches work.
![]()
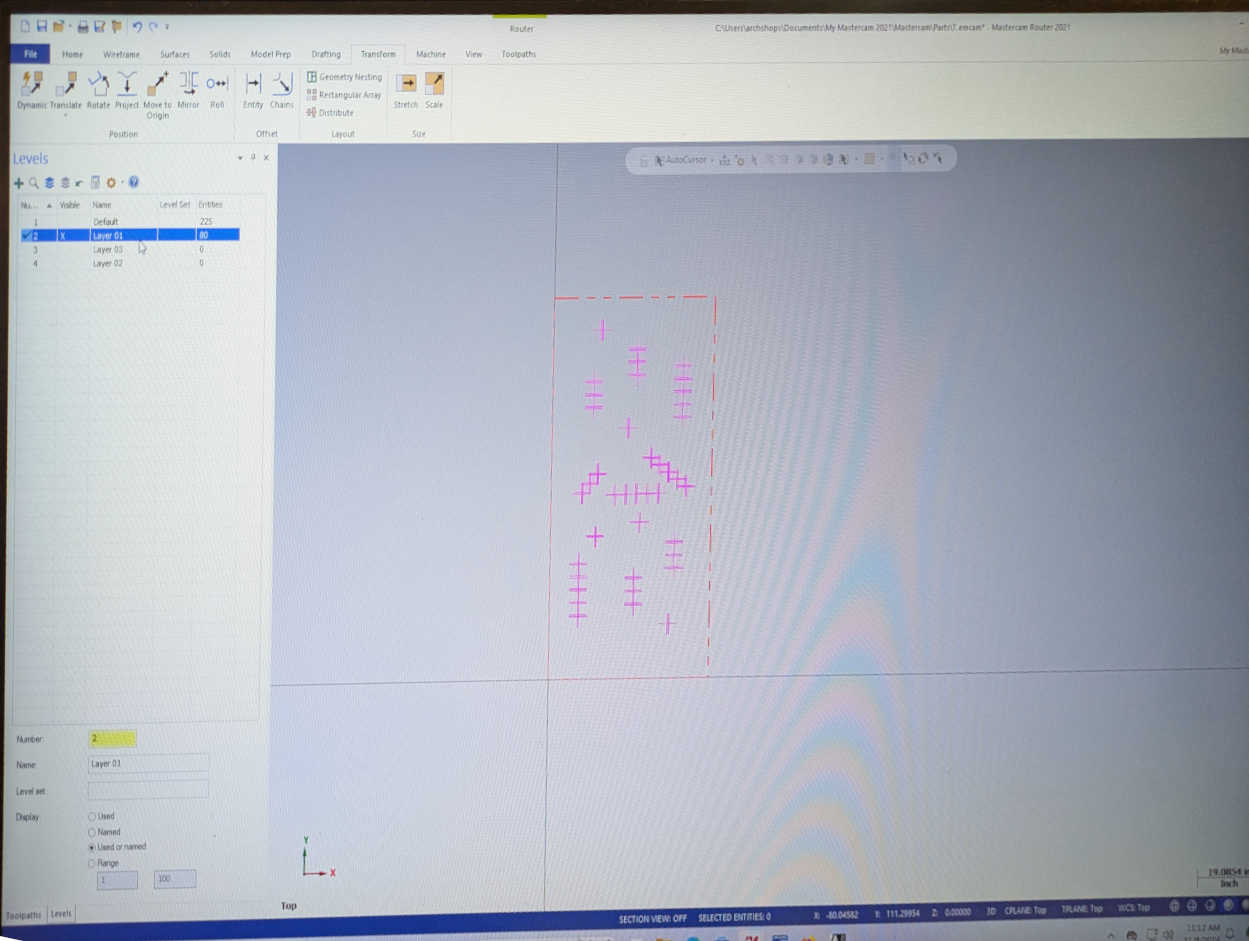
An easy trick to mass-adjust all notches in one's design file is to scale the entire drawing. E.g. to change all the 0.5in wide notches in a design file to 0.46in, we can scale the entire drawing by 92% (0.46/0.5 = 92%). Do a check of the resulting dimensions to ensure that it is not too big or small. If measurement precision is important to one's project, an alternative way is to model your file parametrically (e.g. block edit or grasshopper the notches) and adjust it that way.
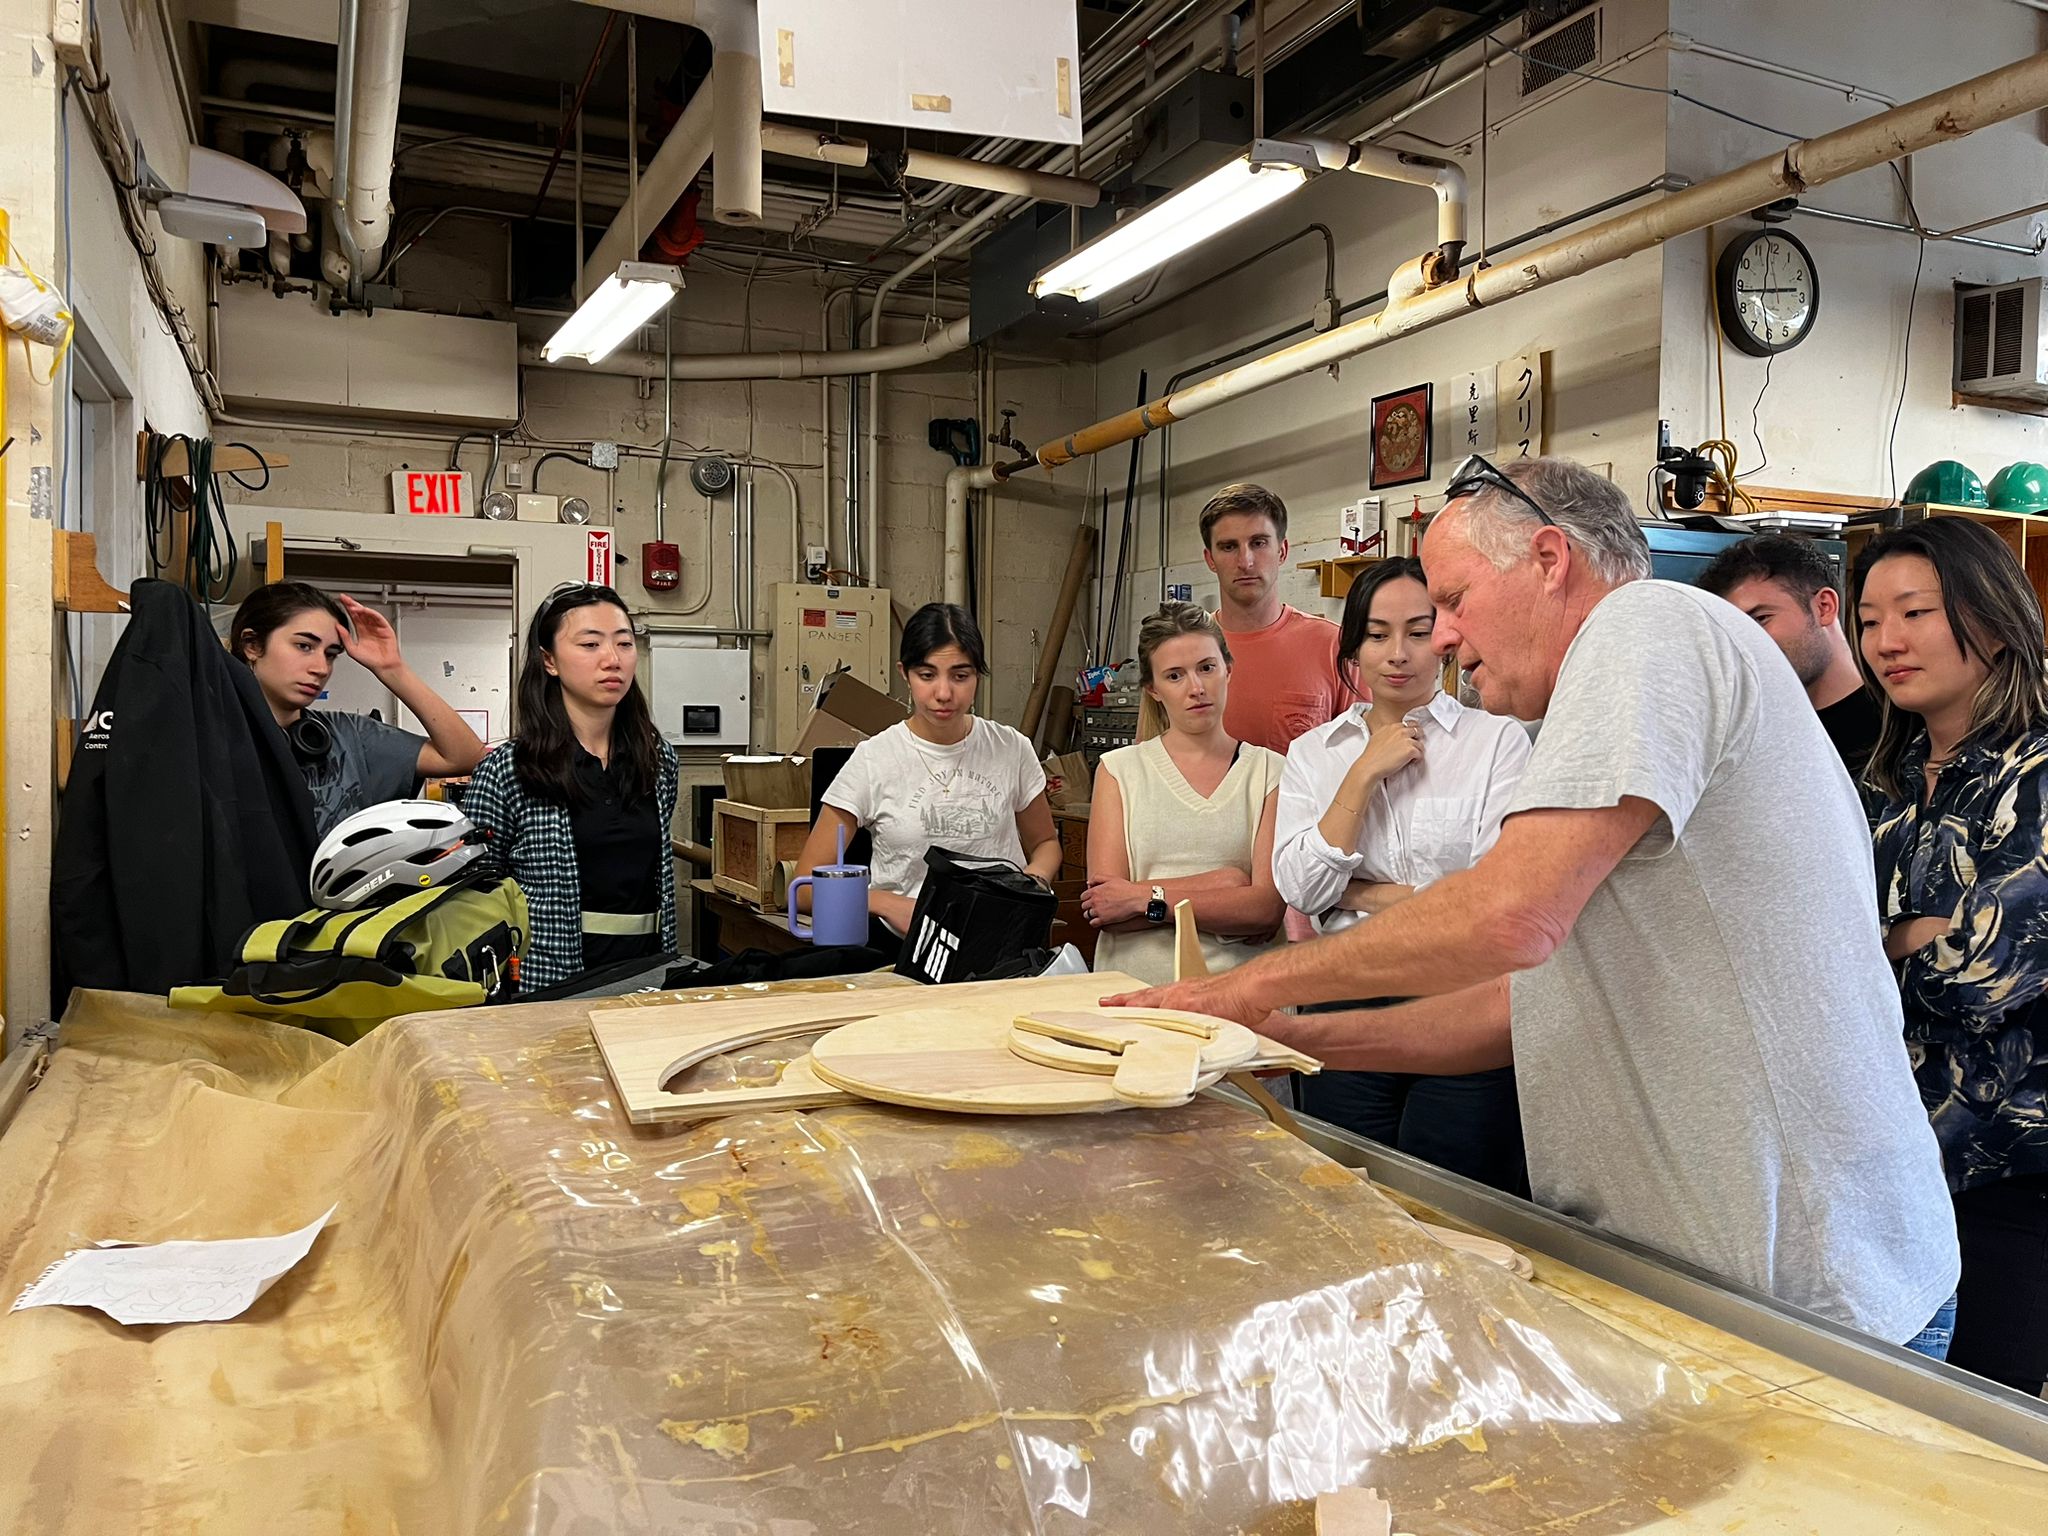
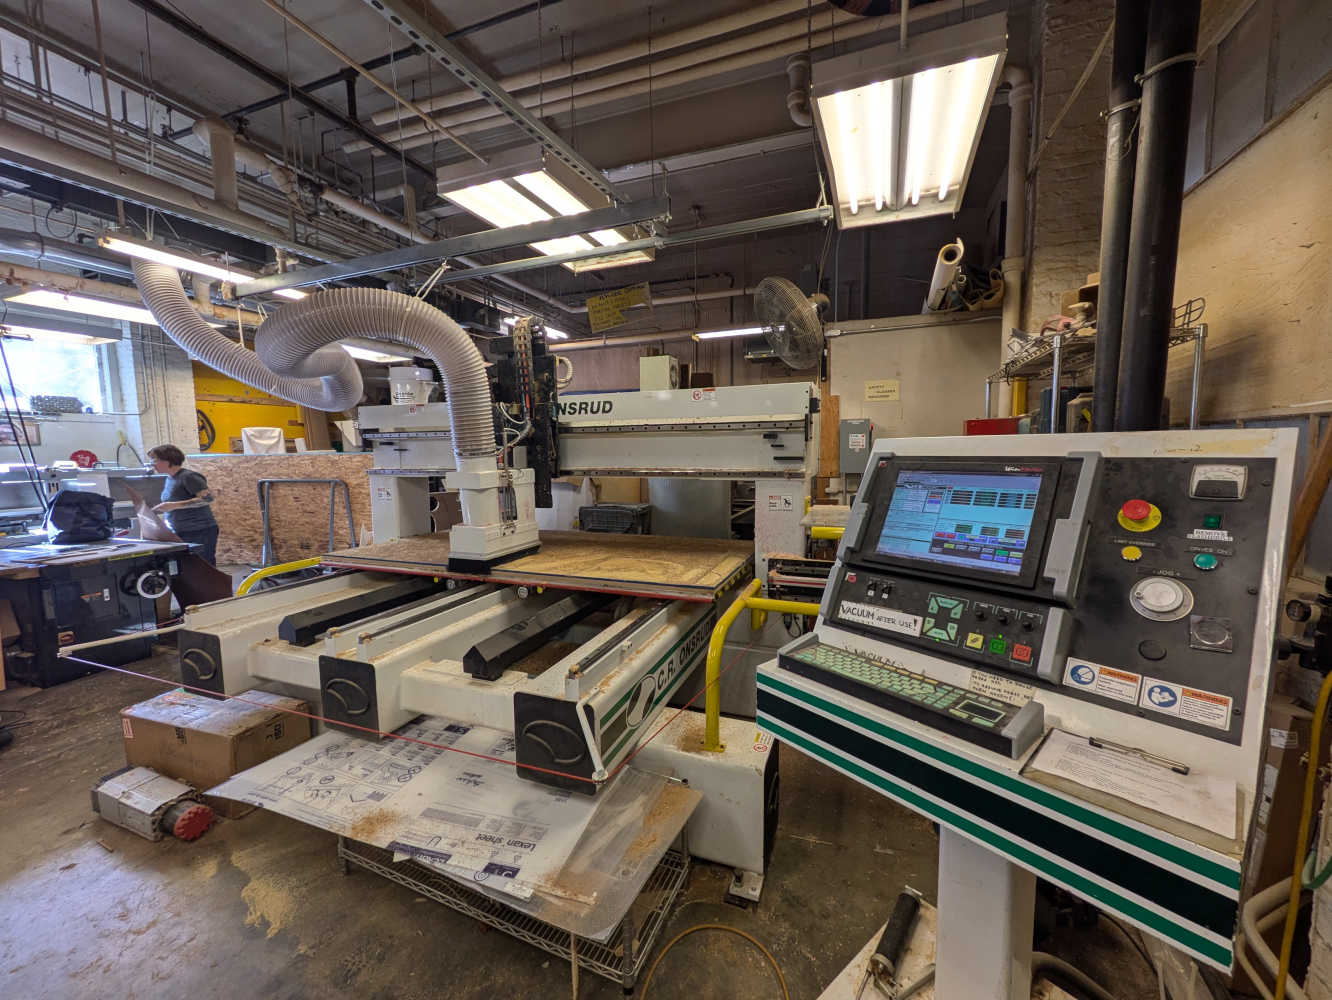
I sent the 2D CAD file (.3dm, but .dwg and .dxf formats work for the N51 Architecture woodshop computers too) to woodshop expert Chris Dewalt, who then showed me how to set up the file in CAM - an expensive four-digit-dollar-cost industrial software that MIT has very limited licenses for, and so is only operated on the architecture shop's computers. We set up 3 toolpaths (drill, trace, finishing) for the Onsrud mill, and then milled my piece in the N51 shop.
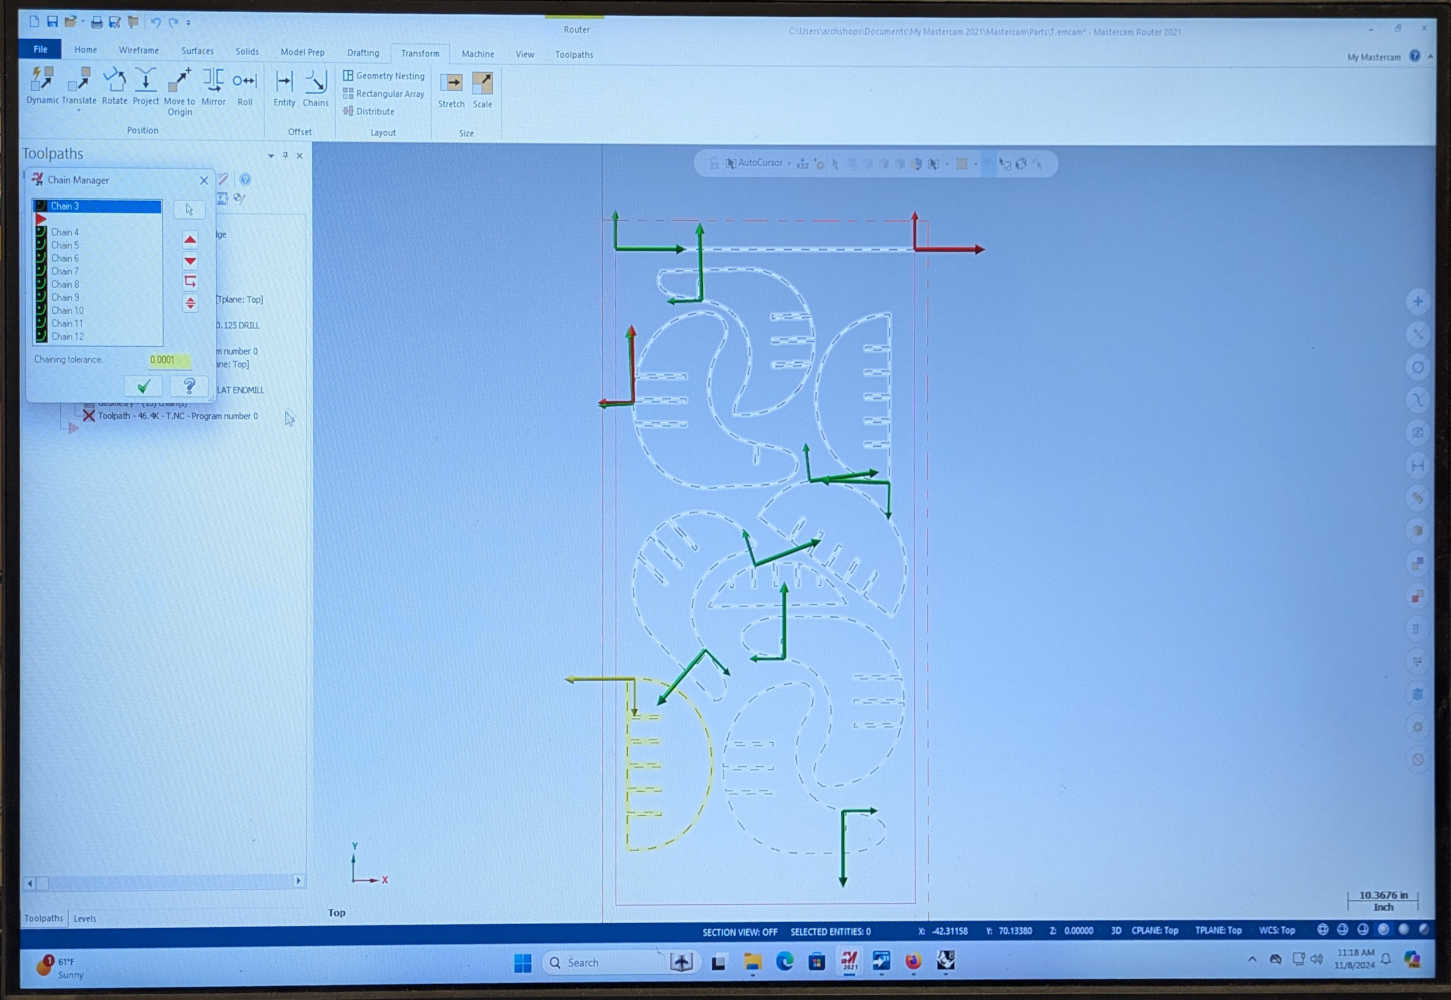
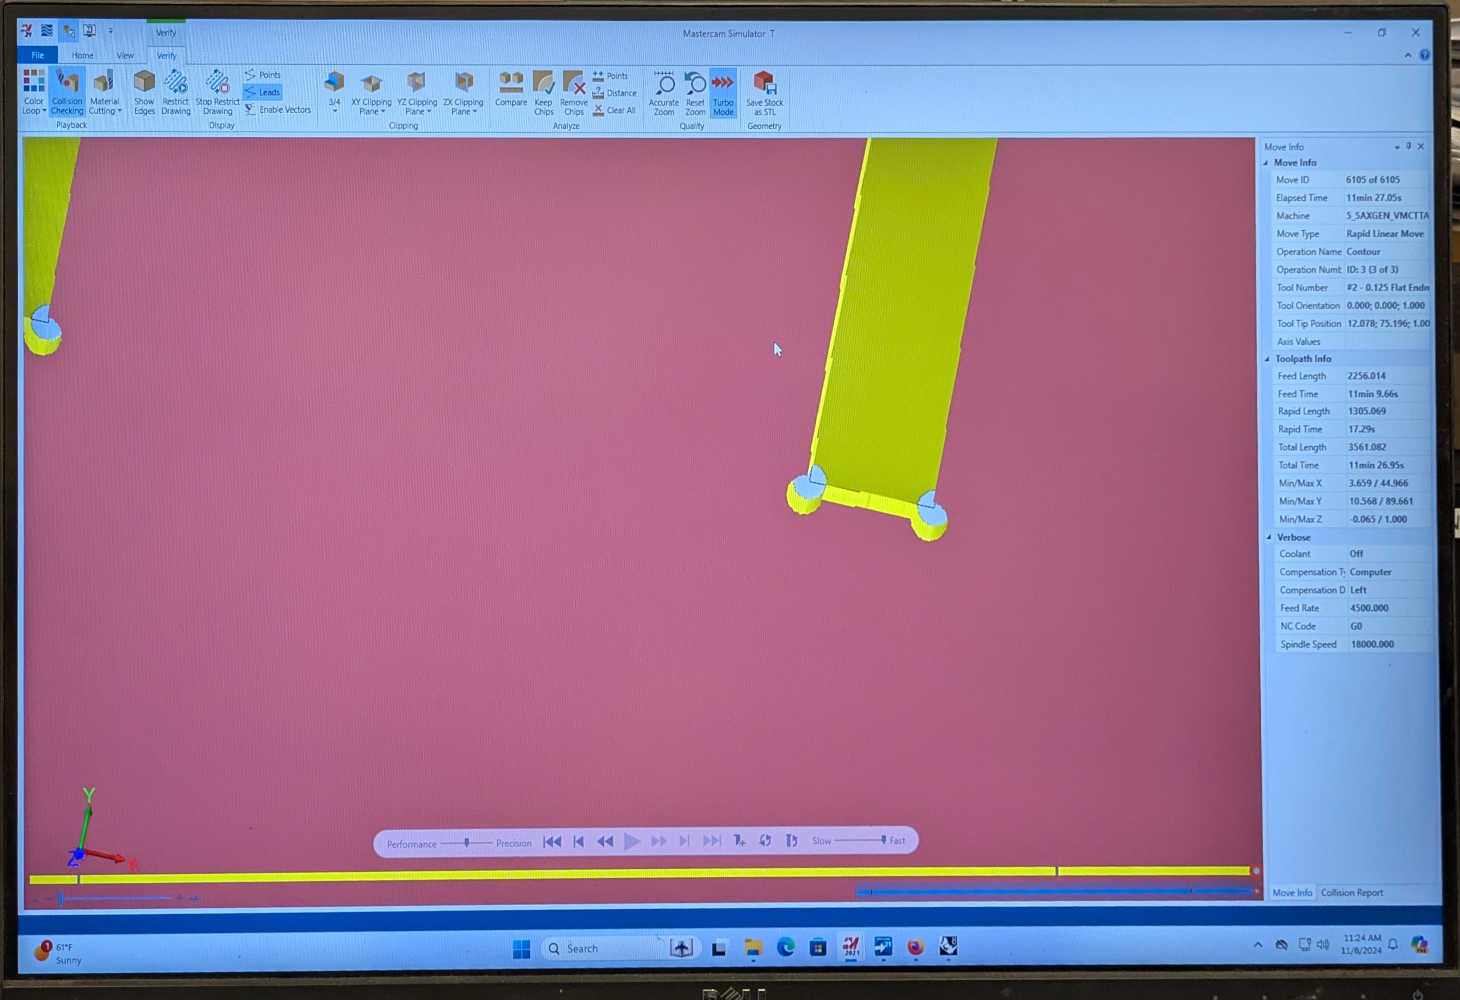
It is useful to run the mill at a significant height above the actual z-axis, i.e. instead of 0.22in, to set z to 1in first, to let the mill run the job in the air first, to observe that it is working fine, before actually running the job. Also important to leave an "onion skin" layer for traces so that pieces stay intact for popping out later.
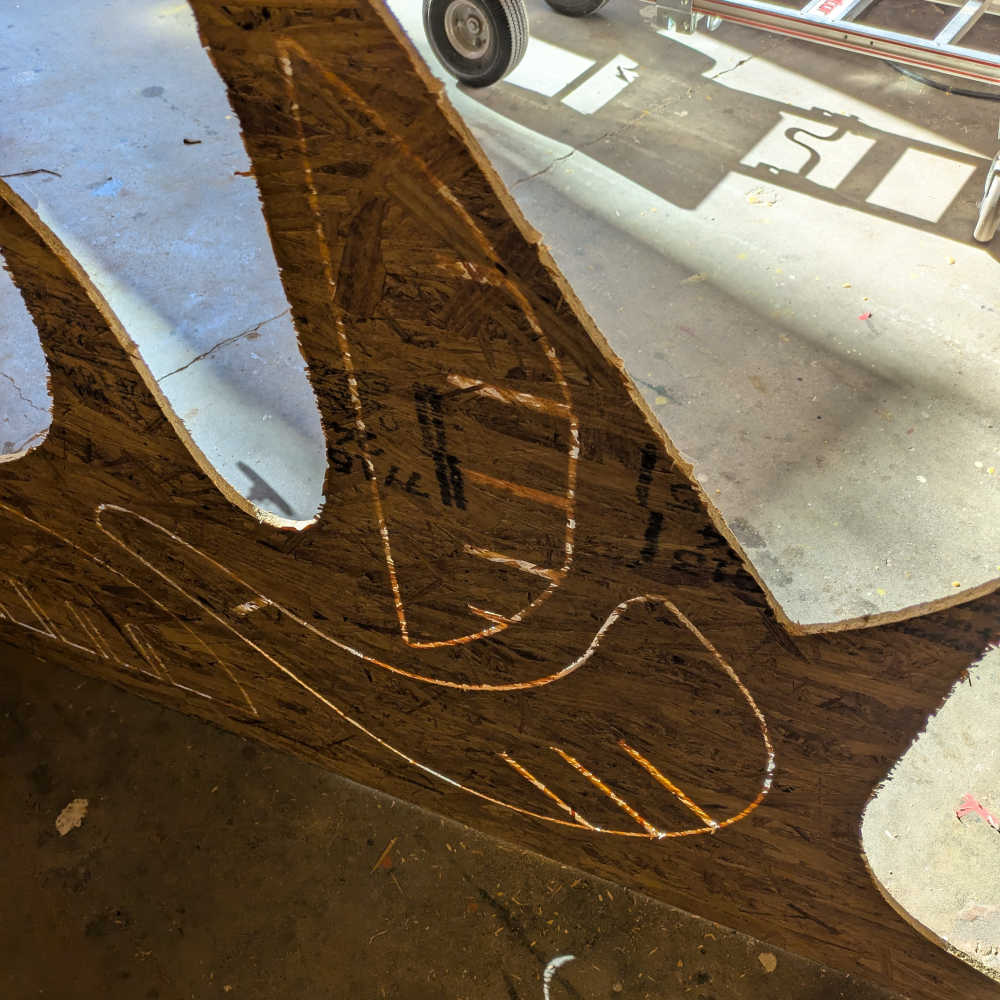
Also ensure that mill direction is clockwise for traces, and anticlockwise for holes. One of my pieces had the mill direction set wrongly, which resulted in the notches being cut too big.
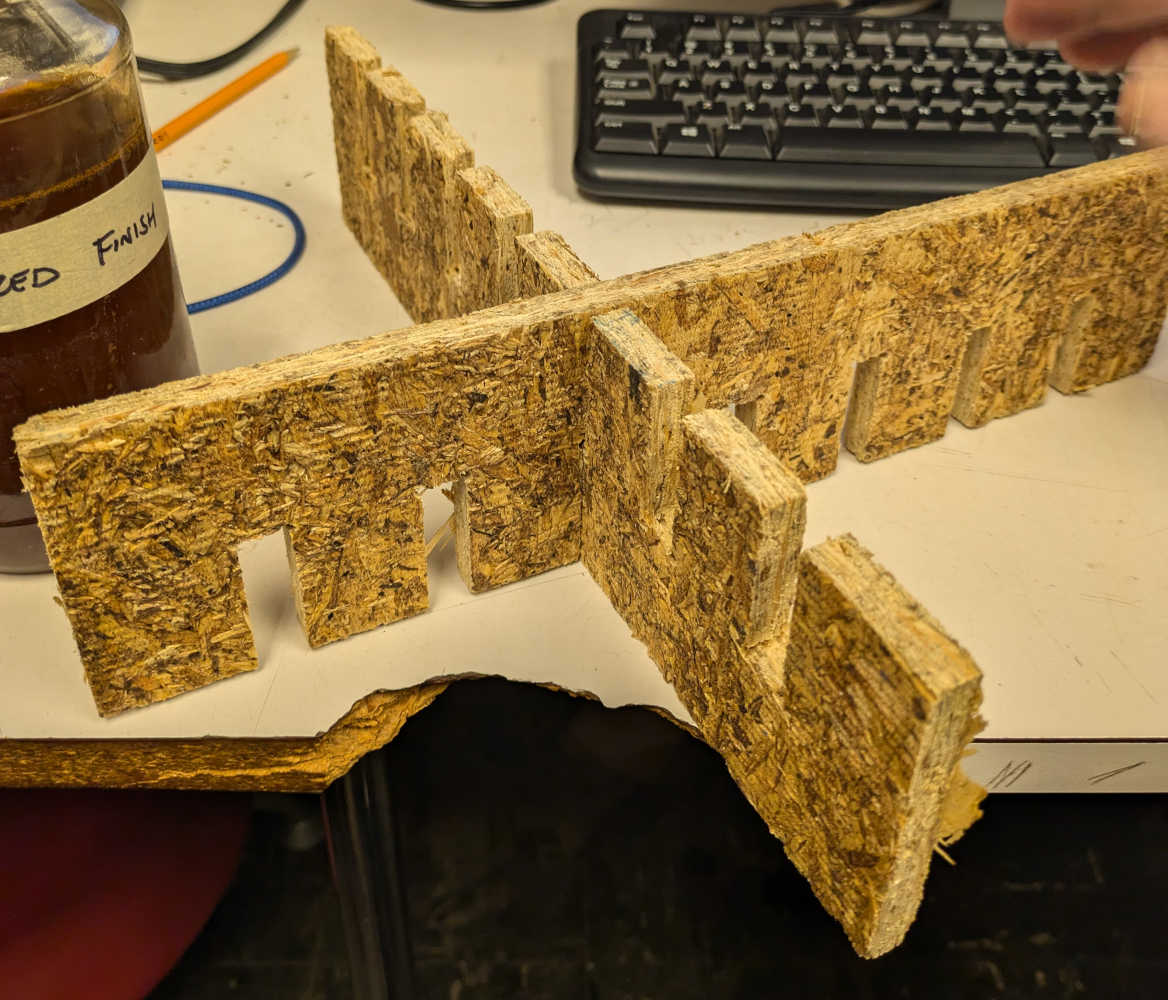
After popping all the pieces out, one can then use the nifty edge sanding tool in N51 to finish all the edges nicely. Wood pieces are to be fed clock-wise into the sanding bit.
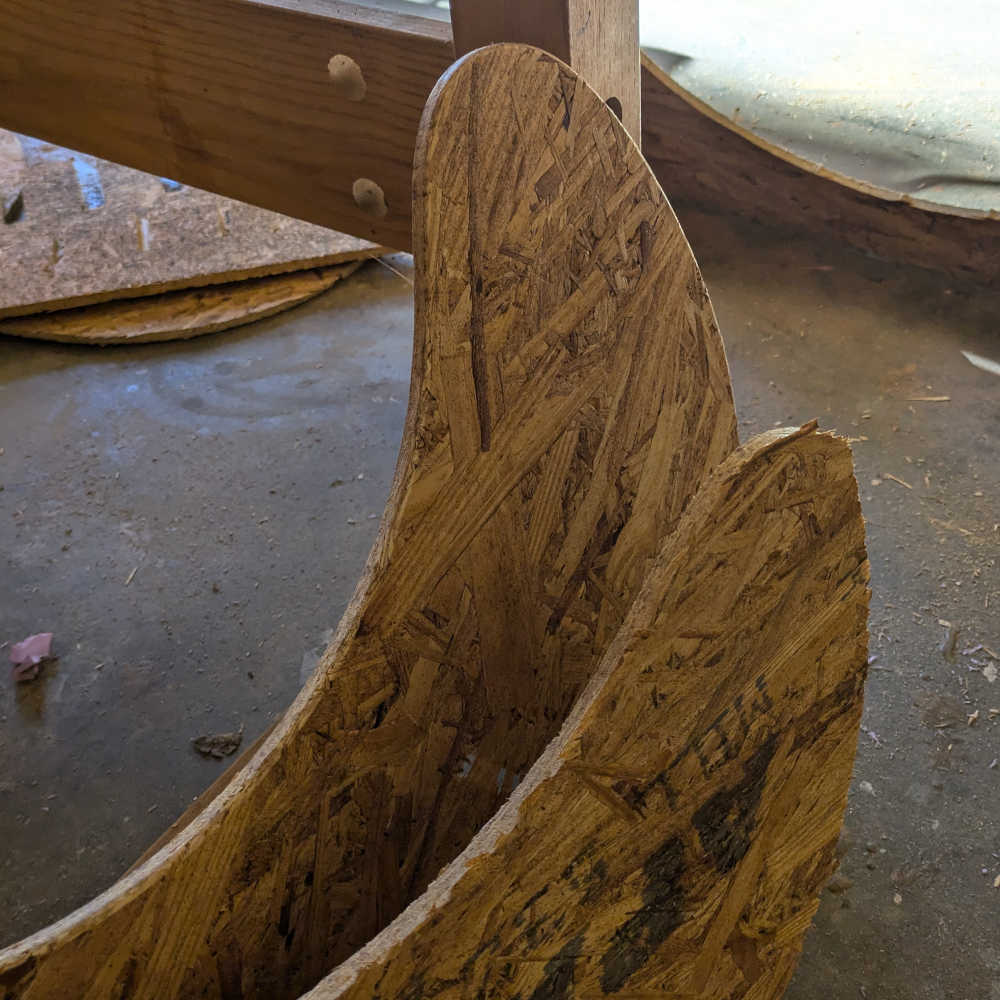
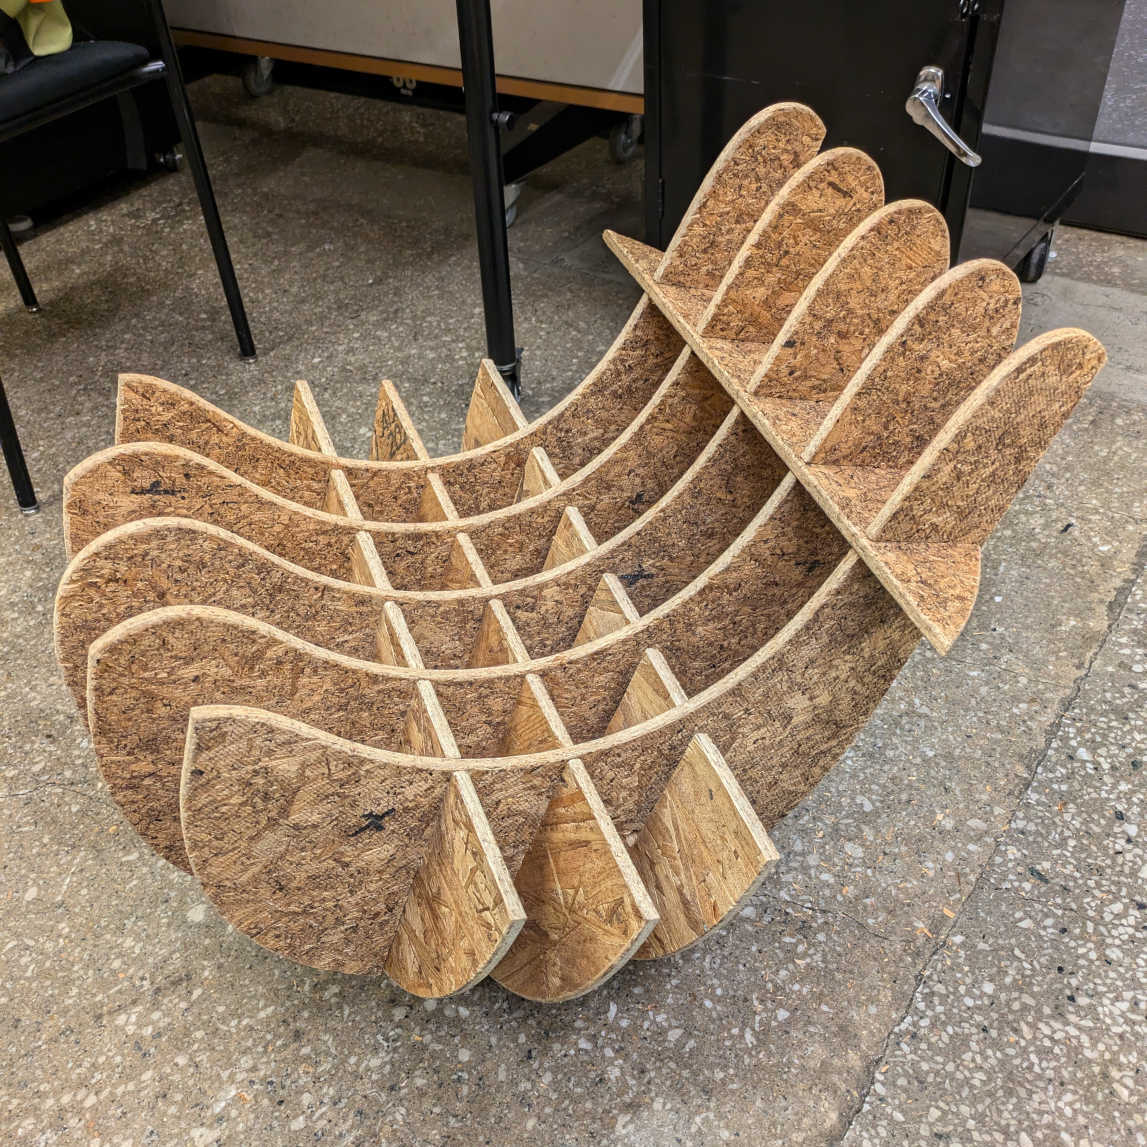
Assembled my rocking chair and voila! The rocking motion could be made smoother by perhaps decreasing the spacing between OSB sheets and increasing the number of layers - only possible if I had access to more than 1 OSB sheet for this assignment. All in all, the end product was a rocking chair with unpredictable multi-directional rocking motions, that probably creates more excitement than calm - mission accomplished?